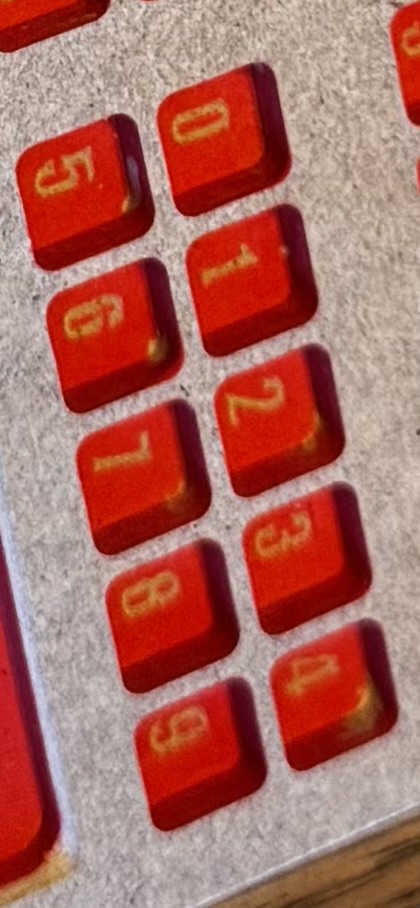
I’m making a game board using walnut that has pockets with engraved text at the bottom. I’ve made a few different prototypes using mdf, but the struggle for me is getting the text to “pop” more at the bottom (but still look nice). My latest effort has me cover the top with oramask, cutting the pockets, spray painting, then engraving the text, which works well enough to make the text stand out, but doesn’t feel high quality:
My next thought was to glue a brass sheet to the bottom, cut the pockets down to leave a very thin layer of wood above the brass, then engrave deep enough to cut into (but not through) the brass. I’m a bit worried about the “disconnected” wood though - interiors of 0’s, 6’s, etc. I’d have to have a very strong and even application of glue - these pockets are only 8mm wide and the text only 5mm tall.
Alternatively, I could engrave the brass separately, paint fill the text, cut the pockets all the way through the walnut, then simply glue the two pieces together - although cleaning up the excess glue would be tough, as there are over 70 individual pockets.
I will start with I have not tried to perform this detailed of an operation yet.
Your concept sounds solid, I would try your first example with a twist. Is it possible to mill out the text (I assume this is letters and numbers) from the brass sheet using the blue tape or double sided tap, create the pockets and then insert the milled out text?
Based on numerous glue ups I have performed it may be very difficult to align things as well as the cleanup you mentioned.
Cool project, good luck and let us know how it turns out!
My inclination would be to mill out the text and then fill it in, then wipe or face things off.
Epoxy is popular for this, a lacquer-stick is the traditional machinist option for metal.
Perhaps try a negative/positive approach? Machine the numbers proud, then machine a mirrored negative out of a slightly thicker piece (so no worry about interior spaces/counters), glue it in place, then face it off?
Tim - That’s definitely an interesting approach I hadn’t considered. It would help me use more of the brass sheets (right now I would have about 2”x6” of waste per sheet of brass, not considering everything that’s hidden by the wood!) I may try that with some of the scrap and see how well it pops into the pockets. Could probably get away with minimal glue depending on how snug it is!
Will - Thank you for the lacquer paint stick tip, I’ve been wondering what the typical solution for that is!
I think the negative approach would probably give the best result, but that amount/thickness of brass would be a little too expensive for this project unfortunately. I’d definitely consider for a future project though, that’s a great idea.
The bits of sheet will catch on the grain on the wood and cause the metal to enter at an angle. That makes it catch more and bend which makes it catch more…so if you’re going to inset any more than the inlay of your material, I’d be hesitant to recommend sheet inlay.
That said, if your numbers will be roughly flush with the surface of the walnut (like most inlay I suppose) the inlay for numbers might be relatively quick and easy.
One benefit of this approach is that you may be able to punch the brass numbers from your sheet stock. That would give you very clean inserts even with a very thin sheet and should have good yield in terms of the raw brass.
A different but equally annoying approach that could look wild might be foiling. That’s a whole different beast with a bunch of different methods for application and protection/durability but it’s dirt cheap and can be very fast and repeatable.
The upside here is that it’s quick and easy to try your hand at it if you’ve got patience and time to spare…do one really well and see if it’s worth pursuing more efficient methods
Ok lastly I have to mention it because I’ve never seen it done but it sounds super cool…you could apply (dust|burnish|paint|etc) a conductive material in your number pockets and simply coat it with a brushed metal plating application. Nickel and copper plating solutions are very easy and cheap to make yourself and can yield some impressive results both aesthetically and in terms of durability.
I’ve got some nickel and copper solution on hand and I’ll hopefully be getting some walnut tomorrow. If I try it out I’ll post some photos and let folks know how obnoxious the process is (or isn’t)
After some thought and seeing all the good information in this post I wonder if a two sided cut operation would work? Cut pocket’s under each of the keys, cut small square brass inserts to allow them to be placed in the pockets after the keyboard is flipped over and all of the text is machined out. This (in theory) would allow the text to be seen as cutouts with the brass in the bottom.
An advantage of this process is the pocket from the rear can be cut slightly larger than the text itself which will allow cutting the individual squares of brass larger and easier to insert from the underside of the keyboard. (In theory……)
And if this would work it could open up options for different material to be used underneath and even backlight with LED’s?
A flip operation would work great with the only issue being the islands in some of the characters. Might have to sacrifice some aesthetic and bridge the islands.
Regarding LEDs, A thin bit of white delrin backlights very nicely. Super easy to machine and the light diffusion is some of the best I’ve tested providing even lighting and a nice subtle clean glow.
Another option that might be more interesting aesthetically is imitation ivory. That should look pretty stunning with the walnut even without backlighting. I’ve not tried backlighting imitation ivory yet but I bet it would work ok, with that caveat that the lighting will likely highlight the “grain” of the ivory. Which is either super cool and adds a ton of character OR looks just kind of dirty…depending on user preference