Epoxy Gift Coasters

I thought you might find that S.P.E.C.I.A.L.

…Here human human human…I’ve got a treat for you…

2 Likes

Funny that I don’t play video games but made the Nuka caps for a friends BD. I just called his wife and asked what his current favorite is, was told fallout, so went looking for something suitable for a coaster. Had no idea of the significance until he explained it to me!
But wait…I think I hear my Shapeoko calling…
…Here human human human…

1 Like

I found a bottle cap STL on Cults3D.com
I’m pretty sure this STL will be usable in CC Pro, but I’m sorry that I can’t explain how. Perhaps @WillAdams has a demonstration already available?
Once the cap was in my project I did a 3D roughing with a .125 ball nose .0625 depth, .0125 stepover, 12,000 RPM 40 IPM feed and 20 IPM plunge. The finish pass was also with a .125 ball nose with the same parameters as the roughing pass except for the stepover which was .010. This resulted in almost no sanding, perhaps 2 minutes on each piece with 320 before the poly coat.
For the text I searched the the Fallout Wiki fan site and copied an image from there. It took a lot of modification to the curves to allow a .0625 end mill to fit within the confines. So it’s a close representation, but the steely eyed readers here have already spotted the differences I’m sure.
Feeds and speeds for the text cut were: 1/16 end mill, .0252 stepover, 12,000 RPM, 25 IPM feed and 15 IPM Plunge.
Here’s the DXF of the text and outside cutout:
NukaCola.dxf (373.8 KB)
Now lets all go enjoy a nice Quantum!

1 Like

For an STL we recommend MeshCAM, or you can use the STL2PNG tool @fenrus made:

2 Likes

or skip the PNG and go direct to gcode using https://fenrus75.github.io/FenrusCNCtools/stl2nc/stl2nc.html

7 Likes

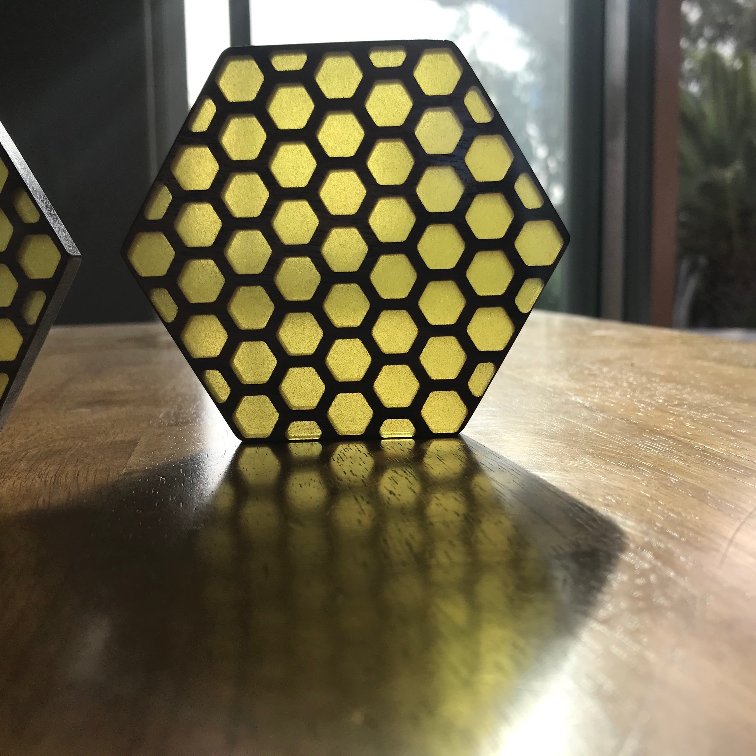
Finished more coasters and thought I’d post them to inspire others, not like I’m making trivets here :wink:


10 Likes

Awesome work @MikeG! Always inspiring :slight_smile:

1 Like

Not sure who drove me towards trying epoxy filled coasters/trivets more, @MikeG, @dakyleman or @Julien, but driven I have been.

Going with the hexagon/honeycomb idea, cutting a fine-walled structure - beautiful cut with a brand new down-cut 2-flute 1/8" cutter. To see if a gloss surface can be achieved, I have gently clamped the pieces down onto a glass plate, masked up the perimeter and poured a 2-colour pattern into the honeycomb.

No bleed across the glass surface - excellent. A slight swelling of each cell, having filled each one only to ‘level’ and seen some overflow, but fortunately no colour bleed.

Now to wait and see what the hardened result looks like!!

9 Likes

Thank you and right back at you @dakyleman :slight_smile:

@AndyC - Really interesting idea you’ve got going here. I’ve been considering a simulated multi-colored stained glass project and you’re now drawing me away from other projects :+1:
Looking forward to seeing your final result.

3 Likes

No no no no NO, don’t do that to me. I’m still recovering from a severe epoxy/coaster/trivet addiction and now I’ll have to try something like this. Sigh…

6 Likes

Neat idea. I’ve never tried this approach, but I thought epoxy sticks to glass. Did you use mold release? I hope this story ends okay…

3 Likes

Sorry…NOT!
:wink:

1 Like

The resin did bond to the glass, but gently heating the back side of the glass released the parts quite easily. The gloss of the glass has been captured - win. The ‘pour side’ is less of a win - ran a very fine cut to level it off, then used a (Dremel) foam pad in the 3XL with polishing compound to try and get a better finish - modest success, but not what I was hoping for.

Pleased with this, so need to think about the issues encountered and then crack on with making the rest of the set…

7 Likes

Round 2 now ‘cooking’. Under-filled each pocket slightly to give a meniscus effect, which makes the resin appear like old glass. Should be able to achieve high gloss on both faces this way too.

Can you guess the two colours I’ve used this time? Not ‘honey’ and not ‘jade’ like the first ones.

2 Likes

@AndyC - I think those turned out beautifully!
Re: the new colors…could it be Red Green?

4 Likes

Wonderful!!!
@Julien is now planning his first cut glass piece. With all of the inspiration in the Old Country, I’m sure we will all be looking forward to something, well, inspirational.

1 Like

Plexi glass works FAR better than glass - just a gentle flex and the resin releases. This second round of casting has worked much better, under-filling each pocket to get the meniscus and importantly leave the surface of the resin below that of the wood. Very happy with these ones!!


So now I’ve learned how to do this, I have 2 more to make. Then I’ve got an idea to make a stained-glass insert frame for door window pane… 20x the size of these coasters

7 Likes

Wow. Just…wow.

So what will end up being the top surface of the coaster is the “bottom” side against the acrylic, and then you pour epoxy into the cavities and stop filling before you reach the “top” (of the wood), and leave it at that ? Brilliant.

In that last pic, the epoxy covers the wood too, is that because it “leaked” slightly under the walls when the piece was upside down, or did you add a coat of clear epoxy afterwards ?

1 Like

Yes, @Julien the epoxy creeps slightly between the wood and the Plexiglas-glass, but there isn’t enough to cause colour bleed between pockets. Maybe stronger colour tints might show a bit, but I only used 4 drops of tint per 50ml of mix resin - enough to have strong colour, but not enough to obscure the crystal clear resin or make it cloudy.

Making the coaster ‘upside down’, as you say. The surface of the plexiglass provides the gloss that the resin ‘captures’. The meniscus effect really does make the pockets look like old, cast glass.

Will gently dress/trim up the edges and take a hair’s width cut off the bottom to remove any over-spill etc. The pictures are literally ‘off the mould’ without any touch-up.

3 Likes