Epoxy Gift Coasters

Been working on some gift coasters recently and thought I’d share the process for anyone hesitant to use epoxy. It’s really not difficult and you shouldn’t hesitate to give it a try if you’re interested in this material.

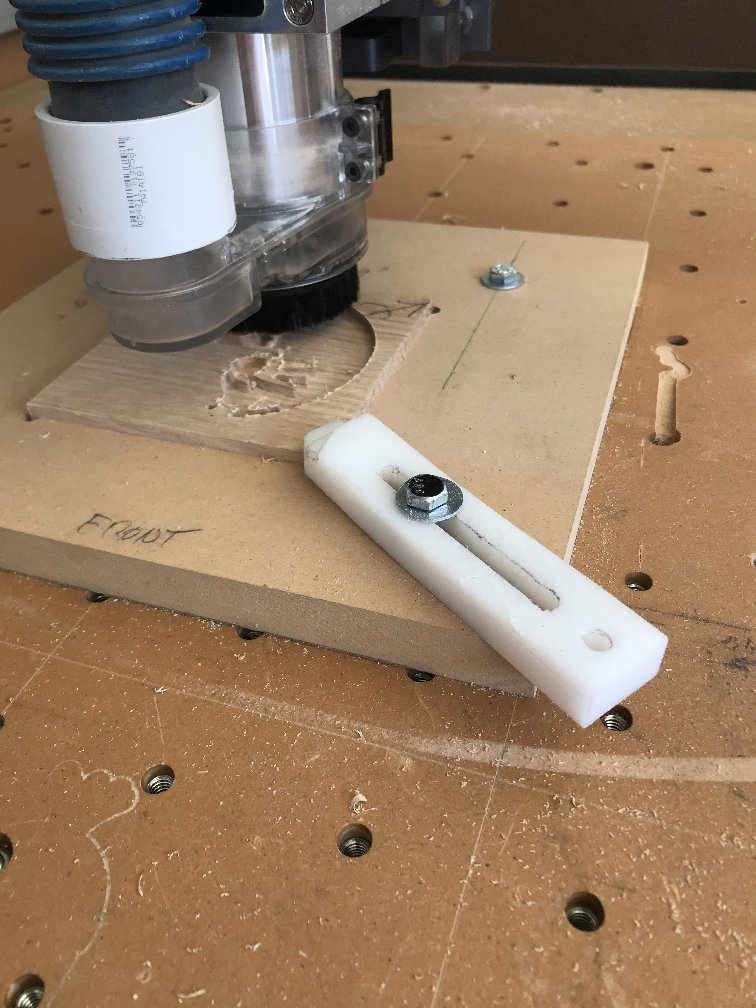
Although Carbide Create wasn’t used to make these coasters, I did use the method shared by John Clark, @45RPM in this community, to center and cutout each coaster after pouring the epoxy. Here’s John’s post about creating boxes And the specific video about centering the design consistently for each box, or coaster in this case:
Three part video tutorial on box making on the Shapeoko for beginners
And:
https://www.youtube.com/watch?v=sOqT5AVoezU&feature
Making the centering fixture begins at about 10 minutes in, but I suggest watching the complete video as John is a great presenter.

The first step was cutting some .45 stock I had sitting around into squares that fit my fixture on the table saw. Yeah, sorry, could’ve used the Shapoko. Then I flattened each piece to make it smooth and I wanted finished coasters about .375 thick. Just took a few thou off each side, the finished thickness comes later.

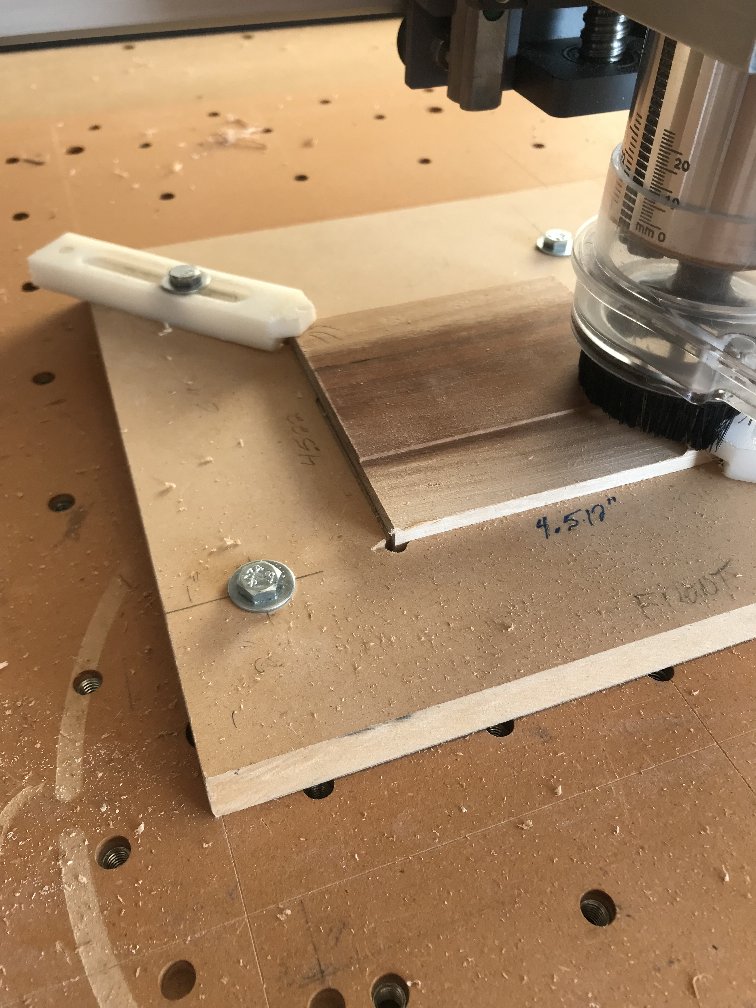
Next putting the best grain side up, the cutout for the epoxy is made. The depth was cut a little deeper than the finished coaster thickness, for these about .380 Carbide Tool Source in Grants Pass Oregon sells very nice extended reach end mills that were used for this project.


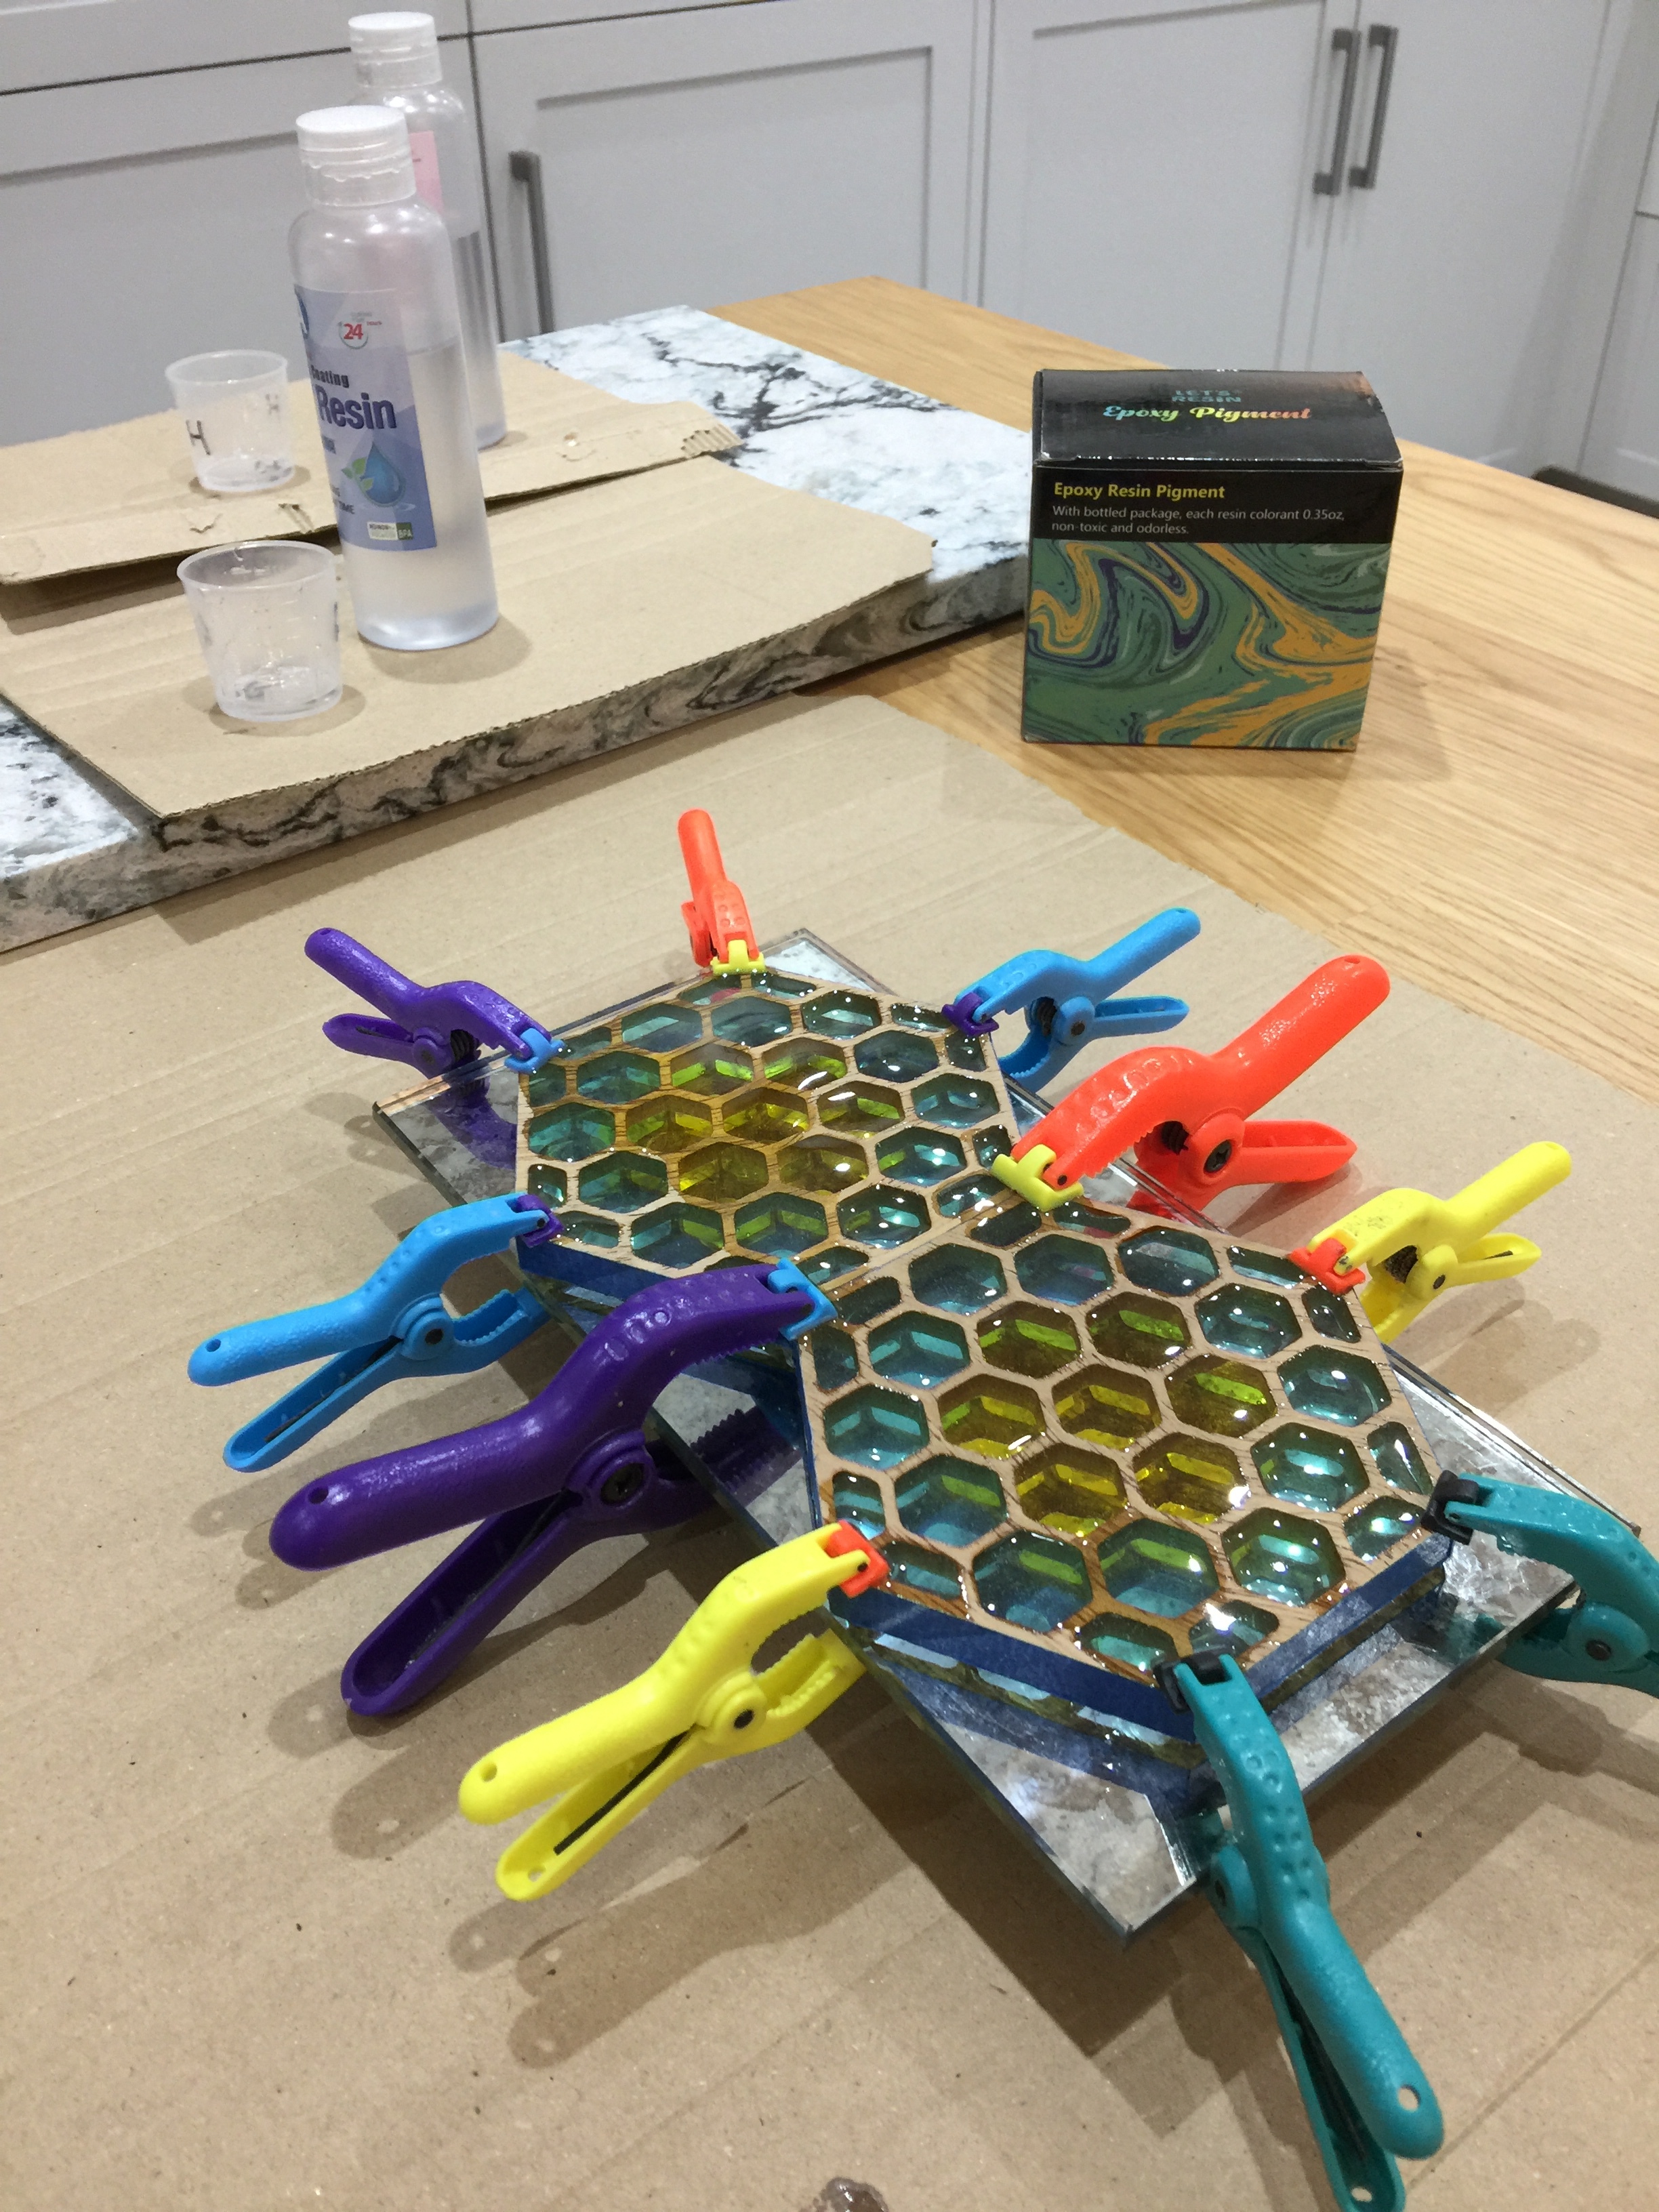
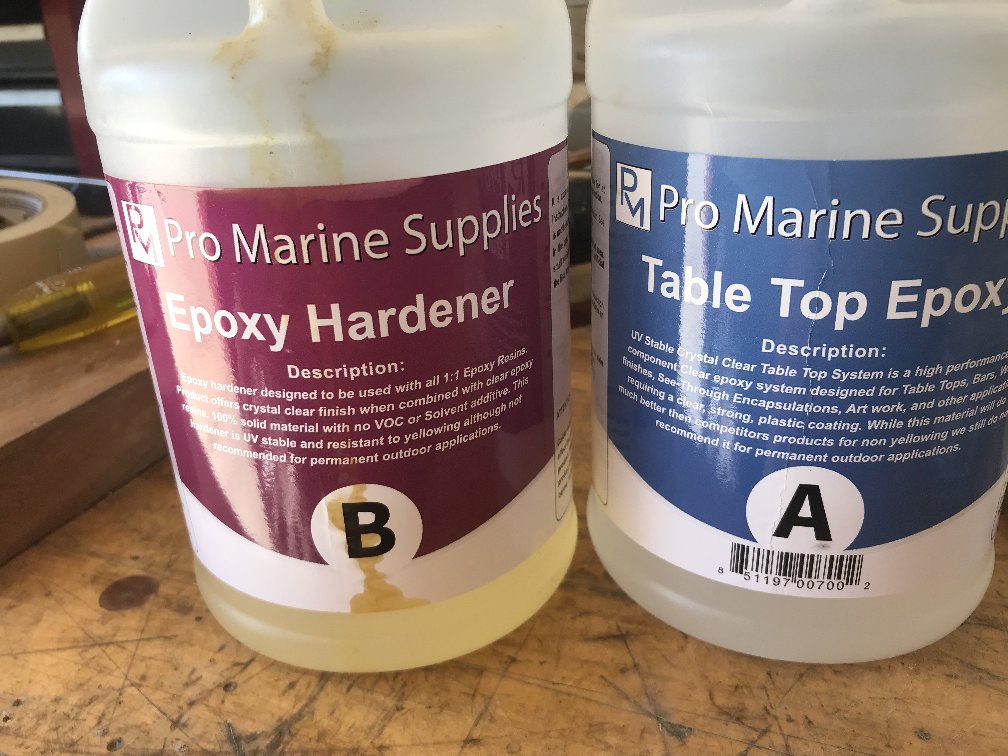
When pouring epoxy, be sure to have an ambient temperature at least 75F (about 24C) or above to get a proper cure. For this project, I mixed in small batches of 8 ounces or less. It’s really important to mix completely either pouring into a second container and continue mixing or scrap the sides of the container and the mixing tool completely, my preferred method. Only add the color or powder, if using any, after you’ve completely mixed the epoxy. There are many videos covering mixing, so that’s all I’ll say here.
I’ve been using this epoxy available at several outlets, though I bought this through Amazon:

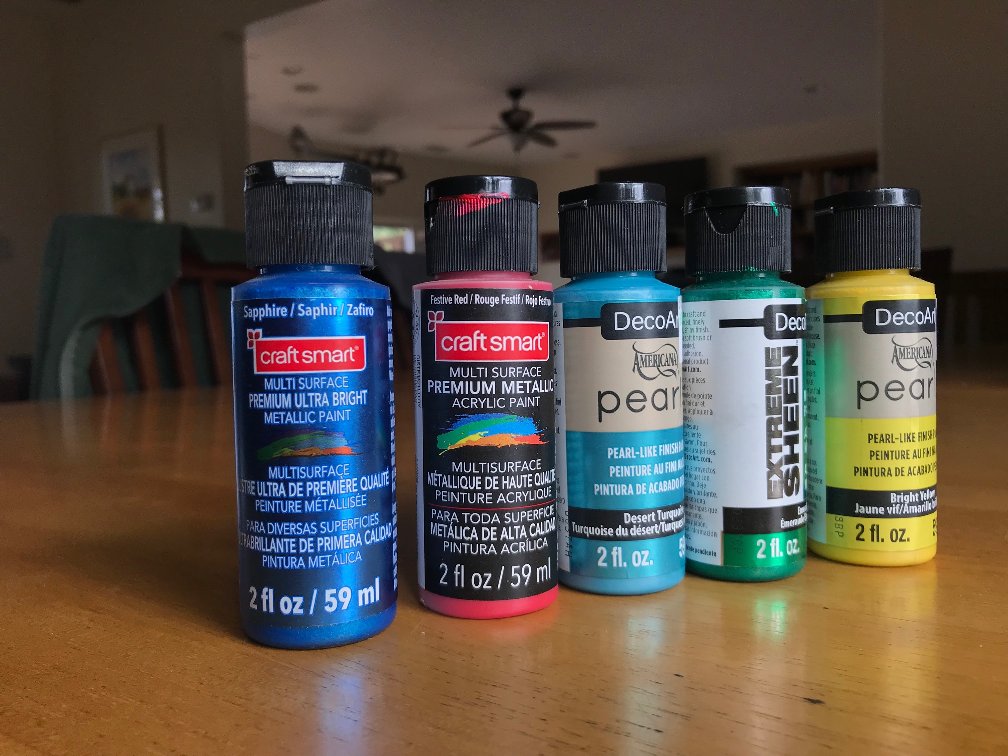
I had a similar problem as mentioned in some other threads using powders as the powder tends to settle to the bottom as the epoxy sets. So I’ve been using metallic acrylic paint, available at most craft stores. It only takes a little drop to get good color in the small batches used for these coasters. It’s easier to add more if needed and the metallic additive is fine enough to be very satisfying once set.

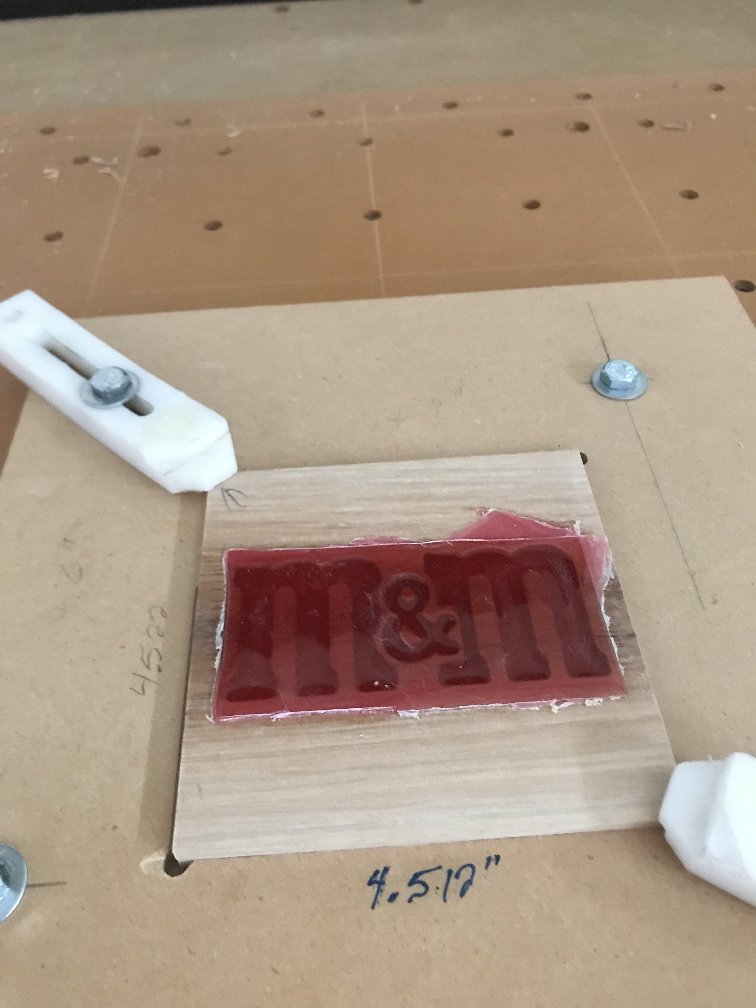
I like to use tape around the edge of the pour area to contain the epoxy and keep it raised above the previously finished surface as the epoxy will soak into the wood slightly and shrink as it sets.


For bubbles, I know some don’t like this method, but it’s working very well for me, yes, I use a torch. Specifically this:
https://www.bernzomatic.com/Products/Hand-Torches/Instant-On-Off/PK8000
I’ll hold the torch tip about 12" above the epoxy pour and holding straight down use short bursts only! Heating the epoxy to much will result in a finish that can’t be saved. I’ve tried with a heat gun, but so far haven’t mastered that tool. Be sure to clean your work area, no sawdust or other flammables, though the tape will burn if to much heat is applied. Remember, short burst is all it takes.

EDIT: Found a post from @fenrus that covers additional basics of epoxy use here
And another from @gdon_2003 here Both of which are well worth checking out.

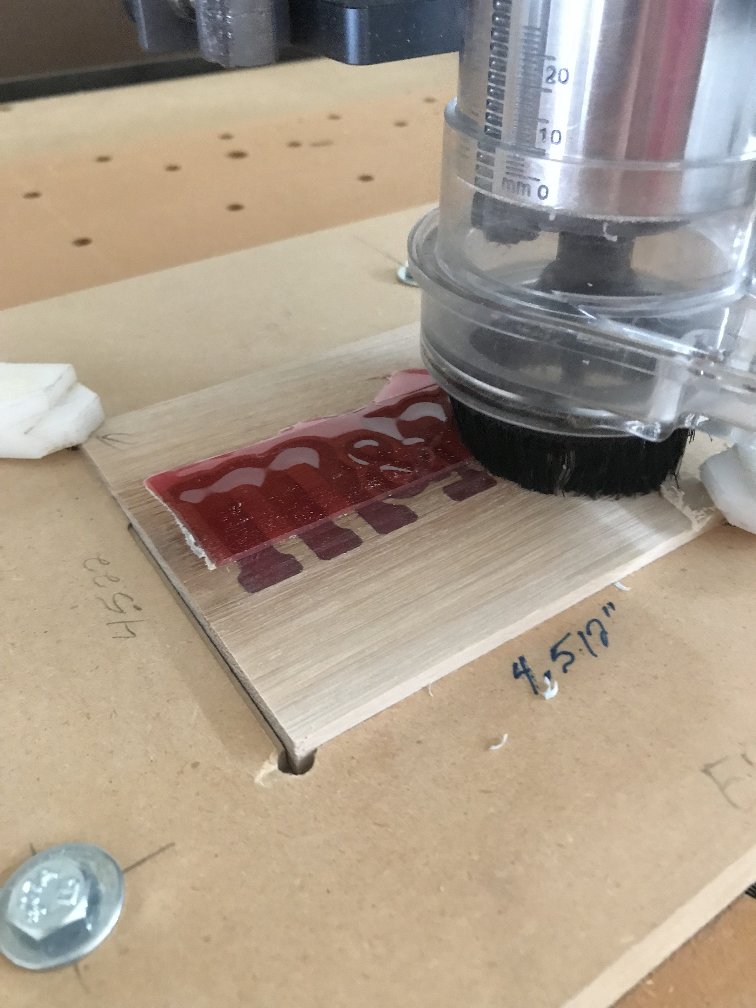
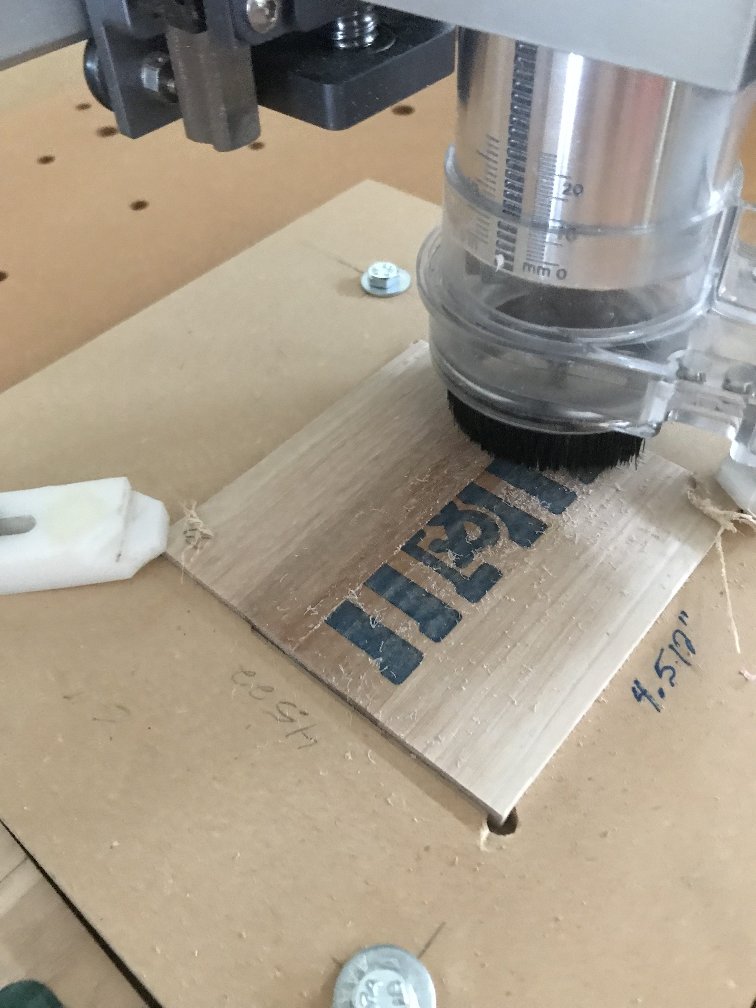
Now the real fun starts! Using a .25 end mill turning as slow as the Carbide Create router will turn and a feedrate of 45IPM surface the epoxy to the level of the wood. I take off an additional .005 to remove any epoxy that might have bleed or been over poured. Not too worried about the remnants of the tape under the epoxy as it is pretty much soaked through and cuts right off with little or no gummyness on the bit.


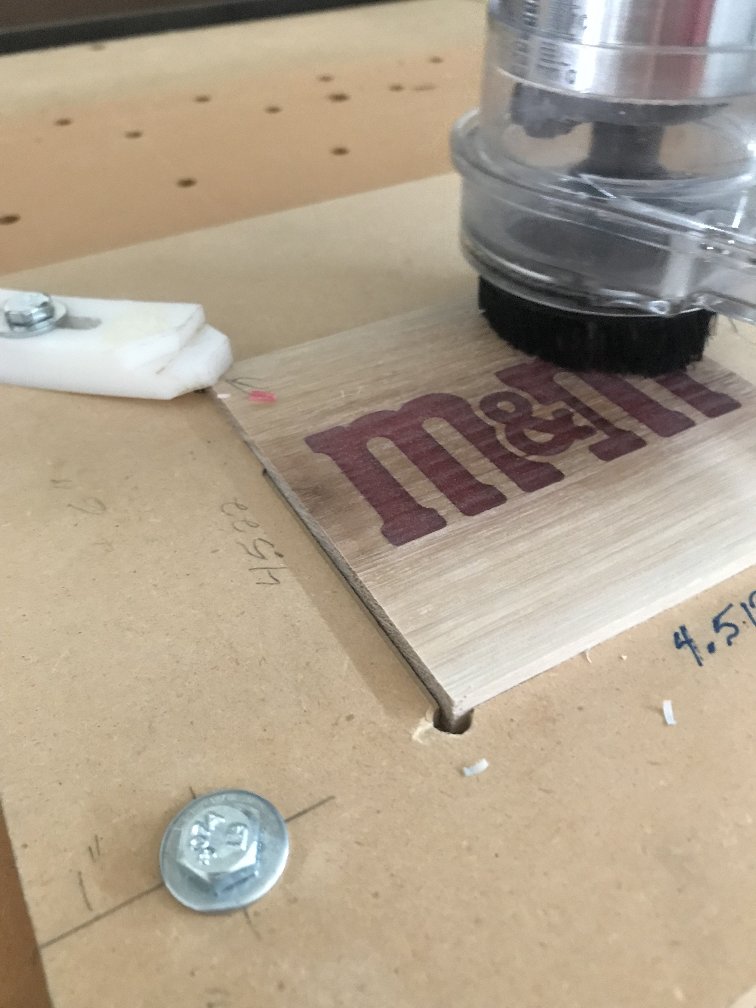
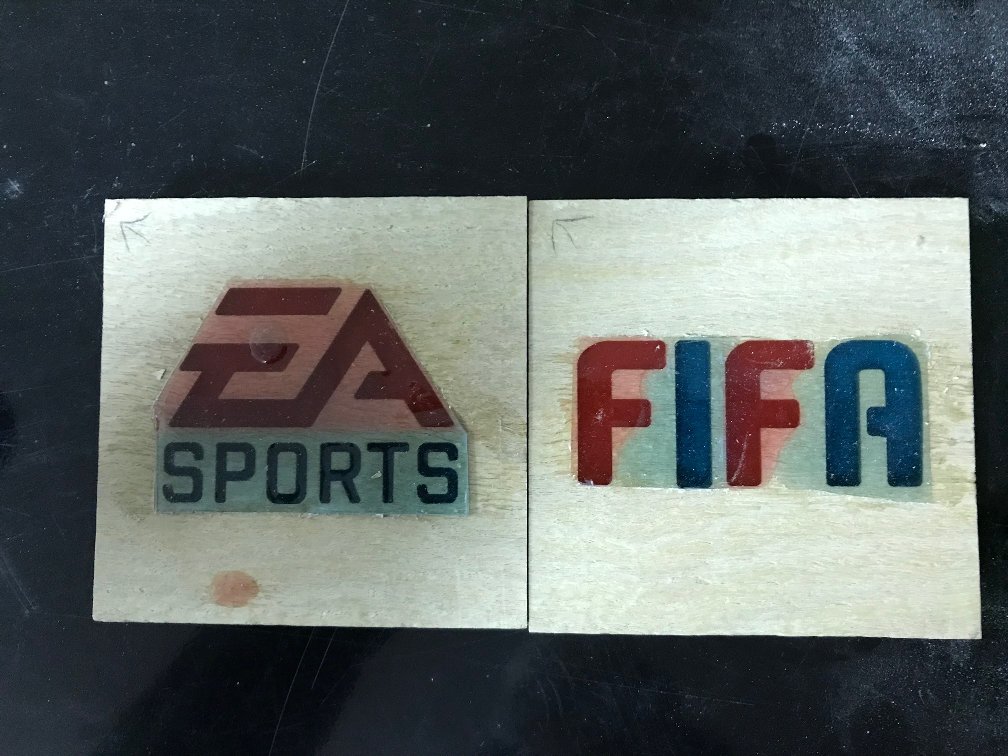
Next flip the pieces you cut in the last step and cut the backside off down to the epoxy. Again, keep your router speed down and feedrate high to prevent melting the epoxy, which is just plastic now that it’s fully cured. You’ll have to do the math to calculate the depth of cut here, but it’s so satisfying seeing the epoxy show through the back!


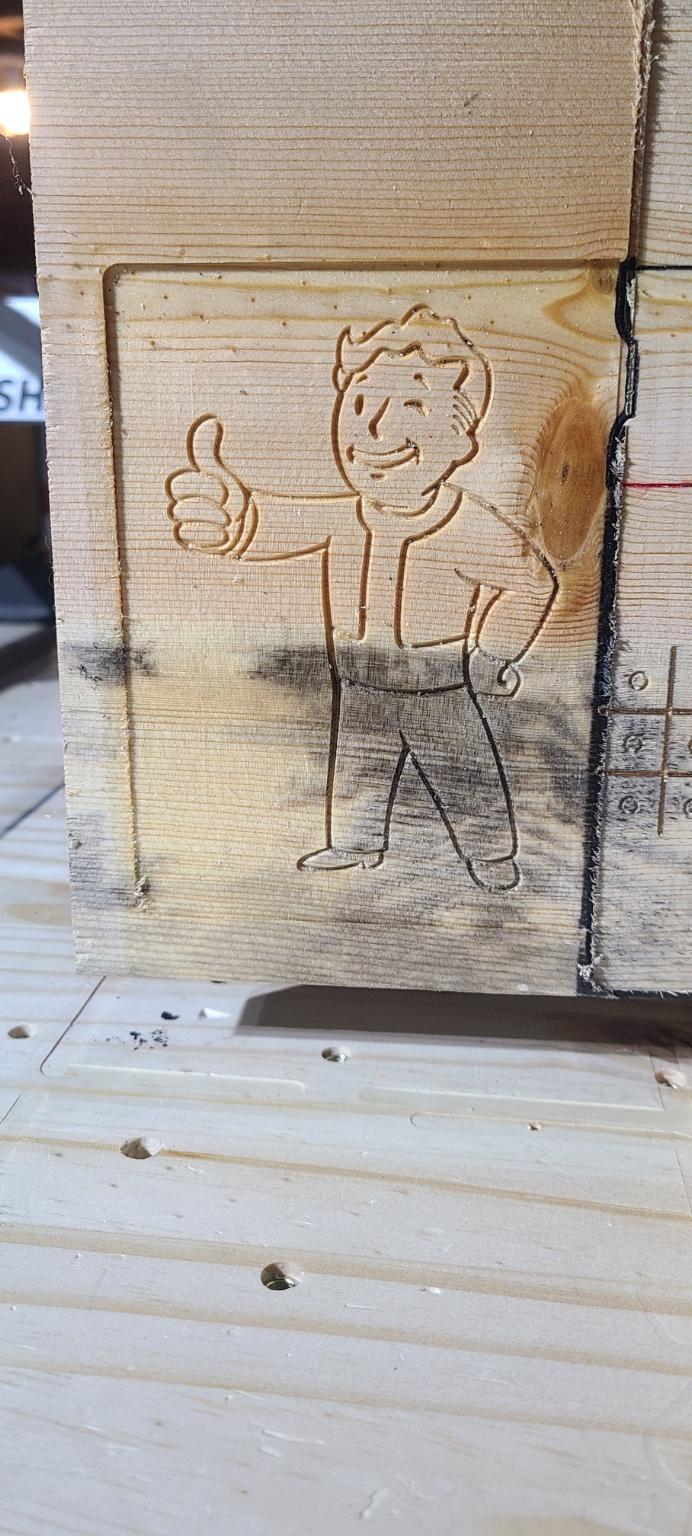
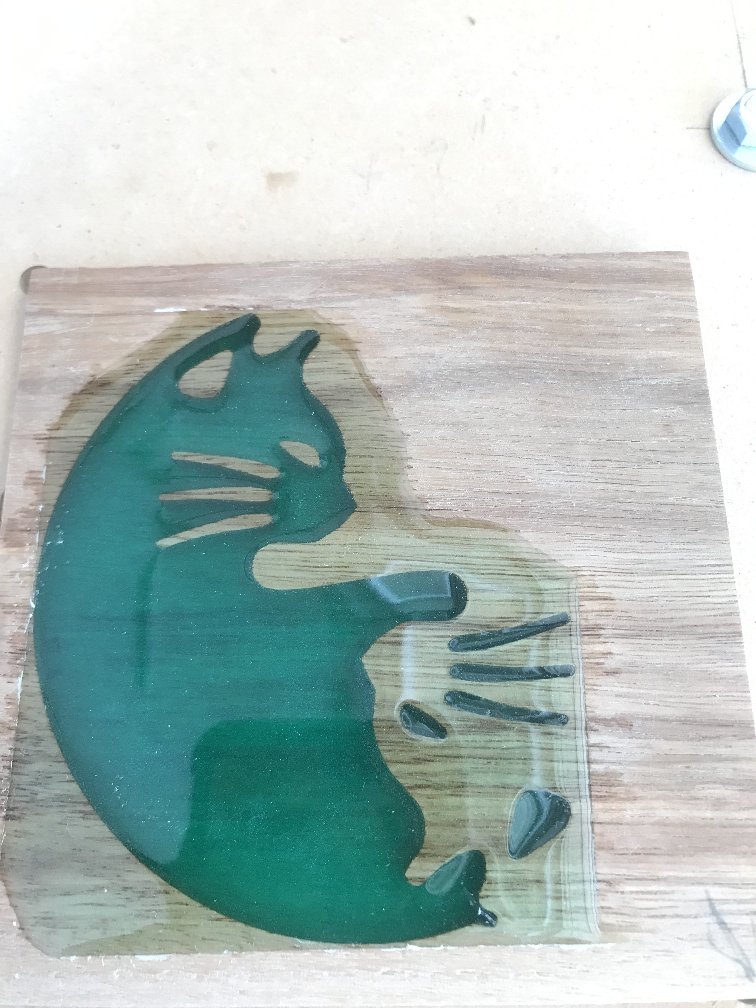
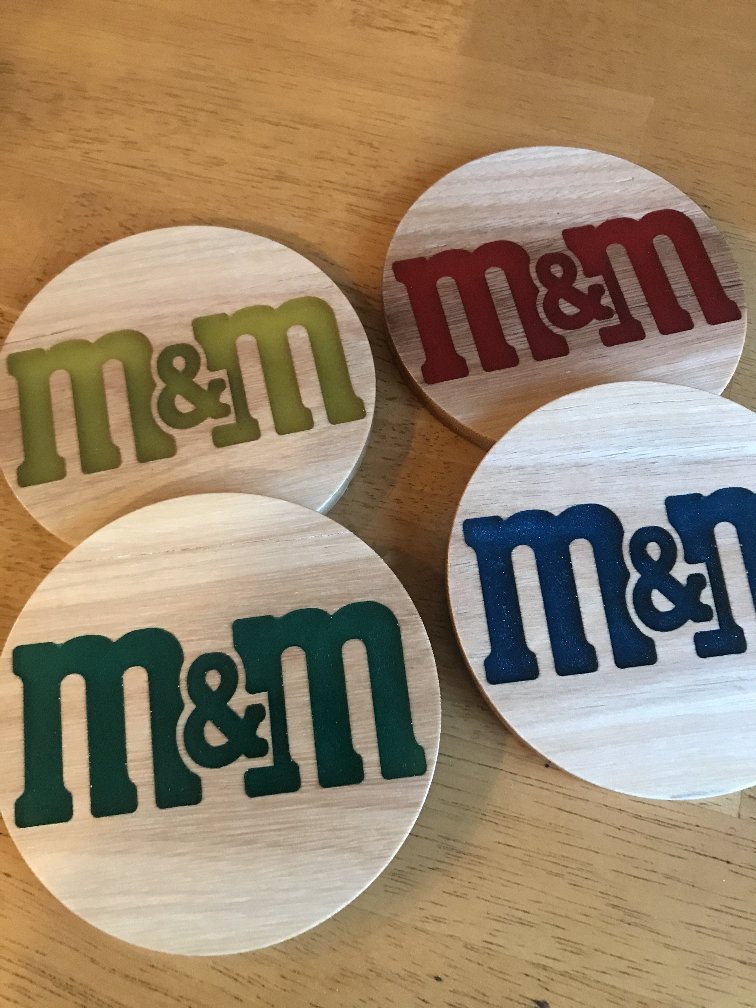
And here’s the result so far:

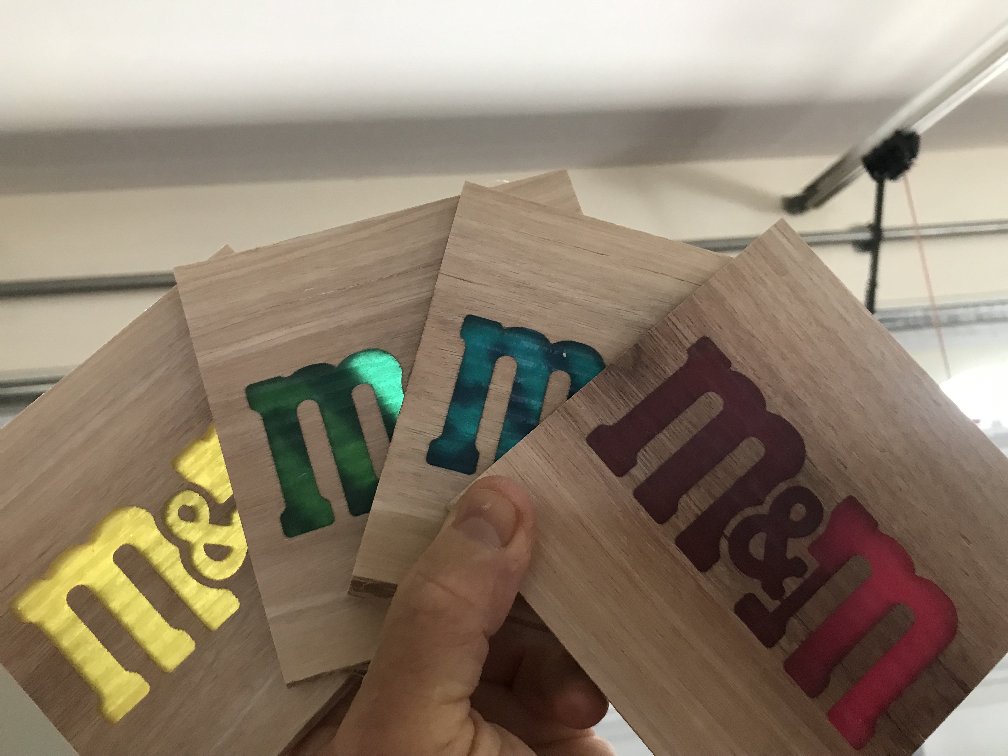
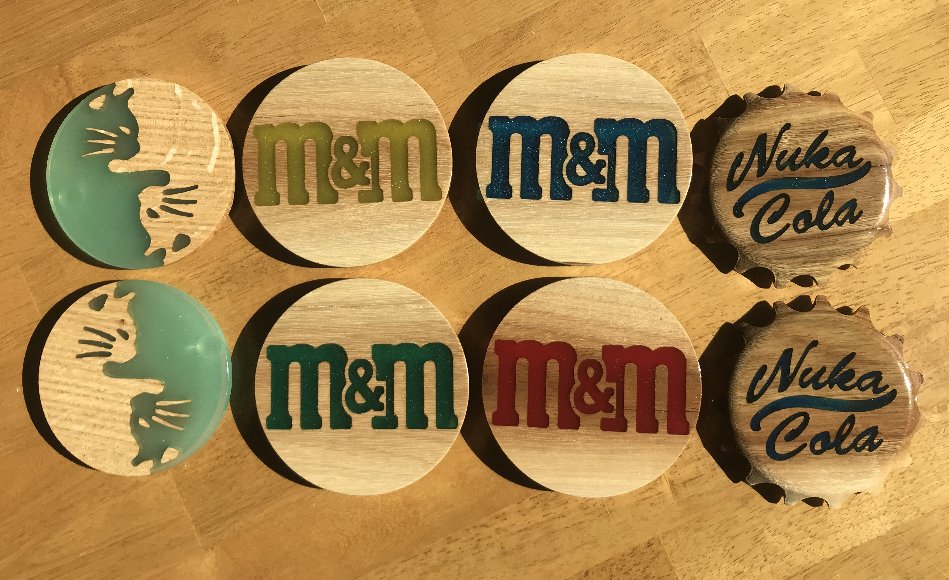
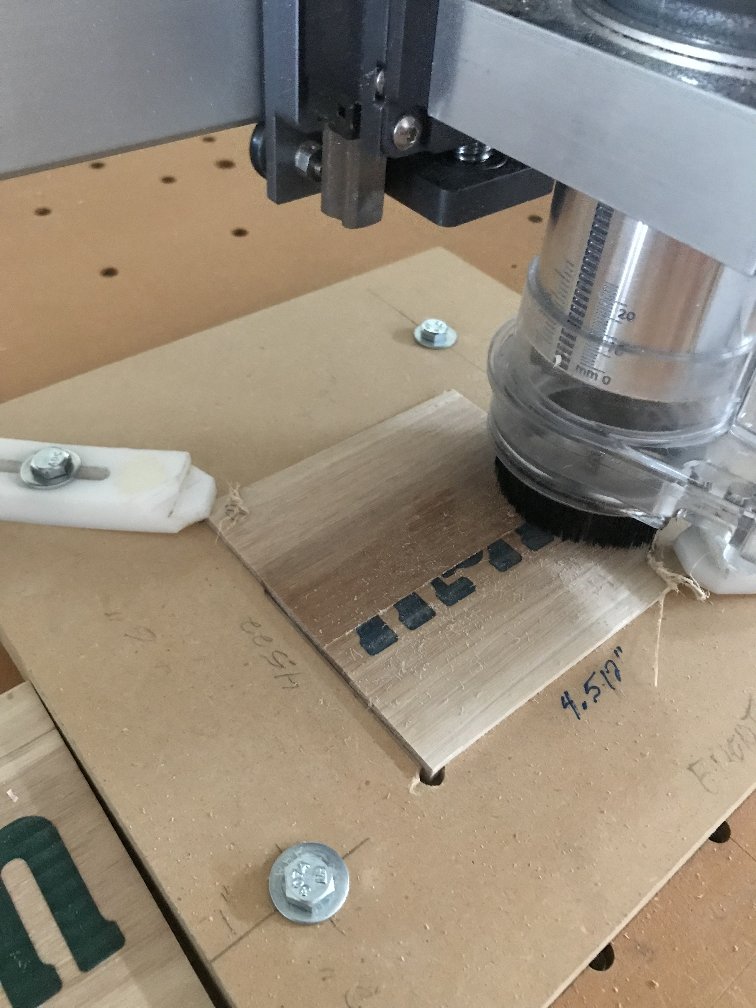
Notice the machining marks in the last photo? Not great looking, but the trick to make it awesome, is to make it worse first. I sanded each side with 320 on an orbital sander to get this, after flipping back to the original, top side, and cutting out. In this a case using a .125 end mill as slow as the CC router will turn and 35IPM feed. Remember, you’re cutting plastic around the edge and do not want to melt the epoxy, at least on the cats.


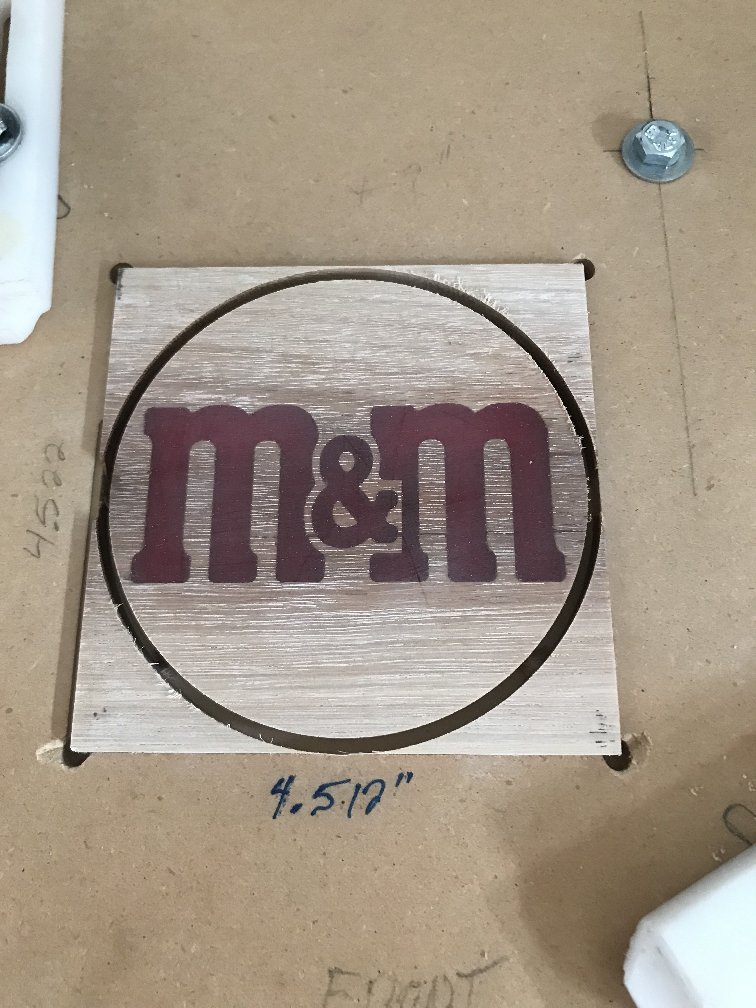
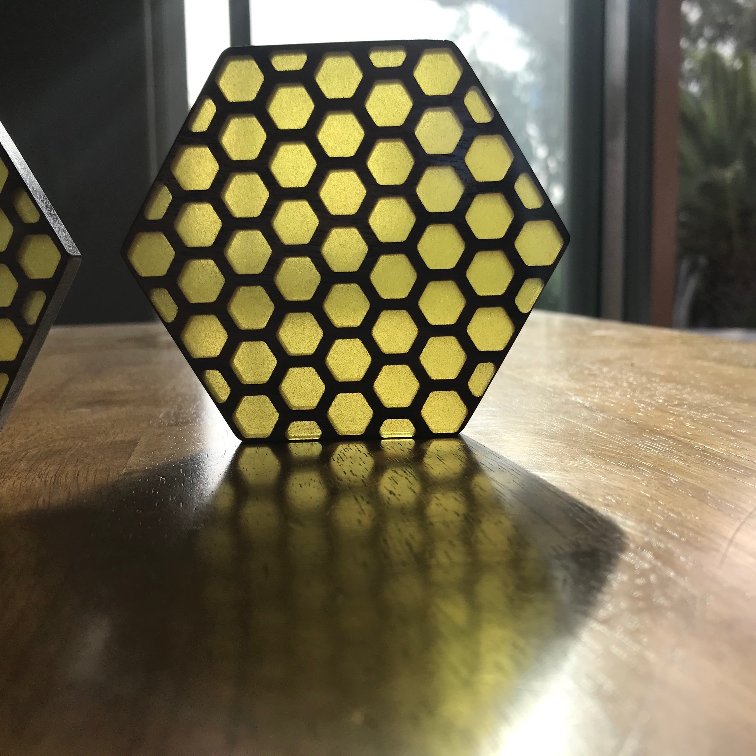
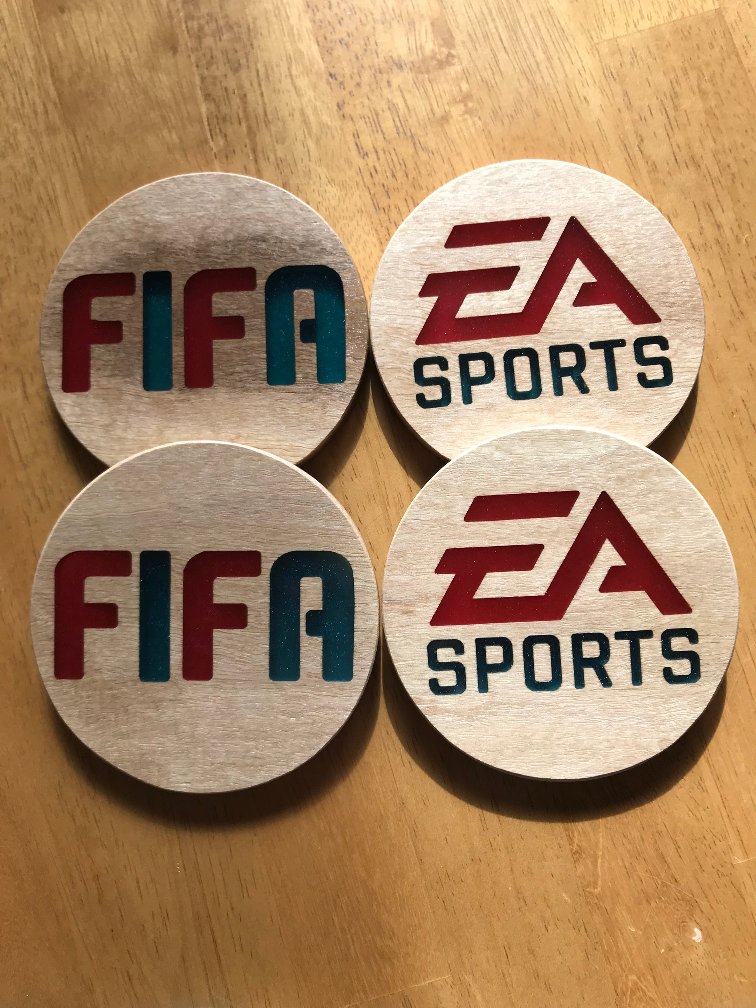
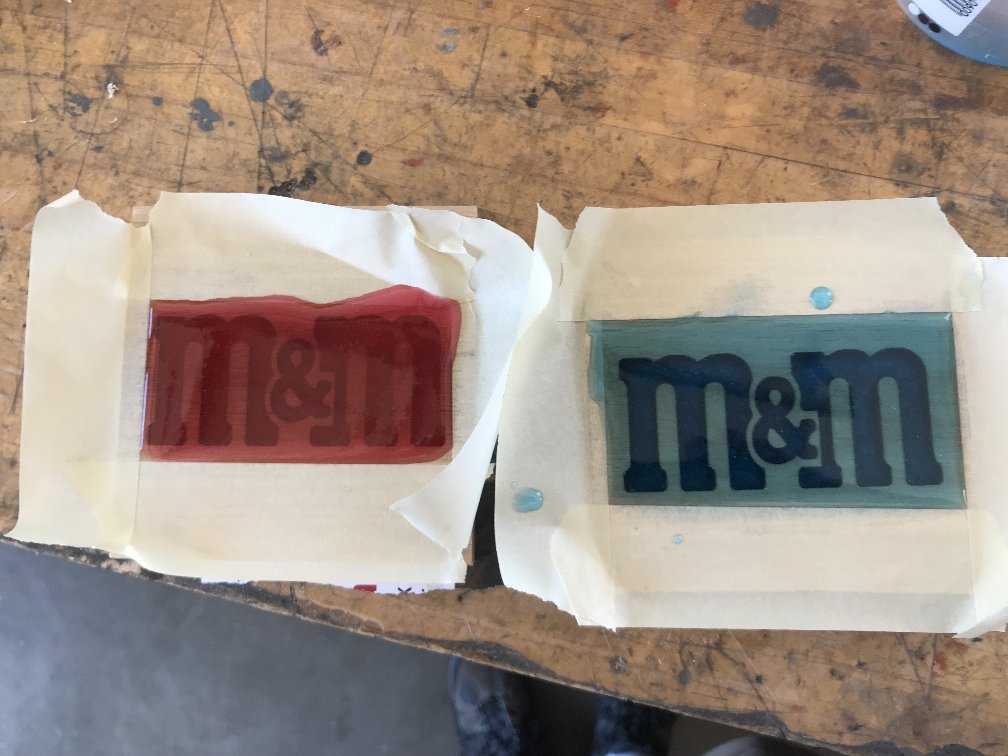
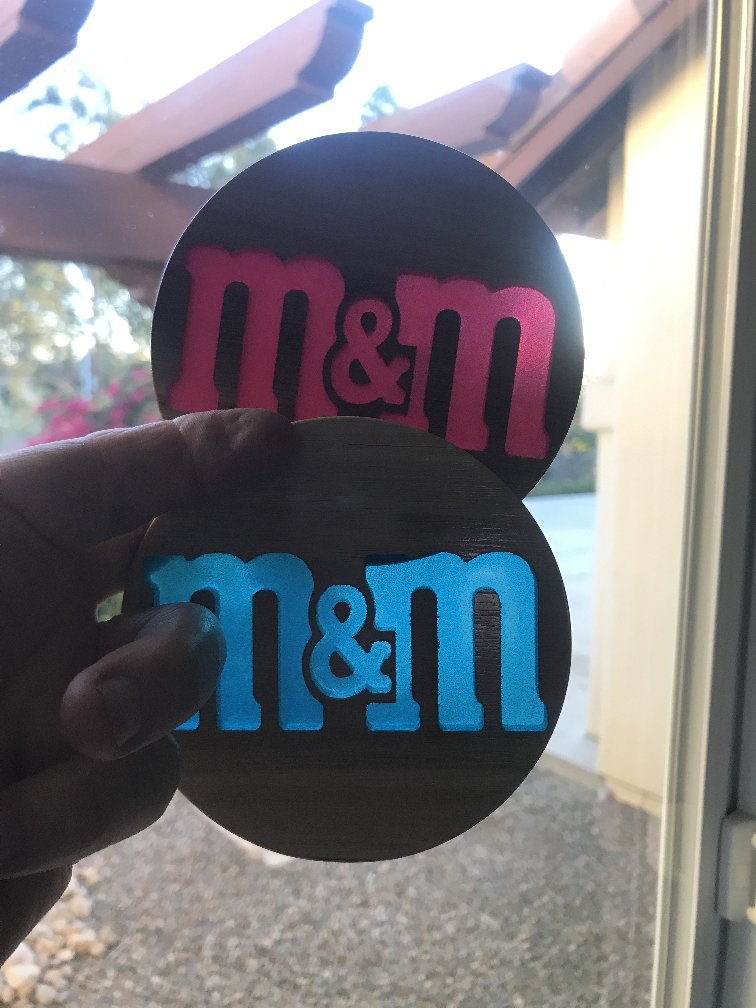
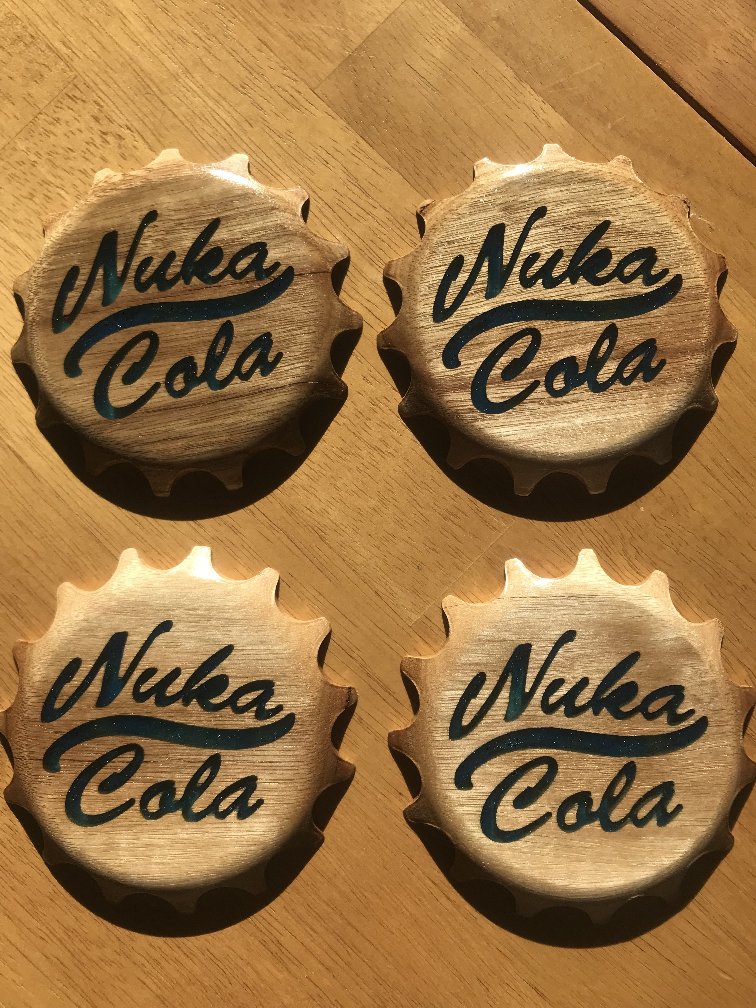
Notice how cloudy the epoxy looks now? Yikes! But two coats of clear gloss poly, with a light sanding using 400 grit between coats gets these glamor shots:


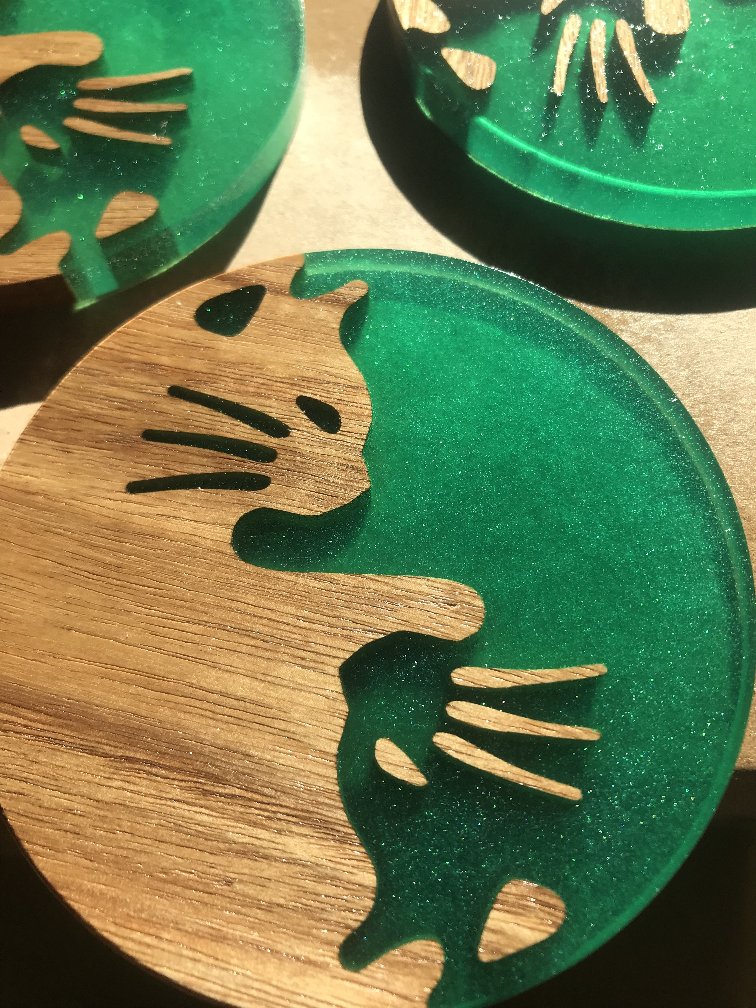
Let me know if you have any questions or if clarification is needed. And please share your epoxy projects :slight_smile:

26 Likes

Good Work !!!
and a definite thumbs up on the Nuka Cola Caps…

6 Likes

I have used an orbital sander to get rid of the “overpoor”… takes forver but duh I have a CNC I should have thought of that.

1 Like

Epoxy fill can look dull when you clear off overfill. You can sand to high grit, 1000, to get the sheen back or poly with satin brings back sheen. By overfilling epoxy you can get an even surface. If you scrape off wet epoxy level it shrinks during curing.

3 Likes

I’m curious to see how you made the nuka cola caps. Two sided? 3D carve?

Very nice work! I have some epoxy (that same brand) left over from my coffee table build. I may play around with this.

Thanks for the kind words on my videos. I am hoping to get back to them soon.

dude your videos rock… I watched them all before I got my machine, and then spent weeks just practicing recreating what you did.

you’ve shown that the limit to what one builds is ones imagination and ability to think in subtractive terms… and you explain that really well

3 Likes

Thank you so much! It’s always so nice to hear when people like the videos.

@MindlessCorpse - Thank you, best thumbs up I’ve ever received :+1:

@fenrus - Yep, I went down that road too, until the head-slap moment.

@gdon_2003 - I’ve used the progressive sanding process on larger projects with an epoxy pour-over and then scraping with an old credit card several times with outstanding results. These coasters were small enough that I couldn’t figure out how to manipulate them without touching and keep clean edges. Winging it with the poly is pretty good for something like these and appears to be durable, so far :wink:

@ColdCoffee - I’ll add some details about the Nuka caps in a little bit, but yes, single sided 3D carve.

@45rpm - John, your inspiration has made a lot of chips in my shop, thank you!

4 Likes

I thought you might find that S.P.E.C.I.A.L.

…Here human human human…I’ve got a treat for you…

2 Likes

Funny that I don’t play video games but made the Nuka caps for a friends BD. I just called his wife and asked what his current favorite is, was told fallout, so went looking for something suitable for a coaster. Had no idea of the significance until he explained it to me!
But wait…I think I hear my Shapeoko calling…
…Here human human human…

1 Like

I found a bottle cap STL on Cults3D.com
I’m pretty sure this STL will be usable in CC Pro, but I’m sorry that I can’t explain how. Perhaps @WillAdams has a demonstration already available?
Once the cap was in my project I did a 3D roughing with a .125 ball nose .0625 depth, .0125 stepover, 12,000 RPM 40 IPM feed and 20 IPM plunge. The finish pass was also with a .125 ball nose with the same parameters as the roughing pass except for the stepover which was .010. This resulted in almost no sanding, perhaps 2 minutes on each piece with 320 before the poly coat.
For the text I searched the the Fallout Wiki fan site and copied an image from there. It took a lot of modification to the curves to allow a .0625 end mill to fit within the confines. So it’s a close representation, but the steely eyed readers here have already spotted the differences I’m sure.
Feeds and speeds for the text cut were: 1/16 end mill, .0252 stepover, 12,000 RPM, 25 IPM feed and 15 IPM Plunge.
Here’s the DXF of the text and outside cutout:
NukaCola.dxf (373.8 KB)
Now lets all go enjoy a nice Quantum!

1 Like

For an STL we recommend MeshCAM, or you can use the STL2PNG tool @fenrus made:

2 Likes

or skip the PNG and go direct to gcode using https://fenrus75.github.io/FenrusCNCtools/stl2nc/stl2nc.html

7 Likes

Finished more coasters and thought I’d post them to inspire others, not like I’m making trivets here :wink:


10 Likes

Awesome work @MikeG! Always inspiring :slight_smile:

1 Like

Not sure who drove me towards trying epoxy filled coasters/trivets more, @MikeG, @dakyleman or @Julien, but driven I have been.

Going with the hexagon/honeycomb idea, cutting a fine-walled structure - beautiful cut with a brand new down-cut 2-flute 1/8" cutter. To see if a gloss surface can be achieved, I have gently clamped the pieces down onto a glass plate, masked up the perimeter and poured a 2-colour pattern into the honeycomb.

No bleed across the glass surface - excellent. A slight swelling of each cell, having filled each one only to ‘level’ and seen some overflow, but fortunately no colour bleed.

Now to wait and see what the hardened result looks like!!

9 Likes

Thank you and right back at you @dakyleman :slight_smile:

@AndyC - Really interesting idea you’ve got going here. I’ve been considering a simulated multi-colored stained glass project and you’re now drawing me away from other projects :+1:
Looking forward to seeing your final result.

3 Likes

No no no no NO, don’t do that to me. I’m still recovering from a severe epoxy/coaster/trivet addiction and now I’ll have to try something like this. Sigh…

6 Likes

Neat idea. I’ve never tried this approach, but I thought epoxy sticks to glass. Did you use mold release? I hope this story ends okay…

3 Likes