Sorry…NOT!
![]()
1 Like
The resin did bond to the glass, but gently heating the back side of the glass released the parts quite easily. The gloss of the glass has been captured - win. The ‘pour side’ is less of a win - ran a very fine cut to level it off, then used a (Dremel) foam pad in the 3XL with polishing compound to try and get a better finish - modest success, but not what I was hoping for.
Pleased with this, so need to think about the issues encountered and then crack on with making the rest of the set…
7 Likes
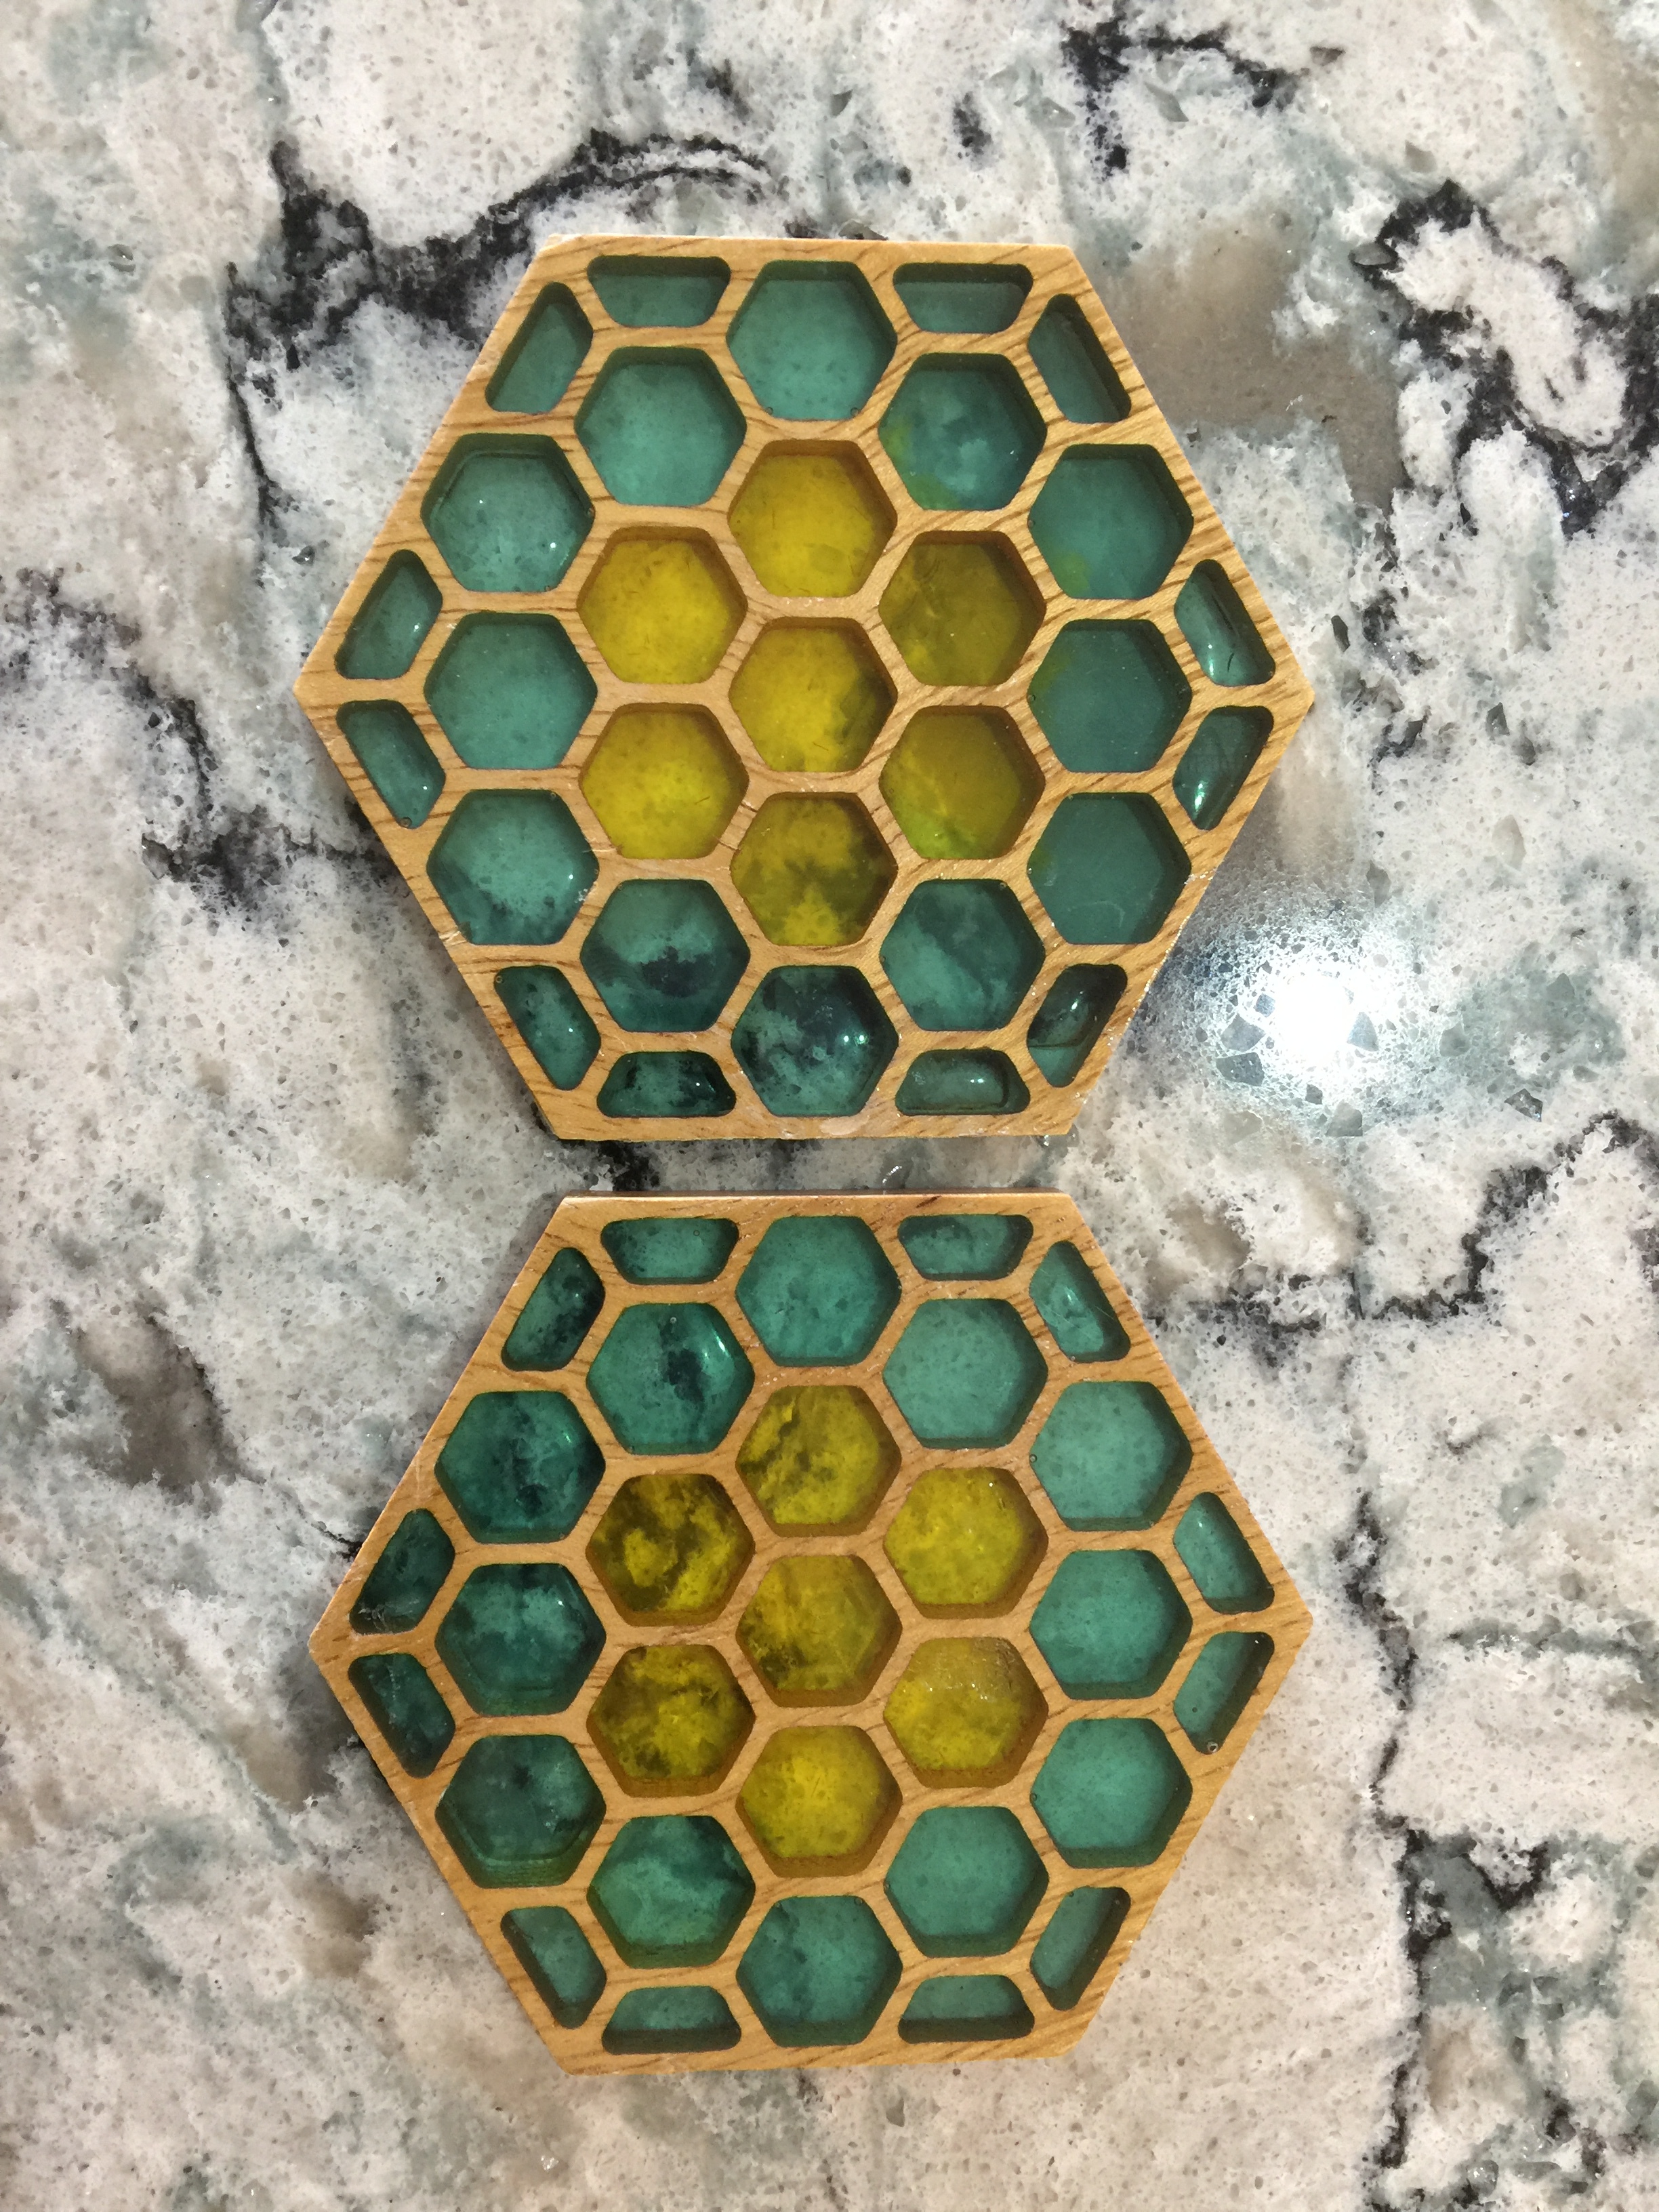
Round 2 now ‘cooking’. Under-filled each pocket slightly to give a meniscus effect, which makes the resin appear like old glass. Should be able to achieve high gloss on both faces this way too.
Can you guess the two colours I’ve used this time? Not ‘honey’ and not ‘jade’ like the first ones.
2 Likes
@AndyC - I think those turned out beautifully!
Re: the new colors…could it be Red Green?
Wonderful!!!
@Julien is now planning his first cut glass piece. With all of the inspiration in the Old Country, I’m sure we will all be looking forward to something, well, inspirational.
1 Like
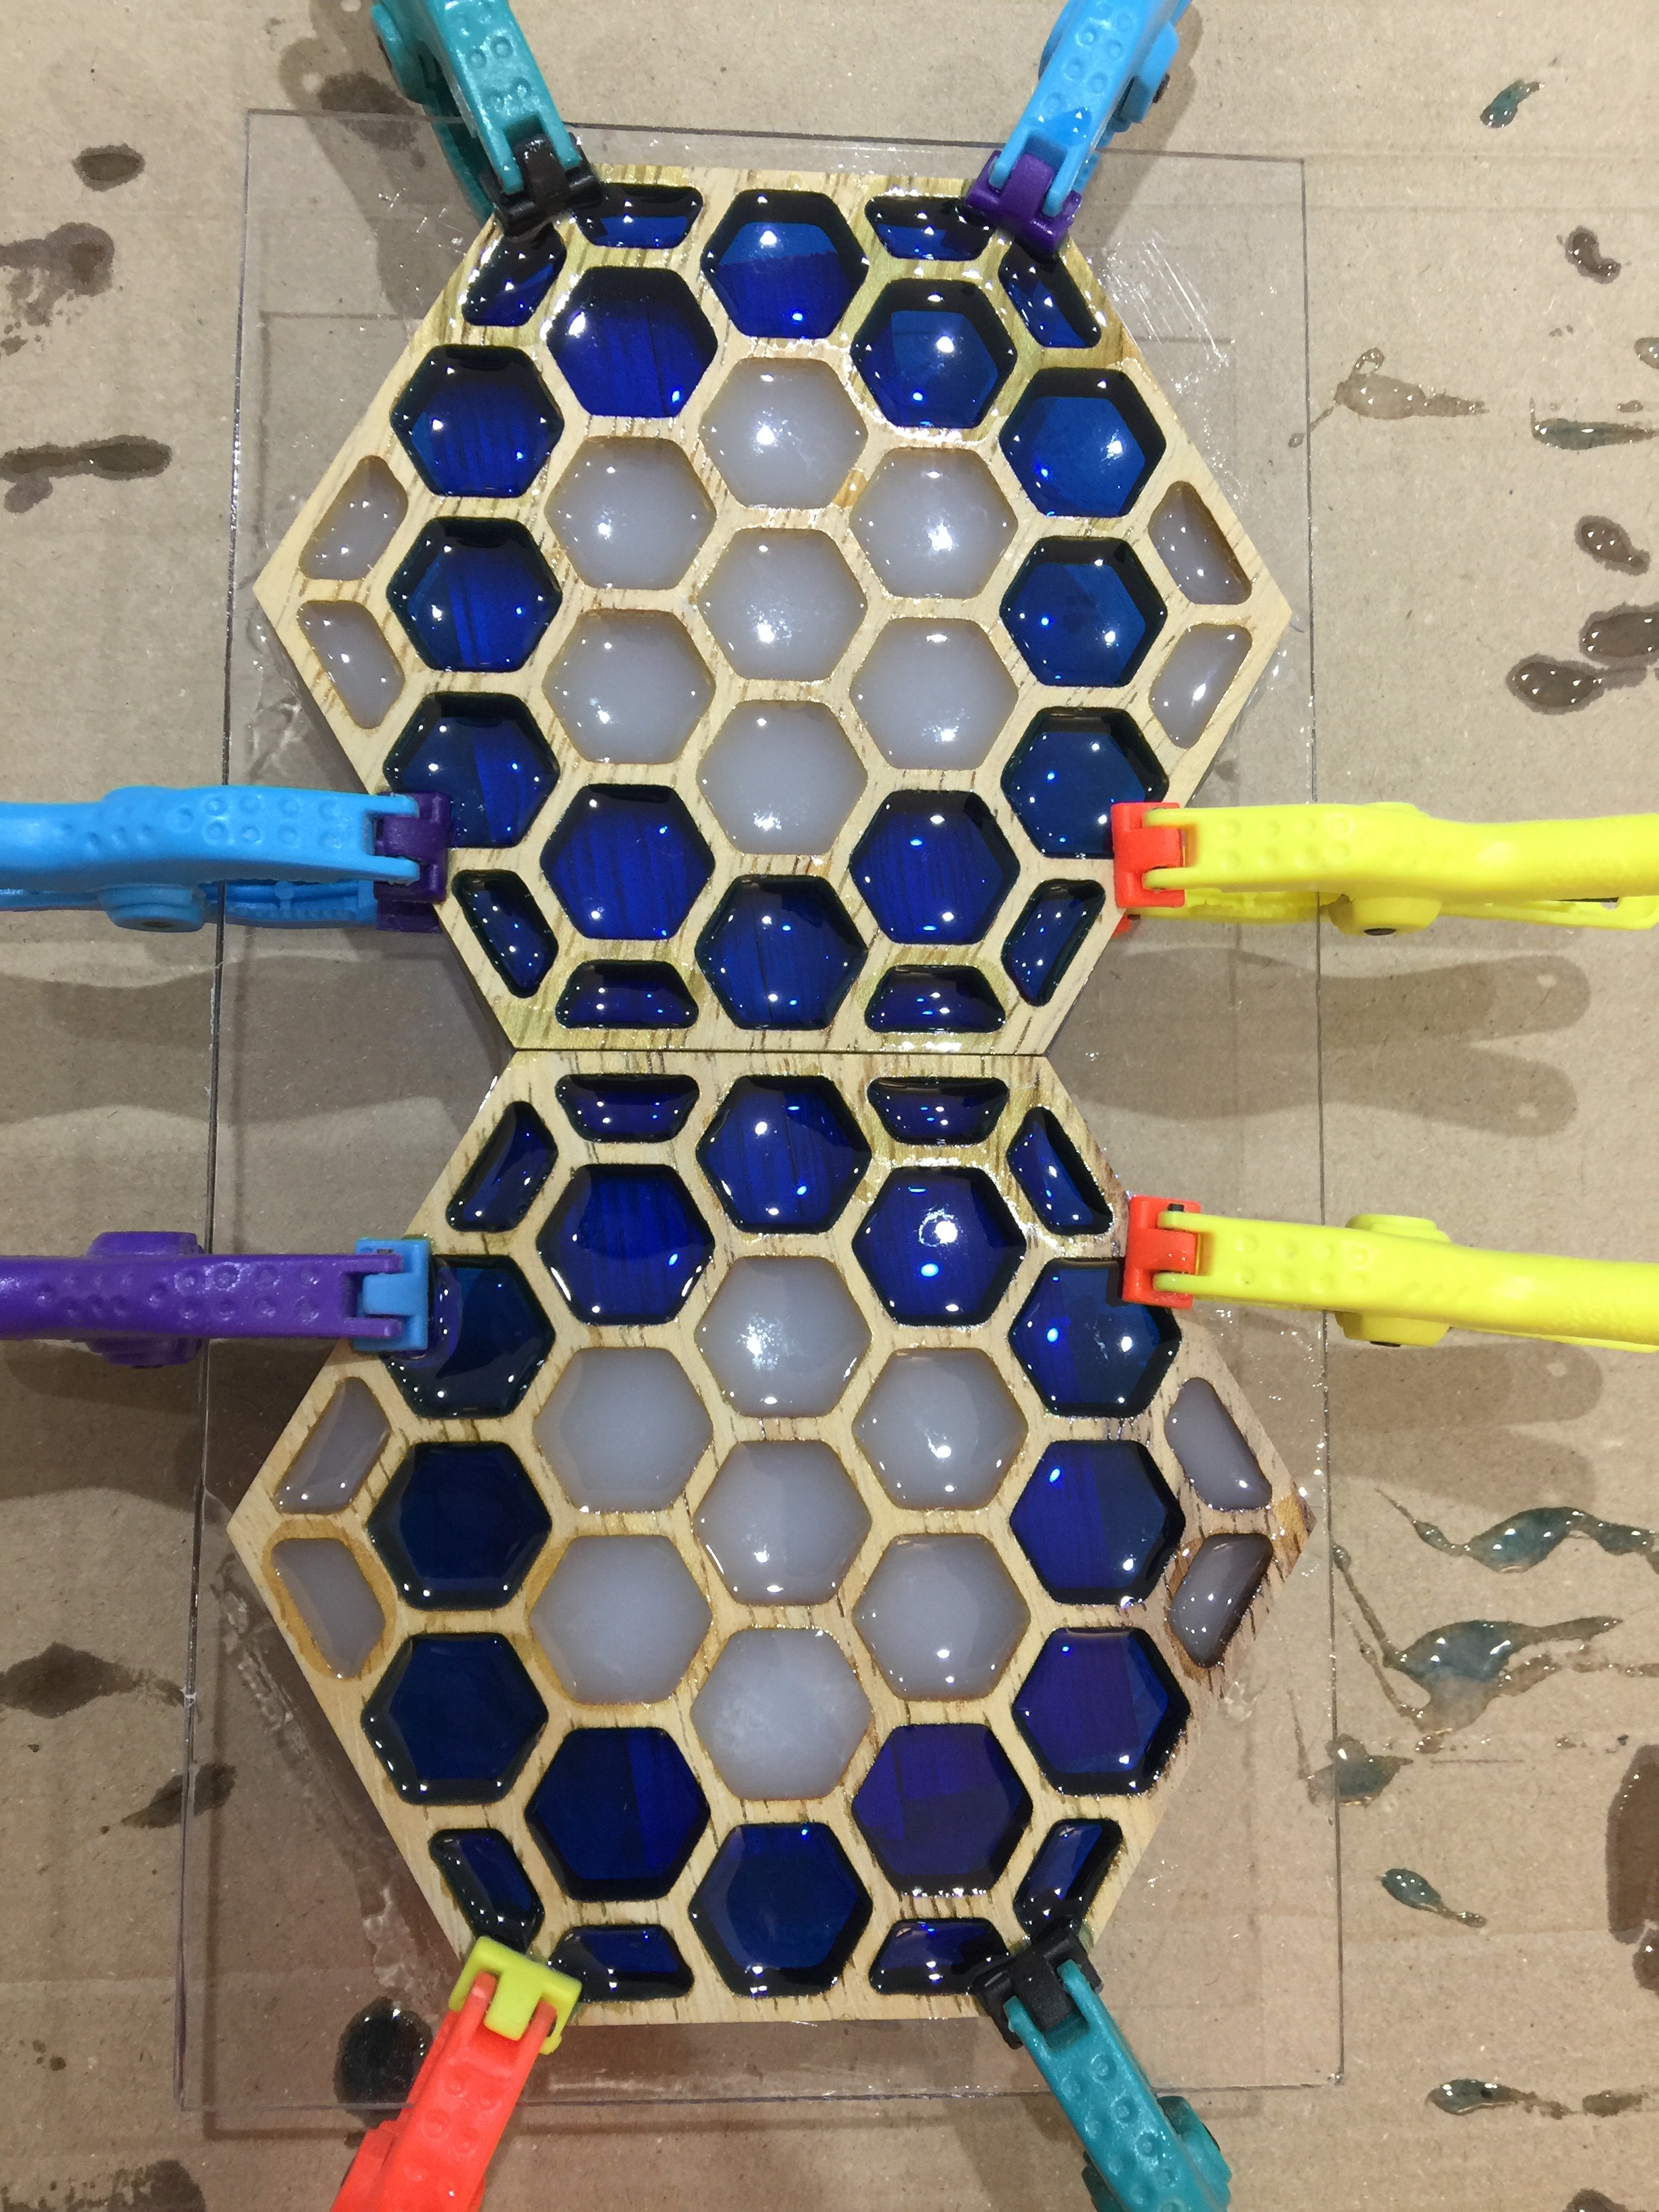
Plexi glass works FAR better than glass - just a gentle flex and the resin releases. This second round of casting has worked much better, under-filling each pocket to get the meniscus and importantly leave the surface of the resin below that of the wood. Very happy with these ones!!


So now I’ve learned how to do this, I have 2 more to make. Then I’ve got an idea to make a stained-glass insert frame for door window pane… 20x the size of these coasters
8 Likes
Wow. Just…wow.
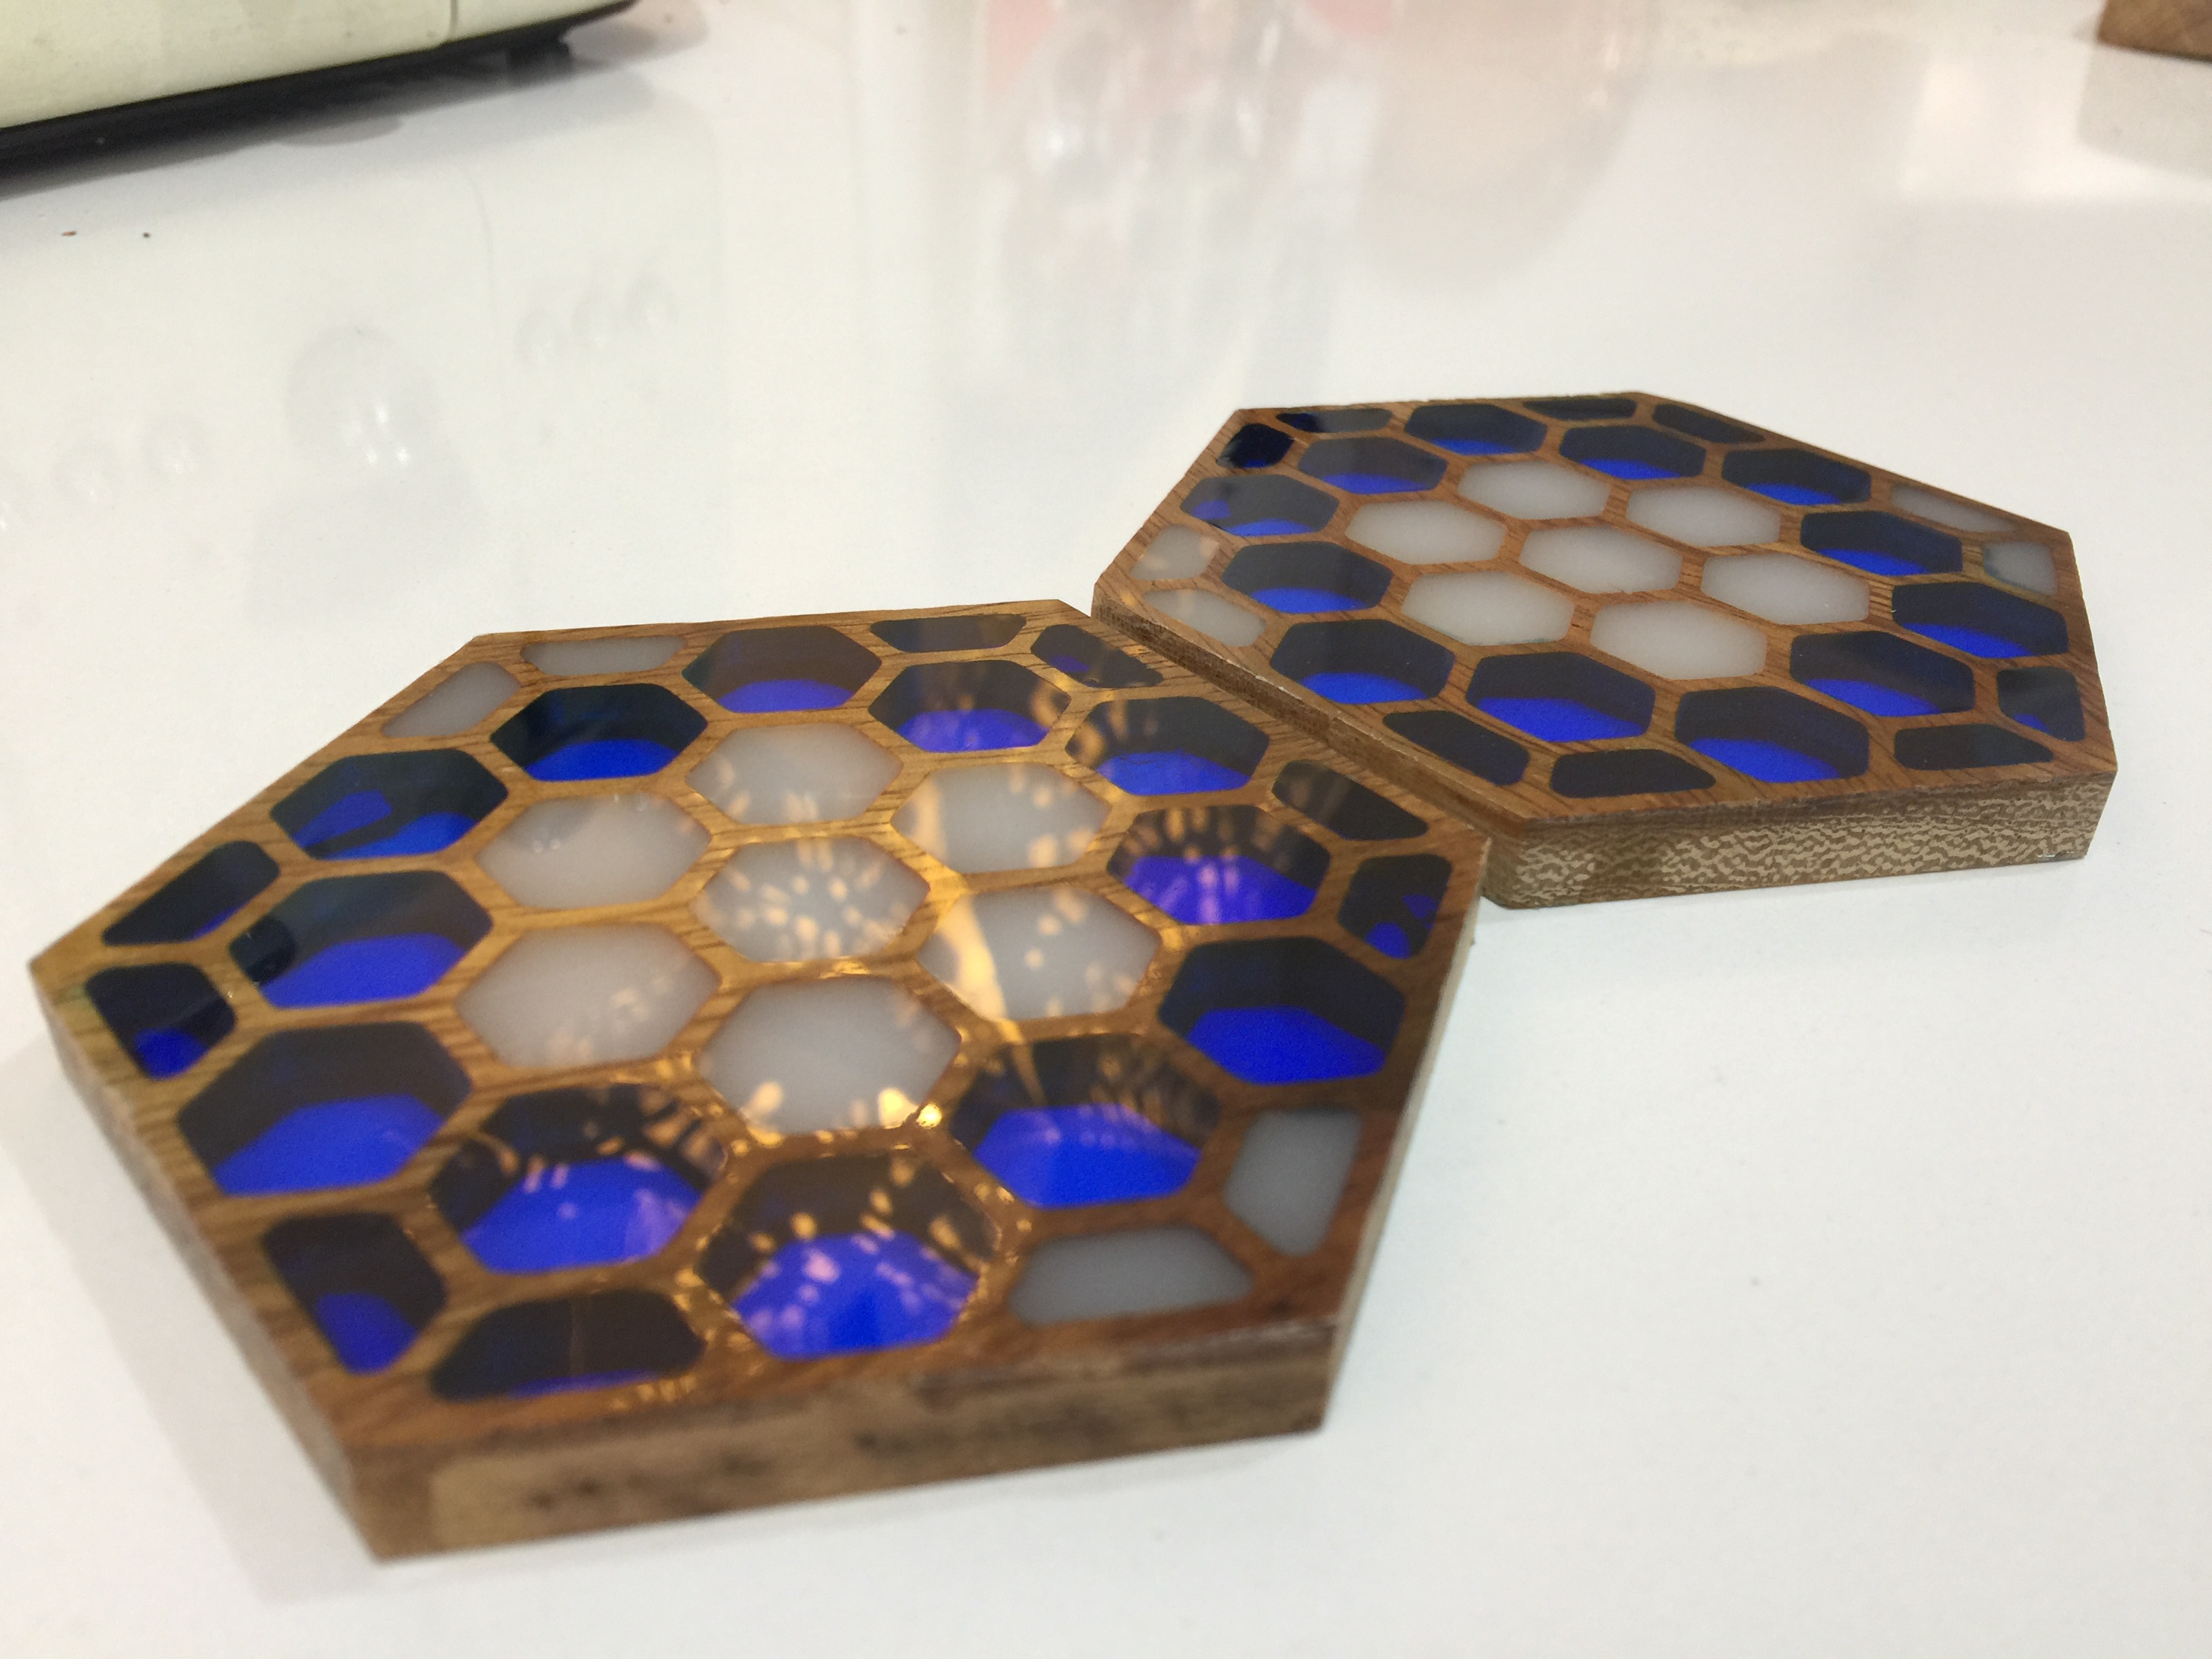
So what will end up being the top surface of the coaster is the “bottom” side against the acrylic, and then you pour epoxy into the cavities and stop filling before you reach the “top” (of the wood), and leave it at that ? Brilliant.
In that last pic, the epoxy covers the wood too, is that because it “leaked” slightly under the walls when the piece was upside down, or did you add a coat of clear epoxy afterwards ?
1 Like
Yes, @Julien the epoxy creeps slightly between the wood and the Plexiglas-glass, but there isn’t enough to cause colour bleed between pockets. Maybe stronger colour tints might show a bit, but I only used 4 drops of tint per 50ml of mix resin - enough to have strong colour, but not enough to obscure the crystal clear resin or make it cloudy.
Making the coaster ‘upside down’, as you say. The surface of the plexiglass provides the gloss that the resin ‘captures’. The meniscus effect really does make the pockets look like old, cast glass.
Will gently dress/trim up the edges and take a hair’s width cut off the bottom to remove any over-spill etc. The pictures are literally ‘off the mould’ without any touch-up.
3 Likes
Not to take away from the great look of your coasters, but for the warmer USA users of coasters it would be more important to use your coasters upside down! Perhaps that’s a result of UK preferences in drink! 
We use coasters to keep the condensation from cool drinks from accumulating on the table top without the use of those silly squares of paper to soak up said liquid.
I’m thinking that your almost accidental application of “meniscus effect” has created a coaster useful to those of us needing a coaster that actually holds liquid!
5 Likes
These are absolutely brilliant Andy, well done!
I must be missing it in the thread, getting all excited looking at the pictures I’m sure, but how are you doing such a tidy job of getting the epoxy into the spaces, a syringe?
Thank you for sharing these!
Is it consistent enough to not have to do anything about it? I went so far as to make a polypropylene jig for through-hole epoxy pours, but there is always some leaking.
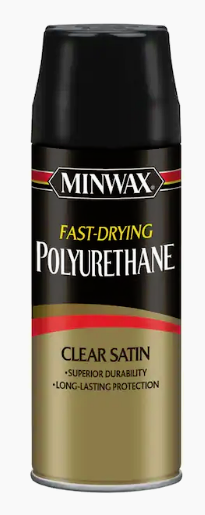
If there is any bleeding, I’m going to suggest using this as a sealer. I’ve had wonderful success with it, there are many different brands, it’s super easy to use and readily available:
2 Likes
Would it be worth the effort to put just a small bit of clear epoxy in each cavity before you add the colorant, to prevent any of the colored epoxy from seeping through - basically the trivet cavity version of putting a clear coat on a v-carve before painting to prevent color bleeding?
Maybe just paint on a thin layer of clear epoxy on the trivet before you clamp the trivet to the Plexiglas and pour the colored epoxy?
3 Likes
Yup, that is my go-to for clear coating something that is not going to get spray painted.
By the way, I found out that if you coat wood with this, then v-carve and spray paint the carve, the interaction of this and the spray paint will cause the paint to bubble and wrinkle. I didn’t find out until it happened.
The answer for me was to first, find out that clear spray paint exists, and then use that clear spray paint if I plan on paint filling in any carving I do. I have mentioned it before, but thought I would mention it again so someone doesn’t have to go through what I did.
2 Likes
The pouring is just judgement of hand and eye. With a quite thick (consistency of honey) resin to pour, it took a few attempts, under-filling a few then topping them up to get the feel for it. Plastic ‘beaker’ pinched in my hand to make a spout. It’s not precise, and I think some sort of large nozzle diameter pipette is likely to be a much better tool - in the knowledge that once used it will be scrap as the resin dries.
On the next two I might try the suggestion of painting a fine coat of resin on the clamped-down face, just to actively place non-coloured resin there as a barrier.
I like the contrasts between the hot parts of the world and the cold, ie: does the condensation form on the outside or the inside… particularly when remembering if it is safe to pick up a beer glass without tapping it on the beer mat first!!
2 Likes
Oh what I would give to be back in Singapore right now, given the UK (and most of Western Europe) Covid round 3. Just dreaming of a cold beer alongside the river… Shame I don’t get to work out there as much as I used to (Brit through and through, and love my ‘green and pleasant land’ - except the cold, Covid, UK politics, UK media, UK pot-hole roads,… but I wouldn’t permanently move anywhere else)
2 Likes
So having mastered the technique for the coasters, I was pondering a stained glass window insert.
A slightly nerve-wracking 10 machine hours later, having picked 2mm geometry for the frame and support bars (because it matches the window it will fit in), it is ready. Cuts in this piece of (I believe) Cherry were 1/4" clearance, 1/8" first detail and 1/16" final detail at 6mm stock thickness, 20,000rpm ‘gently’ on feed rate. An outer frame with tabs mirroring the braces was used, and a few dots of carefully places super-glue to stop the central area lifting or moving, sliced away with a razor blade once cutting was finished.
I have to say I am really impressed at what the 3XL has achieved. Now to await new supply of resin and the pouring can re-commence!! Will be a few days, depends on Amazon’s delivery times in these ‘cram it in’ last few shopping days before Covid-Lockdown Christmas.

9 Likes
(epic inlay incoming!)
Thank you for helping me live vicariously through you while I finish other projects @AndyC!
Looking forward to seeing the end result.
1 Like