Anyone here tried doing epoxy inlay in acrylic? I’ve done epoxy in wood, and carved acrylic with great success. Curious if the epoxy will bond with the acrylic. Or if there is some other unknown chemical reaction that would happen.
I’ve never tried it, but would be concerned about the heat epoxy produces as it hardens and how it might affect the acrylic.
Try a small test, let it cure a couple of weeks and then stress it (knock it, twist it etc) and see how it holds up.
Epoxy tends to shrink as it cures. On wood you typically over fill and then sand off. On acrylic you wold have a mess if you try to sand off excess epoxy.
That would mean you have to pour epoxy perfectly and just up to the top. Maybe you could do that but I would have a very hard time doing that more than once.
An alternative might be to color the acrylic with paint or artist markers. You would still have to be very precise.
One thing I’ve been meaning to look into is inlaying acrylic into other colours…
I’ll let you know how it goes. I have 12x12 I’m going to practice on this weekend.
I’m trying to make a sign for a friend. Original plan was color kore (King Colorcore Plastic Sheet | BuyPlastic), but there are some very fine thin details that the 30 degree bit wouldn’t cut deep enough to get to the center color layer.
Thinking I might try Corian too. Any insight on that?
Is smoothing that epoxy out after curing possible on Acrylic?
Having never worked with the stuff, I have no idea. From what I have read you can wet sand it starting at 320 and going up to 600, then buff and get a glossy finish.
Normally with an epoxy inlay I would use a surfacing bit to remove the “dome” of epoxy 98% down then sand the last 2%. Dry sanding on acrylic is not an option. My plan was to use surfacing bit as usual, but instead of going down 98% I’ll go down 102" (into the surface of the acrylic), then wet sand.
![]()
I’ll post my findings.
I will assume that was 102%, not 102" ![]()
I would try doing some surfacing on a piece of acrylic before spending the time to do the epoxy just to make sure that it can be polished up.
Yes, 102%. I’ll do bunch of testing before I fully commit.
This topic was automatically closed 30 days after the last reply. New replies are no longer allowed.
Yes, you can polish acrylic. Very sharp high rake cutter, followed by some wet sanding to remove any cutter marks. You can use heat, or a fine mist of acetone to lightly melt the surface & get back to transparent. Let it fully harden then buff.
Ok, what is a “rake” cutter ? Seems to be similar to a McFly.
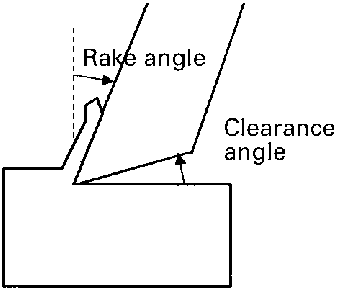
Ok, do you know of vendors that sell this for ER-11 collets ?
Nevermind. My brain just engaged.
Are you using clear acrylic? I’ve done multicolor signs with acrylic and paint.
Paint your base color on or mask the back.
Carve the back.
Paint with fill color.
This gives an untouched front surface.
So here’s how it all went down:
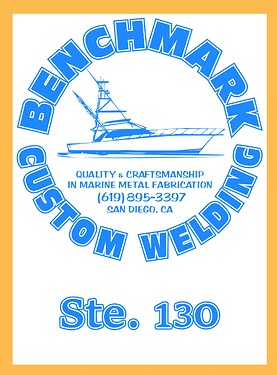
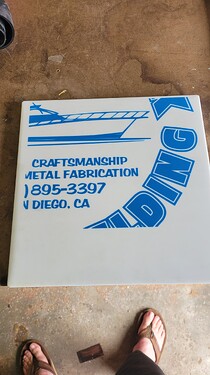
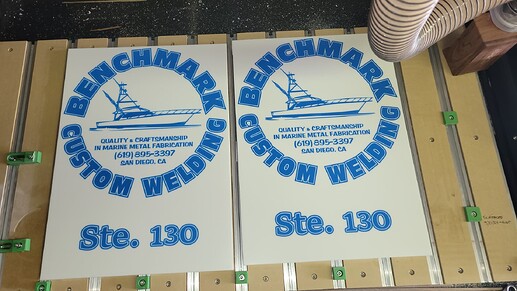
This was the requested image, its an outdoor sign for local business. 16" x 22":
Customer provided a vector file to work from. At first we talked about using ColorKore, but details would be lost. I suggest Acrylic with an epoxy inlay. So I got piece of 12" x 12" x 0.25" white opaque acrylic off of McMaster Carr. I chose a small section of the original file for a full scale test carve. I used this for my V bit and this for my end mill.
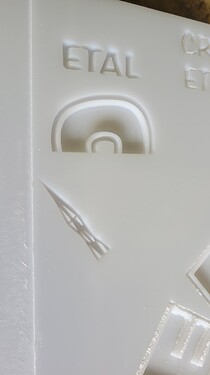
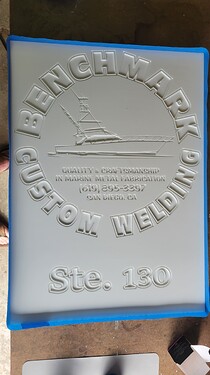
I did an Advanced V Carve. Max depth of 0.10", V bit DOC 0.06", end mil DOC of 0.062". End mill cut super clean. V bit left a lot of fuzzies. I stopped the program and added a V carve after the Advanced V Carve, and restarted the program. Resulting V carve was supper clean.
In the above image you can see the final carve of some smaller elements, and in the lower right corner you can see the “fuzzies”
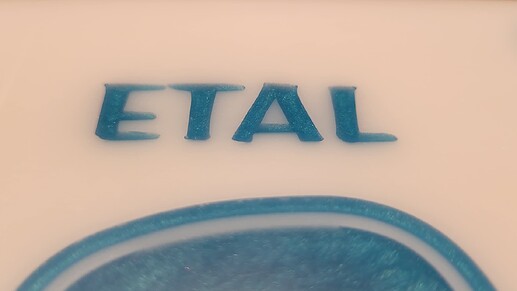
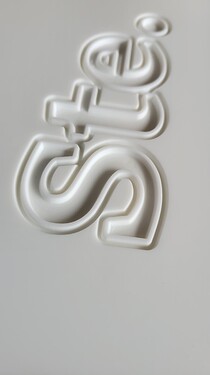
Much to my surprise the acrylic sanded very well! After using the McFly to remove most of the epoxy “dome” I used my random orbital sander to sand off the last bits of epoxy. From there I used 180 grit → 320 → 400 → 1500. At this point I had a nice matte finish and noticed that the “Opaque” acrylic was not 100% opaque. The blue epoxy was, not sure how to describe it, but sort of reflecting in semi transparent acrylic.
That’s not camera blur. Even with minimal sanding I got a decent semi gloss finish with just light sanding. However, I wanted a sharper contrast between the white and blue.
At this point I abandoned the idea of using acrylic. I had read something on this site about “solid surface” or the more common trade name of “Corian”. So I ordered a 10" x 10" x 0.5" sample of that.
Same bits, same feeds and speeds, same approach of using an Advanced V carve followed by a V carve,
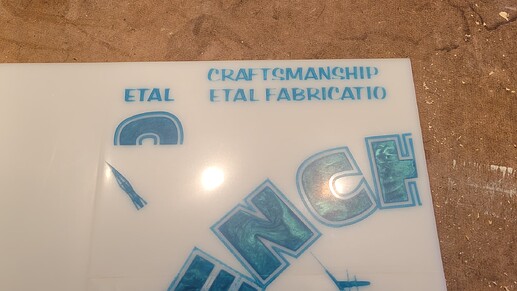
Then epoxy pour (different pigment this time), McFly surface, ROS 120 → 180 → 240 → 400 → 1500 → 2400. Got a nice semi-matte finish.
I took the sample to my customer and they were thrilled!
Post carve:
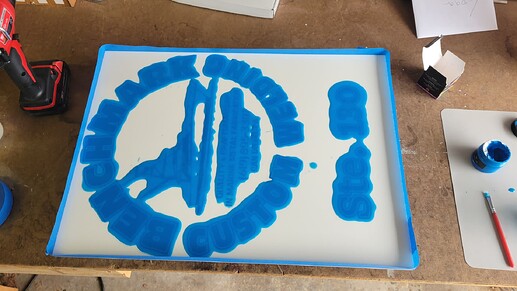
Post pour:
Post surface/sanding:
While I am very happy with how it all played out I will note that the V bit I used lost it’s pointy tip and had to be discarded. My Milwaukee mini vacuum that was hooked up to my ROS gave up the ghost mid project, not sure if this was from sanding corian/epoxy or just had enough of life.
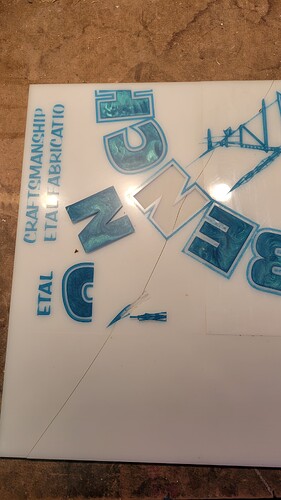
Also, I have had both samples outside on a south facing wall for a few weeks now. The corian is hold up nicely. Per the wishes of @RichM I gave the acrylic a good twisting tonight and could hear and see the acrylic and epoxy separating. I gave it one last good twist and broke the acrylic. A few pieces of the epoxy inlay came off in the break.
I hope this helps anyone looking to use these materials. If you have specific questions fell free to ask, I’m happy to share.
Also, if you’re in San Diego and need “Quality and craftmanship in marine welding” I might know a guy…
Great writeup and obviously a lot of time spent cutting and testing.
The denser and more ridged base makes sense, so glad it worked out well. Looks great!
I hope my destructive suggestion was at least enjoyable LOL. You already found the best solution it seems.
