I may have posted this in the wrong place yesterday. I have been working on CNC routed Epoxy more as an experiment, as I didn’t find much to help me as I started. Im using my SO4XXL, and a 2 part epoxy that is limited to 1/4" deep pours.
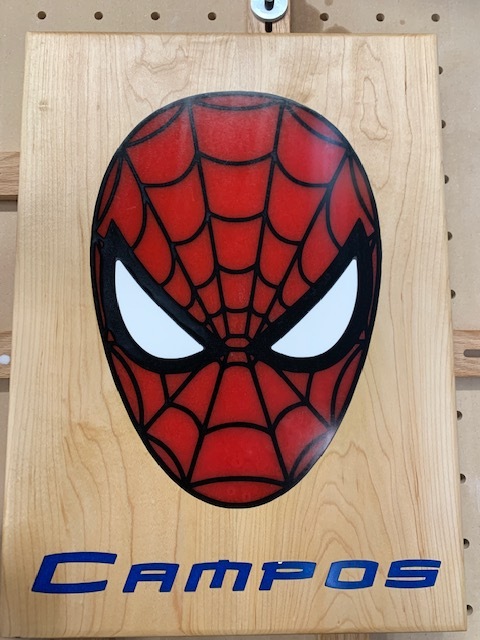
A friend is a big Spiderman fan, so I tried this out and am very pleased with the results.
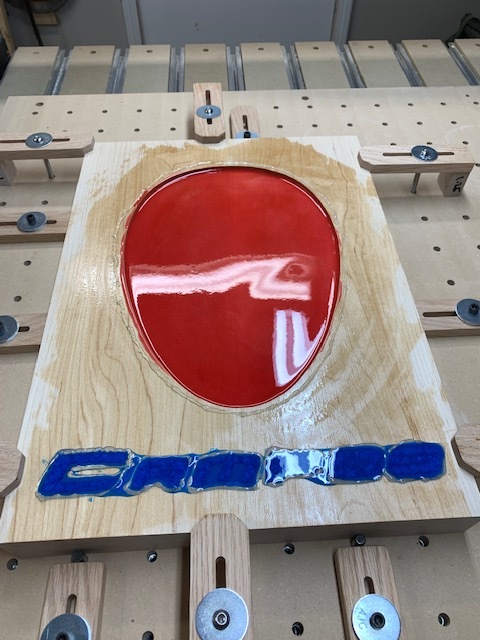
Using Carbide Create Advanced V Carve, I took an SVG file from Etsy for $1.50 and created the CNC file. I didn’t have to edit much, and I used hardwood standard feeds for my 1/4", 1/8" flat end mills as well as my 6.8 degree V bit (In rock maple and cured Epoxy). I decided to make the solid red background (.25" deep) first and used an offset of a .08 inches outside so that the red and black would overlap giving a clean edge to the area where both colors join.
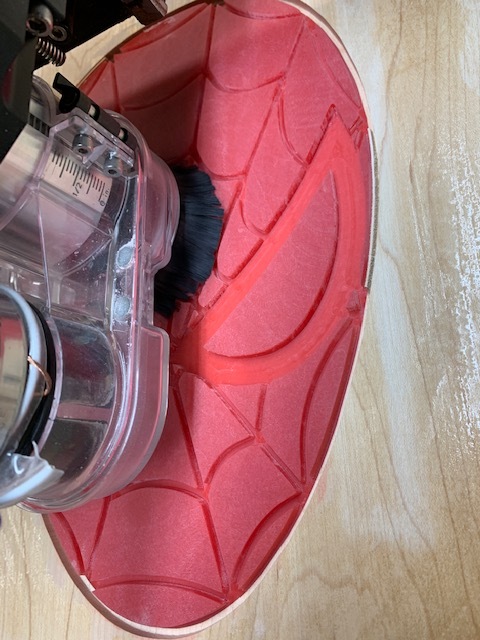
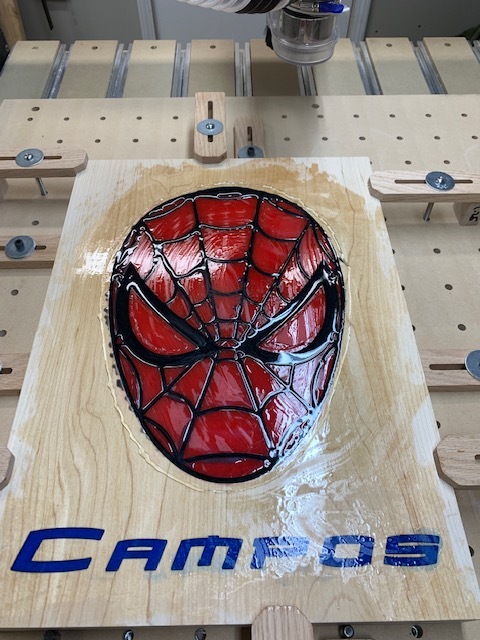
I waited 2 days between pours so that the epoxy was cured before I cut new areas. I did pours for red, then black, then white for the eyes. small butane torch for bubbles 5 or 6 times in the 3 hours after the pour. Using a flat carbide insert 1" cutter, I removed all but a few thousandths, then removed the board and sanded it in my 16" belt sander. Hand sanded to 1000grit to get scratches put. Mineral oil finish.
I used makerpoxy by Total Boat. What I learned is that each next layer needs to be poured and not touched with a toothpick or anything. That little bit of agitation will cause the cured under color to ooze color into the wet layer, blurring the otherwise sharp definition between colors.
You can use MAS tabletop. You pour up to 1/4 inch thick. I used Transtint liquid dye. In case you dont mix enough always weigh epoxy and count number of drops. If required you mix in portion with both epoxy and Transtint drops.
question…you said you cut .25" deep for your pours? Any reason they couldn’t be shallower like .1 or .125? Researching to try start my first epoxy sign myself.
You may need to experiment to see if you get the effect you want at that depth. It will depend on the translucency of the epoxy. I have done several coasters with .125 but it looked better when I used liquid tint on those and added enough to make it really opaque.
If you go to thin though you lose a little cushion in case something goes wrong and you have to flatten / sand a little more than you planned.
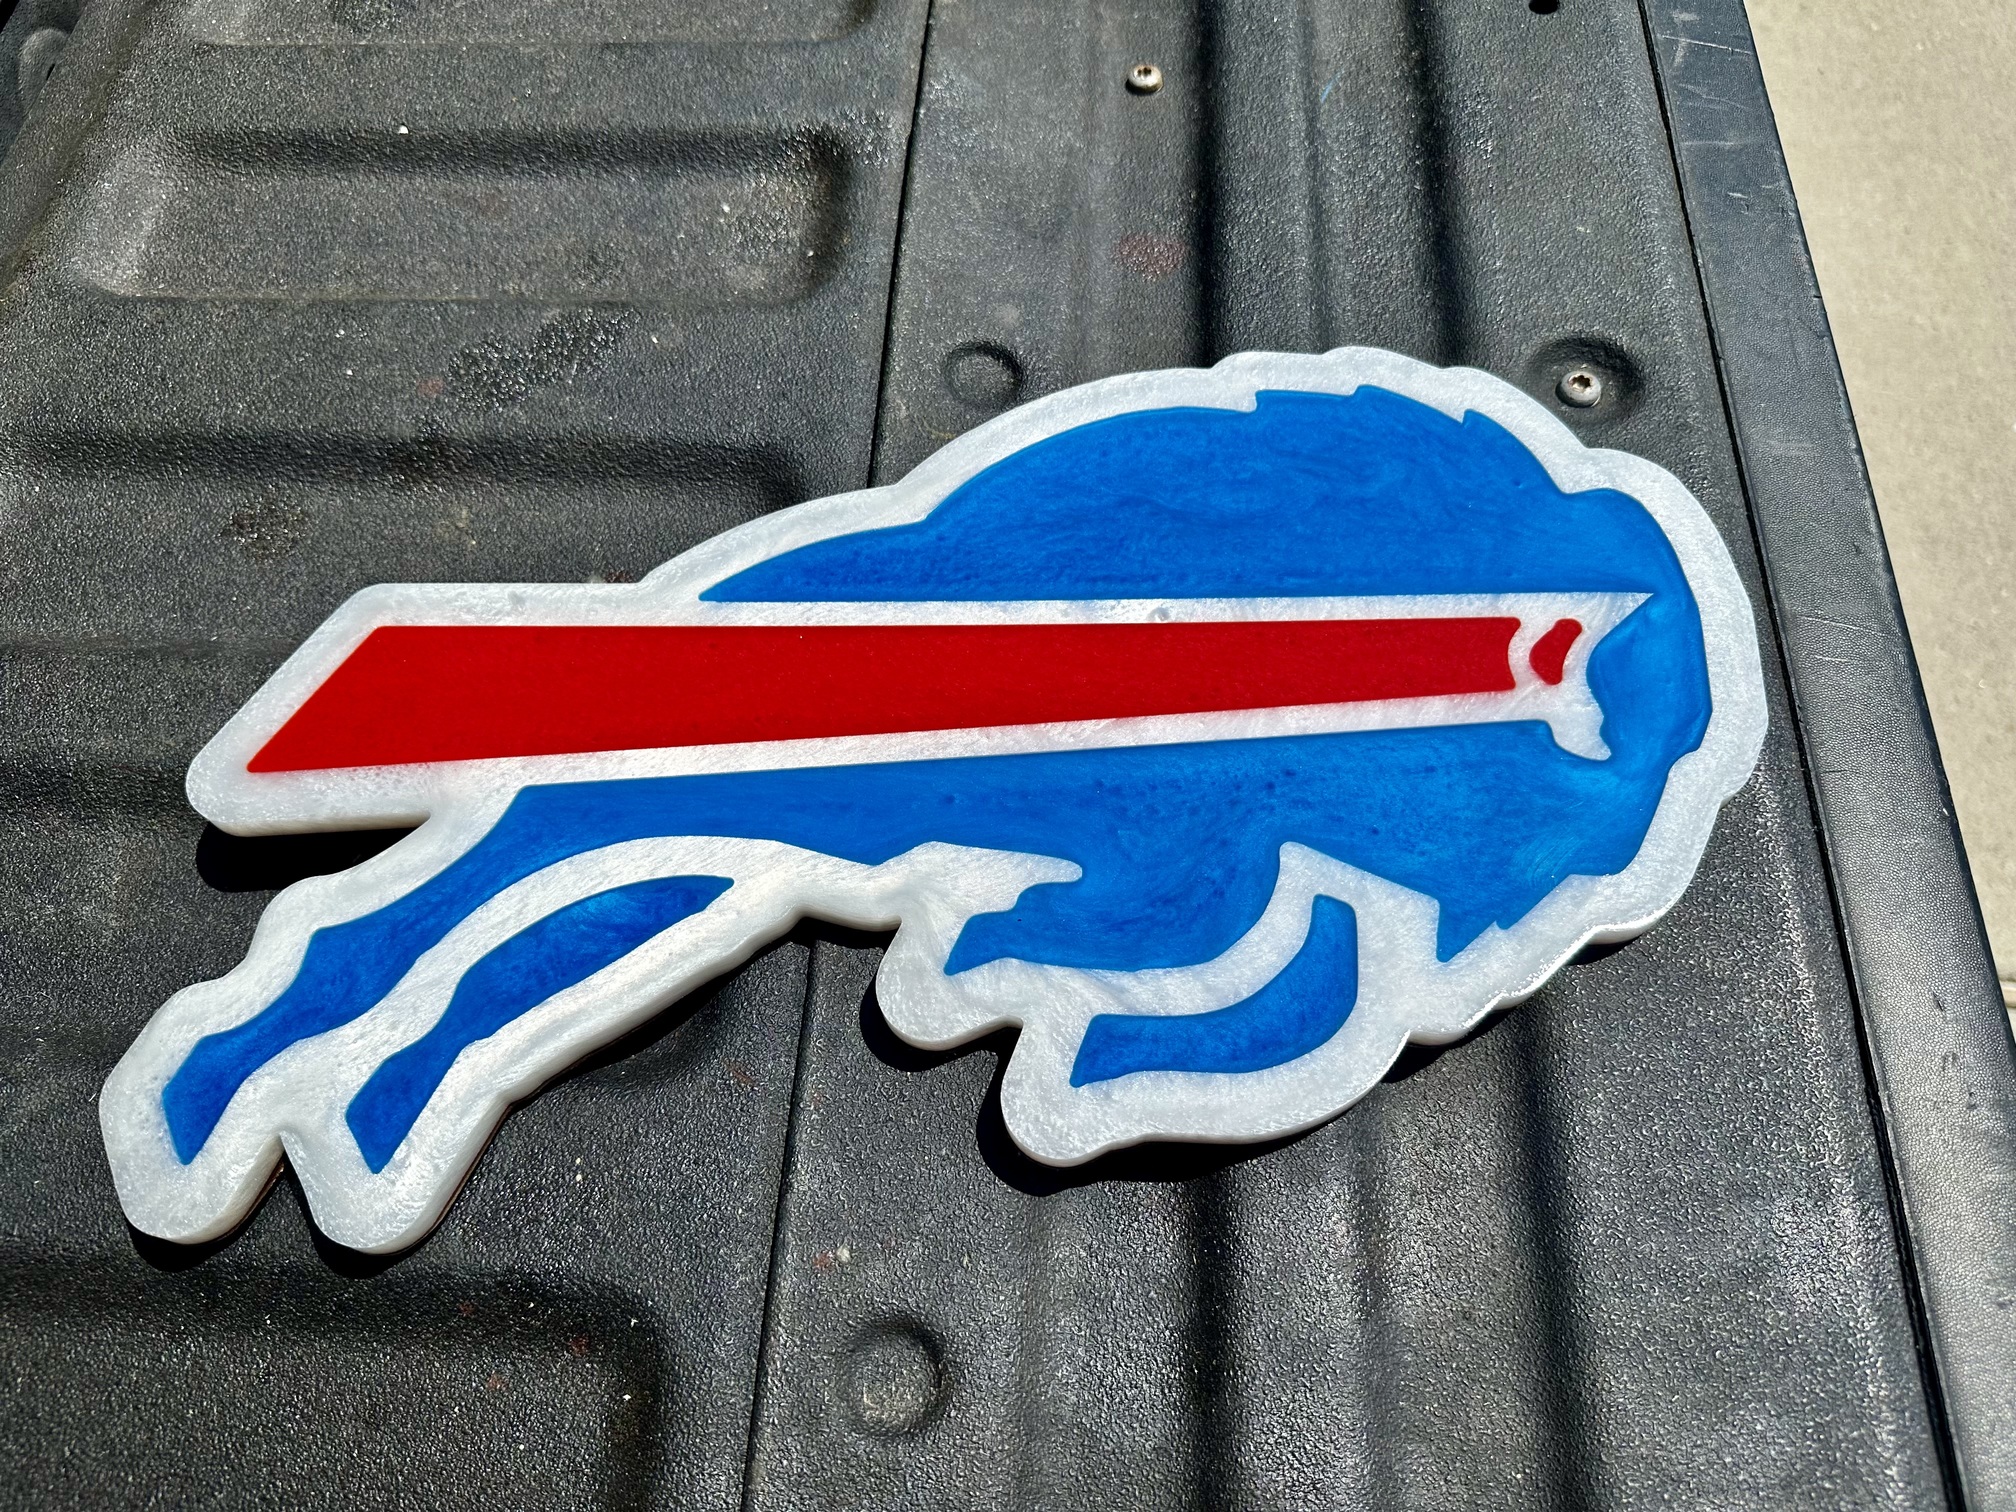
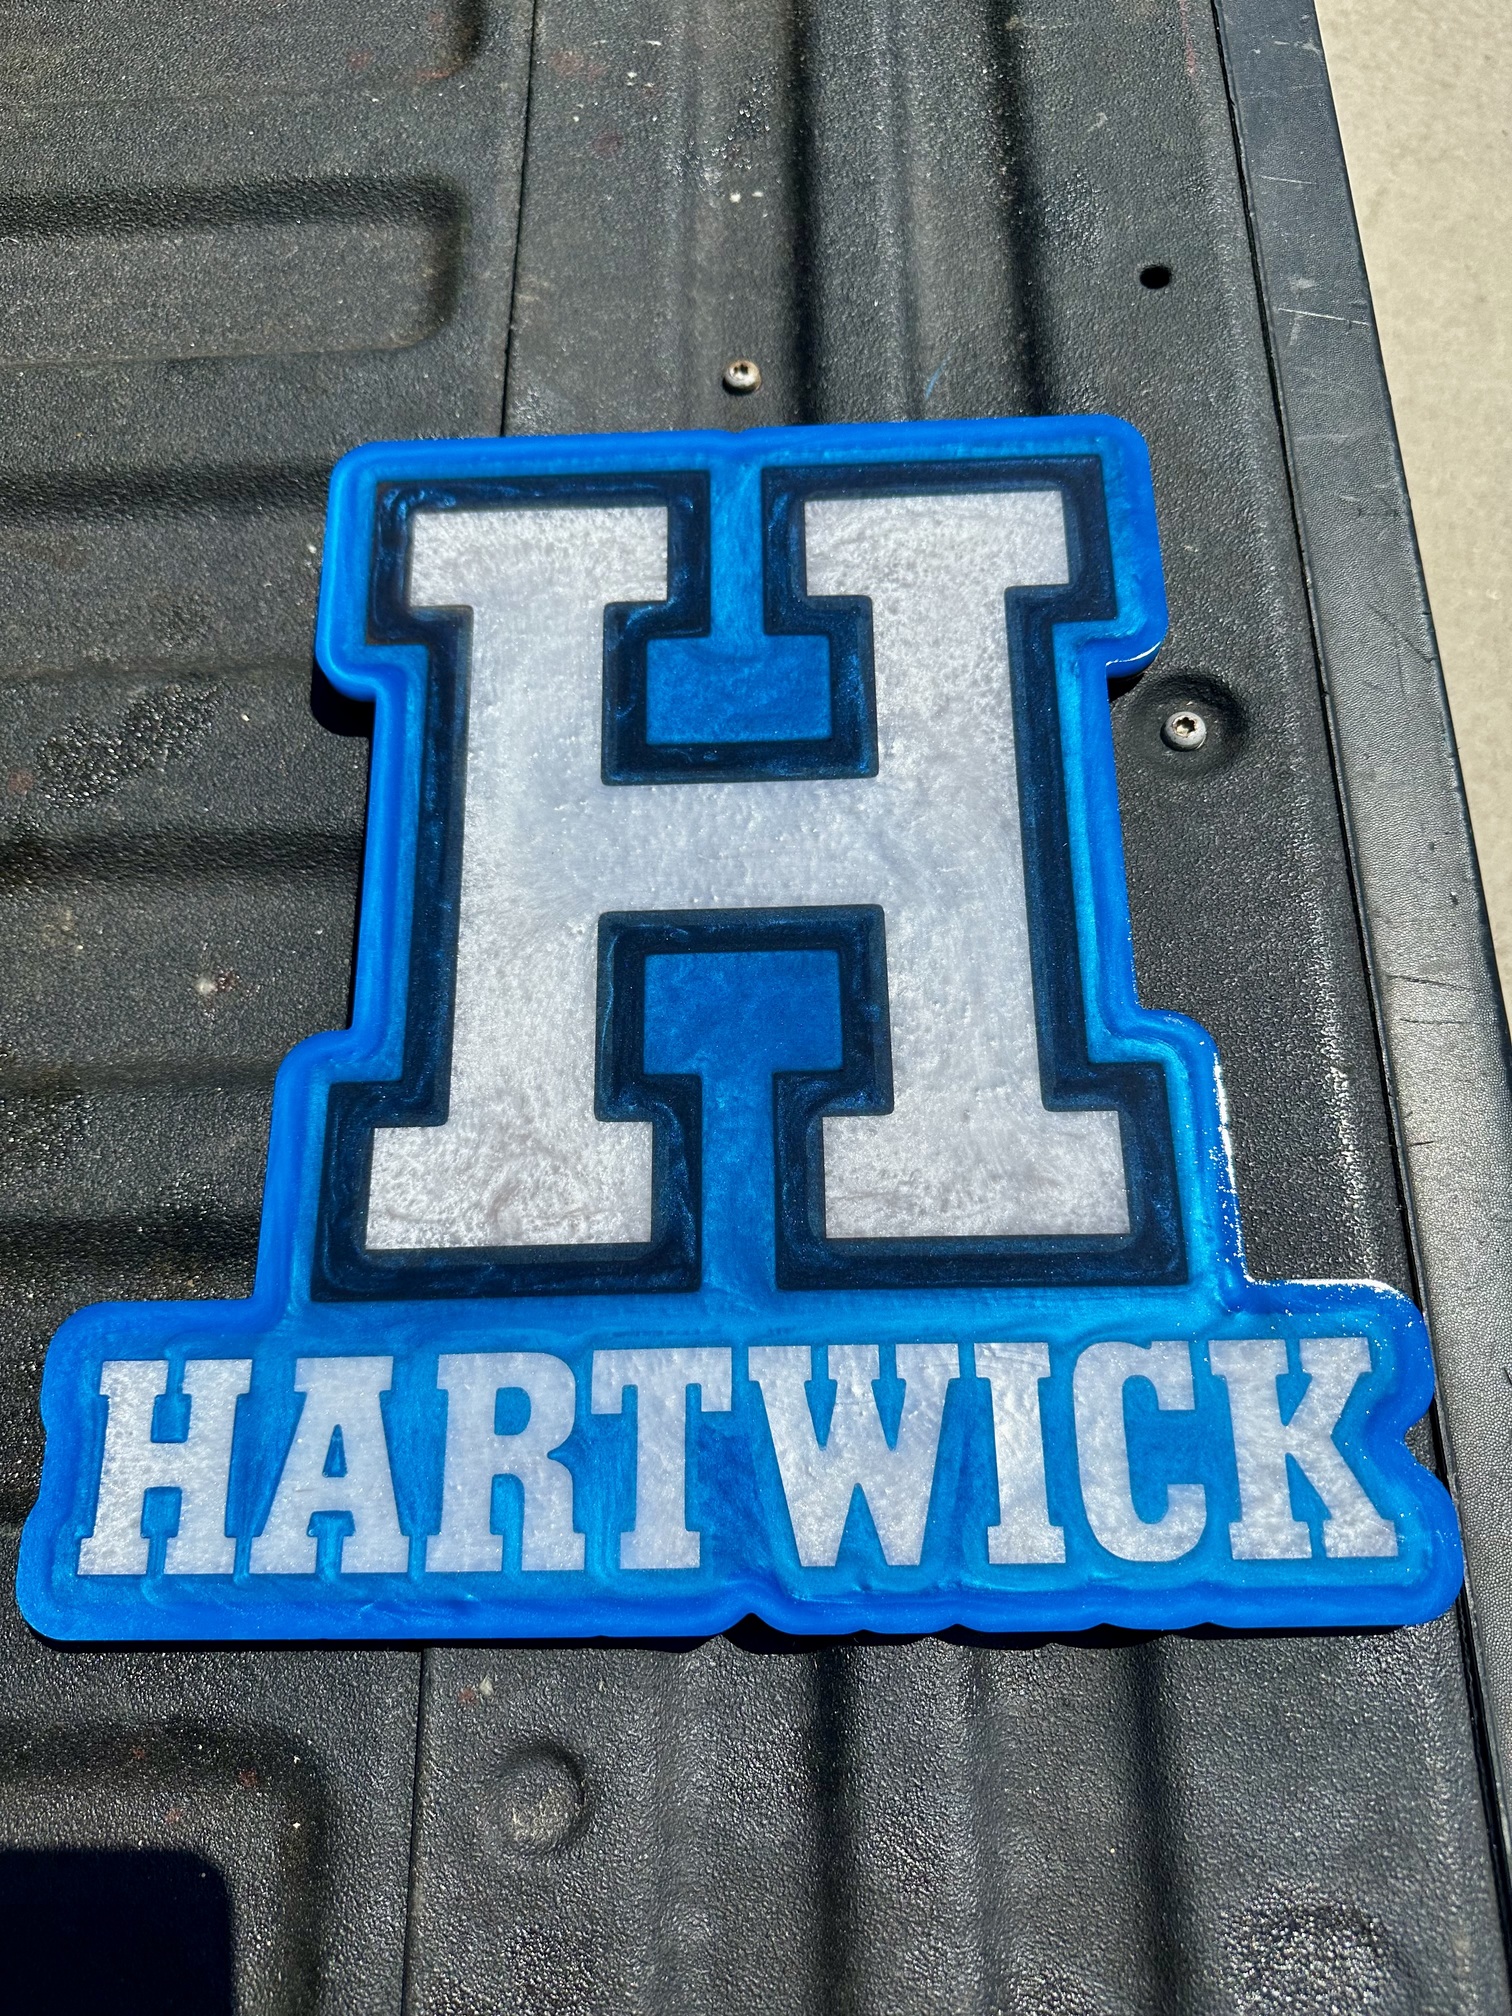
These were at .16 depth. The Hartwick one i I didn’t pour enough and was “shallow” in bottom left by the H and can see that bottom. Plus color wasn’t rich enough. Too thin. Not bad for my first project lol.