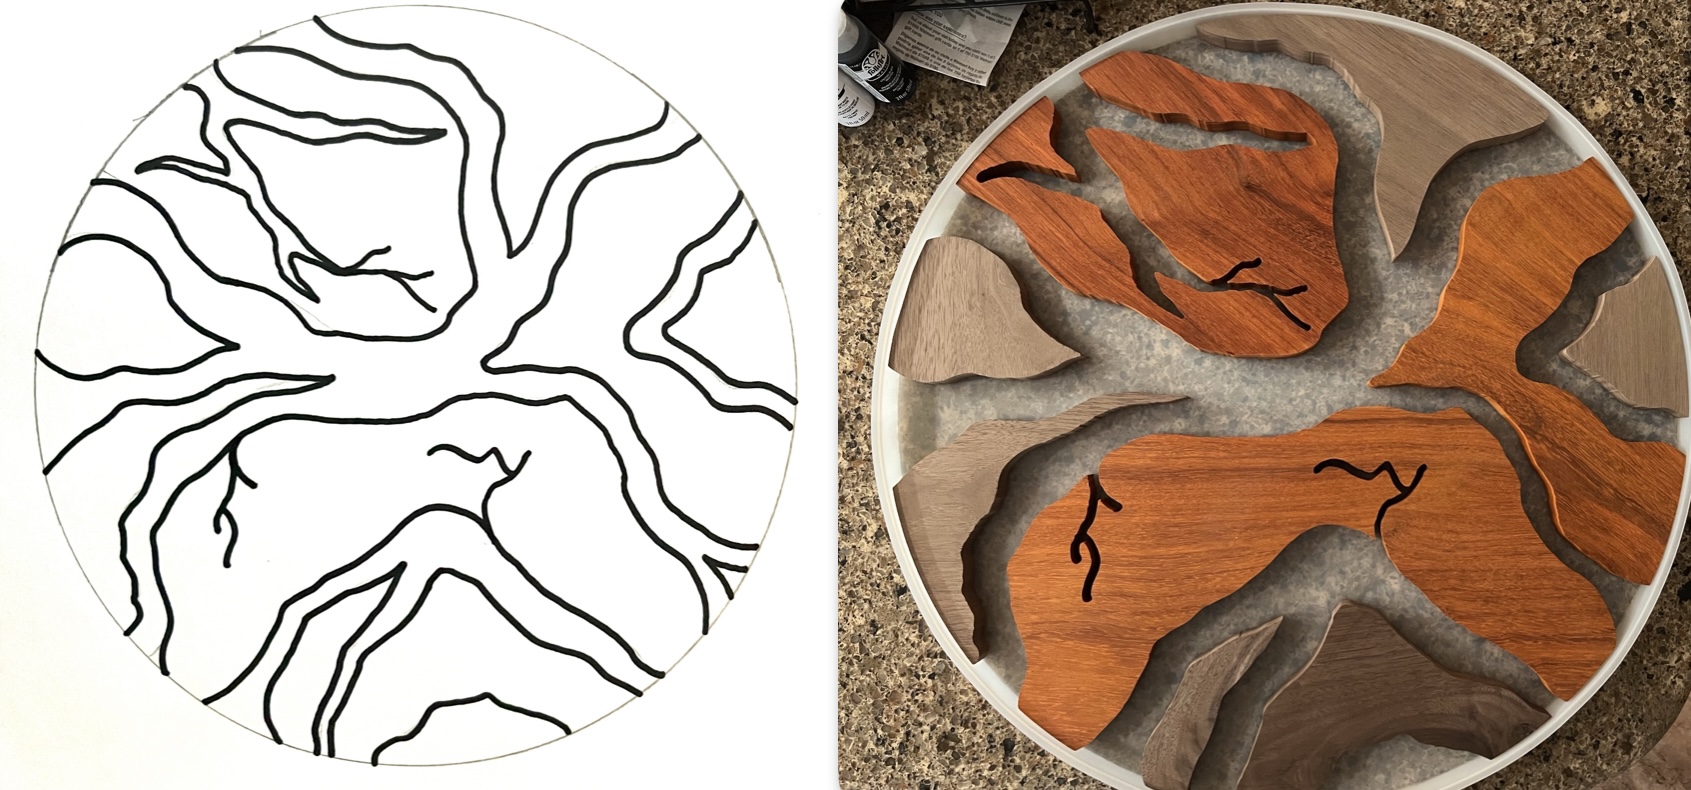
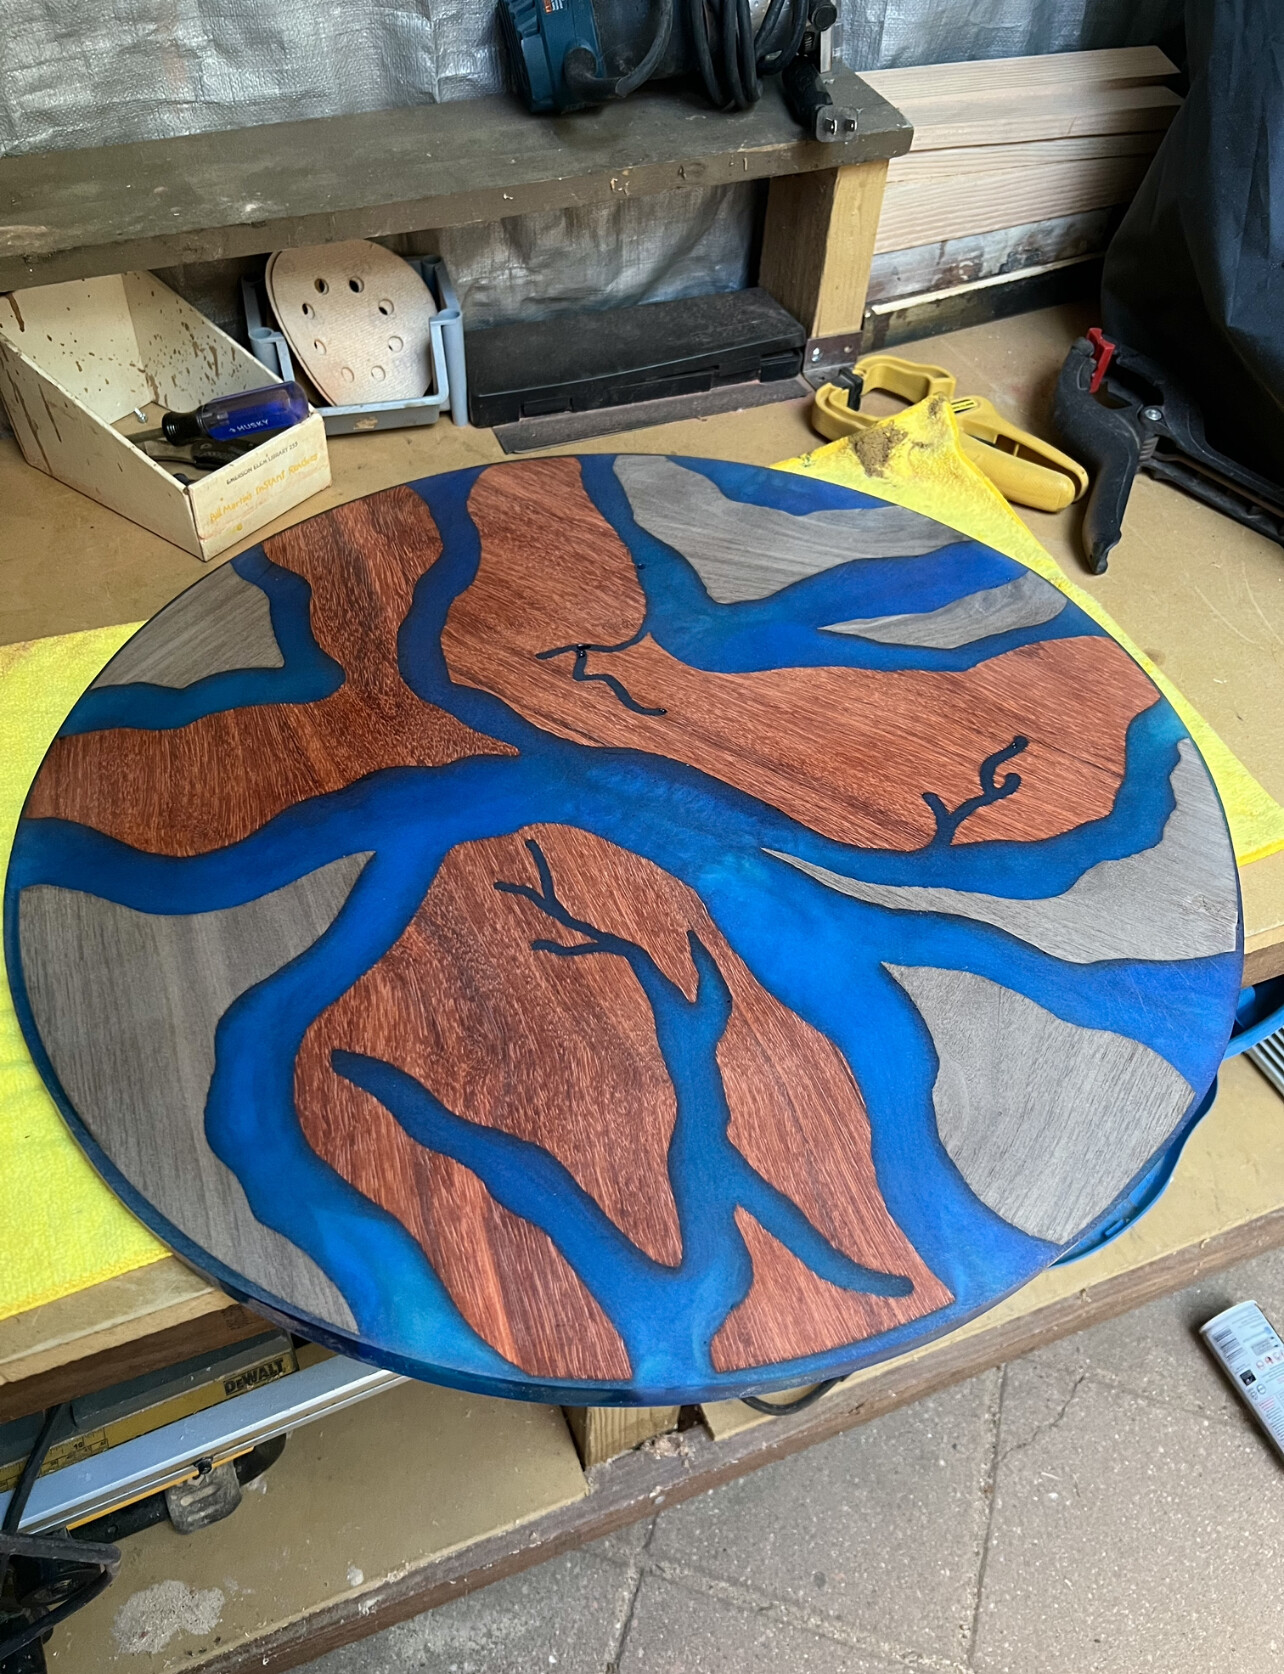
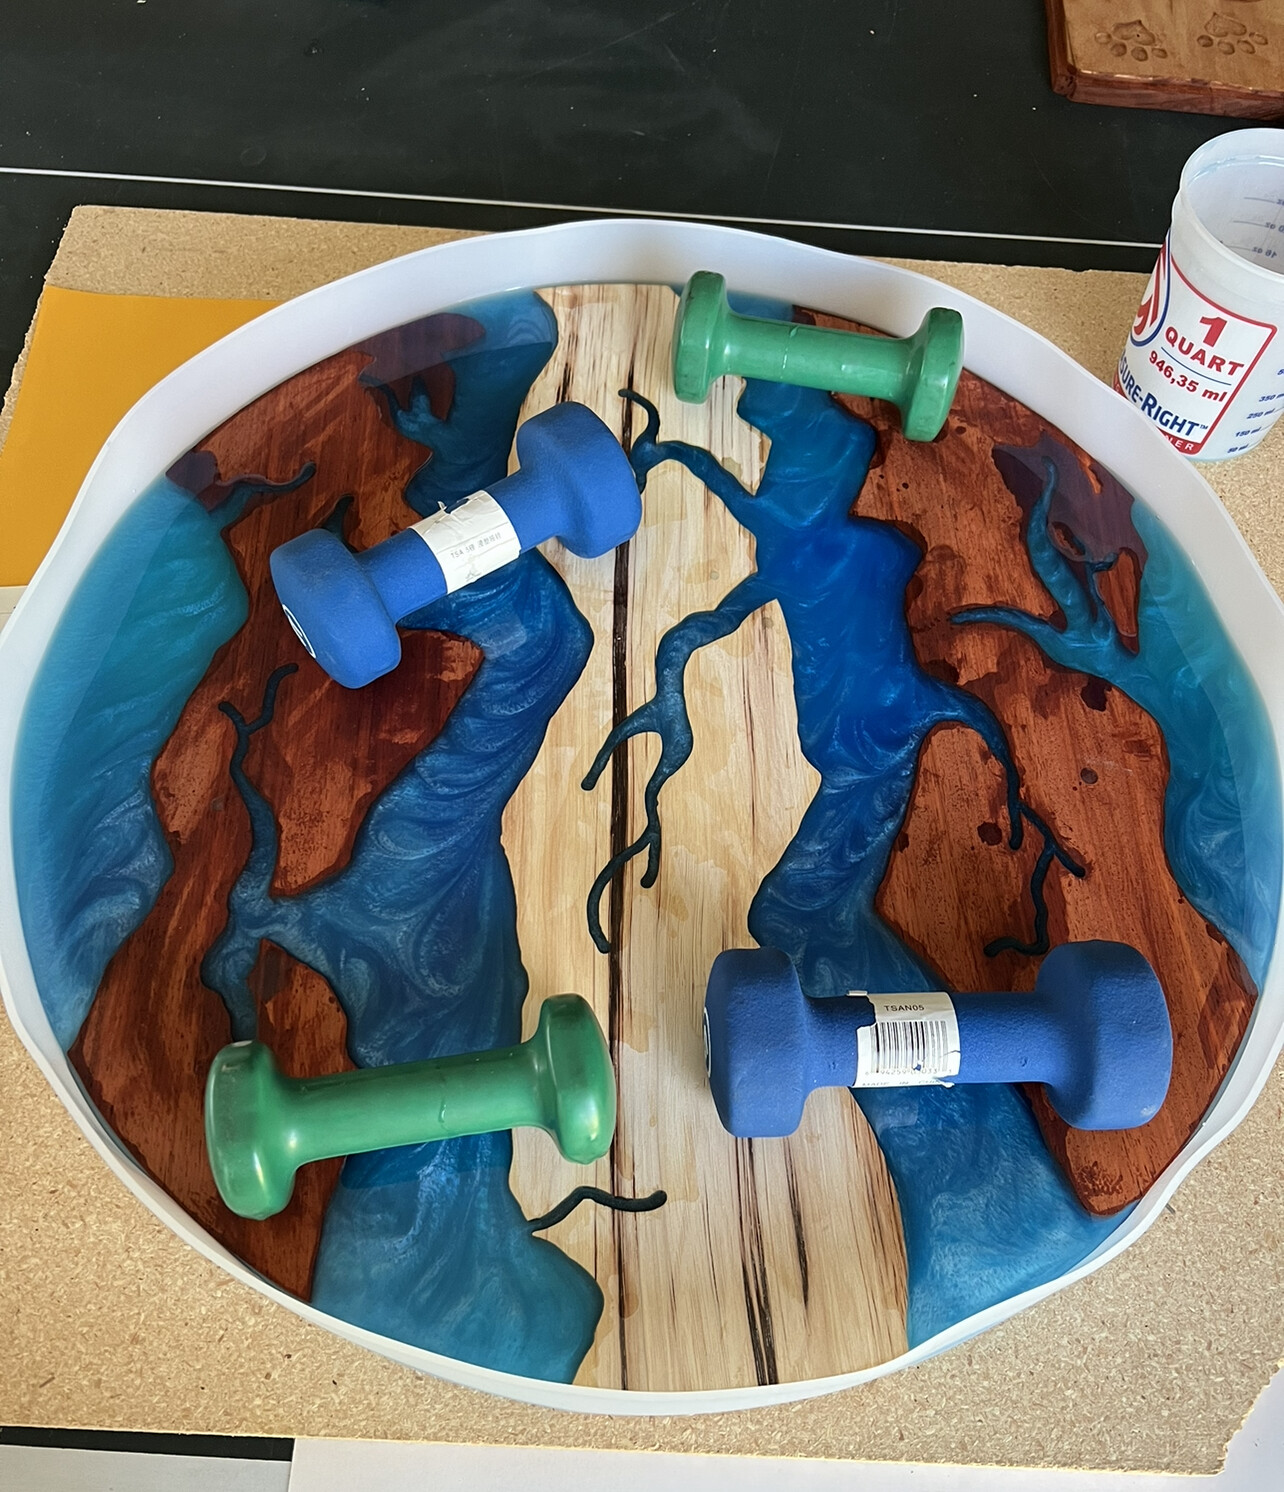
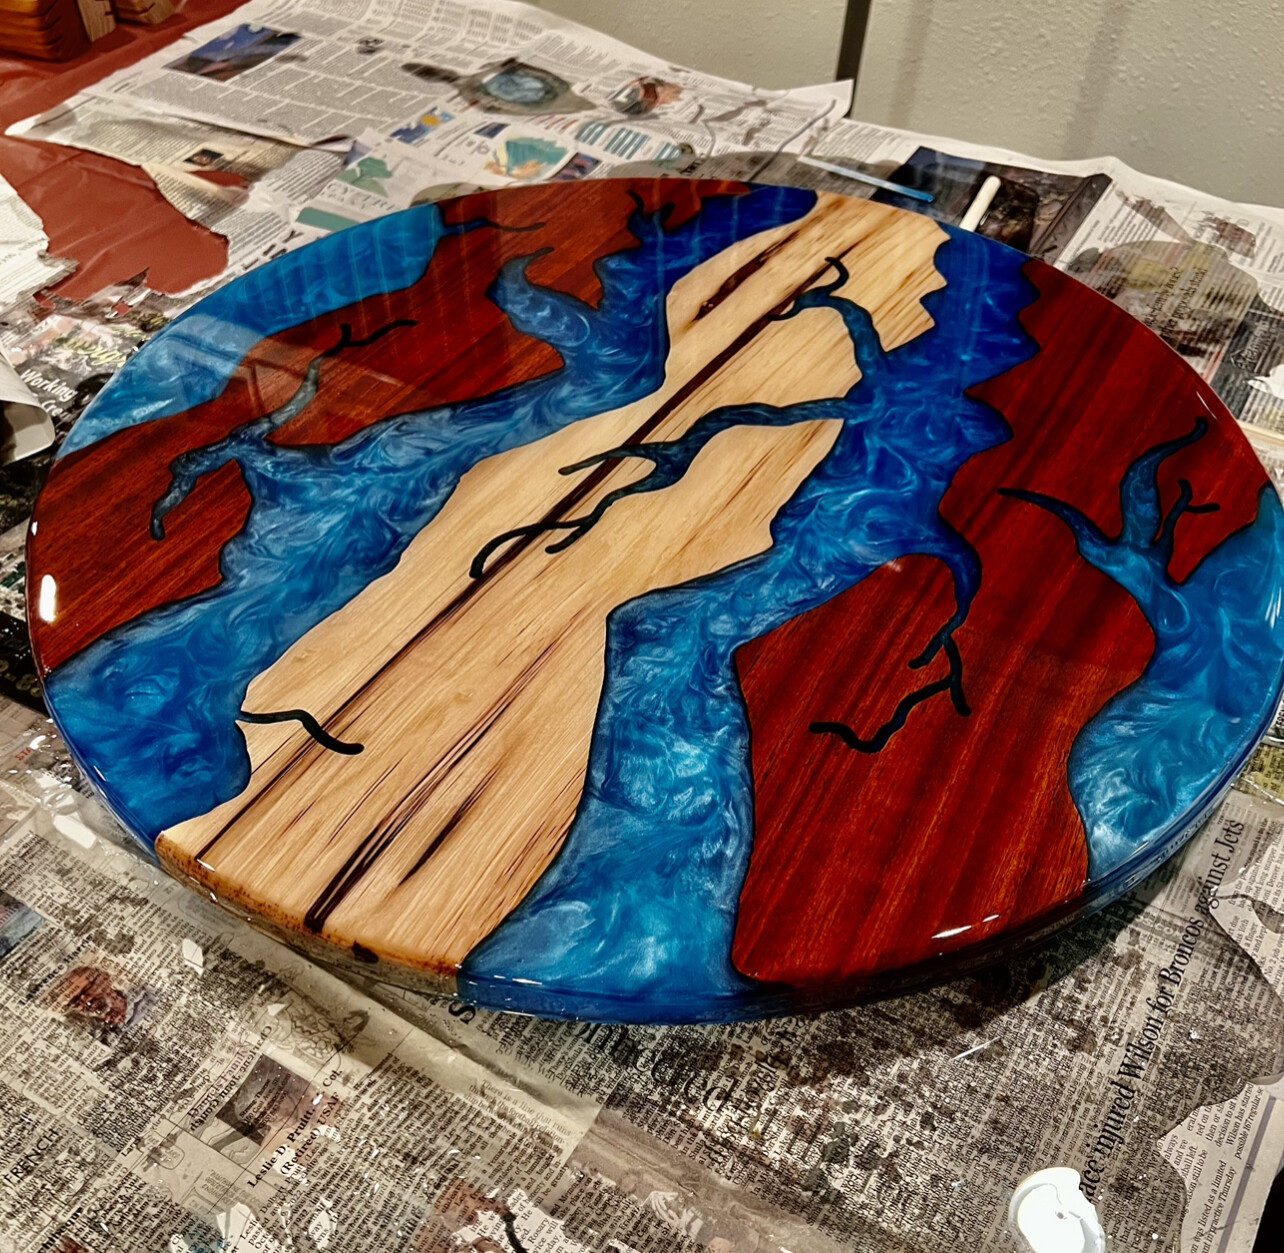
Completed my first epoxy river tabletop. Tried a small round 24” diameter coffee/side table to experiment. Drew a river on paper (too complex for a first experiment I soon discovered), converted to a vector in CC, cut the pieces, poured epoxy, planed with CNC, sanded, oiled, poured tabletop coat. Used walnut and padauk to mix it up.
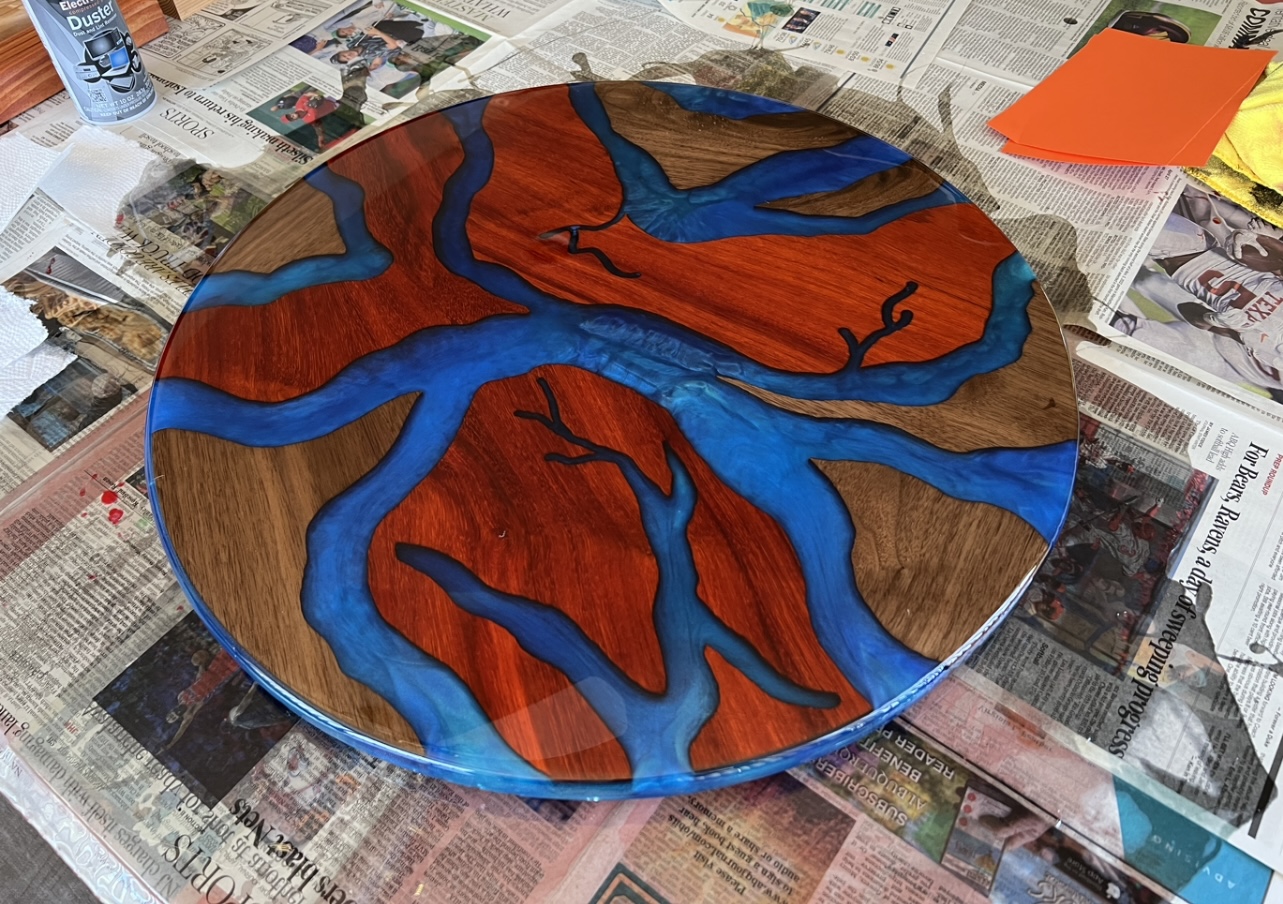
I am happy with it but certainly learned a few lessons. Like not doing 9 separate pieces to make a branching river. Unless of course you plan out the clamping, before pouring the epoxy. Also confirmed that the tabletop coat does seem to bring the translucence of the river back without days of wet sanding to the finest grits.
Appreciate it. It is a single silicone mold piece that had a bottom that I placed the wood in. Yes, just poured the clear tabletop in the middle, and wiped some on the edges to break the surface tension so it would pour over the edge evenly.
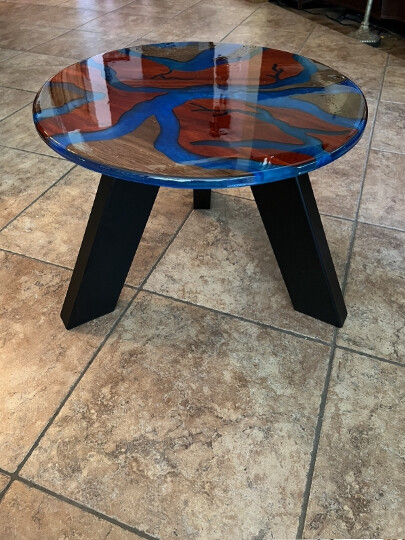
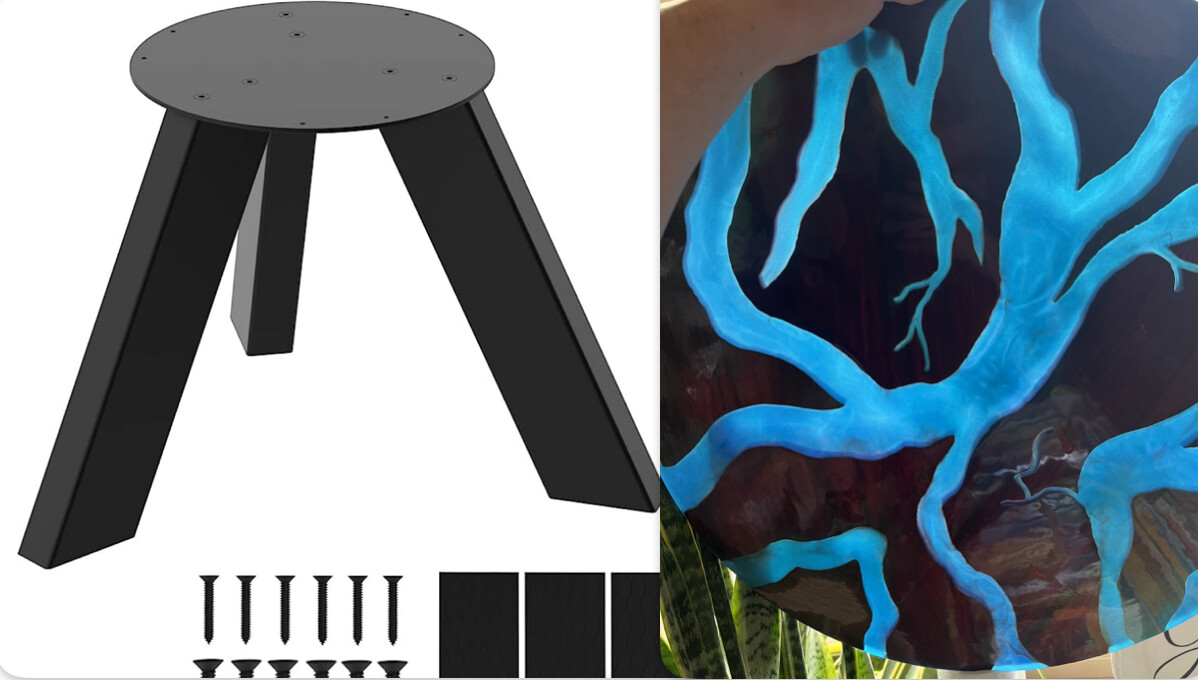
I bought a simple metal base and used screws into the places with wood so that you can’t see them. Even though light comes through, it’s minimal if there is no light source directly behind it. You are unable to see the metal plate or legs just looking at in a normally lit room where there’s not direct light right through it from underneath.
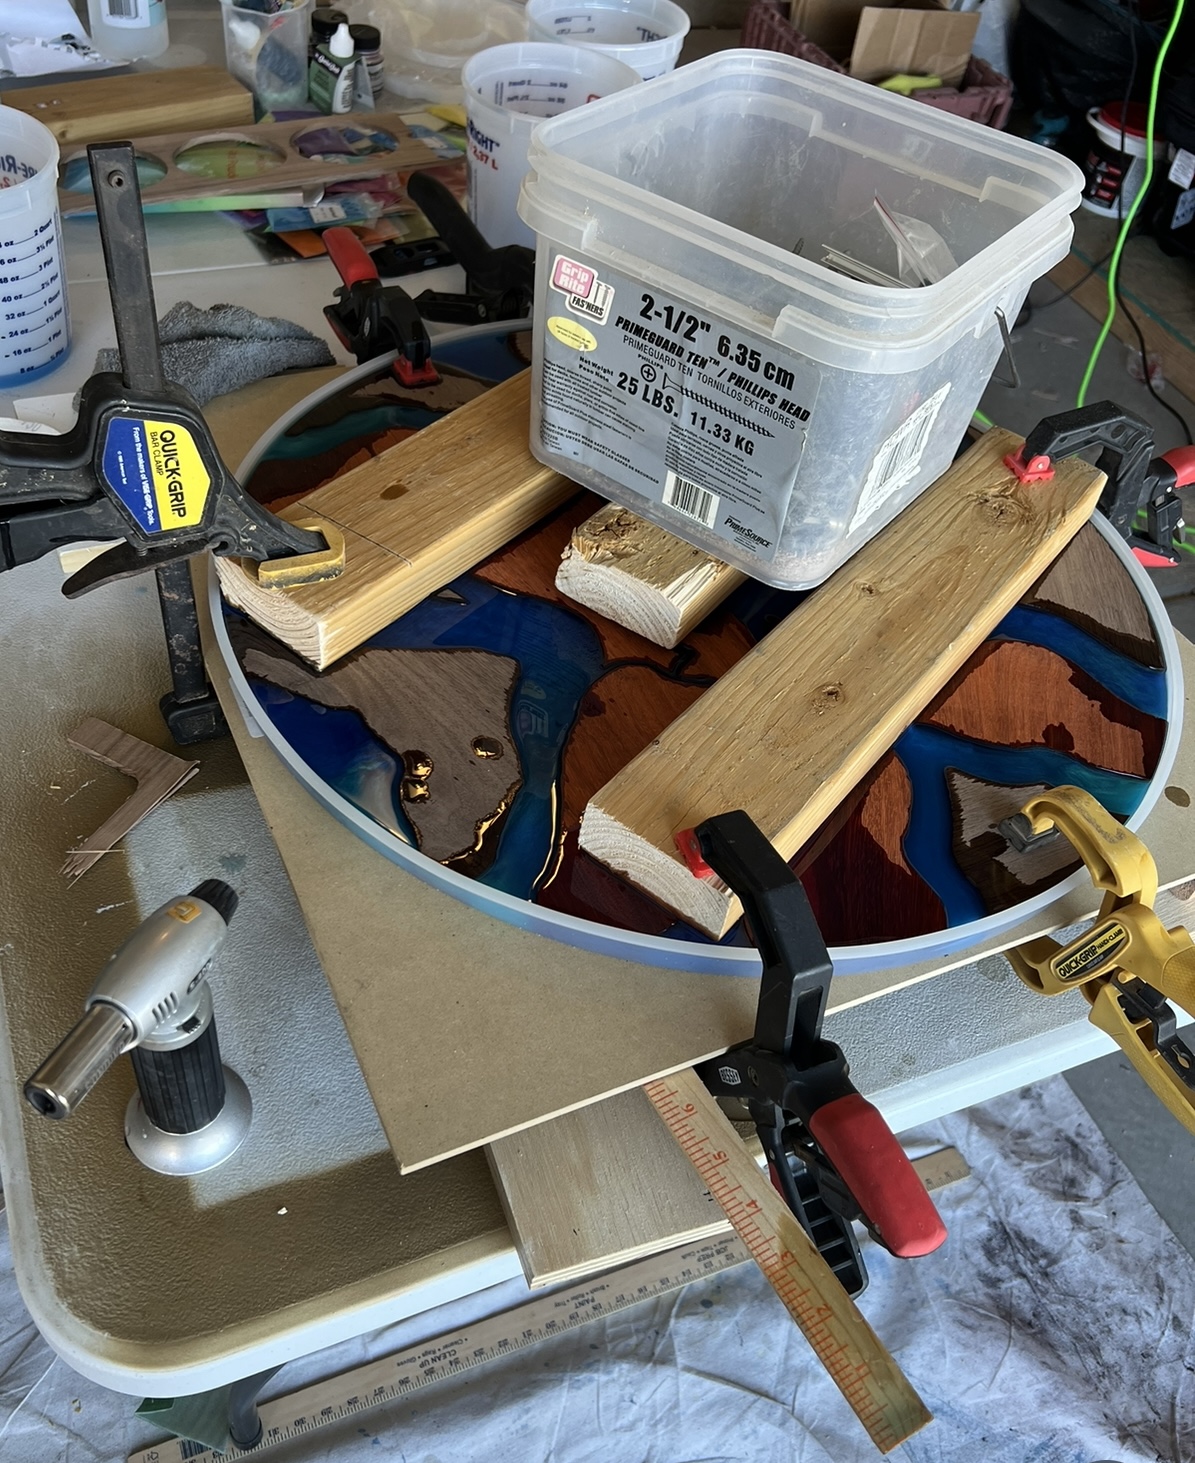
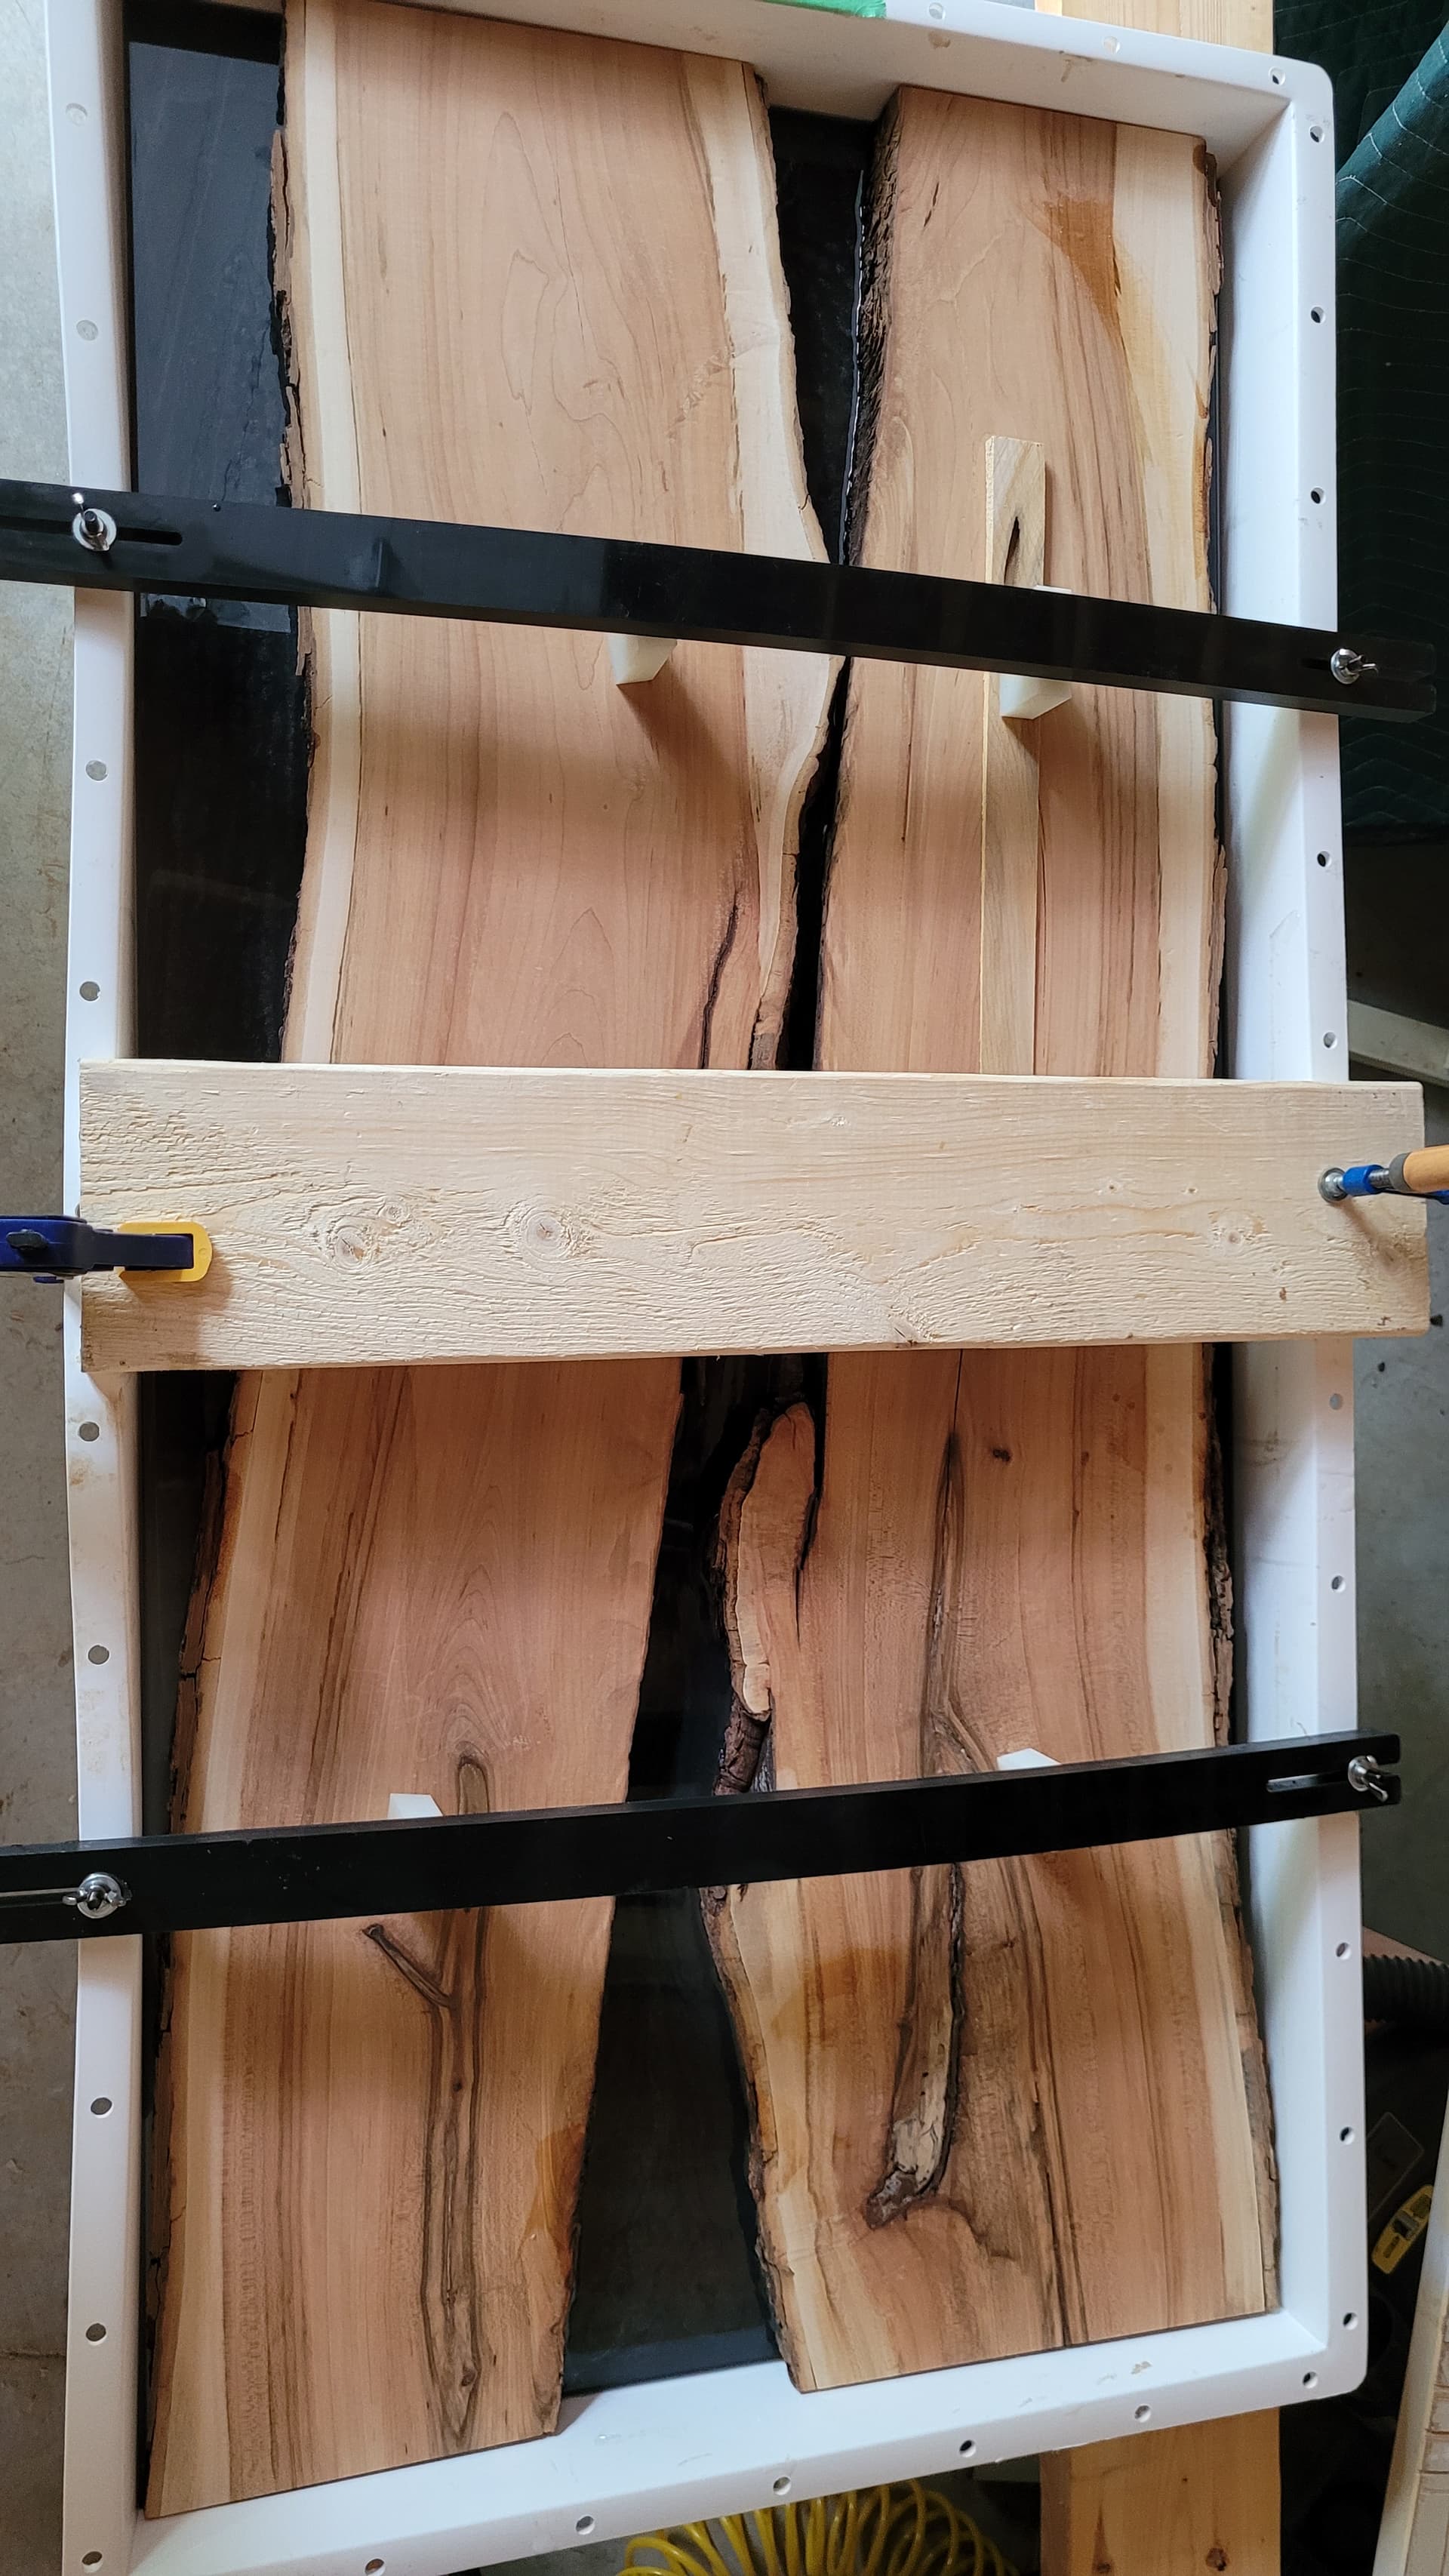
For entertainment’s sake, this is what happens when you make things on a whim and don’t plan out clamping 9 little pieces properly. Next time it will be legitimate.
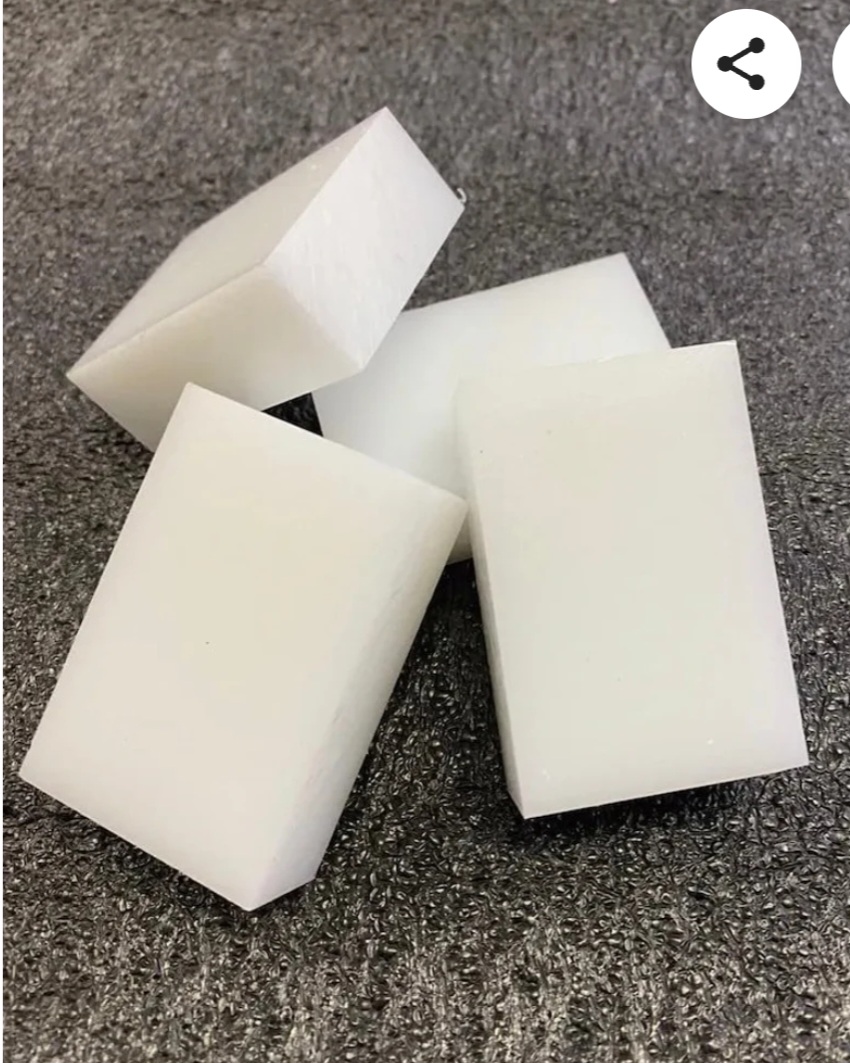
Just a thought… if you pick up some HDPE blocks or have some HDPE to cut into blocks, they make for really nice clamping accessories. Non stick to resin. You can still do the same clamping but have these blocks be what is in contact with the wood you wish to hold down.
You can even set them under weights to help. Sometimes smaller circular projects can all be held down by little blocks, with a plywood top and one main weight holding it all down (if that makes sence). Maybe you already know this but heres some examples.
Enjoy.
That’s a good idea! Thanks. That will work well, and the weights too because that also solves the issue needing a far reach.
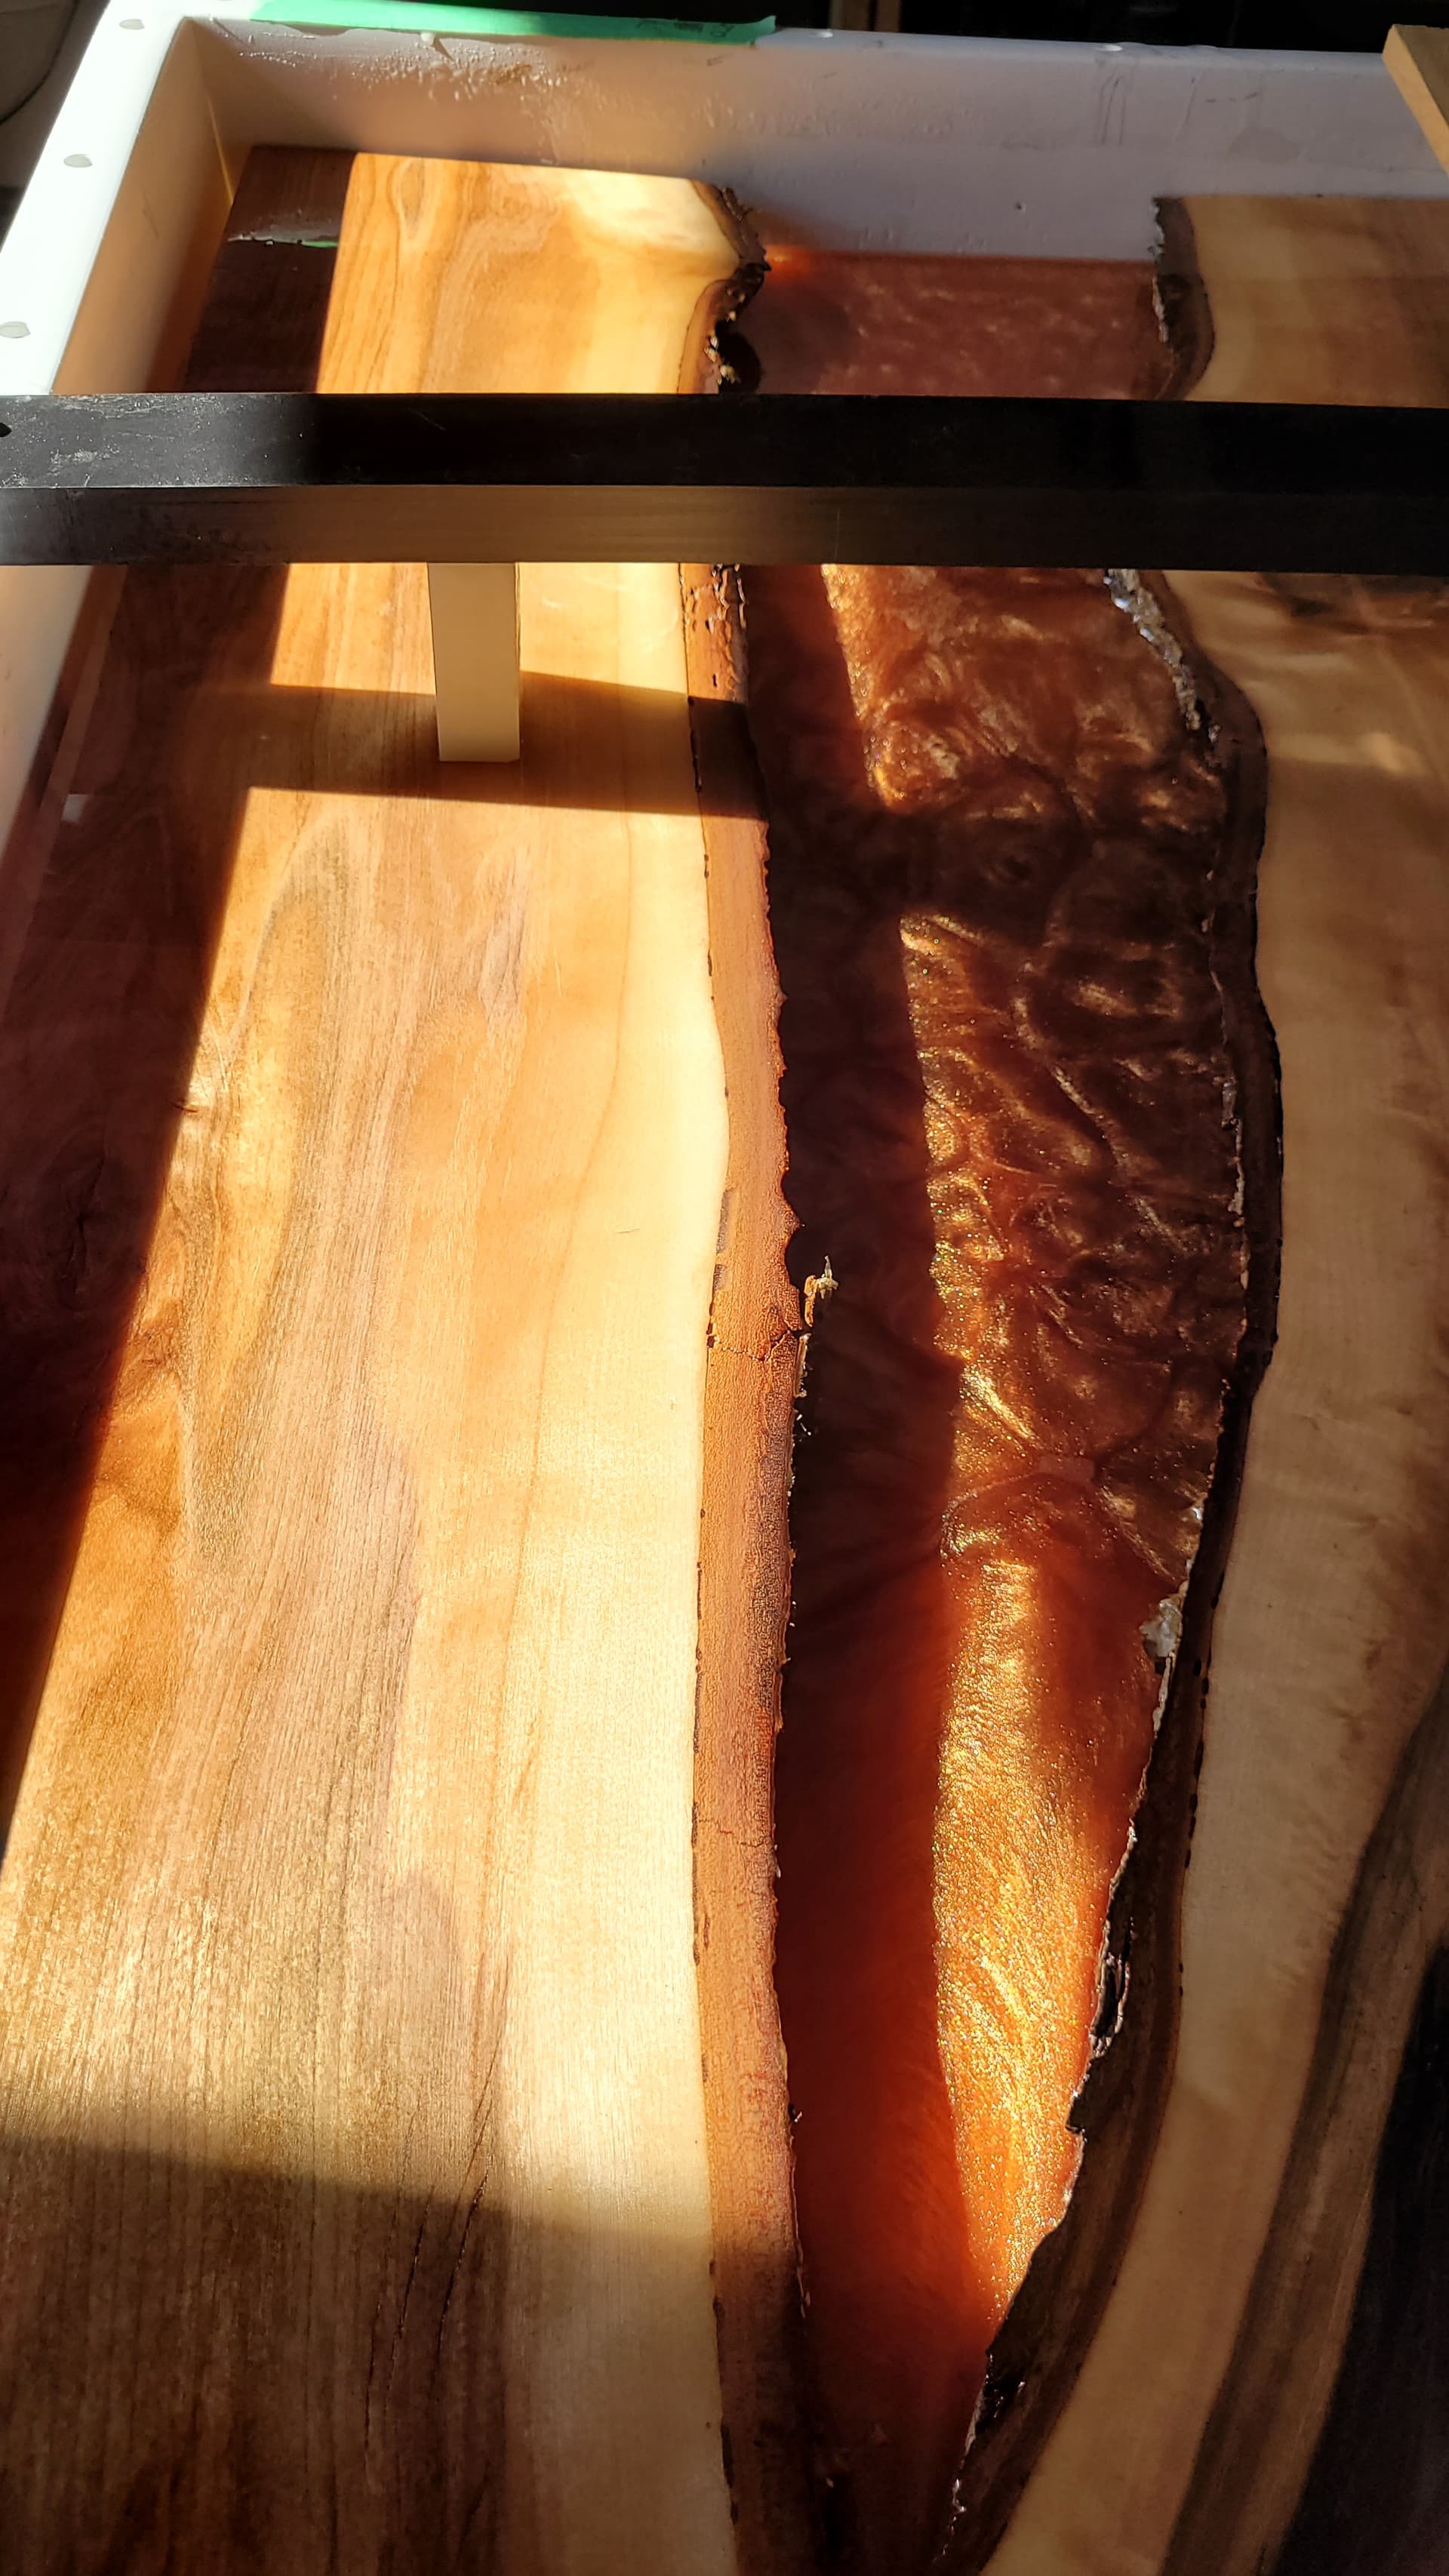
Also it looks much cleaner there, than filling all the way to the top. Using thicker wood and cutting the wood down, instead of to the exact top or over and planing back to the wood.
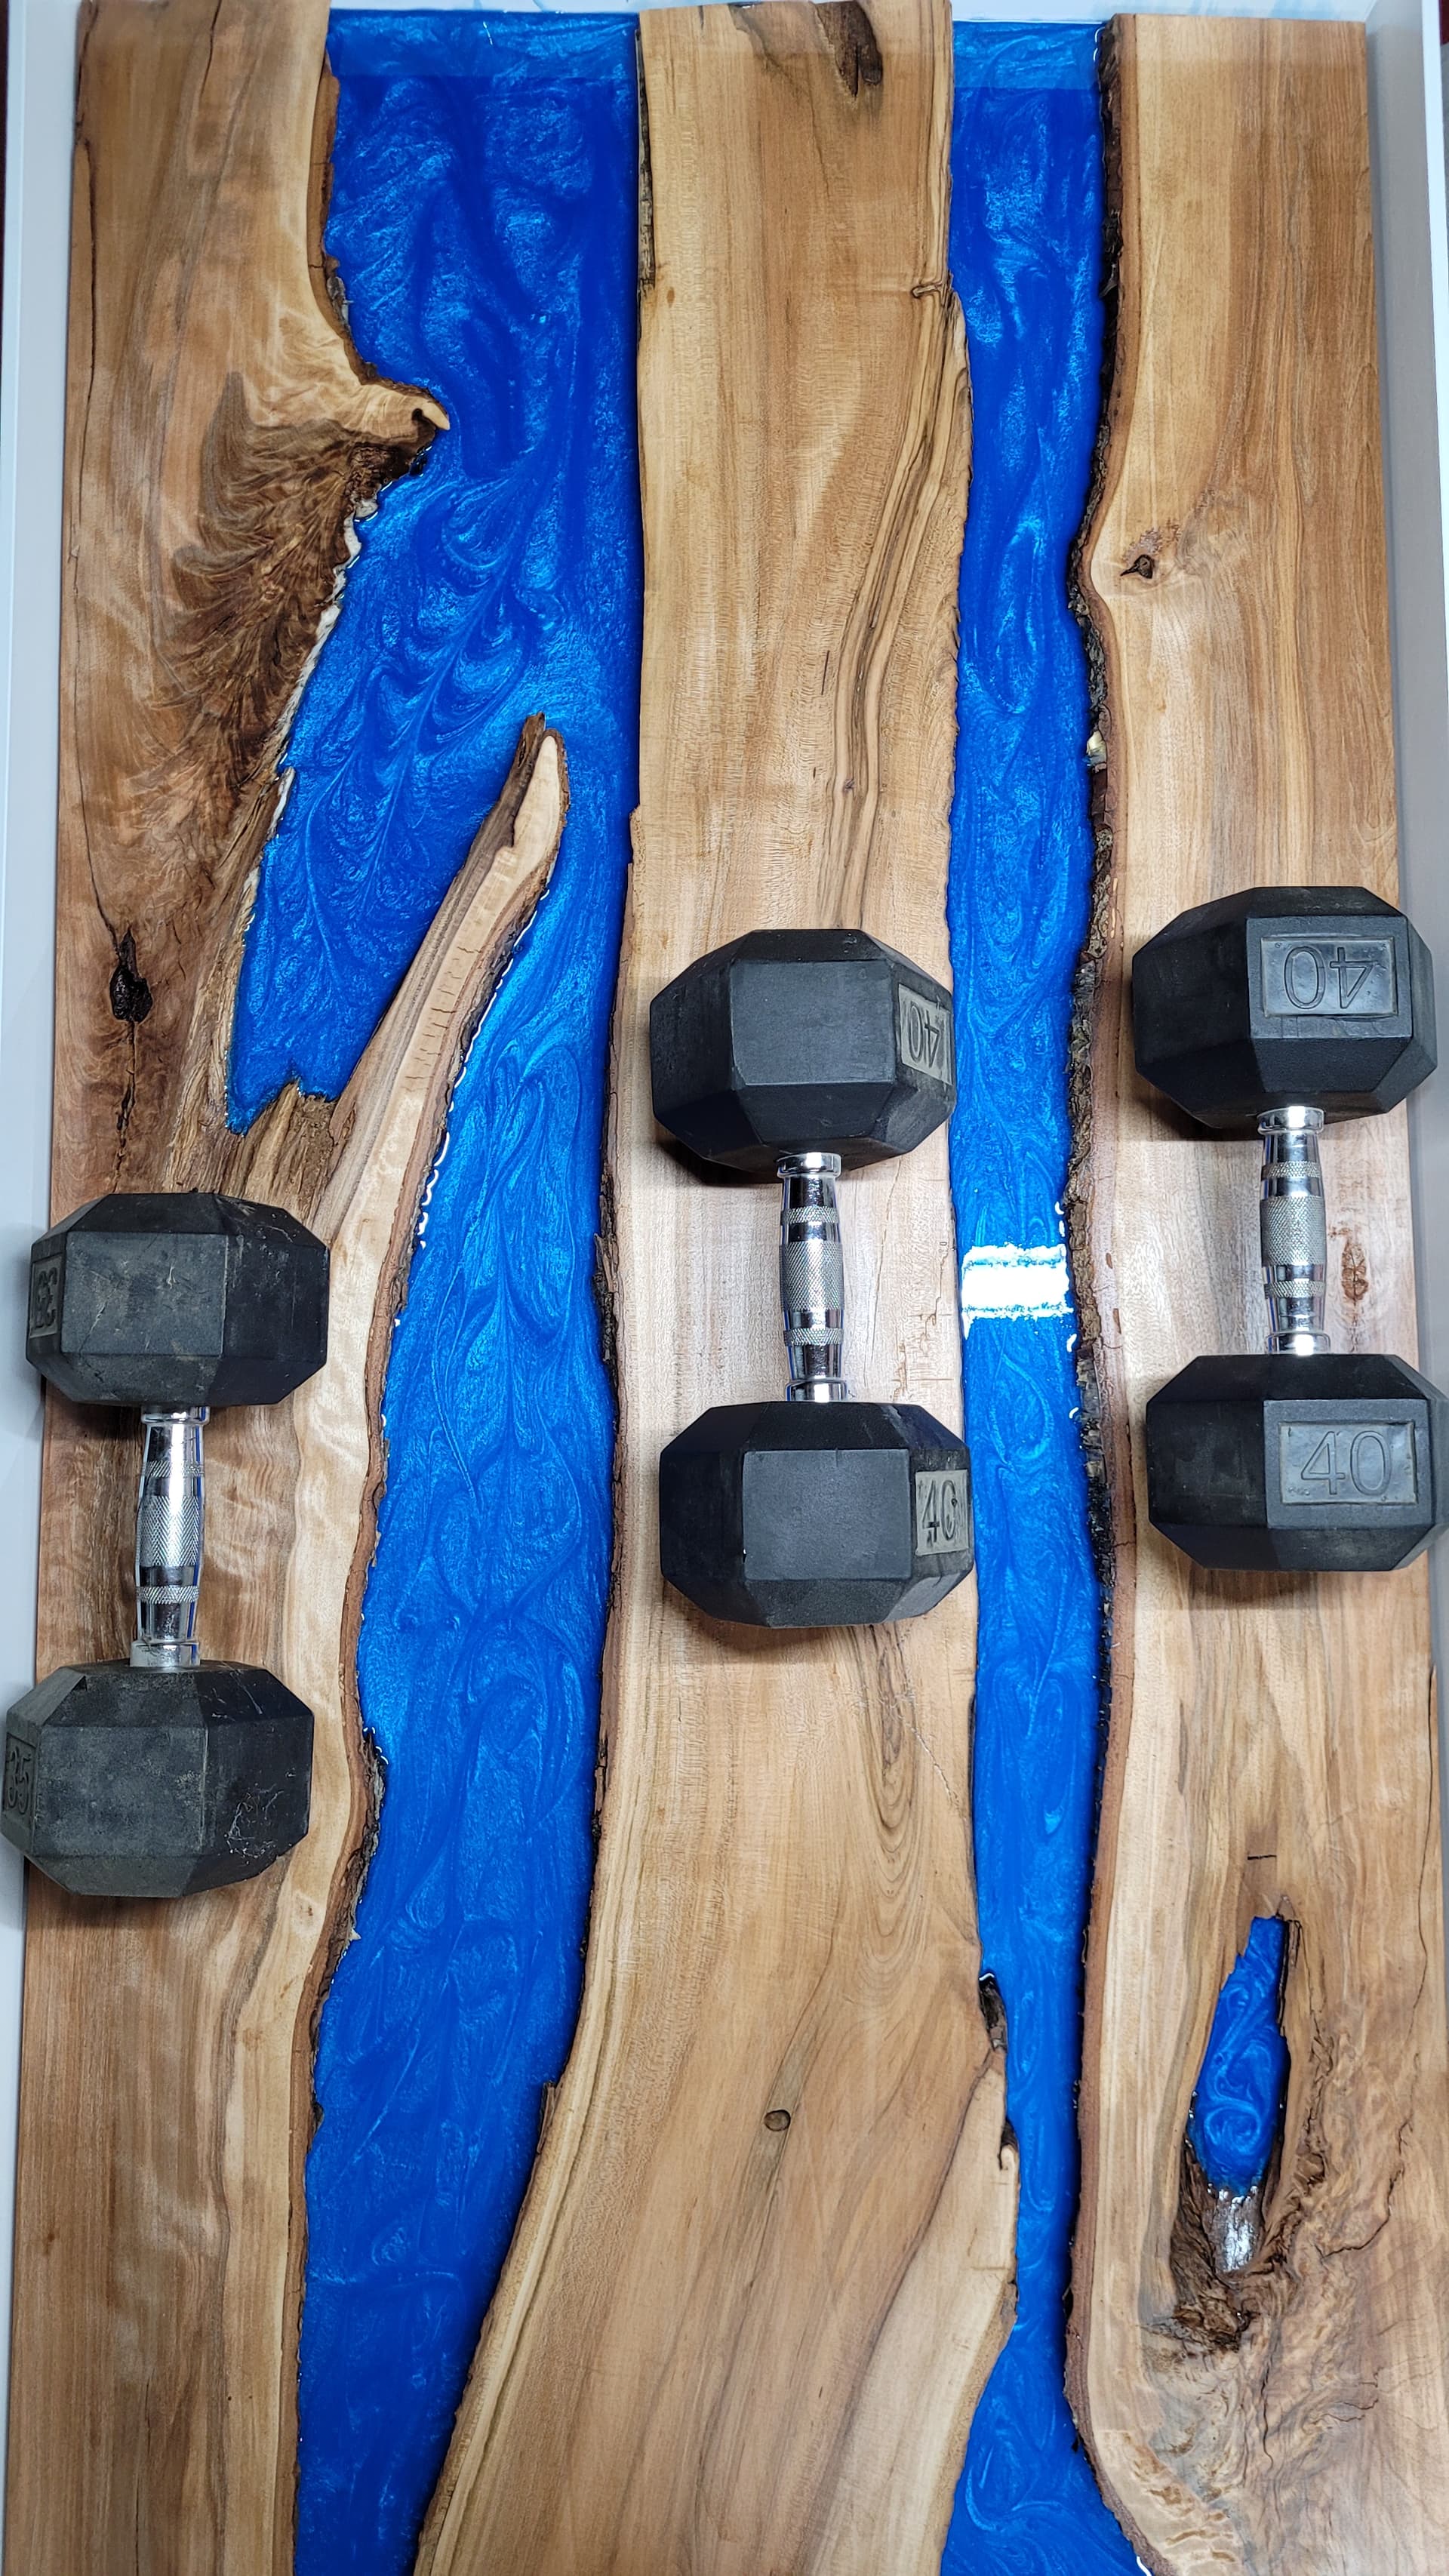
Second attempt. I appreciate the insight @Varty5, the simple weights worked like a charm. I know live edge is the premier, but I still wanted to experiment a bit and use up extra pieces laying about.
Used pecan in the middle to give a stark contrast to the padauk with a few different blues, but so that it would still kind of match the first one. Instead of 9 little pieces, 3 full length ones made it considerably easier as well.
I always like how everything still looks wet even after it has cured. I’ll build the same style of base as the other, just cut and paint some 2x4s black and a round circle.
Great piece!
Noticing your mold is a little flimsy. If it ever matters on a project…use the cnc to cut a nice perfect bunch of circle of plywood and make some ‘rings’ to go around it for support.
Those rings can subsequently be used as a platform to help hold pieces in place (if you can picture what i mean).
Yeah that’s certainly a good idea! I was hoping just the weight of the epoxy would kind of ‘straighten out’ the mold once filled but it did only partially, the rings would be solid
Just my personal preference, I liked the ‘black’ table top in the photos more than I did the blue, I guess because it looks more like a piece of artwork!
I also like the black. I think on the real one I’m doing next I may do black river and silver fractals burned in. Or vice versa, but have not decided yet.