A superb gift to your friend for sure. Do you mind sharing tips on your top coat technique ? (what epoxy mix, do you just overpour and let it do its thing, how level does the piece has to be, etc…).
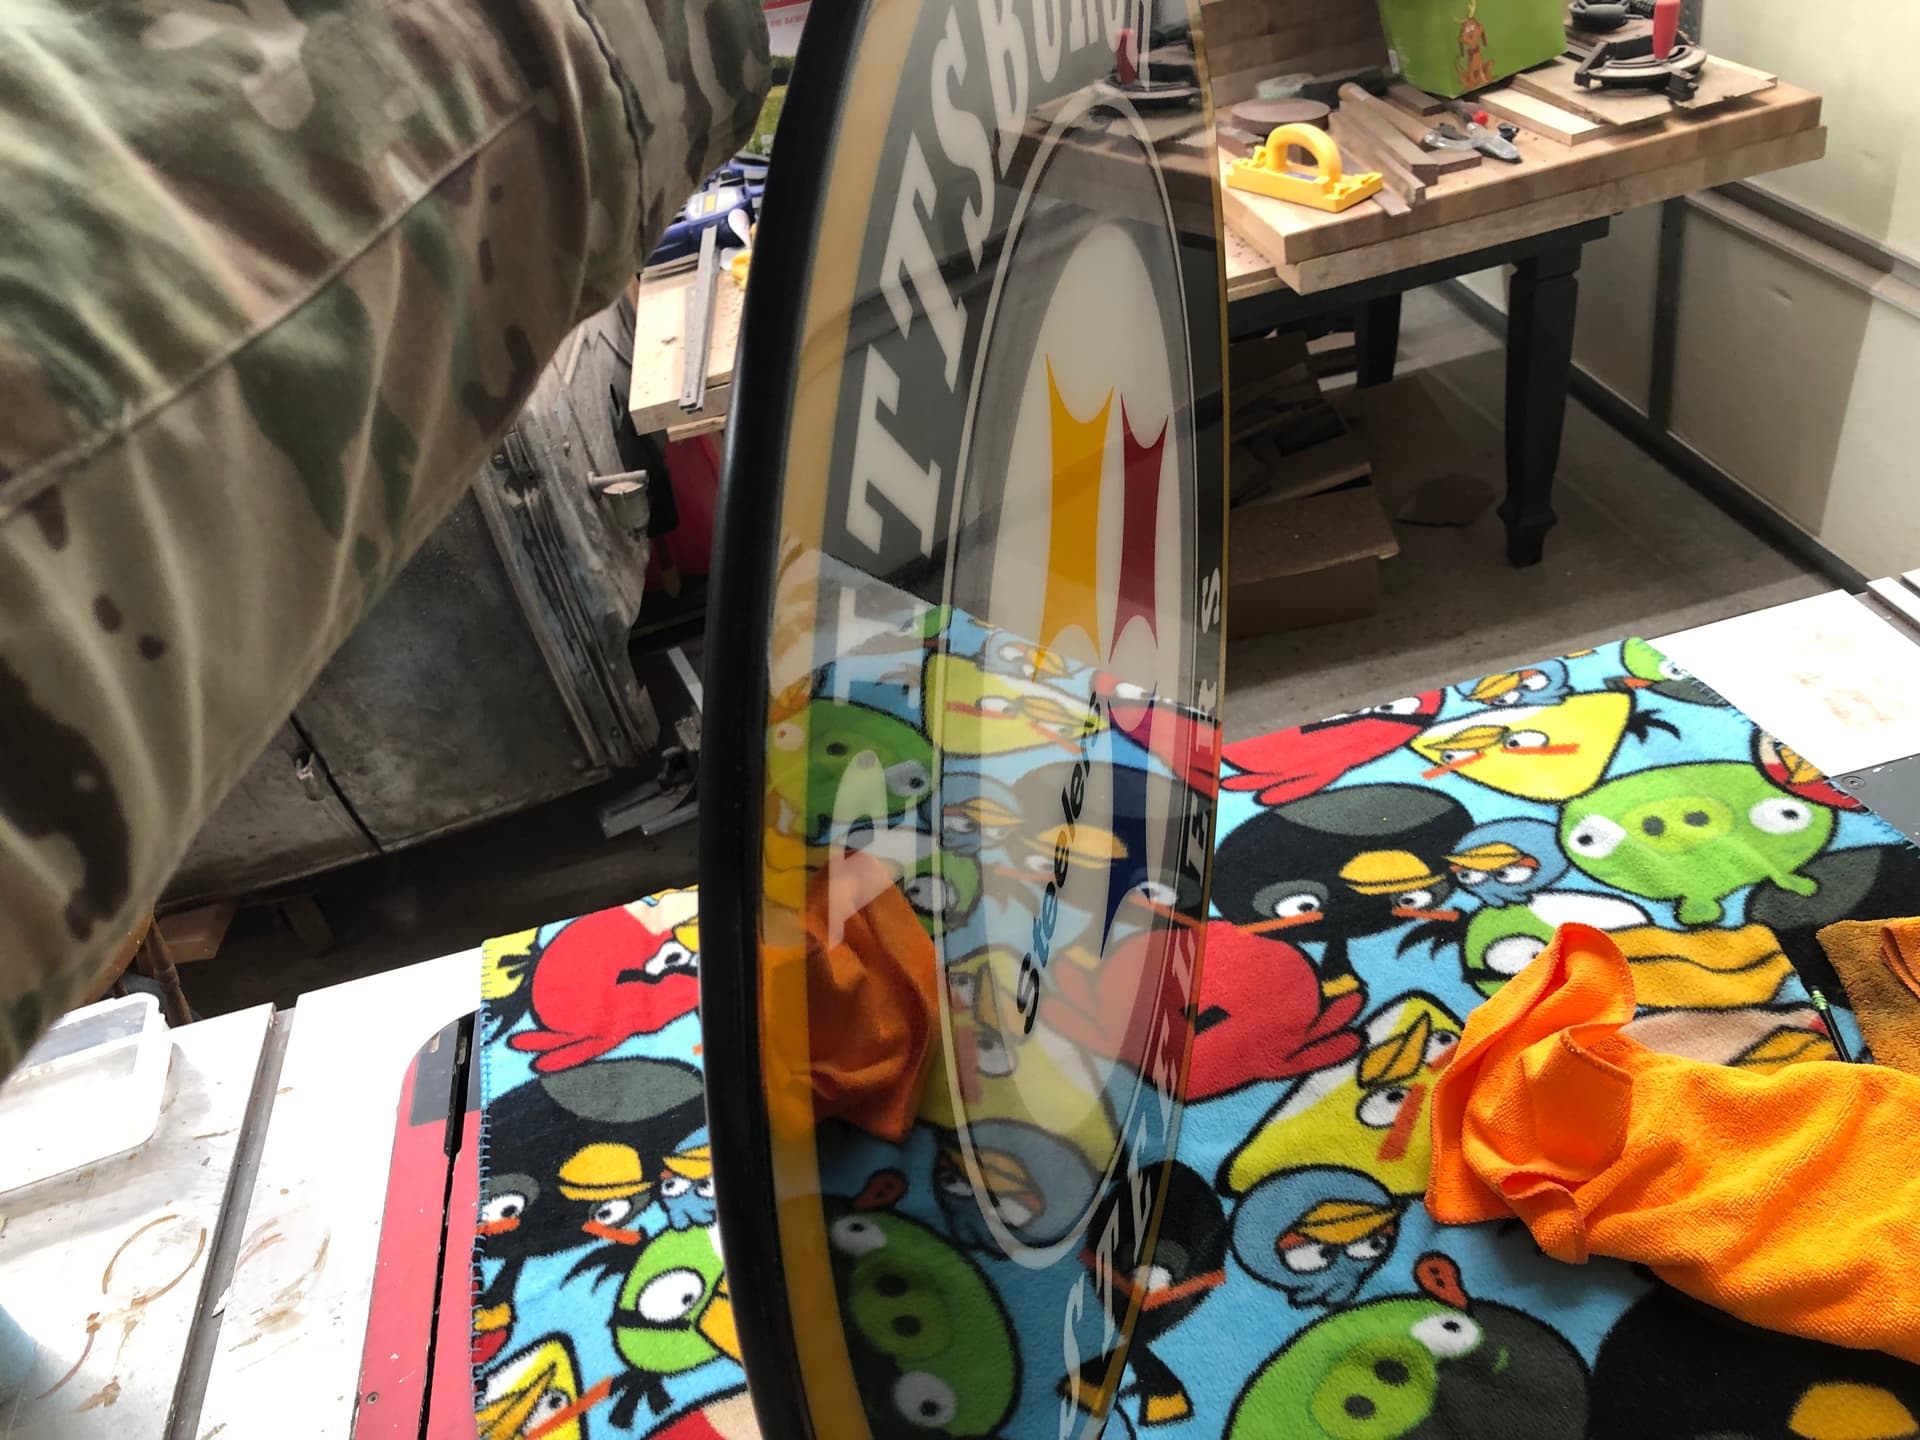
I had a somewhat hard time with the top coat. I ran out of my usual Pro Marine Top Coat epoxy and ended up getting some really over priced ECOPoxy UVpoxy. Both have a max depth pour of 1/4”.
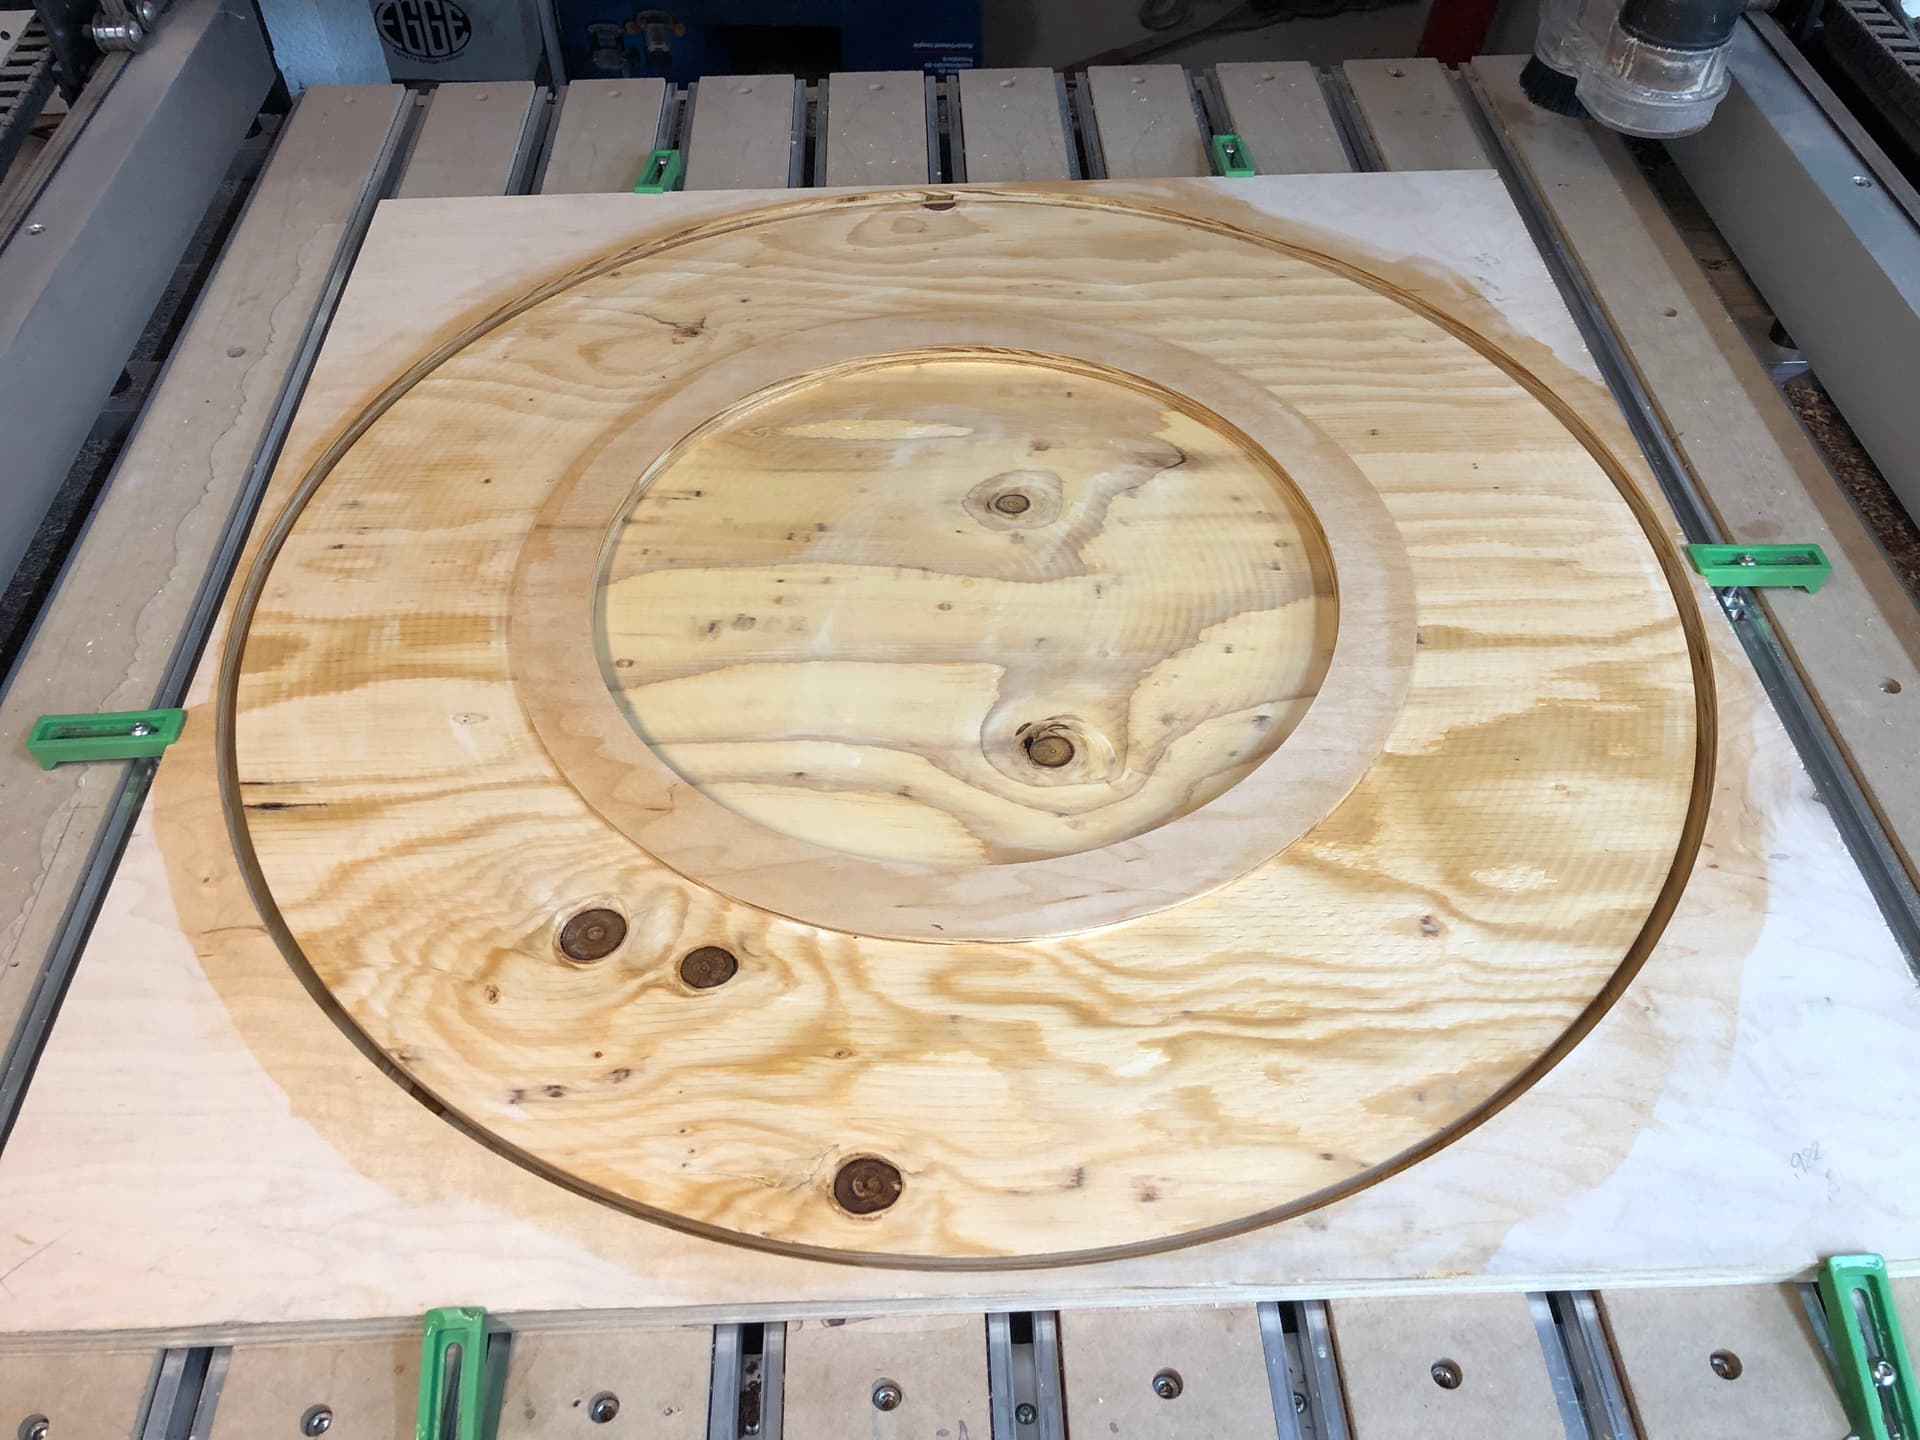
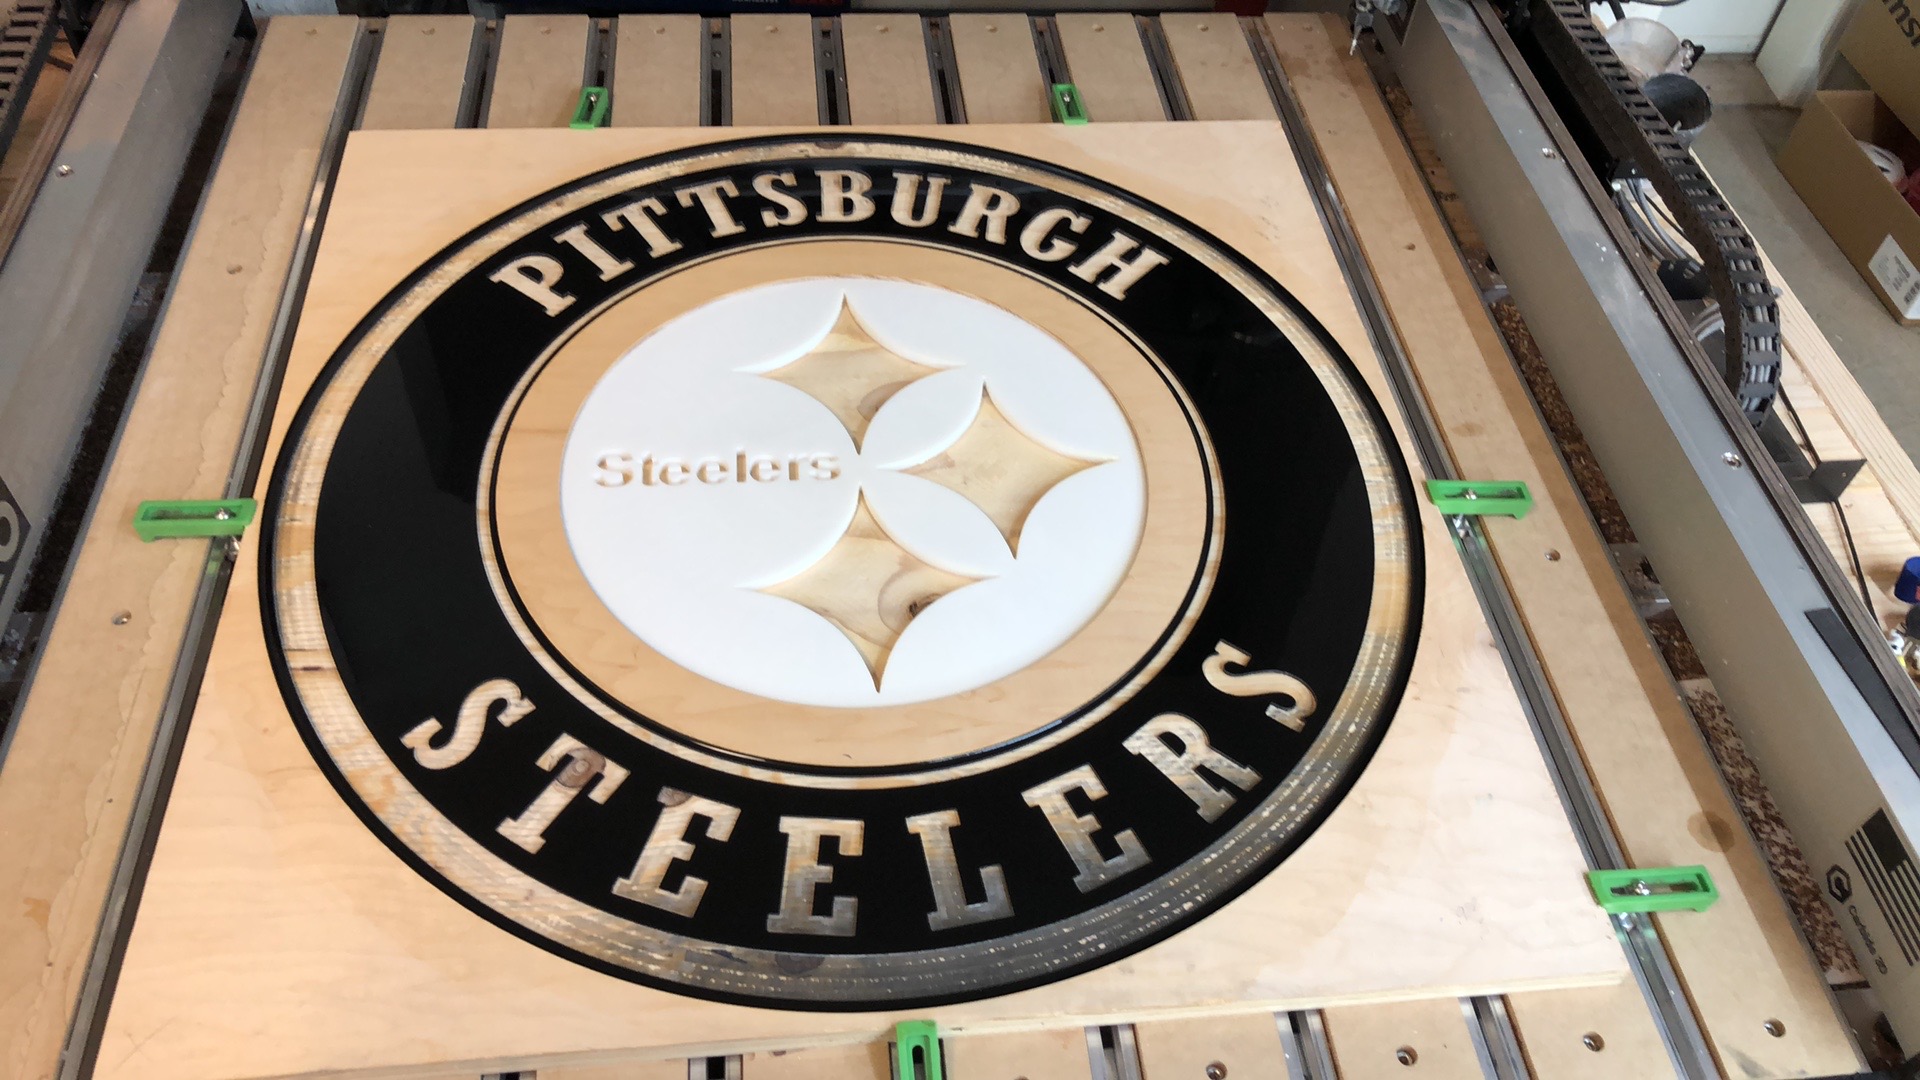
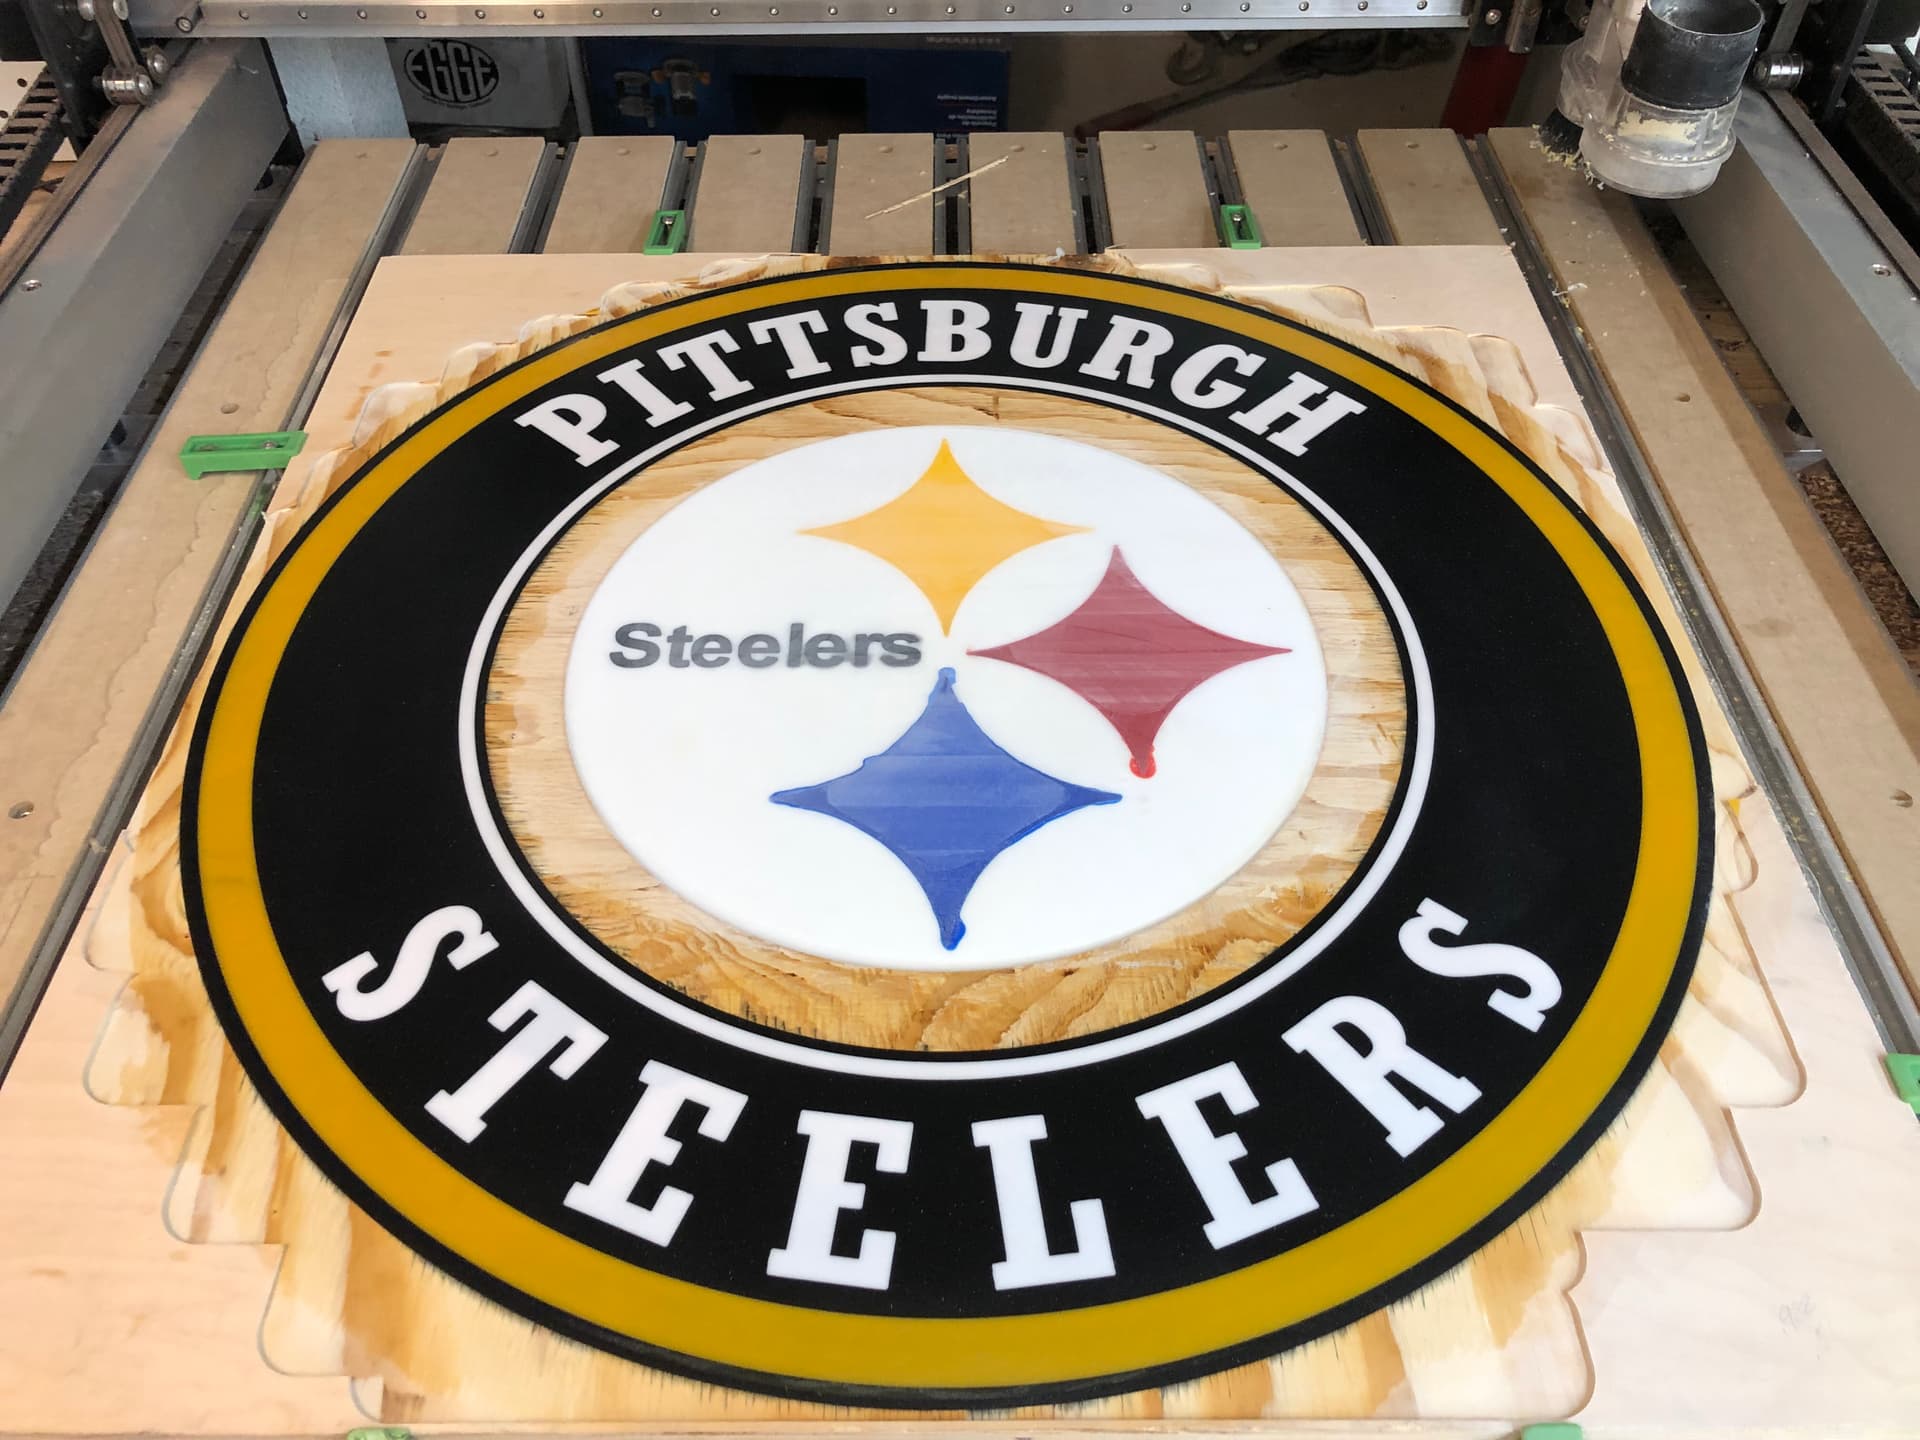
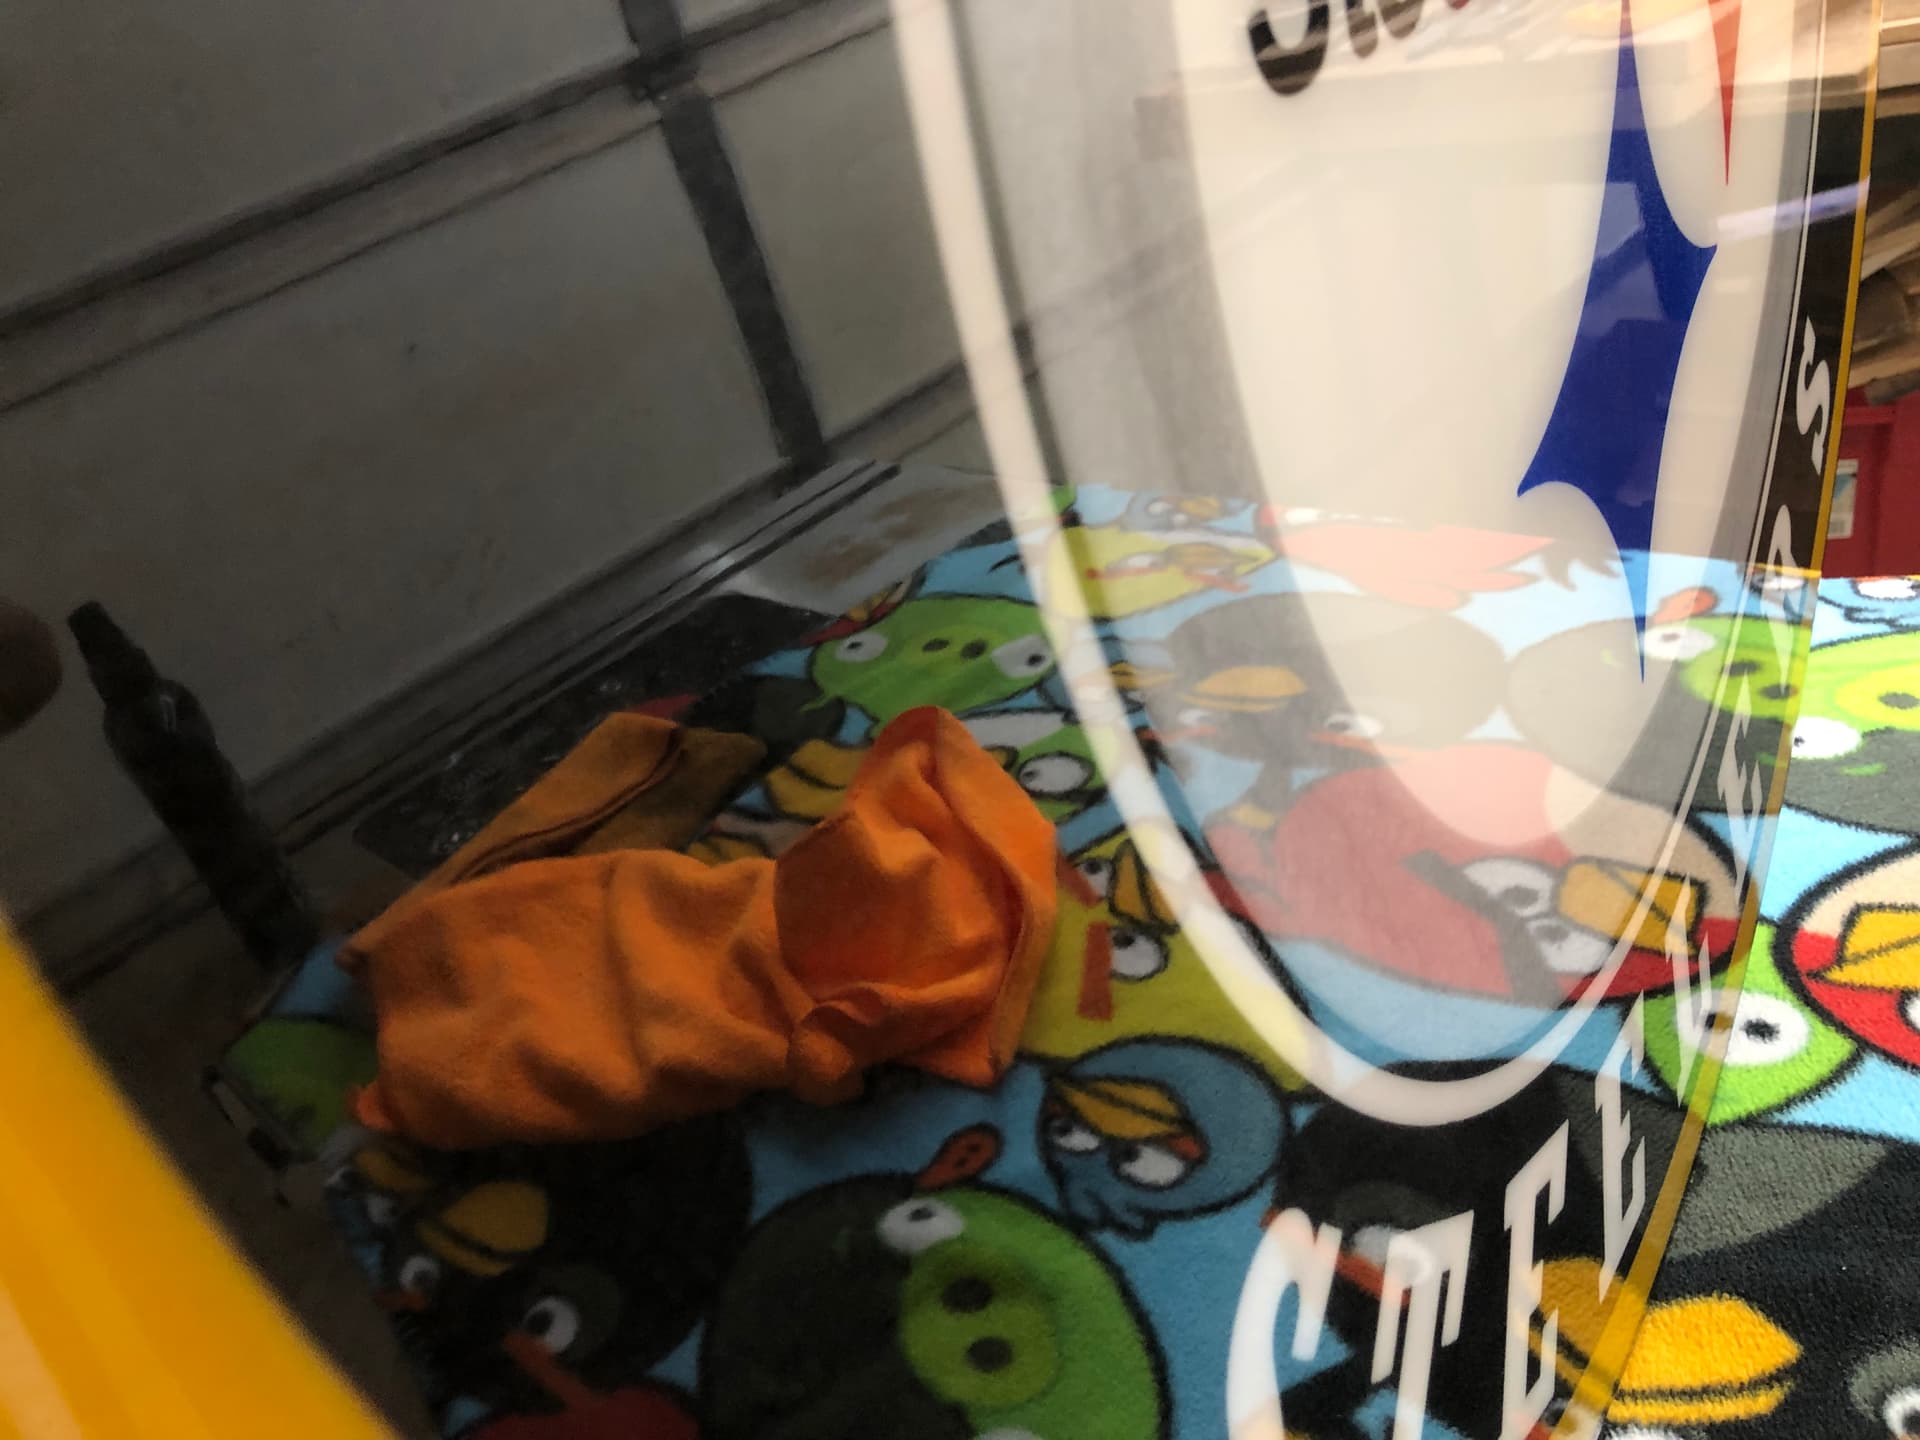
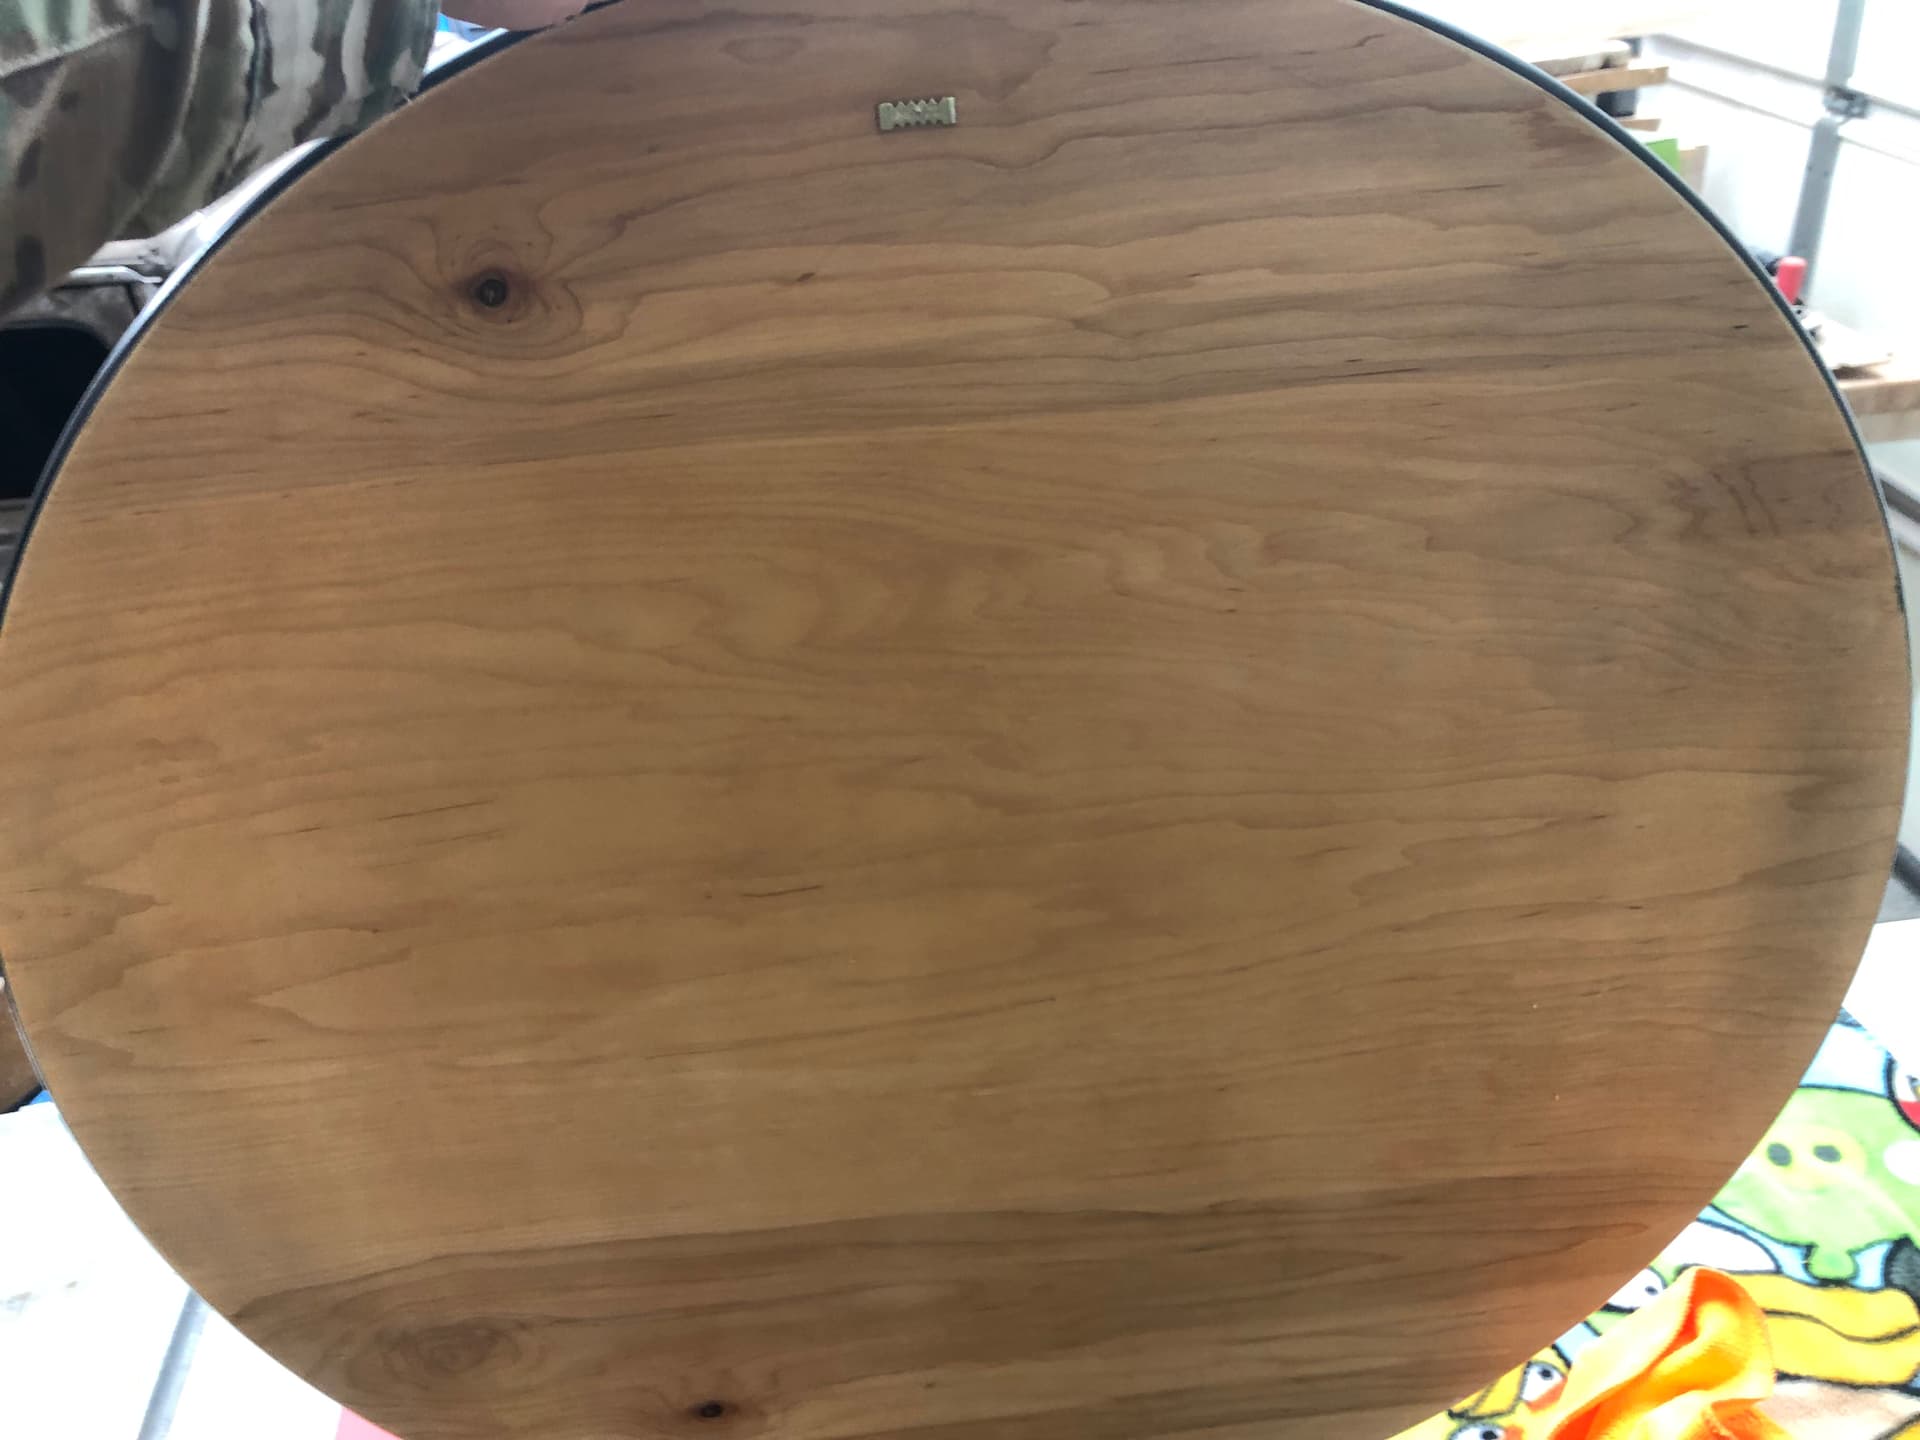
I hot glued around the circle to contain the top coat and cut a 1/8” pocket around the outside black for the epoxy to fill around the entire piece. I cut the pocket deep enough to allow 1/32” of wood material to contain it.
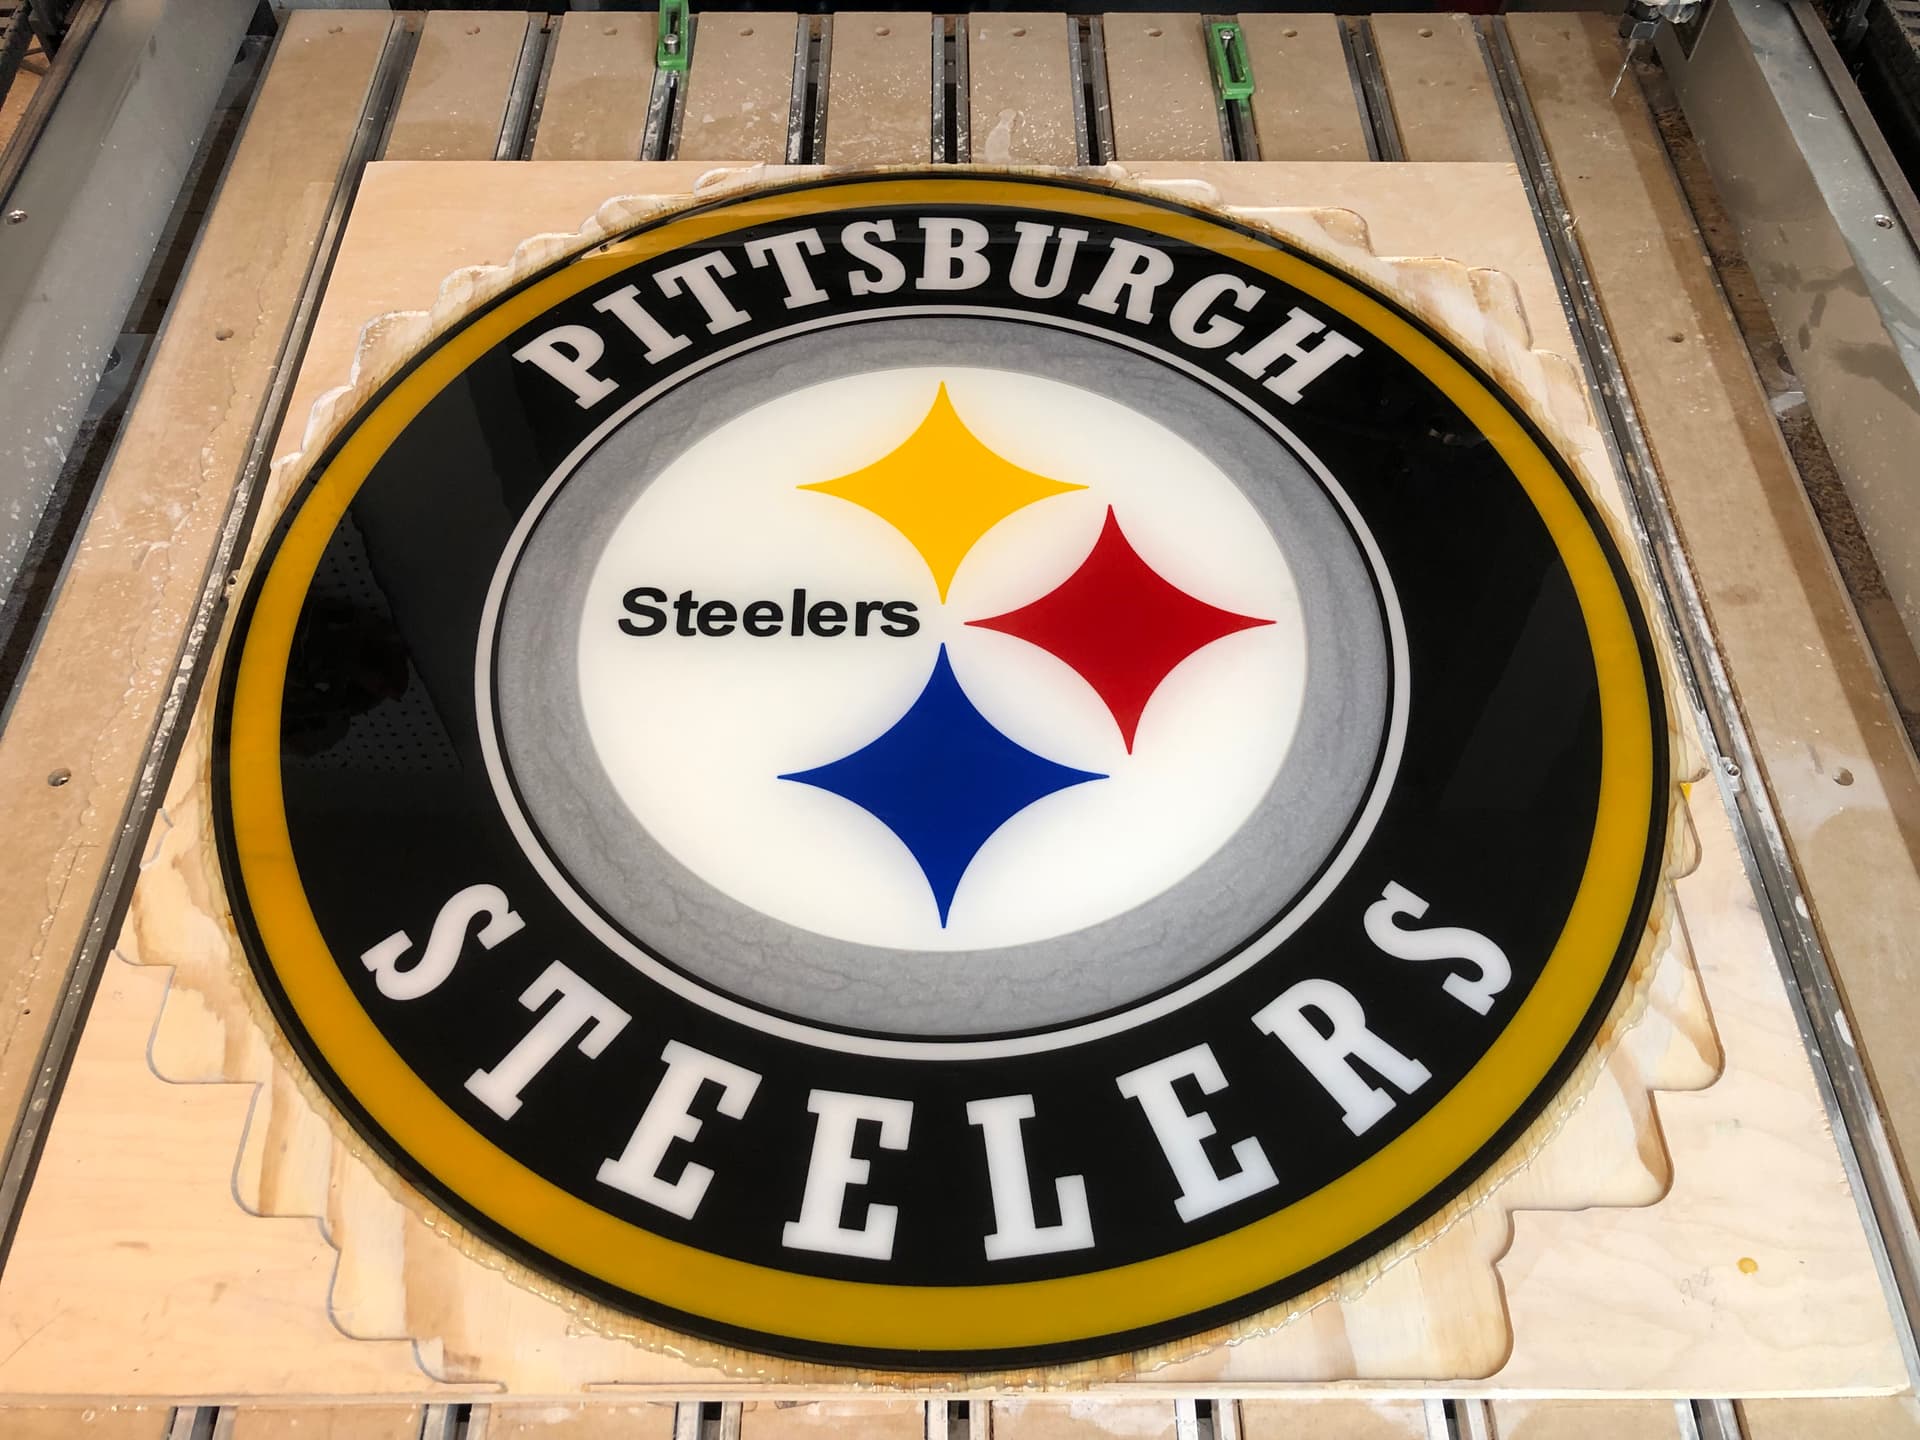
The ECOpoxy cured enough (12hrs) to flatten down to 2mm thickness. Once it was flat, I took it to the router to round the edges and exposed the backside epoxy edge.
Then it’s sanding of 120/220 then wet sanding 320 up to 2000 grit.
I didn’t have any fancy 3M Compound/polish and ended up using Maquire’s car stuff I had in the garage.
The entire process of sanding/buffing/polishing/waxing took about 2hrs.
And here I was hoping you got that superb finish from just pouring a top coat. Sanding and I are not best friends, but it’s reassuring to know that at least there is no magic trick and it is a required step in the process.
Right, so THAT is what I am not doing (buffing/polishing/waxing), I have some learning to do.
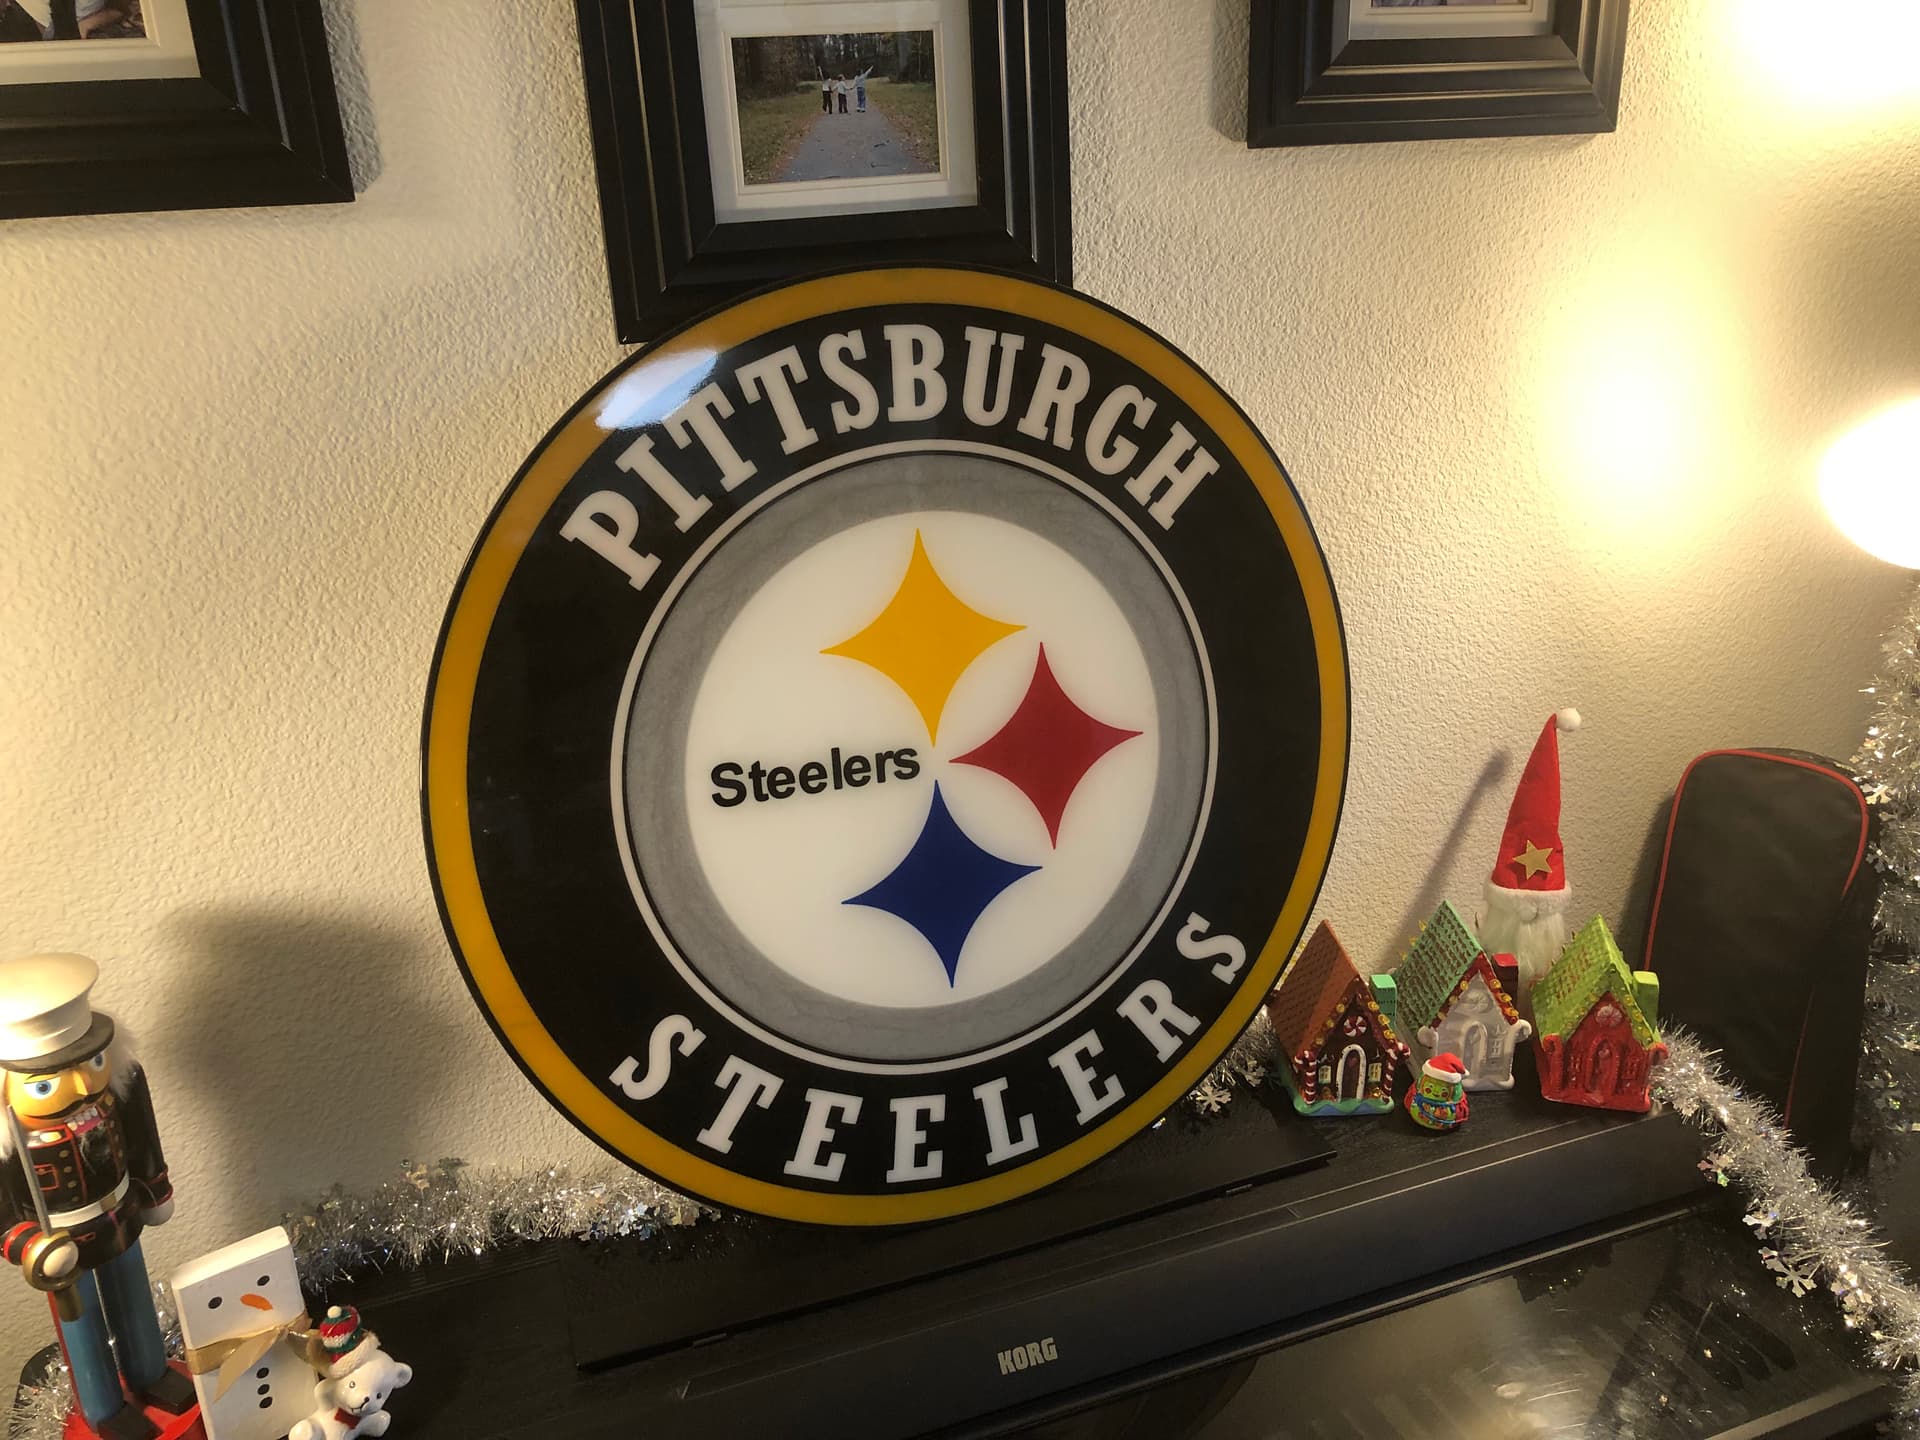
I learned the hard way that the heavier stuff needs more hanger. I added a short French cleat hanger that I cut.
The French cleat will hold the object away from the wall a bit (depending on how thick the cleat is). Add a riser/spacer, of the same thickness, near the lower part of the object to maintain an even distance away from the wall.
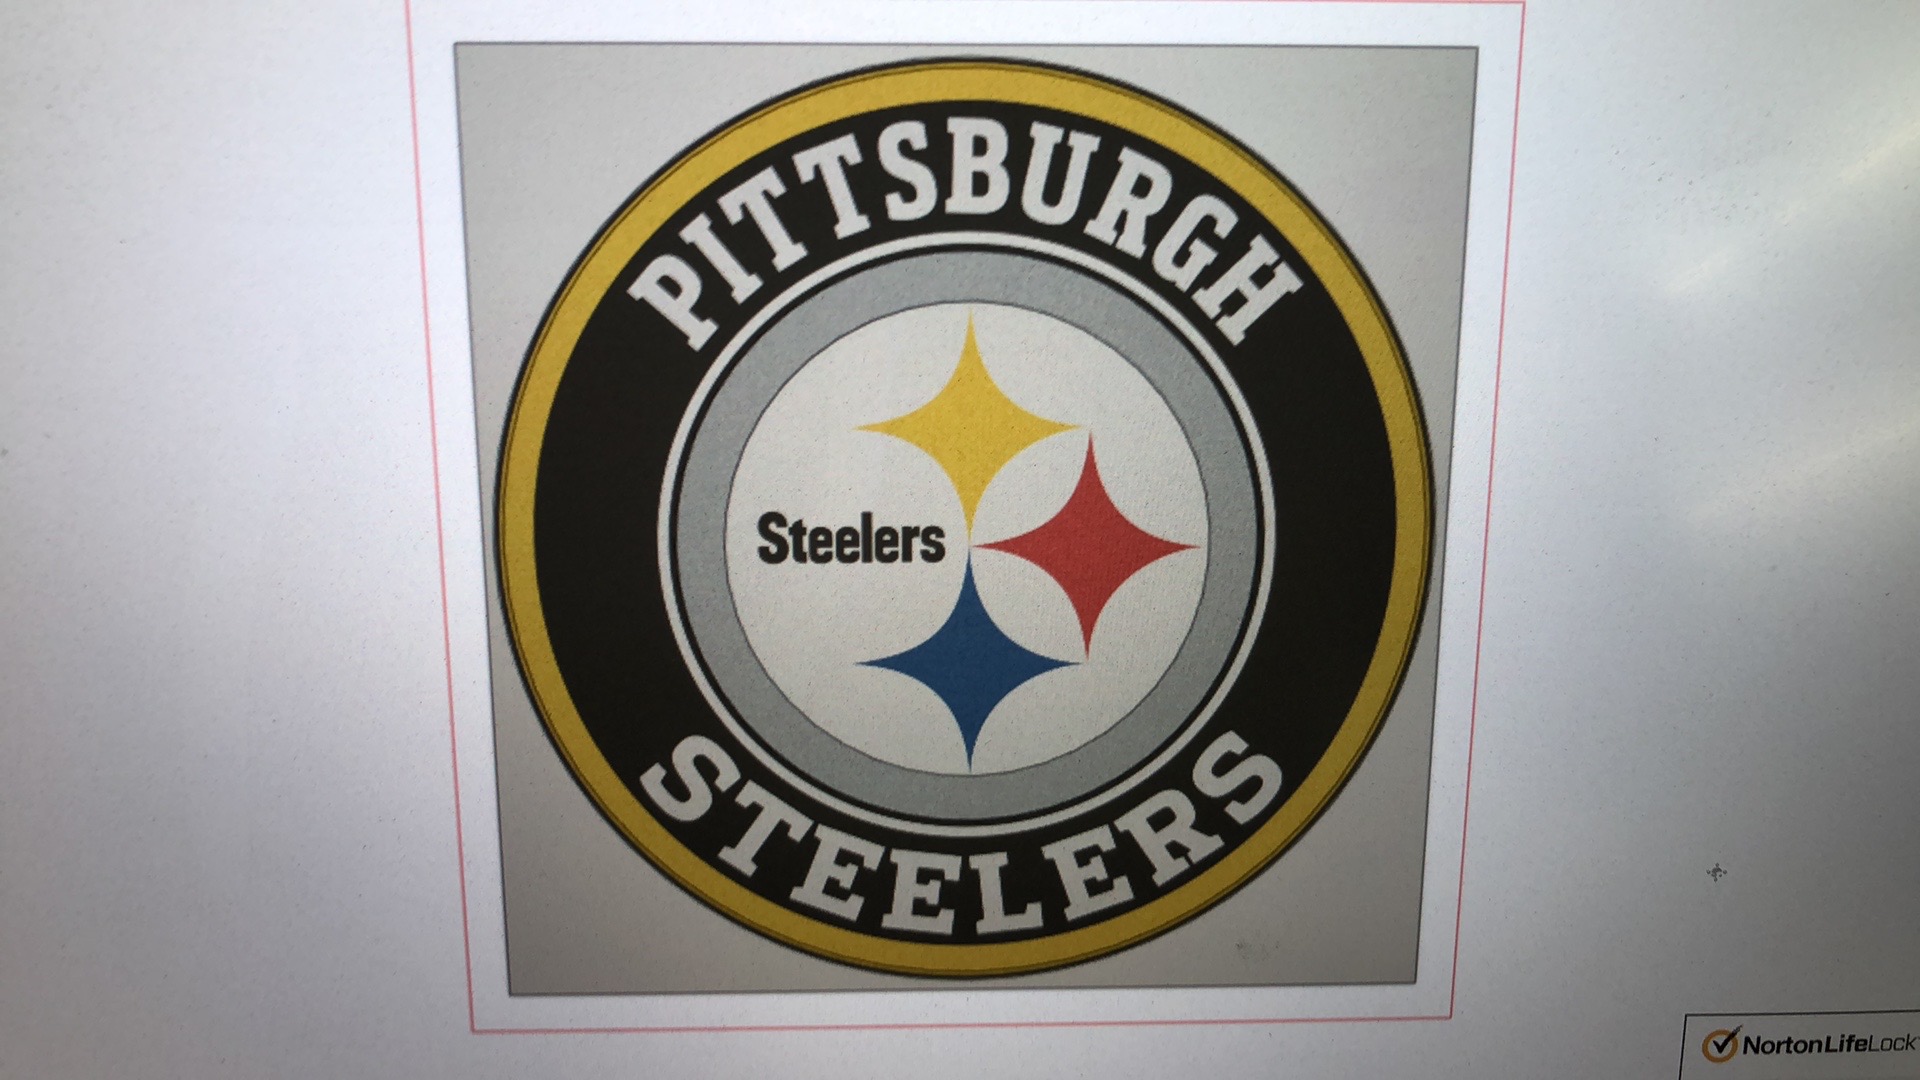
Thats very nice. I plan on doing same for a friend who is a Pittsburg steelers Fan. This will be first epoxy inlay. What size is the sign. What epoxy and dies do u recommend
@EvansDad overall diameter was 29”. I primarily use top coat marine epoxy. Half way through I ran out and bought ECOpoxy. Both are great for this type of application. The ECOpoxy smells a lot more healthy working with it.
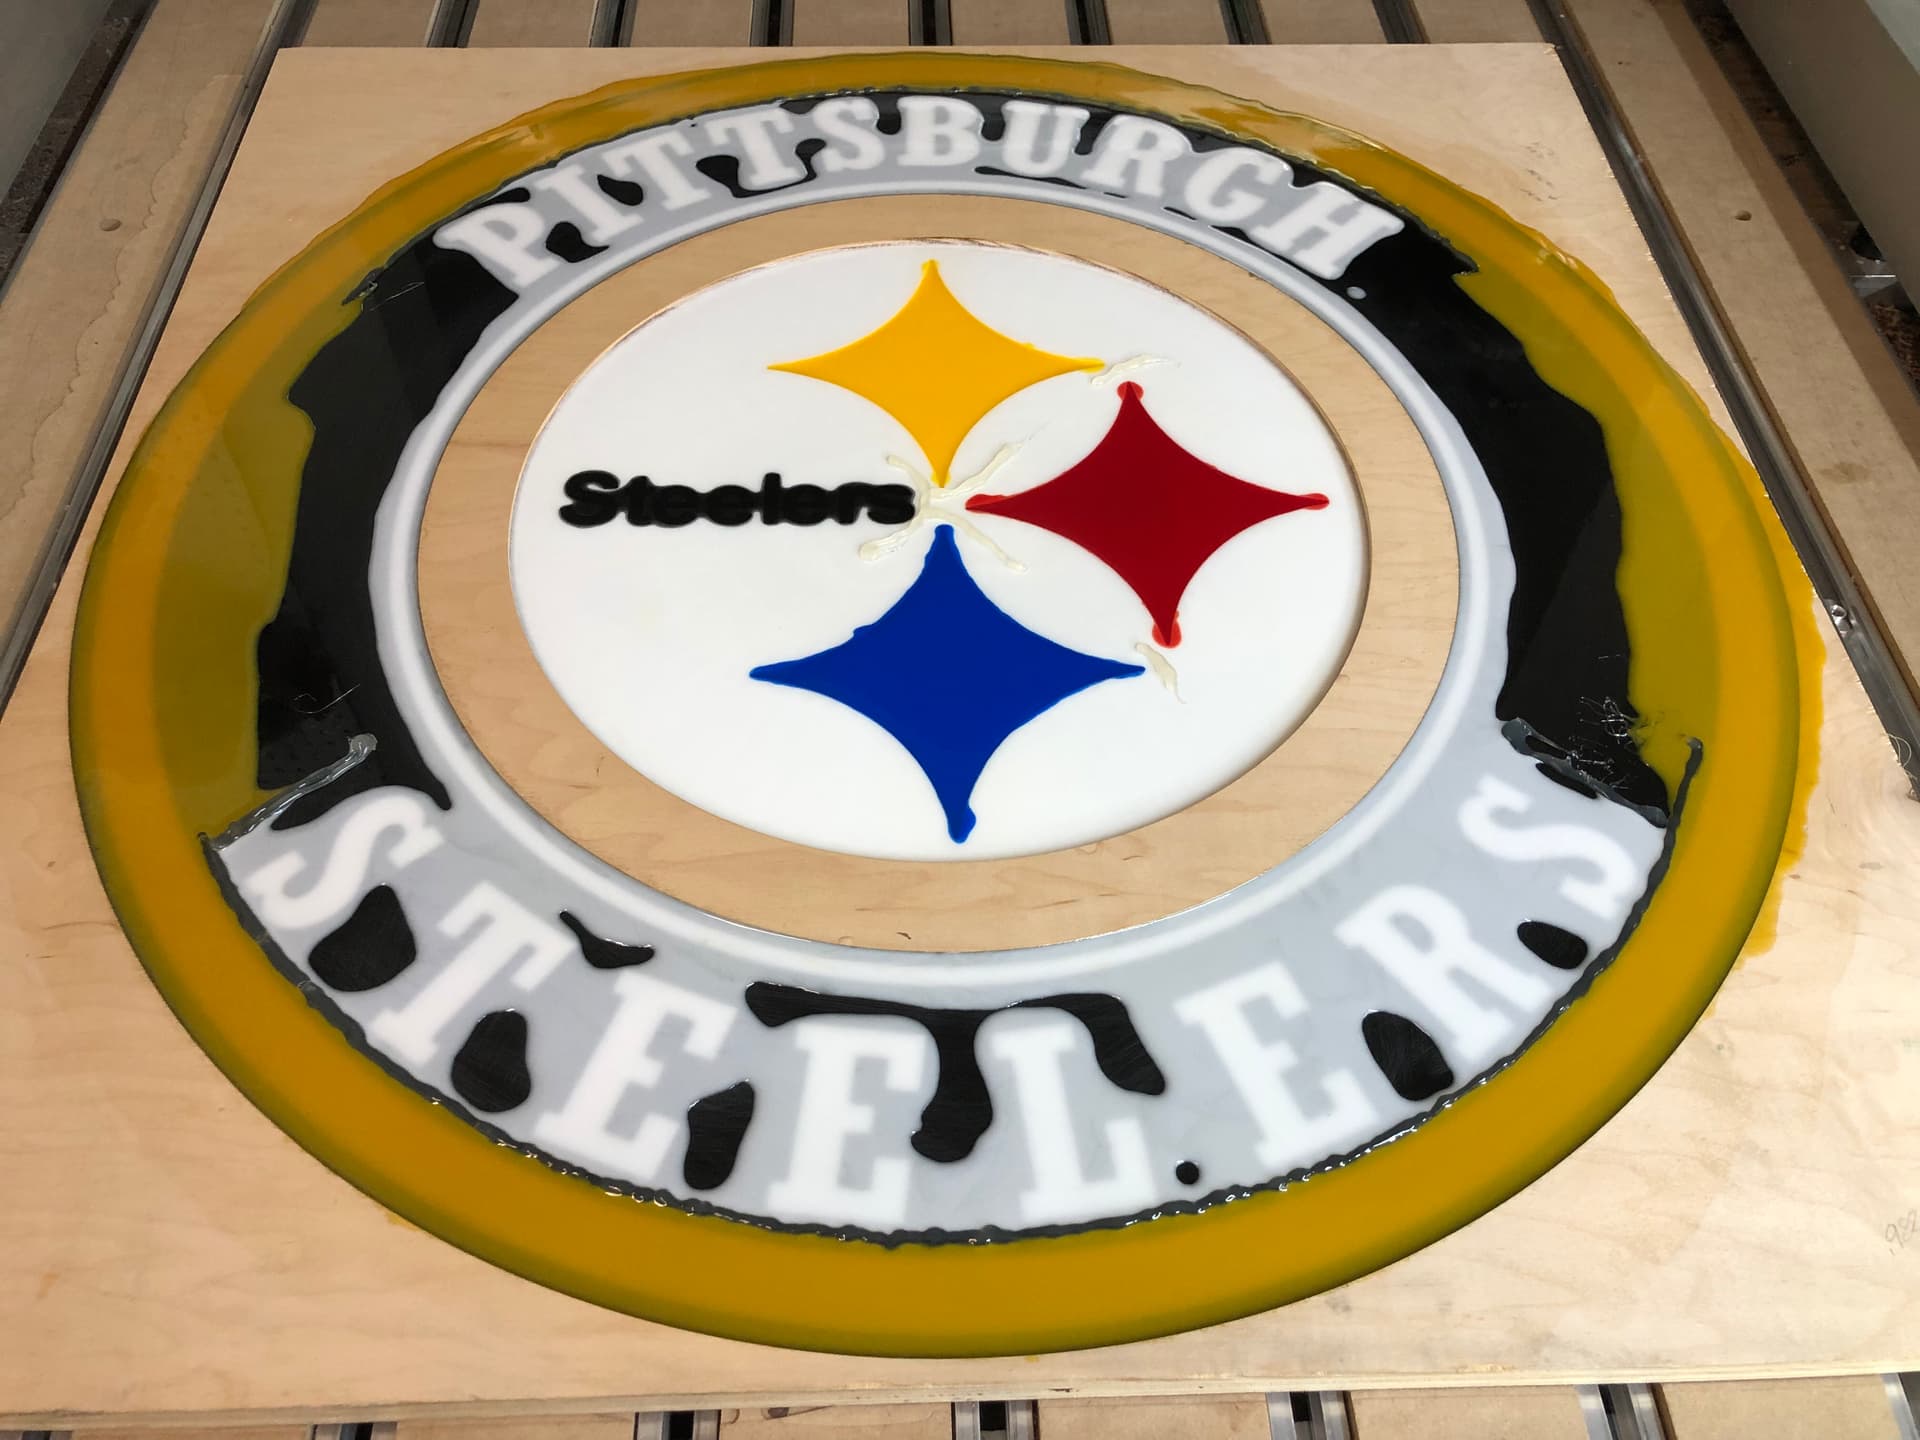
For dying the epoxy, I use acrylic paints to match the colors needed.
I can upload my image, choose the type of paint, and it will generate my mixture by parts to match the desired color I highlighted. I’ve had great results with it! Rule of thumb is 1/10th acrylic of the amount of epoxy to fully dye the epoxy.
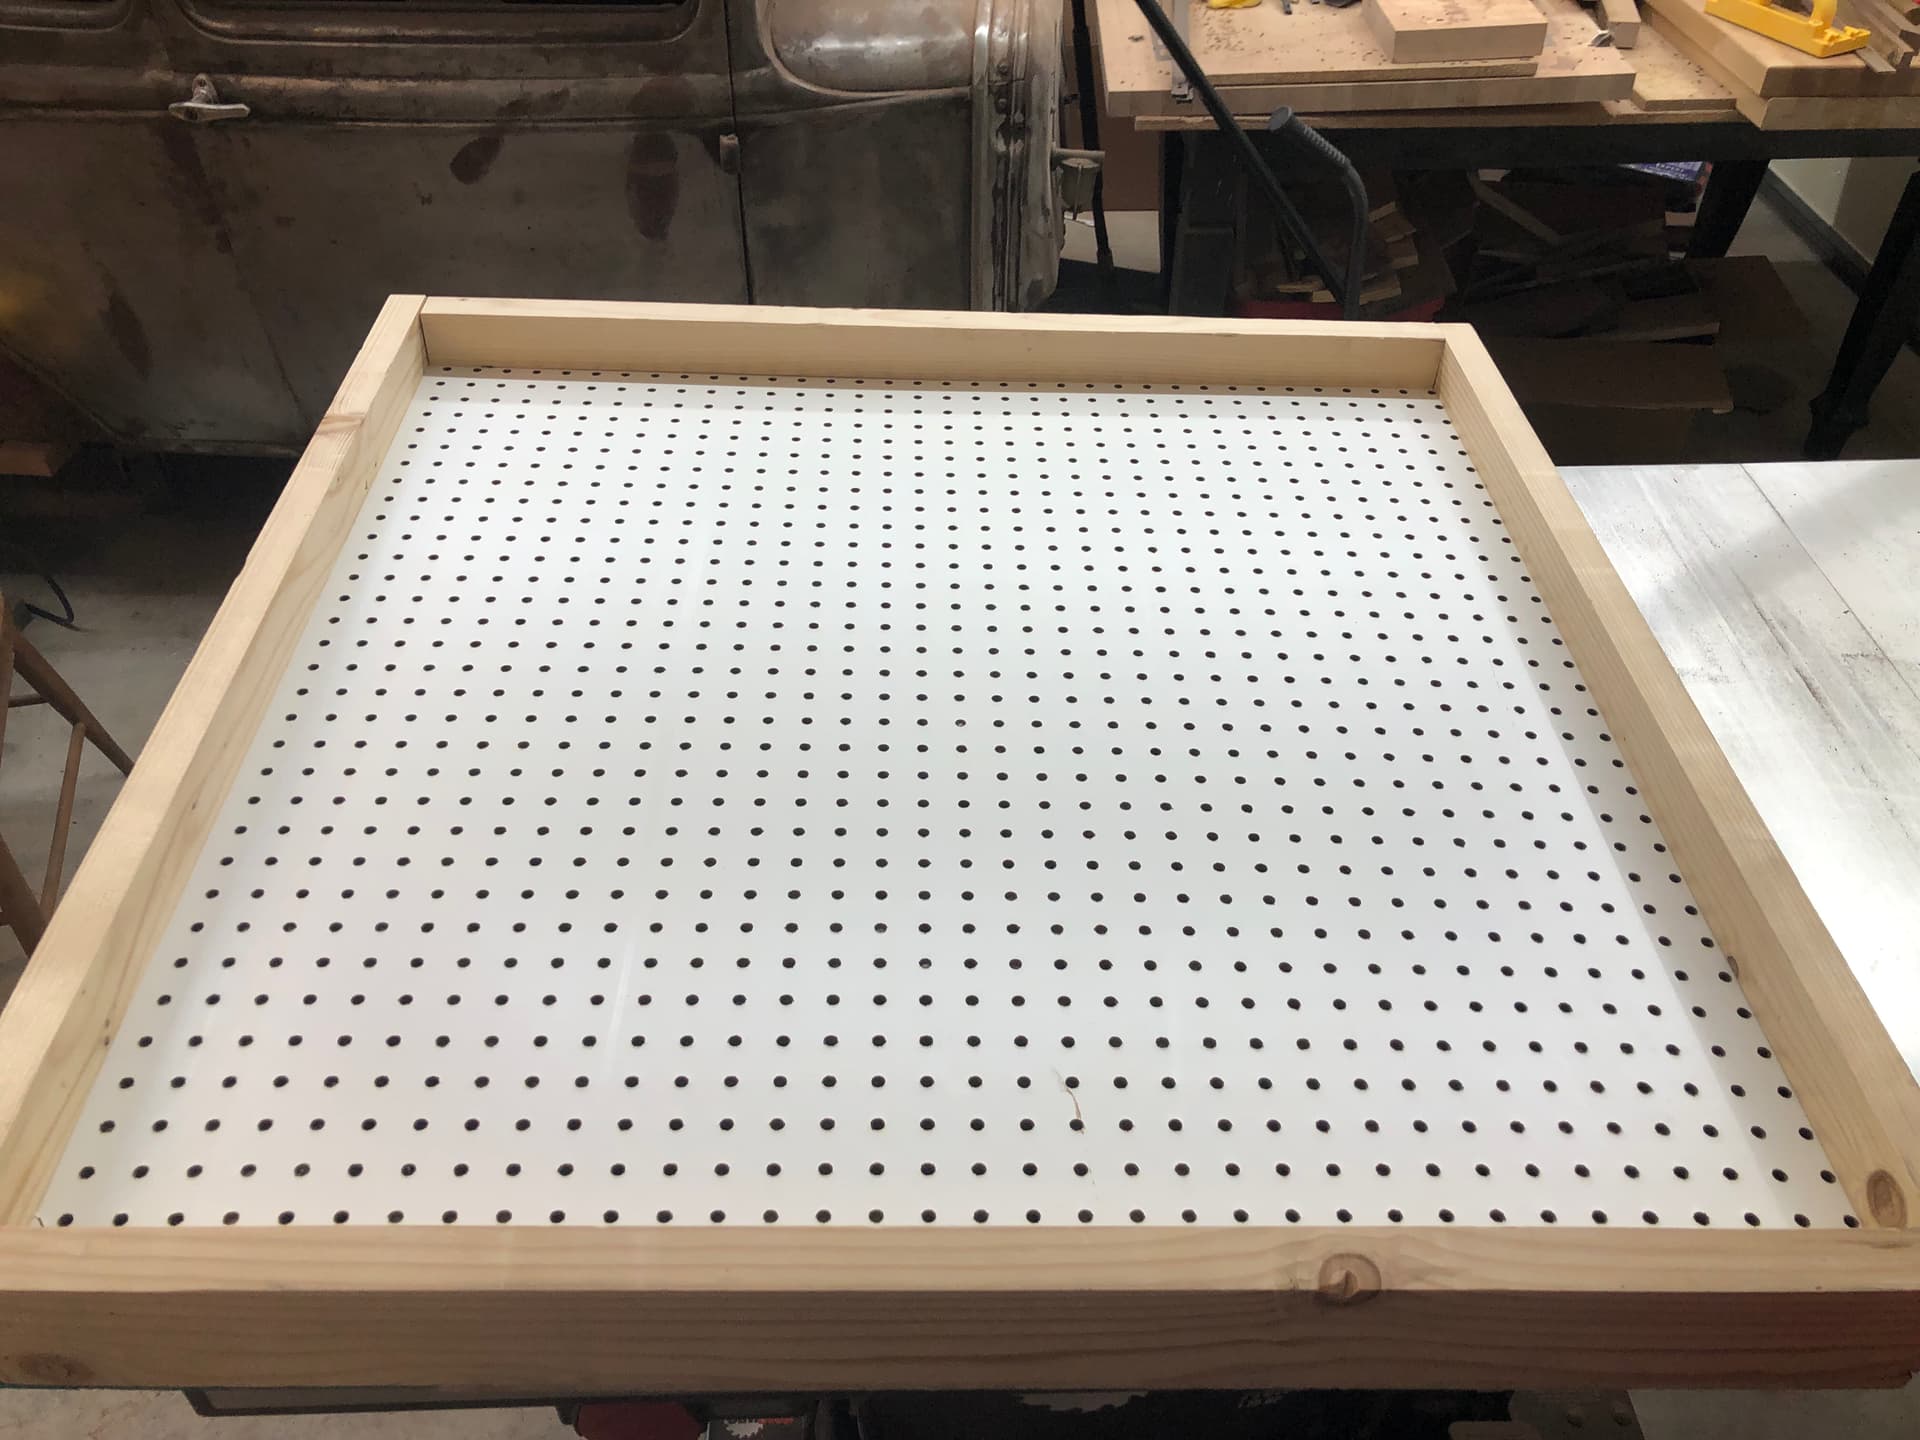
Love the heating blanket idea! Is it installed under the peg board? I live in Ontario so my shop is always super cold. I have a natural gas shop heater but it would cost a small fortune to keep it running all day/night long while the epoxy cures. Currently, I pour it in my basement but it’s not ideal so your box idea is great! I may just insulate the walls a little to help.