So I have been doing epoxy projects lately and quite happy with them. Up until now I have just been sanding up to 800 grit and using water based poly in spray can. But I have been wanting to do topcoats to finish them off…Sorry but sanding and polishing just not in budget or work flow process for now.
So what I have noticed, even with surface completely level and leveled on table before the pour, the edges are an issue. The epoxy seems to “pull away” or back off the edge and looks terrible. I have tried waiting until epoxy was really thick and curing before pour, tried waiting till epoxy was thick and spread it out to edges, but still no luck.
I have used MAS Table Top Epoxy and it works for me. When you spread the epoxy with a plastic bondo spreader you let it drip over the edge. Either before it set up you wipe off the under edge or wait until it is hardened and sand the back. What epoxy are you using? The key is to use more than you need and let it drip over the edge.
I use Nicpro epoxy. I admit I really don’t know much about epoxy brands as just starting out but I have been extremely happy so far with mixing and pours. Clear and very few bubbles, just have had this top coating issue. This epoxy is low viscosity initially so maybe that is an issue as the video looks like it has more higher viscosity.
I do pour “A LOT” and spread it and drip it over edges. Poured about 6oz on a 15" x 8" sign…spread it out and it just flows over edges like water. But like I said, it just pulls back/rolls back from edge. Maybe it’s a viscosity issue? Pouring it on too early? Brand issue?
I think you want a different type of epoxy. It sounds like your epoxy is low viscosity, so likely a ‘Deep Pour’ formulation. For your purposes, a ‘Tabletop’ formulation (much higher viscosity, and usually much shorter working and setting times) seems appropriate.
I’ve used Magic Resin brand (Canadian), and have been very happy. They have both deep pour and Tabletop formulations. I think the equivalent in the USA would be East Coast Resin.
I have used the Magic Resin deep pour with good results for deep pours. The thing I like about it is there are very few bubbles and it does not get super hot in the pot. The down side for deep pour epoxy is it takes a week to cure fully. You still have to use a torch or heat gun because there are a few air bubbles. I have not used their table top type epoxy. I like the Magic Resin epoxy. However like all epoxy it is expensive. The one thing I dont like is the 2-1 ratio of the deep pour variety. I have a scale but I prefer to use 1-1 ratio epoxy whenever possible. It just makes it easier to measure. As I get older the thing I miss the most is my mind.
I guess I have lot to learn. You all mention deep pour. My pours are only about .16 to .2 of an inch deep. When I think deep pour, I’m thinking of those that do the river tables or live wood pours that are up to 2-3” thick.
I haven’t had too much issue with bubbles on the brand I’m using. The bubble do surface but run a torch once and that’s it.
After researching i guess nicpro is a knock off brand but lots of good reviews with how clean the pours are bubble wise. Like I said in earlier reply, My pours are shallow at no more then .2 of inch deep so maybe that helps.
Lots to learn and steep learning curve but your are right….hopefully at not a big expense lol.
I hate to go buy separate top coat bottles as just doing a few signs and learning so came up with cheap work around. Did an over sized offset and surfaced and then contour cut a shallow
Channel. Letting it harden for week and will cut out and see how comes out. Thanks for all info everyone.
One suggestion, if i may, when doing any clear pours with resin, its always been a benefit for me, regardless of depth, to brush the surface with a coat of resin first and let it dry. That way, any bubbles that come through especially with wood are microscopic. After it dries pour the rest of the space in clear. (Resin has depths per pours, regular resin can usually do up to 1" decently clear; also using heat or torch, fans also help remove the heat during the process and can help with bubbles).
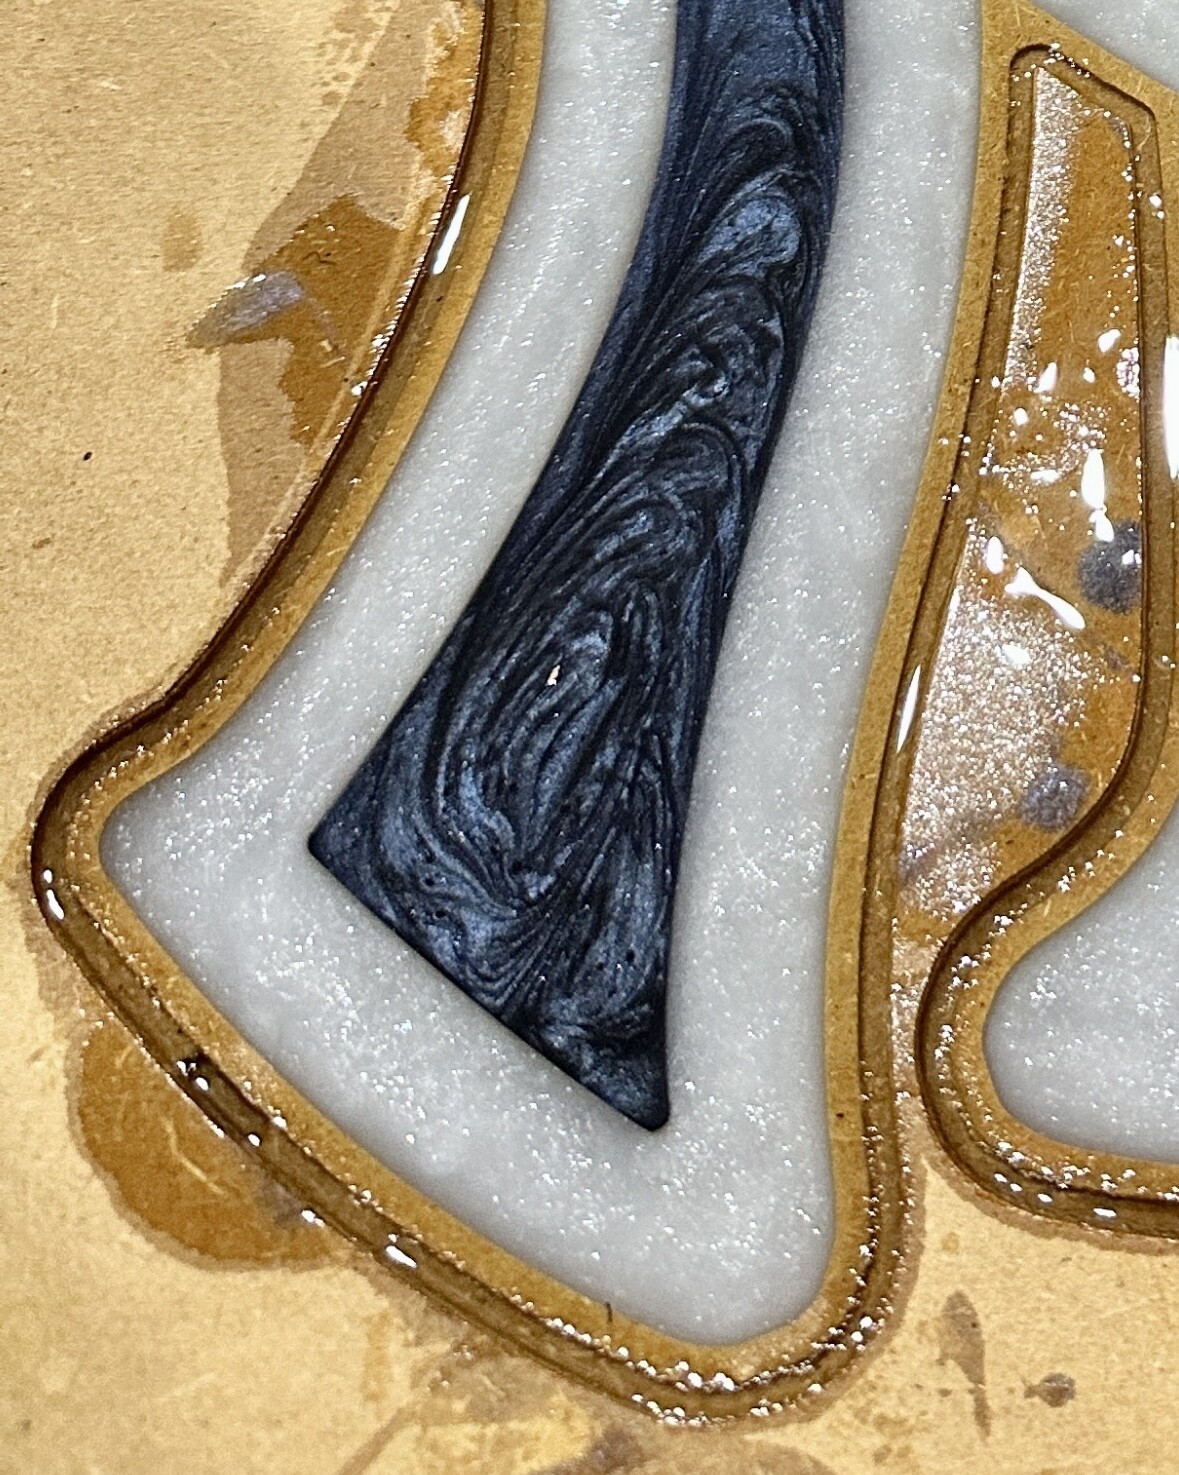
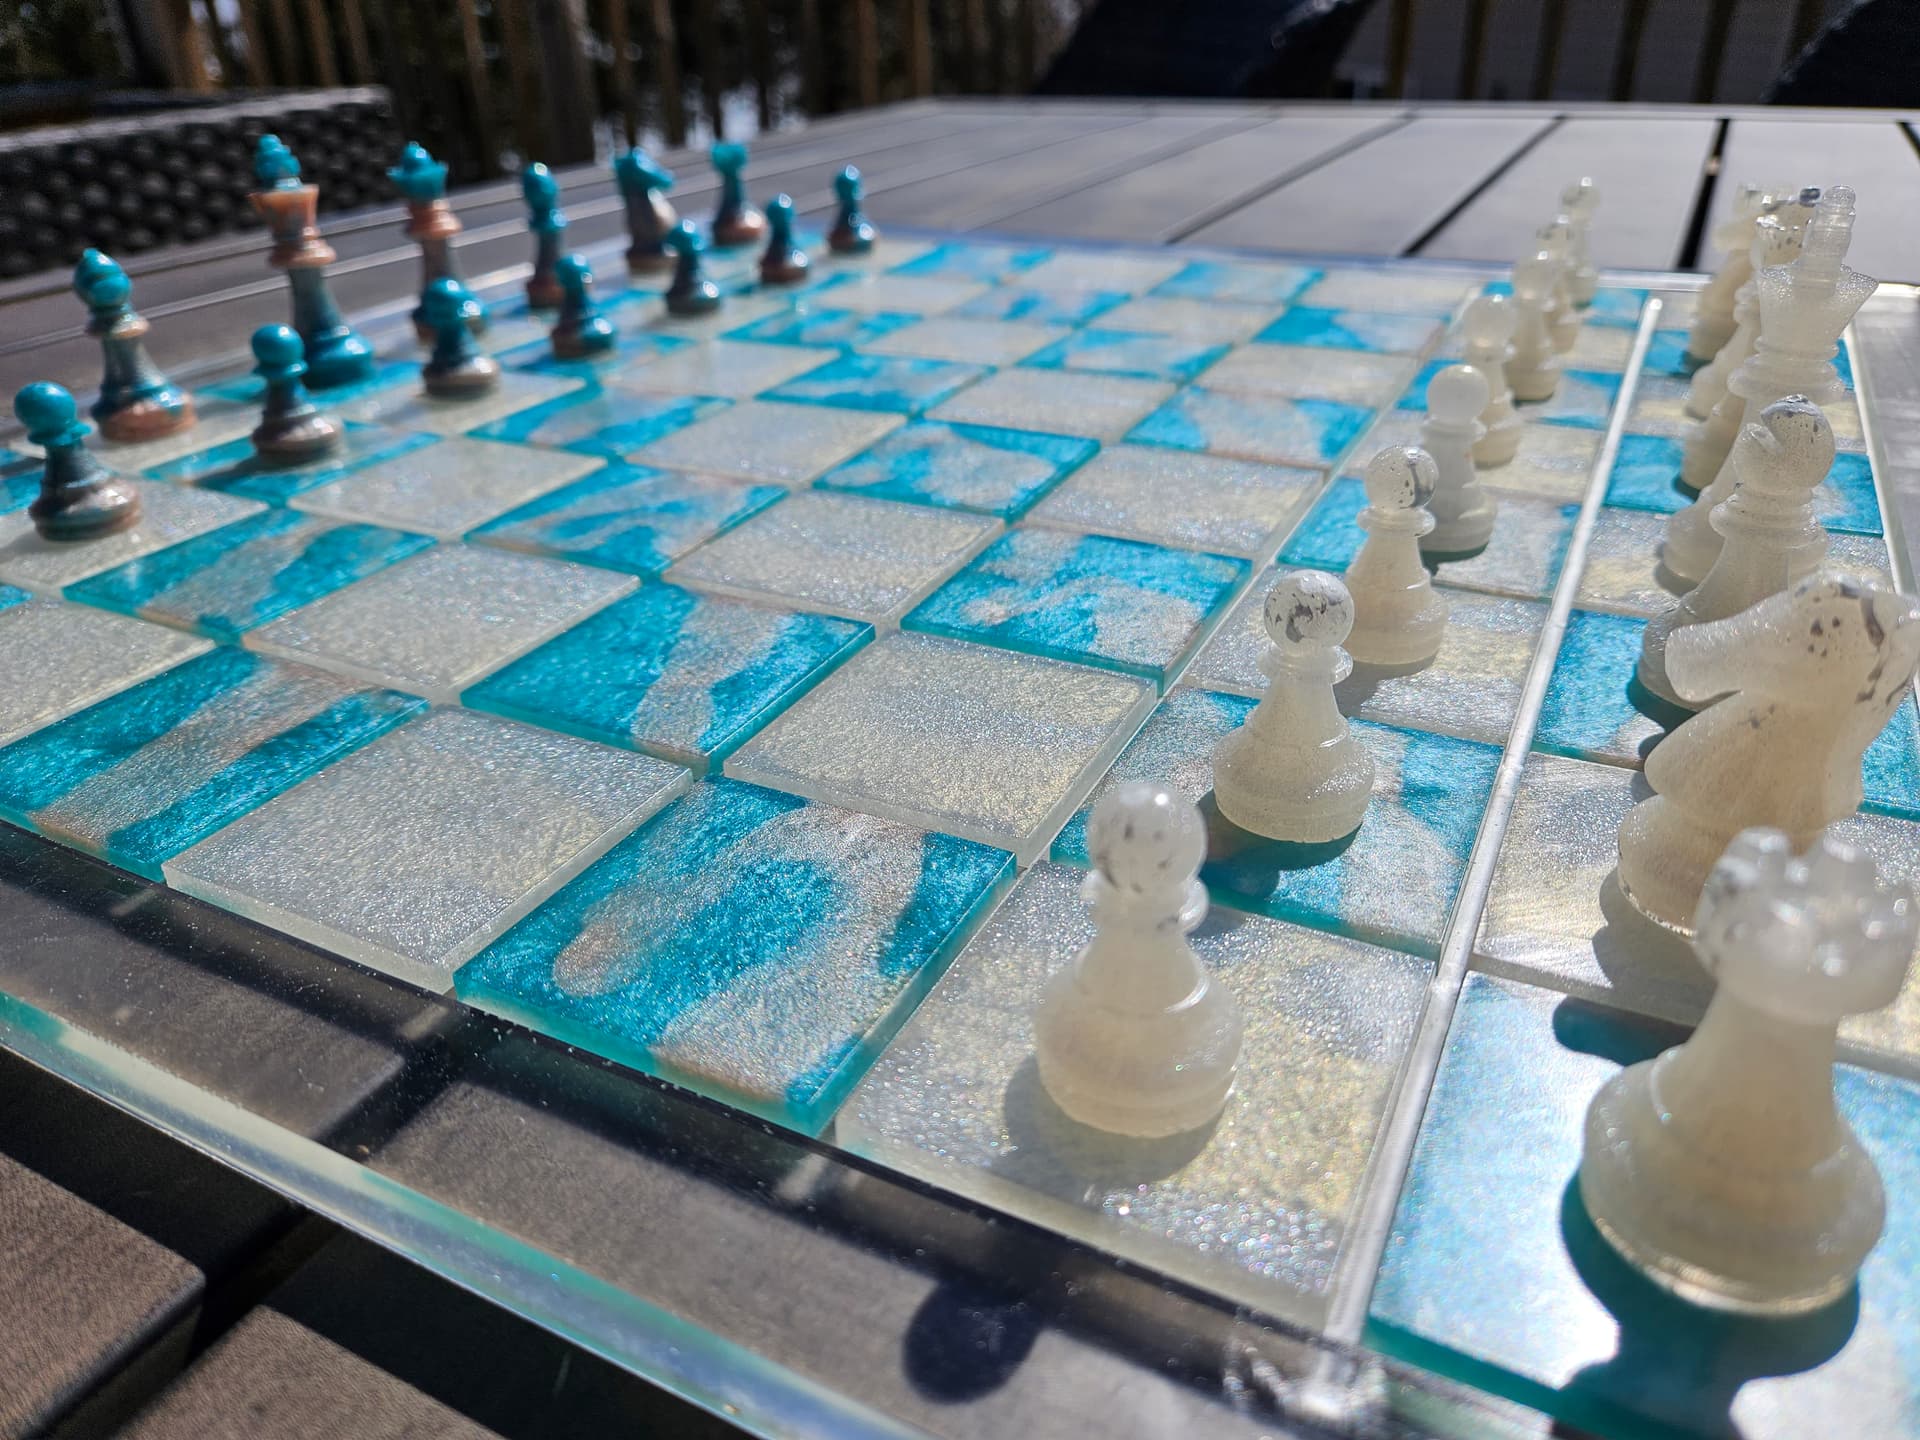
The clear around the Red and White board was left alone after the pour and some heat for initial bubbles. Nice effect. The aqua board sat on a heat mat during curing, much more clear
I’ll start by saying I have zero experience with epoxy but recently have had a conversation with somebody that does a fair bit of it. I seem to recall them saying that edges they pour over they do a roundover. If your edge profile is too square their will be issues.
Steep steep learning curve. Thanks for all the input and feedback. I definitely had to learn and research the difference between deep pour and top coat epoxy. I had always thought deep pour was like those river tables of 1-2” thick. Didn’t know that .25 is a deep pour with certain brands and huge difference in viscosity between the different brands of epoxy.
Also for the first time in since I got a not cnc and using shapeoko, almost 2 years now, I think inexperienced my first EMI / static issue with dust collection resulting in machine shutting down lol. Learn one thing now onto another lol
Epoxy is a plastic of sorts and generates lots of static. Static mitigation if very important especially since fall is here and winter is not that far away. The cold weather dries out the air and helps facilitate static. Not sure where you live but the further North you are the worse the freezing weather causing static. Even if you live at the beach you can still generate static but much less likely than up on a mountain and January in Canada.