So i am fairly new to figuring out how rest machining works, and loved the results, quality of the cut, and the time saved from my first use. However, i am attempting to use it again, and im getting a strange result in the software.
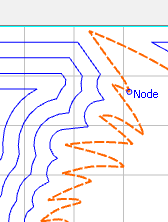
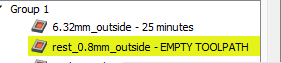
It highlights the toolpath in yellow, and upon hovering over it, it says “Error: no rest toolpath needed”
This is very much not the case, as if i use a smaller bit on its own for the pocket cut, i can get MUCH more accuracy in the curves and corners (kinda what i thought was the whole point of rest machining).
Sorry if those image doesnt work. i can re-save, and re-upload, or link more, if that helps define my issue. If these are ok, my question is simple: what am i doing wrong? i have tried all my bit diameters, and im getting this error even when trying the major pocket cut at 1/4", and a rest machine cut using a 0.8mm bit… it seems pretty obvious a 0.8mm diameter will get into things a 1/4" cannot… so does anyone have any knowledge they can pass along to help?
ok i can do! is just having the two toolpaths, 1/4 and 0.8mm (with the error), enough to get some info? and in what format should the upload be?
Thanks!
~m
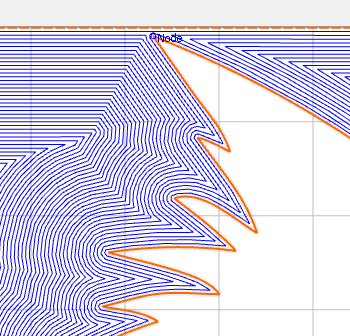
I thought that might be the case too, but i can get ridiculous accuracy if i set the whole negative space to be cut by the 0.8mm (but obviously, im not interested in a 900minute single bit cut lol), so i know it can get into the places i need it to.
it seems there is just some sort of communication error in the rest machine stage. I have a c2d file sent to the support email already, so ill try to update this as things go forward.
there is always the possibility of user error! and maybe im just missing something stupid, but i think im trying to apply it correctly haha. we shall see!
im on build 815 cc pro. ill try that previous bit change right meow, tho i am a little worried if a 0.8mm bit comes in hot thinking there is less material than there will be haha… but if it works, i dont mind a workaround when necessary.
They are all returning the same error, and no toolpath is being assigned. It seems to matter not what the previous diam was, the rest machine path just wont build
I have had that same yellow background and notification, in my case it was my selection of vector was not correct for a Carve (something was “open” in the vector) It may not be the same issue here?
Yeah im not really sure what to make of it yet. The cut works great with the 1/4 EM, but when i try to fine tune it with a rest machine path, it says its not needed… when more details can be gained with a smaller bit absolutely.
My current workaround is the build profile lines out from what i want, and just step down bits until i get what i want… but im looking to avoid 4+ bit changes if i can help it.
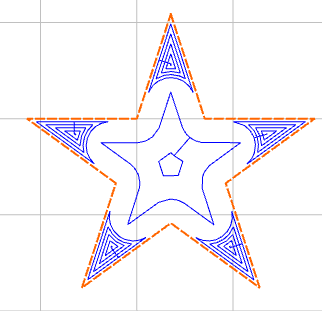
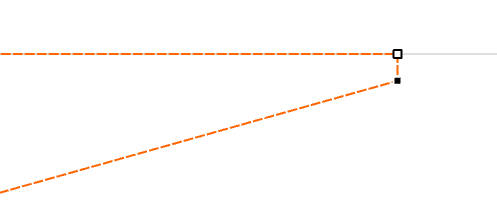
After a response from the support@carbide3d.com friends, the issue is the edges of the inner works touching the outside edge. enlarging the outside stock piece, or scaling down the inner pattern will allow the rest machine toolpath to be created correctly. This will save me a ton of time, as well as bit changes! i hope this helps someone else too!
yeah i havent done an inlay like im planning here, so ive never needed to chomp through all the negative space like this. its relatively arbitrary, but its nice to know how to solve the issue digitally first regardless!