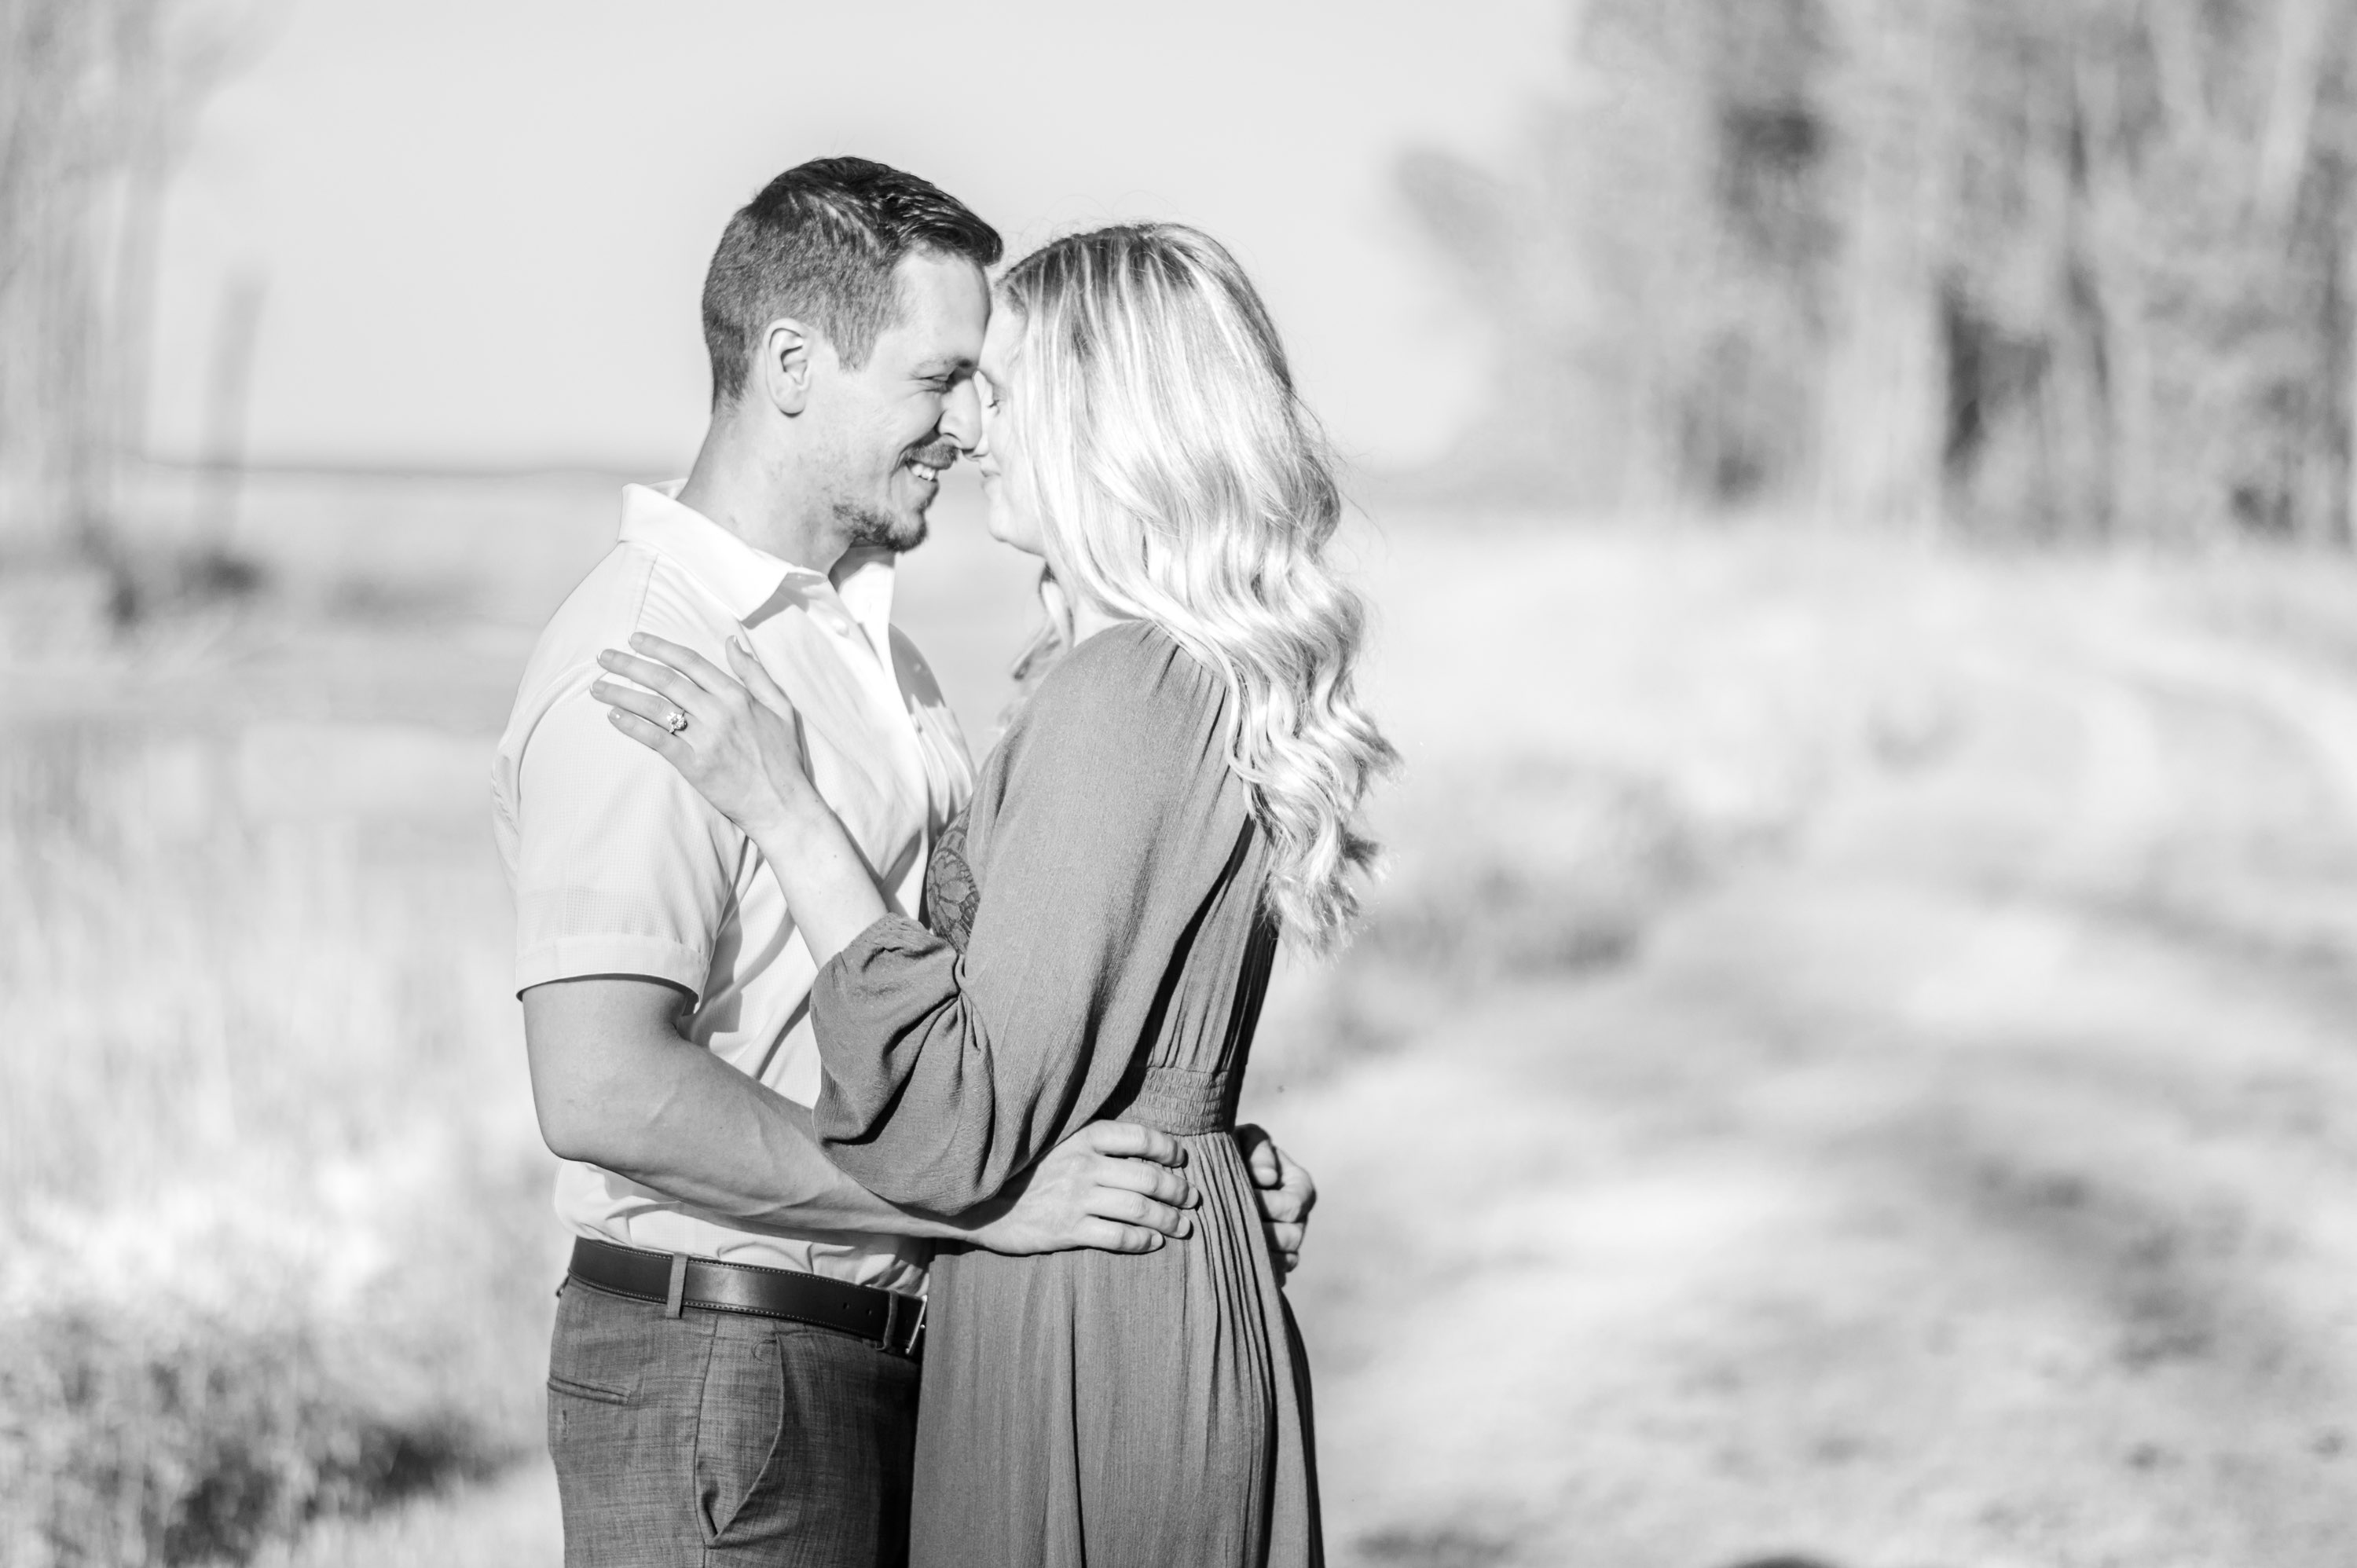
I want to etch my sons engagement Picture into acrylic that I can accent it with LED Lights. Attached is the photo. I would like to make it a Portrait size with a Base that would hold the LED lights. I have the 90 and 120 Degree Diamond Drag Bit. I also would like to eliminate the background so I just etched Him and Her.
Also Would size it to have the top half of them showing, not as far down to their waist.
I haven’t done this (yet). But here’s what I understand.
When cutting acrylic, anyplace the material is cut will appear white. Areas that are half white & half black will appear 50% gray. When the width of your cut matches your stepover, it will appear all white.
So in this image the depths determine the colors from left to right: Black, 50% gray, White. With gridlines representing stepover.
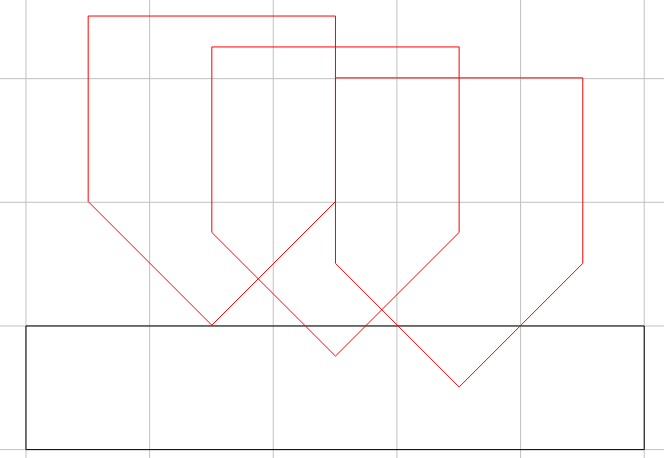
So you need to find a way to drive the tool over that image, increasing the depth as it gets closer to white. Since you want to remove the background, you should fill that in with black.

Now you just have to decide how to drive the cutter. Search “Halftone Toolpaths G-code” or something like that to see some options. Common methods are using lines or dots (like pixels).
I suspect you could do this in CC by importing the image as a 3D model, making black the highest level (top of stock), and white half the stepover you intend to use with a 3D finishing toolpath. This would cut across the image driving the cutter deeper in the white areas, and up to Z0 in the black areas. I would probably set my Z0 a few thousandths above the top of the acrylic to start.
Another consideration is the top of the stock will need to be nearly perfectly flat. I would run a surfacing path on a temporary spoilboard piece then fasten your acrylic securely to that.
Now to do some math to figure out what your stepover, and depth of cut to get white will be.
I would start with the resolution of the image, and calculate how many passes are needed over a known distance to determine the stepover, then your max depth (white) will be half the stepover for a 90° tool.
1 Like
For cutting halftones see:
So I’m to down load the updated Pic. Then I downloaded the photo and run the halftone generator to get the Gcode for the pic?
Yes, that is how it’s supposed to work.
1 Like
I played around with the halftone generator. Here’s the imported svg
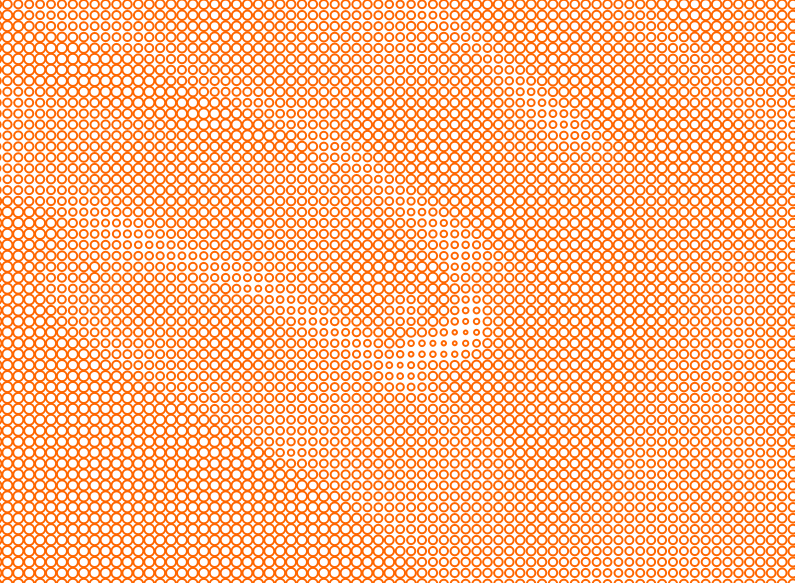
This is her hand. However, the G-Code didn’t work. You’d have to import the svg & V-Carve it.
G20 G17 G90 G49
G00 X0 Y0 Z0.063
G0 X0 Y0
That’s the whole file.
And CC gets really sluggish when you put that much data in it.
So here is what it looks like.
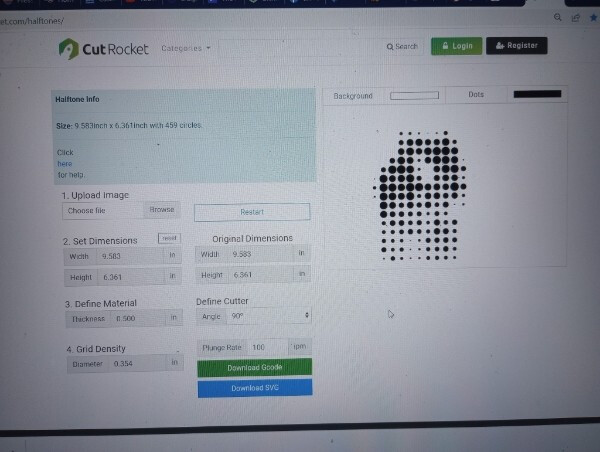
I didn’t invert it, (I didn’t know if I was supposed to). I Downloaded the Gcode. Is this correct? Also is 90 Degree the best bit to use?
I’ve been a photographer over the years, and I never ran across a lady that wants herself displayed in a course low-resolution image. ![]()
1 Like
I used 0.010 for the grid density, but it didn’t generate the G-Code. I would probably go with the 60° Vee or even smaller to increase the accuracy of the circle sizes.
Tried again. Cropped the image, and changed the Grid Density to 0.020".
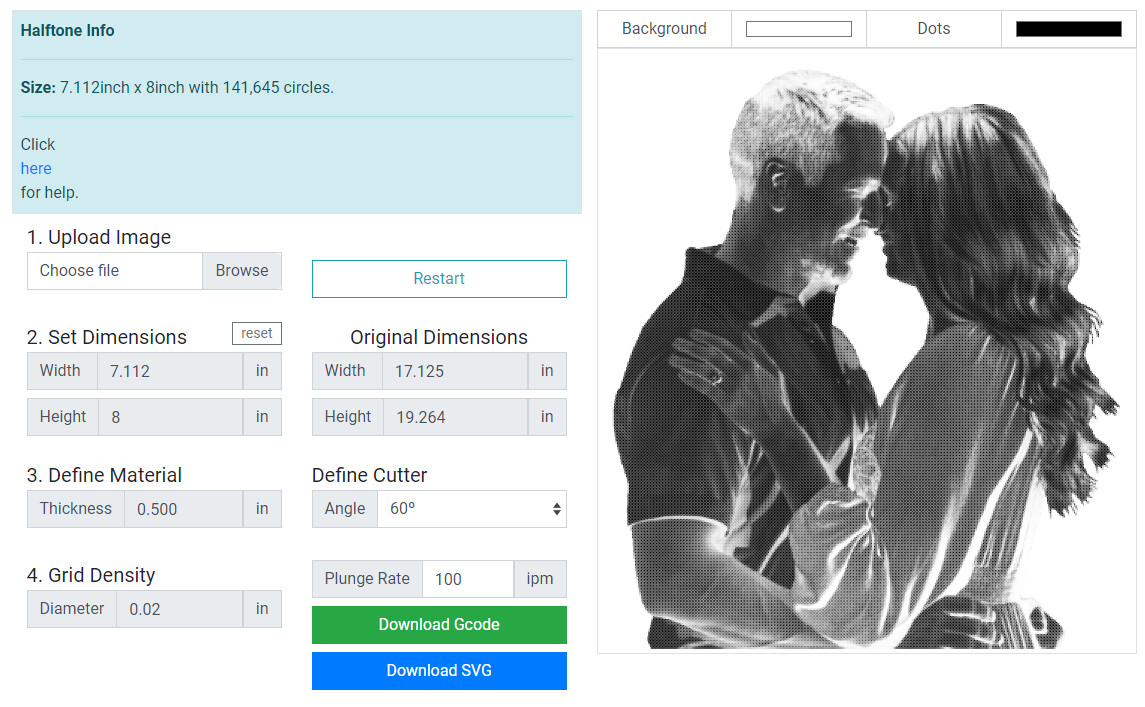
Still didn’t generate the G-Code
And the .svg takes more than 20 minutes to load into CC. (Going on 25 min & still not loaded…). Last night I waked away, and this morning the half a million circles were loaded. Oh, and they’re not really circles, so they generate all those silly pick moves in addition to the initial plunge. ![]()
2 Likes
You have to give it to 1D for his tenacity!
3 Likes
This topic was automatically closed after 30 days. New replies are no longer allowed.