Each year I challenge myself to do things on the Pro5 4x4 machine that I had not done before. This year was a big year for new firsts. I made a 3D sign that required tiling (64”x32”), was made out of HDU, and had texturing, each item was new to me.
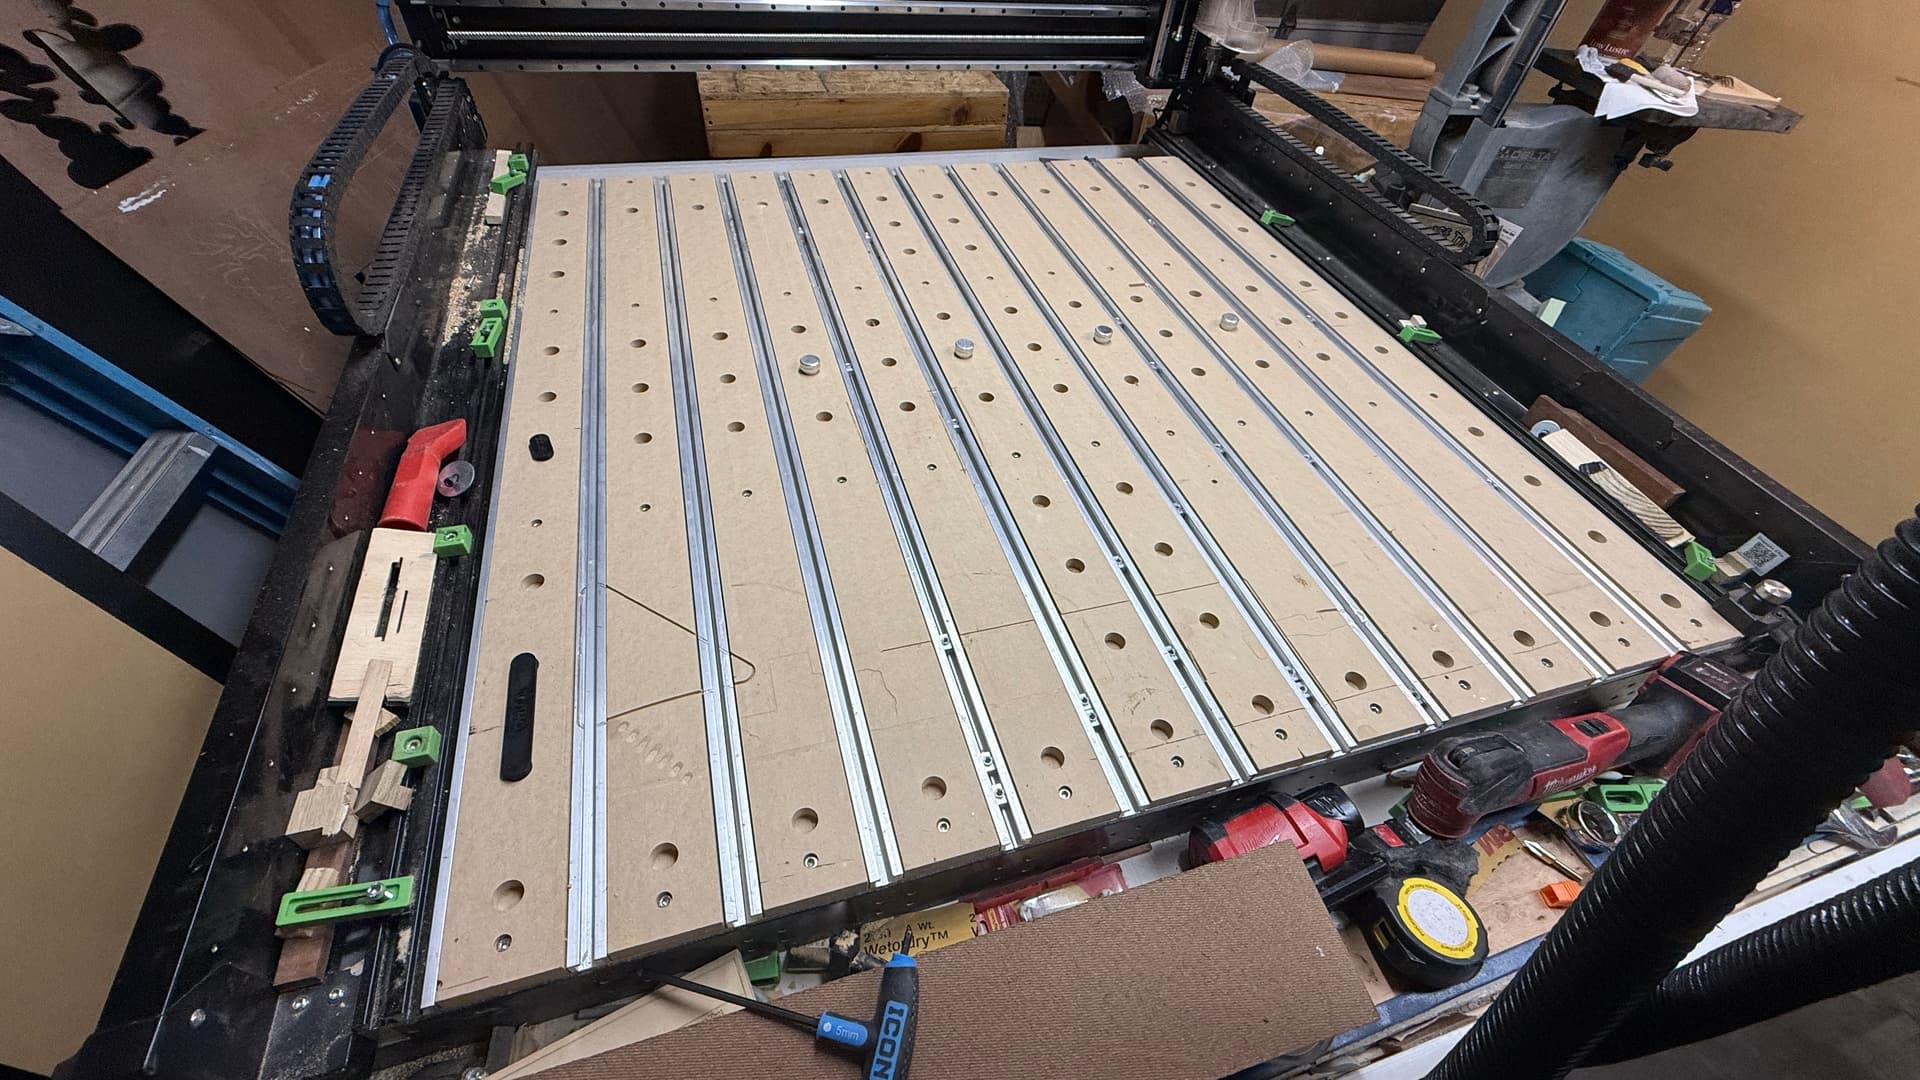
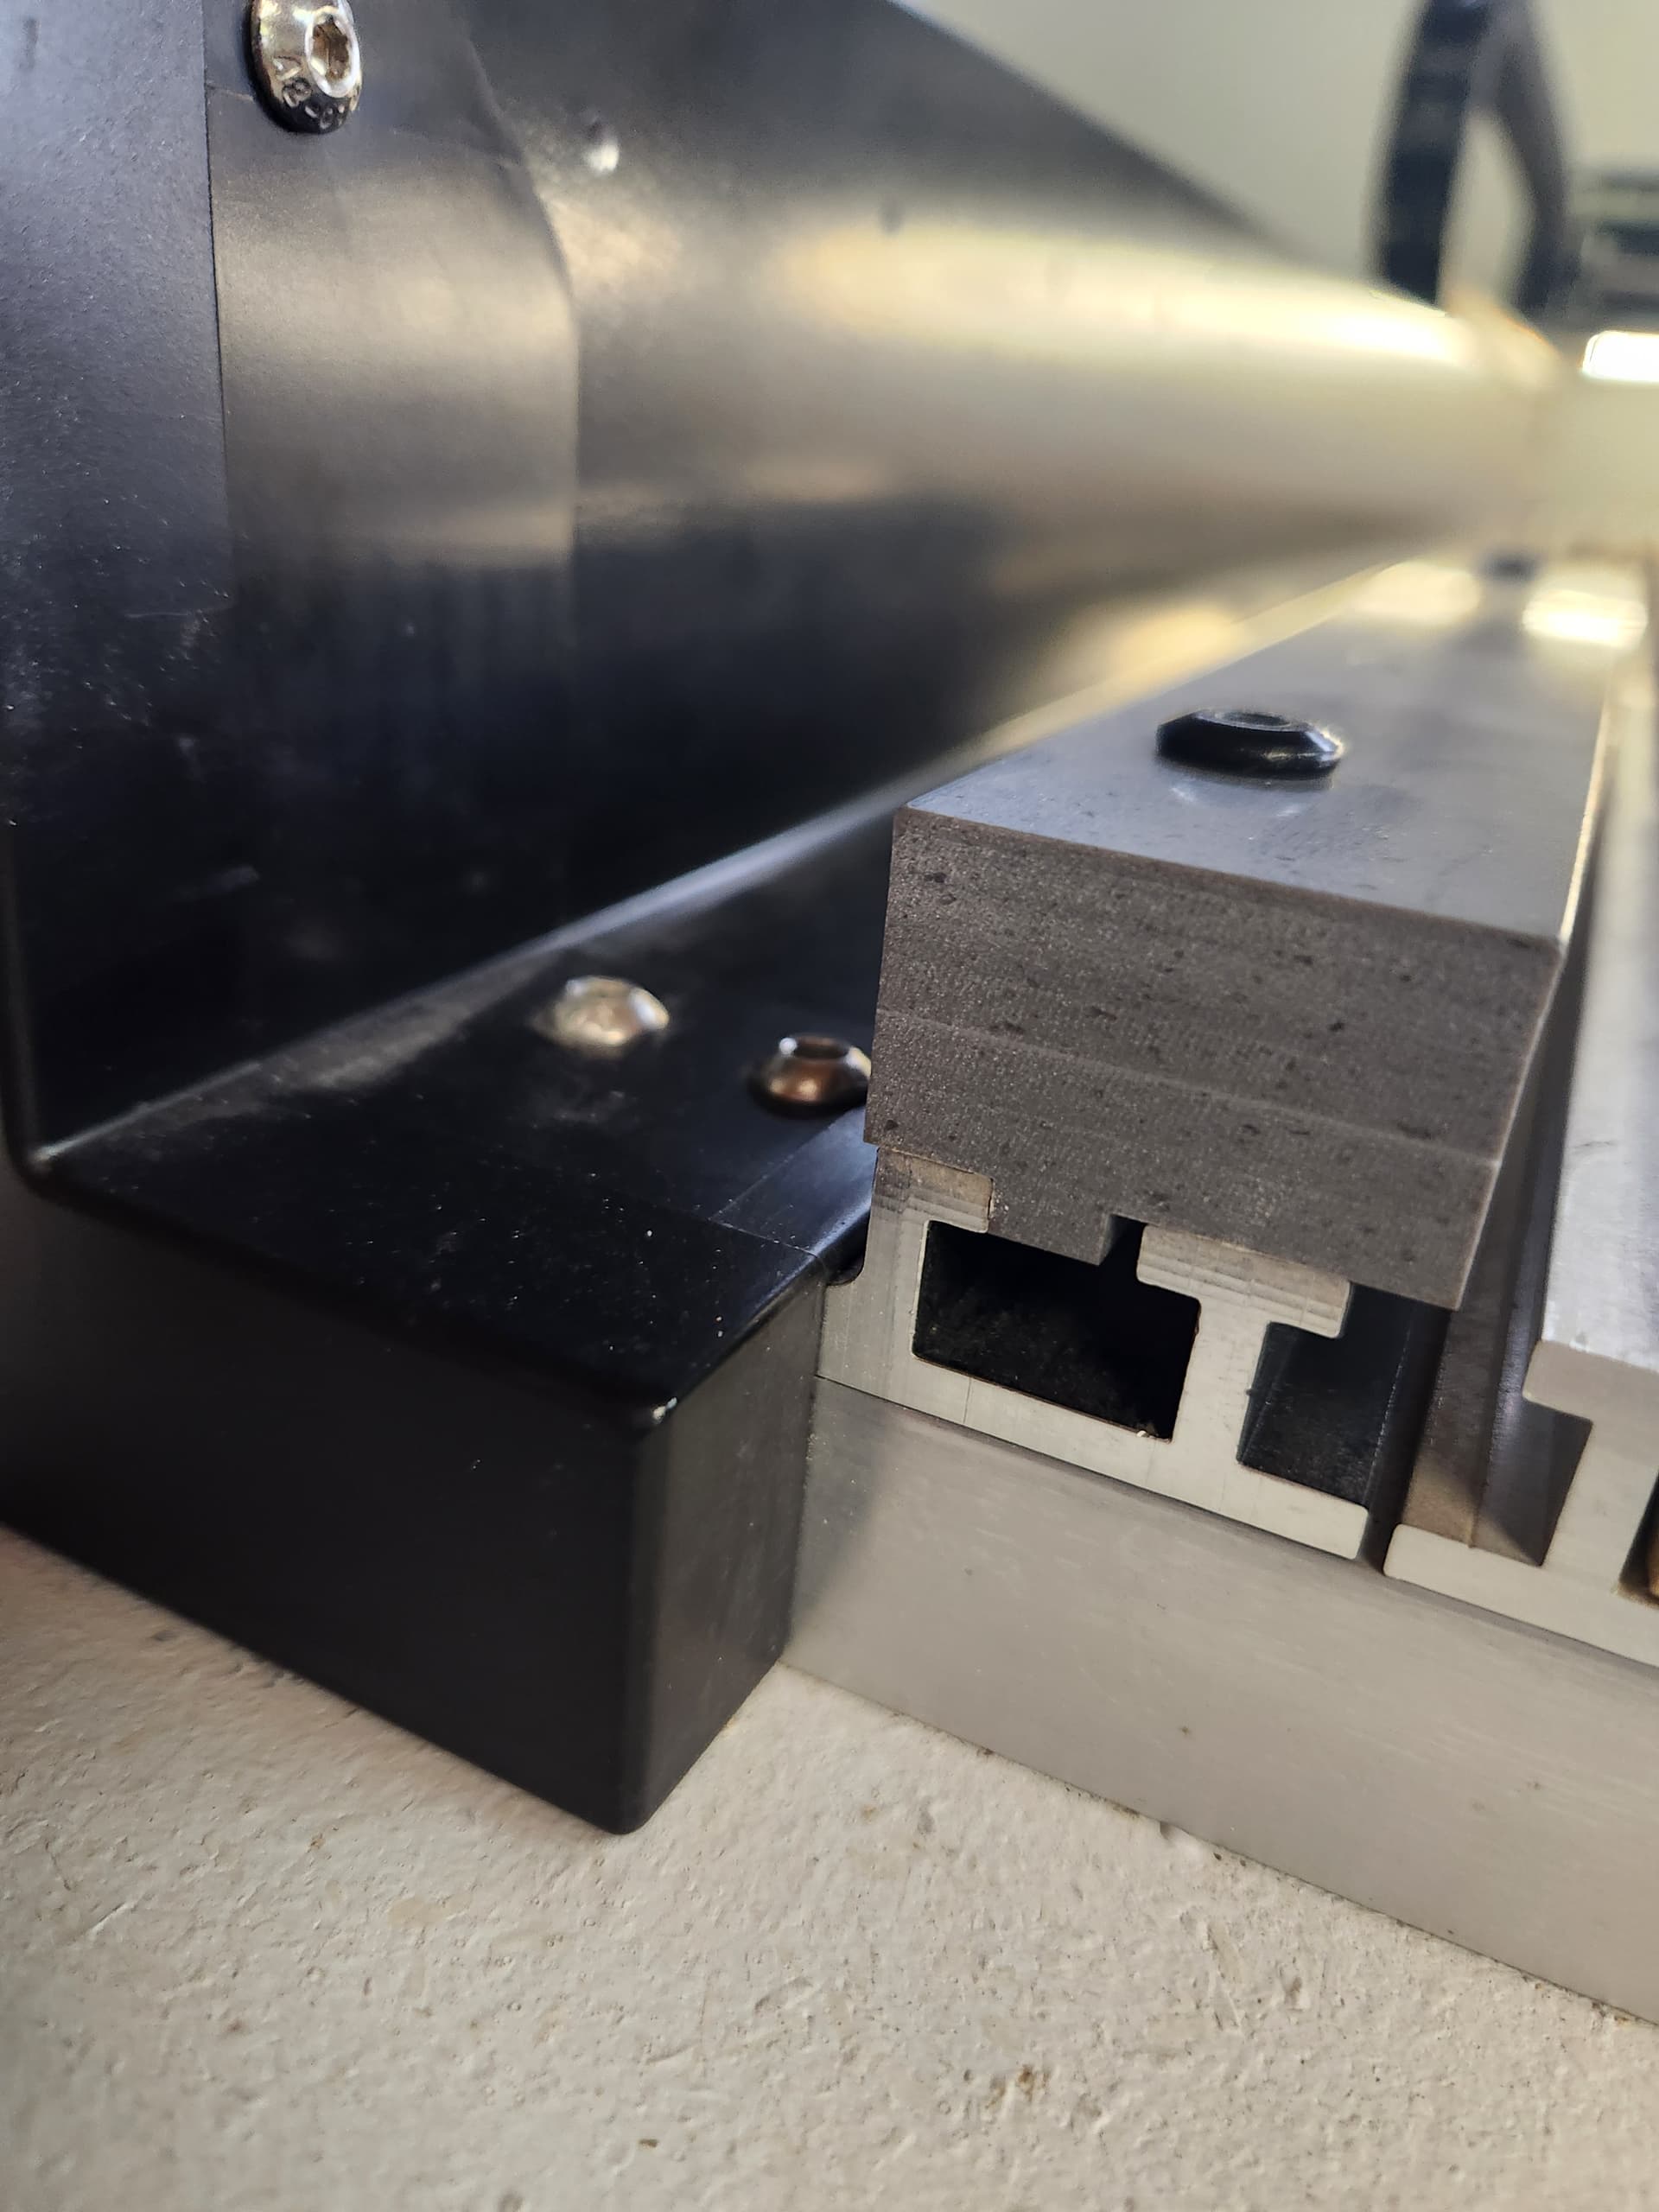
First thing required making the left side guide rail. I made it in three pieces that were about a foot long each. Since I work a lot with solid surface material (Corian) I made them from this material. It is just under ½” thick so I glued two pieces together to make just under 1 inch thick, then machined the bottom to create a ridge that registers with the back side of the T-slot. This permits me to remove them if I need to and reinstall them exactly where they were originally. I also drilled and tapped 6mm holes so that they could be used to attach material clamps if necessary. Finally, milling them for a straight Y-axis edge.
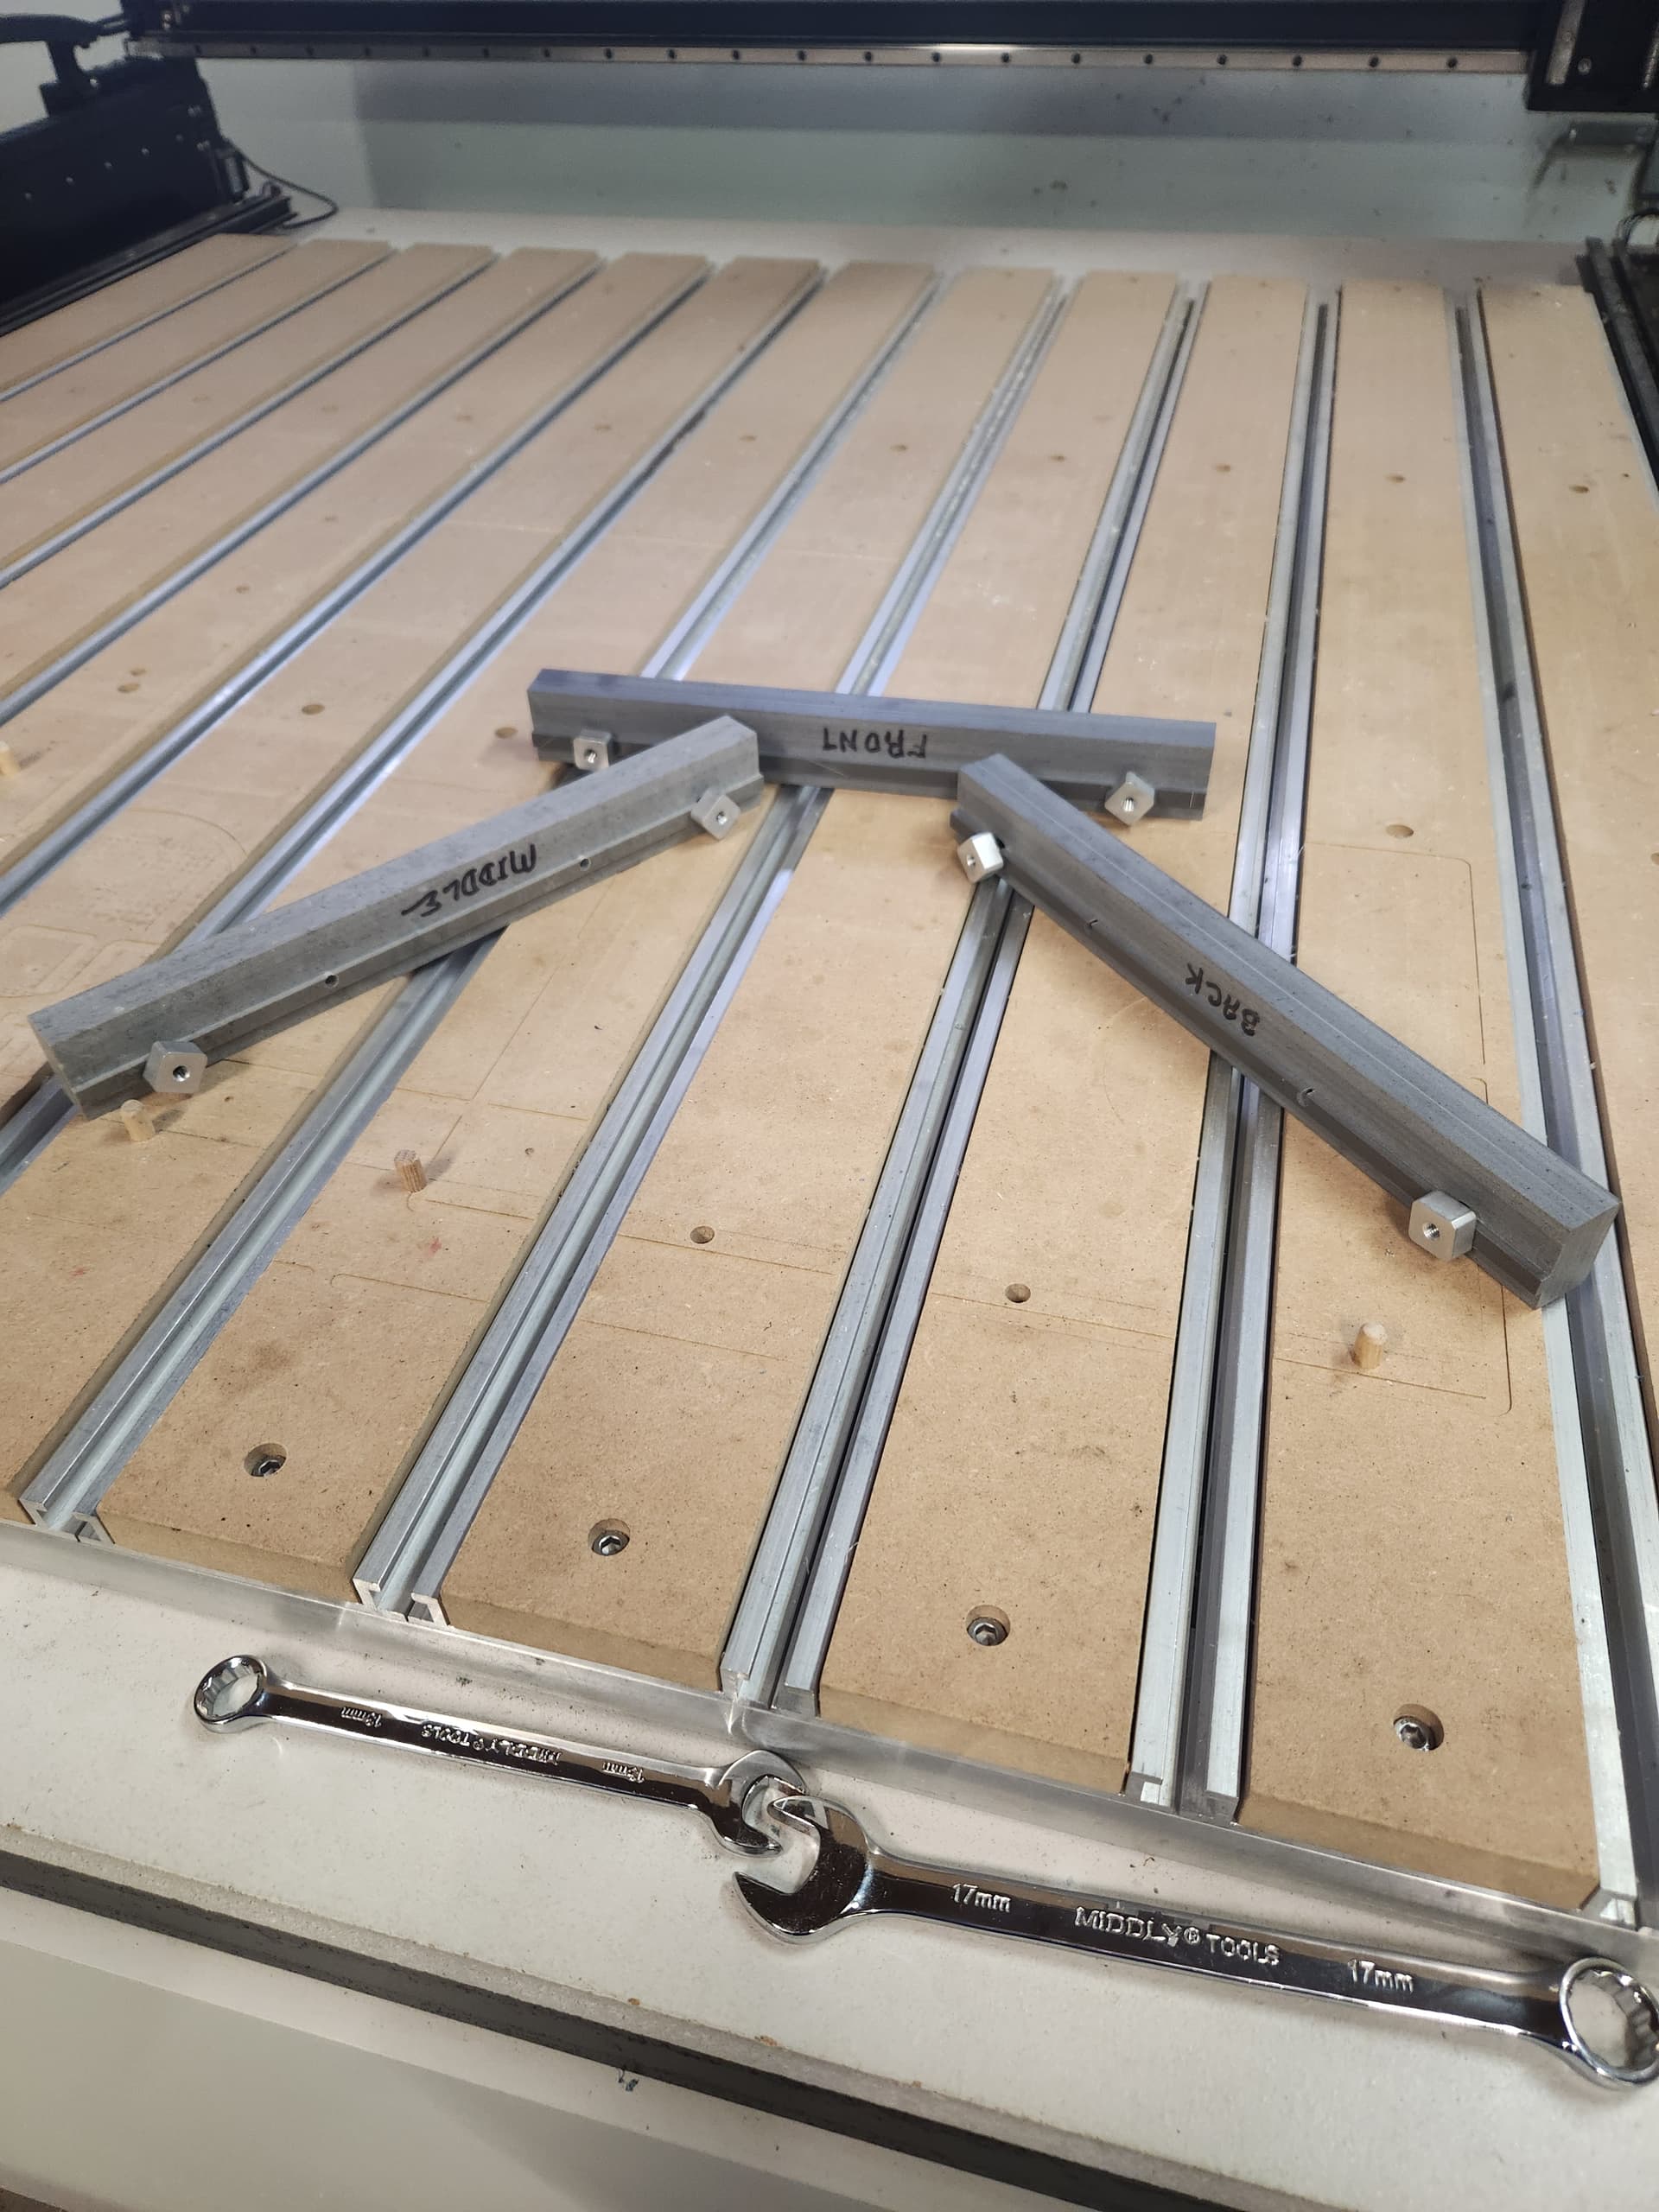
Since HDU is $430 for a 4’x8’ sheet I didn’t want to trial this using HDU, so I ran a first trial making a ¼ scaled version using ¾” plywood, just to be sure I understood the tiling process. I learned that I needed to resurface my table before running the big piece. This was way overdue anyhow. This ¼ scale project enabled me to hone my settings for the texturing process as well.
I used stands purchased from Harbor Freight to hold the overhang and mounted the board to the table.

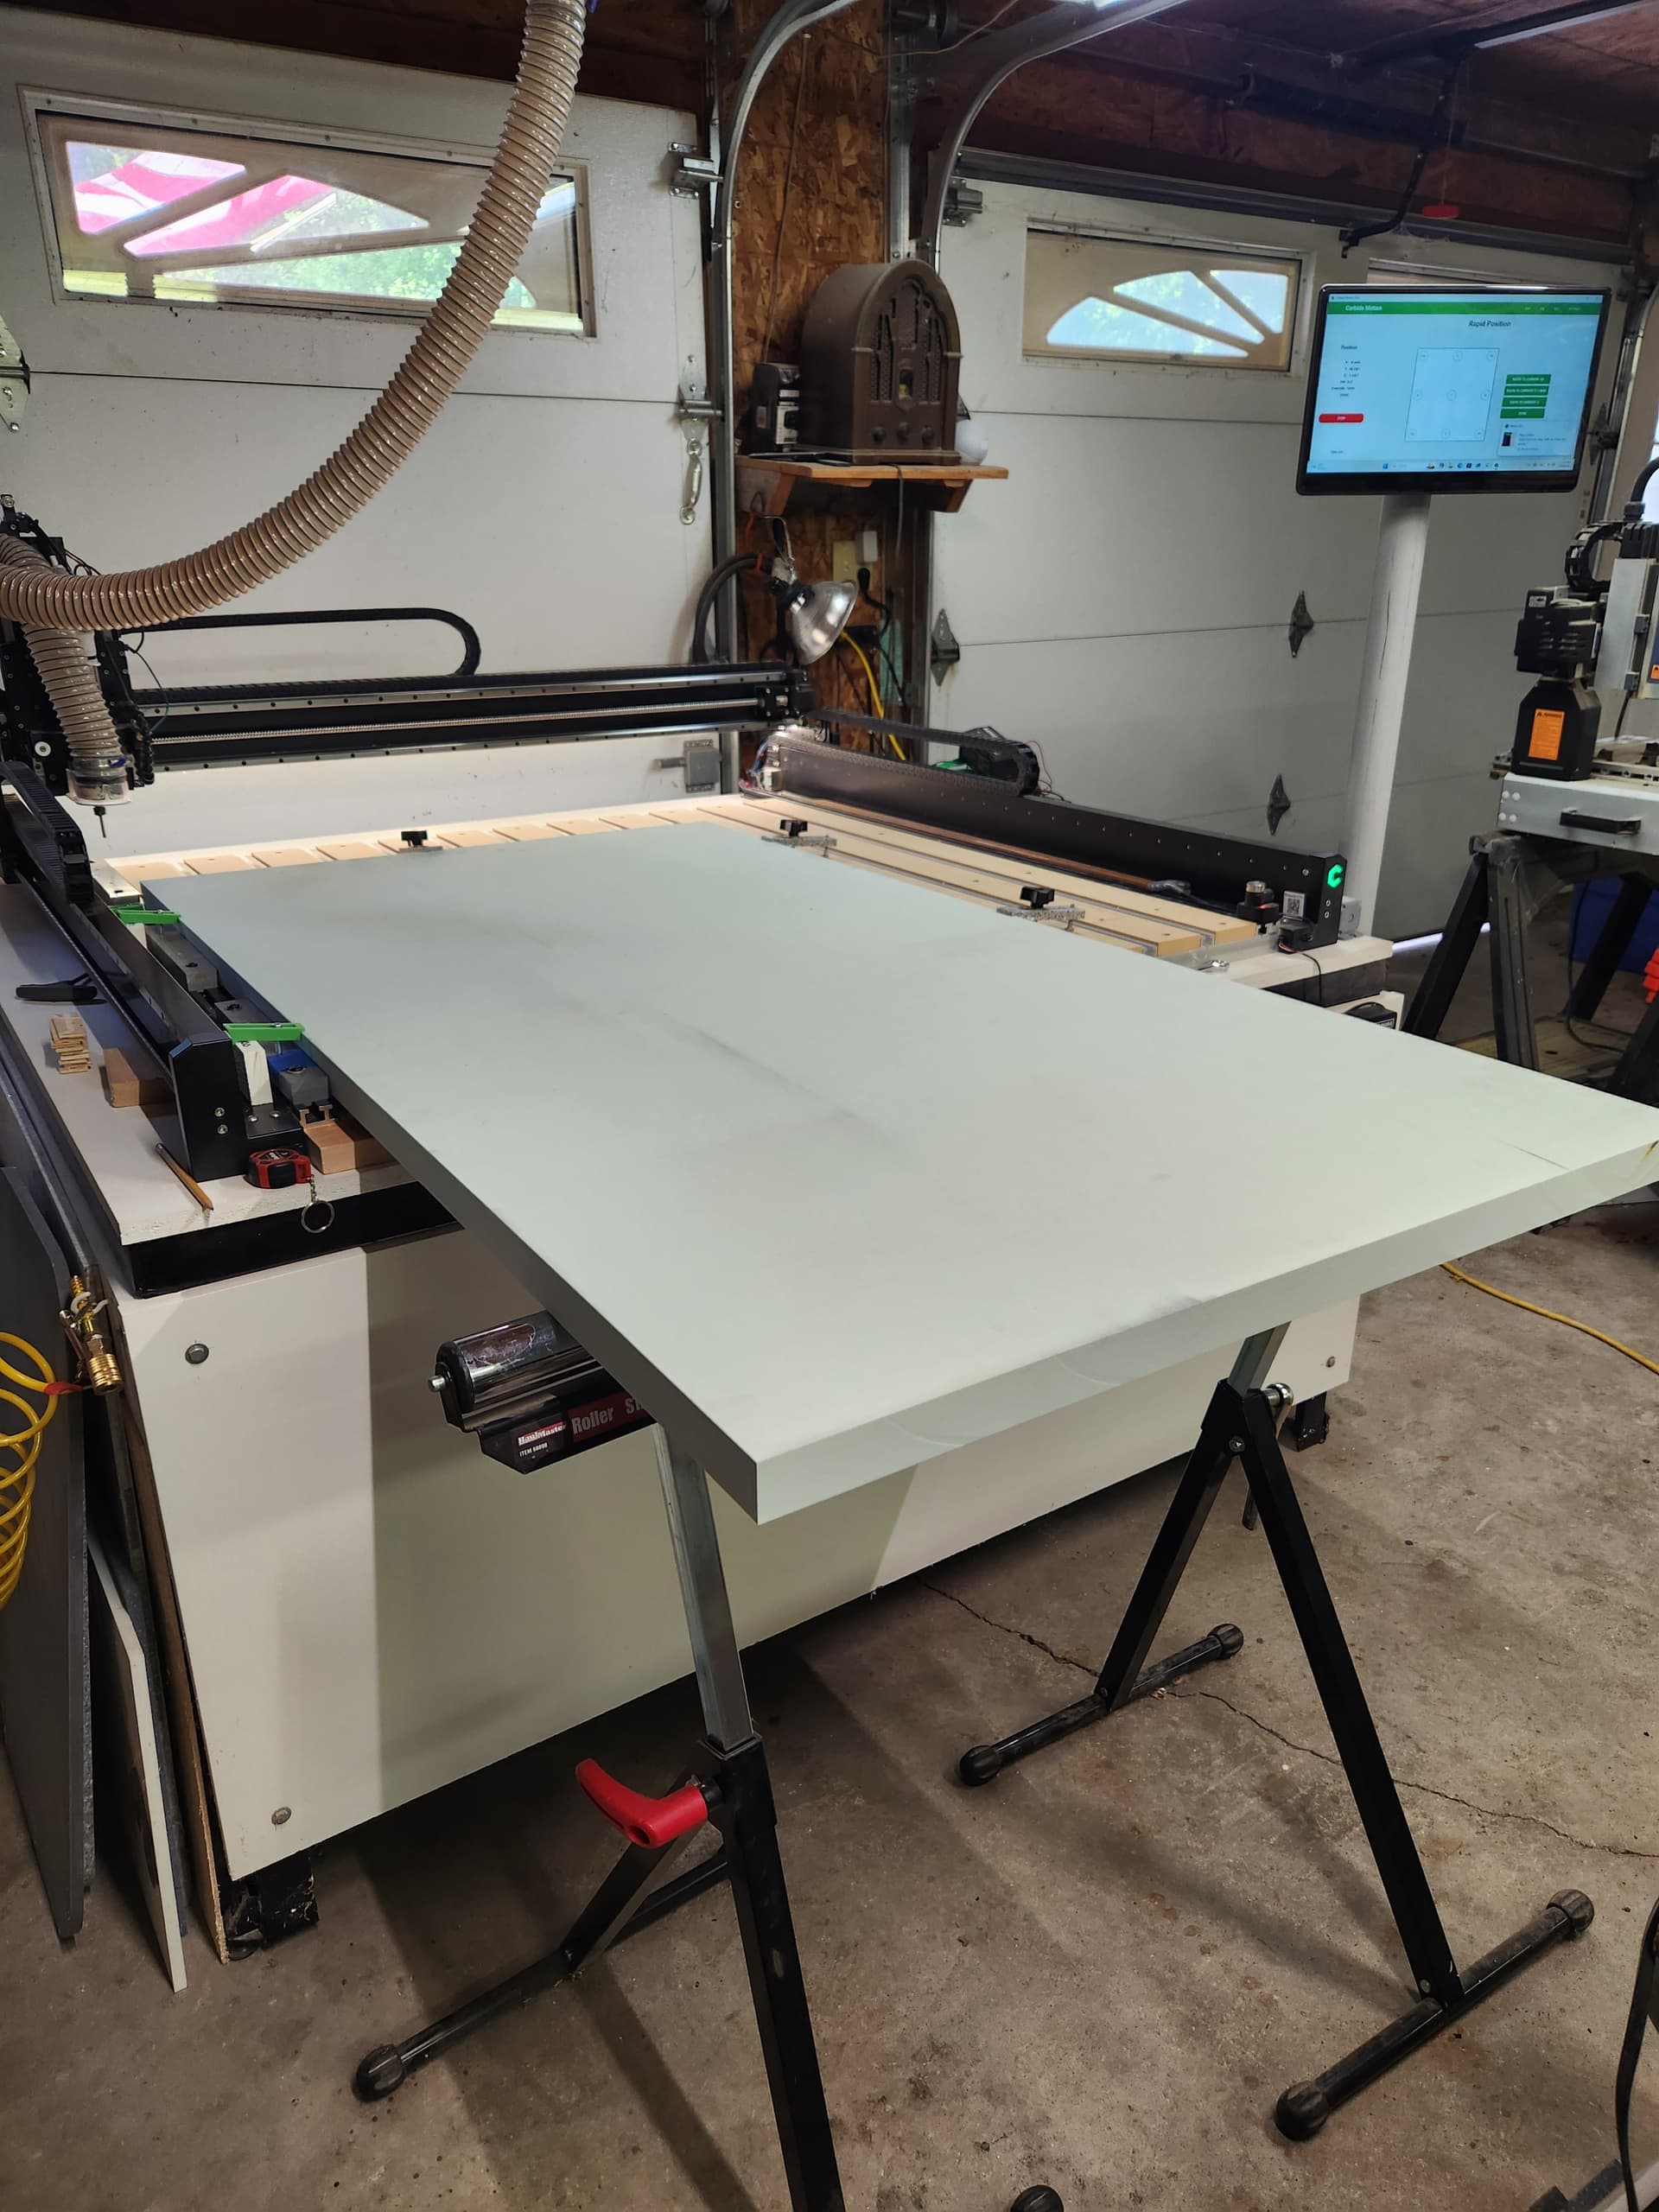
The blank material was cut with a 1” trim all around. I cut the sign, top half first then bottom half. It took the machine 3.7 hours per half, 75% of this time was just the texturing.
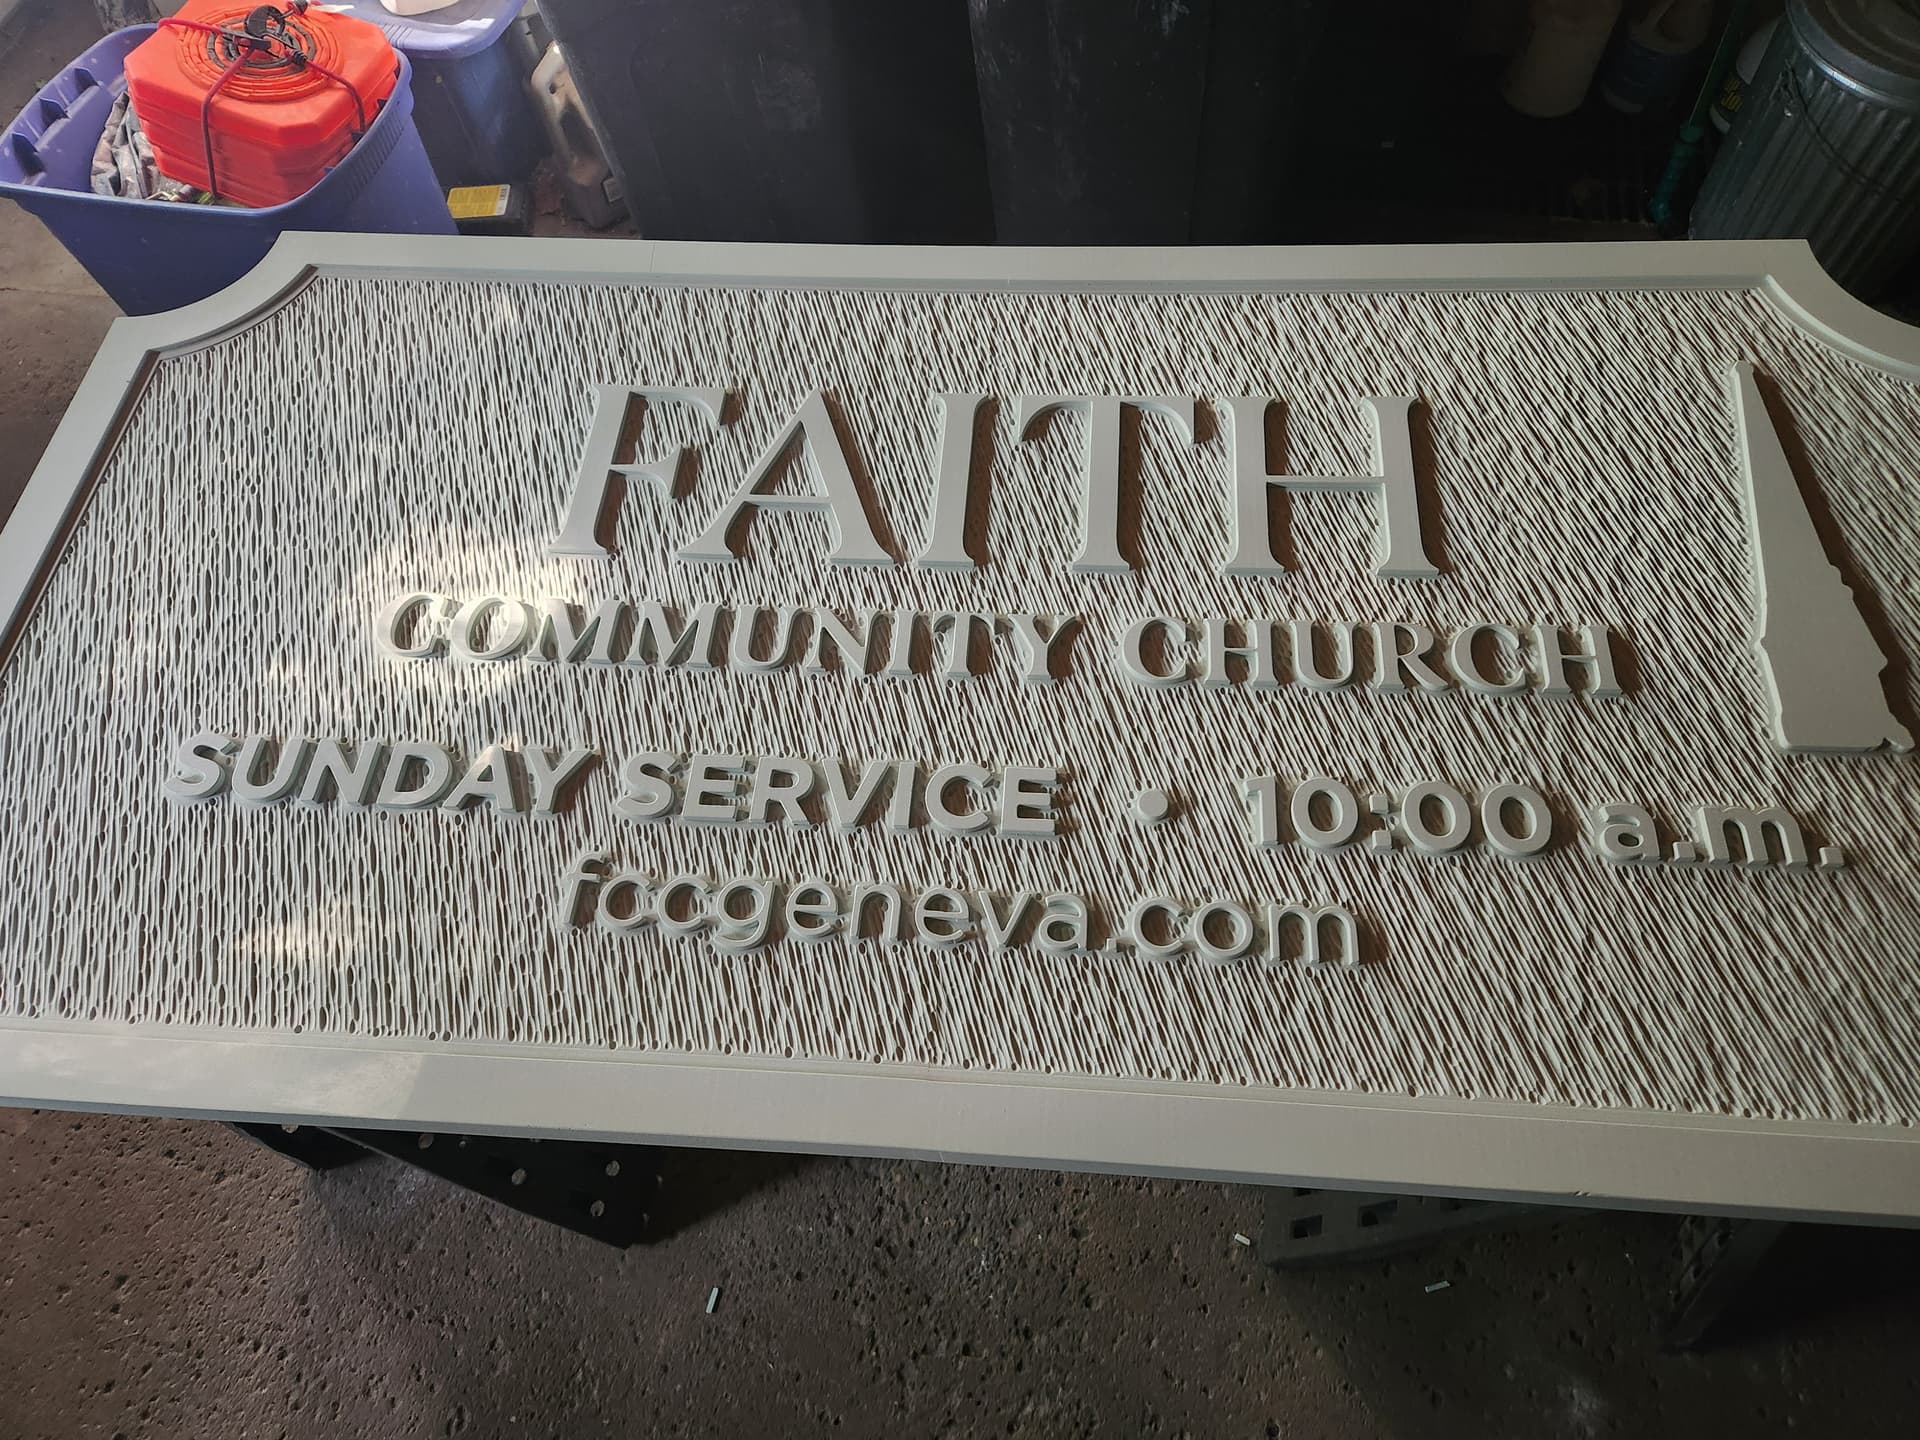
I was very happy with the machining results, and it was very difficult to see where the two halves join. Next was spraying the sign with two coats of primer/filler, followed with two coats of flat black paint. Then the tedious work, painting the letters and trim. Prior to primer you need to break the edges of the letters using 220 grit sandpaper to permit the paint to adhere better on the letters. Four coats of gold and three coats of the white. Painting the letters is a process known as “floating” the paint. This is where you typically use a foam brush and put a large amount of paint on it. You almost dab the paint, starting in the middle of the letter and going out to its edge. This will provide a clean edge on the letter.
The church is happy with the sign they got, and I checked three more things off my “Try” list. Zooming in on the final picture you can see the texturing really well.
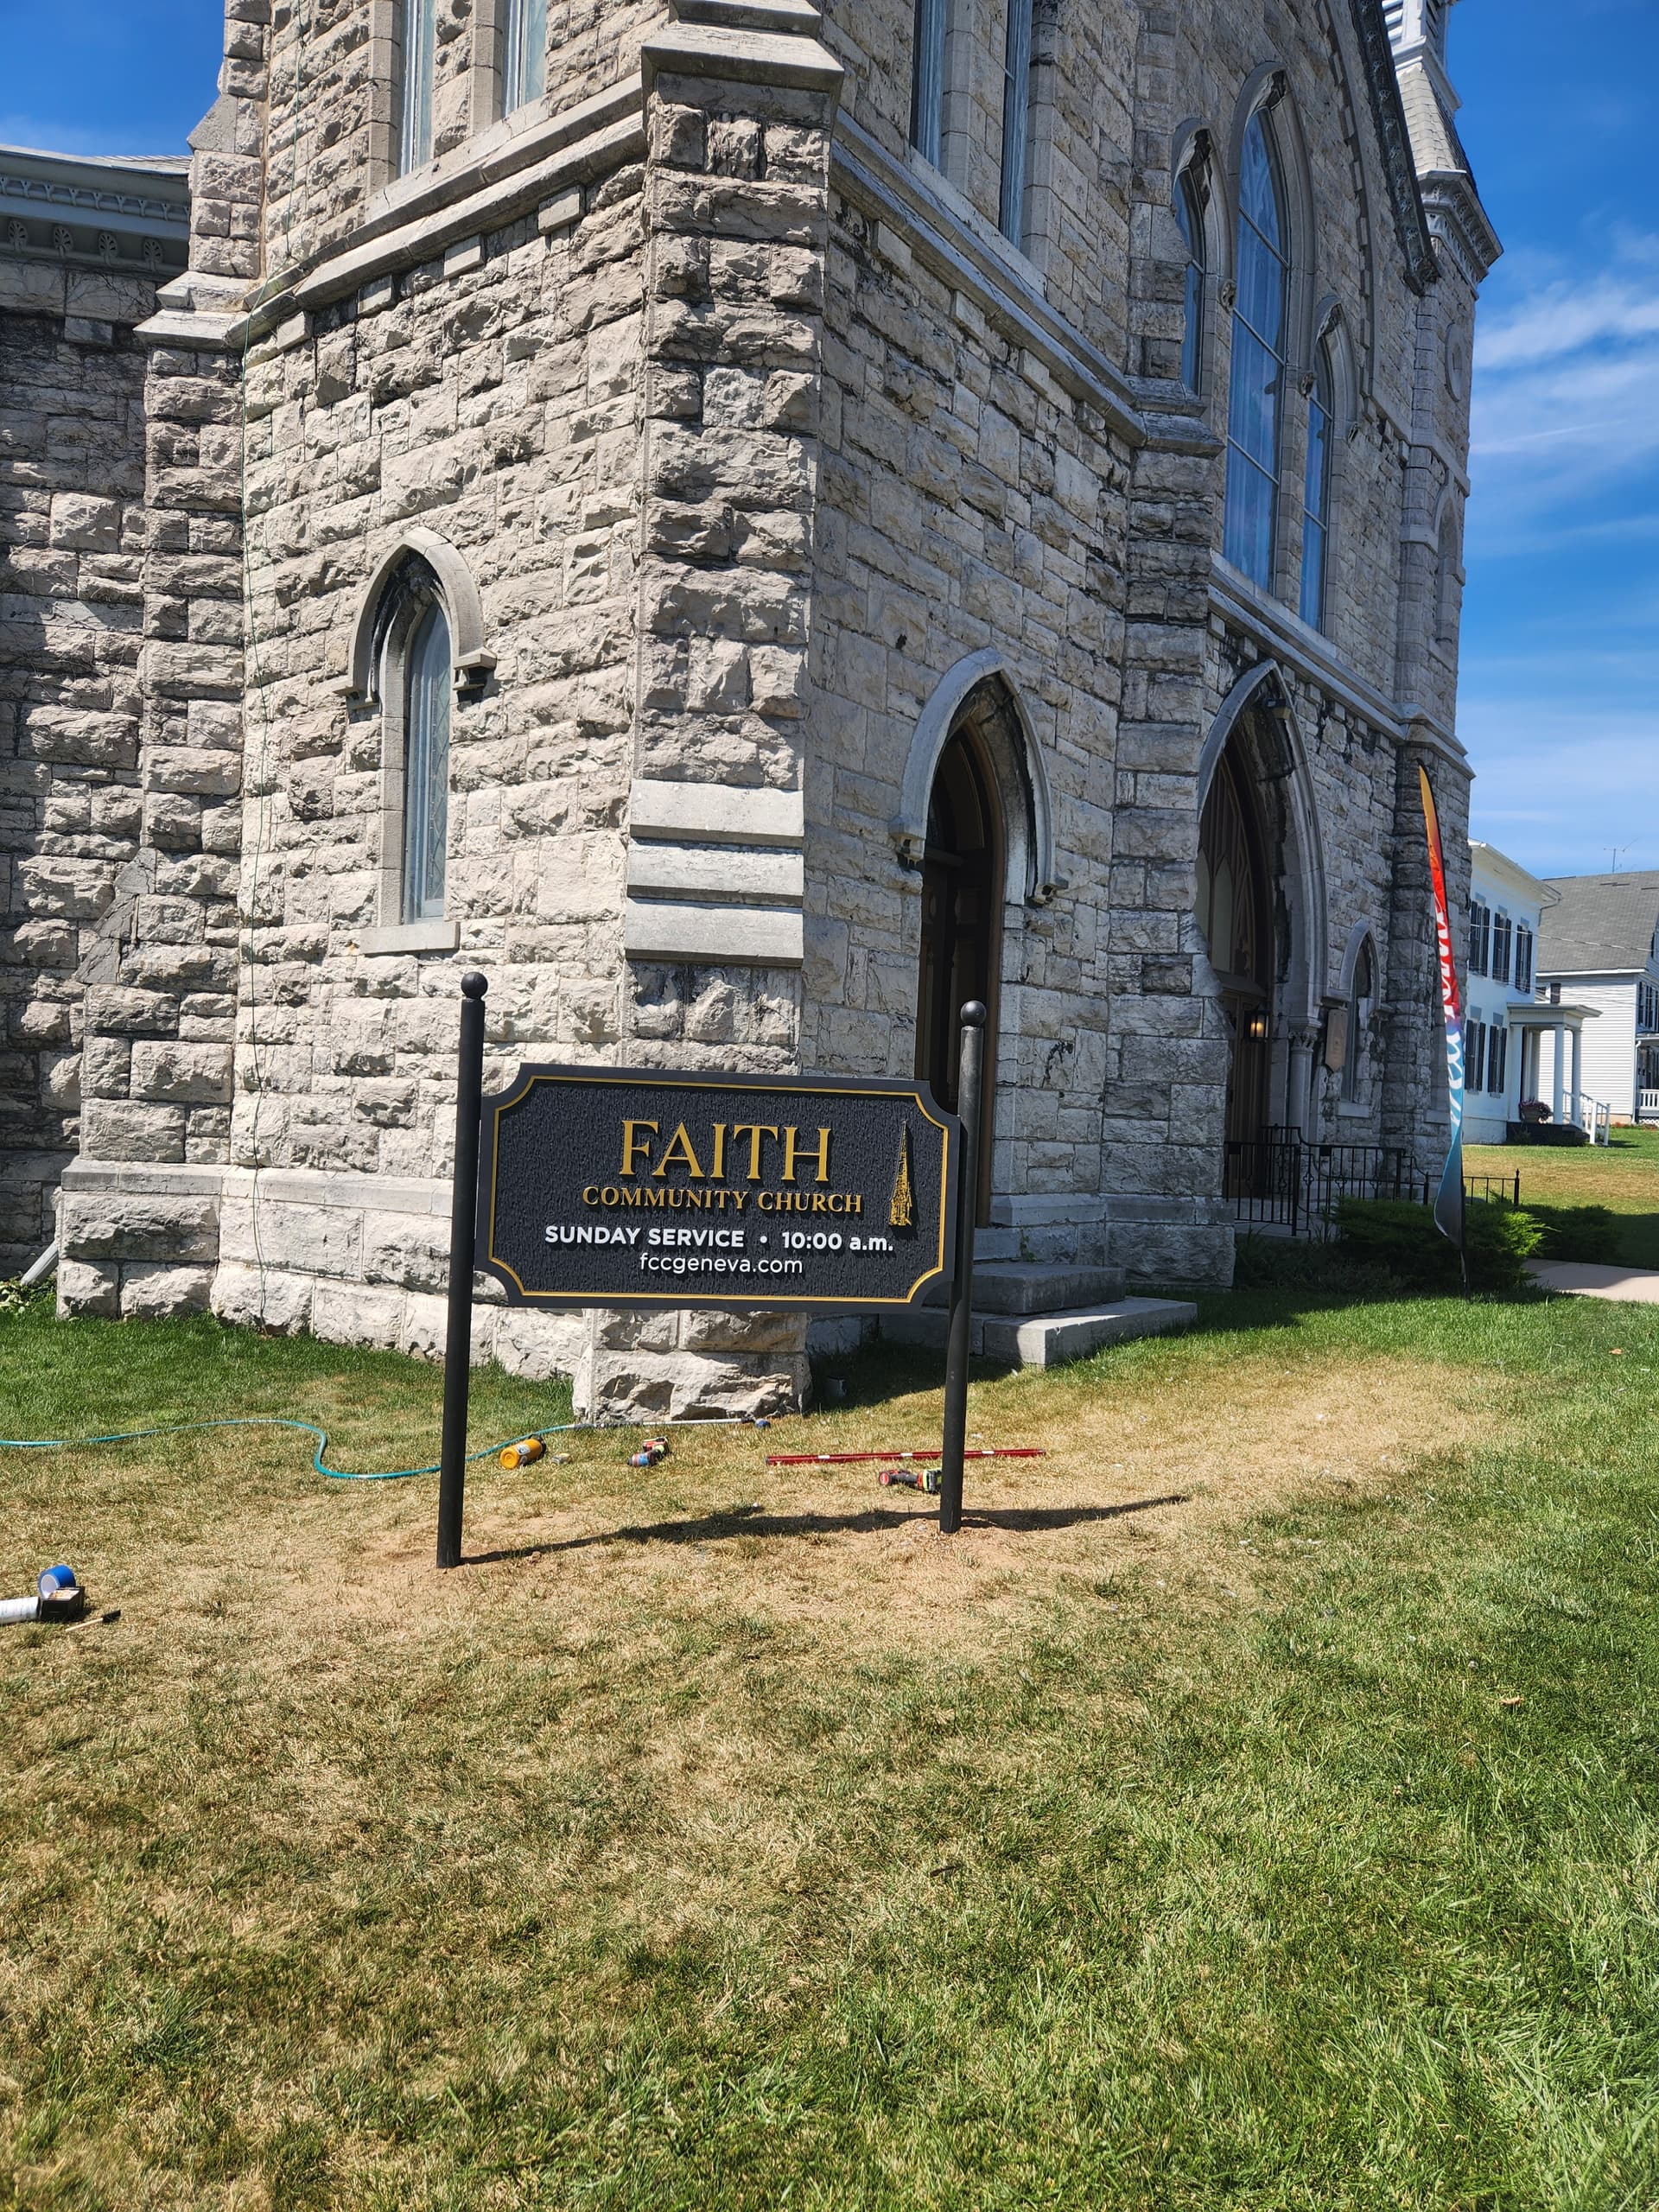
Note: Because the steeple had great detail and I was concerned that the material would not stand up this fine it was decided up front to make this a decal stuck to an outline base. The decals looked horrible, so I test cut the steeple on a scrap piece of HDU. Where all of the lettering was cut at 0.200" high, I cut the steeple only 0.075" high and it proved to cut just fine and was very strong. I then cutout the test piece and adhered it to the sign.