Hi y’all,
Just wondering if we can have a thread on External Control Box wiring diagrams, parts, where to get them, lessons learned, etc
I have seen all these amazing enclosures and control boxes but no wiring diagram.
Thanks
Dan
Hi y’all,
Just wondering if we can have a thread on External Control Box wiring diagrams, parts, where to get them, lessons learned, etc
I have seen all these amazing enclosures and control boxes but no wiring diagram.
Thanks
Dan
Is there a particular aspect of the wiring you’re interested in? I’ve built a box but I think basically everything in there is obvious (e.g. “the AC terminals of the DC power supply connect to AC”, “the thing that needs 24V DC connects to the terminals of the 24V DC power supply”), I don’t think a wiring diagram would be very interesting.
Moded1952,
1st - thank you for responding and thank you for adding to the discussion
2nd - not to be modest, I know nothing when it comes to wiring anything…sure I know a little something but would really rather pay someone to build me an external box and if possible install it.
Don’t get me wrong I have replace a wall plug and a switch several times but still I would rather have a solid working diagram of what wire goes where.
People who have shown their control boxes I just stare in awe at a bowl of spaghetti and people can make sense of the wiring - I cannot
Thanks again for responding and I hope this better illustrates my quest and frustration
Dan
Dan:
Details are always the sticking point of any project.
What seems obvious to one is not at all to someone else. Cooking is a great example. As I have taken over more of the culinary aspects of our home due to health issues I can attest that making something edible and making something that is edible, healthy and tastes good are two very different outcomes 
A starting point for you would be to answer the question what controls do you want on the external box. When you push a button or throw a switch what do you want to happen ?
And why is this better than what you currently use ?
Food for thought.
Bill
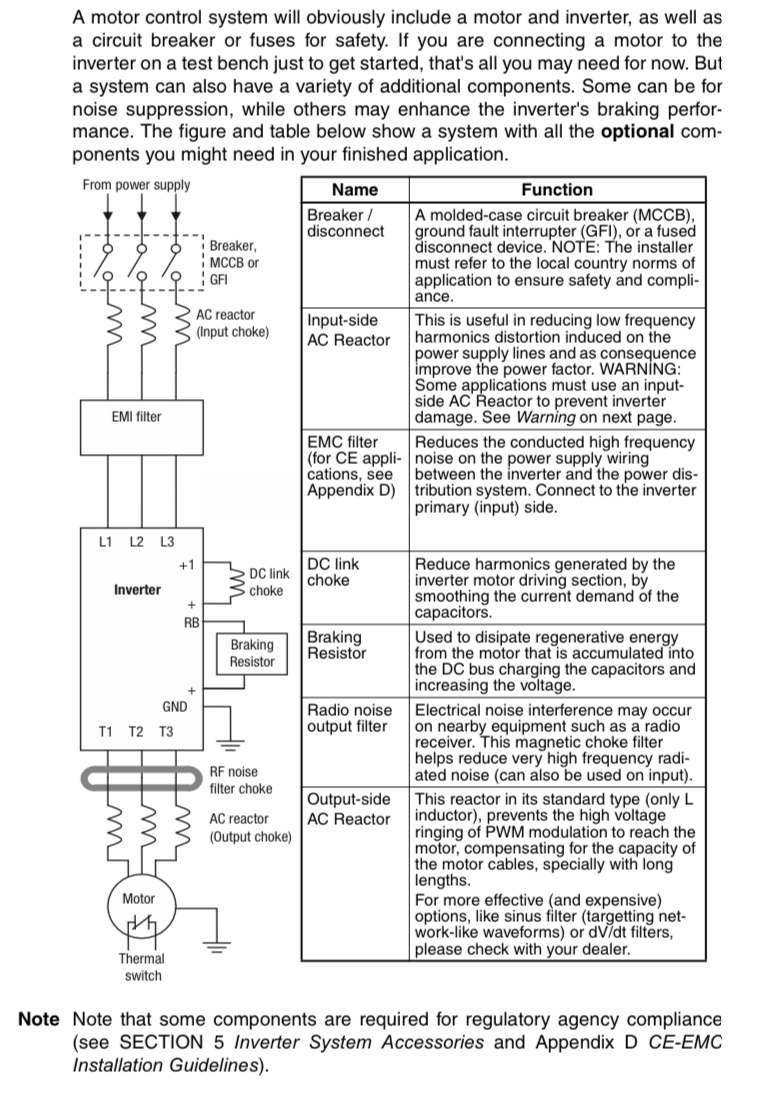
If you’re looking to build your own, usually it starts with the diagrams for your equipment. VFDs for example nearly always have a wiring diagram. Here’s mine:
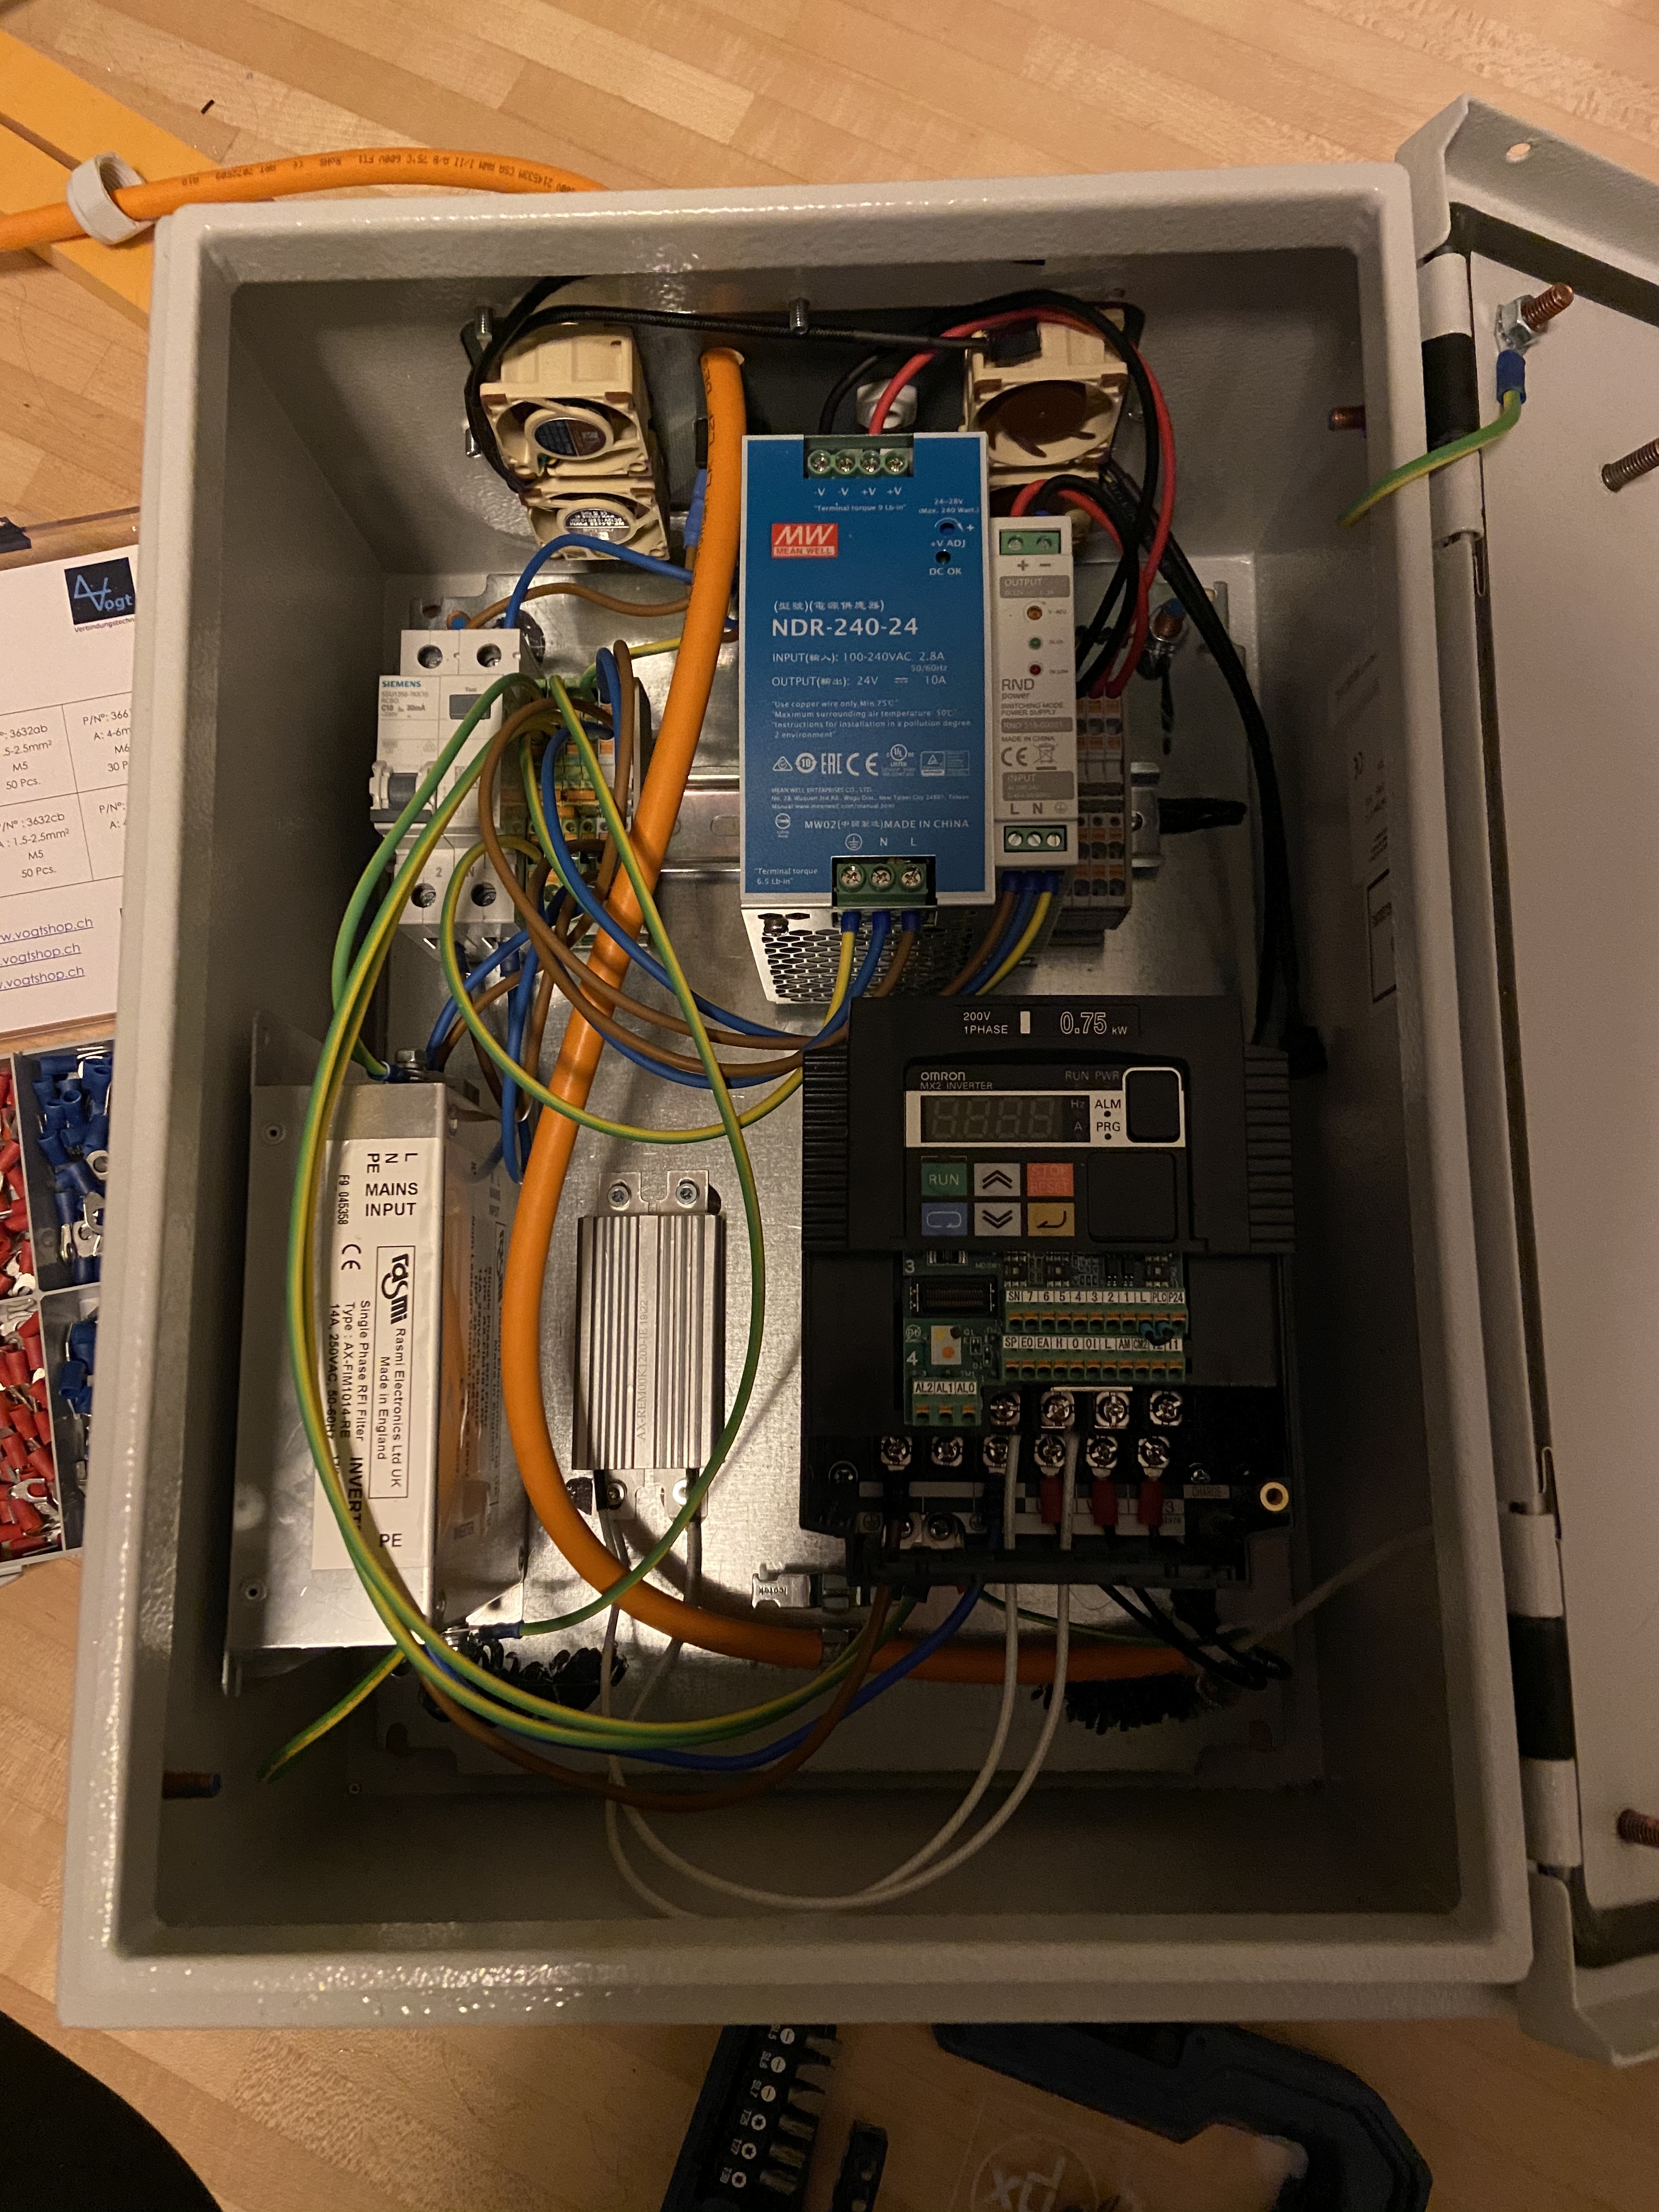
And here’s the control box:
Basically the whole box can be summed up as “that diagram, plus 12V fans and power for controller”. It looks scary but it’s really very simple. The wires look messy but:
I’m no electrical wizard myself and don’t get me wrong, I was super paranoid while building it (hence the RCD instead of a regular breaker), but ultimately it’s a matter of buying the right components (which you do by following the manual) and wiring the terminals (by following the manual).
The rest of it, for me, was buying some DIN rail terminal blocks to distribute power and buying a box to put it all in.
Yep,
There’s been a few long threads on a few different people’s builds on control boxes, thing it they’re like enclosure builds, there’s as many different sets of requirements and choices for implementation as there are people building a control box.
It’s worth noting those who are comfortable doing mains or VFD voltage wiring are generally already familiar with electrical systems and figuring out a wiring diagram. If you’re not familiar with mains voltage wiring it may be best left to somebody who is.
That said, there’s a bunch of ways to put components together, there’s a range of No Volt Release E-Stop switches out there which are designed to plug power tools into, what else are you looking to stir into the mix?
Might mean different things to different people.
Do you just want to move the C3D controller to live outside your enclosure?
Do you want to add switches to control power, router, LEDs, etc?
Are you building a brand new controller with MCU and discreet motor drivers?
If you can describe what you’re looking for, you may get more specific answers/explanations.
!!! WOW !!!
Thanks for all the replies. Sorry for the delay in answering, had Grandkids over, so yeah I was having more fun….anyways……a little background.
I have been retired from Military since Oct 2014 after 25 yrs of Service and got heavily involved with a third party Veterans Organization. When I started I was down in the trenches and busy everyday Serving one of the best communities to Serve. As I rose “in the ranks” I had more responsibility but also more time, a lot more time. My wife suggested I needed something to occupy my time and also reminded me how I have always been interested in CNC, (3D printing, wood signs & flags, metal mostly aluminum), she also suggested that I should look into a machine that does all three. Originally I looked at the snap maker and almost pulled the trigger and then saw a video of the shapeoko and was was hooked’o. As for 3D printing I can by a separate machine that would be dedicated.
Currently, after weeks of research, I am in the process of building an exclosure hopefully with enough sound deadening, keeping basement area clean etc etc.
As for the control box, you all brought up some pretty important points and want to thank you all for your input. So what am I looking for……?
My control box would have an emergency stop for the router only but have the ability to restart at that last point after any error has been fixed. Switch for lights, vacuum, router, and then I guess something to initialize the shapeoko to start cutting, so I’m guessing a plug for computer input.
Originally I was thinking of a heavy duty 6 or 8 plug extension but if I turn off the main switch everything turns off.
Your thoughts and thank you again for all your input
Dan
One advice I will offer you is to have separate mains circuits for your pc/laptop/tablet, shapeoko, router/spindle and dust collection.
For real emergencies you will want something that removes energy completely, not only from the router but from the Shapeoko also.
For less severe “wait a second…” situations, and for the ability to just pause and later resume where you left, you may want to utilize the “feedhold” signal of the shapeoko controller, and connect it to a momentary push button on your control box. We have a thread here that covers that.
My control box is very, very rudimentary, but I have found it to match my need perfectly over the years
Is that still needed if you have an AC line filter on the VFD/router?
Not really if the filter is of good quality.
I’ve had noise appear in a radio in a different part of the house, it was on the same circuit as the vfd with a cheap line filter.
Where do you have your feed hold button and what does it look like, Julien?
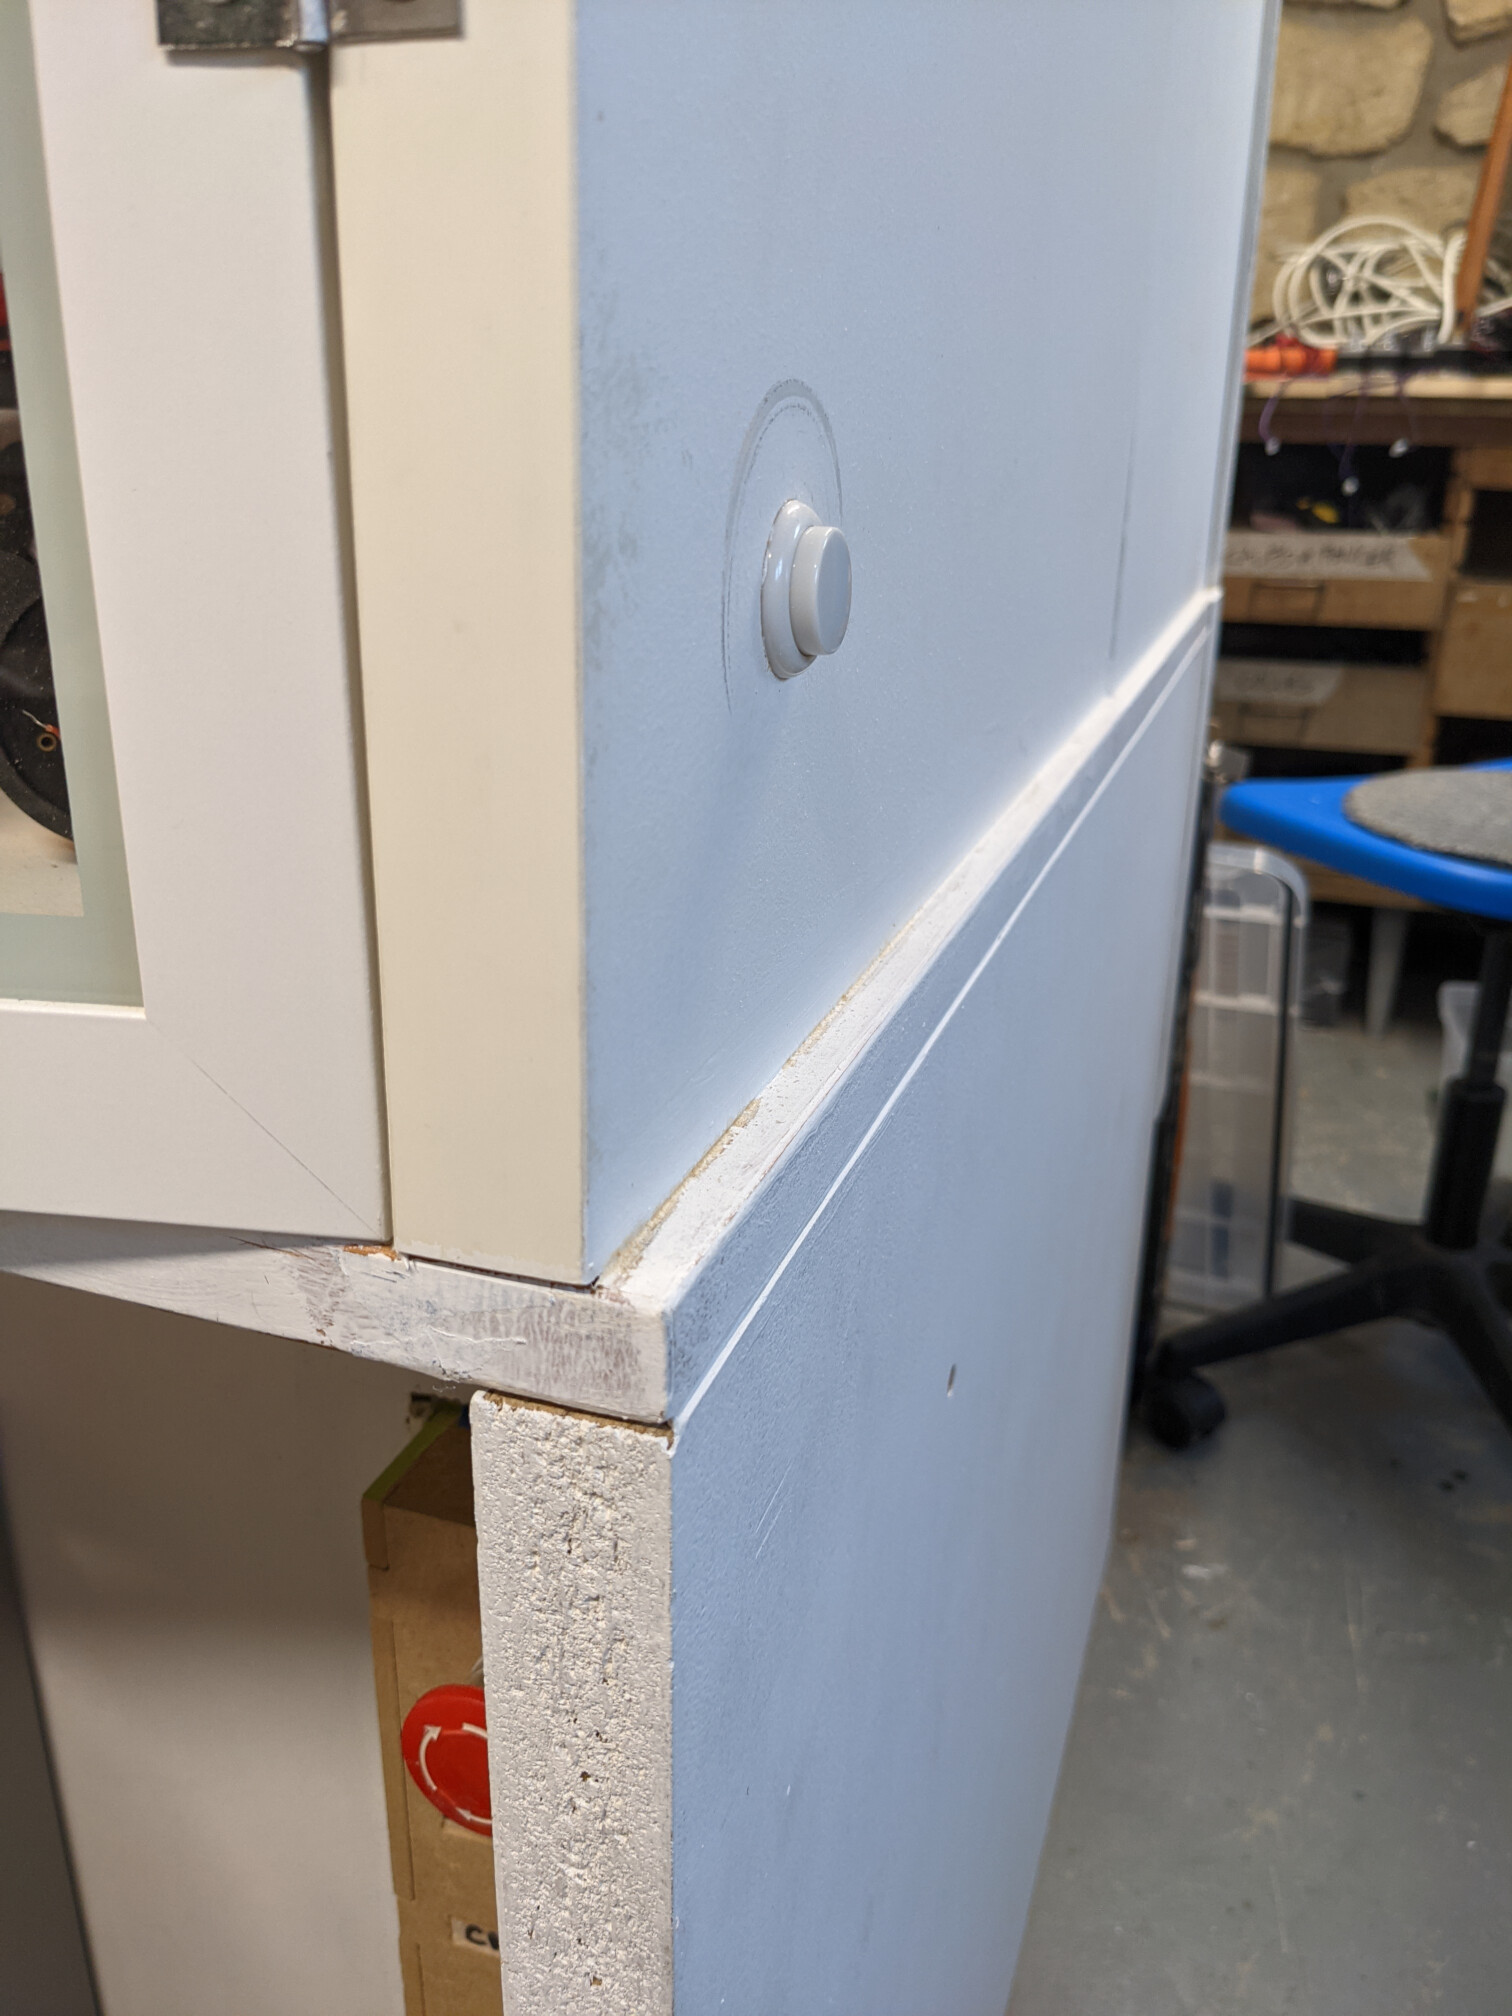
It’s now on the side of enclosure (just an arcade pushbutton wired to the feedhold)
This way I can slap the side of the enclosure when I see something going wrong through the front doors
Interesting… very, very sneaky, sir. Thanks for the pic. If the Feedhold thread had this picture surely it would then be definitive.
@BrokenEndmill so let me get this straight, you have your machine connected to four different electrical lines
?
Which good quality AC line filters are people using?
I have my vfds+spindles on one circuit alone.
My dust collector and spindle cooler on one.
My SO3 XXL, HDZero, pc + 2x raspberry pi on one.
Lights and miscellaneous outlets on the last one.
And I have never had a disconnect.
Given your preference for not doing wiring yourself, assuming you plan to use a router and not a VFD powered spindle I would suggest.
Here’s a UK one
But you may be somewhere with different plugs and voltages so find a local equivalent.
It’s also worth putting a power noise filter on the router to avoid problems later on, however I struggle to find any that are pre-wired for use, most of them are to wire up yourself
You might be able to find a local electrician who can put together a corded outlet box with a filter in it for you.
If you’re looking for a packaged one, the ‘surge arrester’ power strips from the likes of Belkin are not only horribly overpriced but generally do nothing for noise filtering.
You may choose to wire up (it’s low voltage and safer) the feed hold as Julien demonstrates to the Shapeoko instead of a full E-Stop which cuts power and means you have to re-home and mess about to restart things.
The E-Stop does different things for you on the spindle vs. the machine. There is value to having one big red button that stops everything, especially when you’re learning. If the cutter is vibrating loose from the router it’s also really good to have a ‘just stop everything’ button, also, in the event of some sort of unwanted human / machine injury interaction, no substitute for ‘stop everything’.
Do you by chance a wiring drawing of your setup?
You made some real good points and thinking as a newbie they made good sense
No but it’s so simple I can draw one tomorrow (it’s getting late this side of the pond)
Be careful of some of the ones that look like that, but don’t support the amperage draw of a trim router starting up. I tried one of those early on and it wouldn’t work with the router.
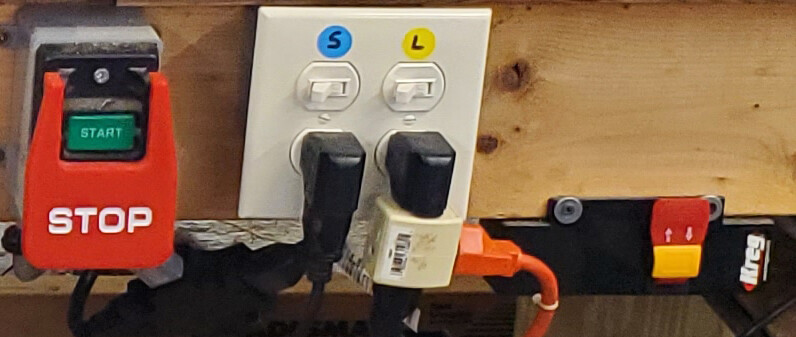
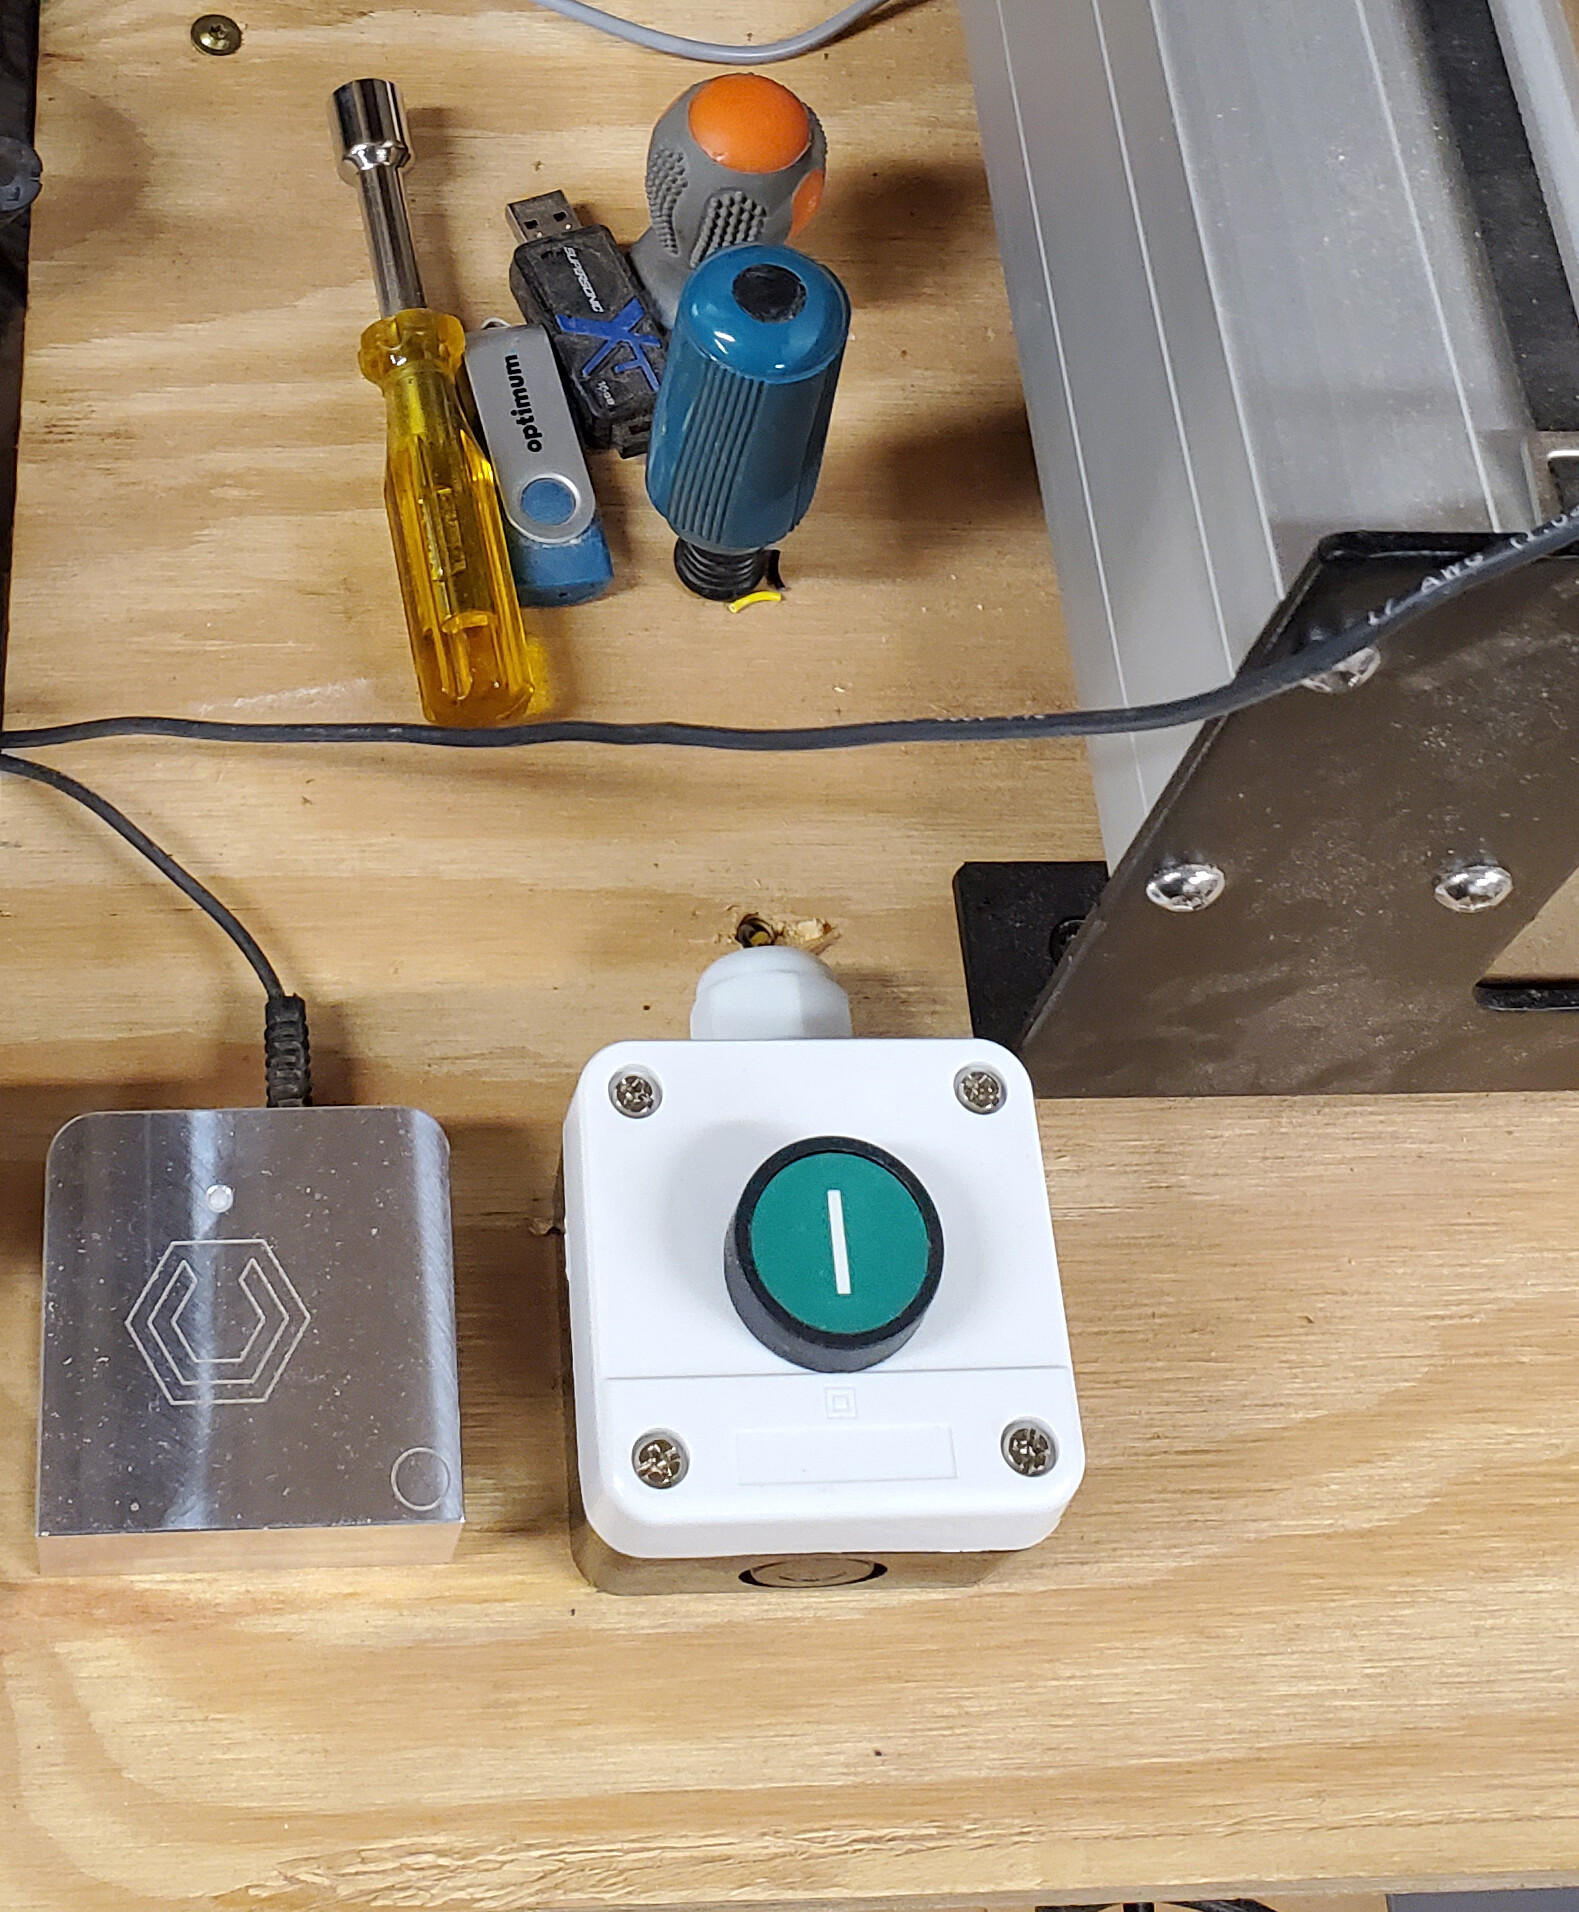
Now I have a paddle switch for the “Kill”:
Then I have a momentary for the Feedhold: