This might be a little long, but I thought the process I went through might be interesting to some…
I wanted to learn and practice more 3D modelling and design, and I thought a fun way to do that would be to design some checkers. I have a huge exotic wood collection, and had blocks that would work perfectly for the red and black pieces.
So this adventure started as a design exercise. I didn’t really know much about Blender, or any 3D design program for that matter. So I watched some Youtube videos and set to work. And I perused some sites on the interwebs for free STL files. I settled on a rather classic design, with a star on one side and a crown on the other, but I tried a lot of different designs. Here are some of the designs that didn’t make the cut (pun possibly intended):
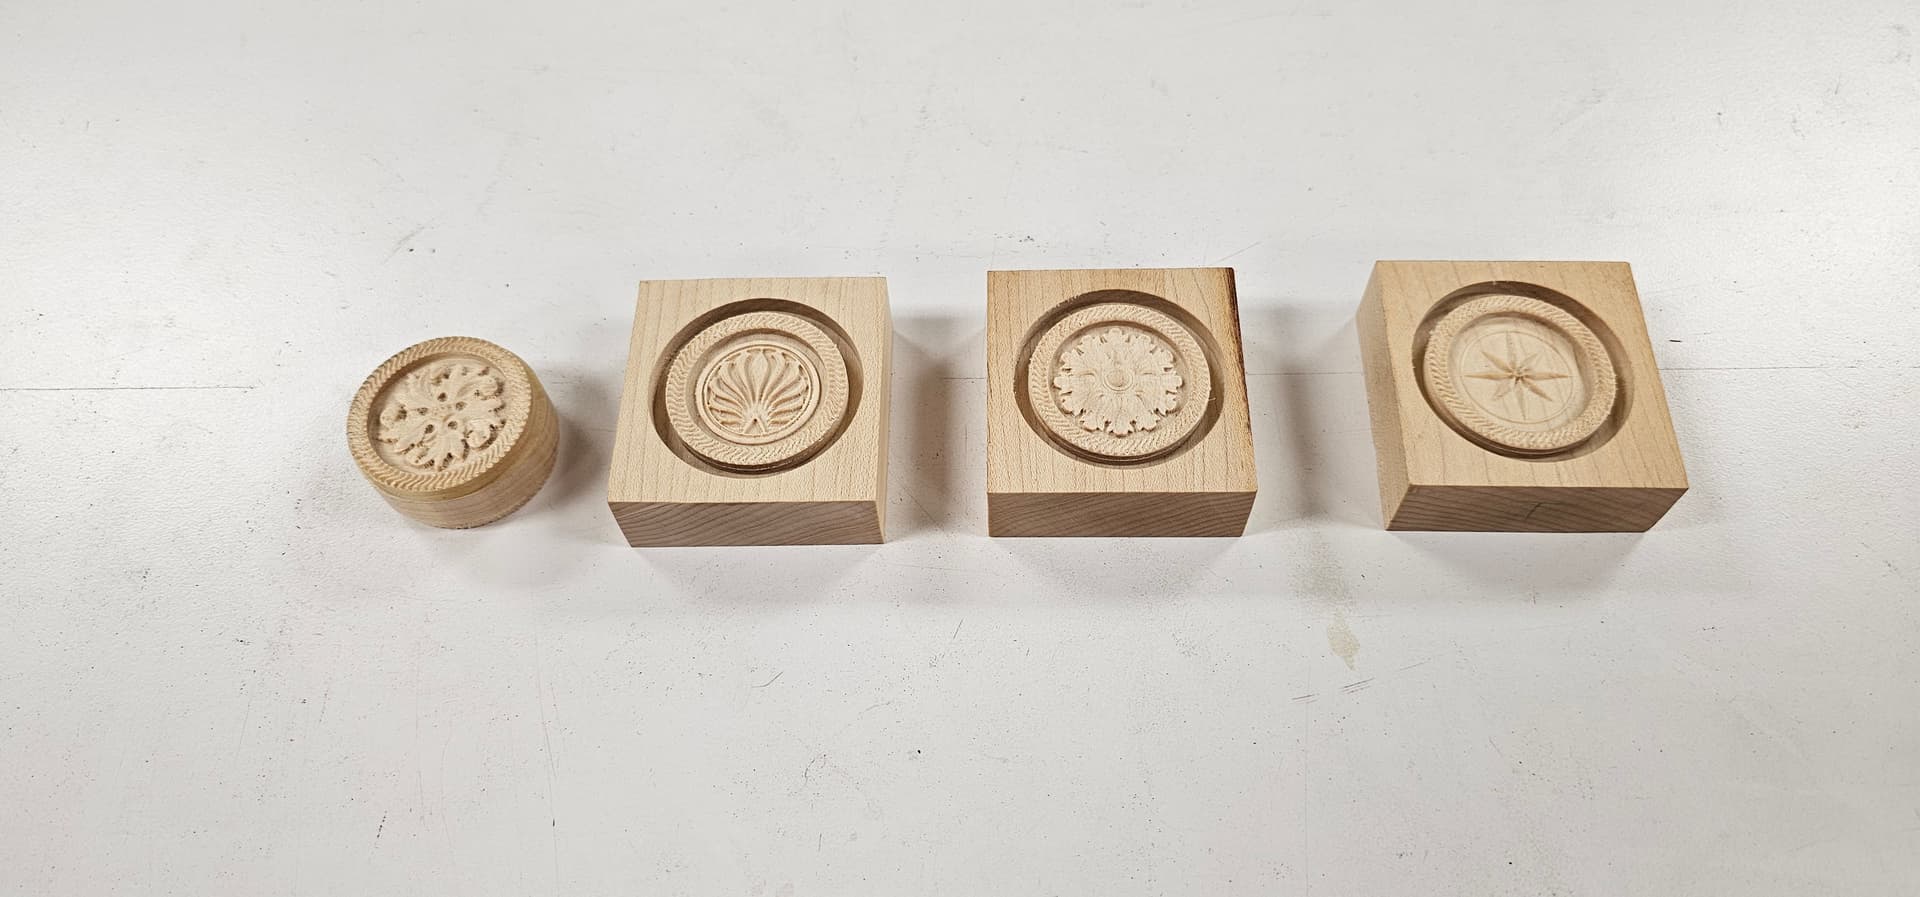
Once I had a design concept I used Carbide Create Pro to put it all together. It took a little trial and error to get everything right. The area is so small that even small adjustments could have a big impact. I’ll spare you all the gory details, but I made the star/compass rose design in ProgeCAD, exported that to Blender and tweaked it there. The crown was purely a blender exercise.
I started with some blocks of bloodwood for the red pieces, and Malagasy ebony for the black pieces. The ebony is some particularly awesome stuff - pitch black with almost no noticable grain. Best ebony in the world - this stuff was cut back in the early 90s and is no longer available since there are no longer wood exports from Madagascar. Anyway, here is the raw material I started with:
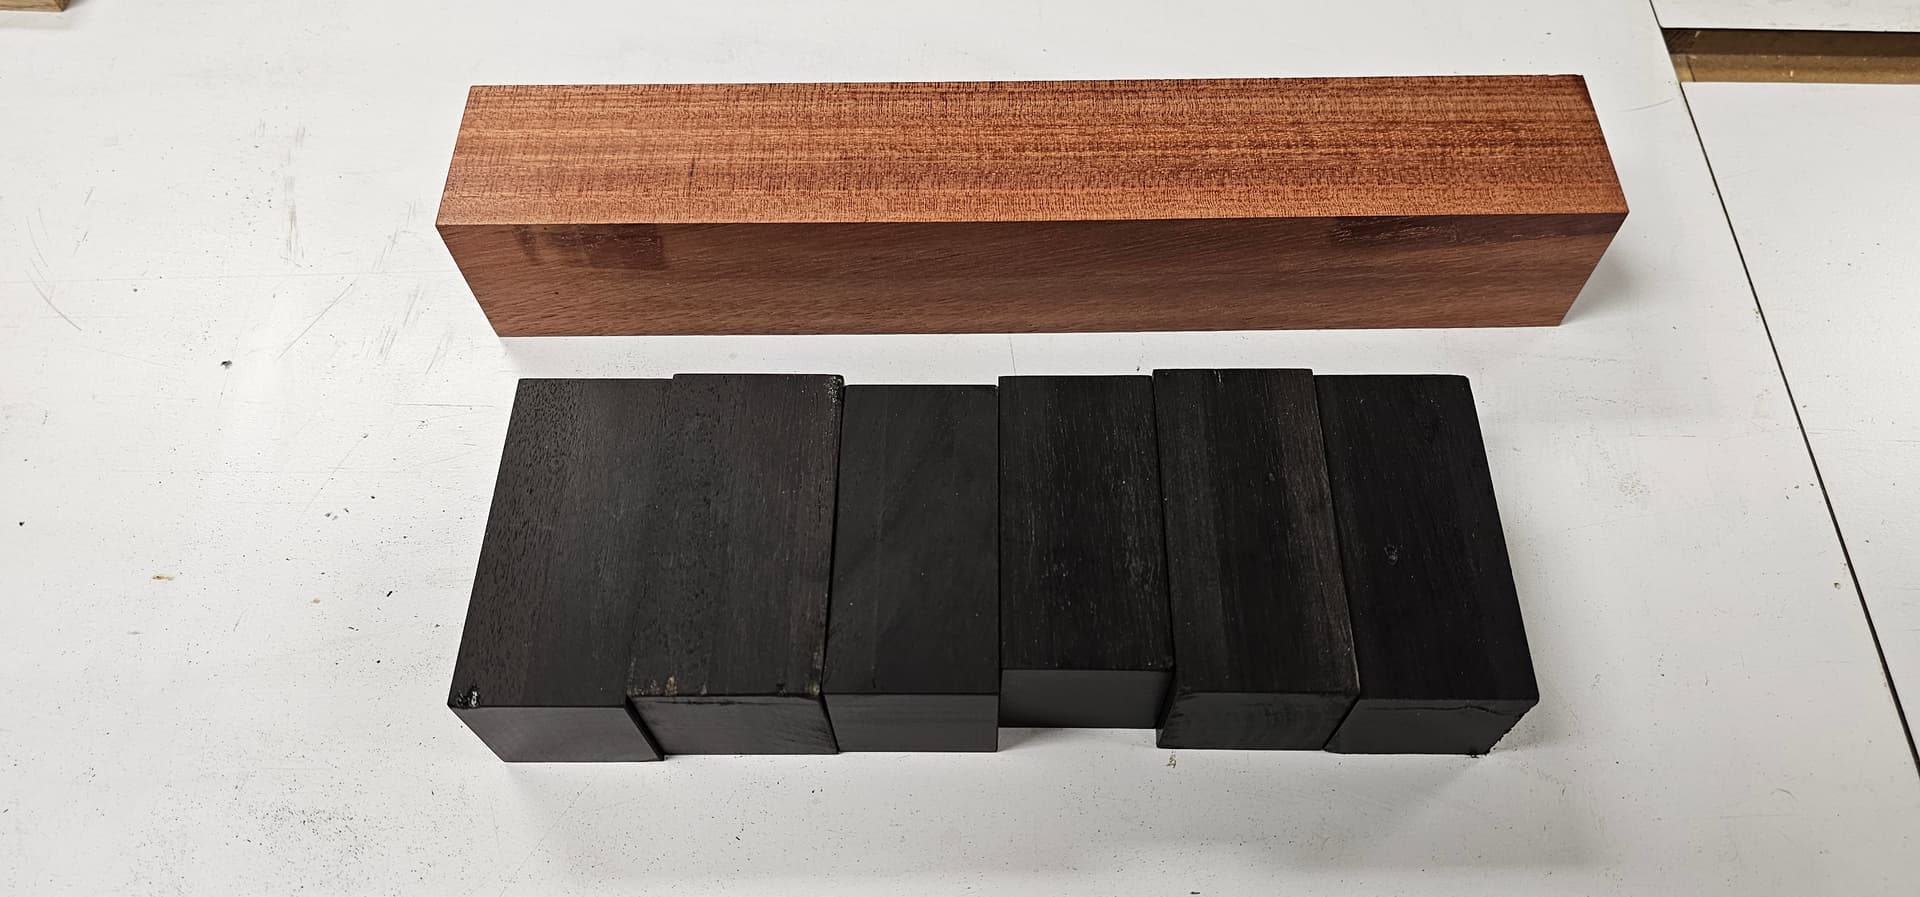
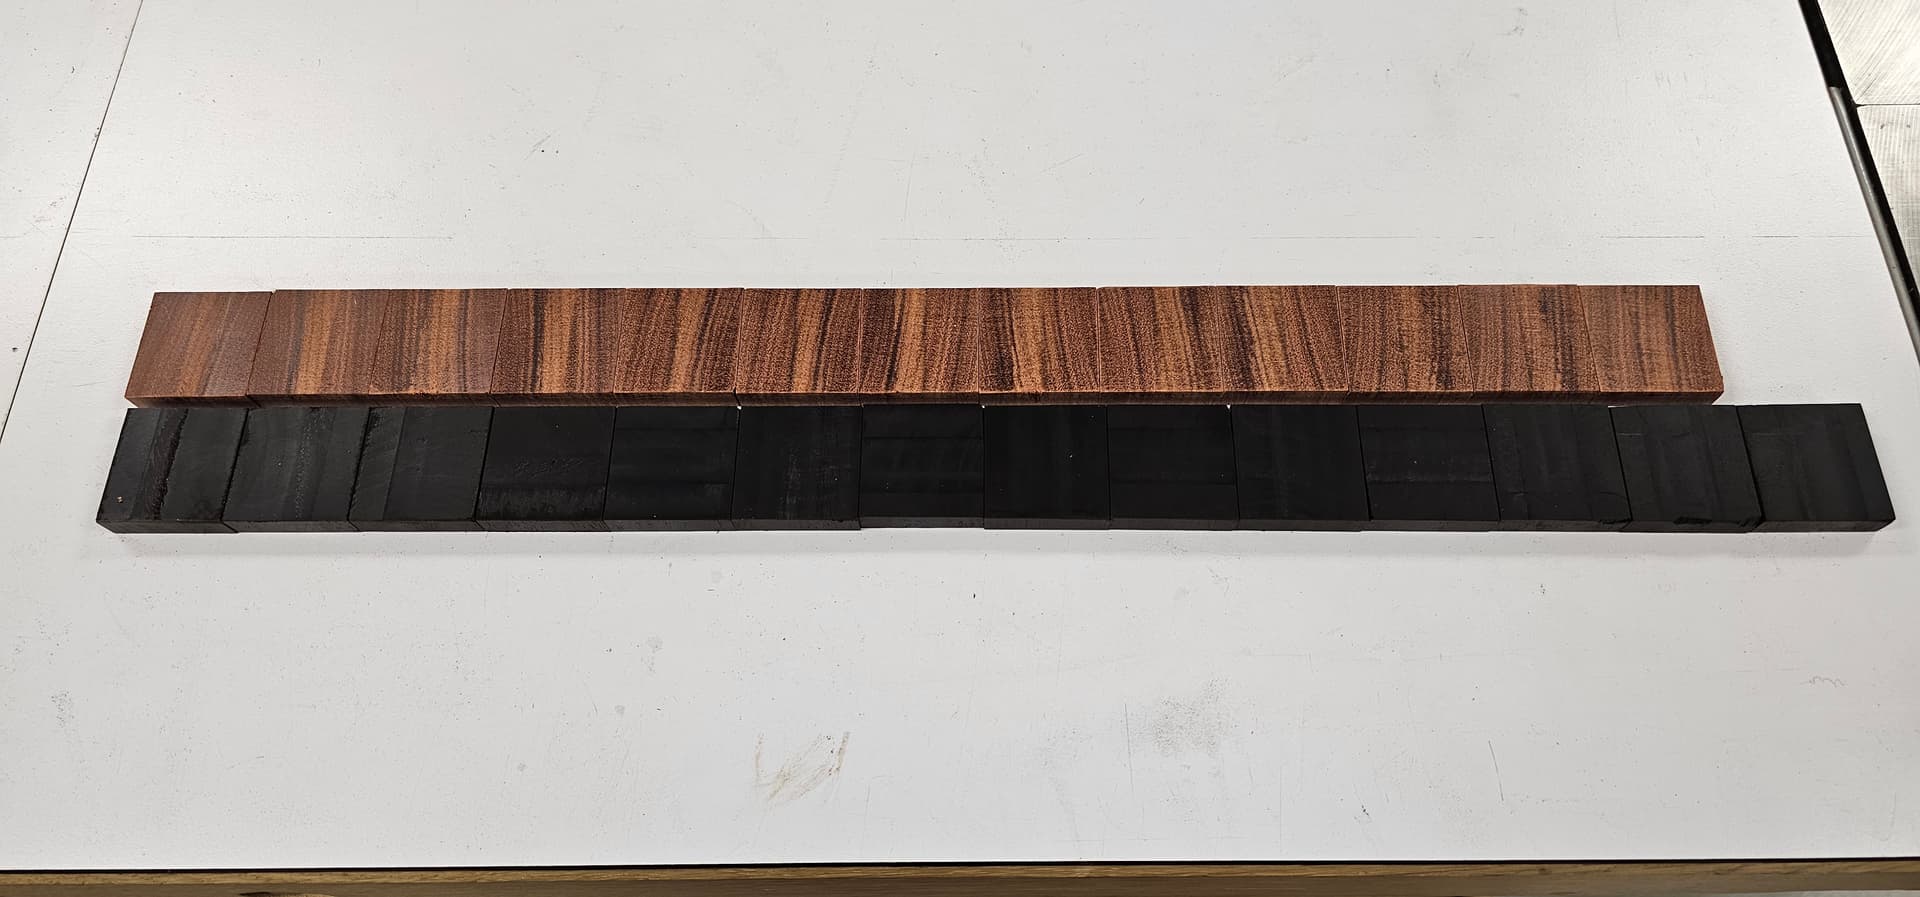
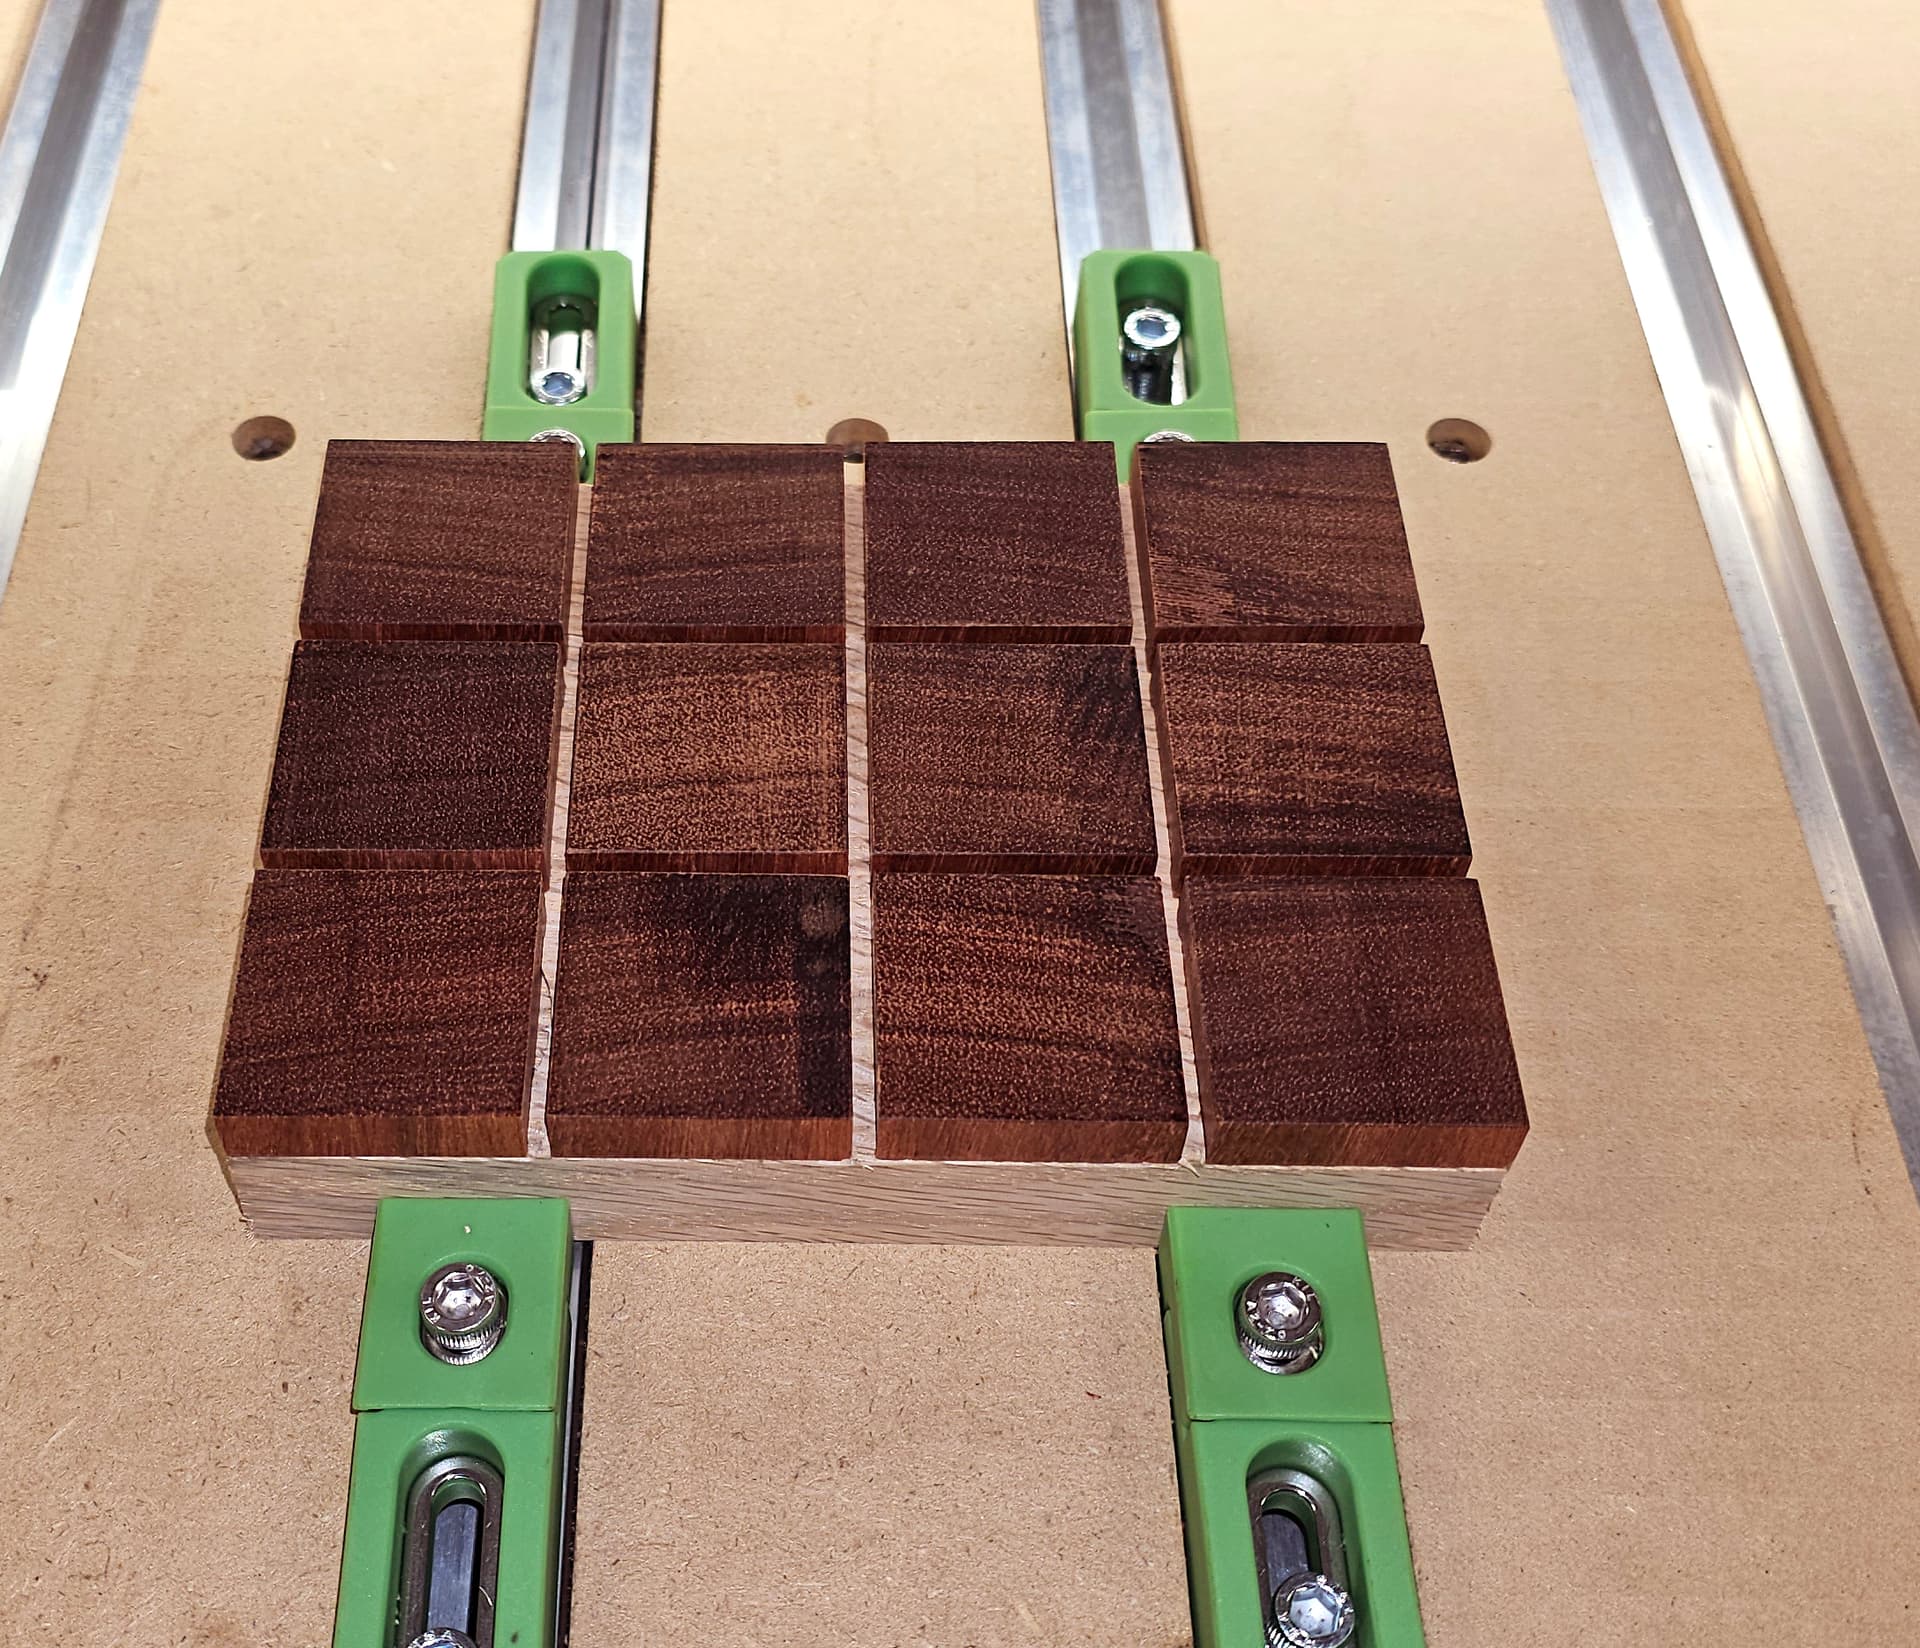
I wanted the checkers to be end grain. End grain can hold far more detail than face grain, which is important for something this small. The milled area on the inside of the checker is only about an inch in diameter. I milled the blocks to precise dimension on my Bridgeport mill, then cut thin squares. Then I milled those squares flat and to precise thickness. They ended up like this:
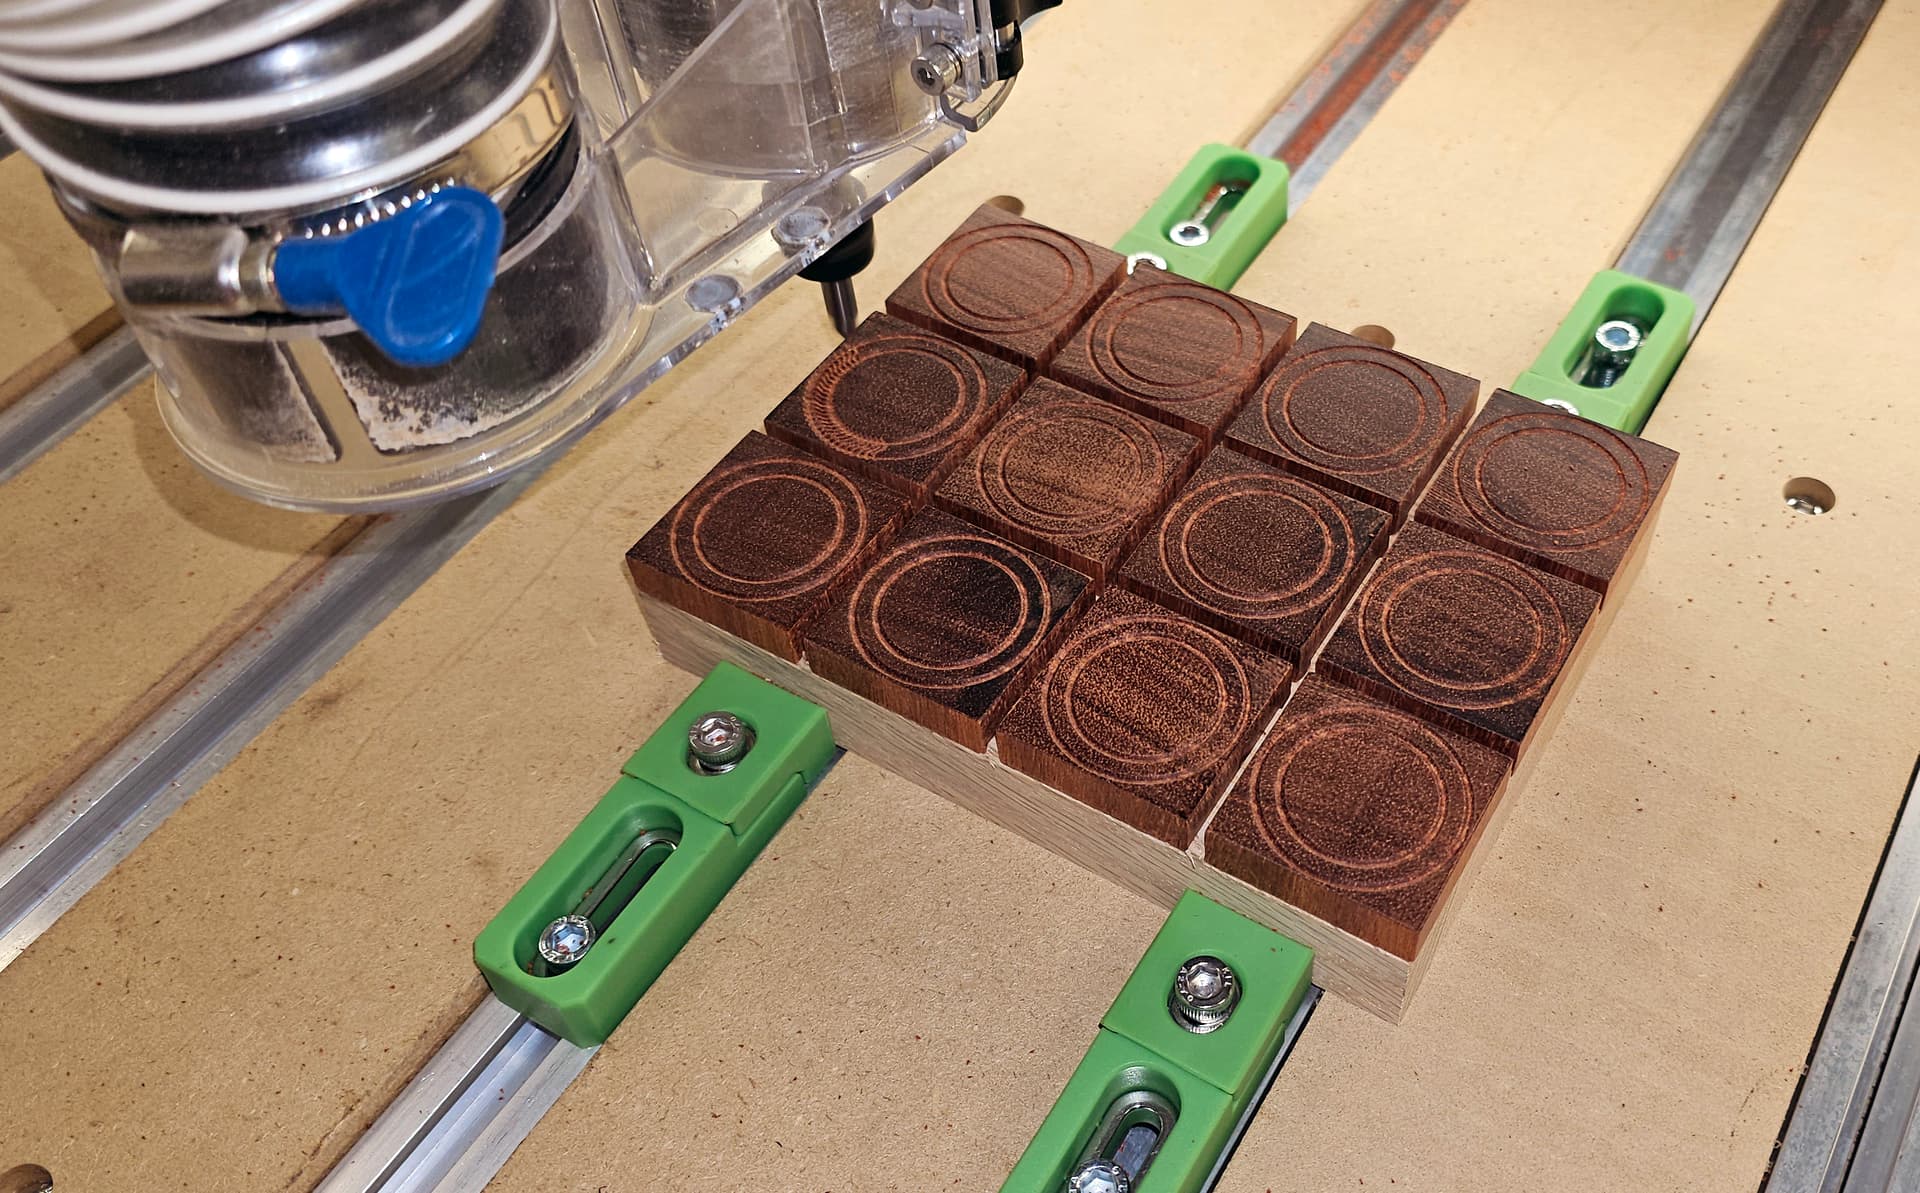
I knew these would take a long time to mill on my Shapeoko 5 Pro, so I needed a way to set up many checkers at once. I designed this fixture that can handle up to 12. Here I am testing it and the checker design with just one checker.
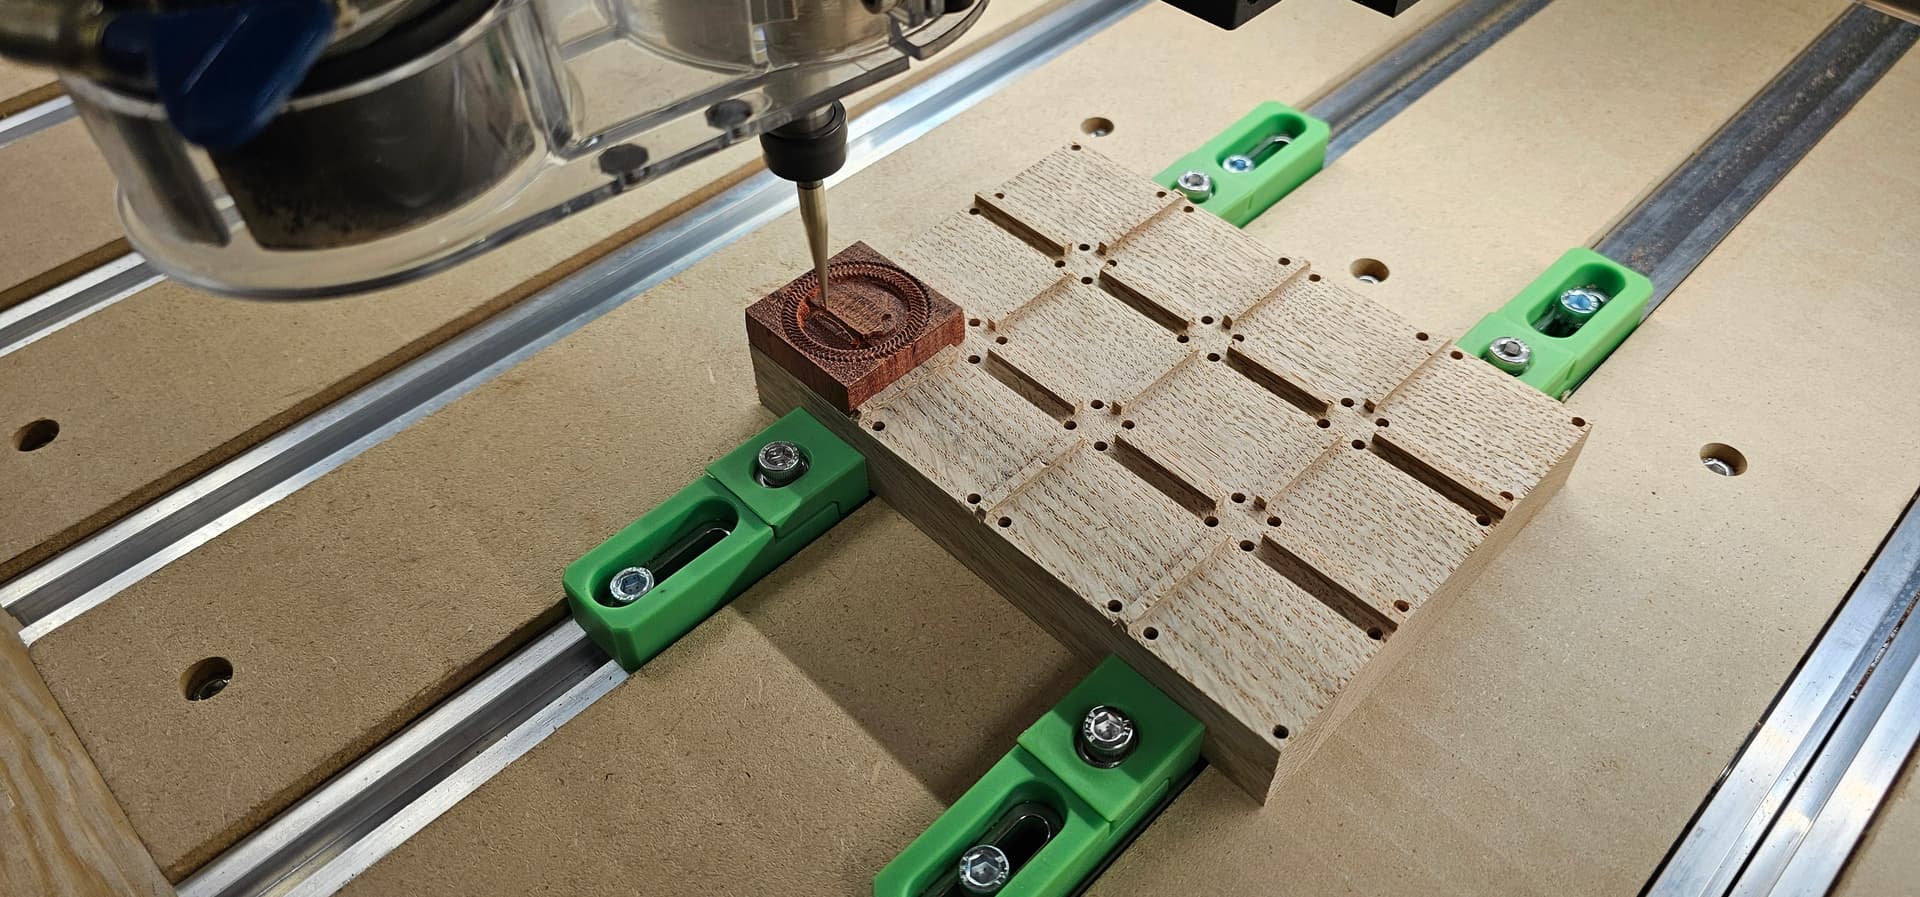
Of course the checkers have to be milled on both sides. The holes were going to be for little brass pins to help align the squares when I flipped them over (I would have drilled holes in the squares to fit the pins). But that turned out not to be unnecessary. The fit of the squares was so perfect there was probably less than 1-2 thousandths of play. The squares are held in place by double-sticky tape.
With a couple test checkers under my belt, I had enough confidence to upscale to 12 at a time.
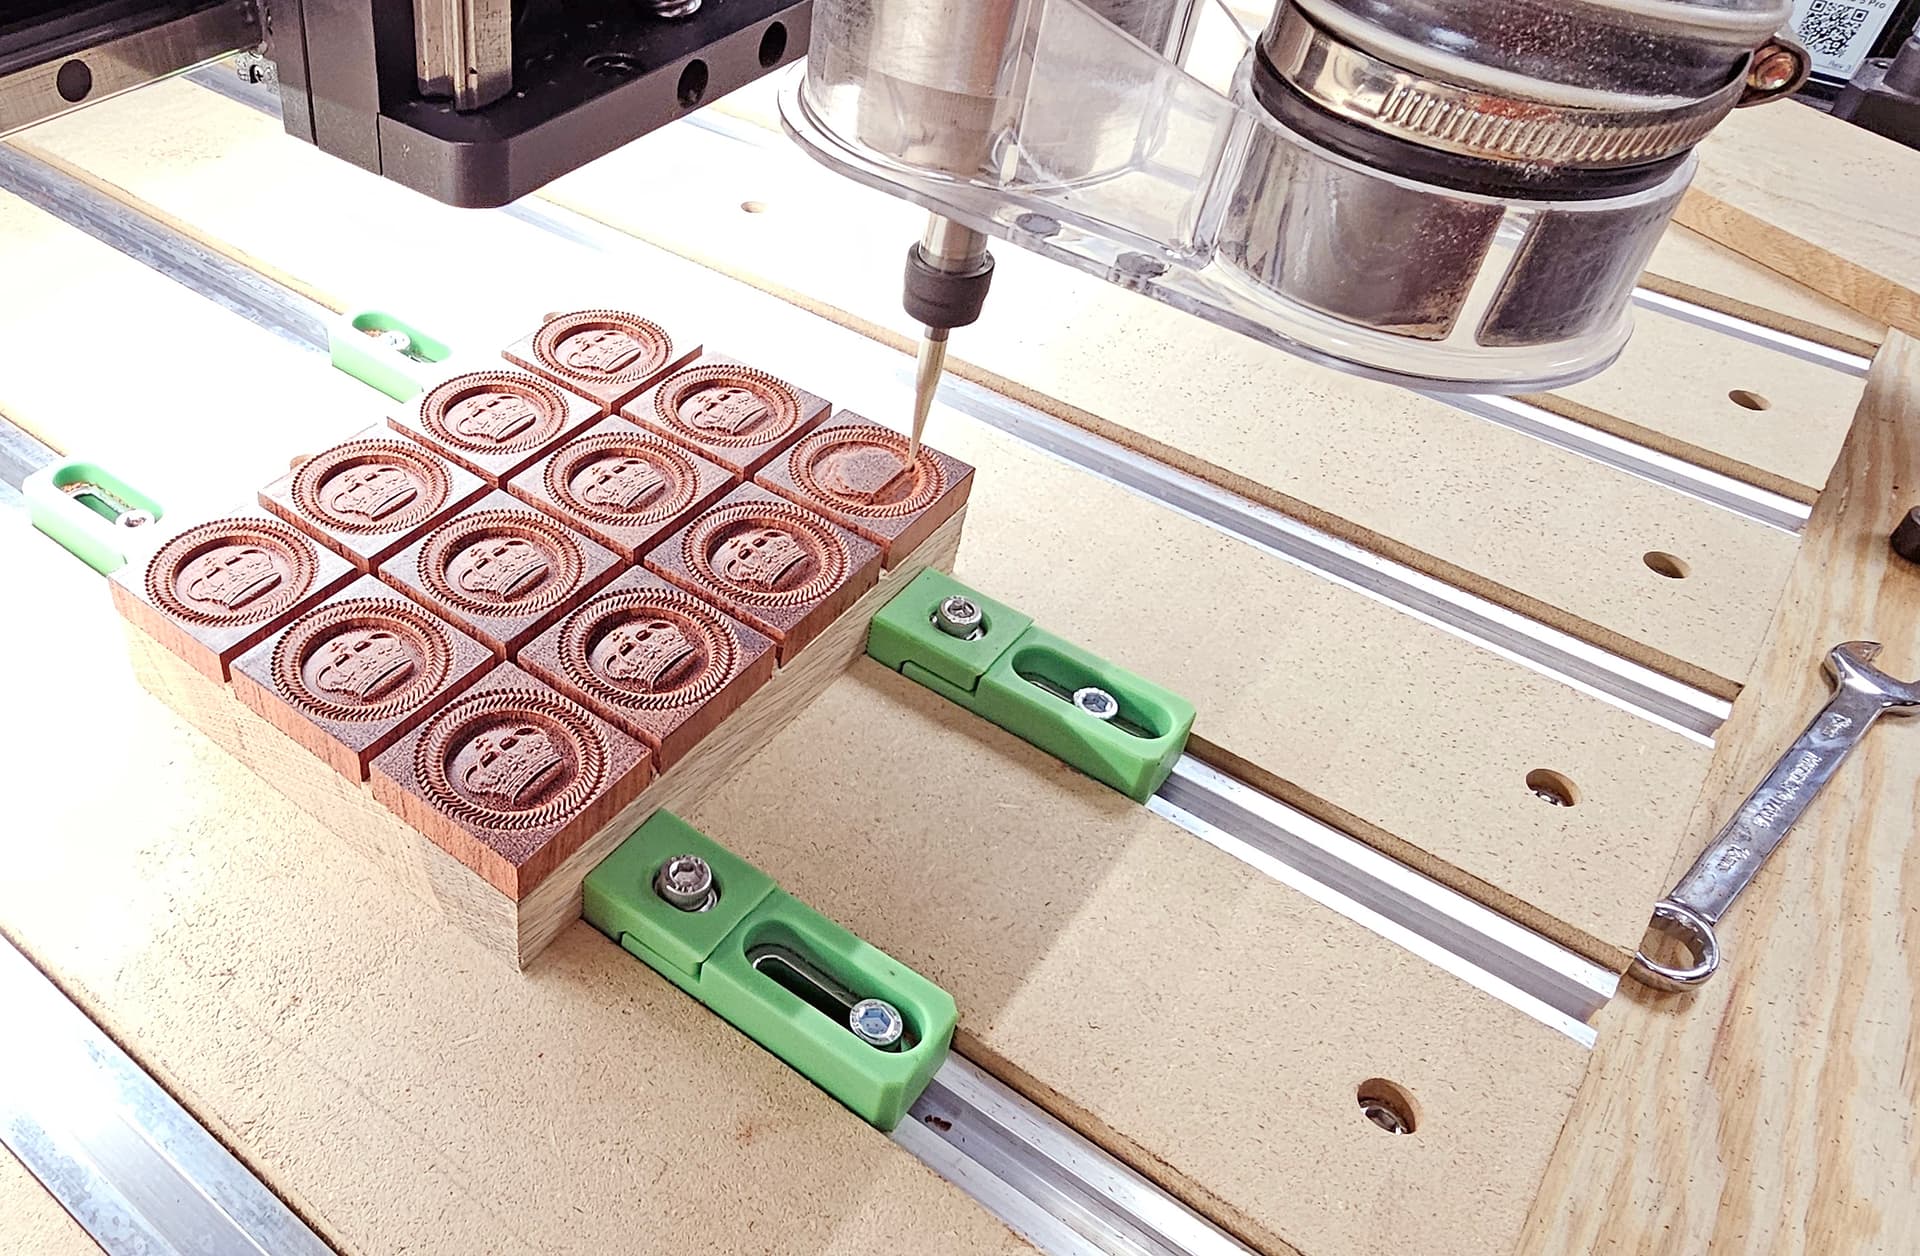
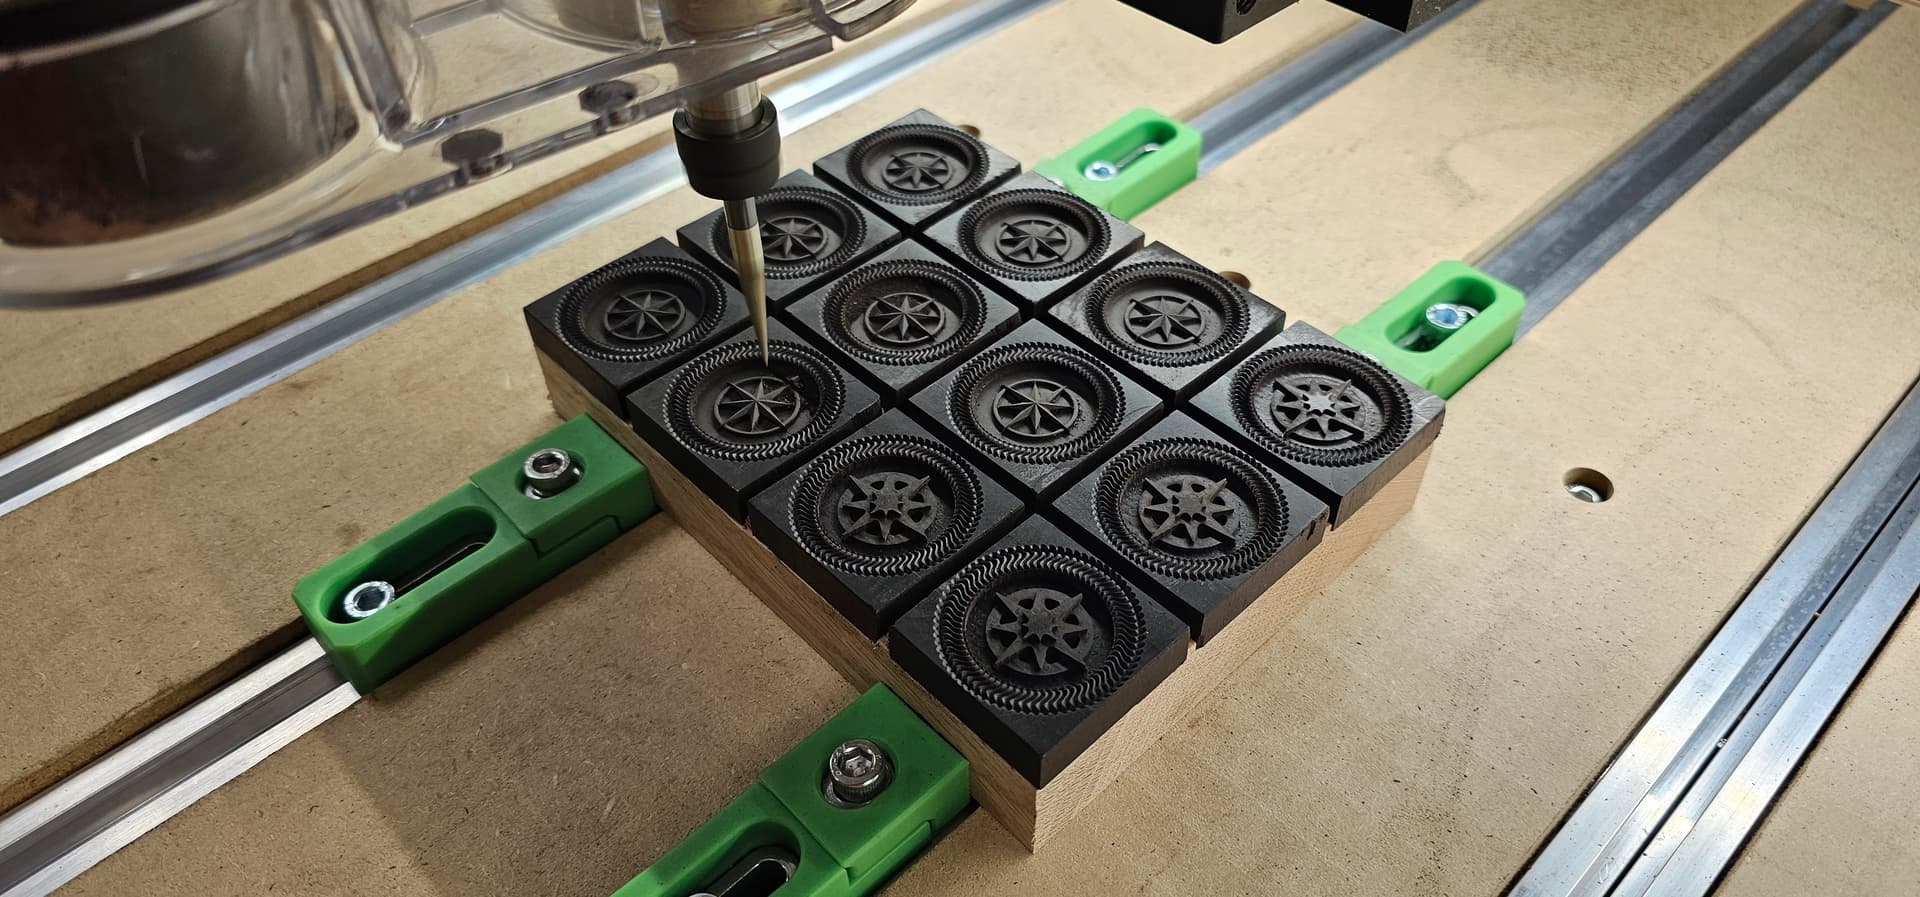
And here is the ebony:
And the final pieces with a coat or two of lacquer:
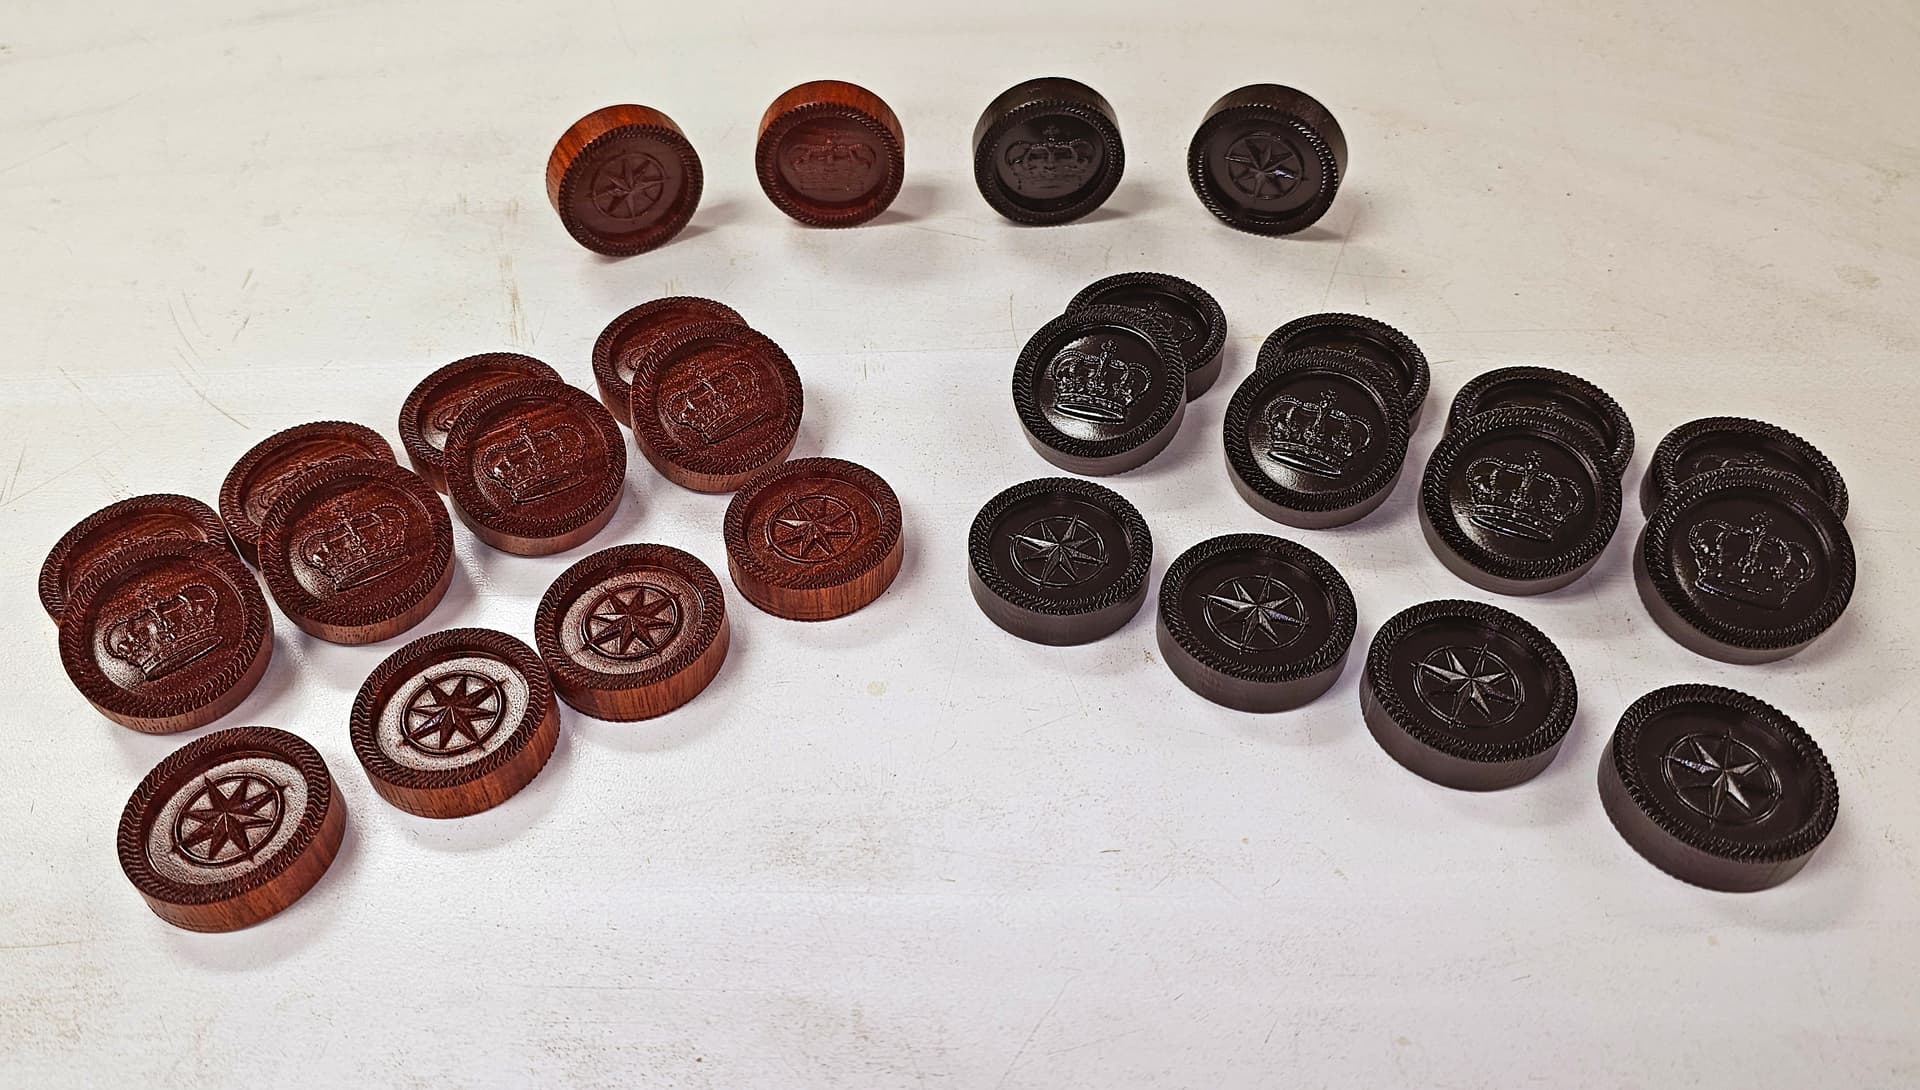
Of note is that the mill time for one side of 12 checkers in my 12-at-a-time setup was about 7 hours. That’s 28 hours of milling for 24 checkers. I ended up making 14 of each, in case some ever get lost or damaged. I did a separate run for the extra 4. The star design is on a flat surface, the crown is on a domed surface.
I used some tiny bits in this project. The squiggles around the rim used a 90 degree V bit. The roughing bit was a 1/16" straight bit; I used a 1/32" straight bit to mill the ID of the outer ring, and I used a 0.5mm diameter tapered ball nose bit (the smallest I could find on the market) for the finishing pass. The stepover I used for the finishing pass was 0.002". I pretty much used the default feeds/speeds for everything, except the 90 degree V bit. I slowed that down to 40 inch/min and ran that toolpath twice. I often run the same engraving path twice in a row to get a smoother/cleaner result. There would be no opportunity to sand out any roughness or imperfections, so I needed it to be perfect off the tool.
All in all it was a fun project and I learned about about how to use the design tools.

