Feed and Speed for V-Carving HDPE

I’m looking for a good starting point for feed rates to v-carve HDPE

I’ll be using a 60-degree 1/2" bit #302

I’m not 100% sure I have it configured right in Carbide Create but I entered 0.5" diameter, 60 degree angle. I set the feed rate to 50 in/min based on something I ran across in searching and left the default plunge at 8 in/min and default depth of 0.05 in. These seem like they may be off but I’ve never done v-carving before so I’m not sure.
It calculated the time for a basic v-carving at an hour and a half for something that is only about 4" x 1.5"

Any guidance would be appreciated as my google-foo is failing me with results all over the dang place.

1 Like

1 Like

Note that currently when cutting geometry currently available versions of Carbide Create won’t adjust # of passes down past a certain threshold and 468 which is in beta has a weird toolpath preview glitch — hopefully this bug will get fixed presently.

1 Like

@YakAngler,

I’m interested in trying out some feeds and speeds before recommending them, I’ll do some tests on that later today. Would you mind sharing the c2d file, then I could do my tests on a case relevant to you ?

1 Like

I have had several long (12 plus hours) jobs that cc estimated 24 hours and cm estimated 10 hours. So some projects will take less time than cc estimates and more time than cm says.

1 Like

In my experience, plunge rate and retract height are the biggest contributors to long v-carve times. You will retract a lot when v-carving, so it needs to be as efficient as possible. I think you can safely triple your plunge rate to 25 IPM, maybe even more. And work towards making your retract height as low as possible. How low depends on your work holding situation. If you use 2 sided tape you can make your retract as low as 0.1” or 0.2” depending on the flatness of your stock.

One more thing. V-carve has been improved, but it still pecks at corners much more than it should. This depends on how “clean” your curves are. Ive had success zooming into corners and cleaning them up with the node edit tool, but this is usually only worth it if you will be making multiple copies of the same design.

5 Likes

There’s another way I’ve had success cleaning up tool paths to minimize pecking. Use the offset tool to create a new closed path just slightly larger or smaller than the original, then delete the original. Often, the new offset toolpath is cleaner than the original. If there is an improvement, you’ll be able to see it immediately in the simulation if you enable display of retracts and rapids.

2 Likes

Good info.

I’m comfortable speeding up the plunge rate but since I’m not yet comfortable with v-carving I didn’t know if there was a downside to doing so. The material should be fairly flat. I can’t promise dead flat, but HDPE is usually pretty good as long as there was no warping.

Work holding is still TBD on this since I’m using up almost every available free space on a 12x24 sheet. Clamps would get in the way so it’ll probably be double sided tape and lots of it.

@YakAngler,

Here’s the result of my little experiment tonight.

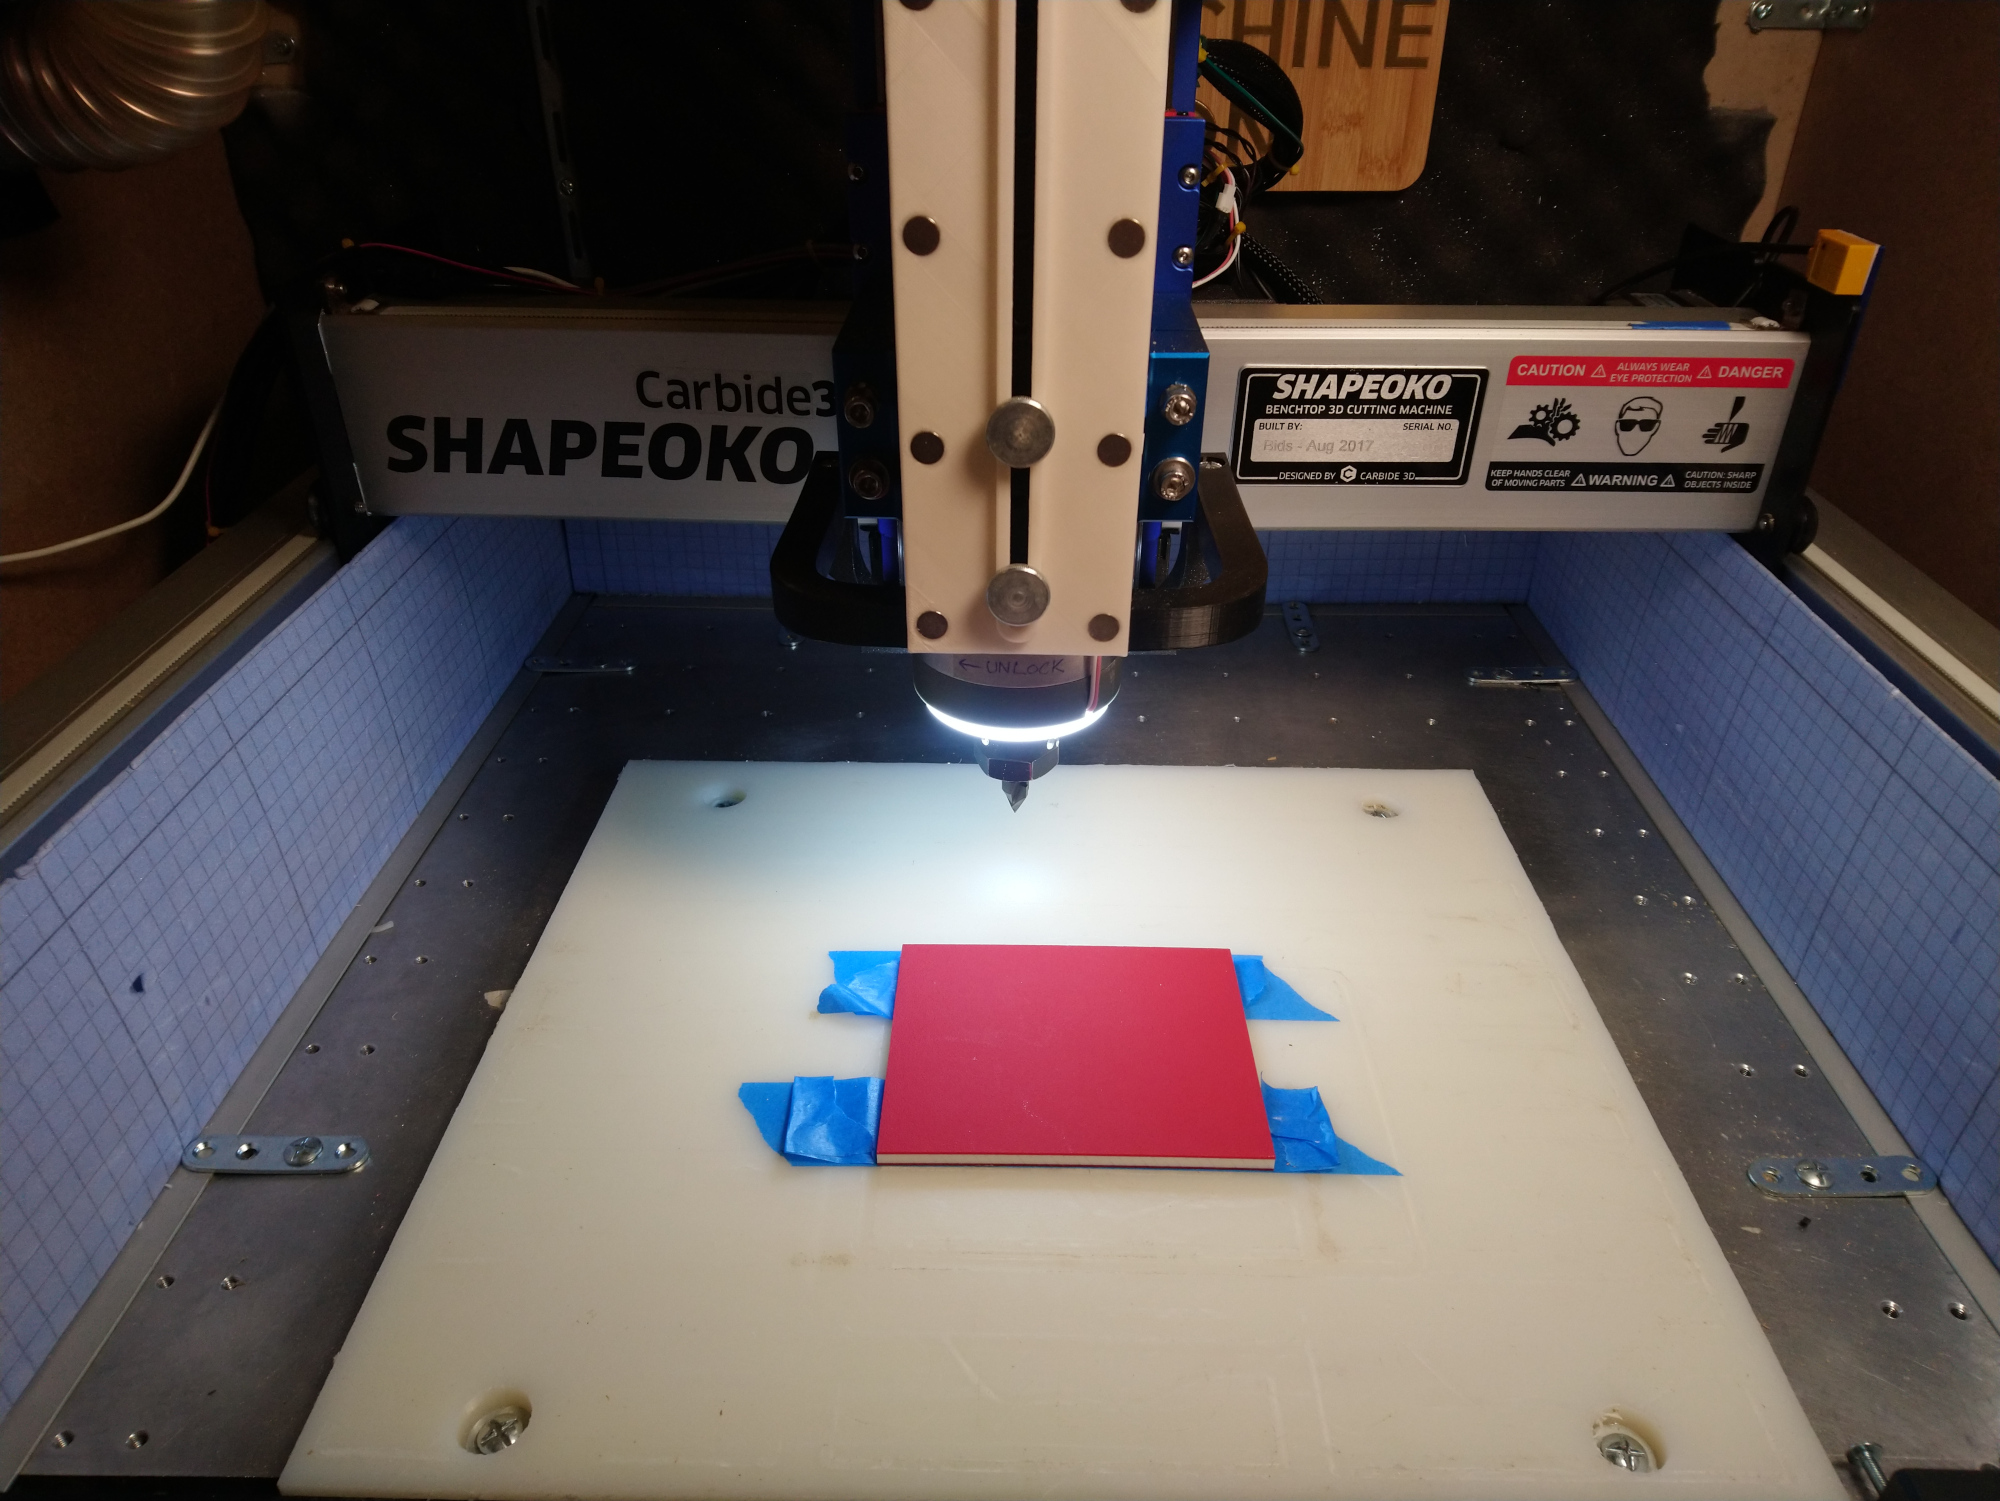
I figured I would use a piece of 4"x5"x0.25" tow-tone HDPE for this test, and used tape&glue for workholding (try it now!):

Here’s CC setup and test vector:

As far as I am concerned, HDPE likes high feedrates. It’s forgiving enough to take it, and plastics in general tend to melt fast at low feedrates. My recipe for feeds & speeds when using V-bit is to:

  • determine how deep the Vbit will be on average during the cut based on the selected geometry. From that you can determine an equivalent square endmill diameter and then take half of that, as the average between the largest width engaged in the material, and the smallest one (0, at the tip). Or since I’m lazy and don’t want to burn brain cells for this, I’ll pick an equivalent diameter that corresponds to the width of a typical V grove in the cut. In the vector above scaled for 4"x5", the inside of each letter leg is approximately 1/8" wide, so I picked that.
  • Then, what’s good feeds and speeds for a regular 1/8" endmill in HDPE ? I refer to my cookbook/chipload guideline, and picked a target chipload of 0.003" for a 1/8" in soft plastics. I picked 10.000RPM (somewhat arbitrarily, but that’s a typical value in plastics), therefore required feedrate is 0.003 x 2 flute (on the #302) x 10.000 = 60ipm
  • for plunge, if there is something I have learned when milling soft plastics, is that one needs to plunge much faster than usual, because it’s possible (especially with a V-bit), and because a slow plunge leads to melting, sooner or later. I usually go for ~50-60% of the feedrate, so this time I chose to use a plungerate of 40ipm.

The cut took 7 minutes and went fine, and gave me nice little chips and no melting (which is my priority):

Now, I was still left with fuzzies after the cut, this is where experimenting with different feeds and speeds around that starting baseline would be helpful, to find a combination that would leave a cleaner finish. I could have run a finishing pass to (not easy in CC though)

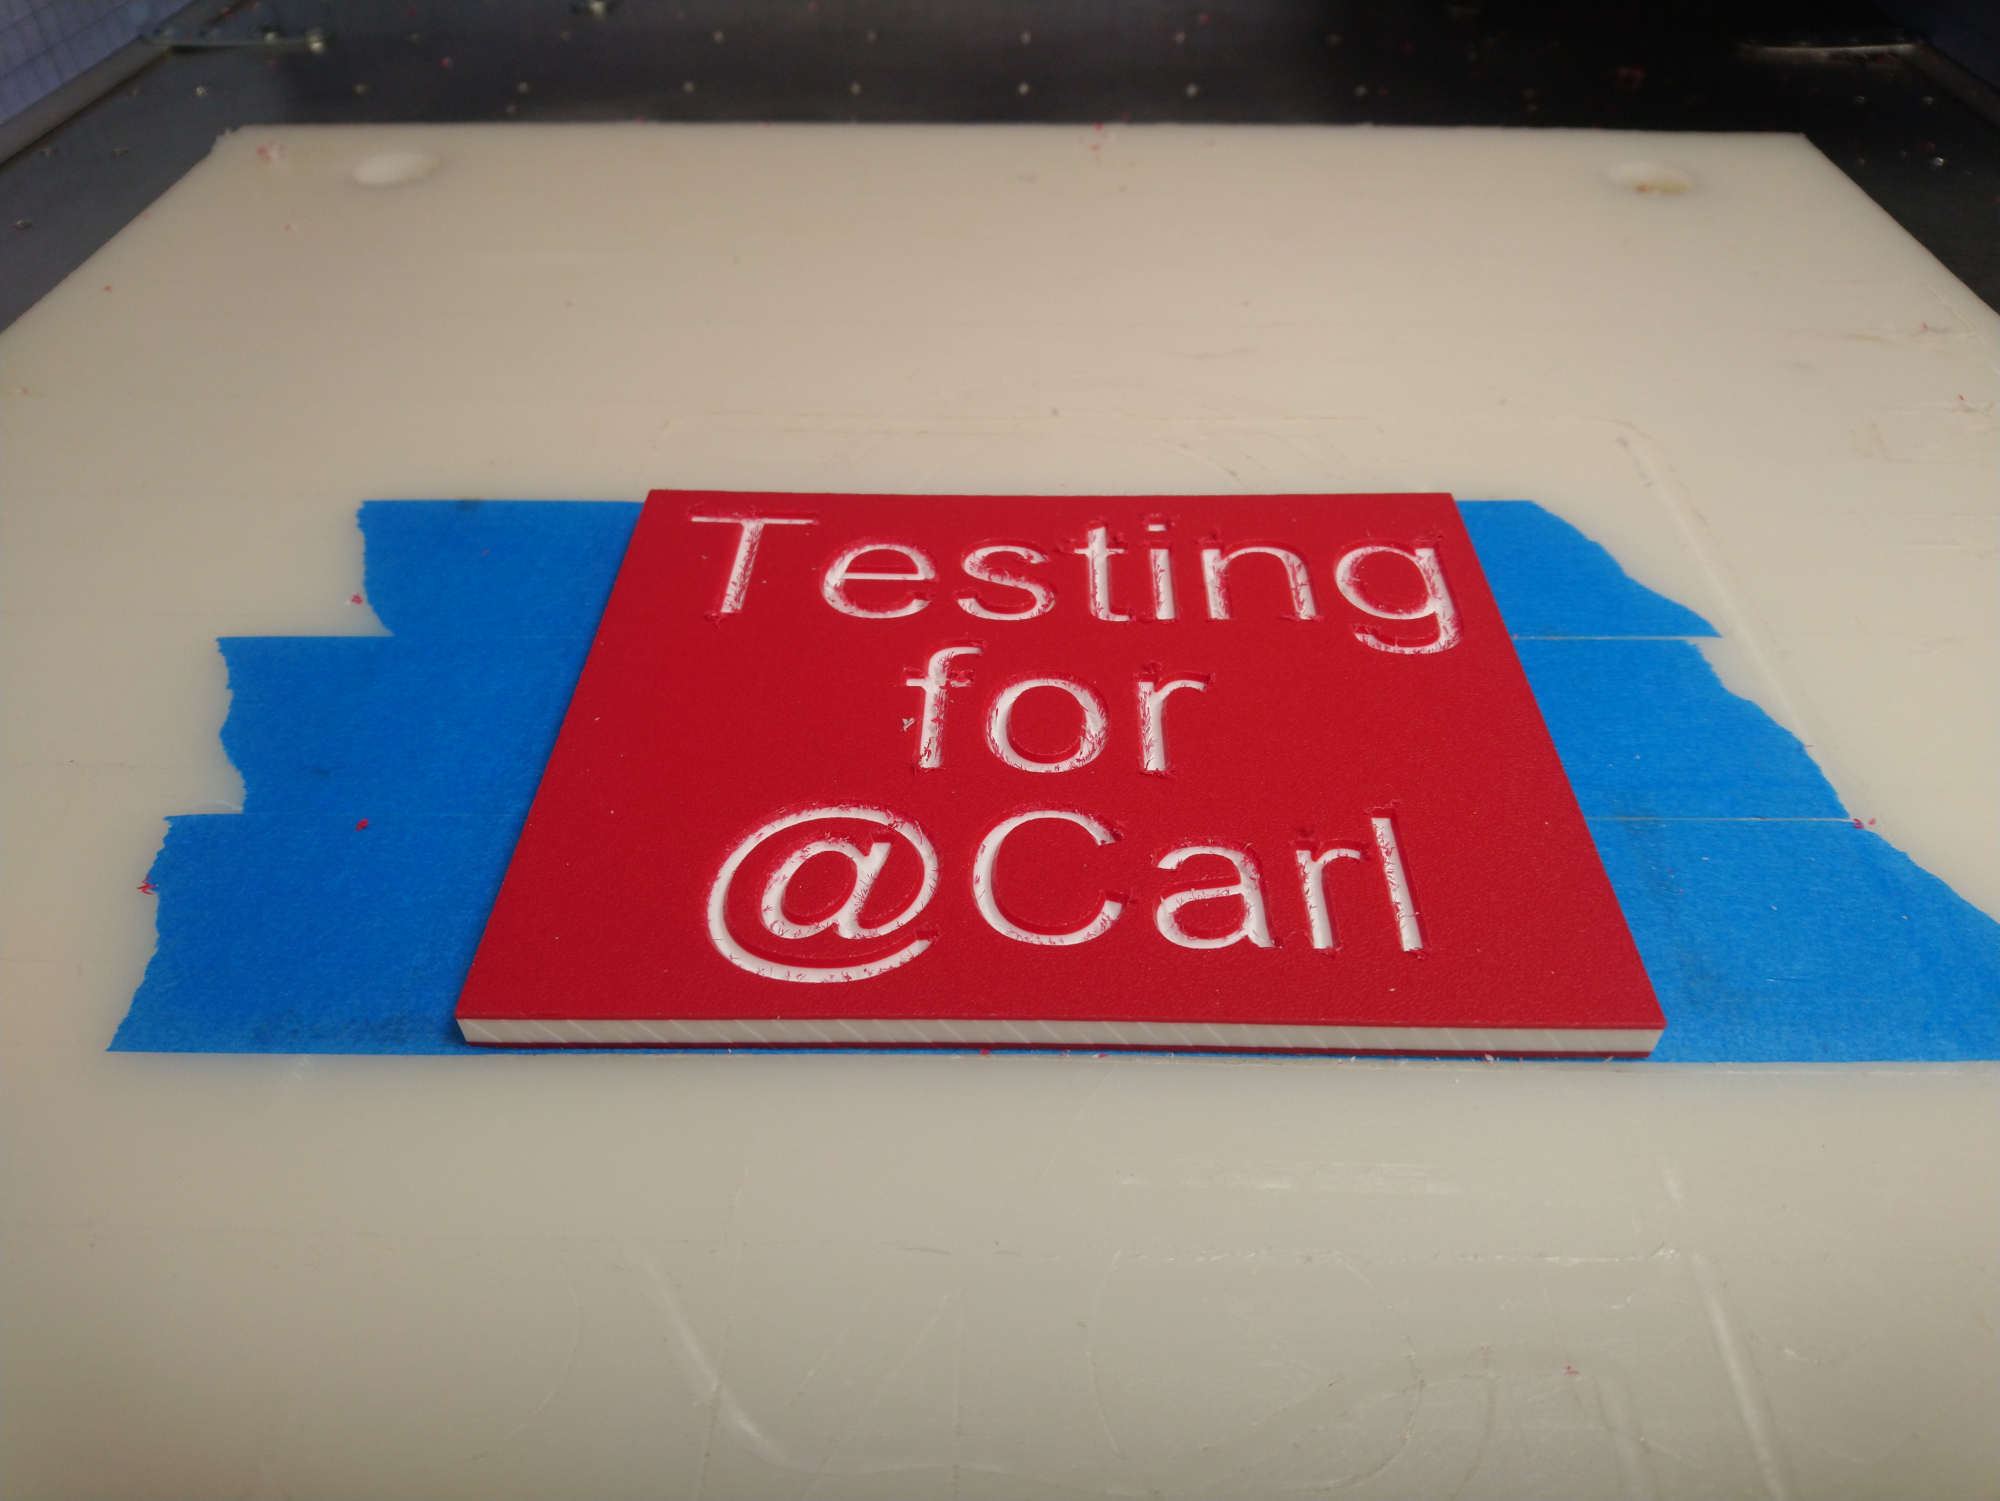
But my time tonight was limited, and bedtime is near, so I just cleaned-up manually and got this:

5 Likes

Wow!

Ok, you have officially gone above and beyond to detail this out. Kudos and thank you. This gives me some good starting points.

1 Like

This topic was automatically closed 30 days after the last reply. New replies are no longer allowed.