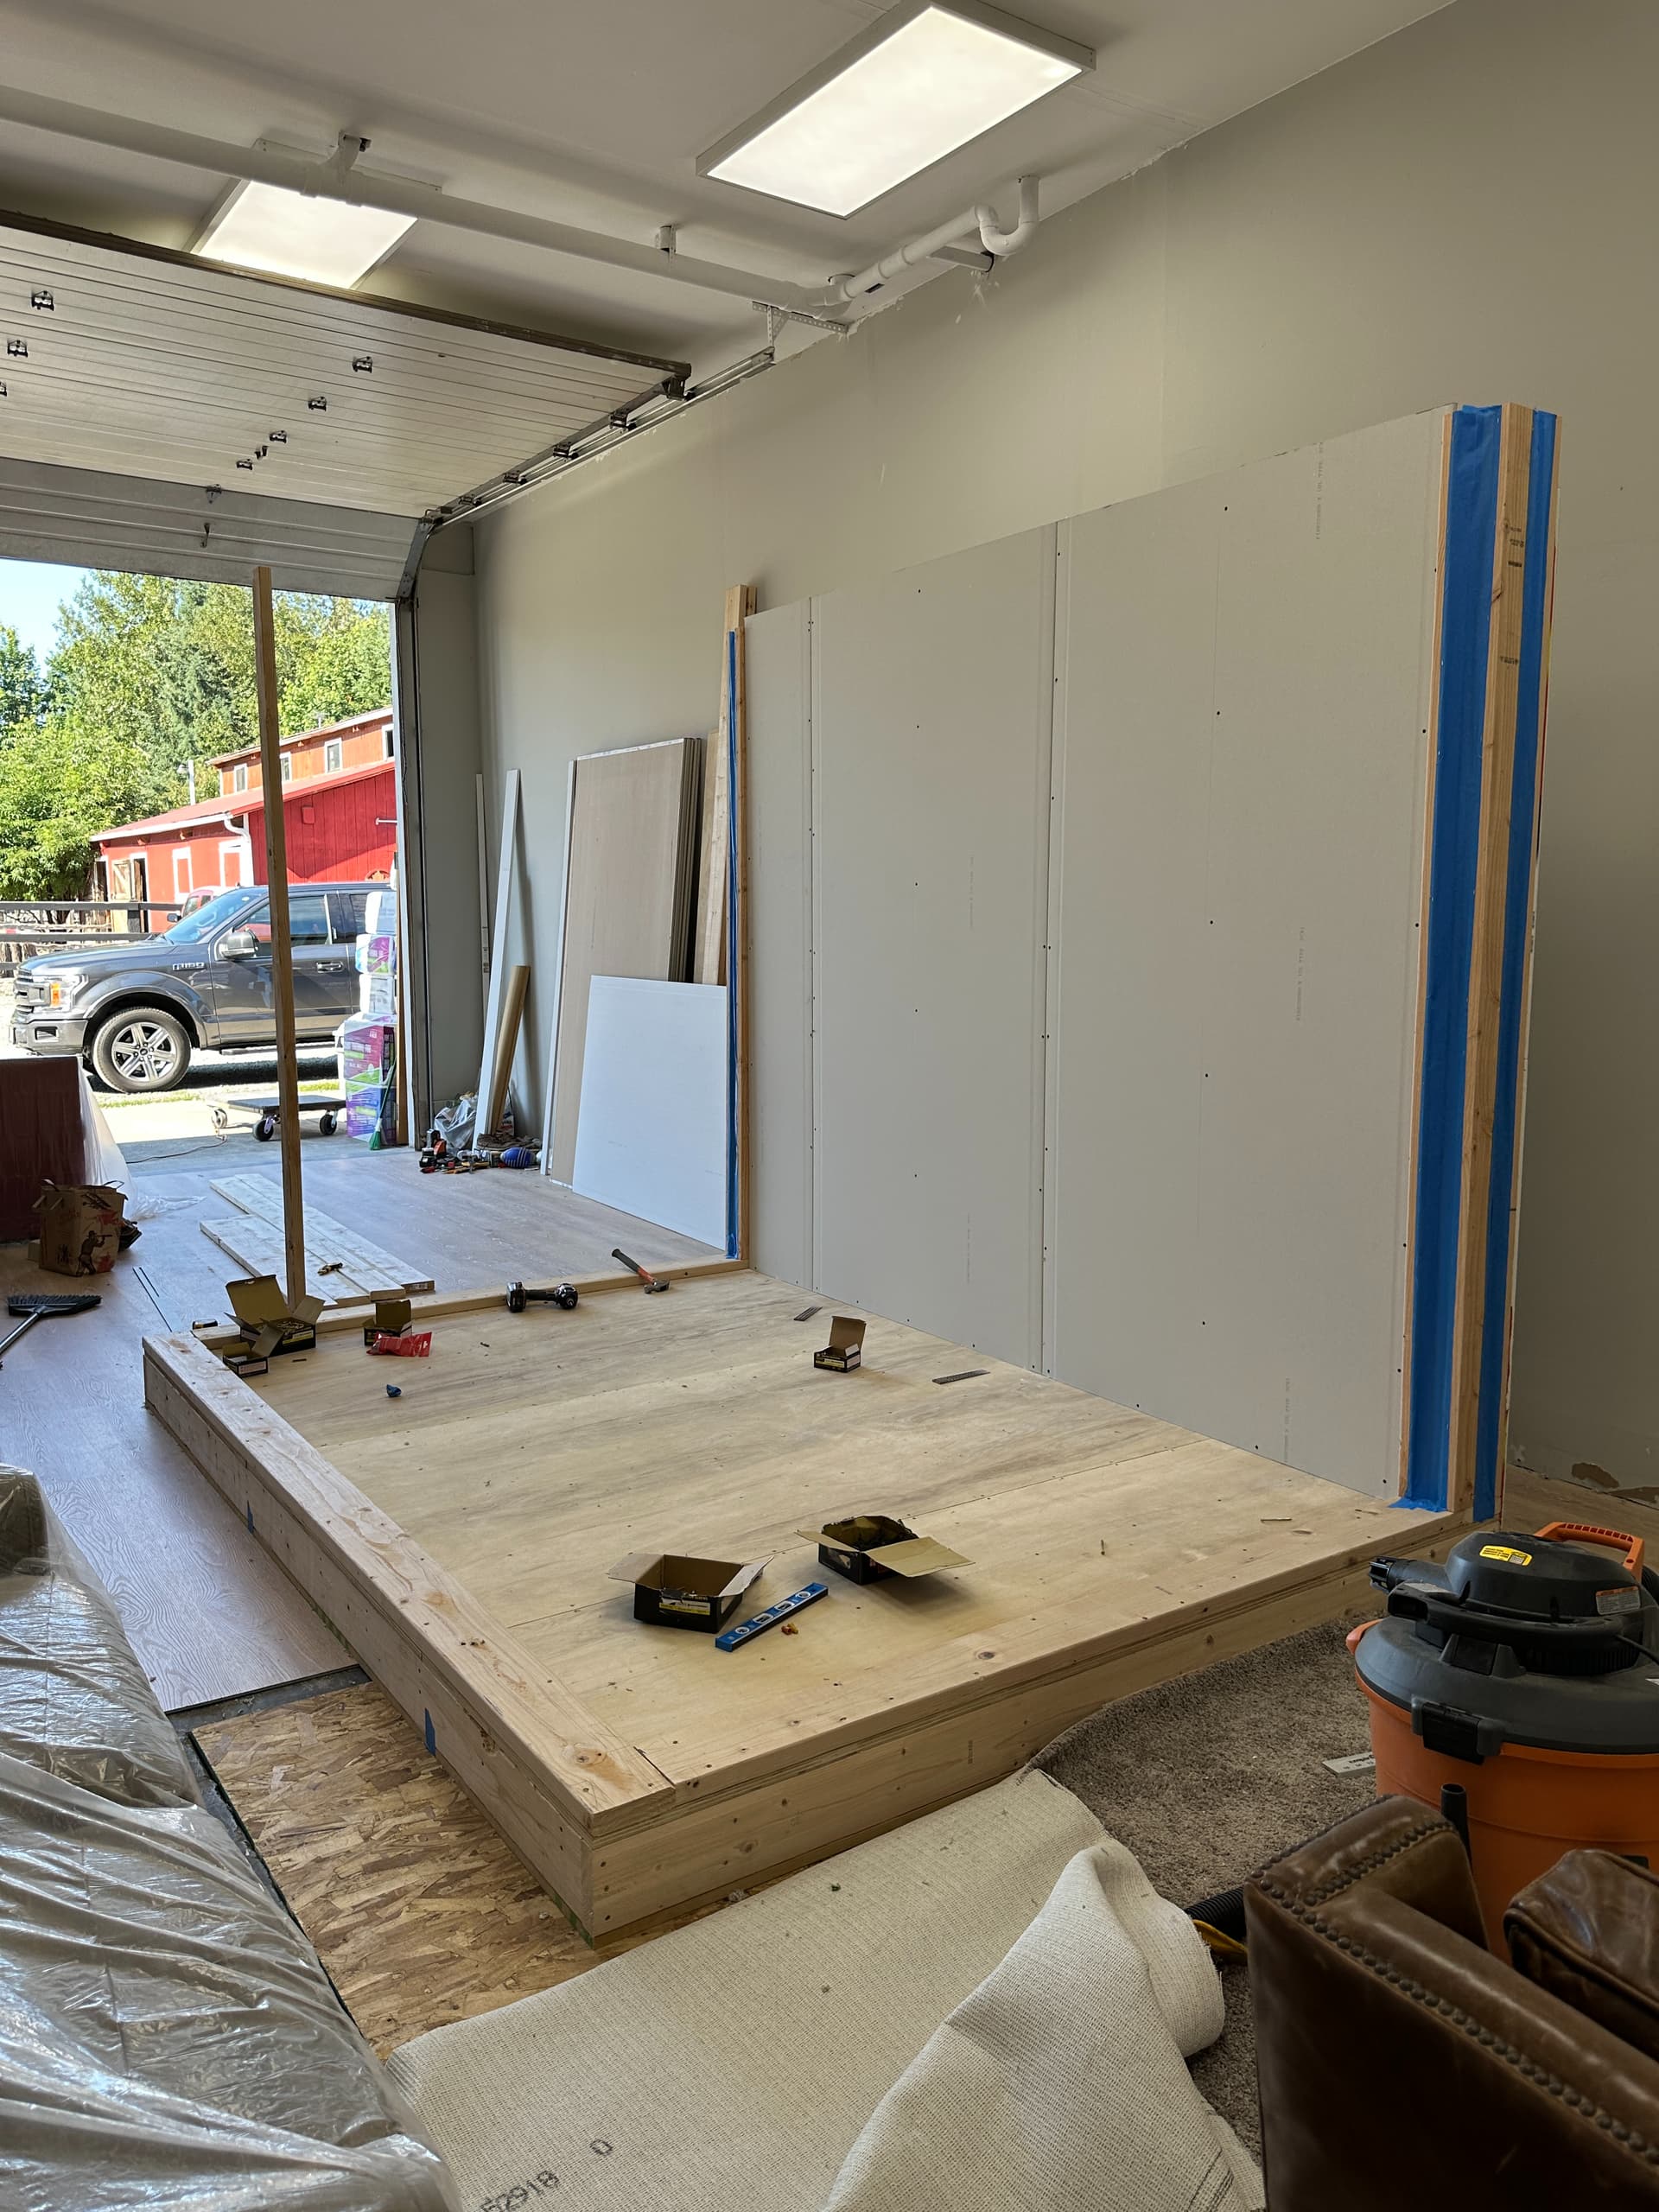
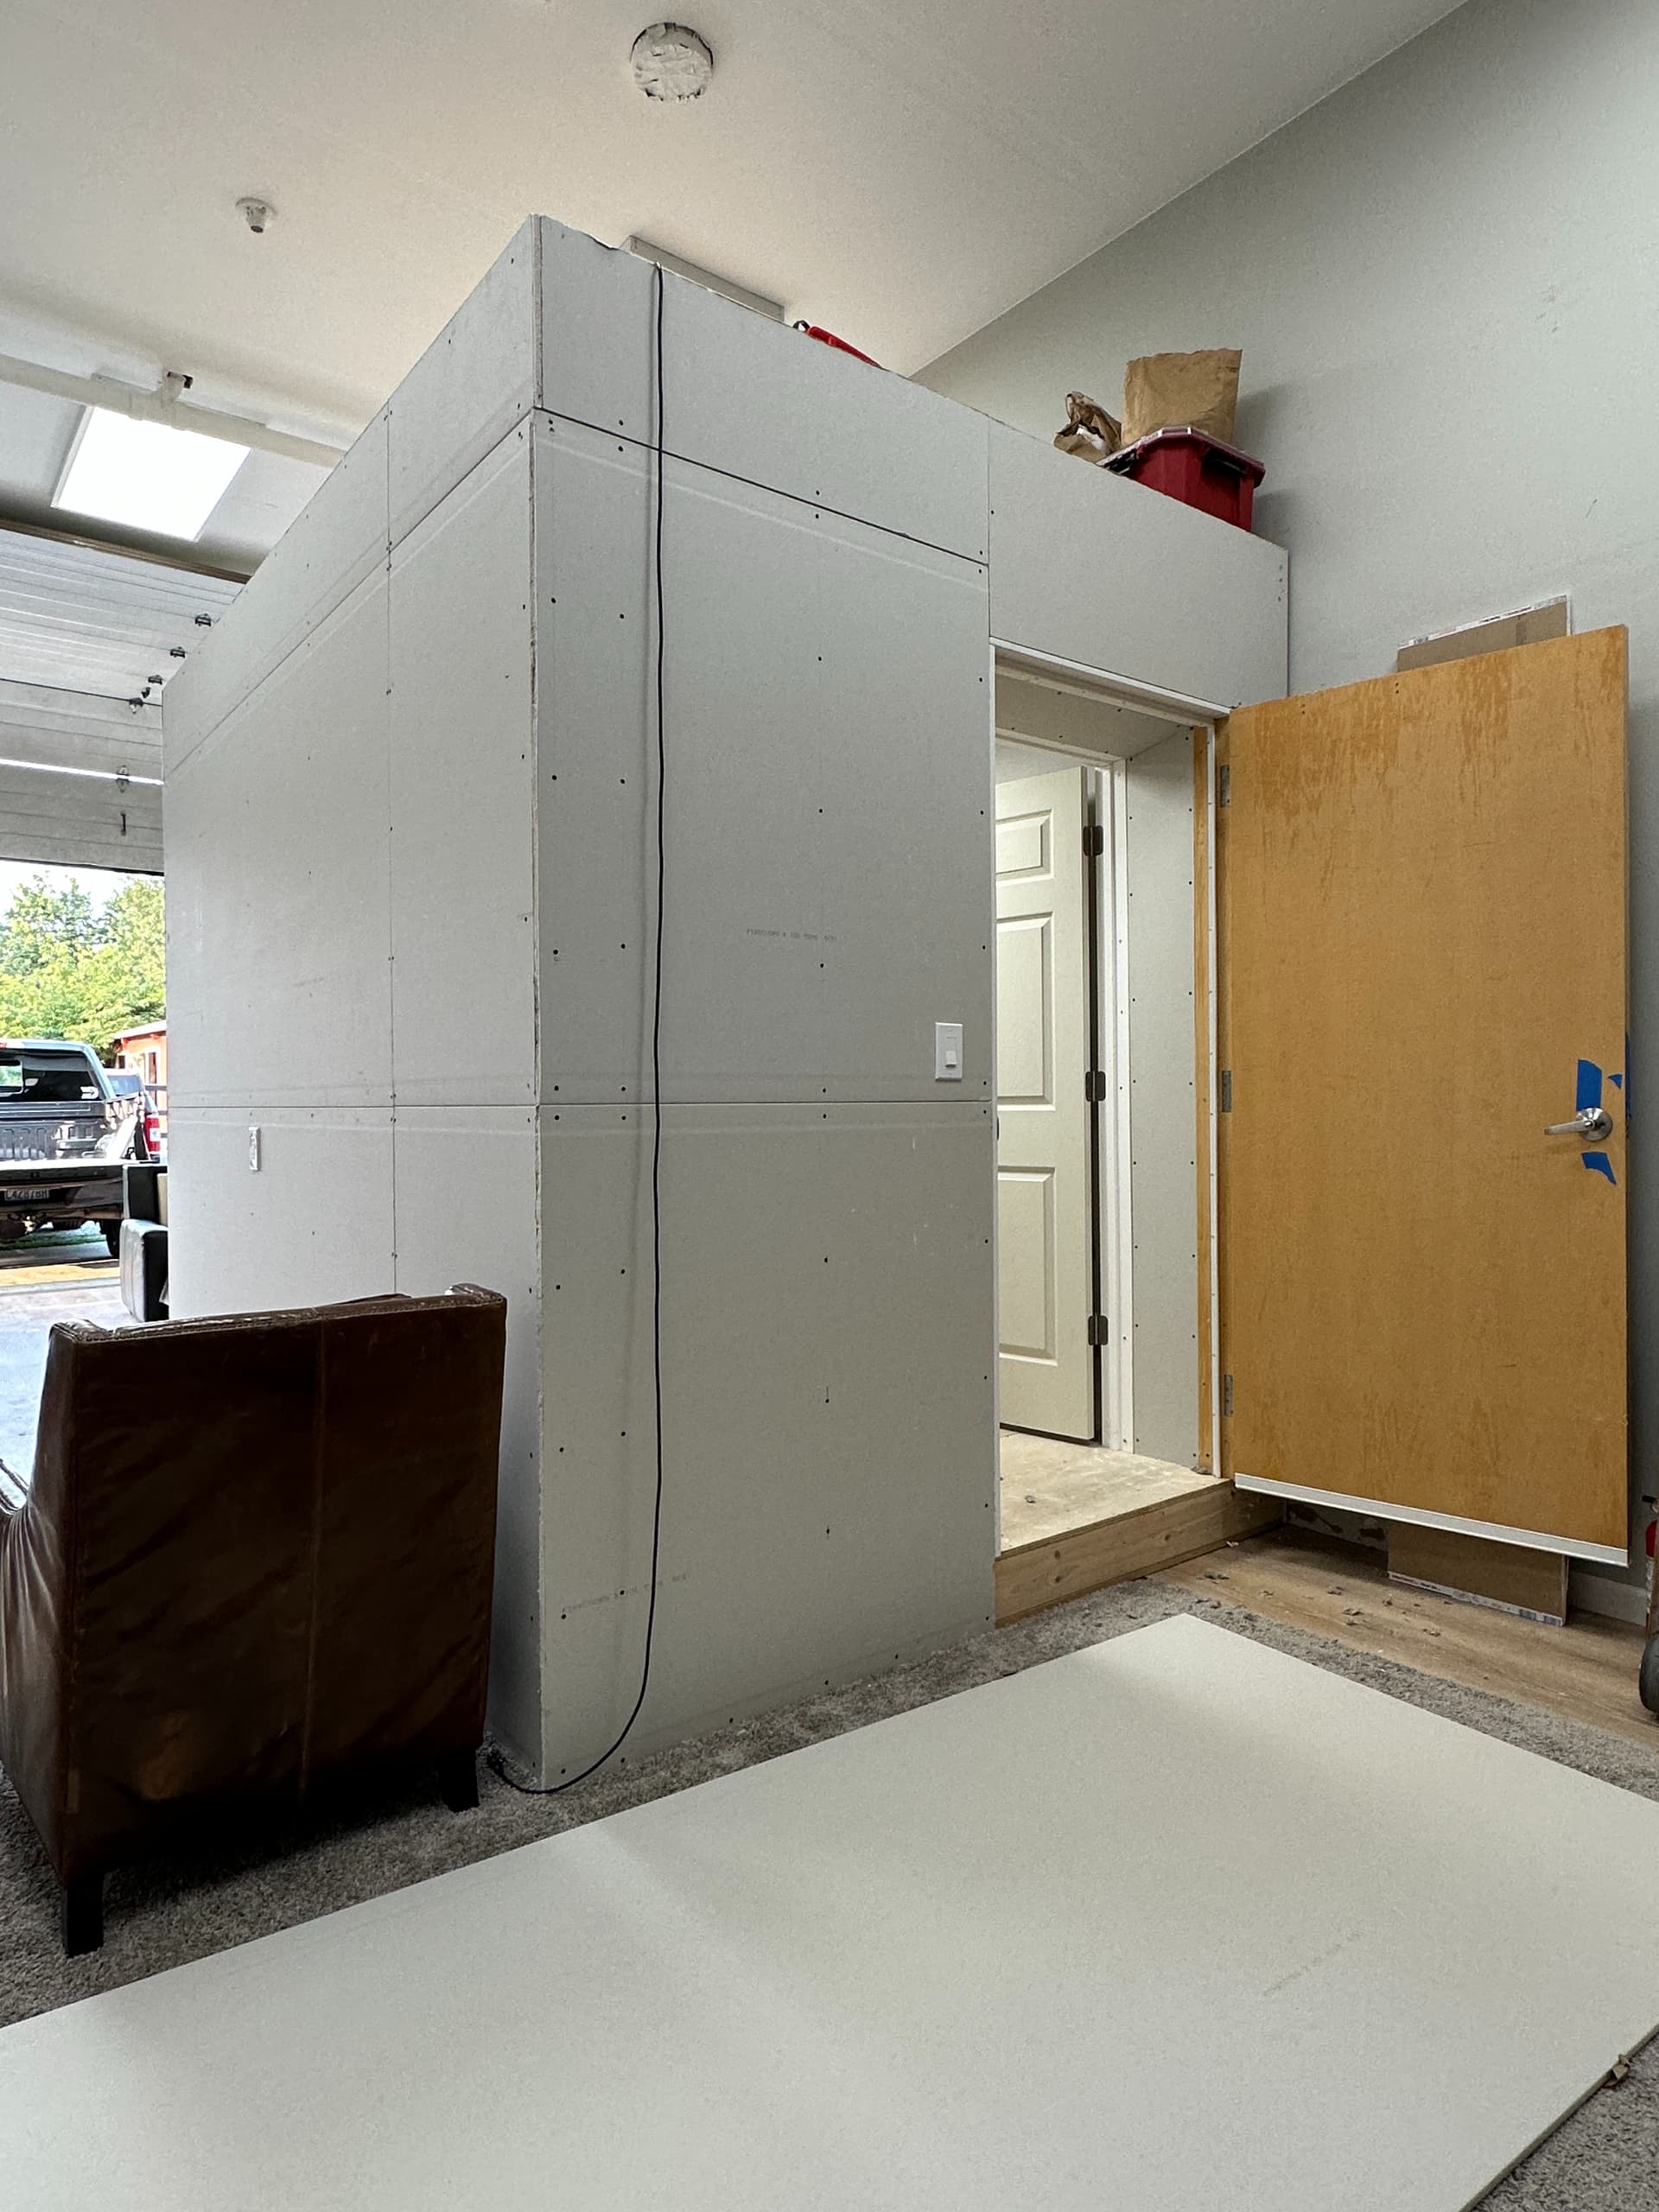
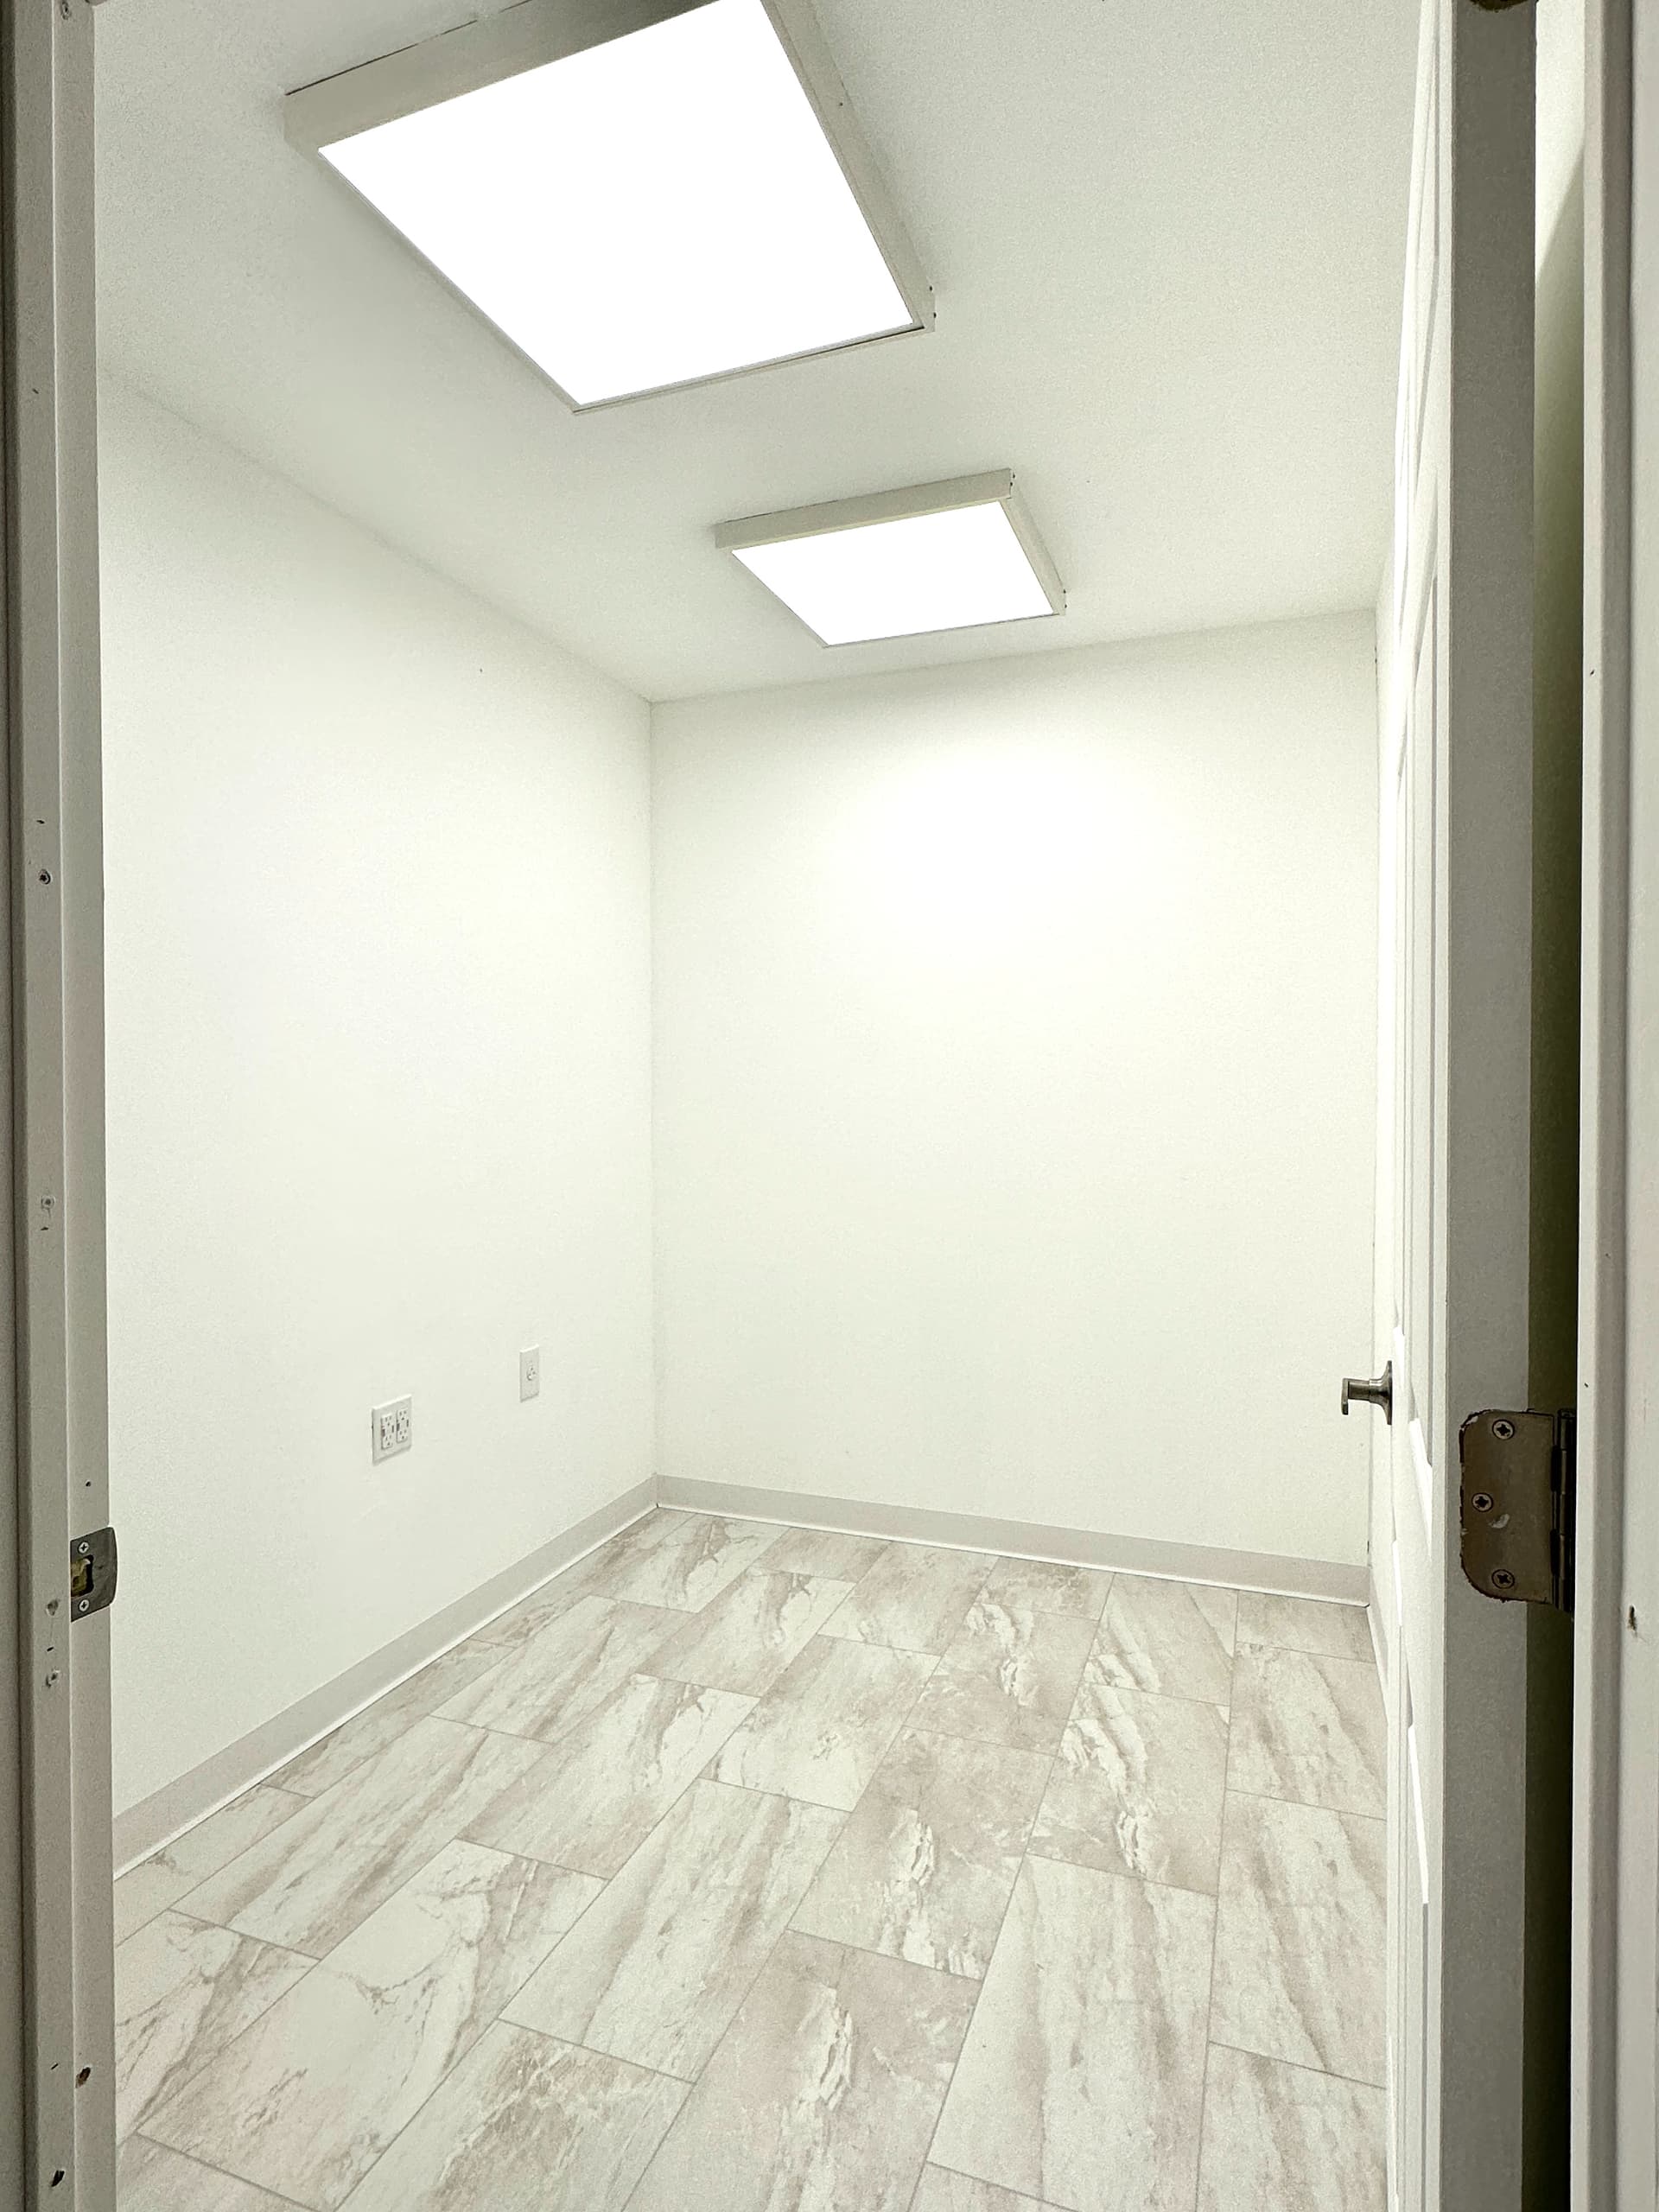
Hey guys, long time reader/first time poster here. As these things tend to go, it only took me 10 times longer and 5 times more money to complete than I originally thought. But here we are. My shop space is directly under a living space so I wanted to keep things extra quiet as to not disturb anyone.
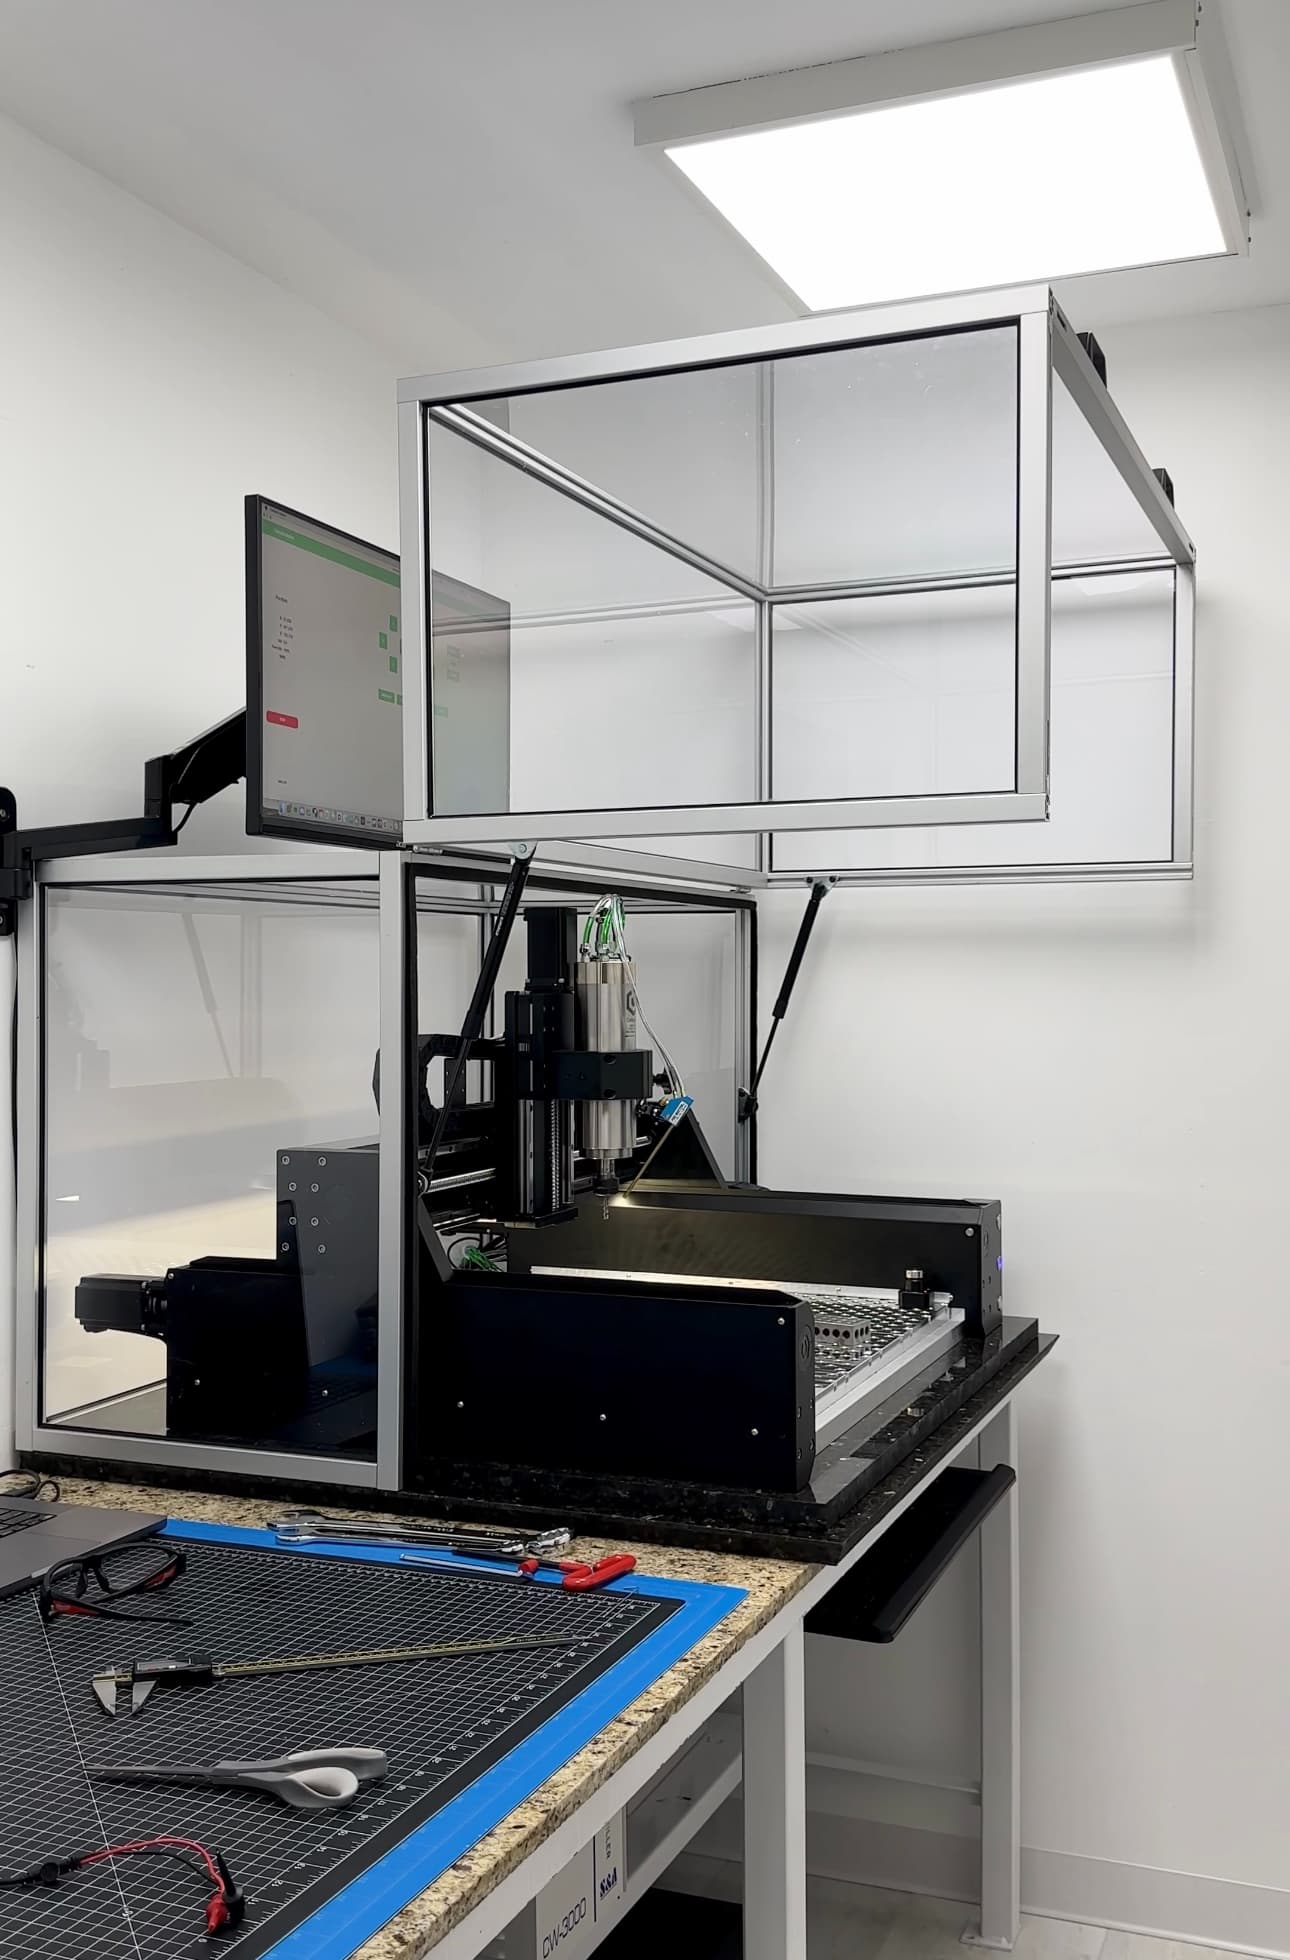
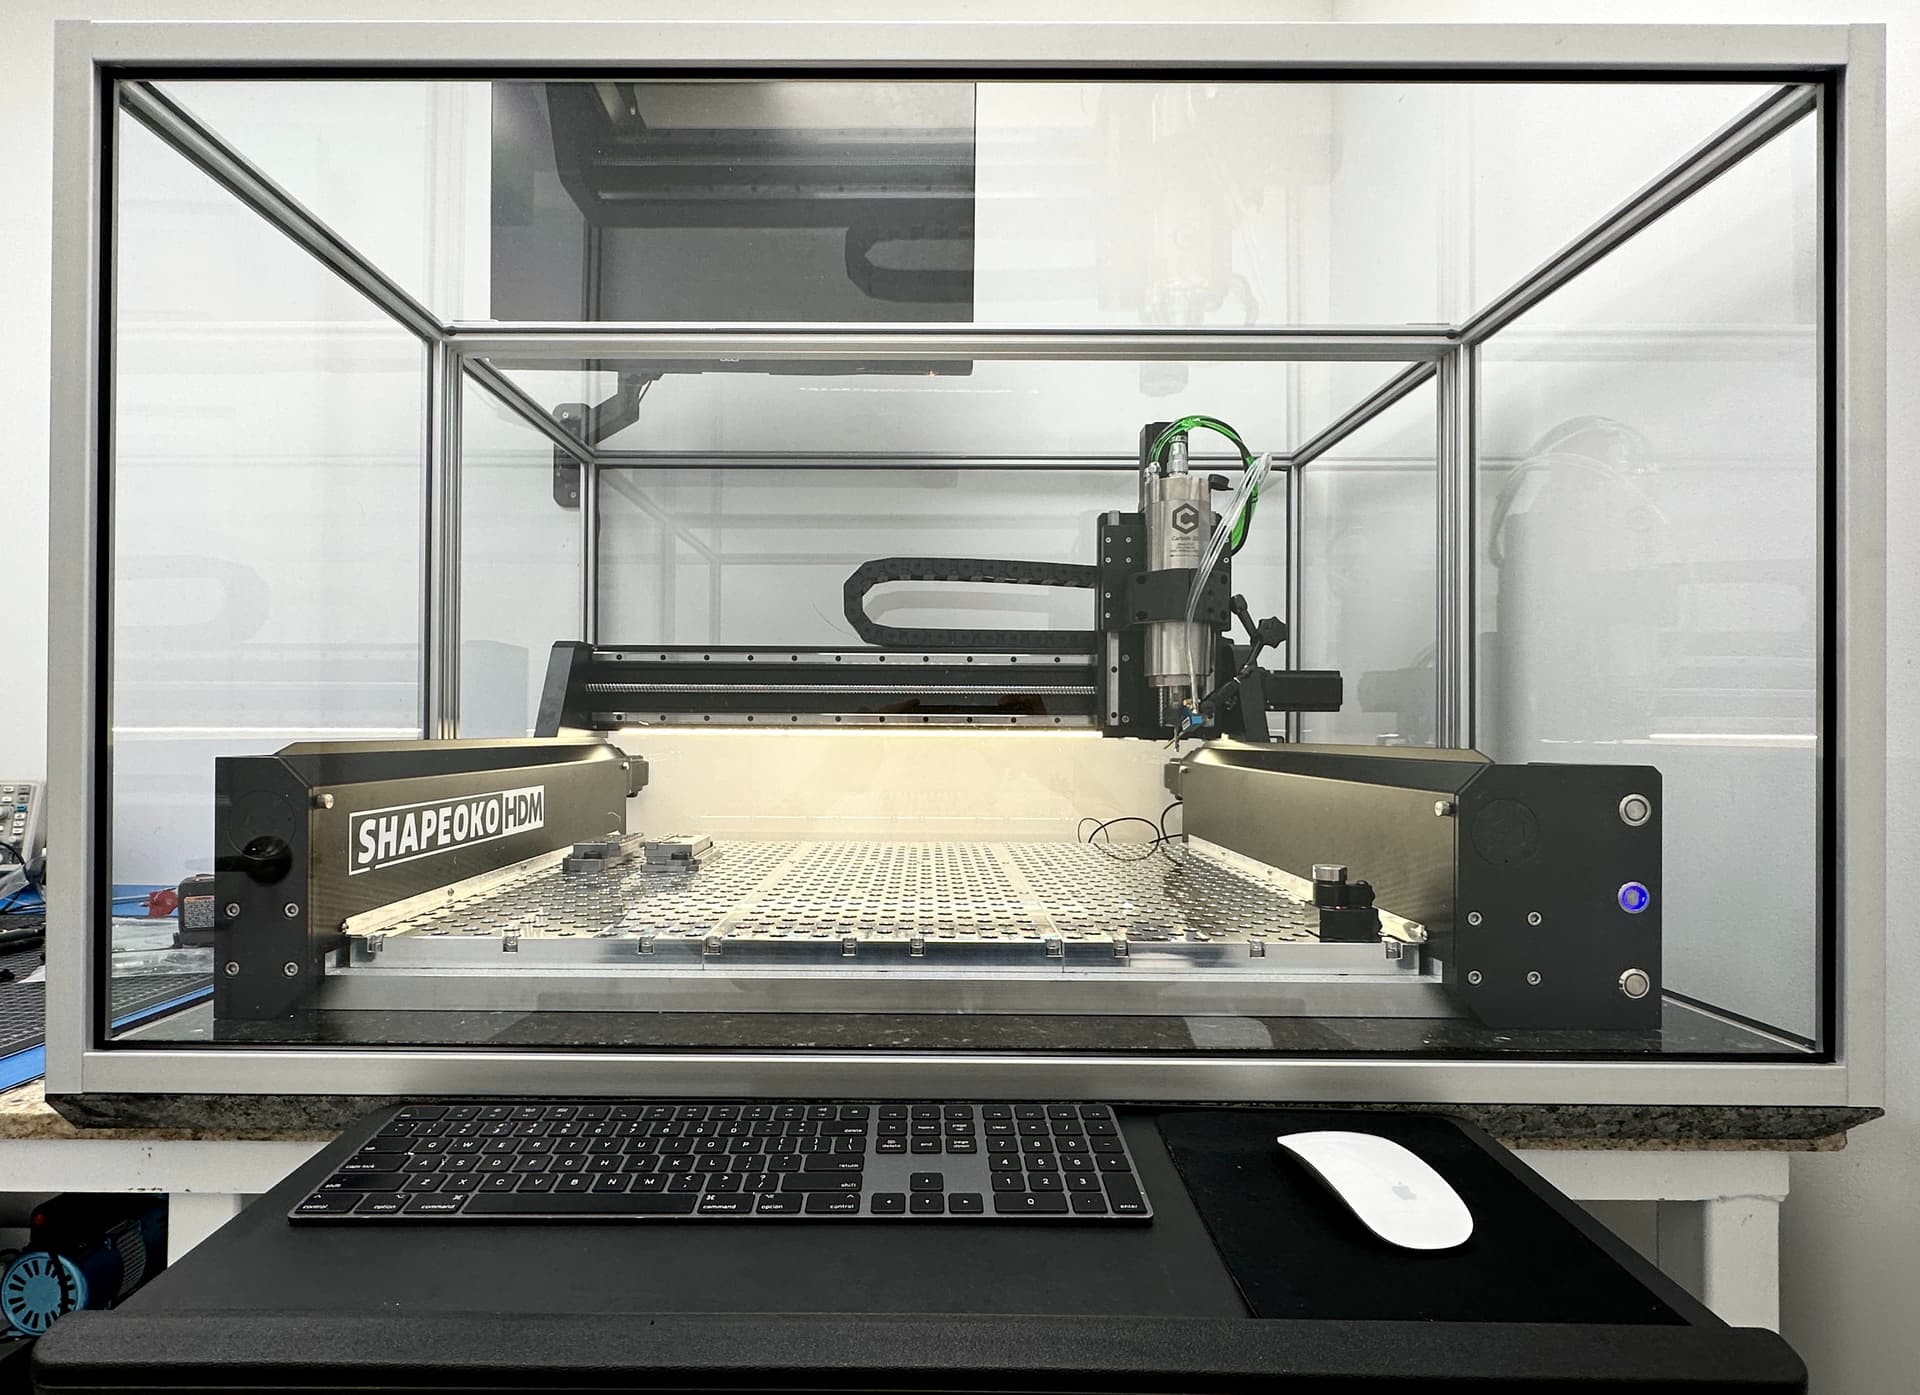
Room was built with staggered 2x6 studs and cellulose insulation. The machine is on a welded steel table which I added an additional set of legs to in order to provide more support for the machine and the 700 pounds of granite that I used for the table top and machine base.
The enclosure was built on a couple slabs of 1" granite which I cut to form a rabbet to match up with the 10 Series extrusions. Windows are 3/16" polycarbonate. First time using extrusions. Initially, it was a bit intimidating, but I’m glad I took the plunge. It’s easy to see now why people use this stuff for everything. Thanks to Aklimaj for the inspiration for my enclosure build.
Lots of first for me on this build. First time welding, cutting granite, and building stuff with aluminum extrusions. Accurately predicting how long it will take to finish a project? Maybe some day
Looks good for now so enjoy it while you can because once you start cutting the chips magically cover everything.
I recommend adding a tapered filler piece to the inside front bottom edges of the extrusions where the glass is to eliminate the small ledge. Chips will pile up on the ledge and every time you open the door they will get dumped down onto the floor and your head.
Well as much as it pains me, it’s probably not a bad idea. It is a tool and not a museum piece after all. At the very least I’ll be adding a couple 5” tall acrylic guards on the front and back of the machine in order to mitigate chips piling up where the granite meets the extrusions. We’ll see how tired I get of vacuuming up chips every time I open the door.
That’s an awesome setup and I’m only a liiiittle bit jealous.
Also, if you don’t already have a narrow nozzle extension/wand for your vacuum, 3D printing one would be good to help clean out the slow but inevitable build-up inside the Y-axis covers. Faster than taking the covers off periodically.
It does get old quick but it depends on how much you are cutting and how aggressive your feeds are. The front and sides clean easy but getting the rear is a pain. I added a giant hinge to my rear panel so I can swing it out of the way and get to the rear easily.
One thing I underestimated about milling aluminum at first is how much chip volume is produced. I do small batch runs of 6061 parts out of 3"x4"x 5/8" blanks and the amount of chips it produces is staggering.
I do love your enclosure with the granite base and hope to add a granite surface plate under mine one day.
I second this recommendation and use a dryer vent cleaning attachment that works wonders. Although sometimes it whistles very loudly but it fits in all the crevices and was very cheap.
If you mill a lot of aluminum, I found that high helix 3 flute endmills are noticeably quieter than single or double flute “normal endmills” in aluminum. I was getting 60-70 decibles outside my simple mdf enclosure pocketing with a 1/8 3 flute high helix.