After two years of fretting over a DIY machine, a traditional mill first, or buying one of the hobby machines I finally gave in and ordered an HDM today.
My biggest reasons for going with Carbide3D were, America based company, generally well bahaved and helpful community compared to others, fast and reasonable shipping compared to paying first, then waiting weeks or months for a machine.
Lastly, I am just to the point where I want to start making chips and don’t have time to wait for my DIY build. I already have HG20, rack and pinion, and metal for the frame for my project, but it will have to wait. I’ll built it later. It will be 1500x1500mm with a Masso Touch G3 controller, PwnCNC ATC spindle.
The only complaint I have about the HDM is the lack of a no spindle option so I could have ordered an unlocked PwnCNC MTC spindle.
Cheers. Looking forward to the community.
I currently own a plasma cnc, laser diode cnc, and 3DP.
I thought about selling the C3D spindle, but that presents a host of other issues that would force me to move towards a new controller, power supplies, drivers, and stepper motors. PwNCNC hasn’t figured out how to enable ATC with warthog yet, though Daniel did recently hint they may have it figured out. For now I’m just going to use the HDM as-is and I’ll start resaving money to build my custom DIY machine based on a Masso with closed loop stepper motors.
I guess this thread is going to double as my build thread. I didn’t want to create another enclosure post. I looked through the many! Very impressed!
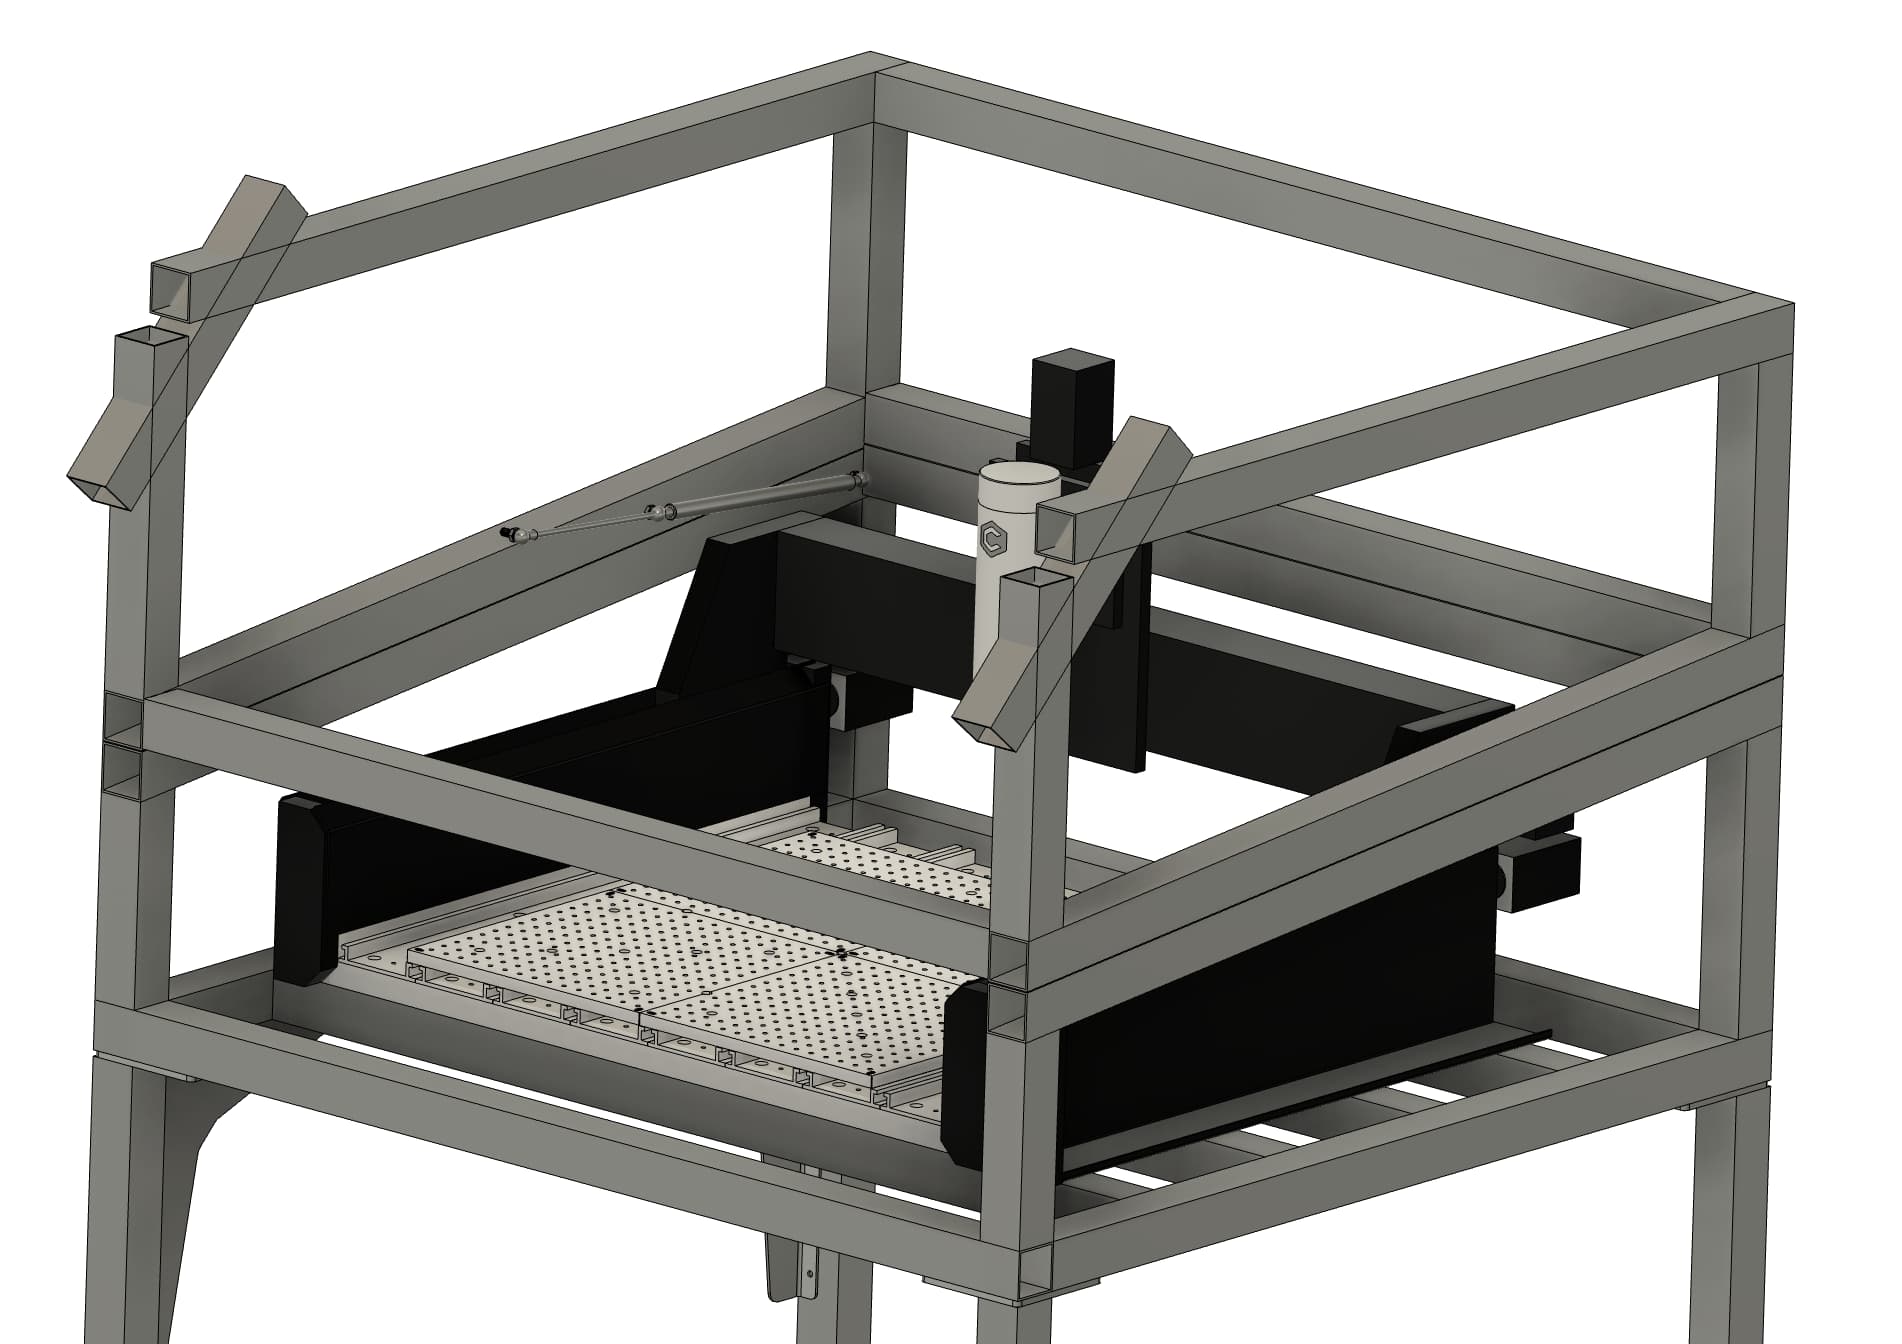
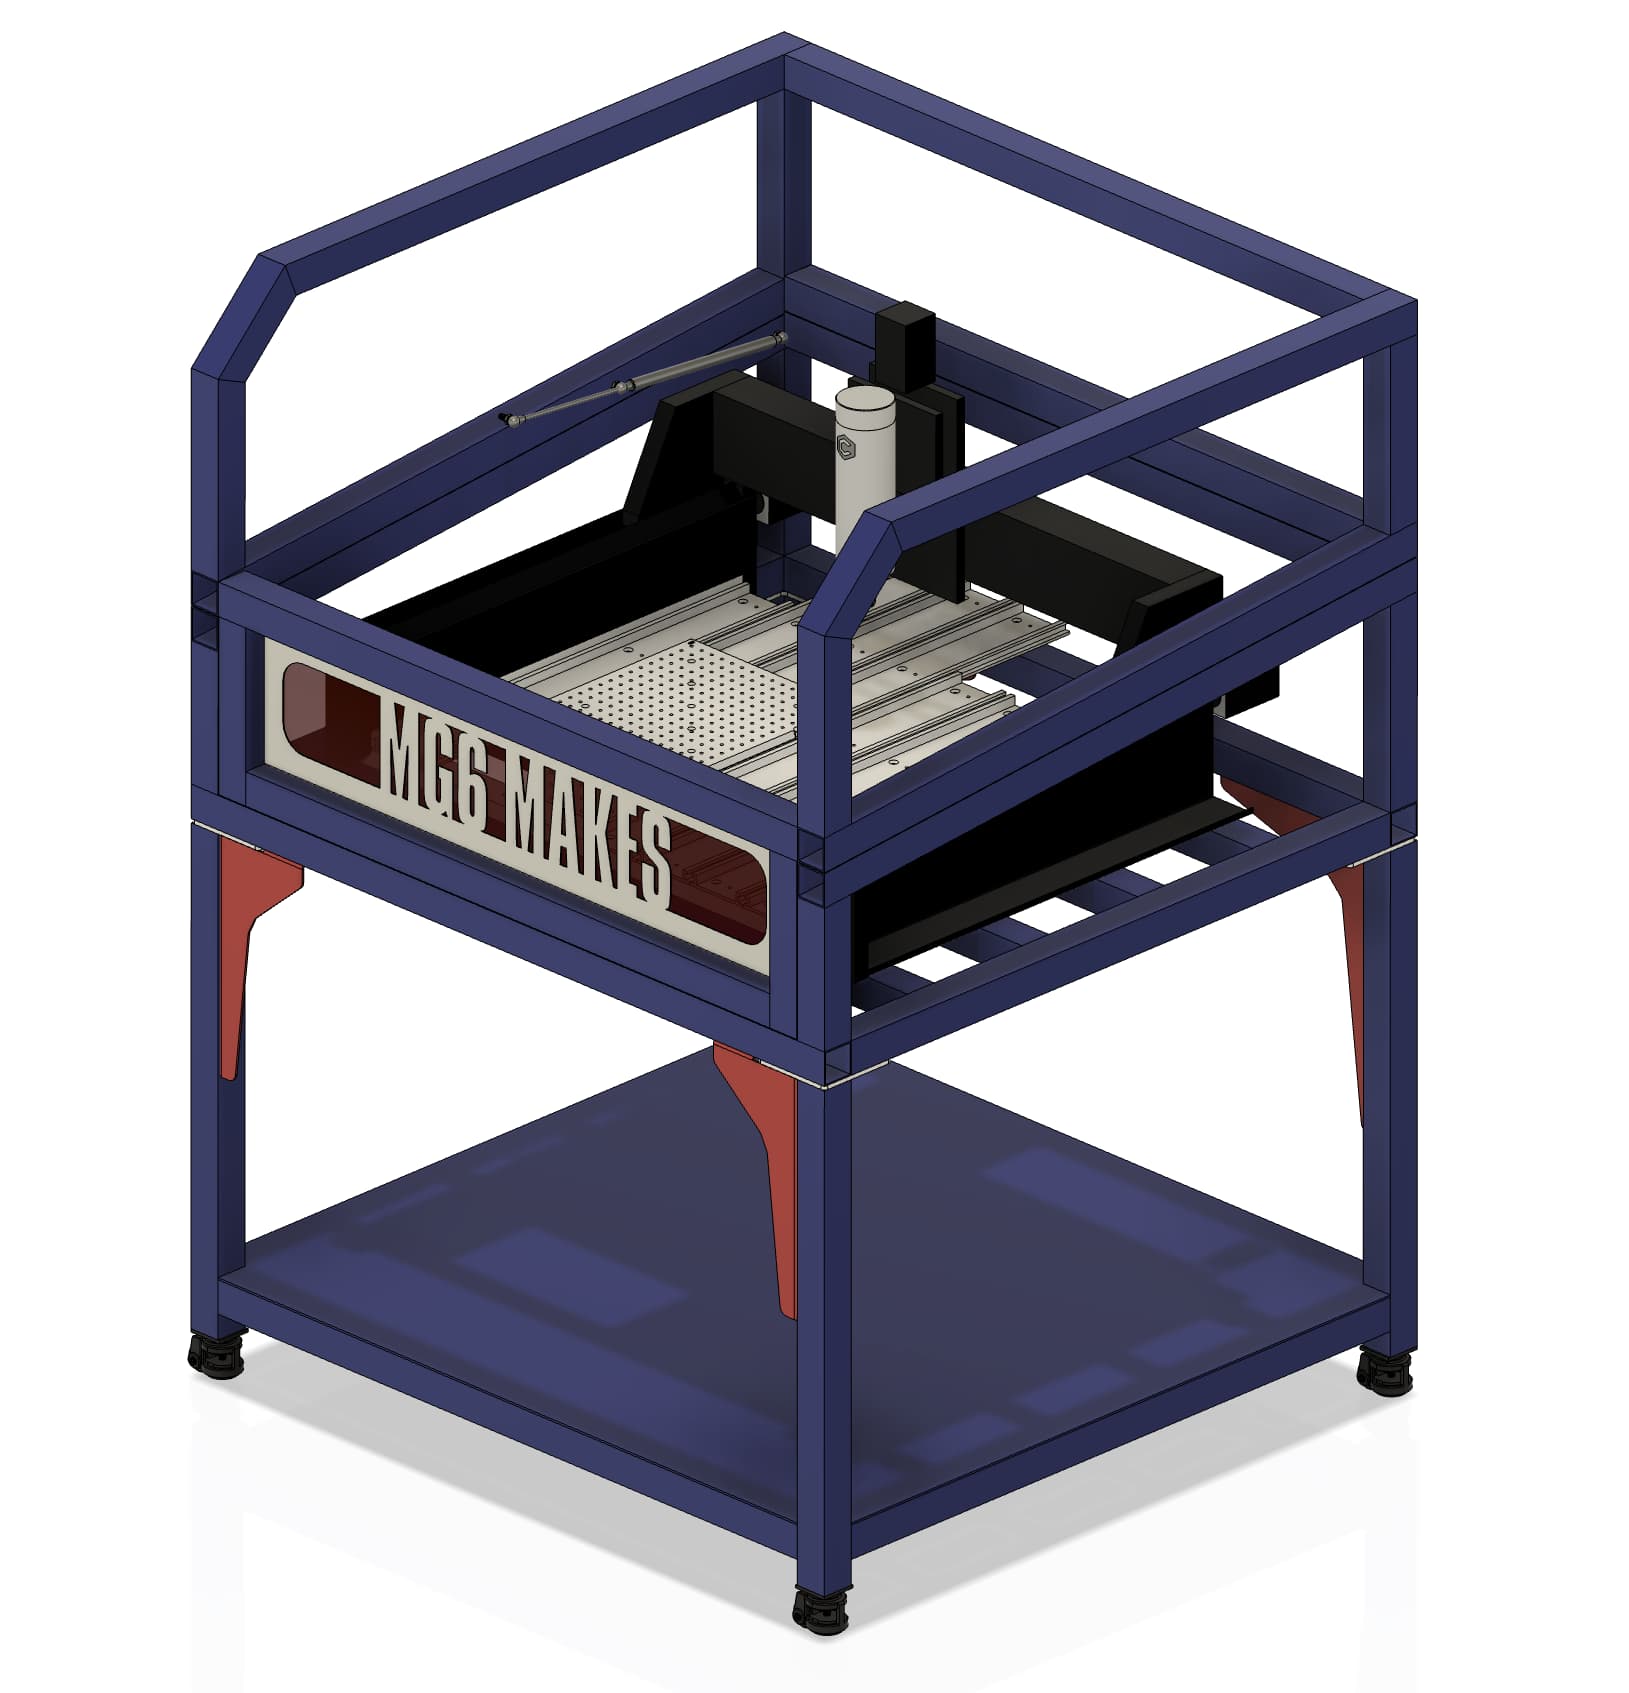
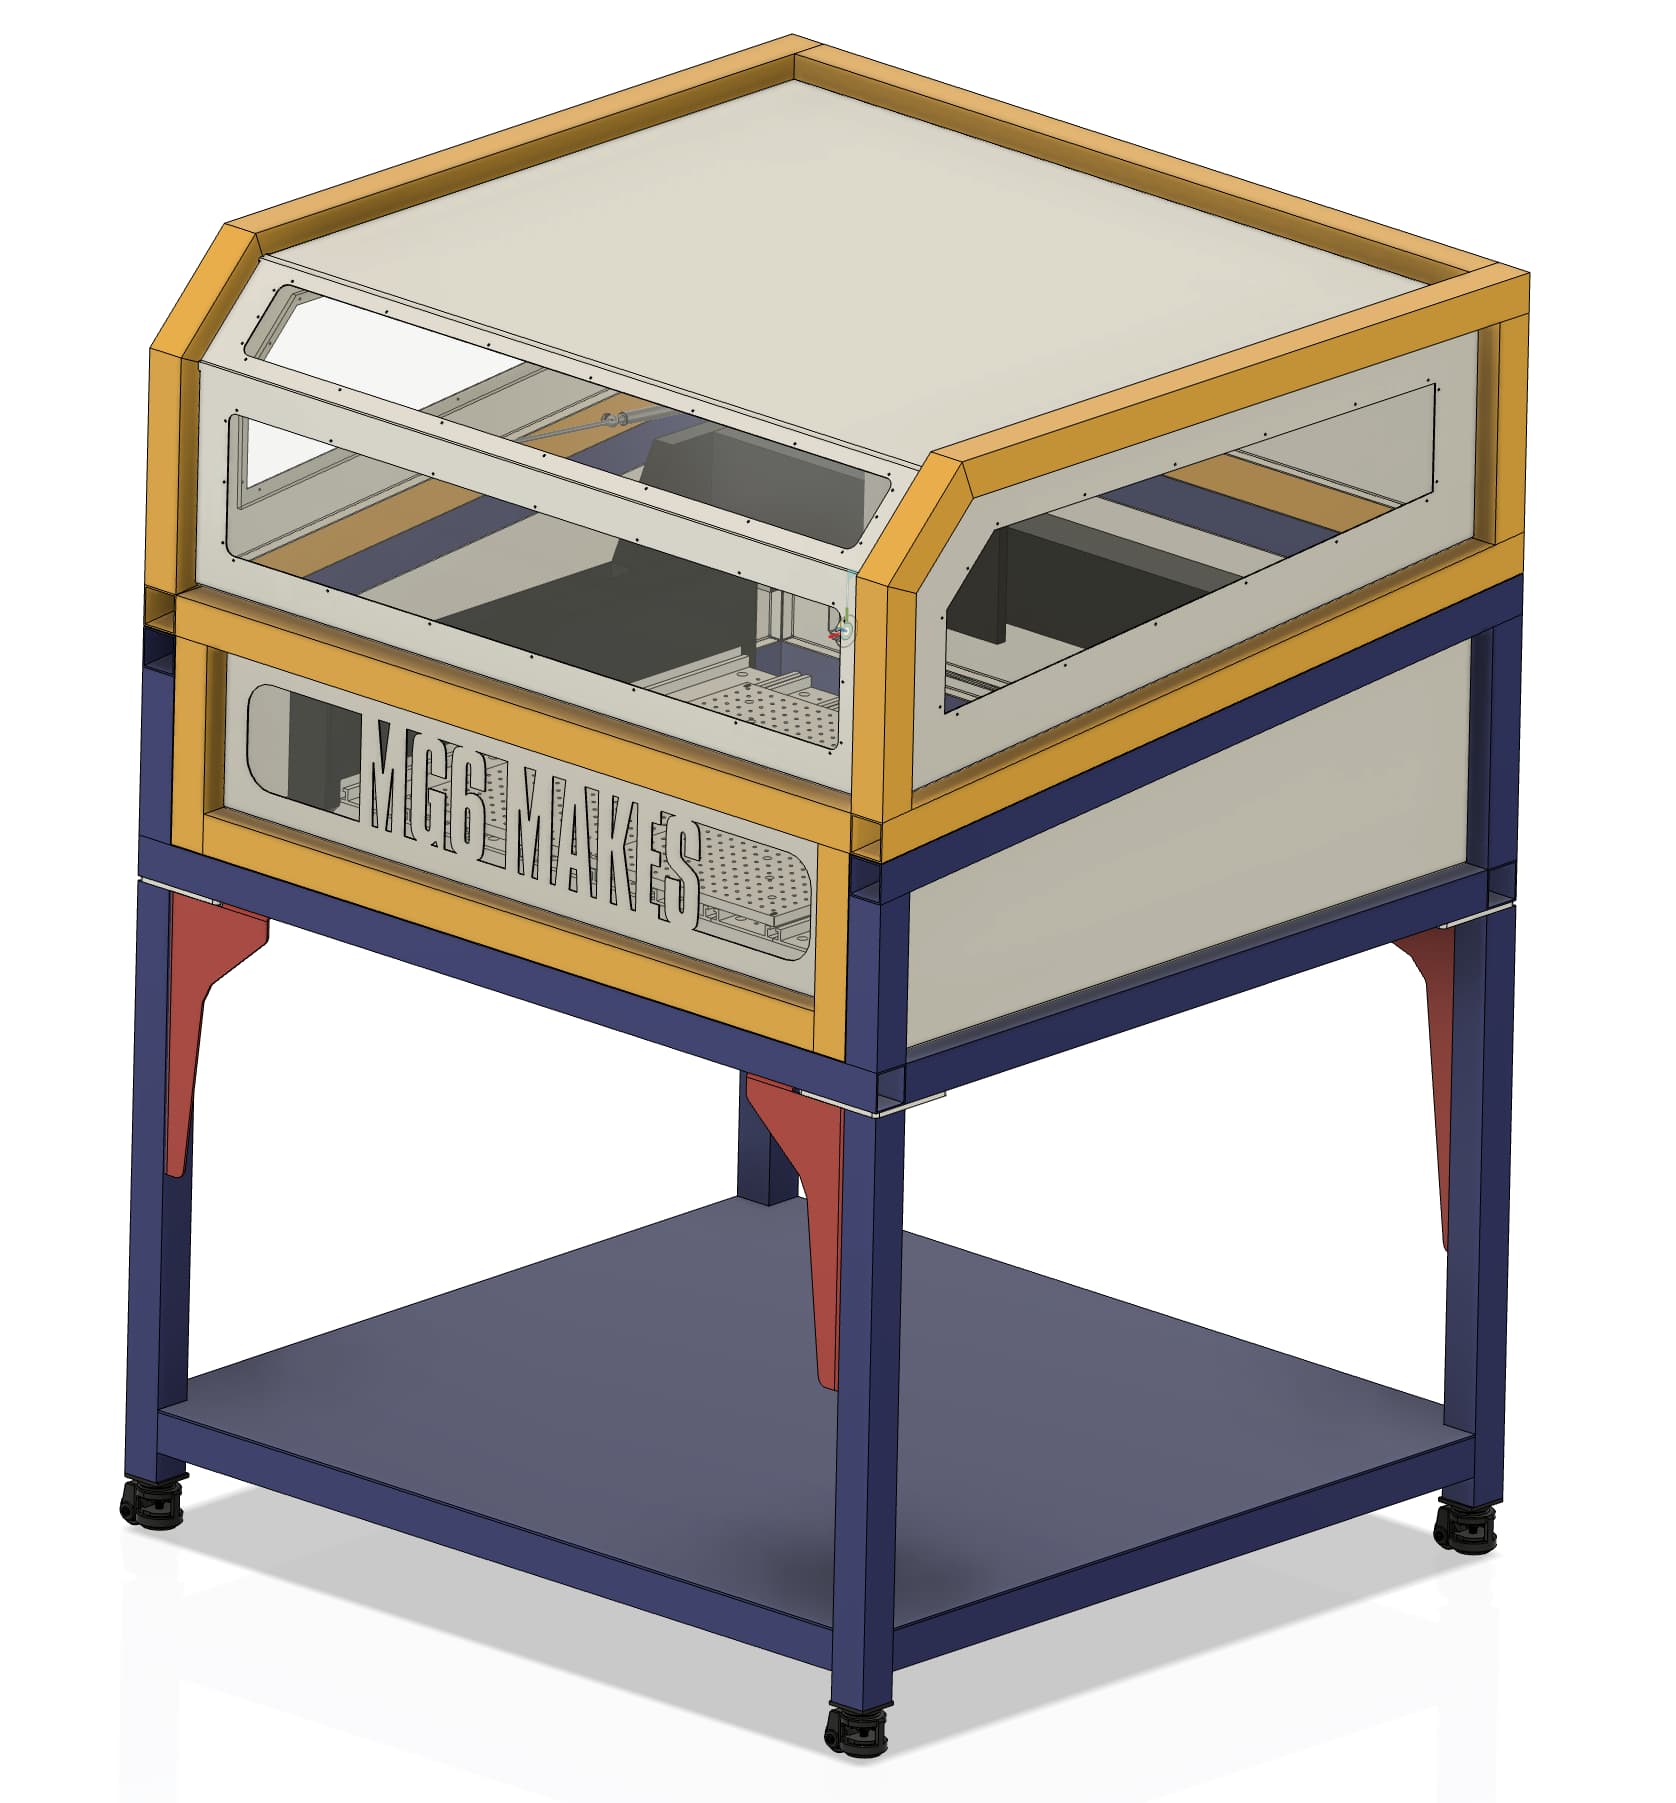
This is where the design is so far. Will be sand filled, welded base frame, welded upper enclosure, hinged panels on all sides except the front will have doors of some kind. Also considering a custom chip tray/chute thingy under the base frame with a bucket under that.
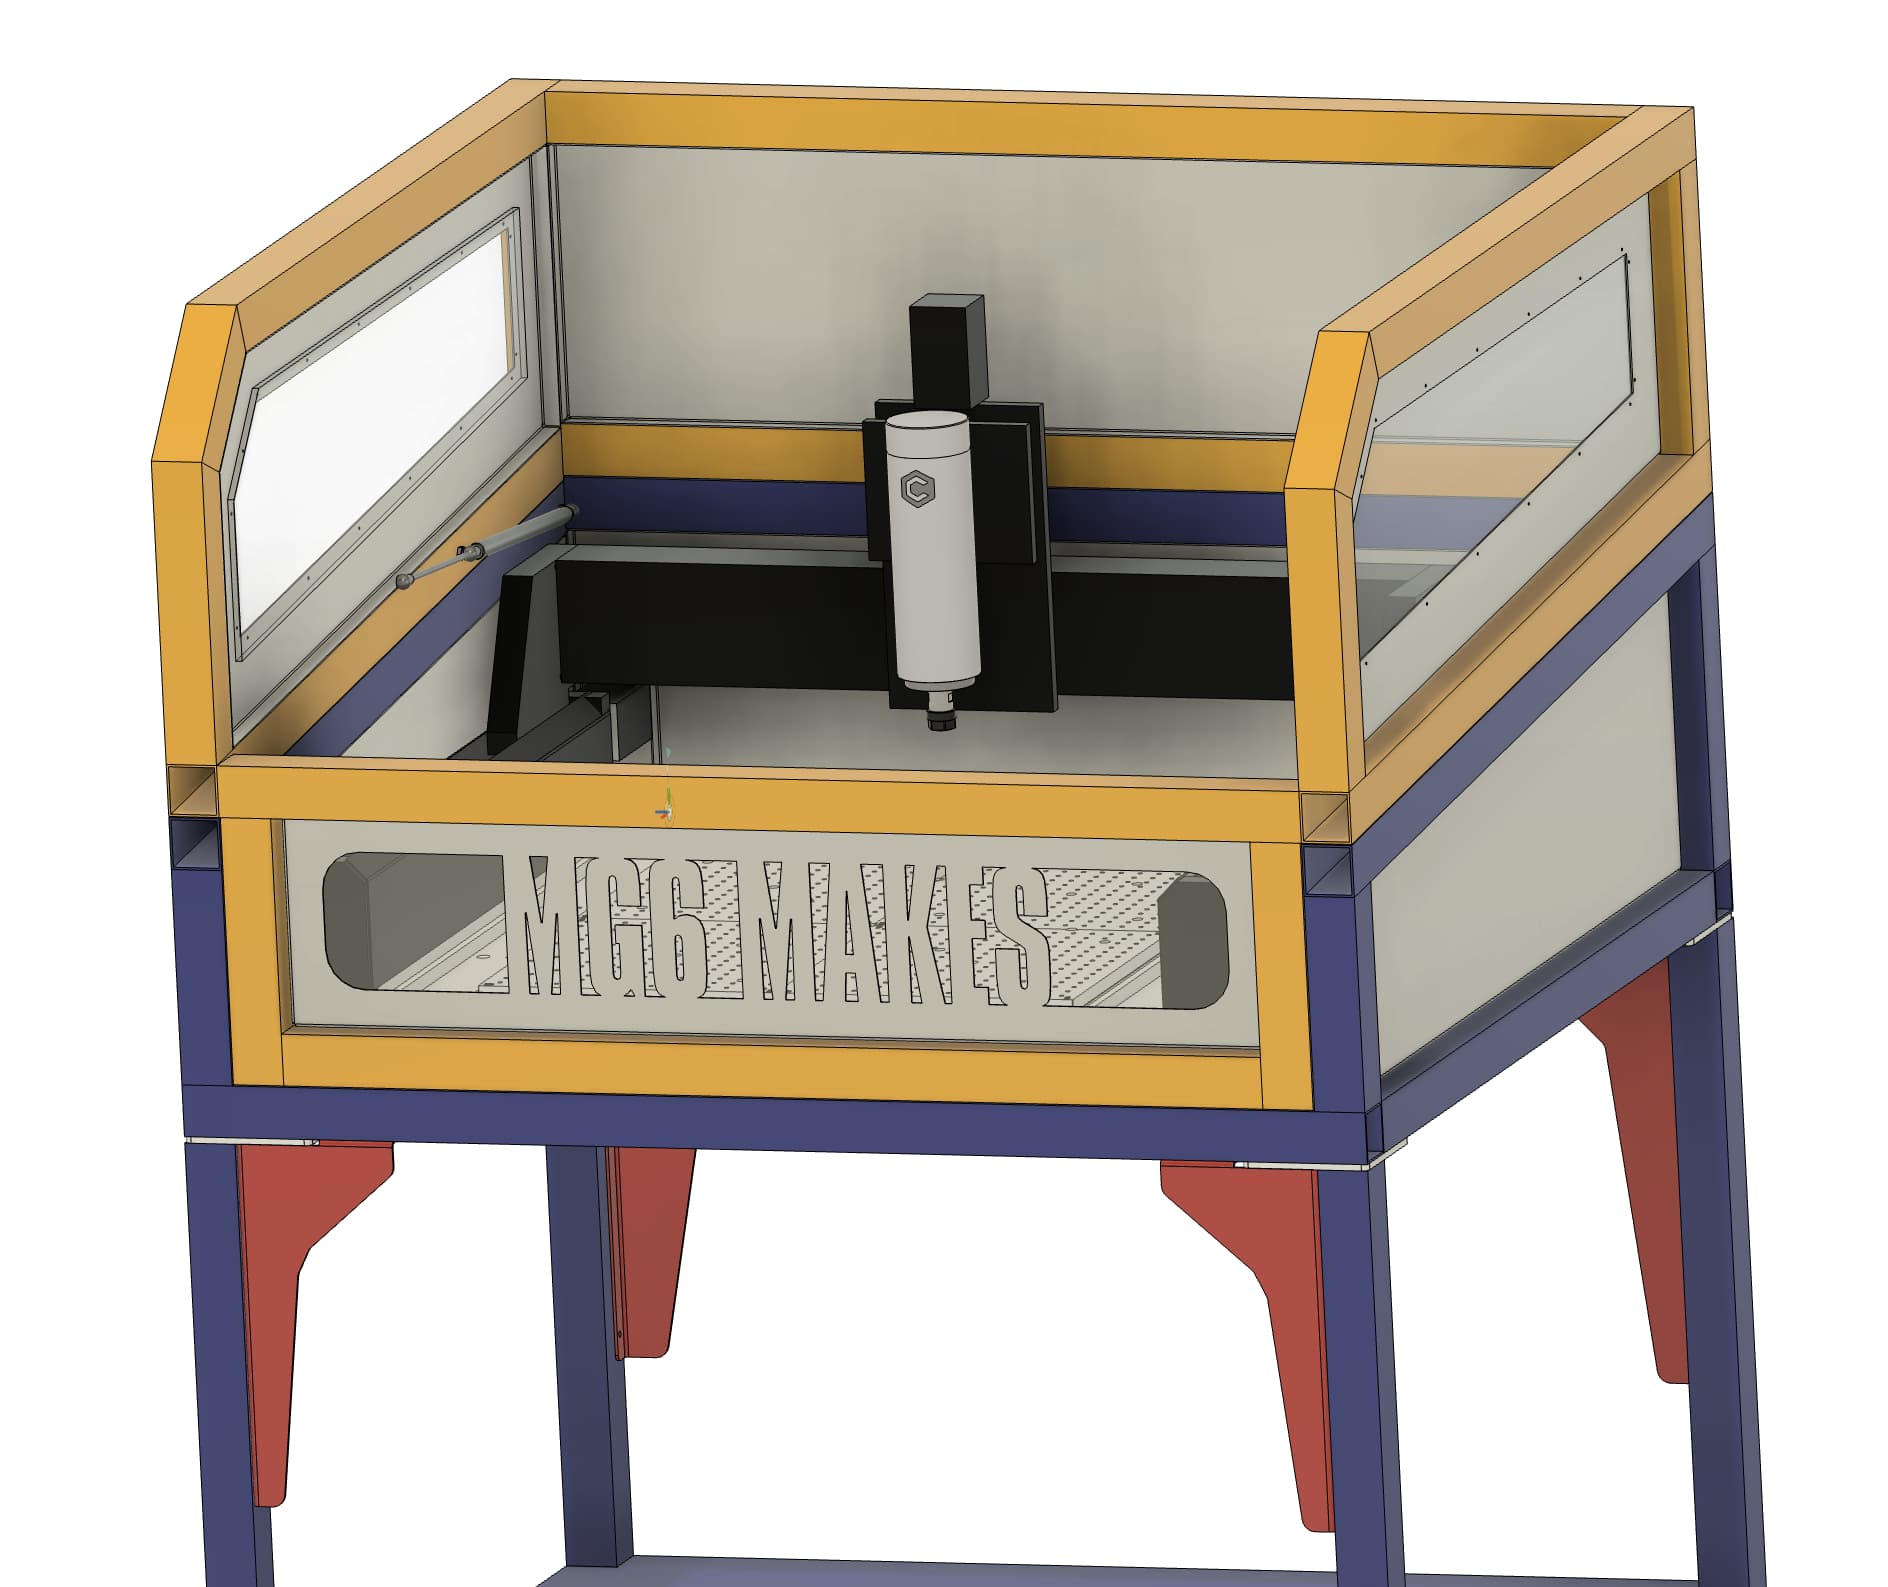
The side panels will all be custom made from 18ga sheet steel with acrylic polycarbonate windows.
Hi MG6,
I would recommend Polycarbonate for the windows. Shatter resistance…
Also if you ever want to add dust extraction you might want to raise the ceiling of the enclosure to allow for hose travel. I made my enclosures 4 feet tall on top to be able to lean in over the machine and have enough room to hang down a hose from the top.
Also might want to connect the leg bottoms together for added stability. The HDM has a lot of mass and when changing directions using rapids it can shake an enclosure quite a bit.
Congrats on purchasing an amazing machine!
3 Likes
Griff
(Well crap, my hypometric precursor device is blown…)
7
Ditto on raise the roof. Plus, you will avoid cracking your head on that cross piece reaching in to do whatever.
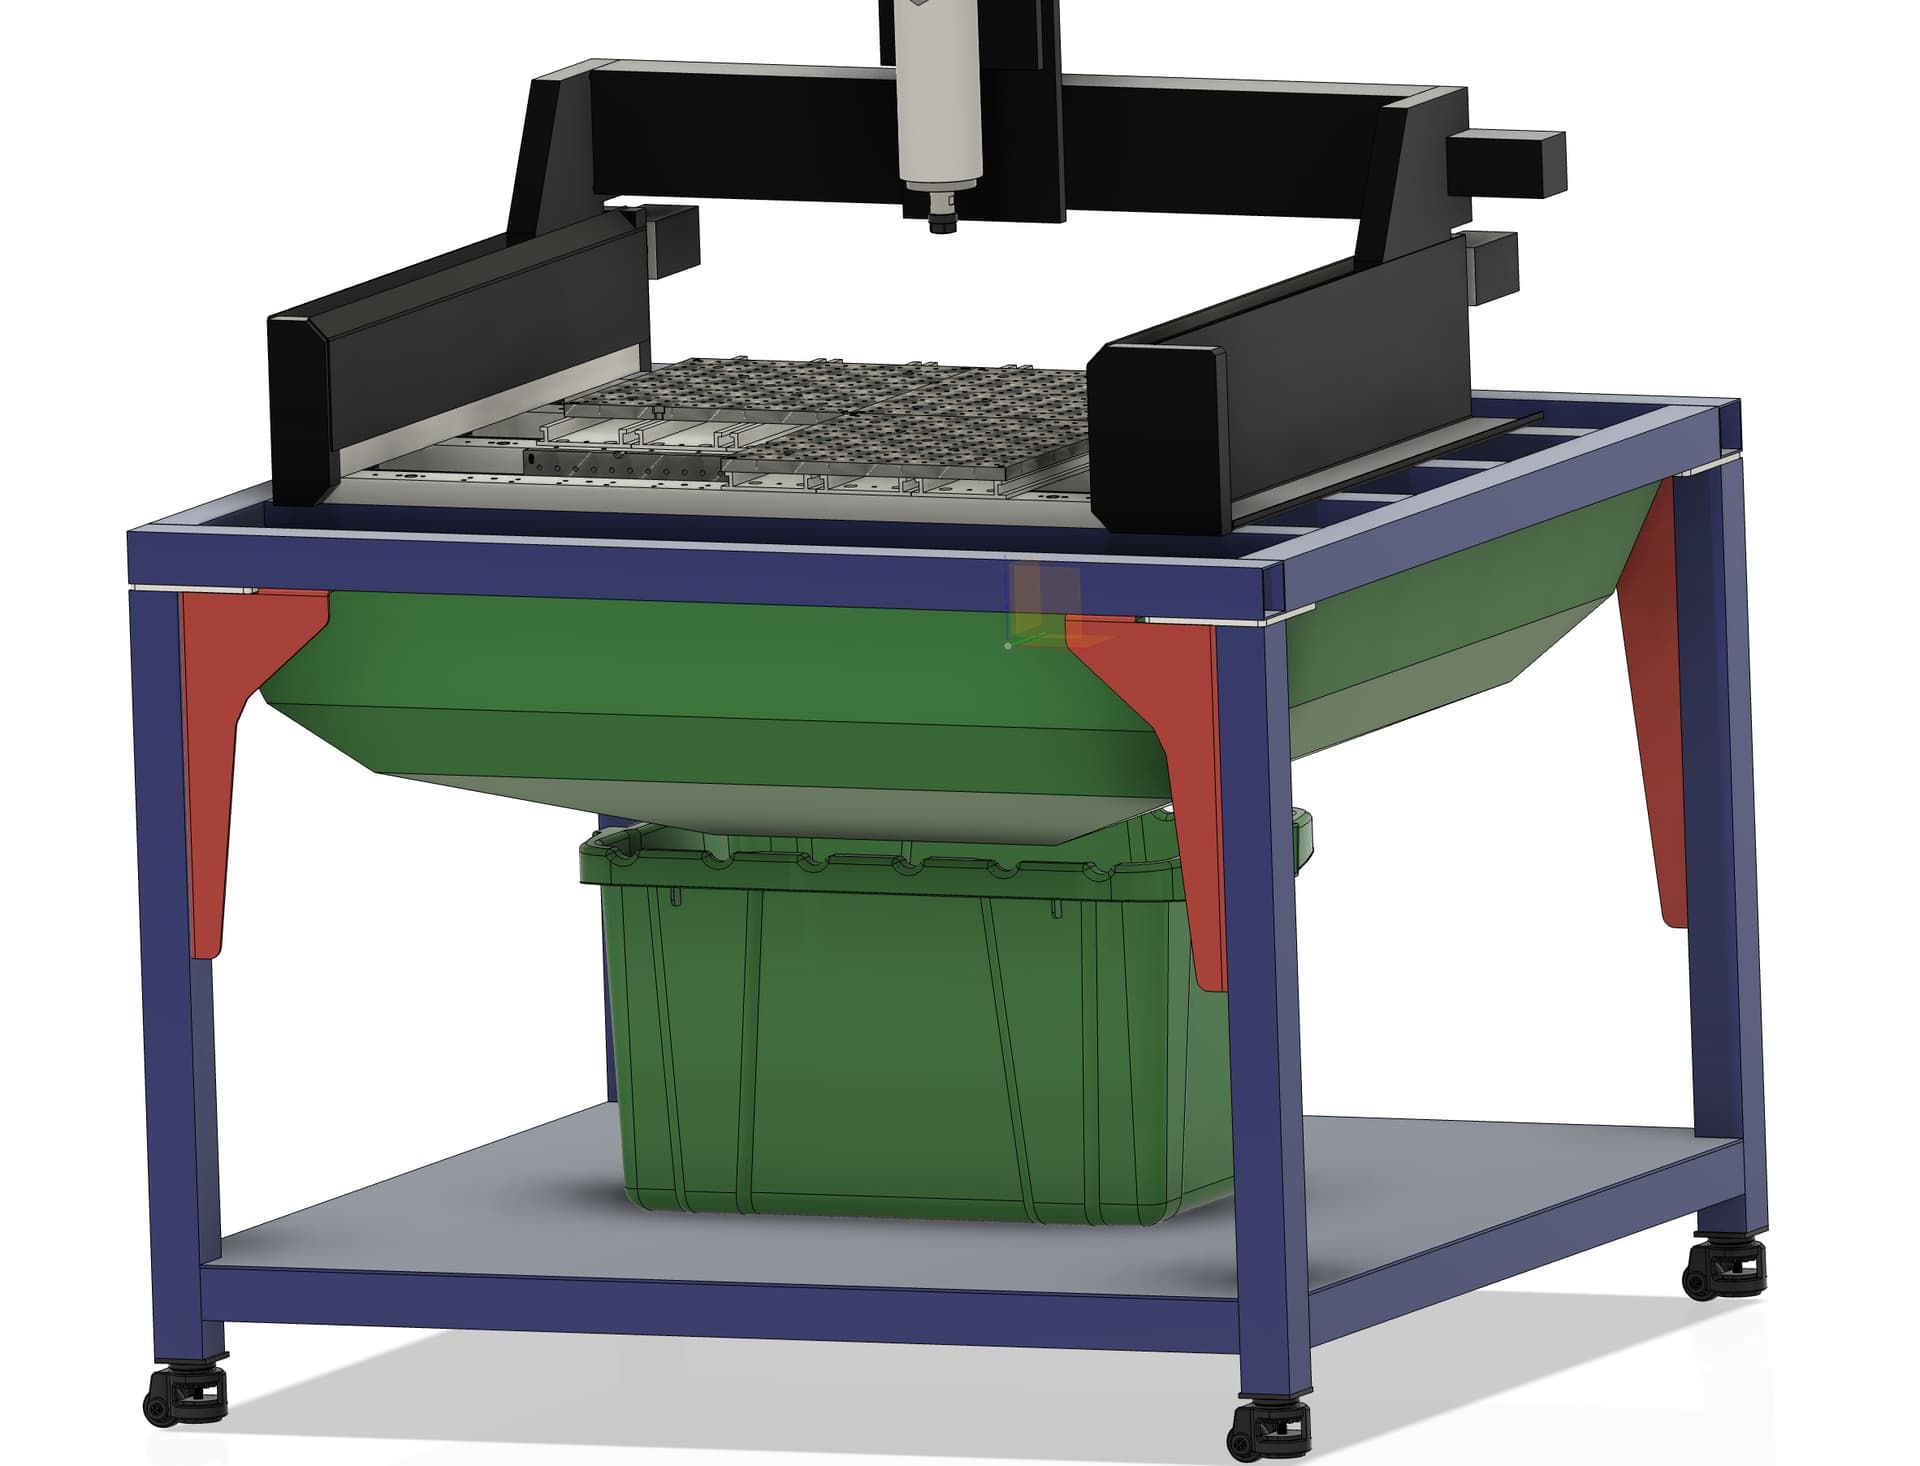
I am going to have a downdraft slot at the back, and of course the dust / chip collection at the spindle. I have a similar design on my laser enclosure already. I’ll post later.
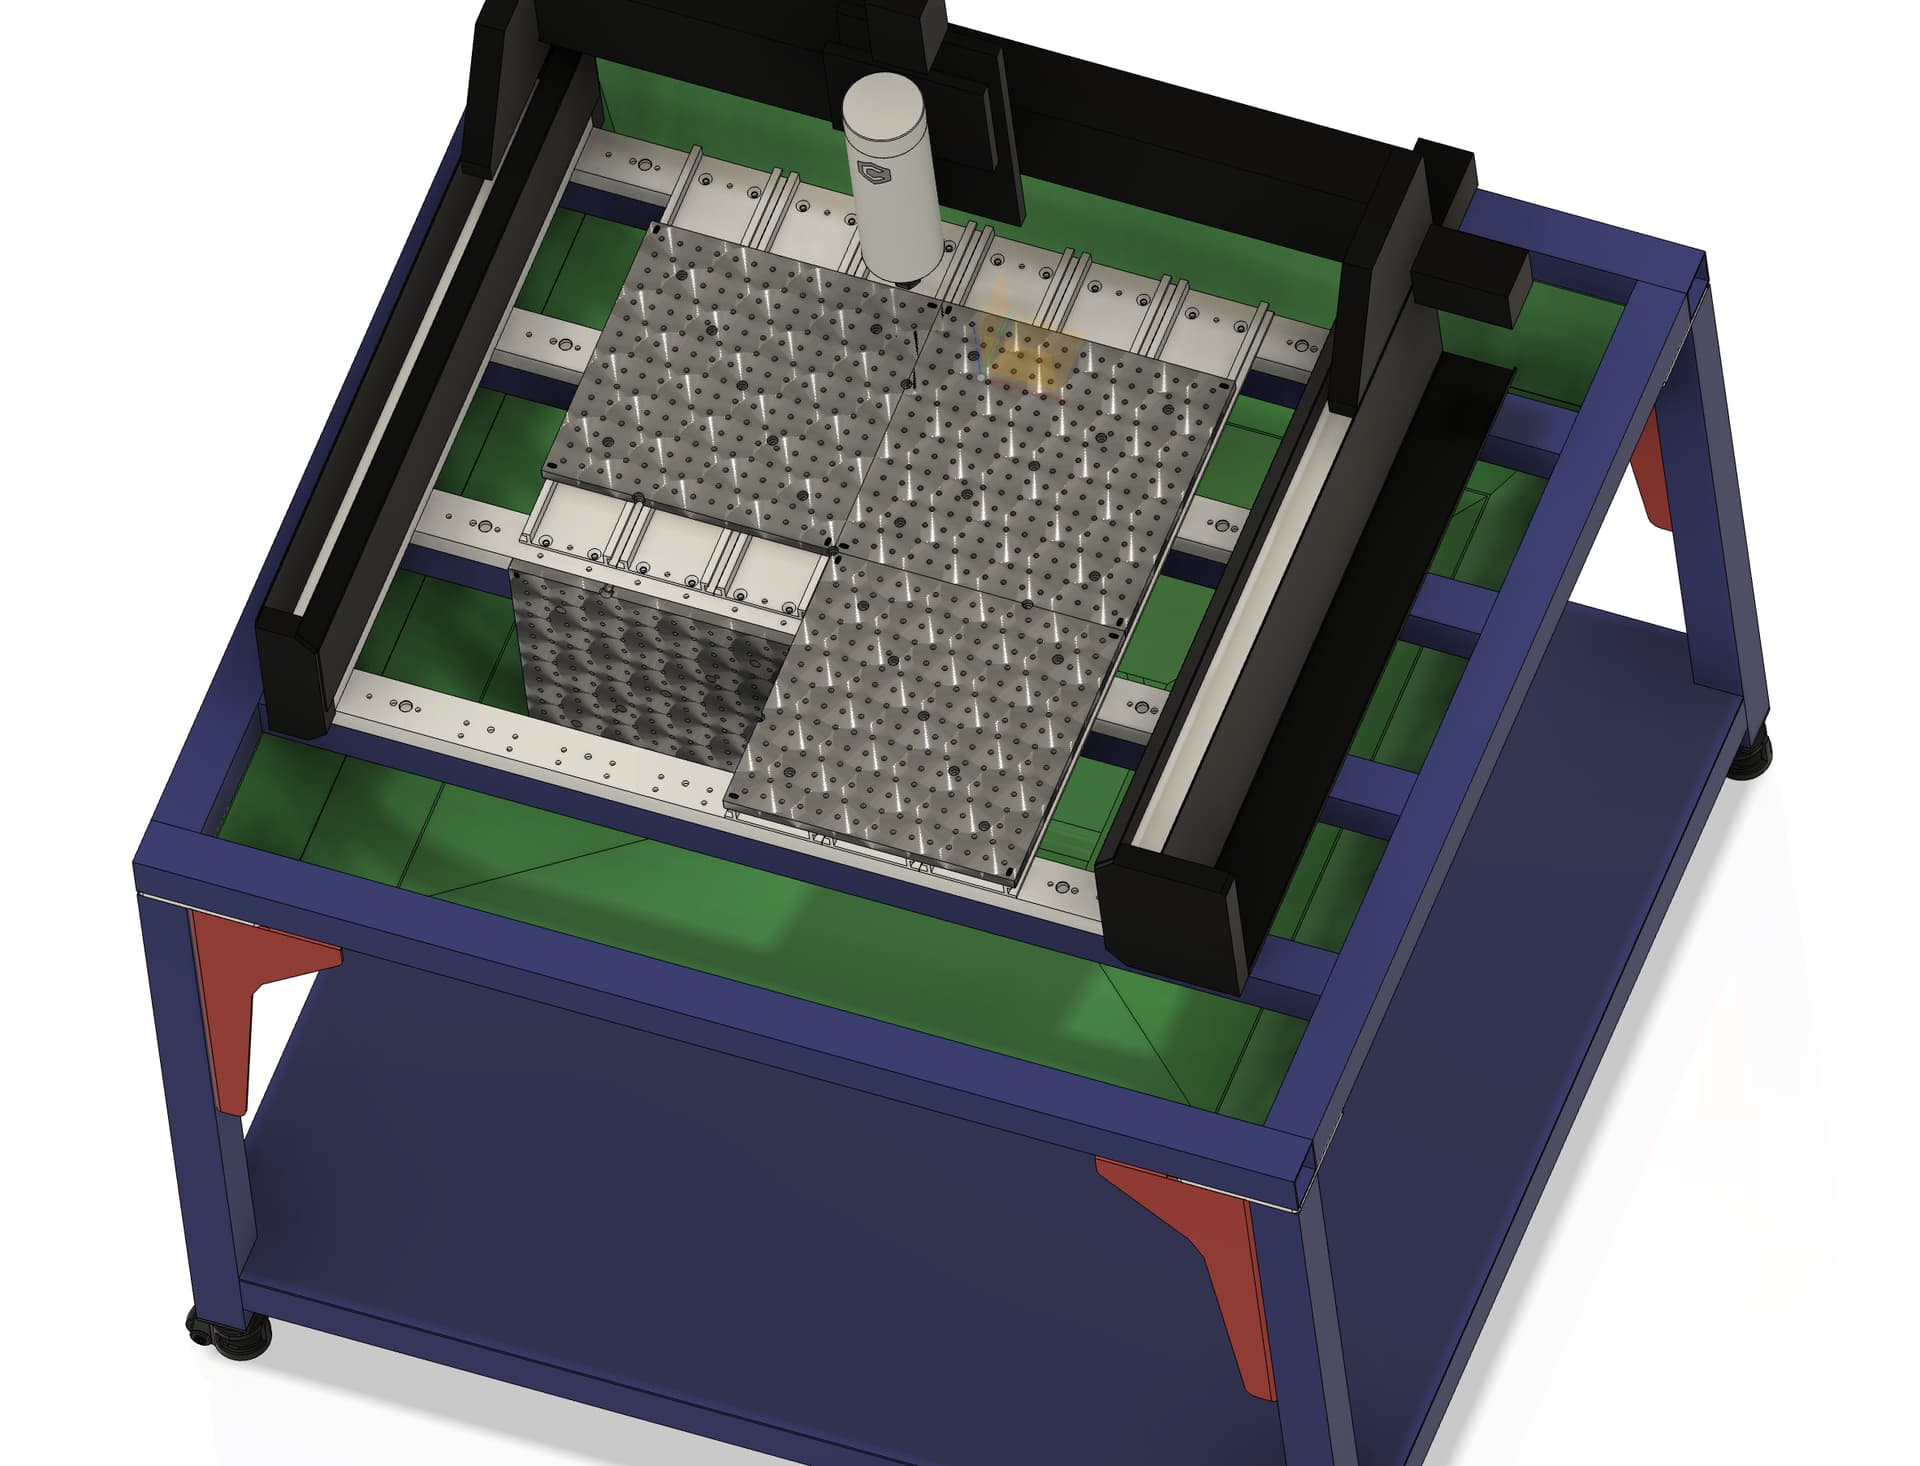
I already have cross beams supporting each nomad bar on the bottom of the HDM. It is way more beef than it will ever need. Plus, I’m filling them all with sand. Originally I was going to do a concrete bed like the Langmuir MR1, but decided that was massive overkill for my needs. I’m just going to run a mist system. I could always add or change to a wet system later if needed.
I am not done with the design. I am going to have gussets on every axis plane. There will be bracing on the legs, they will not move even in a hurricane. I did similar design structure on my Langmuir Crossfire Pro build and it is a tank, over built unnecessarily, but it looks great and cuts well.
@Griff Good point. Since I am using iterative and incremental design, lean ux, I am still revising the ergonomics. I am leaning towards a clamshell lid design for the enclosure, even though I modeled it as a frame to get started. I wanted to understand the physics of the dimensions first. Mine will wind up being a more square version of the DIY Engineering guys enclosure, but made out of steel rather than plywood.
Designed my very first ever panel with an internal door today. Learned about flanges particularly internal flanges and leaving room for the flat pattern to “flatten” out properly.
That is a McMaster-Carr high tolerance hinge modeled in. Only slight interference, but it looks like it will work IRL.
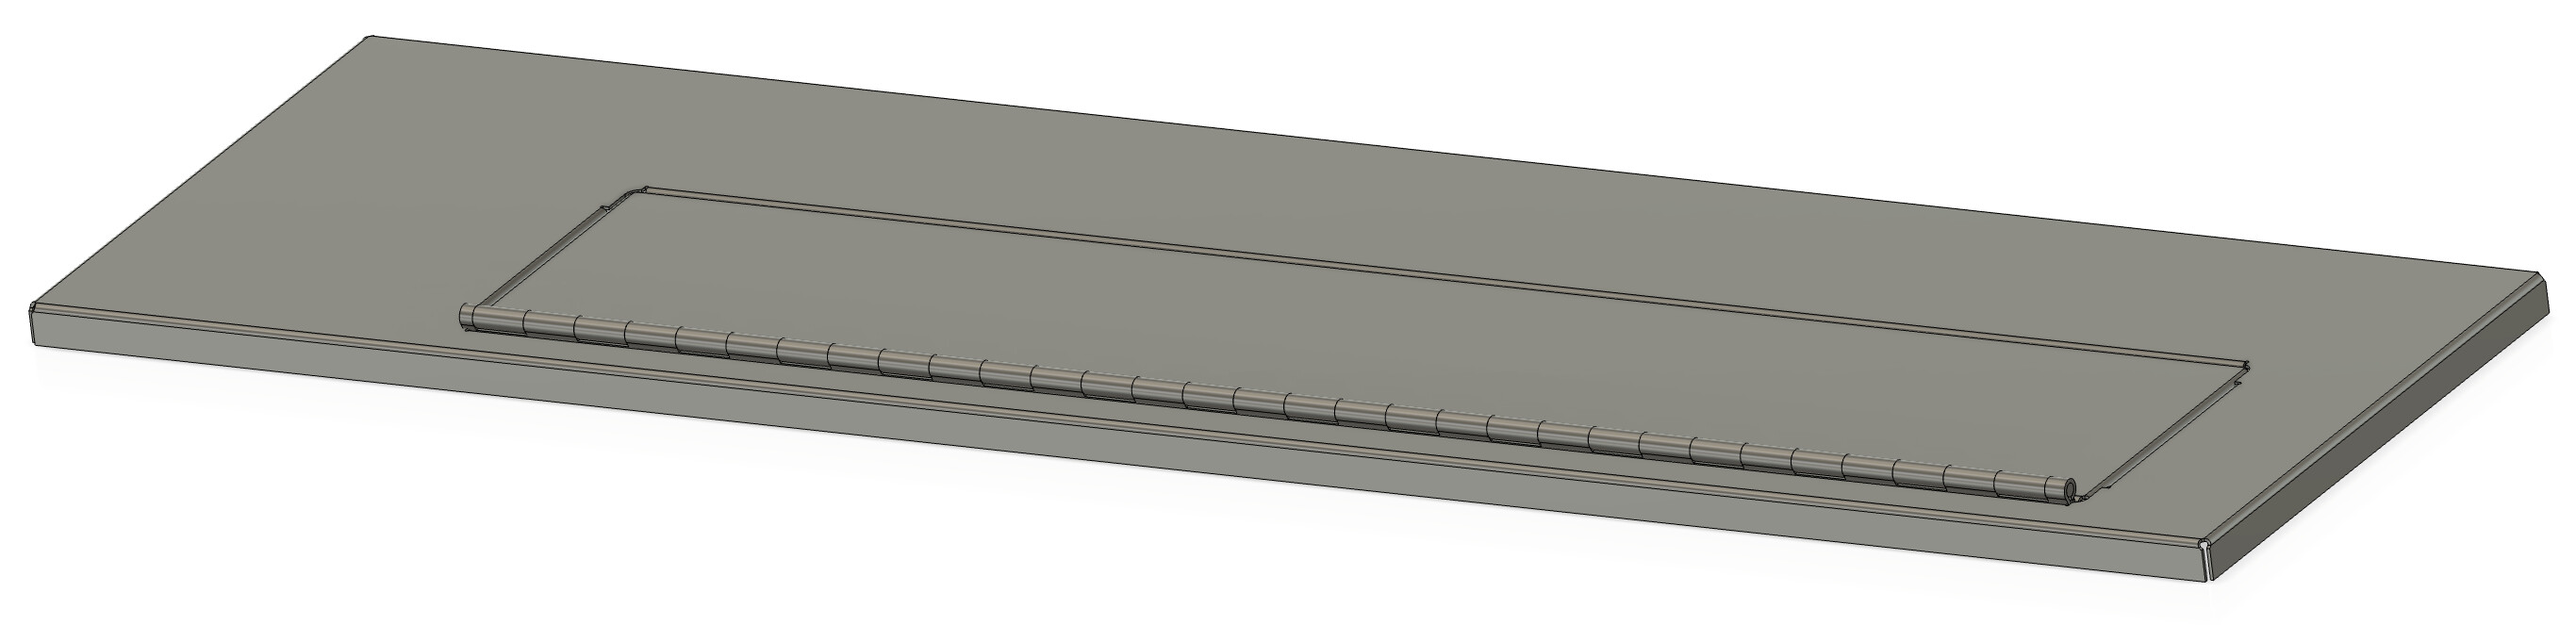
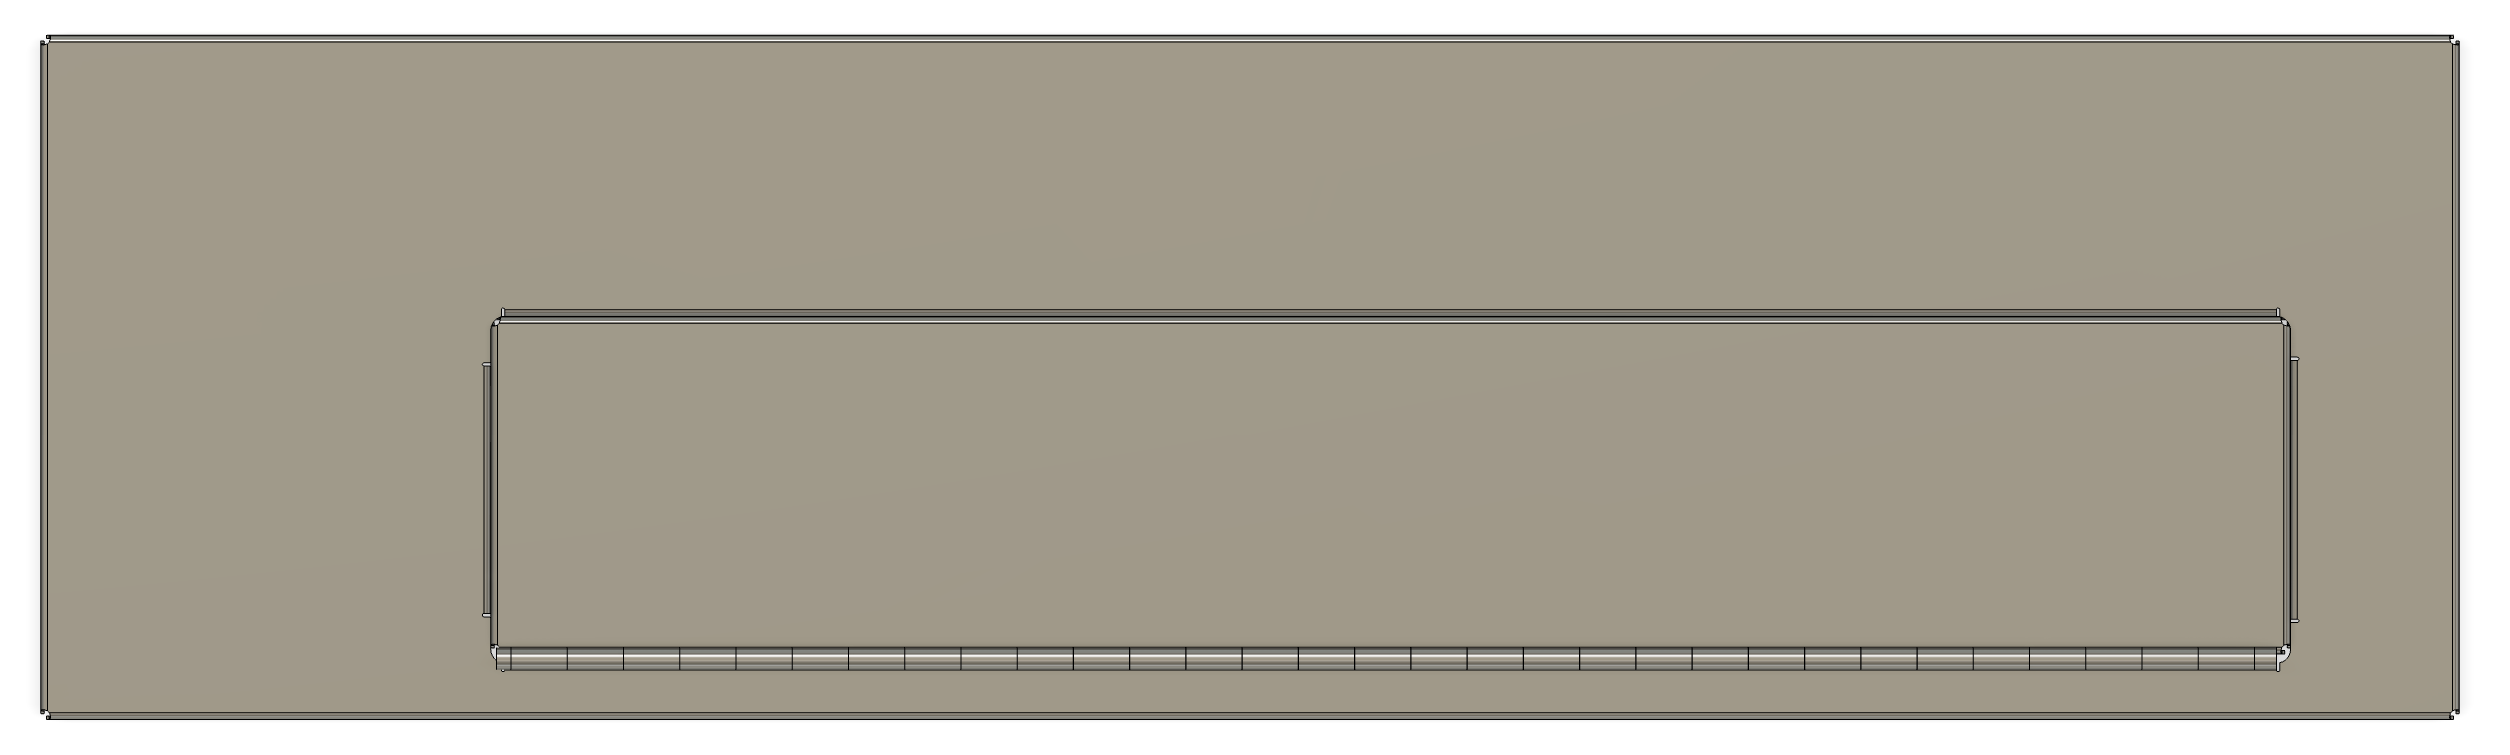
If you can imagine it, this is the “back panel, back door” on the bottom of the clamshell. I sized it to fit the full width of the HDM inner frame. So, should the need arise to index material, “I can do dat dere” as my cajun friends would say.
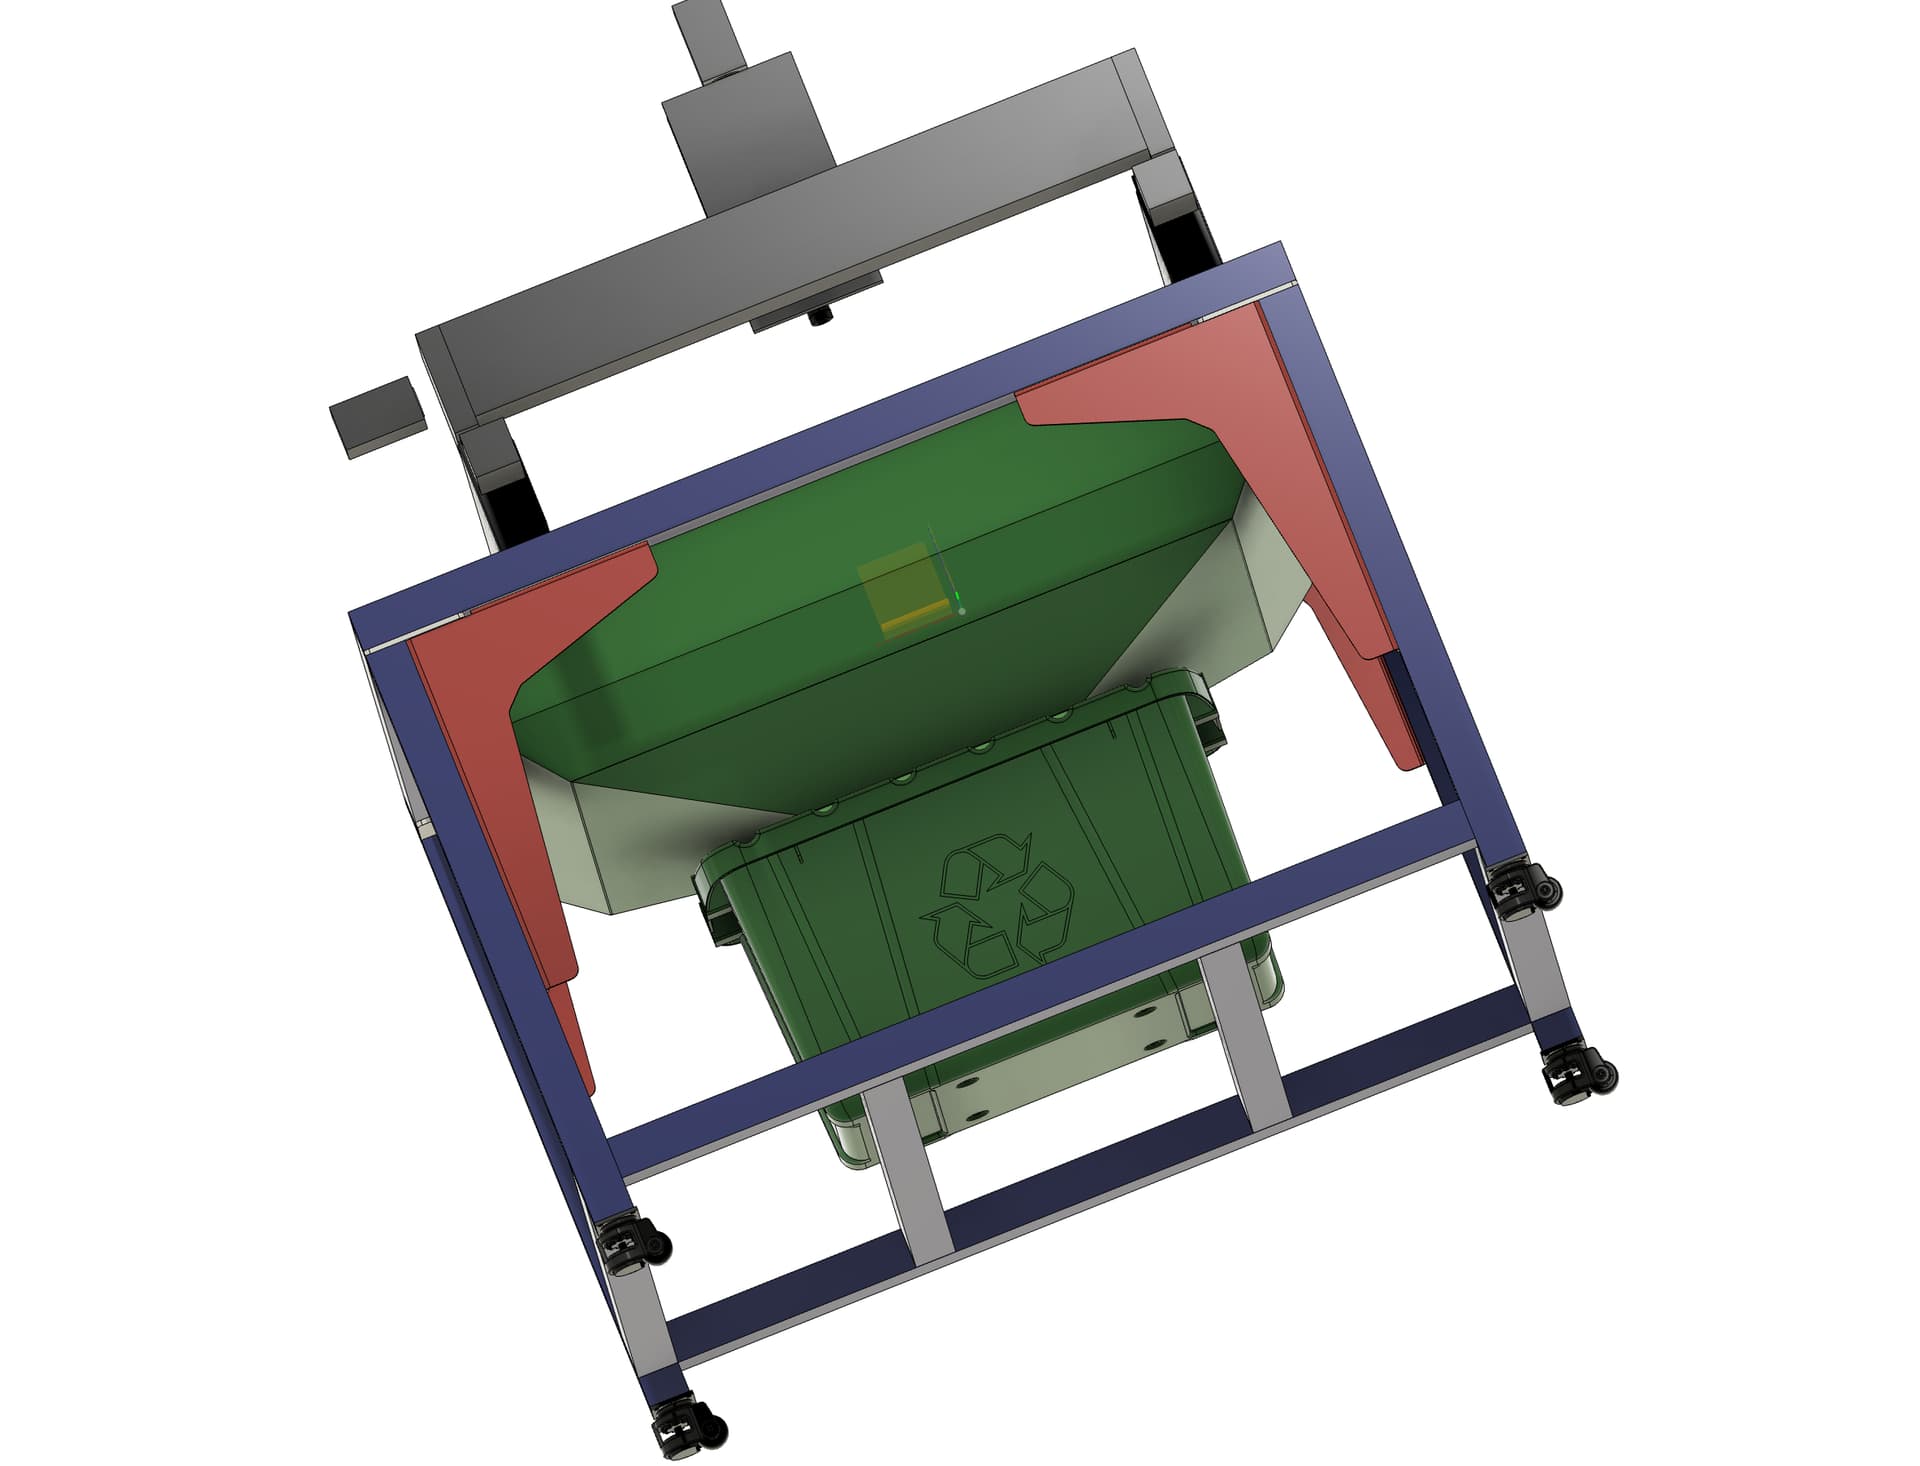
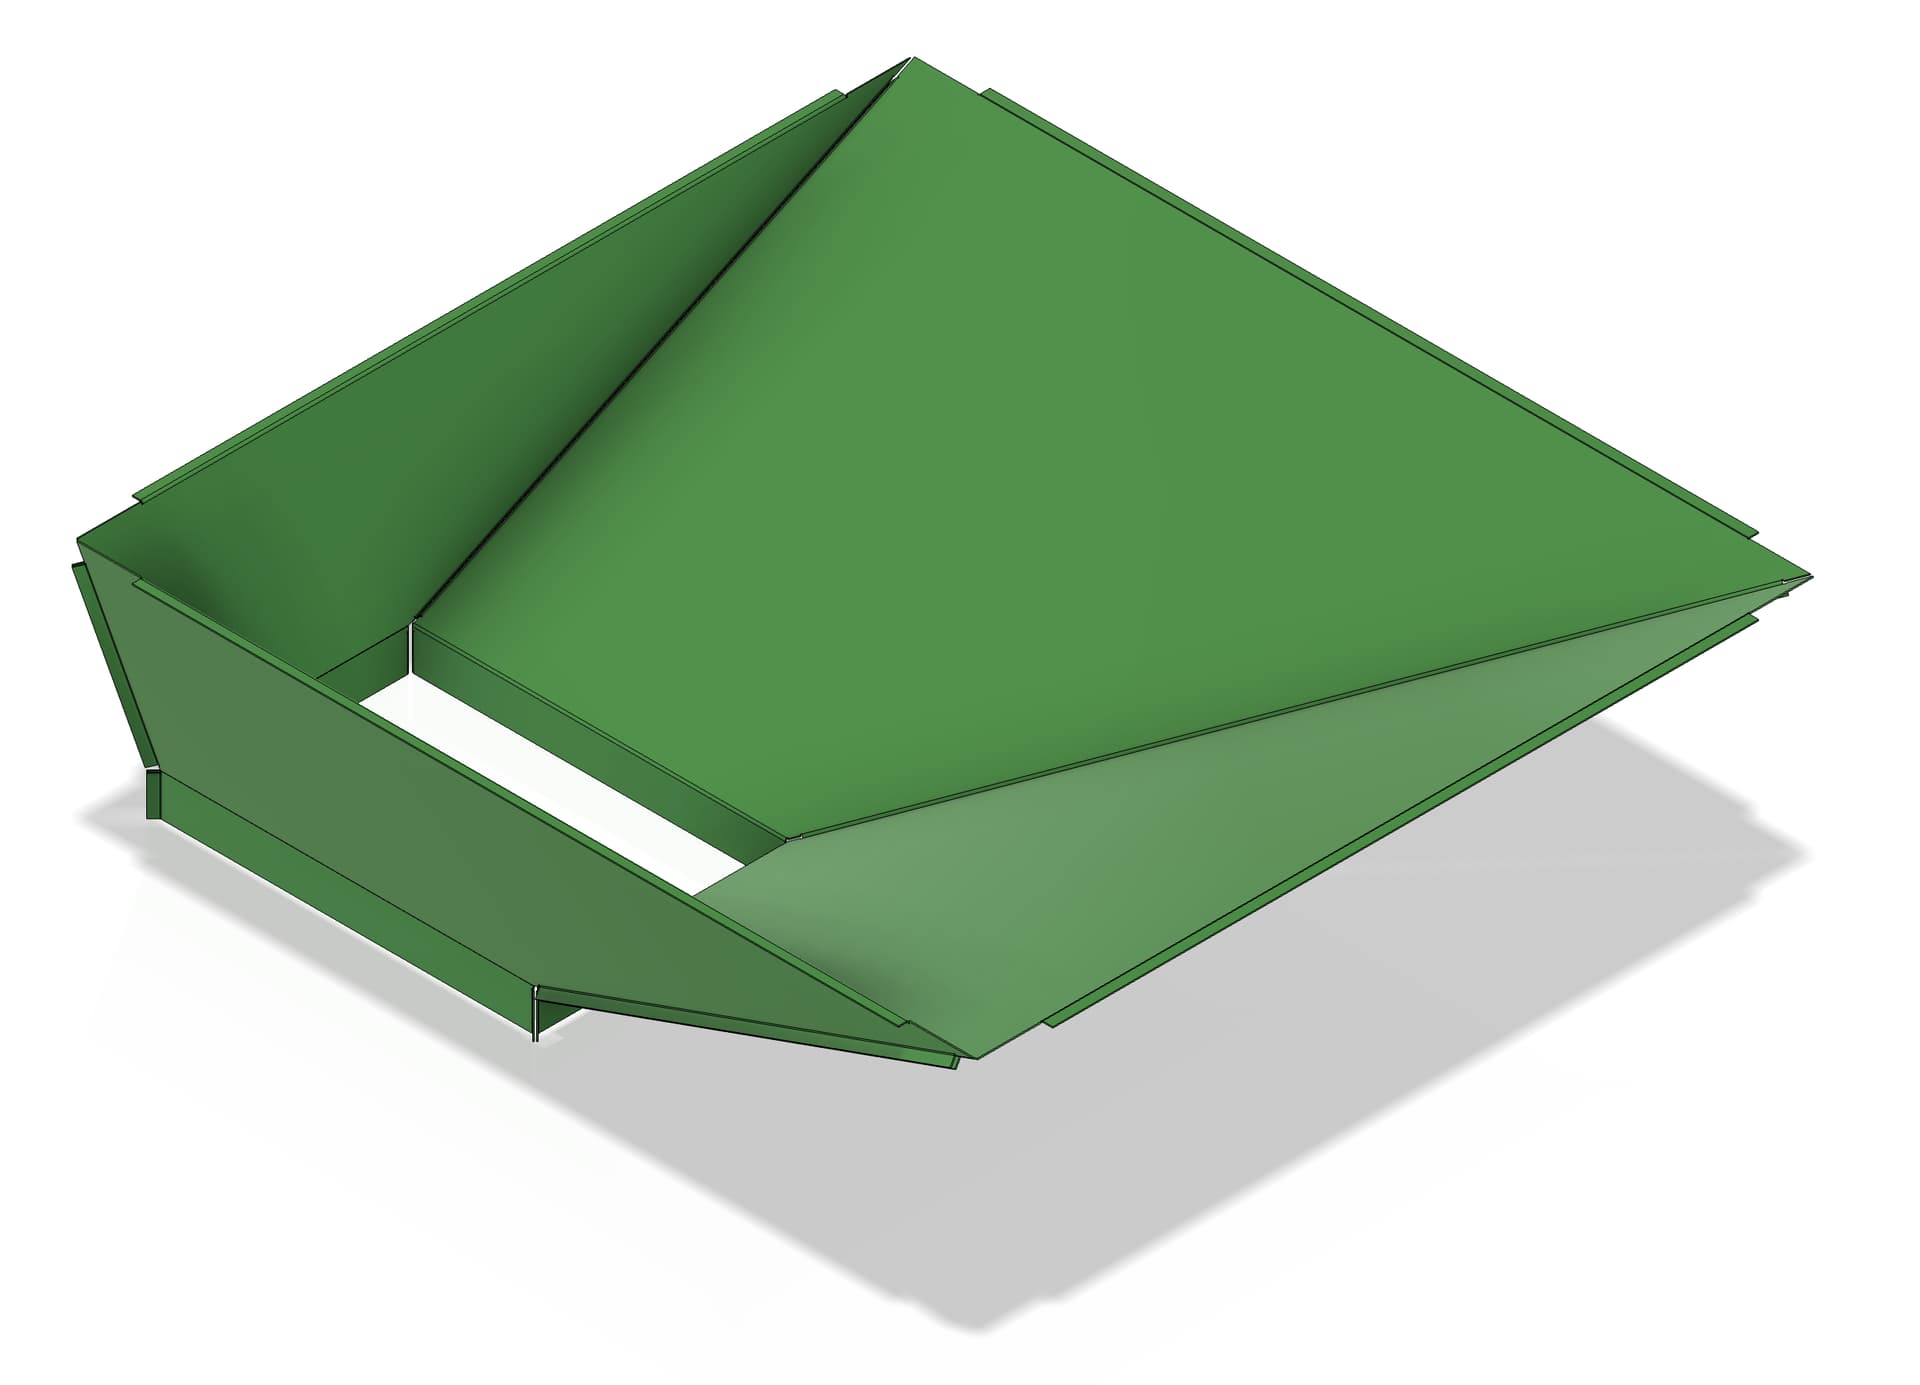
Design option 1 for the chip collector. This design would allow using coolant spray recirc. But I’m not thrilled with all the sheet metal work I’d have to do. As a hobby machinist-fab I’m not sure its worth the hassle. But, I also don’t want to deal with chips everywhere. It was a nightmare with my other router setup…chips everywhere. Hence the desire for an enclosure.