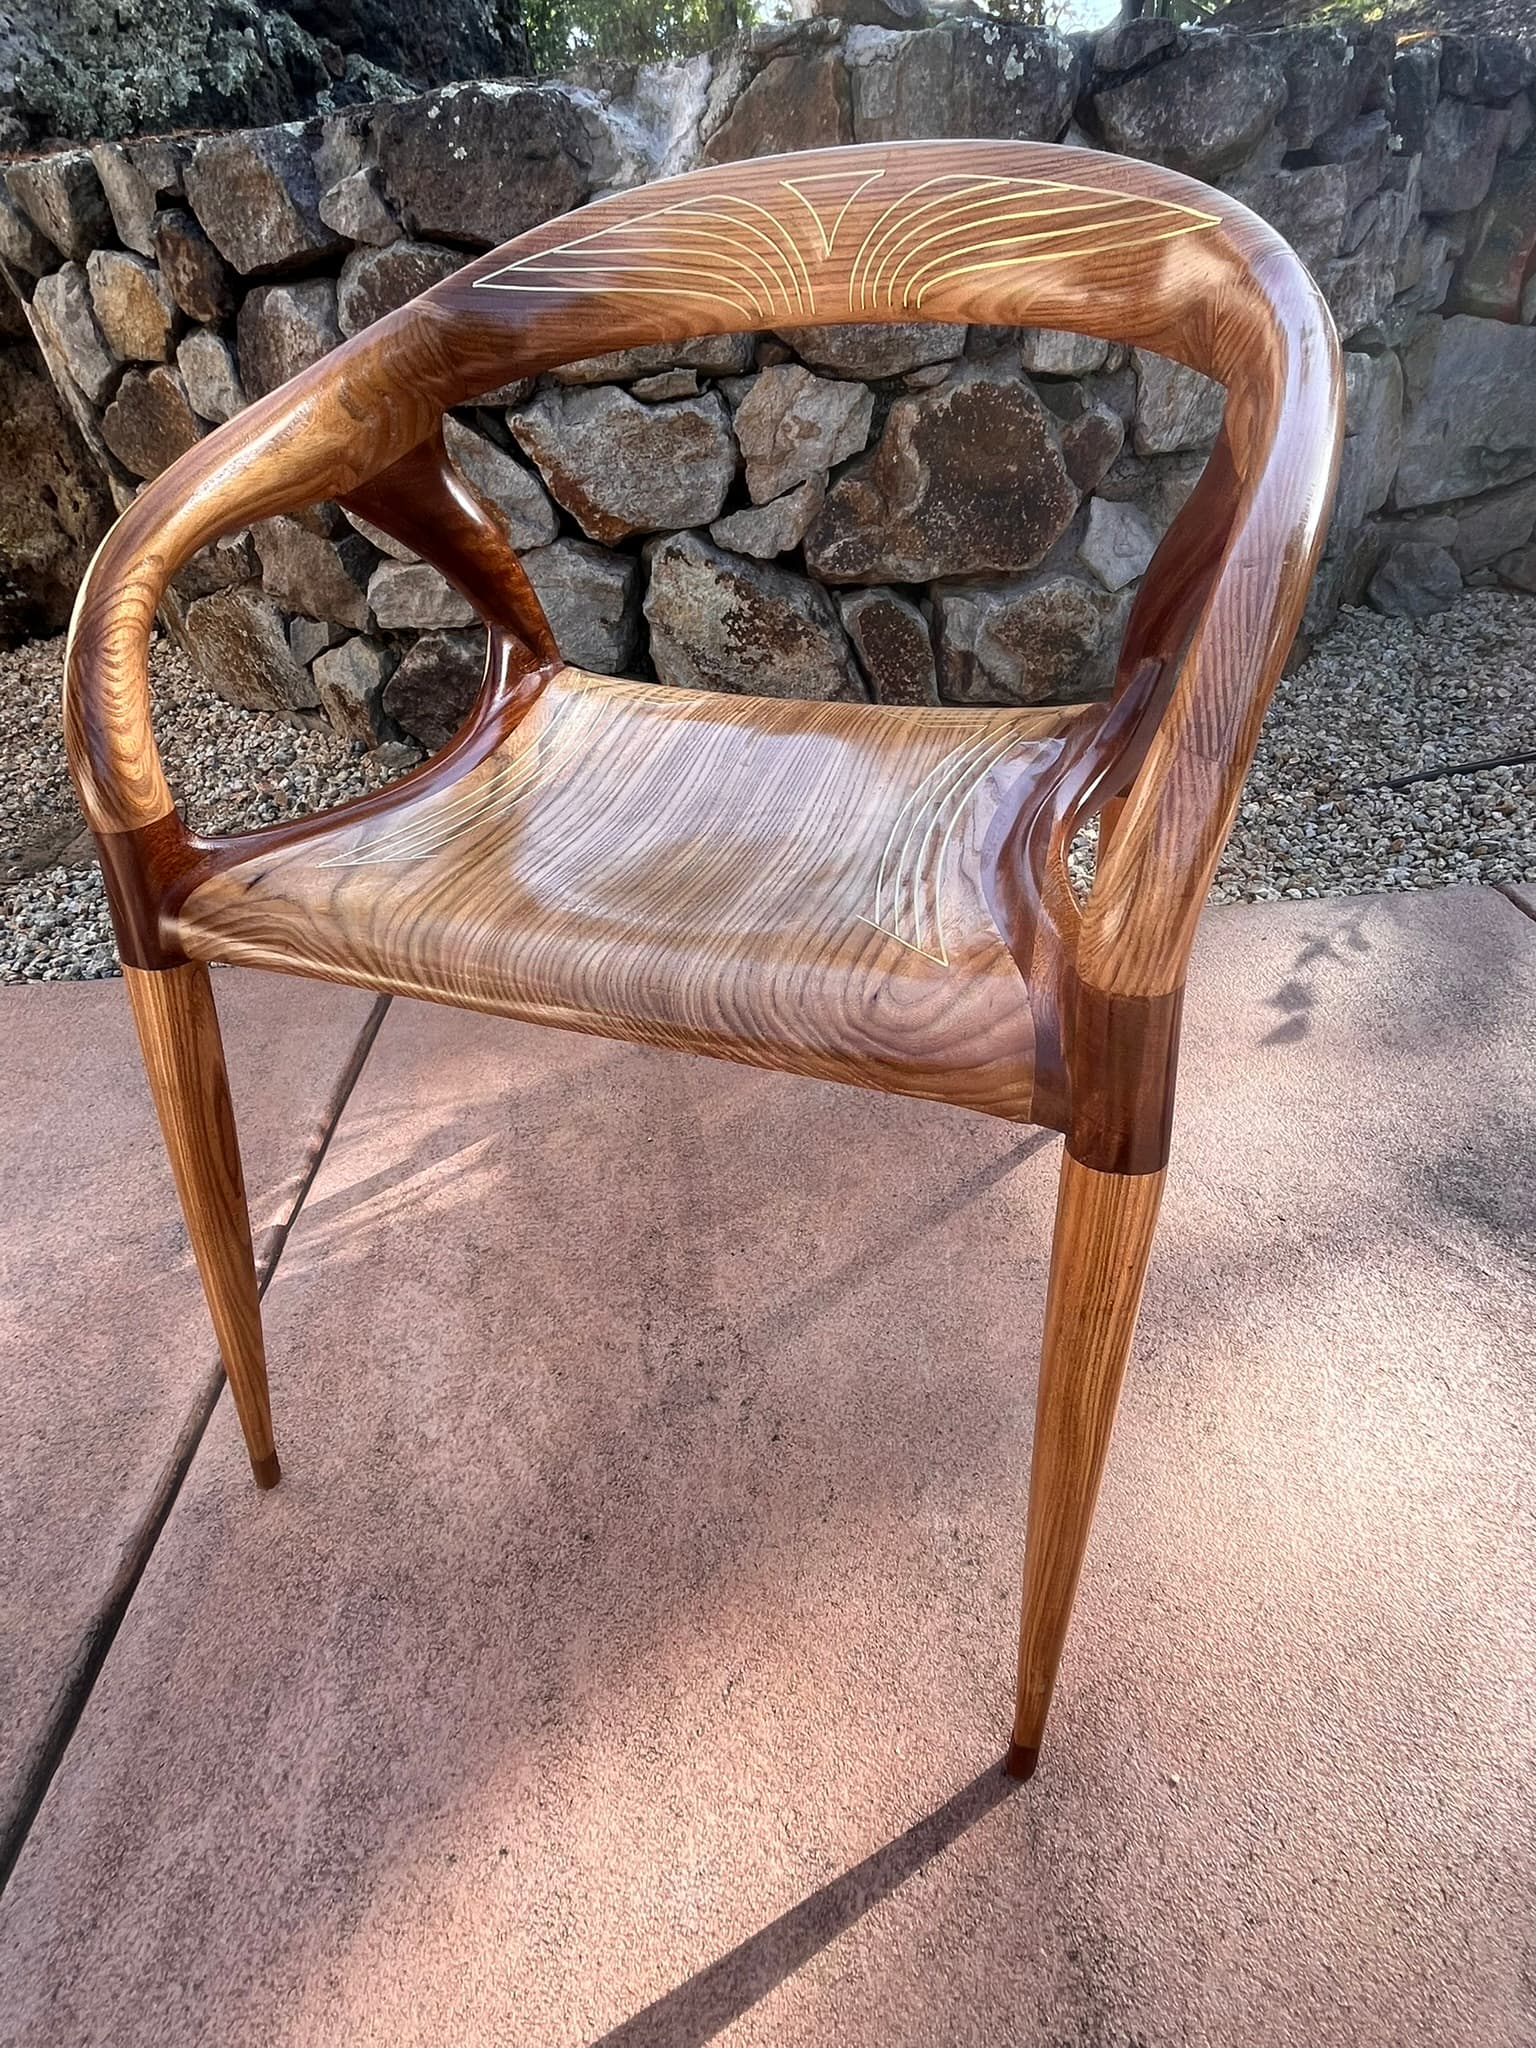
I have been using my Shapeoko 5 4’x4" for about a year and this has been a blast. My main focus is the creation of fine furnitures, with an emphasis on chairs and table/desks. I had to swap the Makoto router to a VSD spindle so I can use half inch bits. I had some issues with the electronic box which Carbide 3D graciously replaced several times.
In a nutshell: I use Onshape for the creation of 3D models then export them as STEP files in Fusion 360 to design toolpaths.
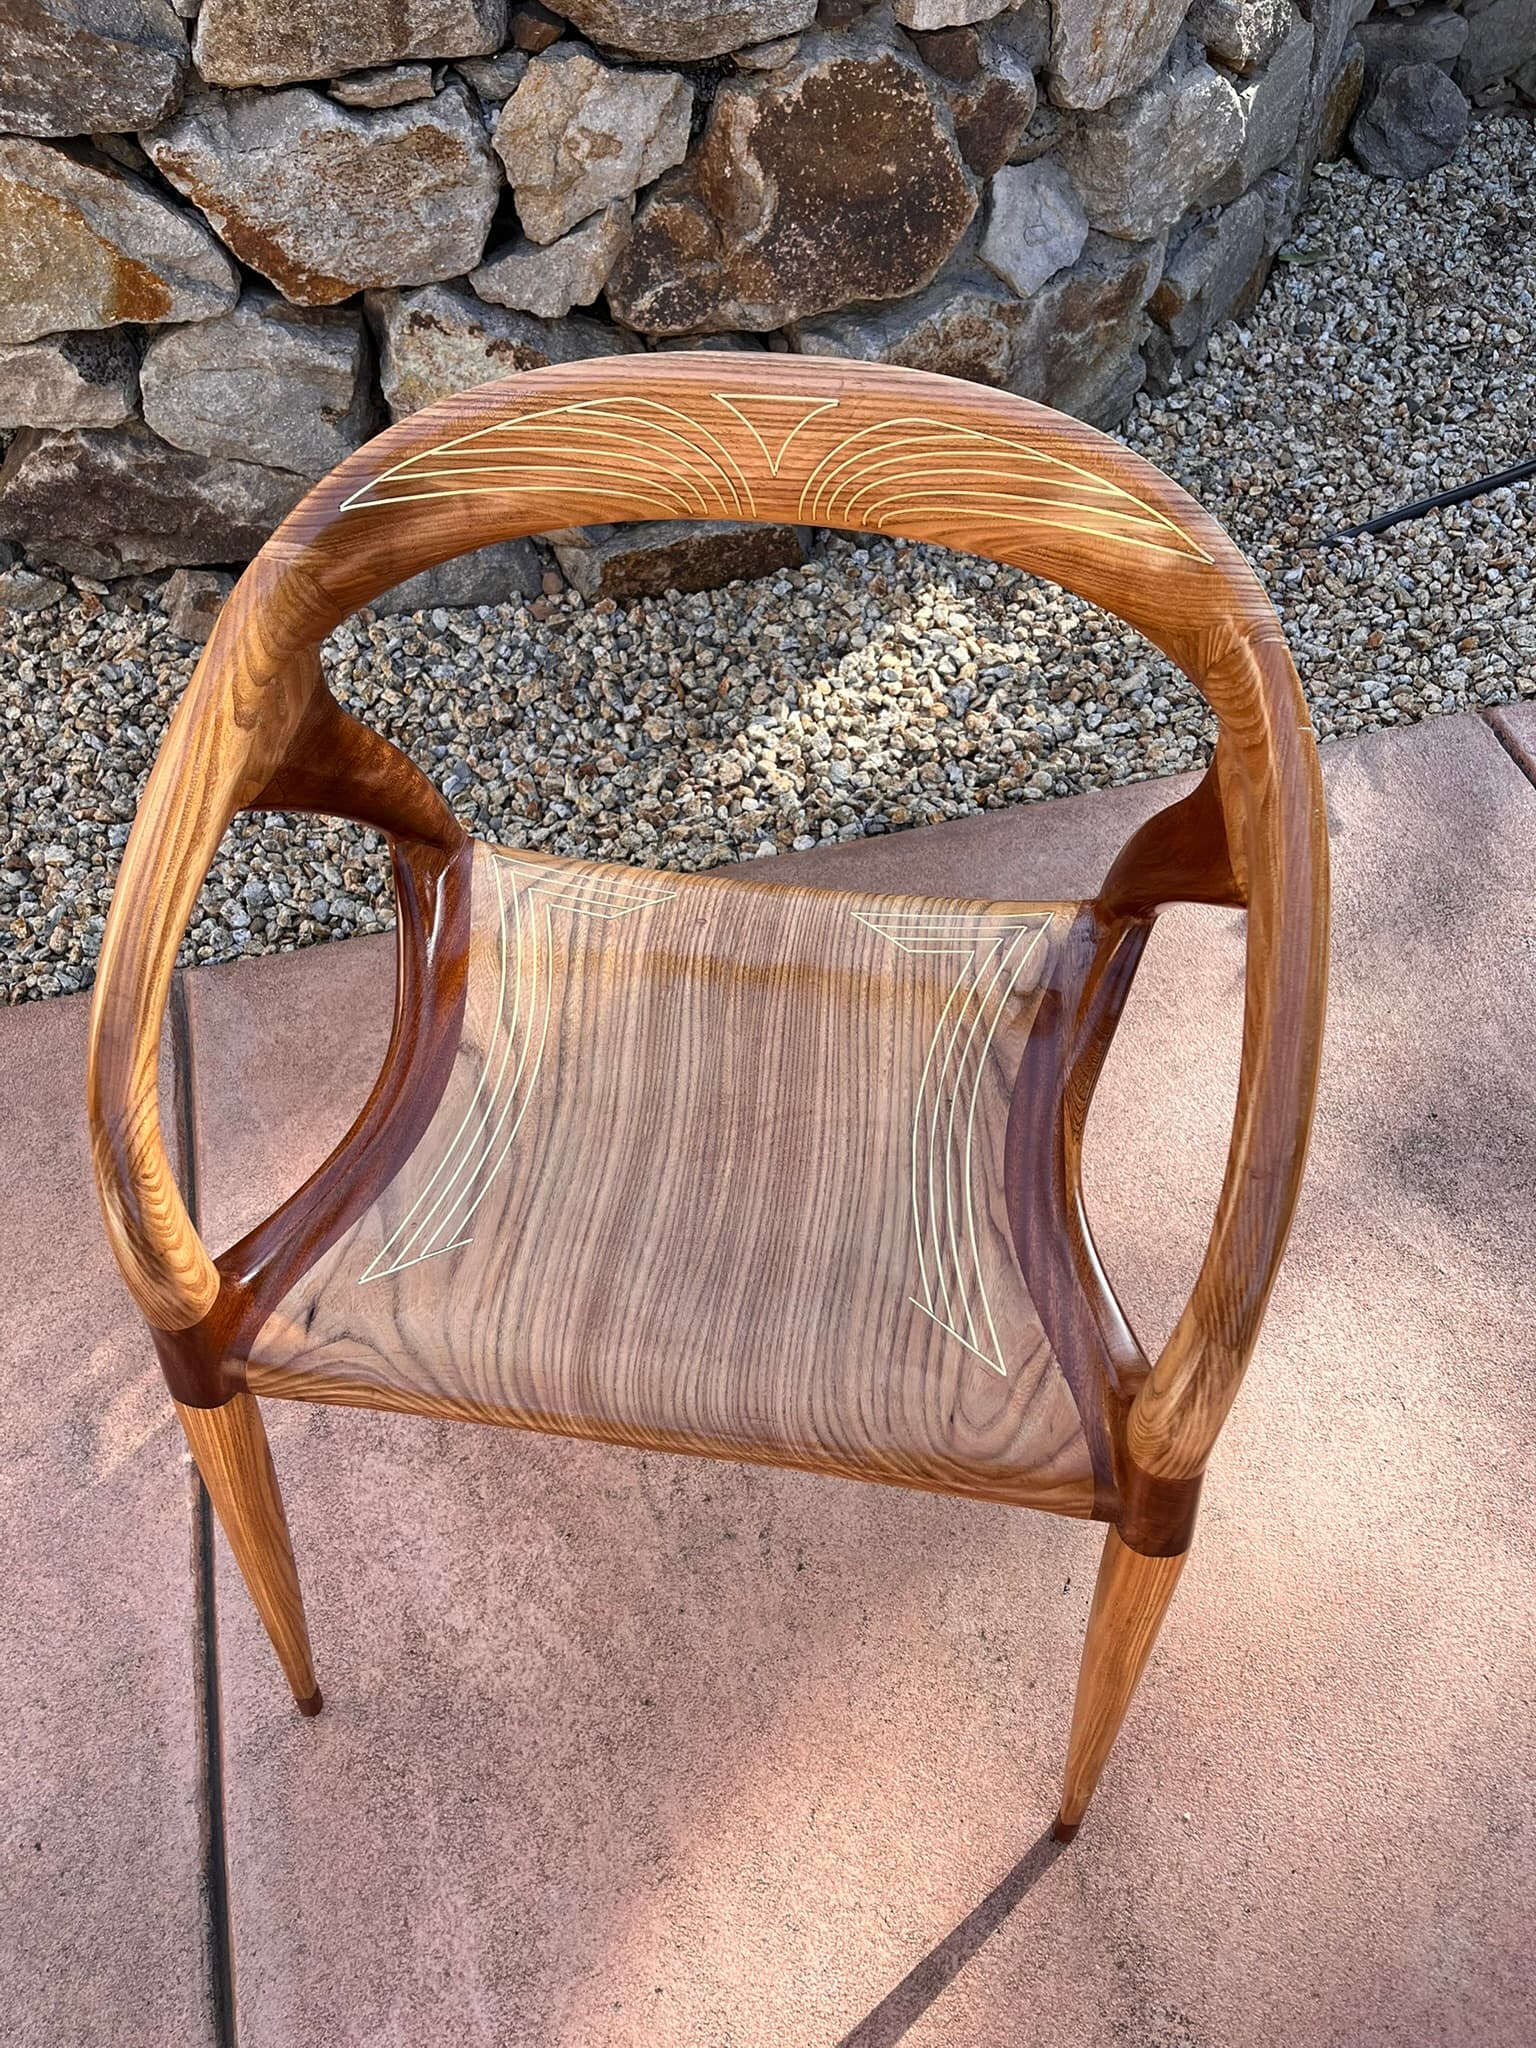
I have used the machine to its limits, allowing only a few mm clearance under the gantry to mill 3 to 4 inch thick blanks. I do mostly two sided jobs and typically run an adaptive tool path with a 0.5 inch flat bit and a finisthing path with a 3.8 inch ball to get perfect joint surfaces.
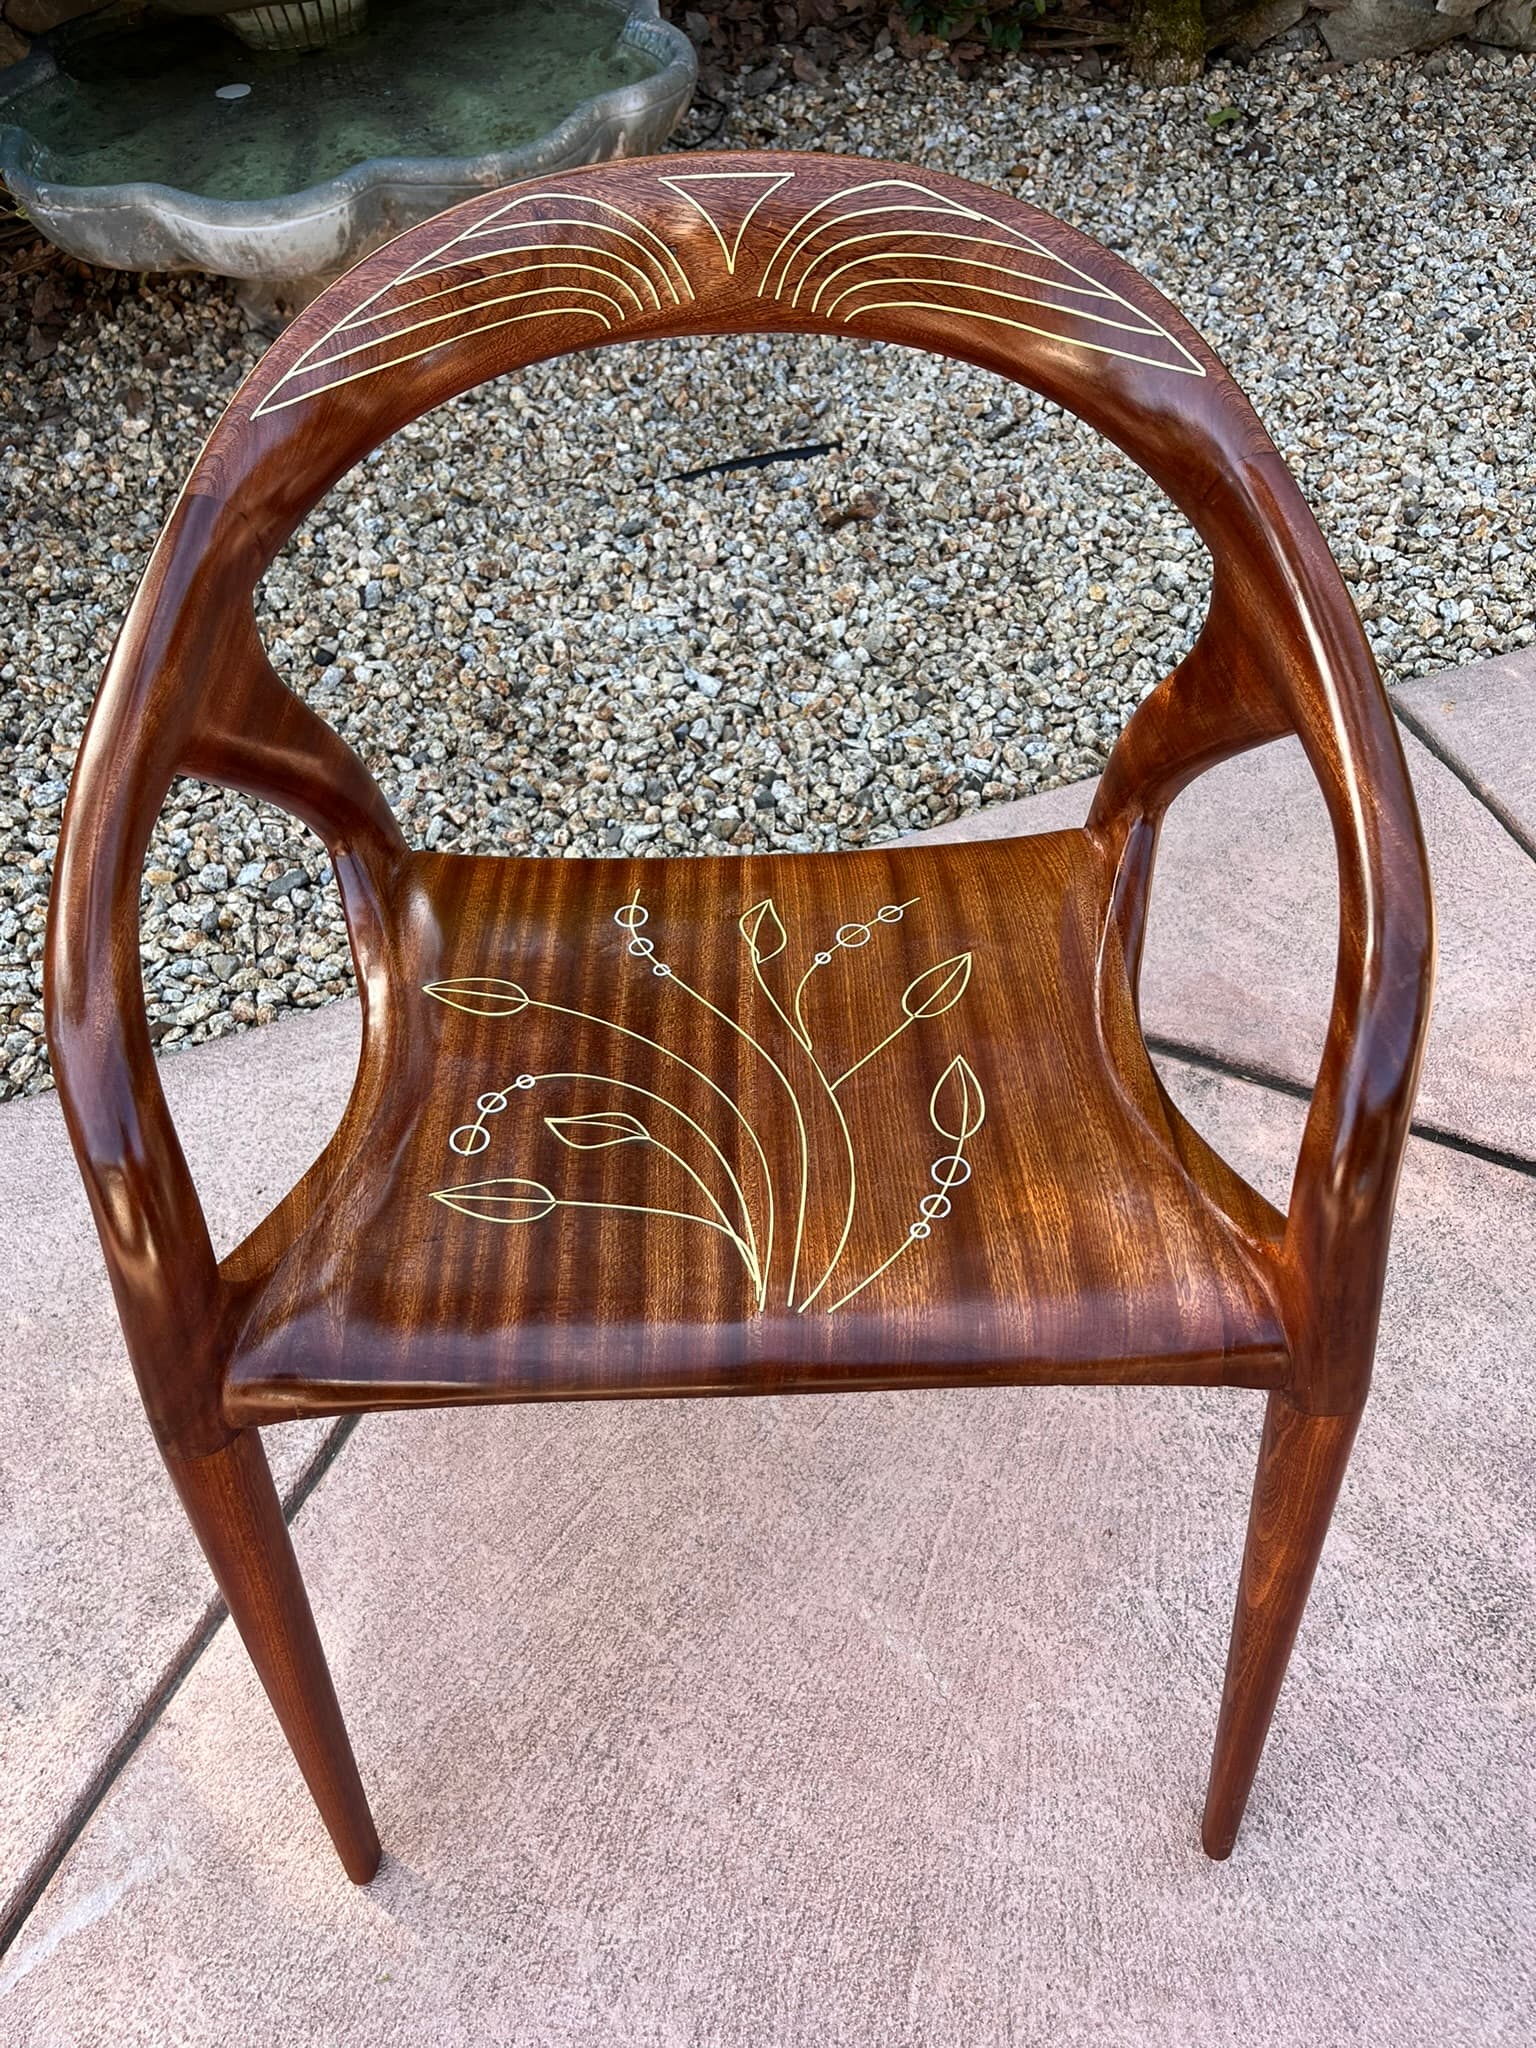
The chair model represented in the photos is divided in 4 pieces plus one run for the 4 legs.
The great thing with 3D modelling is the ability to create jigs to cut mortises with unrivaled precision giving perfect joints. There is still some significant room for manual work to eliminate tool marks, etc,…
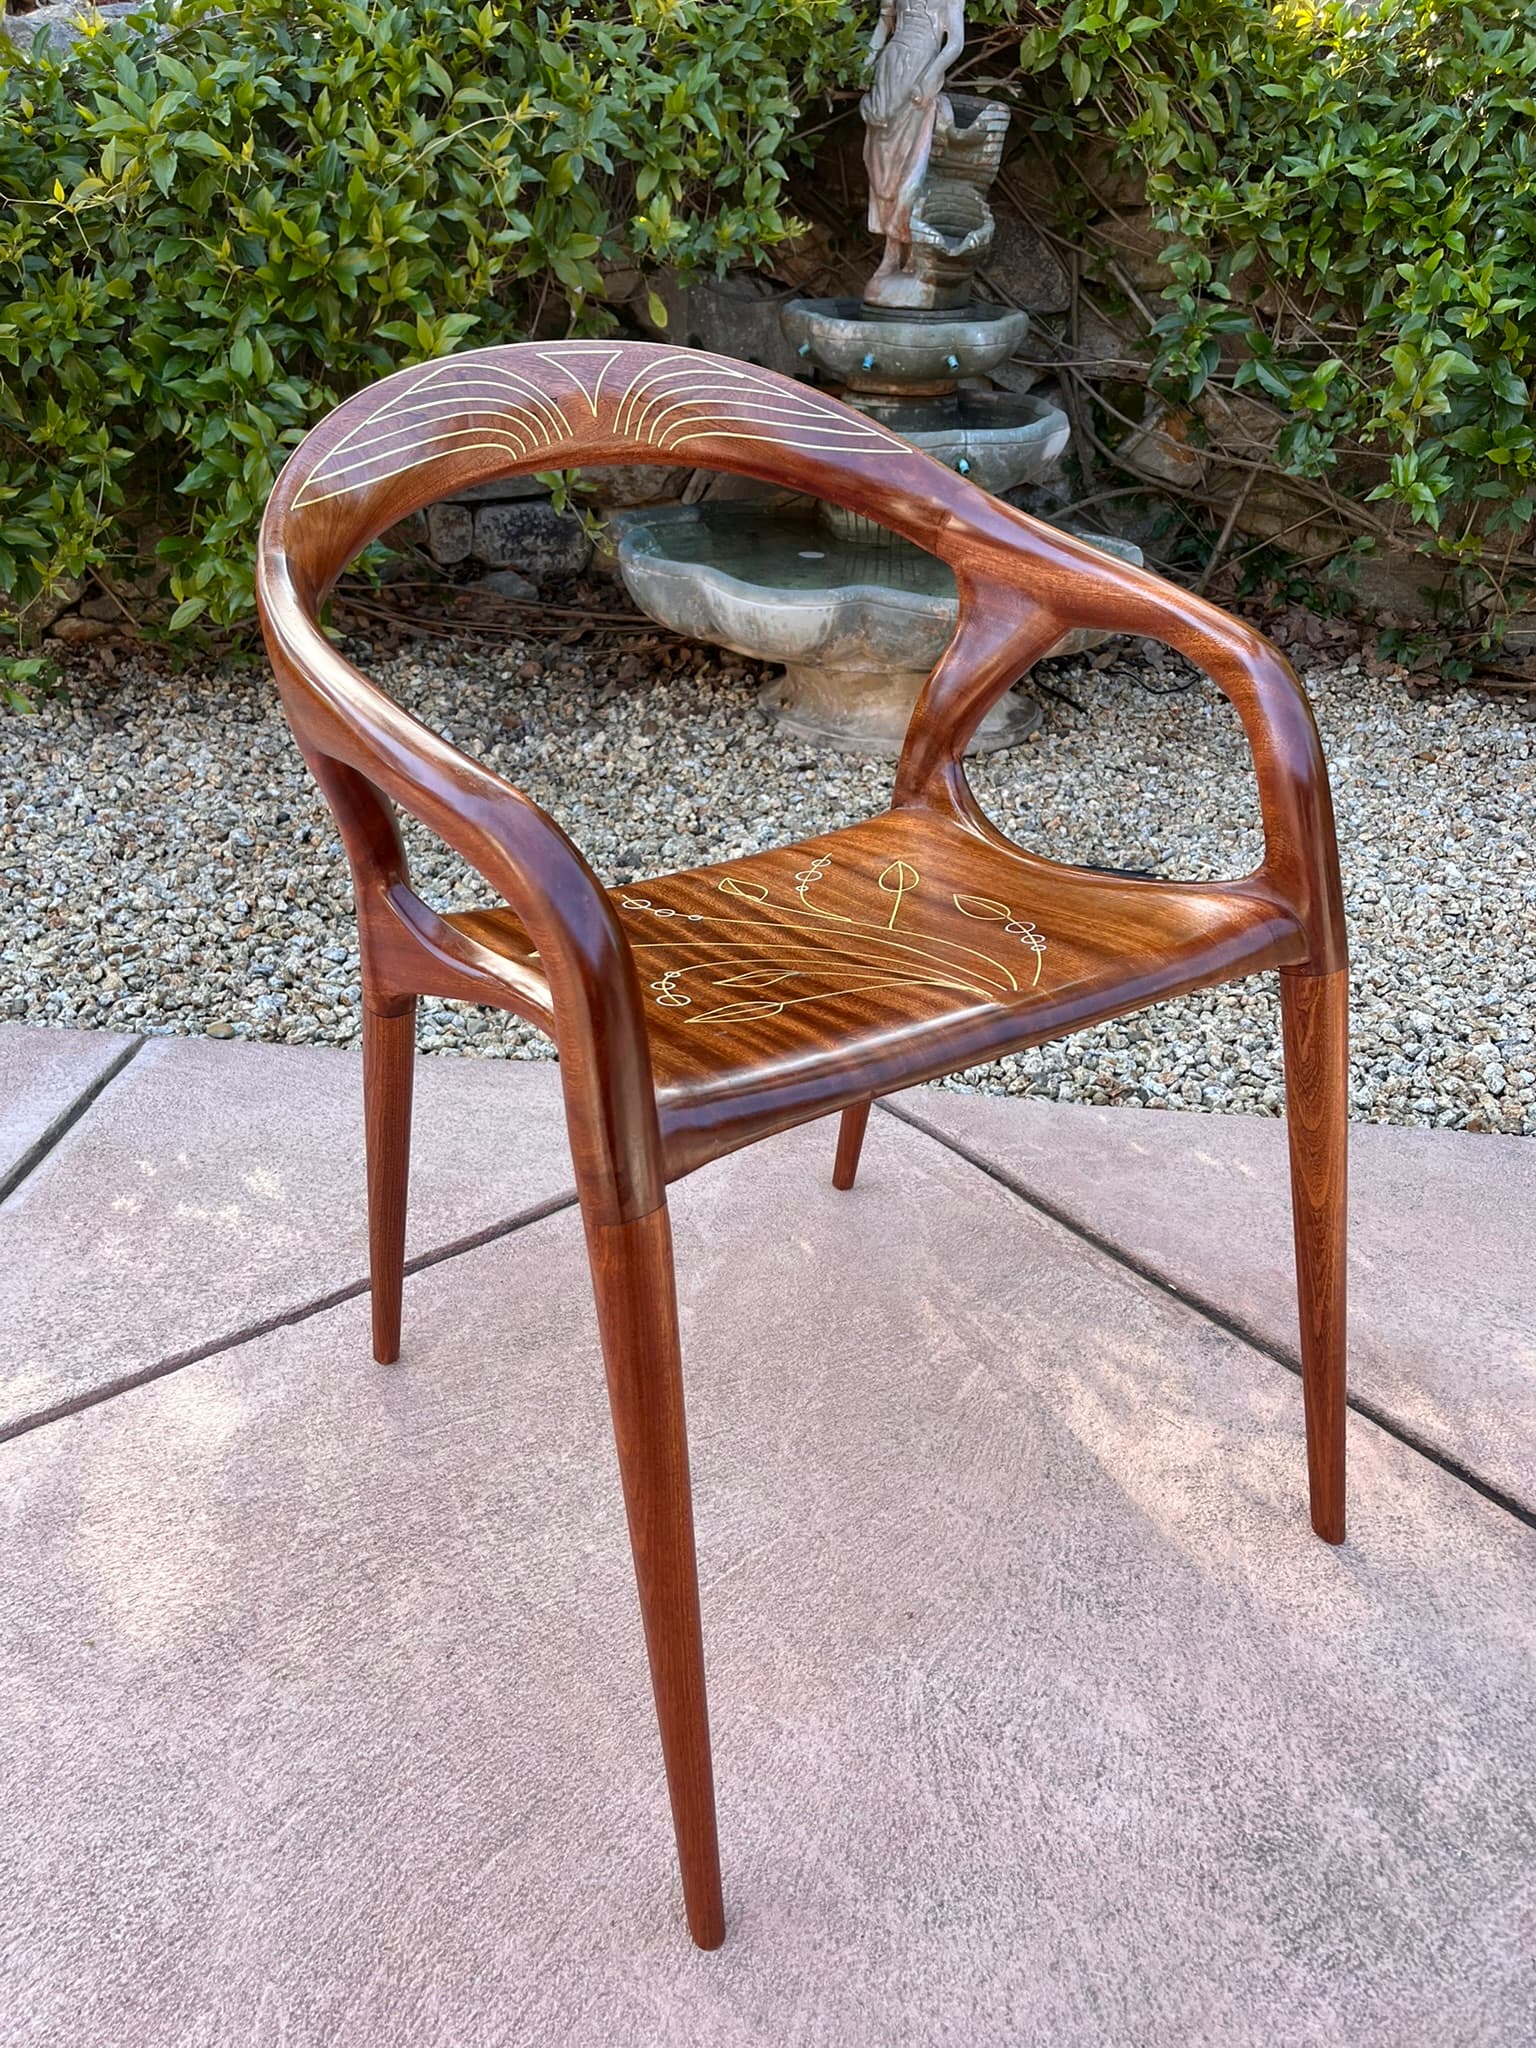
I have added brass inlays which were done manually except for the templates done by 2D cutting on the CNC. You may want to check out my first post back in 2024
I’d work more on the filework for the edges of your inlays but otherwise this is a fantastic piece of art. I know how hard inlaywork is for metals especially on angles like these so kudos to you!
Metal inlay was a first as far as I am concerned, so I am opened to advices. Can you be more specific on " I’d work more on the filework for the edges of your inlays"?
I believe N_S_F_Y is referring to the intersections of the brass inlay. Unless you specifically laid it in for a reason the “joints” of the inlay should flow as smooth as your other joinery with the arms and legs.
Yes exactly, easiest way i rough the edges of the inlay is with a 1/2" bandfile (ryobi ones are cheap about 100$) and then i tweak it with a set of jewelers files (cheap files will work too it just takes longer to remove the material)
OK I got it now. And yes this is the most challenging part, i.e. having the tendrils fusion flawlessly one into the other. I could have done a better job I agree. Next time!
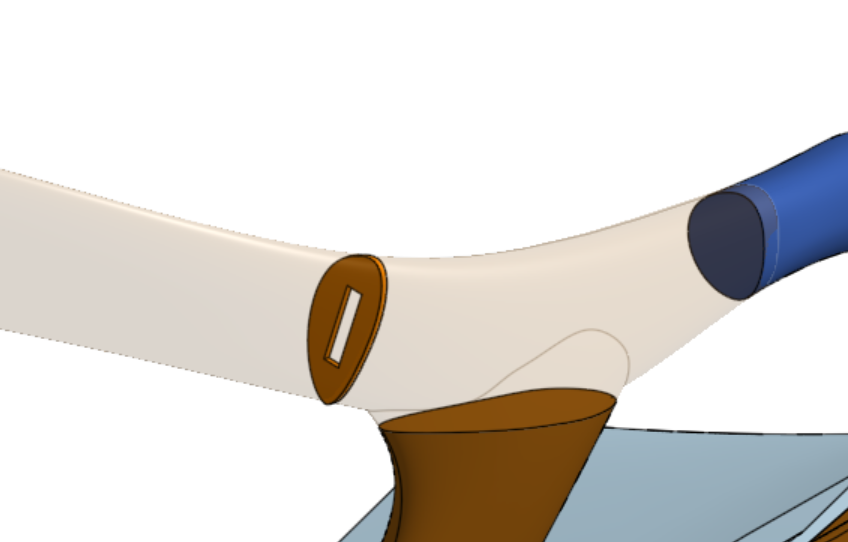
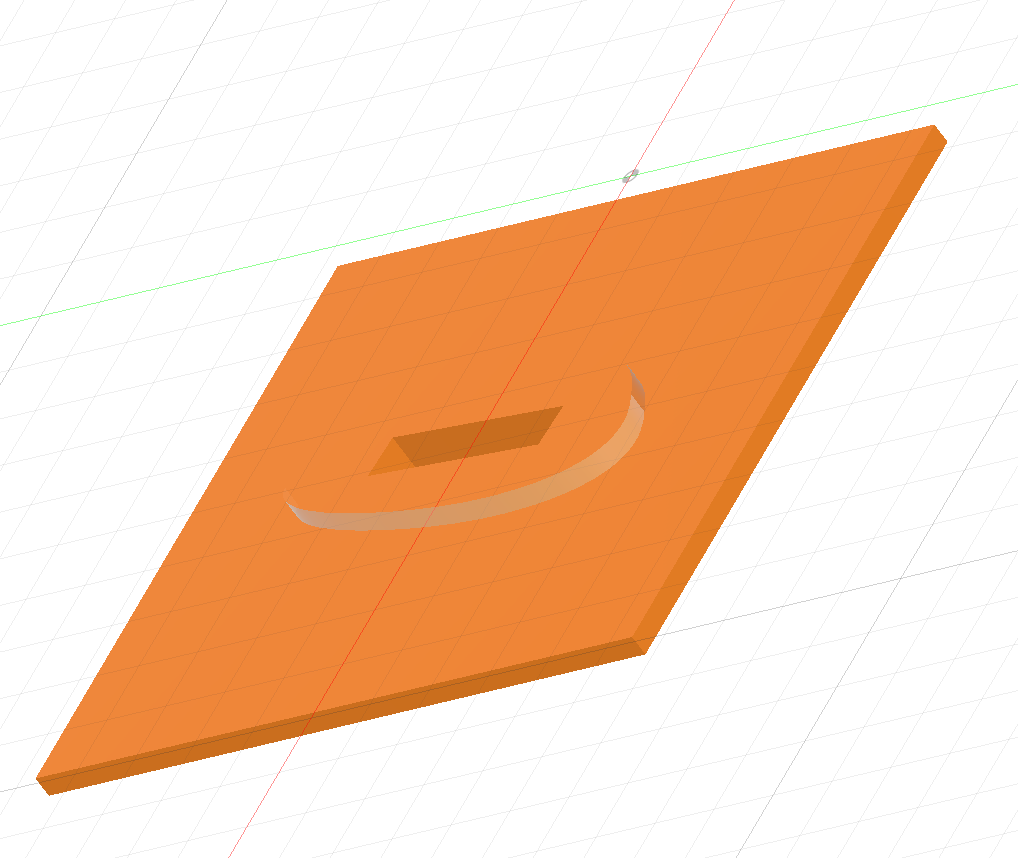
For the joint jig, In Onshape I extrude the joint face (between the backrest and the arm) by 1/8th inch, cut a rectangular mortise in the middle, stick it to a 1/8th inch plate (and cut the mortise thru the plate as well) and mill the whole thing in Fusion. You need two jigs, one for the backrest, one for the arm. They are simply mirror image of eachother.
Here is how I use them: I cover the joint face (of the backrest, resp. the arm) with blue tape. Glue the jig using CA to the joint face making sure they are perfectly superimposed. Rout the mortise using a 3/16 th inch template bit (Amana Tool 47222-S Miniature Flush Trim Plunge Template 3/16 D x 1/4 CH x 1/4 Inch SHK Carbide Tipped Router Bit with Mini 3/16 D). Do the same on the other joint face (using the mirror image jig). I assemble with loose tenon. Looks laborious, in fact this is pretty quick.
Wow that are some nice chairs. A CNC brings so much precision to joinery for woodworking. Your ascetics are beautiful and the wood is gorgeous. Great job. Now make me a couple in your spare time.
This chair is PHANTASTIC! As is your other work! You are one great carpenter, with or without the CNC machine.
I can only recommend the readers to check for other works of Dominique, there is a bookcase from 2023, that simply is a dream!
I am curious: Of course the hours spent on the design are not really countable. How long did you spend just on sanding the assembled chair? I cannot even imagine how long it took to make the brass inlays.
What finishes did you apply?
And: all work calculated: what does this chair sell for? (What did the bookcase sell for?)
I found some work from you, and recognized it, I saw those works like the showcase or that big dinner table with the curved “legs” before during random search, and was convinced, they were photoshop images or AI work, could never imagine that these things were really made!
And they were, they are real! Dominique Charmot is real!
What an honor to share the same time to live with such a carpenter!
Glad that you enjoyed my production. To answer your question about sanding and finishing: typically it takes me about two days to sand a chair. The key is to make all tool marks disappear, which requires a great attention to surface defects etc,… the finish is like this: wipe off with a
diluted polyurethane varnish, repeat two or three times, then wet sand with a 1000 grit sand paper together with diluted varnish. This has the great advantage of filling up the pore and produce a very smooth surface. Optionally I do a final French polish to create a glossy appearance.
As for AI generated images, I am familiar with that (ChatGPT or Midjourney), but I usually am able to detect them!