You are never going to get a polished look on aluminum with endmills. A finished pass wouldn’t be the last pass of the roughing out of material. It is another pass of the same, or different tool that is going to cut a very small amount of the aluminum away with better tooling mark results at a much faster feed rate.
Why did you use a ball nose endmill and what results were you looking for? Stepover is usually set to half the tool diameter for most work being done. Using a ball nose endmill in place of a standard flat surface milling process is the wrong tool of choice. You are looking at this finishing pass as a 3D tooling process, in which case, your stepover will very much determine how rough and ugly your finish could become if the stepover is too big.
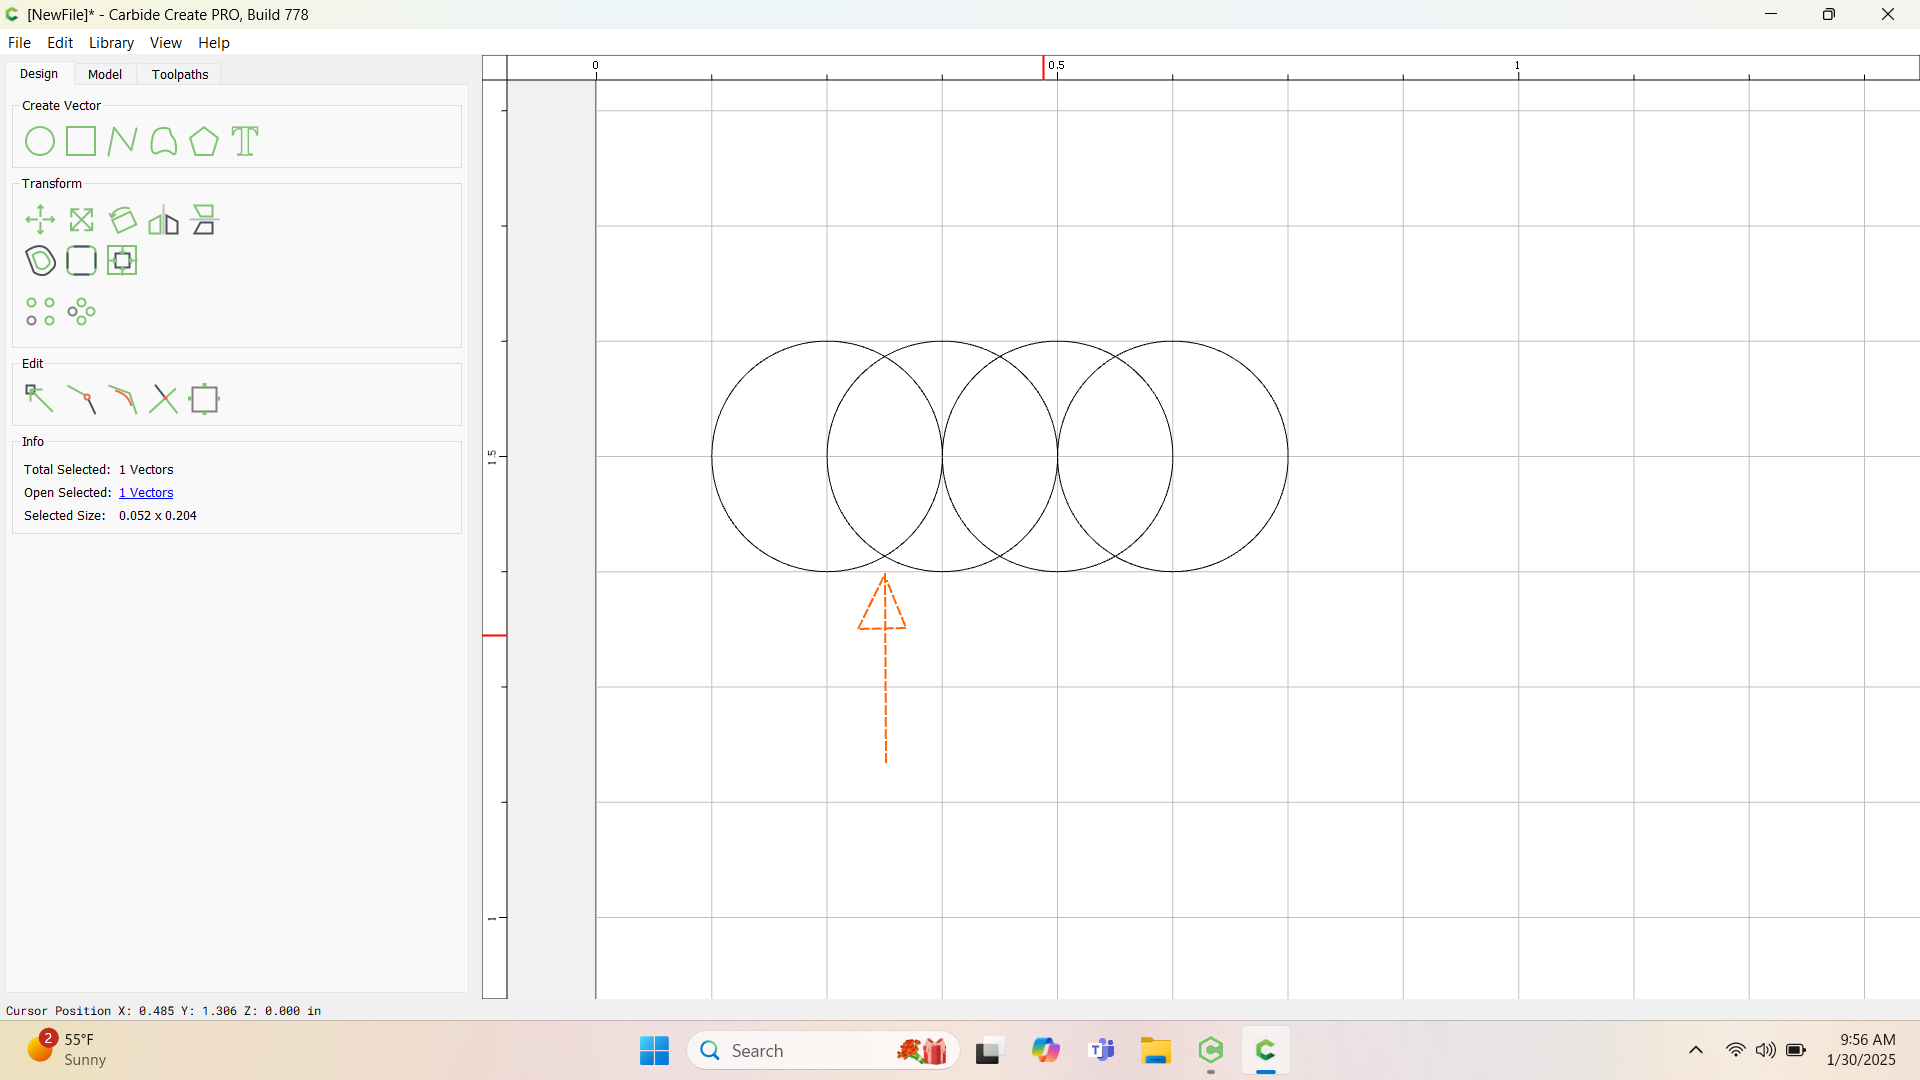
If you were looking at the sideways view of your endmill, where the red arrow is in the pic above, this would be the material between each pass of a ball nose endmill, which would represent stepover. Now, the smaller the stepover, the smaller that material lump that is left behind. Technically you will never get rid of that lump if you reduced the stepover to mere movements for better surface finish, but the smaller the stepover the less of the lump you will feel, until you have a surface that feels smooth to the touch, but has micro lumps between passes, if this makes sense.
If you can use a flat endmill for the surfacing, then you would not deal with any of these lumps, and you wouldn’t even have to make such small stepovers. If using a flat endmill for this project would work, I would make it a pocketing process after adding a square in the program to the dimensions you are wanting to achieve. Rough out all material until there is .005" to .010" left of material, and then add a second toolpath for that last pass. This pass can be half the diameter of your flat endmill, or half of that half. For example; 1/8" flat endmill would have a stepover of half, being 1/16" or .0625" stepover, or half of the half would be 1/32" or .03125. Then feed it fast. Your 125 in/min could work, or you could increase that to 150 in/min, or even 175 in/min.
Note: this will not make your surface finish look polished. Some light sanding may be required with high grit sandpaper or even a brillo pad. 440 grit may do the trick if you are looking for a more polished surface finish. But I still don’t know what it is you are trying to accomplish here by not going all the way out across the whole part, and only running in this squarish area that you made.
I hope this helps and if you got anymore questions, don’t hesitate to ask.