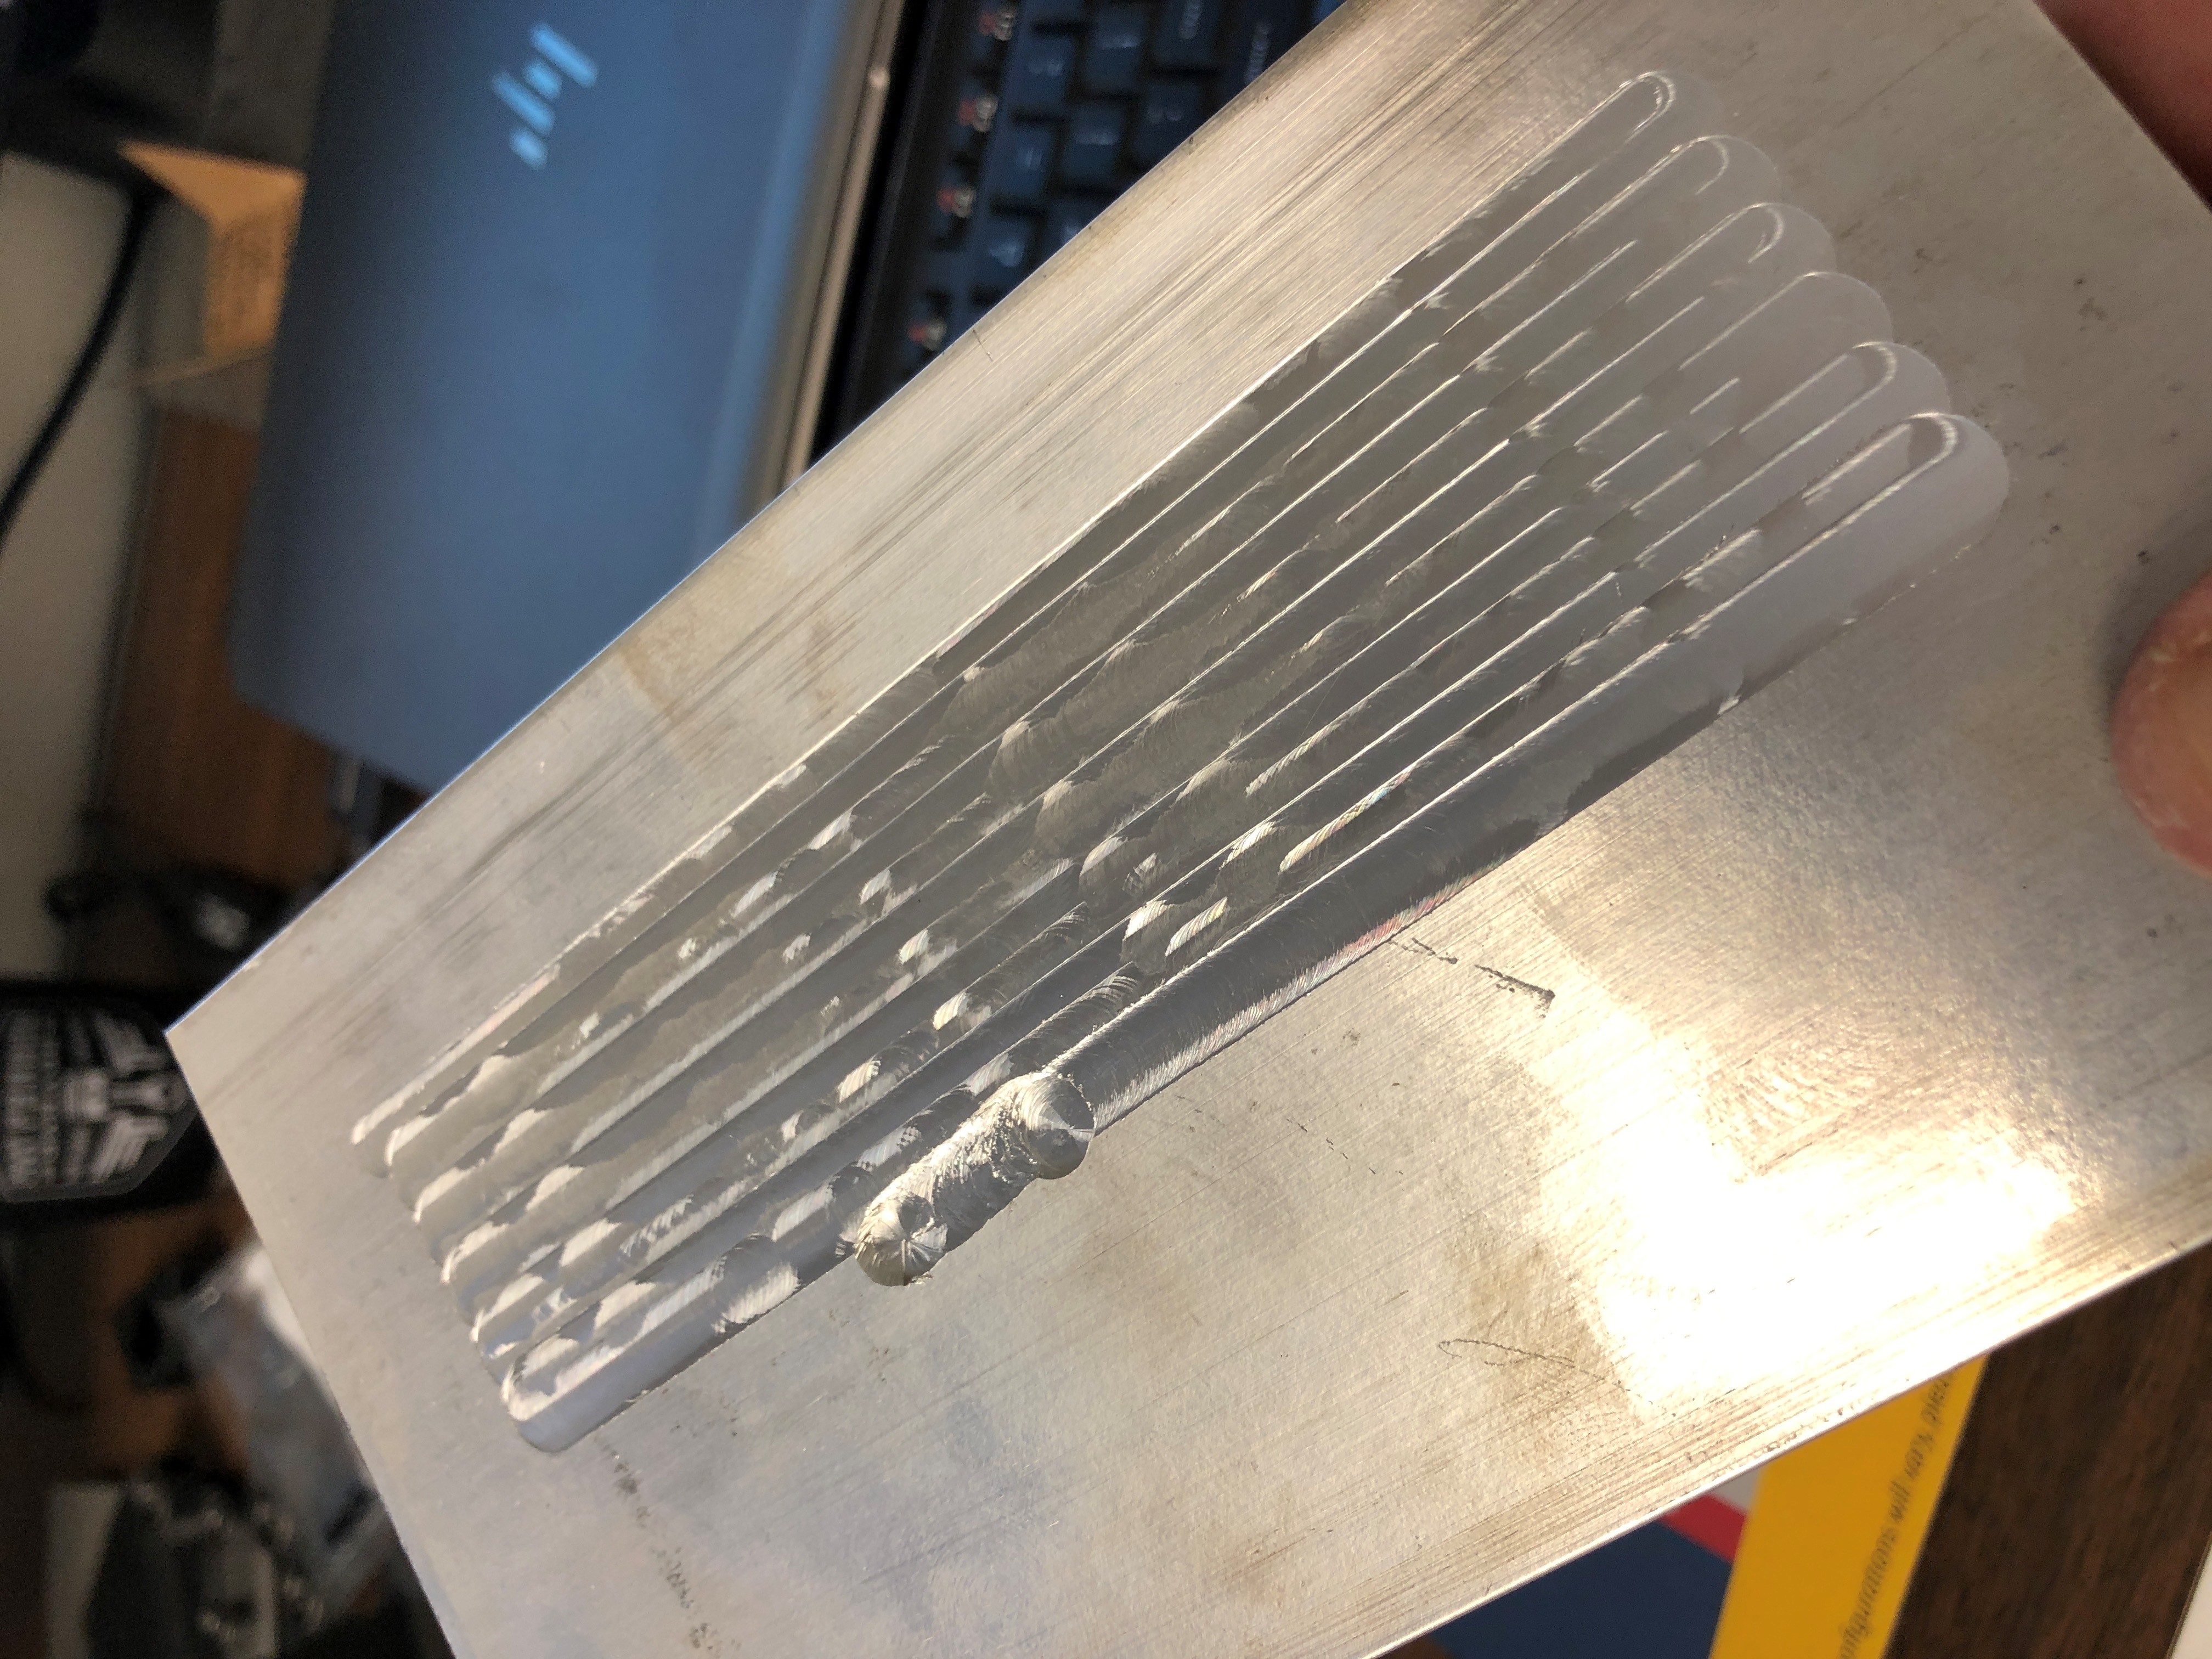
Newbie here. I’m using a Shapeoko 3 XXL. I’ve been doing quite a bit of research about speeds and feeds when it comes to machining aluminum, but my first attempts seem to run pretty well for about 15 seconds or so… Then the end mill seems to get sucked into the material. I’m using Inventor CAM (basically Fusion 360) to create my toolpaths. I used face and pocket operations in the pictures shown. For both of which I’m using a 1/4", 3-flute, TiCn coated end mill at 16000 rpm, with a 48 in/min feedrate, .015" DOC and a .125" stepover. I got these numbers from Winston Moy’s video that talks about cutting aluminum on the Shapeoko.
As I said before, it seems to run just long enough to slightly build my hopes and then the bit will get sucked into the aluminum over 1/8". Any tips would be greatly appreciated.
You really need to make sure the collet is pretty tight.
Also might be worth starting above the material if you have any deviations on your wasteboard or the surface of the aluminium.
I’m cranking down pretty hard when I tighten it. The bit doesn’t seem to come out of the collet when this happens, but I’ll make sure that I get it as tight as I can.
I thought the facing operation served the purpose of making sure everything was flat, but maybe the deviations cause it too cut much deeper than the .015".
Take smaller DOC on the facing until you know it’s flat, then you can have at it. I’d go with a faster feedrate too. You’re barely using any cutter when you’re facing. Can you share your file?
Check this page. These people are very helpful. It took me over 2 months of frustrations and few end mills to lose the fear of cutting aluminum on my SO3. They are very helpful and fast if you ask for help.
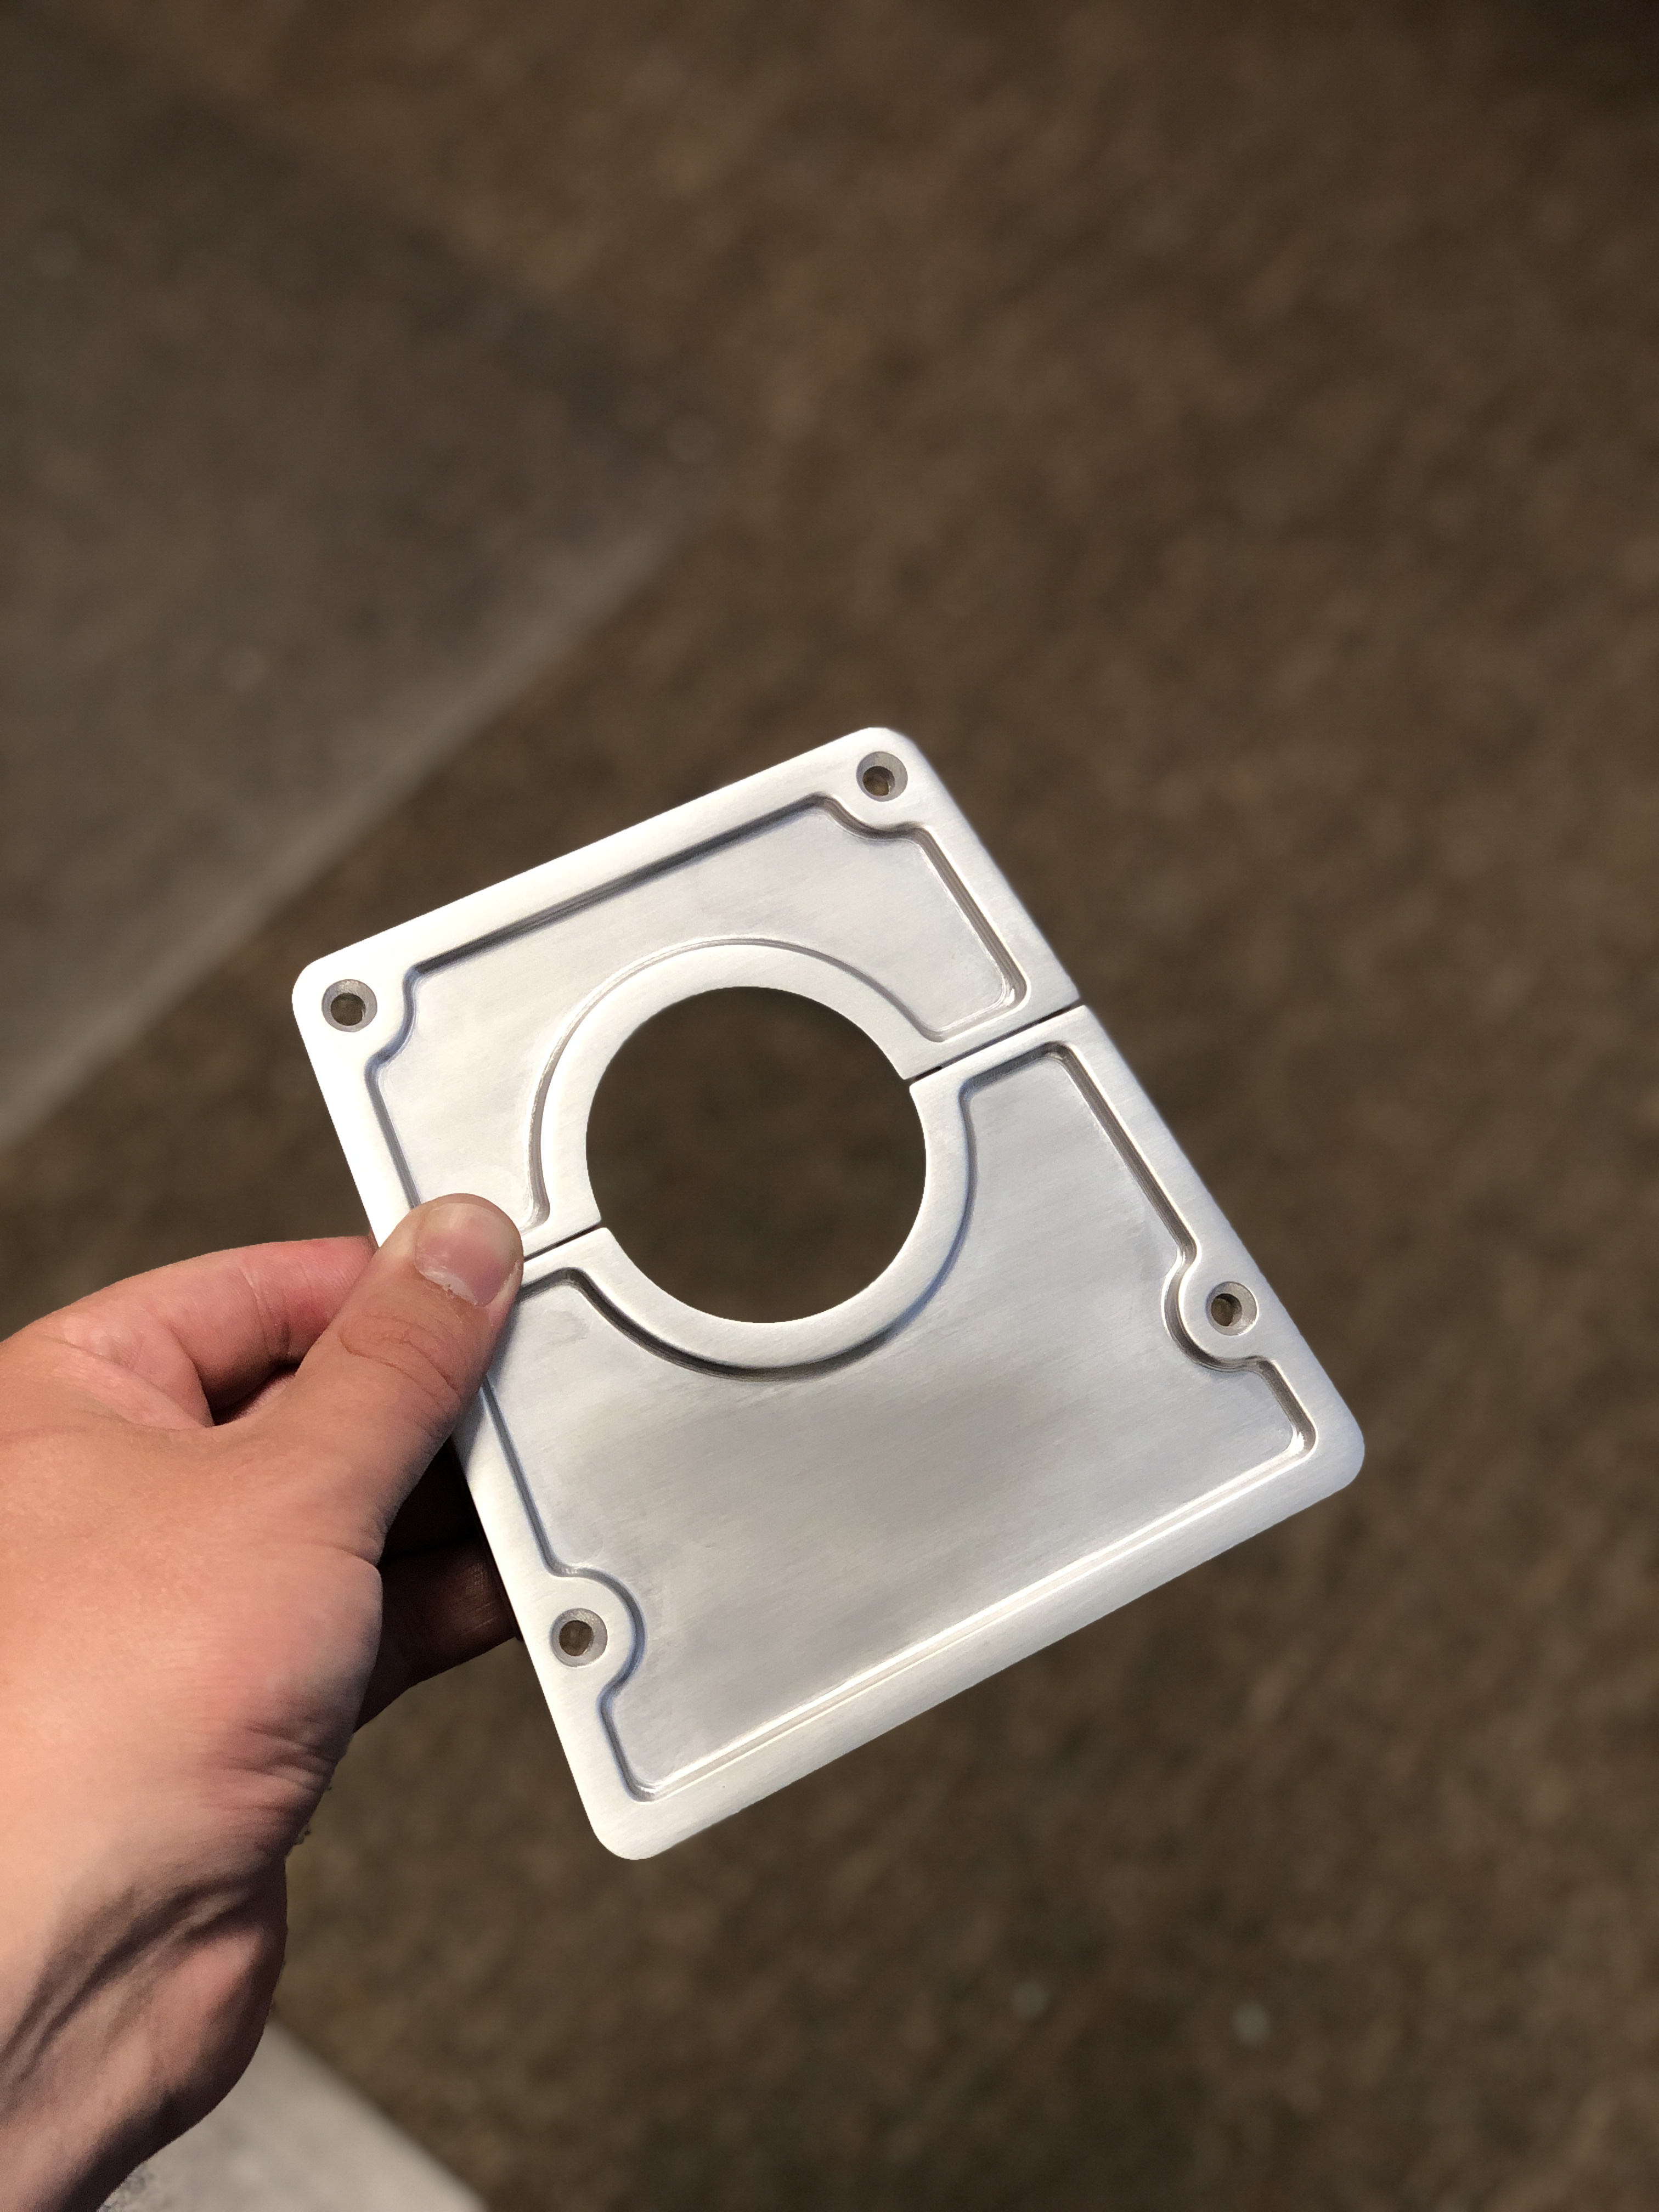
Looks like a lot of this thread got lost in the recent server issue. @Vince.Fab here is the final product. Thanks everyone for your help and tips. Just a little more detail work until it will be installed for good. Steering column bezel for a coyote swapped Bronco that our shop is building!
I ran it through our parts tumbler for a few hours followed by a bit of sanding with 400 and 600 grit. Then I hit it with red scotch-brite pads to get the brushed look.