I cut my first aluminum job today. I’m pretty happy with the results. Any comments, suggestions would be appreciated. I’ve uploaded two videos to YouTube:
Is this what chatter sounds like? It’s 1/8 cutter, RPM was 8000, feedrate was 16 in/min, plunge rate was 8 in/min, step down was 0.01 inch. Still, it was a success. I might use a little less fixturing wax next time. It looked like I killed a Smurf after afterwards. There was a lot of cleanup. Here is a tip, adhesive remover like Goo Gone (I used an off brand called “Duck”) is great at removing the wax residue that fixturing wax leaves behind.
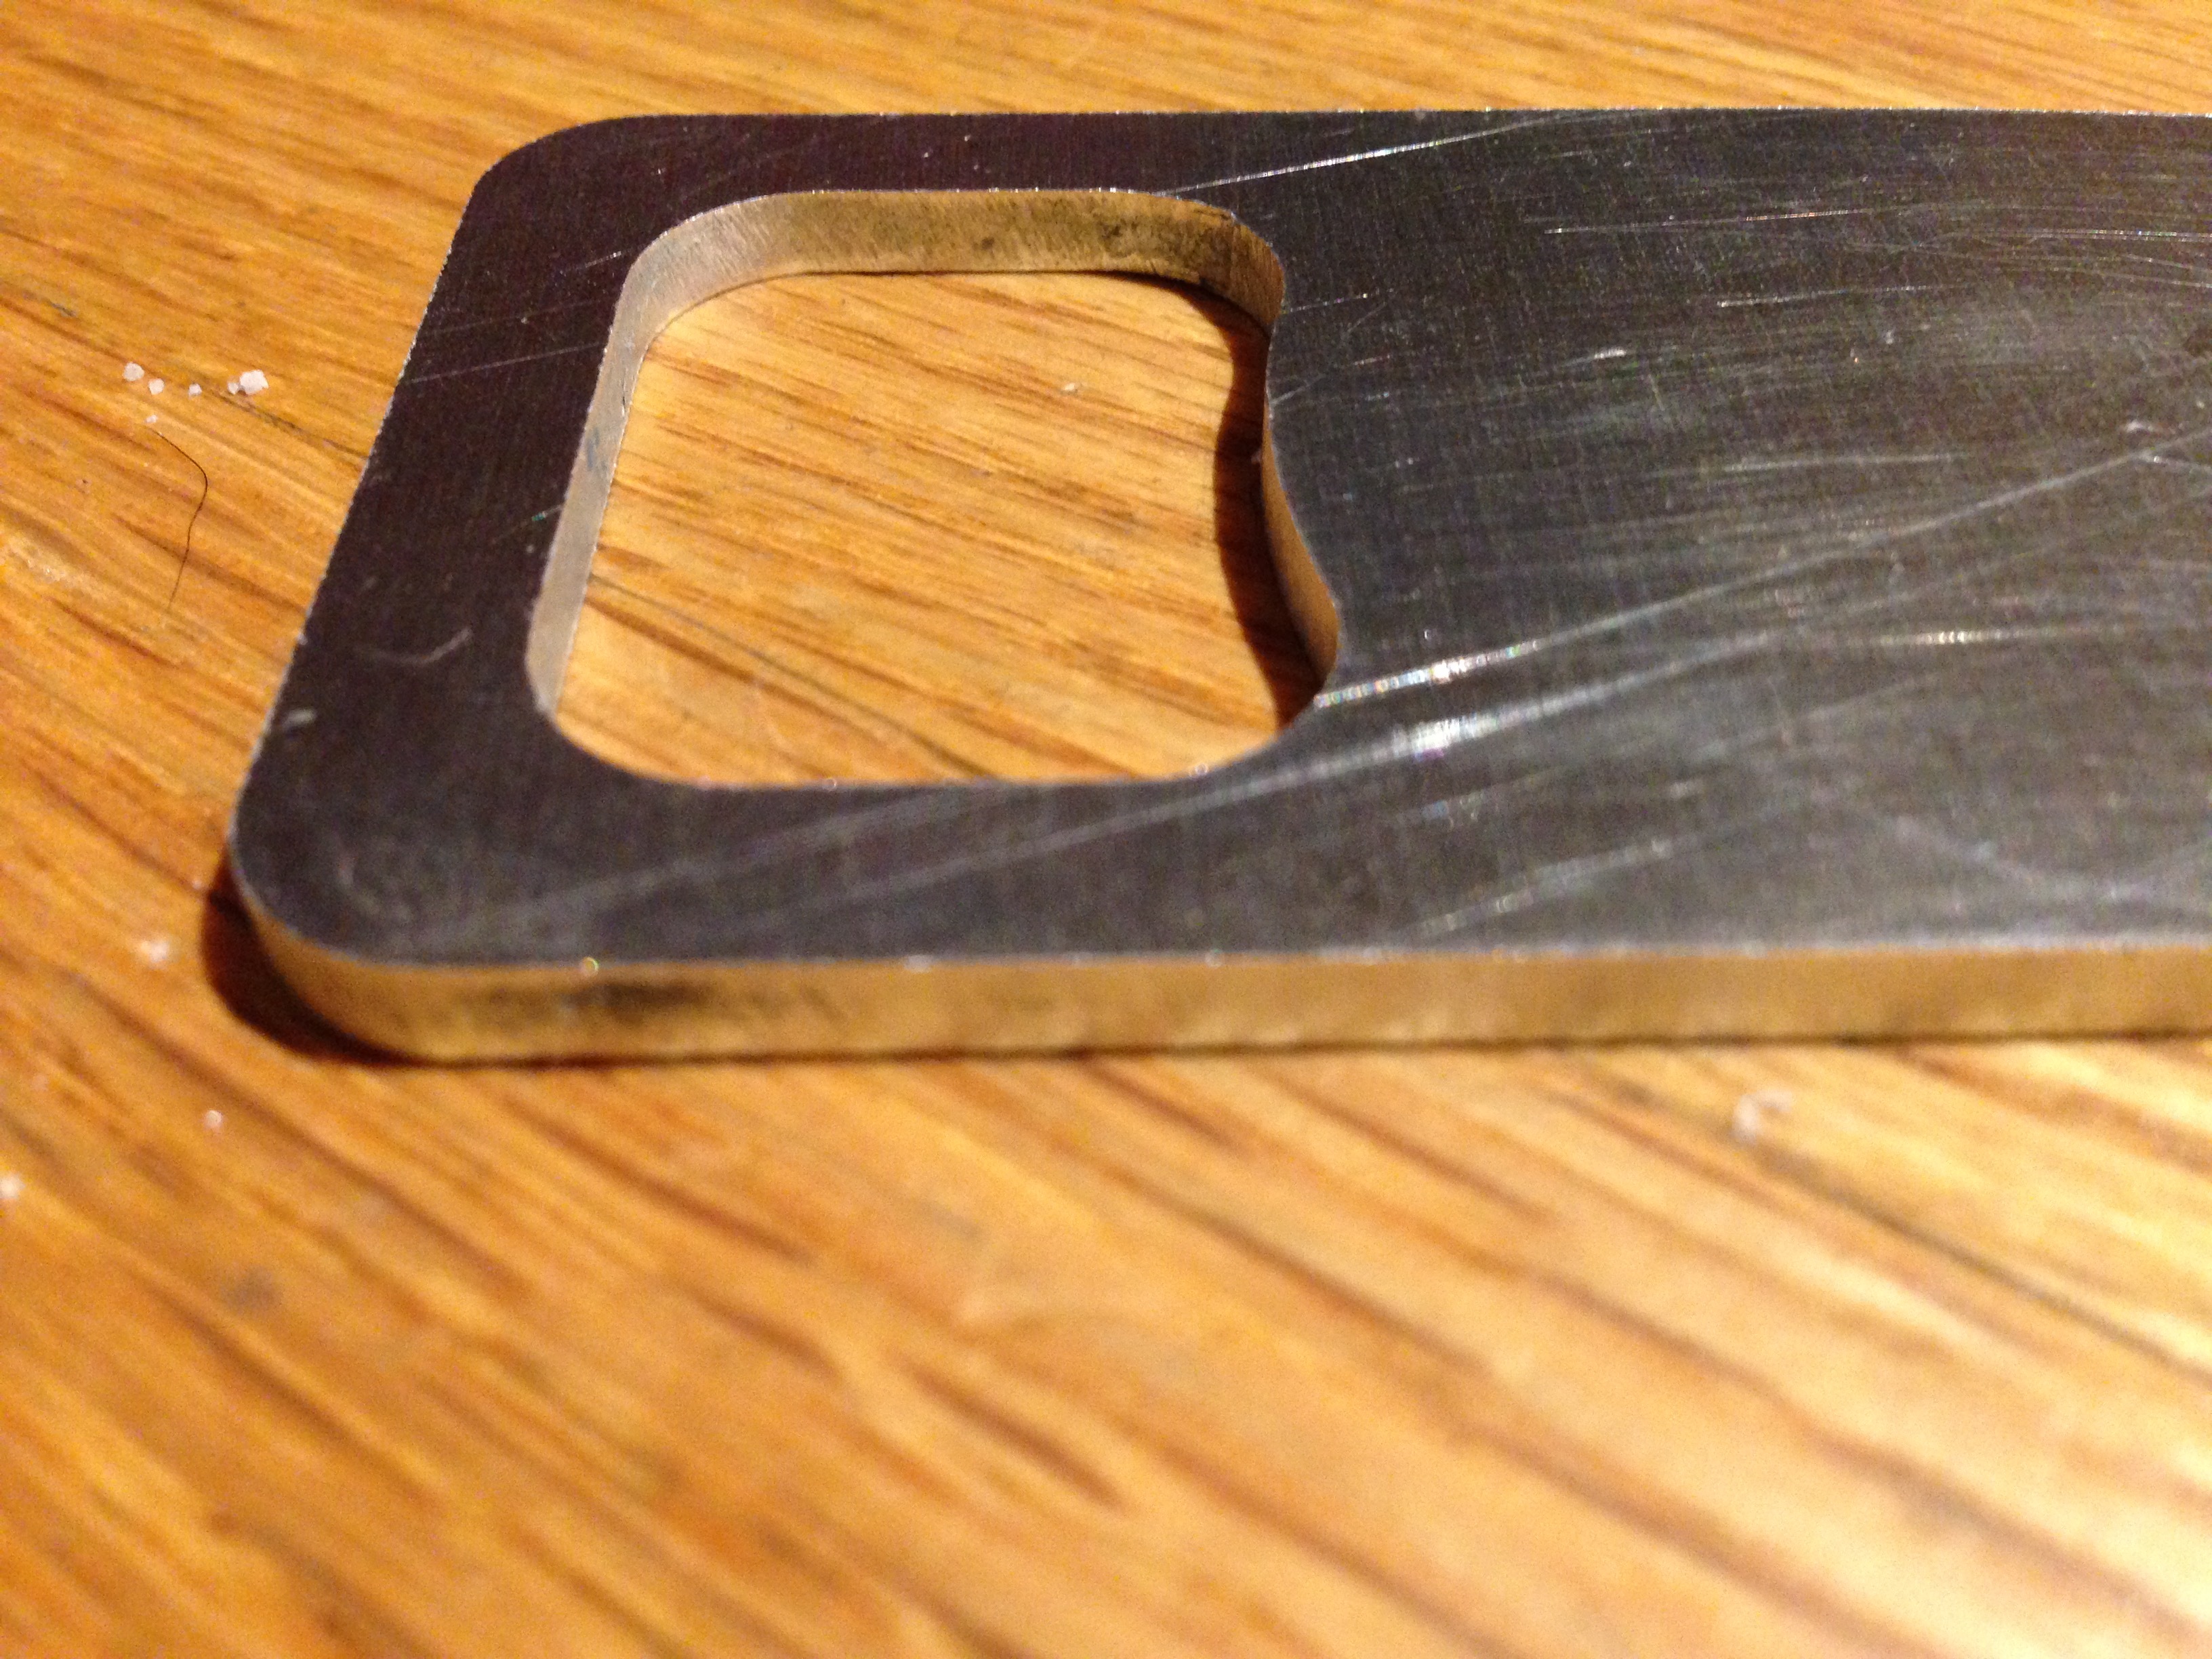
Great First Aluminum Part-
Your feed rate of 16 ipm is aggressive, so it was probably loud, but hey,…it worked.
I usually cut aluminum at a feed of 8 ipm with 4ipm plunge with .01 DOC @10k rpm.
Thanks for posting your aluminum cutting experience video!
When cleaning my machined parts of the fixturing wax, I re-heat the part and use a cloth to wipe the wax off while its hot.
Caution, its hot.
I’ll have to try the goo-gone on my “Smurf Guts” next time.
-Apollo
In answer to your question about the MDF wasteboard still being usable with stickytape, I haven’t tied it yet. This is what the board looks likes after a few passes with a hot air gun and the scraper attachment. It cleaned up nicely and if feels the same to the touch as the board that didn’t get the machining wax treatment. I’ll just have to try it and see. If it doesn’t then that will be my excuse learn how to resurface the board. I picked up 5 spares from the Carbide 3D store so I have replacements. At some point in time I want to try making my own wasteboards.
I did search the forum looking at what feeds and speeds other people had used for aluminum. I generated a toolpath using much more conservative settings, but the estimated runtime of that job was 48 minutes. I guess I’m not a patient person, so I played around with the numbers in GWizard and came up with settings I used in the video. Runtime was 13 minutes, so I went with it. I figure if I break a bit, I break a bit, as long as I have a spare. It’s a learning experience and I have a lot to learn.
As far as the Goo-Gone, you probably still want to heat the part and remove the bulk of the Smurf guts with a cloth, but it is good for a final cleanup. If you are patient (which again we have determined I’m not), and leave it on long enough it will do the job.
Im the least patient person I know, so I hear you!
A couple other observations from the video:
The cutter may be hanging out farther than needed.
Its hard to tell in the video, but, when cutting thin materials, that dont require deep passes, you only need the tool to extend out as long as needed.
Im going to do a test comparing wd40 and a synthetic coolant, vs cutting dry.
I cut dry because its easier to cleanup, but Im curious as to the difference to the 2 common coolant options at this scale
I be curious to see the results. I thought about using some WD40, but didn’t want to deal with the mess and I think MDF doesn’t like oil. It’s hard to tell from the video, but I thought the cutter was only sticking out an inch. I’m pretty sure that’s what I told GWizard. I think it uses that setting in it’s deflection calculation. I do want to design and 3D print a fan that sits on the collet nut and blows the chips out of the cut. I did periodically go in and vacuum up the chips, but I like the idea of a fan.