Not so very long ago @Griff posted some photos of some firewood he had turned into beautiful things asking about the wood species it might be, here:
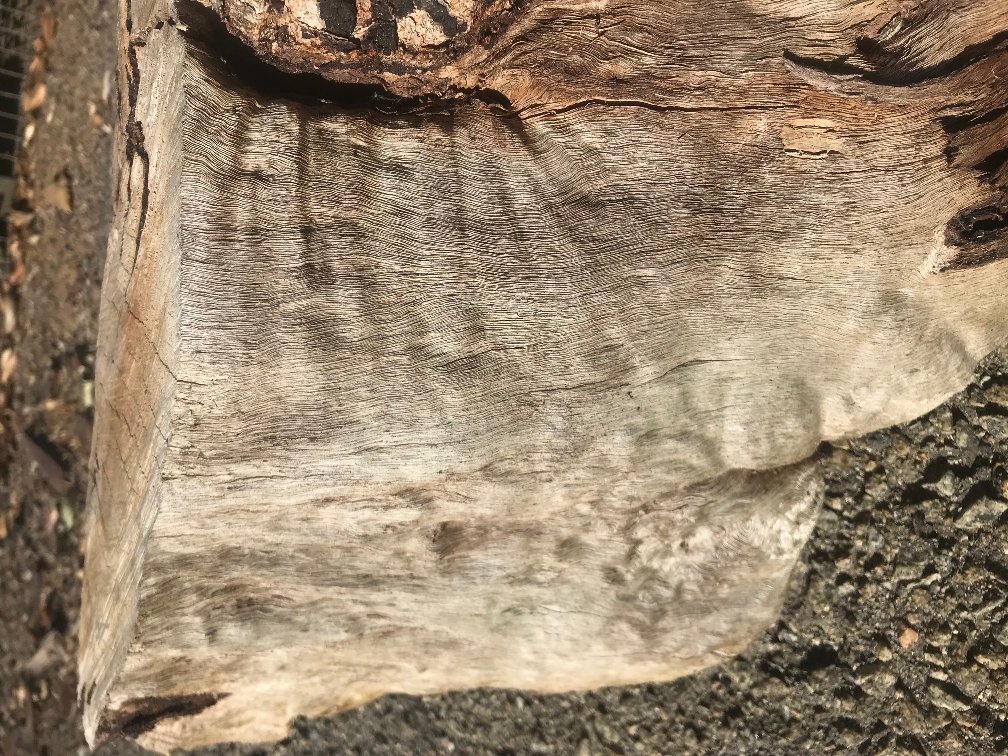
So I started looking at this piece of “firewood” laying in the yard:
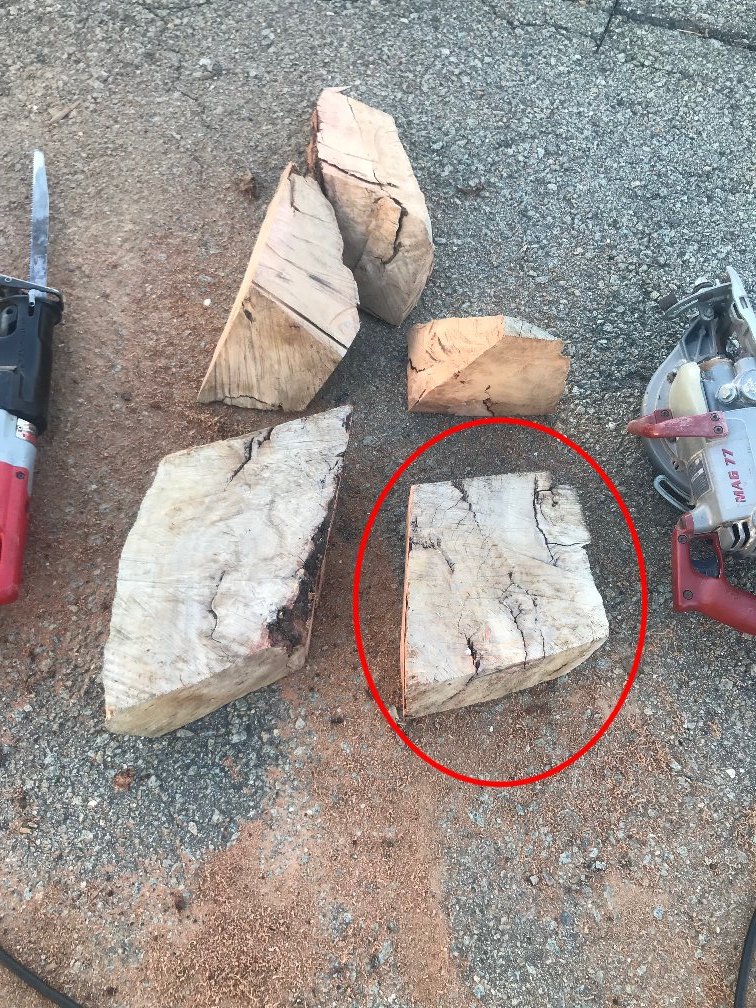
Trying to decide what was locked inside I started by cutting into pieces that would fit on the ShapeOko and decided the circled piece might have something interesting in it. Note: No bandsaw here @Griff:
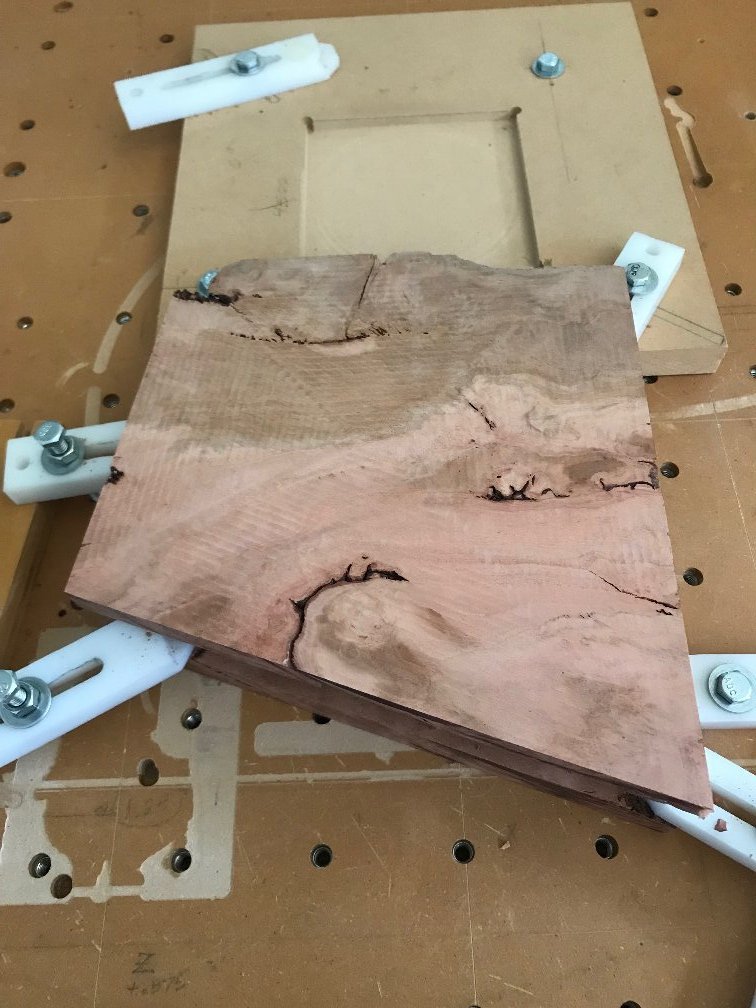
Here it is ready to run through the ShapeOko brand planer. I did cut reliefs around the edges for easy clamping:

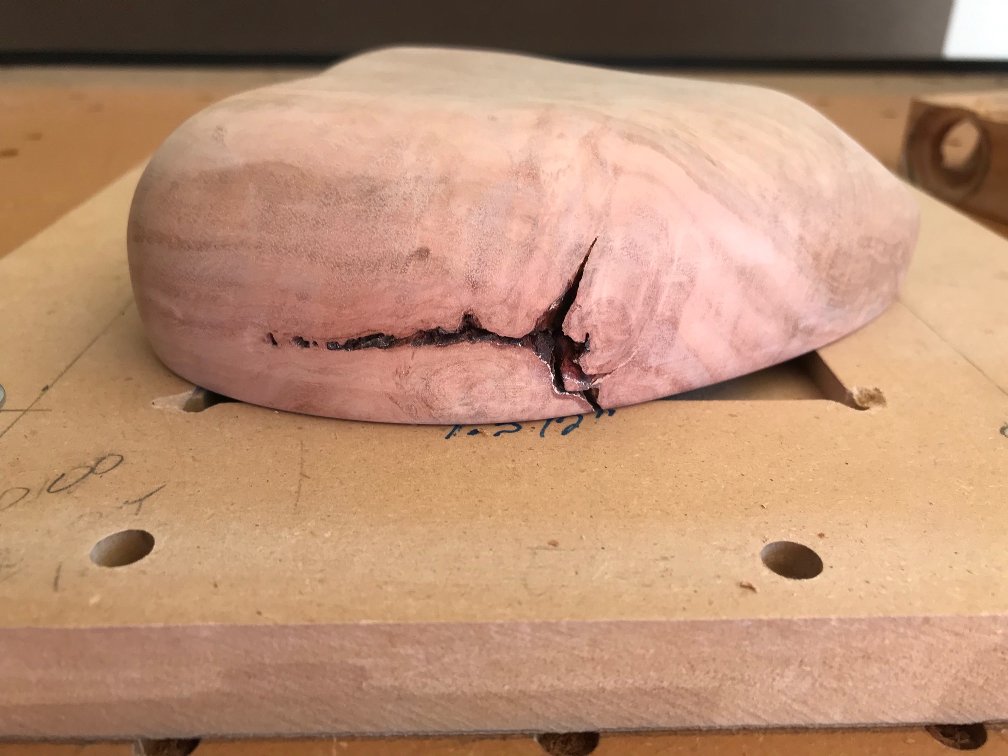
And after the smoothing passes on both sides were complete:
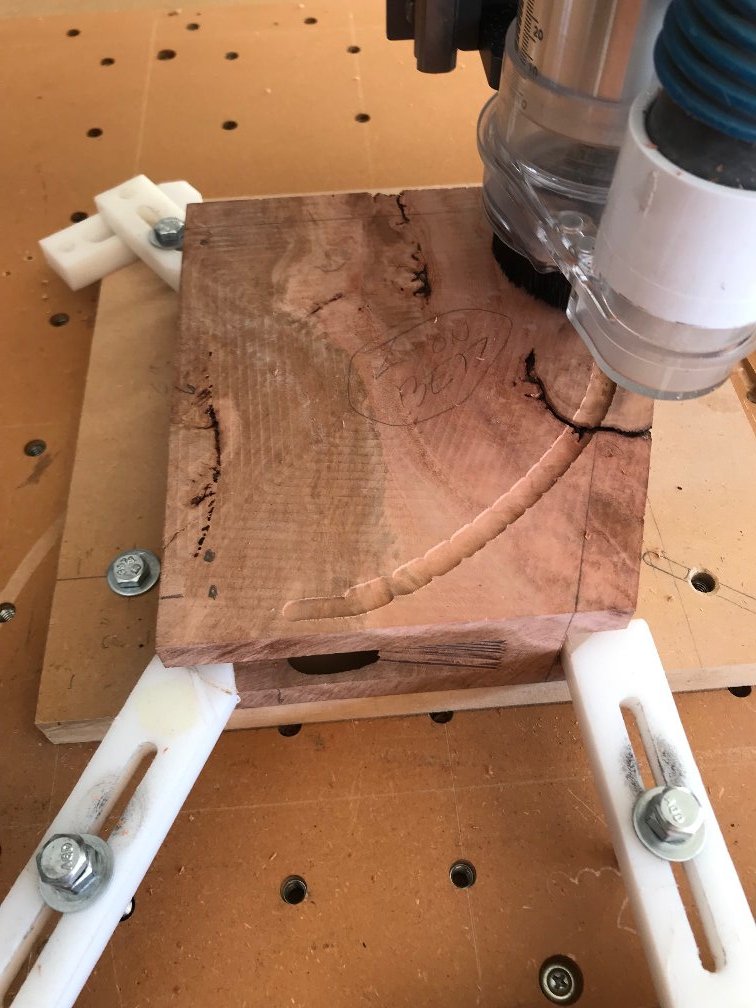
It’s pretty rough with the cracks and not knowing how deep they went and what other defects might be inside, but plunging (pun intended) ahead with the roughing cut showed potential. The locating pin holes and tabs are visible for the second side as well:
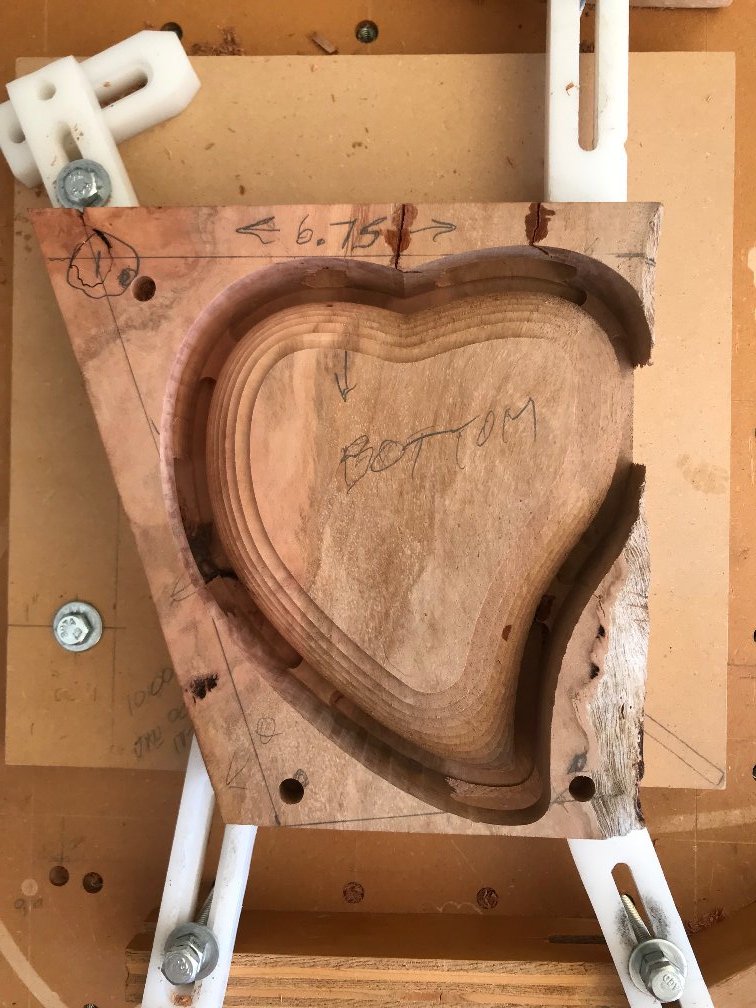
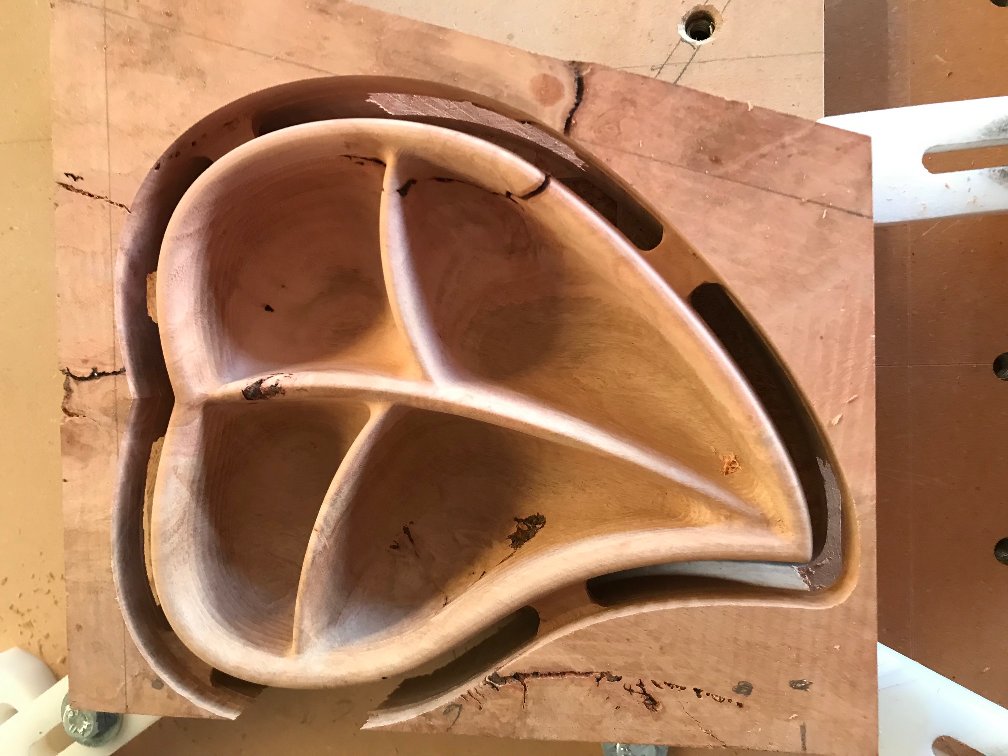
After the finishing pass using a 1/4"ball nose, looks pretty good:
After drilling the locating pin holes and flipping, the user side is started:
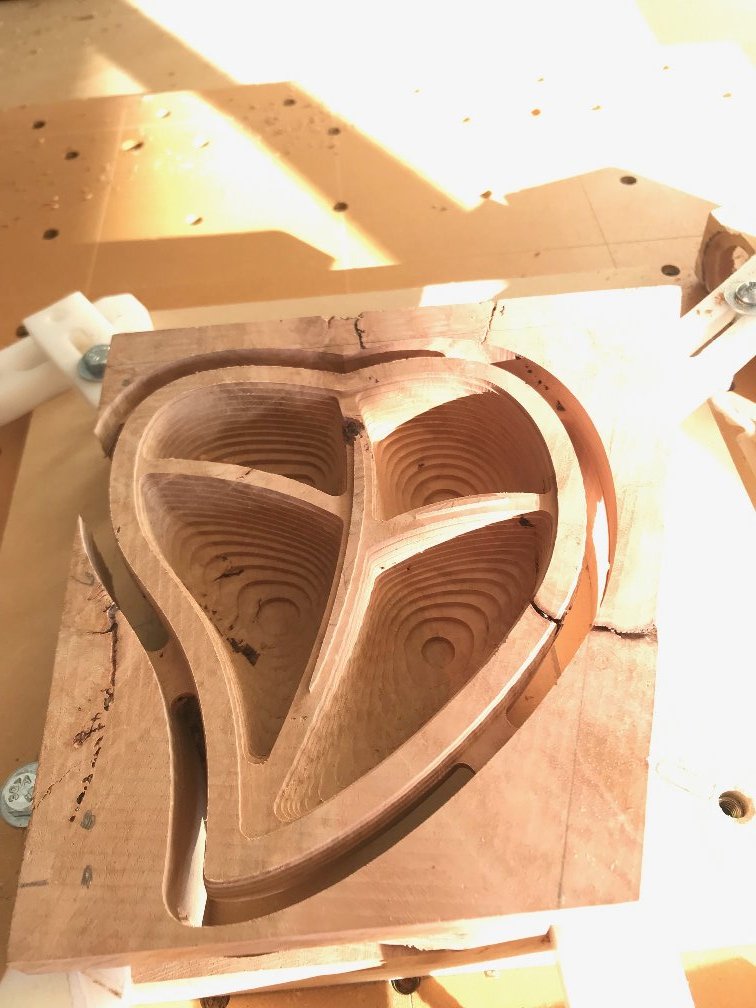
Roughing cut complete using a 1/4" end mill, the tabs worked great!:
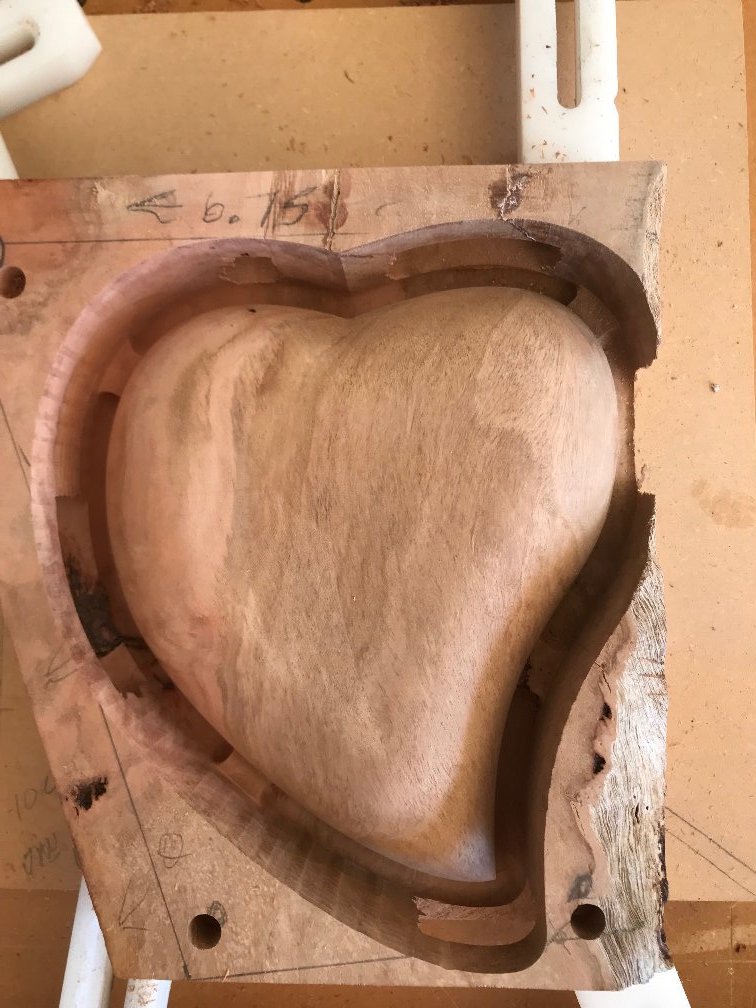
And after the finishing pass, again using a 1/4" ball nose, and a couple of note below:
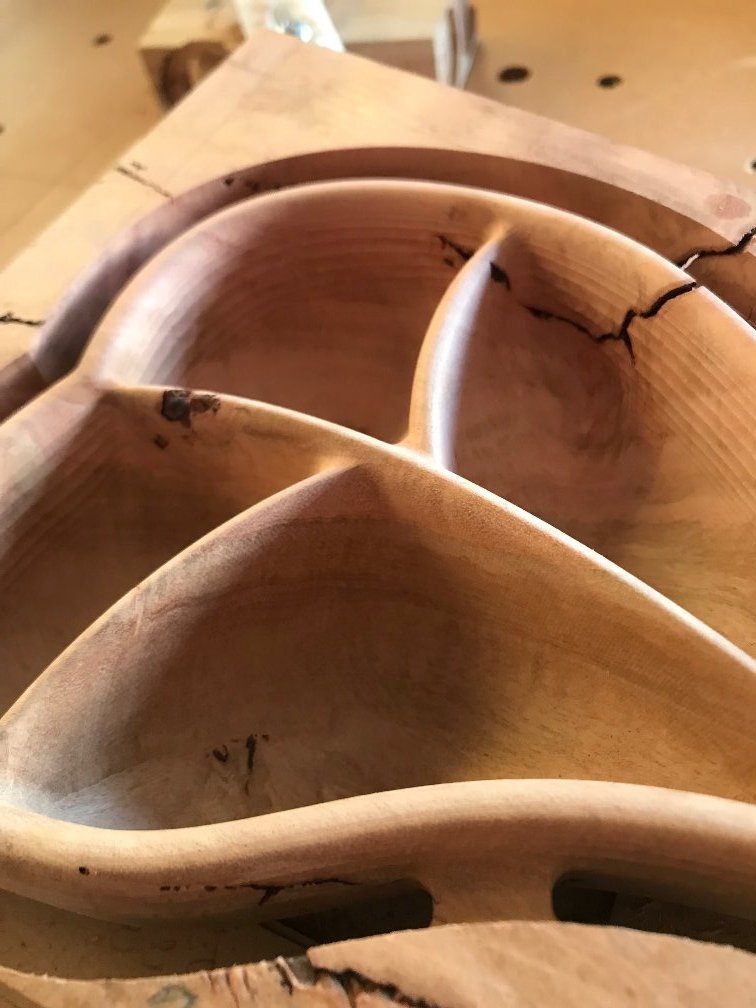
The voids turned out a little worse then anticipated, but they will be able to be filled with epoxy, probably tinted red to match the finished wood color. More importantly, which I’m sure the steely eyed machinists noticed the cusping on the concave surfaces on the inside edges. The stepover for the finishing pass was set to .015, which was great on the convex surfaces, but inadequate here. In hindsight, setting two vectors one on the top centers and the other near the base of the cuts and creating a separate finishing pass with the stepover at something like .002 would probably have removed most of the cusping. As it was, about 20 minutes with some 220 grit solved it. If only @Julien would invent a sanding process for these areas, that pain could have been eliminated too.
In any case, masked off the backsides of the voids, used some hot glue to build up a containment area and filled them with epoxy, sorry, forgot to take a picture. After a few minutes with 220 and then a once-over with 320 and so far only one finish coat, and you have this:
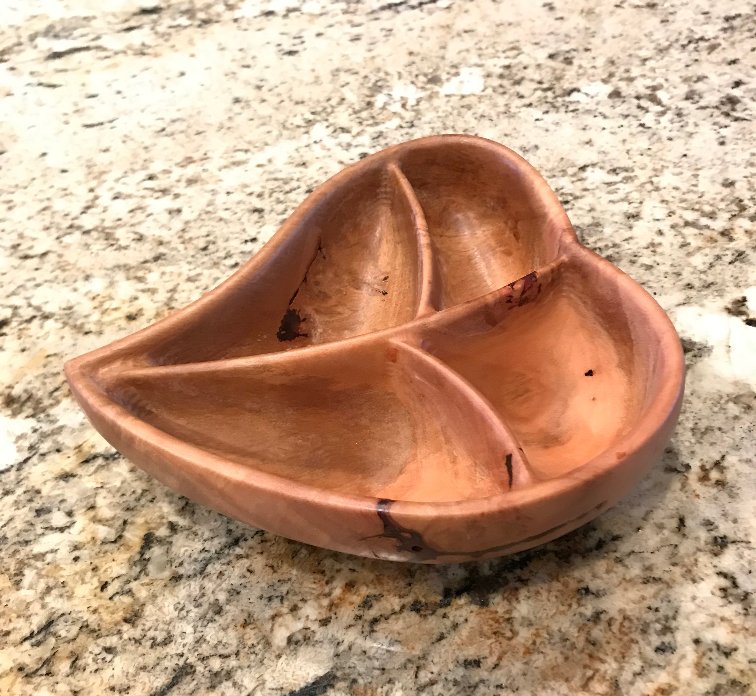
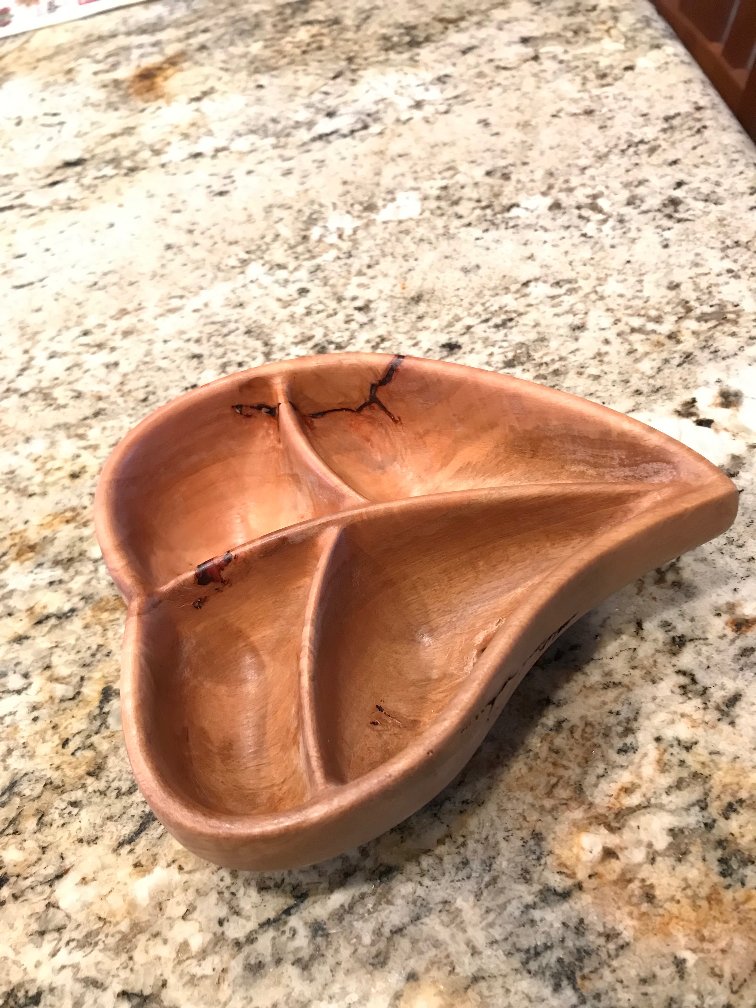
Very satisfying indeed! Can’t help but wonder what else is hiding in that stack of firewood…

 like this, there will be separation and I’ll stop and fill with superglue, works like a champ! However, for some of the larger cracks it’s just not worth using superglue as it gets expensive compared to epoxy albeit, it’s much quicker.