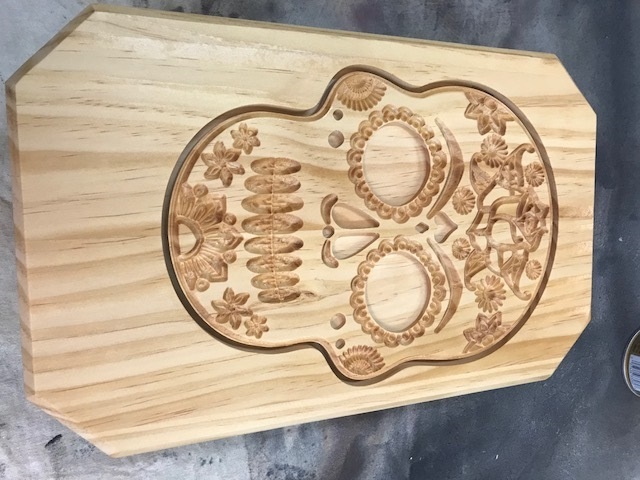
I was surprised at how easy this was. This was my first attempt at carving. I actually used a v bit that I had found in my router drawer and carved this into a piece of pine. The image was just a google image, imported into inkscape to vectorize then into CC for v carve tool paths. I thought it turned out really good. I was really impressed by the detail that it was able to maintain.
I do have a question though. I used two bit for this and was unable to change the bit because of spacing. Is there a more elegant way to do multiple bits? Do I add a tool path way off the piece so that I can have clearance? Is there some function I am missing?
Carbide Create is pretty basic, but it does allow one to use multiple endmills rather nicely (esp. if one has a Nomad w/ its tool length sensor) — for a Shapeoko one has to either rely on depth collars for endmills, or export separate G-Code files for each tool.
I at least find myself drawing in additional geometry pretty frequently to achieve a given effect.
Great work, but to also answer your question: Remember this is probably a new experience for you (making toolpaths etc). You are going to have an “oops” at some point, and it is far easier in the beginning to separate each toolpath into individual files, and just run them one at a time. When you do have a mistake, it will be easier to pinpoint and recover from that way. Its also easy to change tools in between running each file that way, just remember to re-zero your Z-axis at a minimum after a tool change.
That is what I ended up doing (separating tool paths). I even had to restart my computer in between and was able to use the existing zero offsets to start the second part of the job (pocketing and profiles with a square end mill instead of carving with the V mill.