I started a neighborhood monthly poker night several years ago, and surprisingly, the group has been going strong ever since. I just got a diamond drag bit, and I decided to make commemorative poker chips for the guys. The key here, for me, was to make them the same size as real poker chips. I am very impressed with the amount of detail I was able to get with this diamond bit.
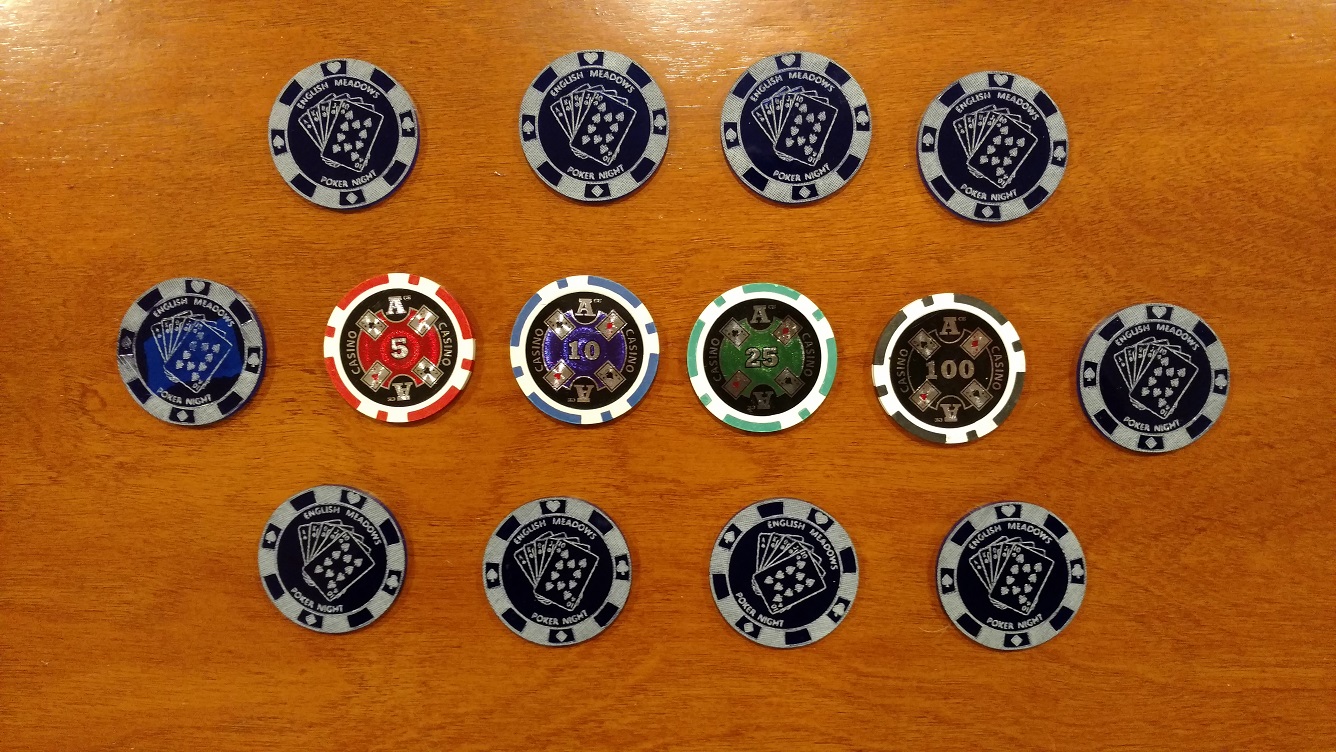
Here is a run of 6 poker chips on 1/8" blue acrylic:
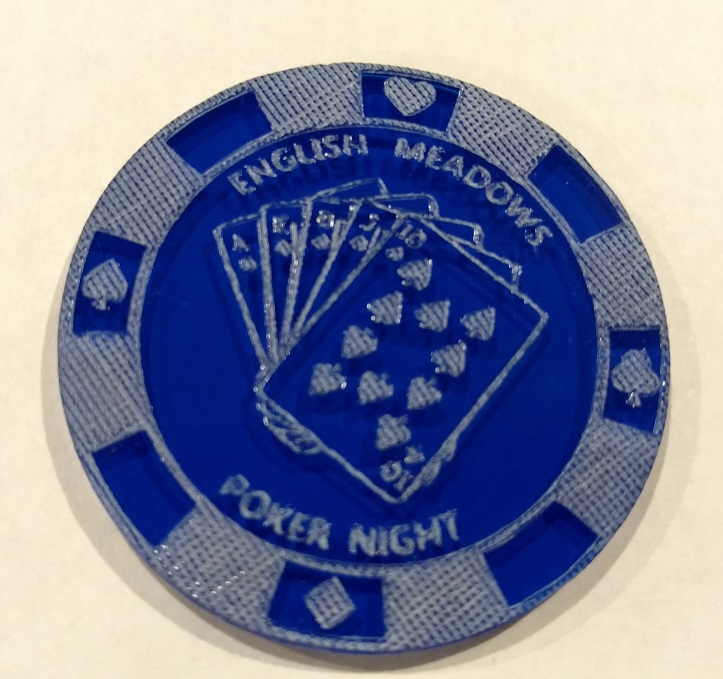
I think that the dragging bit itself is able to achieve a significant amount of detail. The issue I think you are referring to deals with the way that I chose to use it. Here is a close up of one chip:
The diamond itself makes a fine line, but I didn’t just want an outline of the letters, poker hand, etc., so I chose to use a cross-hatch fill method. I only did the fill method, as I didn’t think to do a second pass to trace on each vector line; that probably would have made each letter stand out more. The good thing is that the eye is much more forgiving than the camera, and when the chip is held at least a foot away, the overall design and lettering come through just fine.
Hi. At the time, I borrowed a friend’s Vectric VCarve program to setup the engraving (cross-hatch fill) and produce the g-code. As this is a drag bit, the router is turned off, so RPM is not used. Engraving is done at a constant depth, and you set the program speed (X/Y movement) after some testing. As this was done over a year ago, I don’t remember what settings I used.