Hello all,
First attempt at an inlay. Probably bit off more than I should have, but lots of lessons on this project.
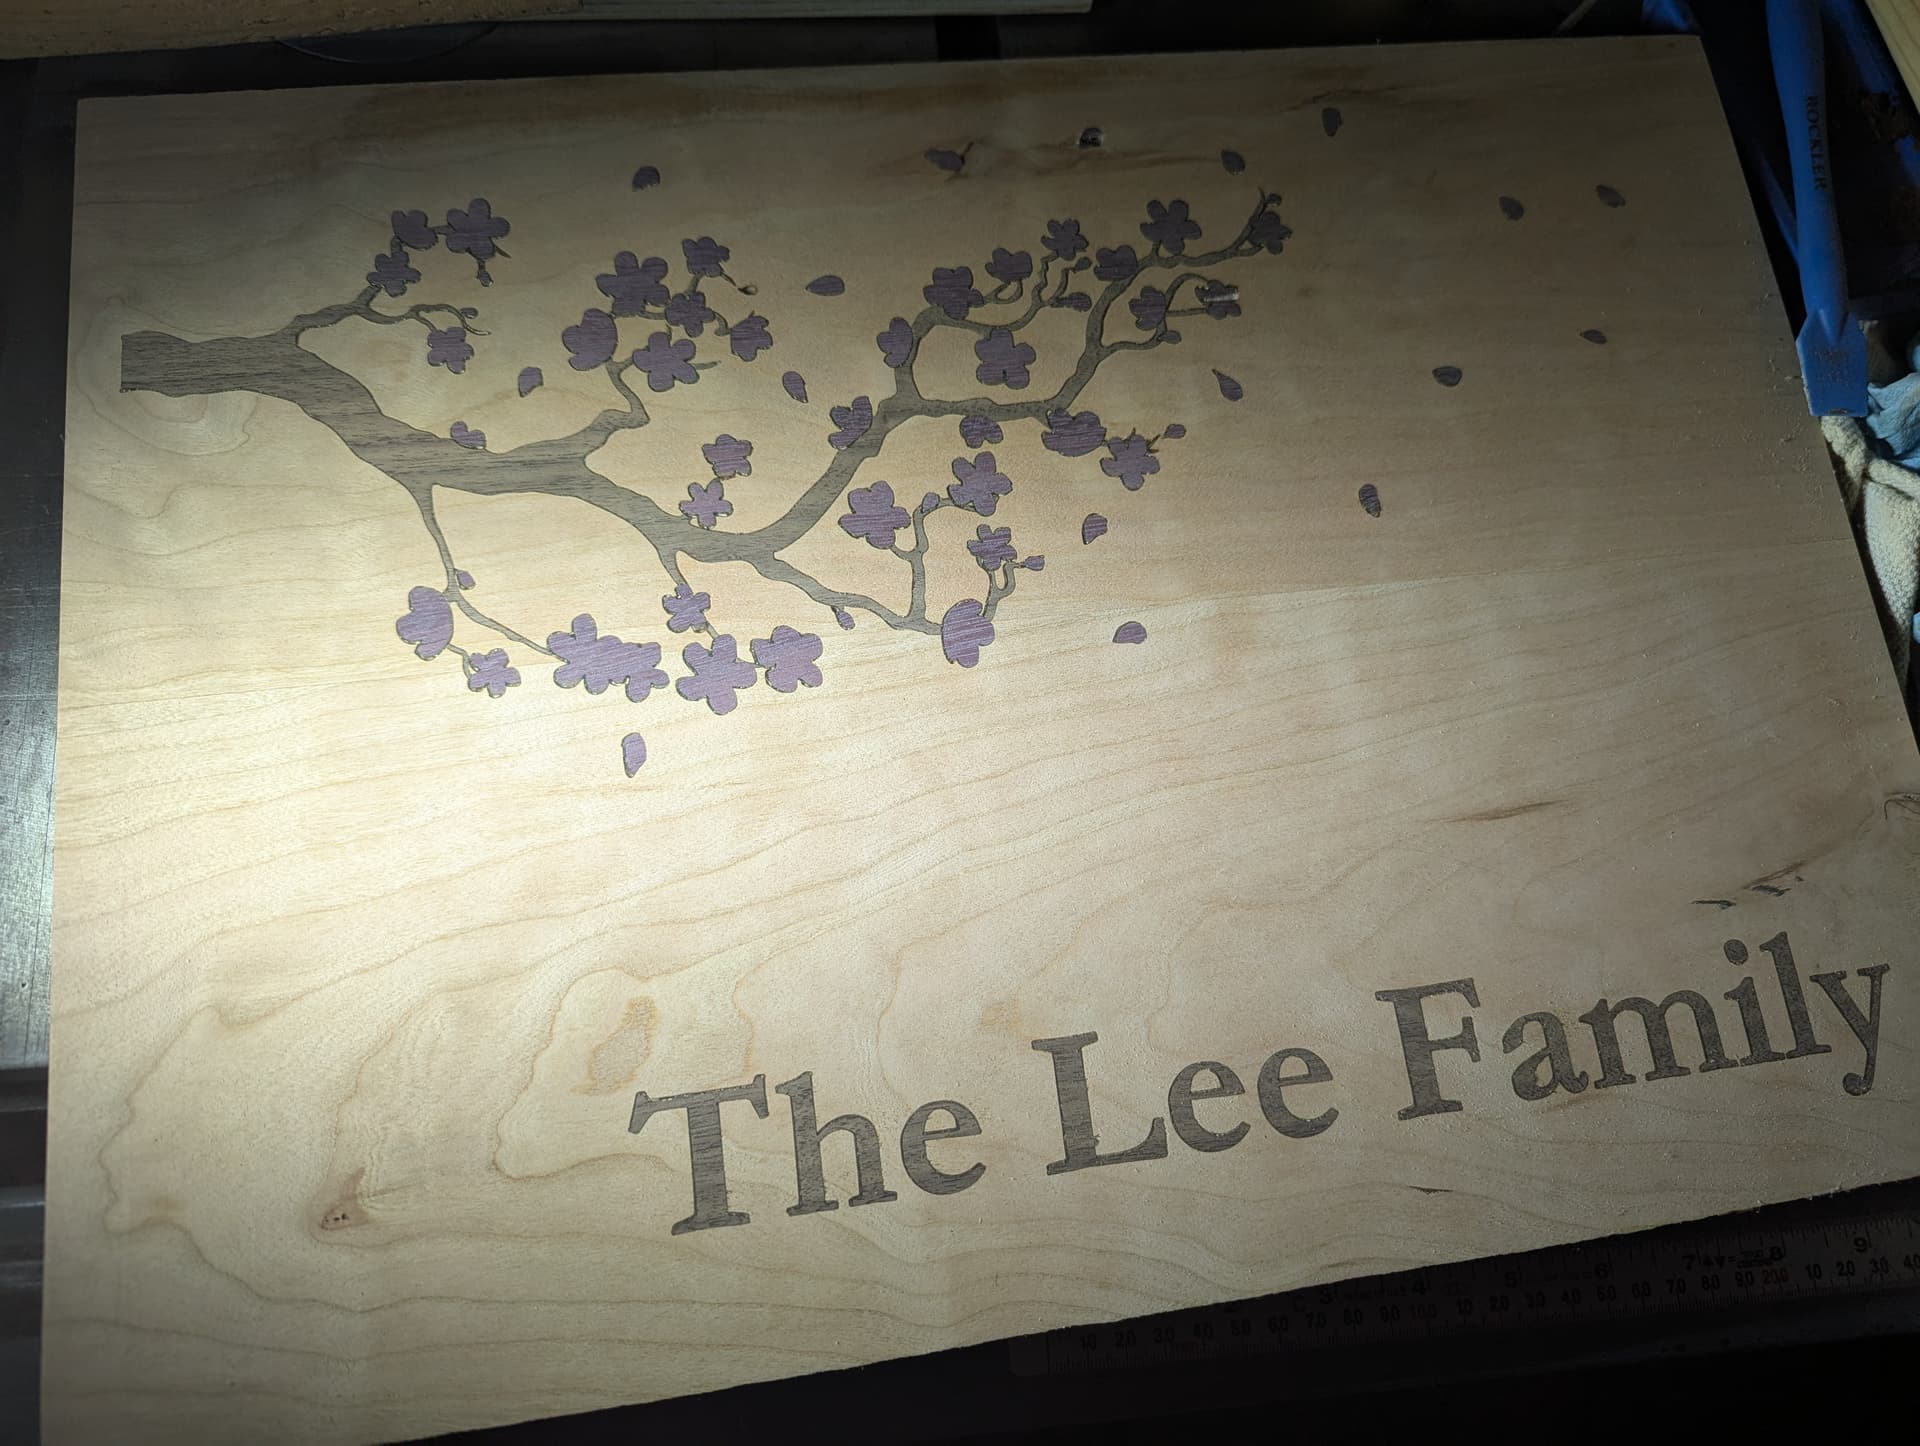
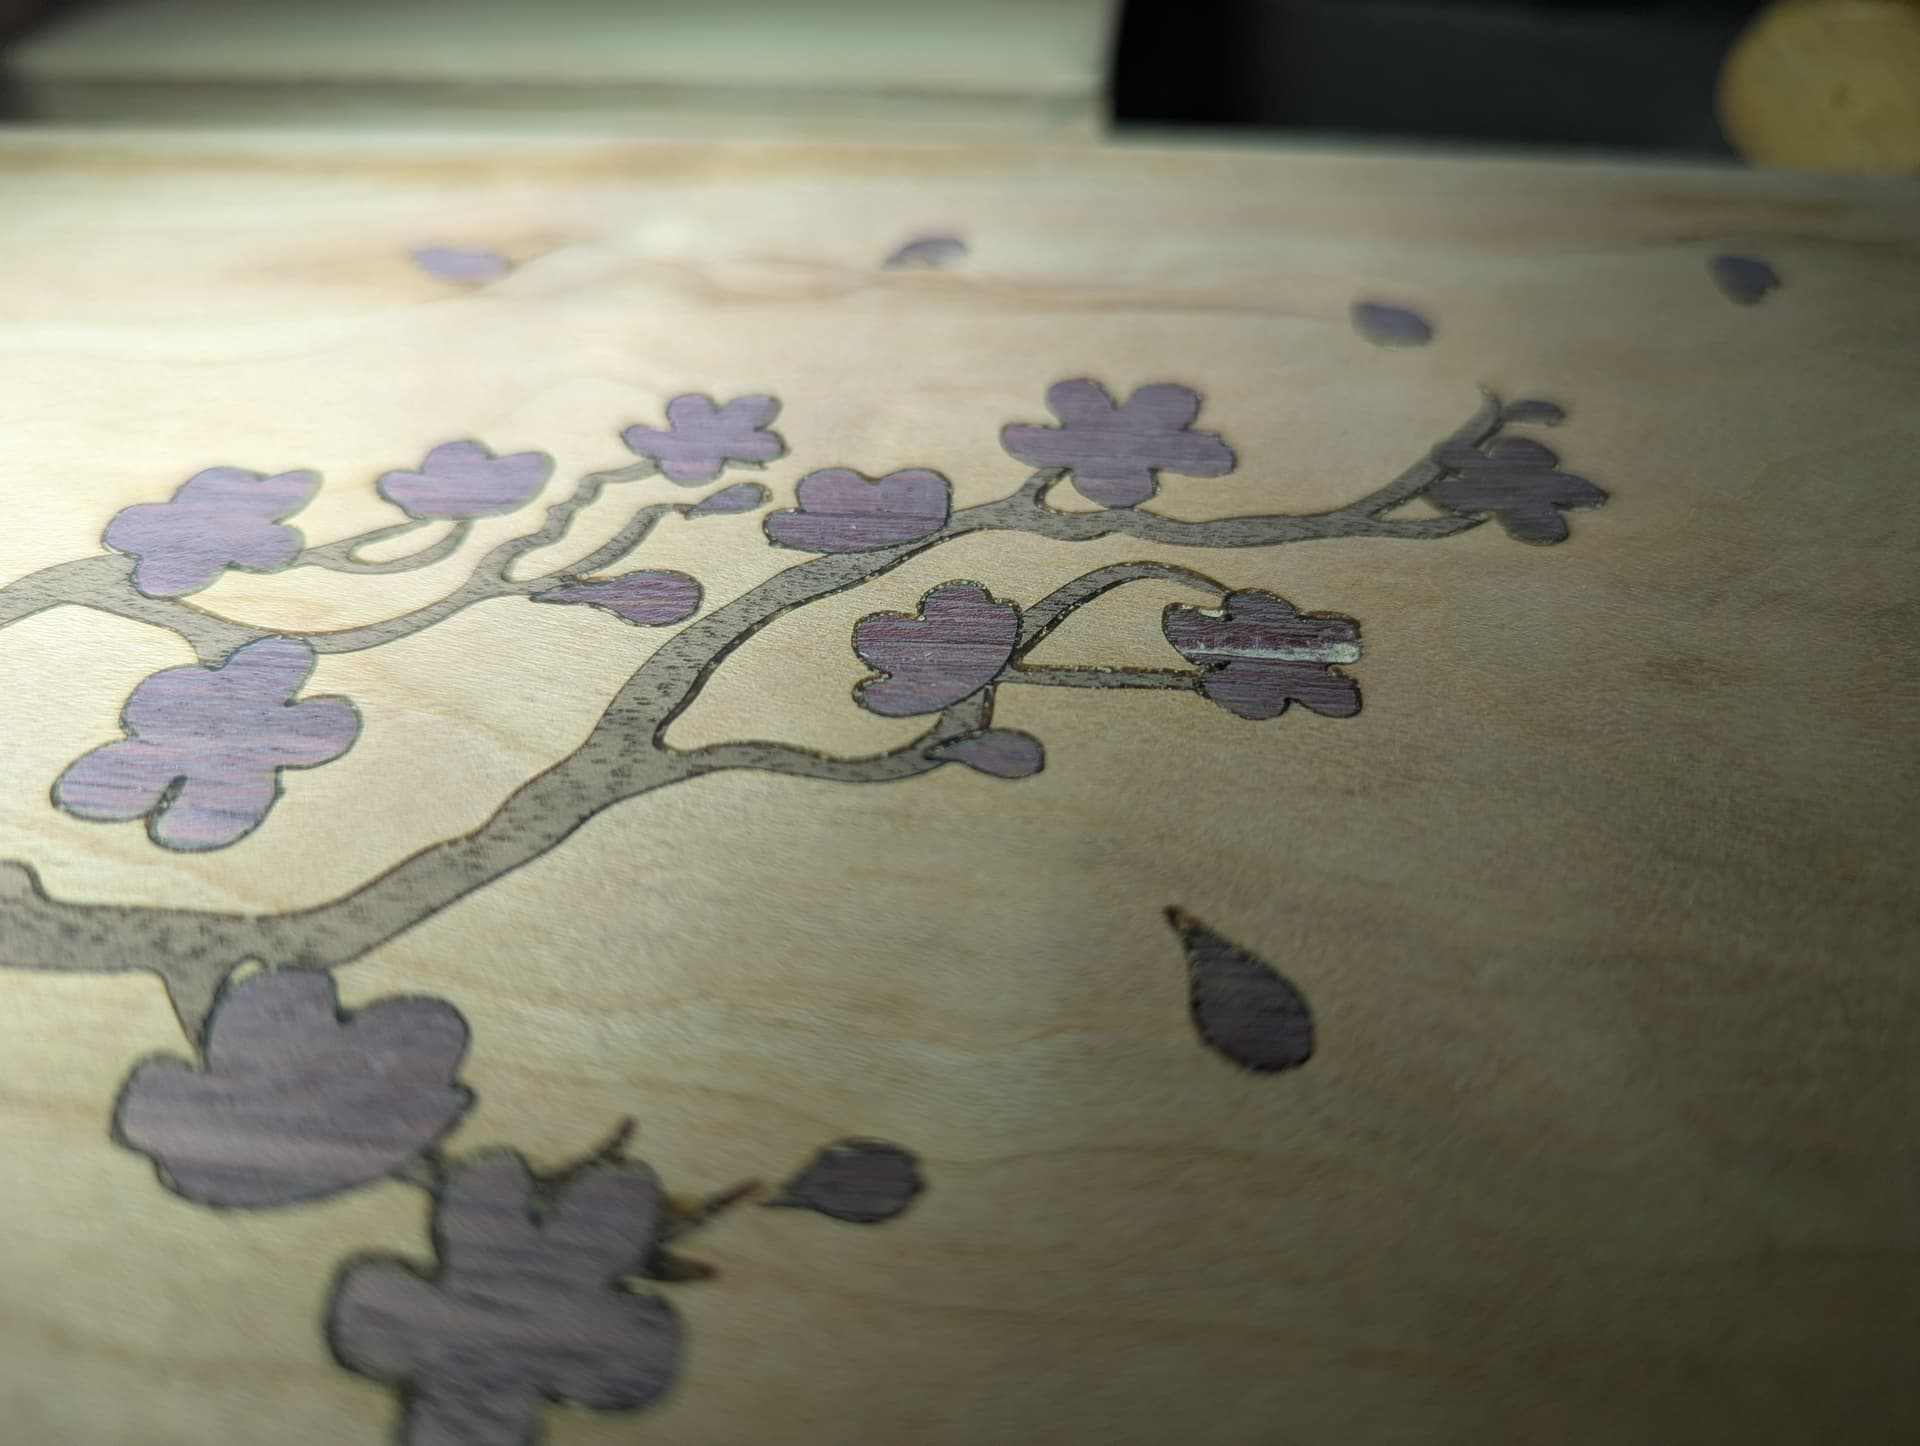
Friend wanted a cutting board, so I thought I’d toss one together and try an inlay. Traced an image of a cherry blossom branch in illustrator. Used Carbide create Pro with Shapeoko 5 and mostly this bit. First attempt was with a 60 V-bit but the inlay was too shallow and I was worried it was going to pop out, and resurfaced it all.
The artwork came out looking a bit like a grade-school art project since the details translated well…I was trying to avoid just Ctrl-C, Ctrl-V and having 50 of the same leaves on the branch, but I think that would have been better.
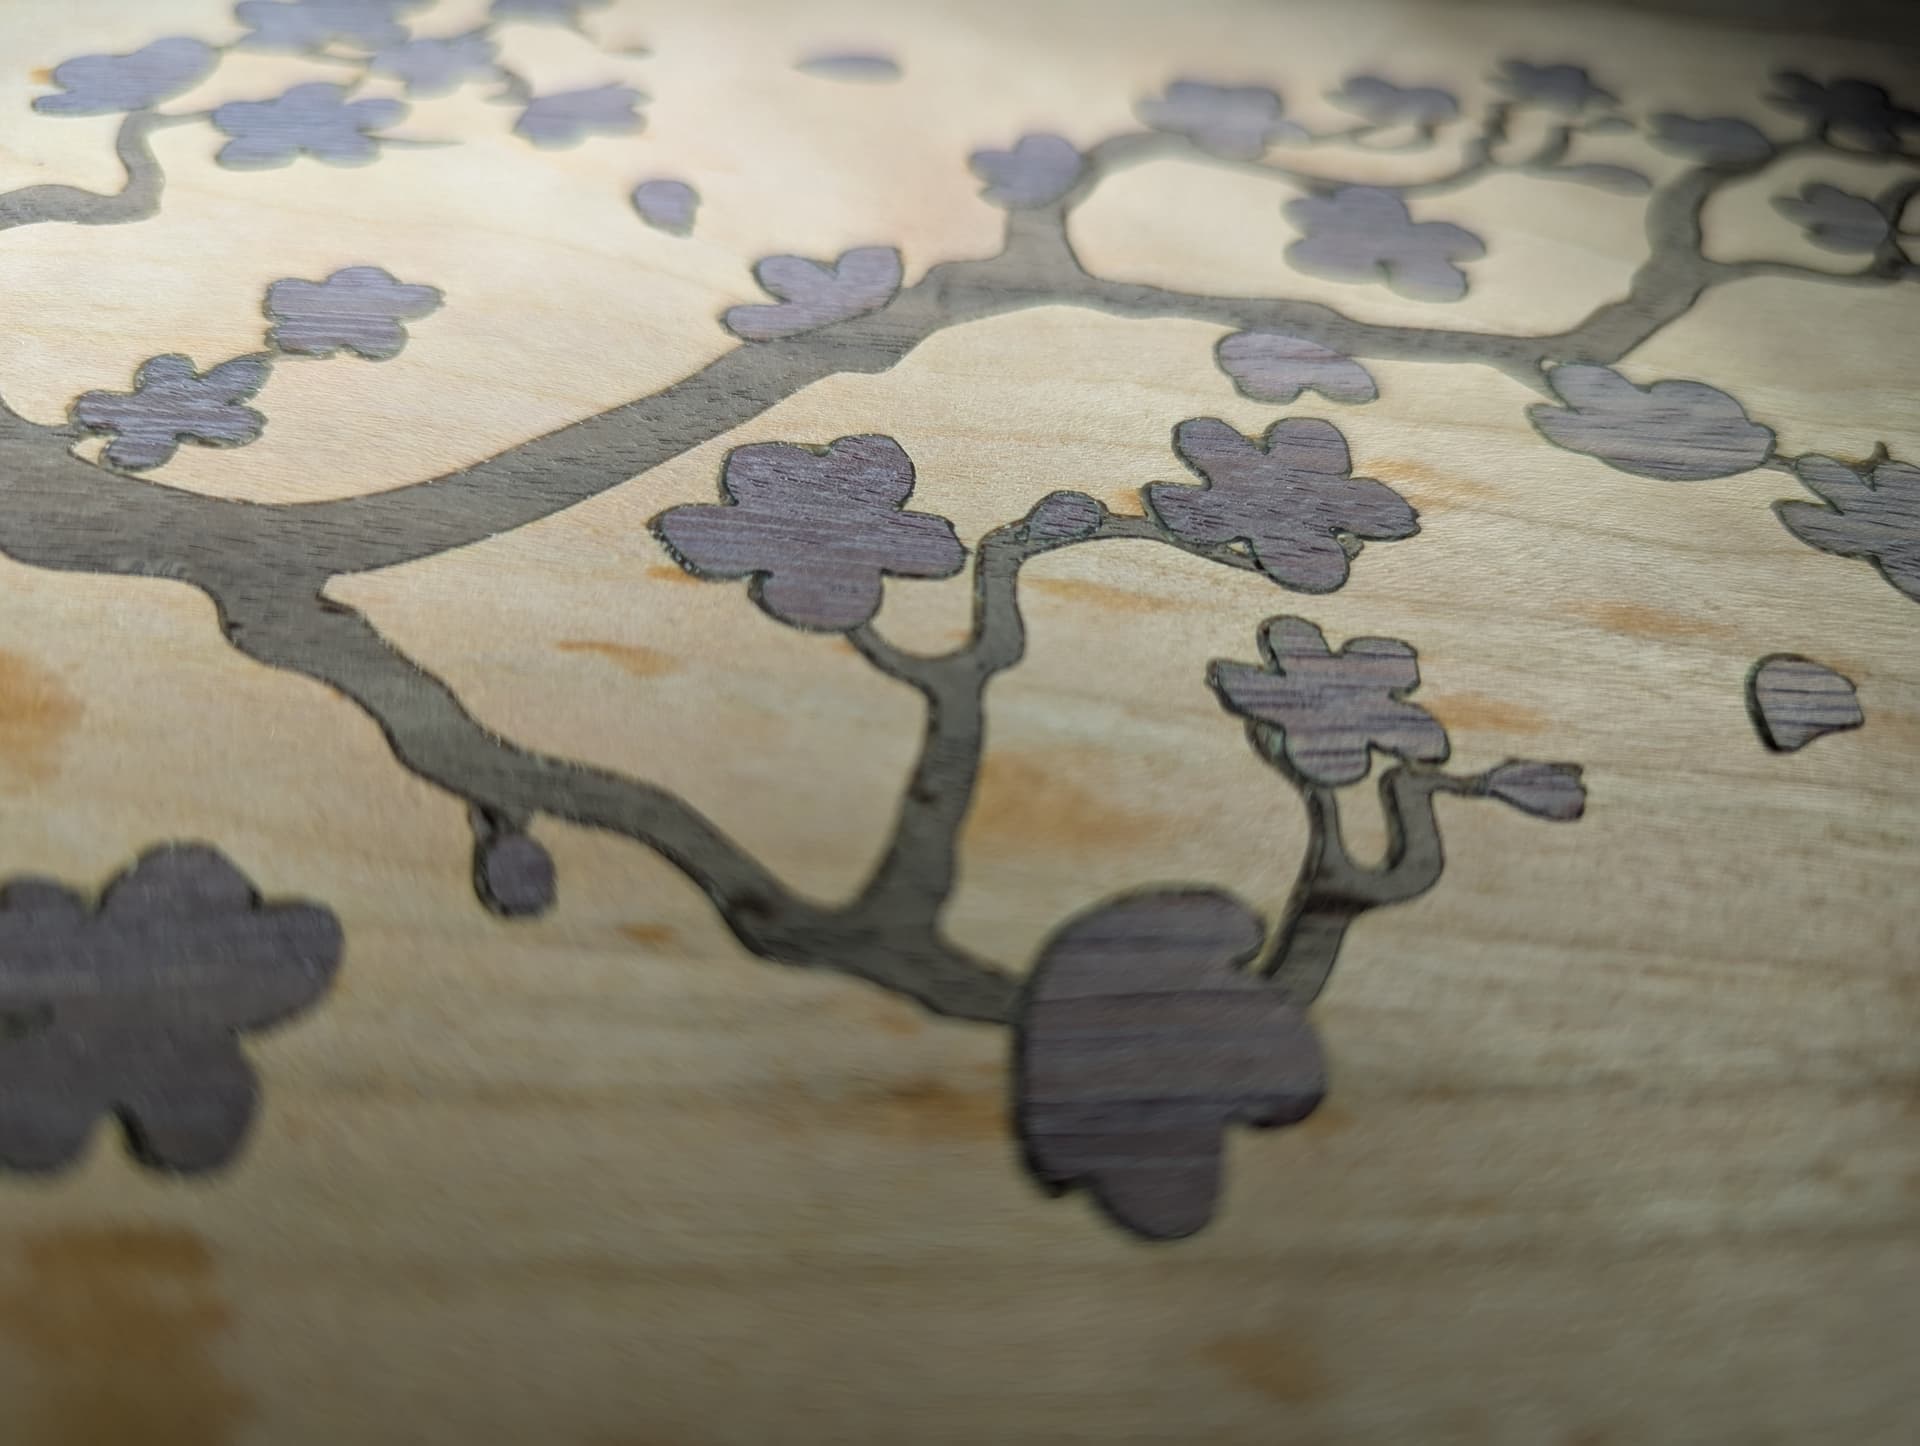
The trunk glued well and while the branches had gaps near the ends they were easily covered by the leaves on the next layer.
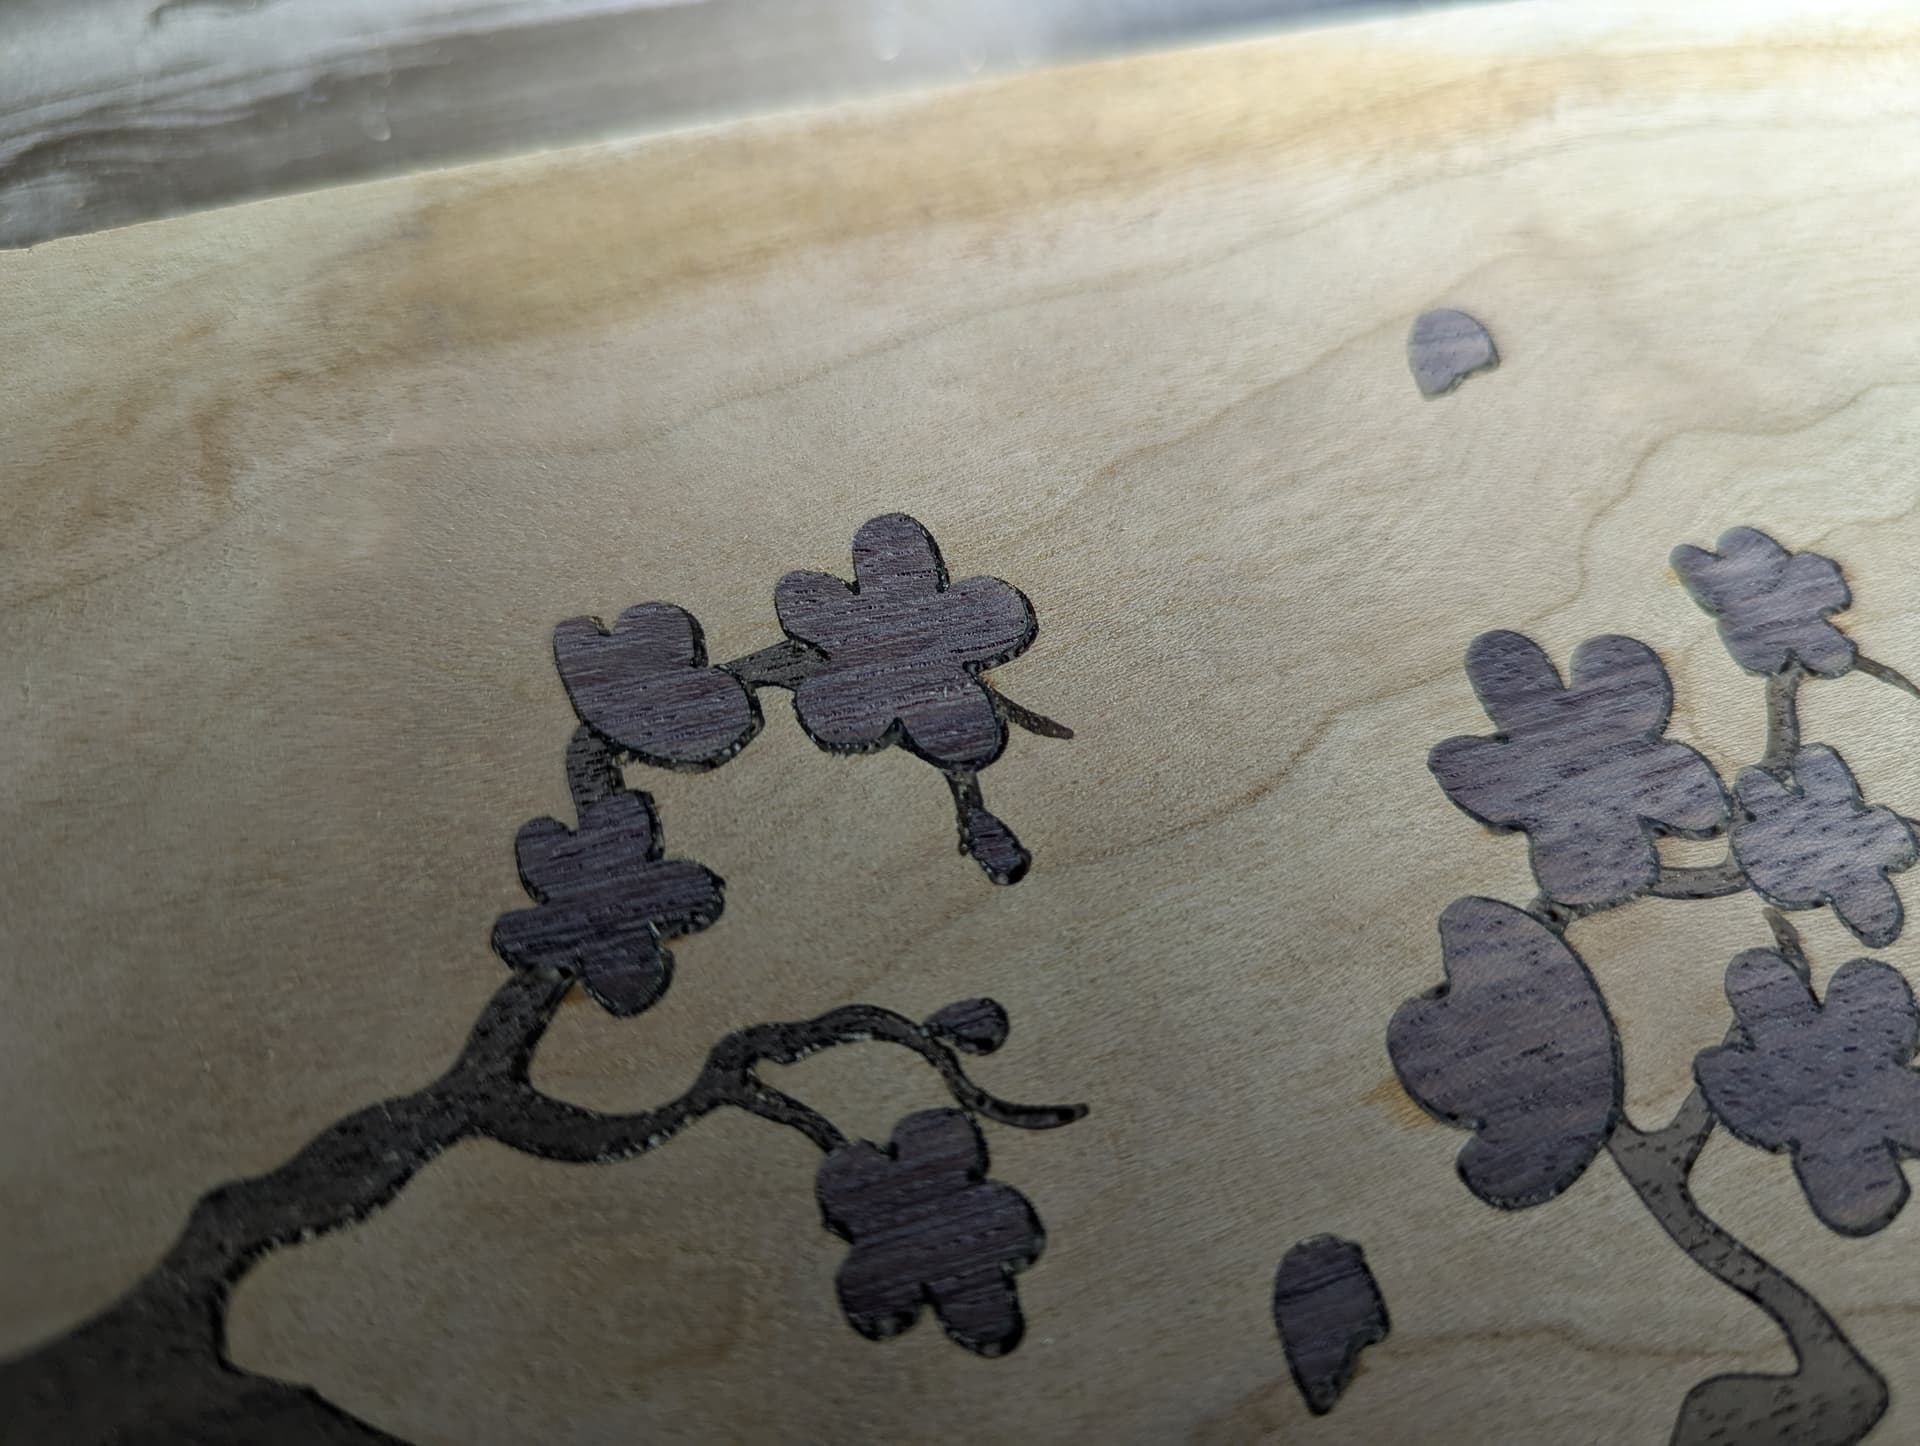
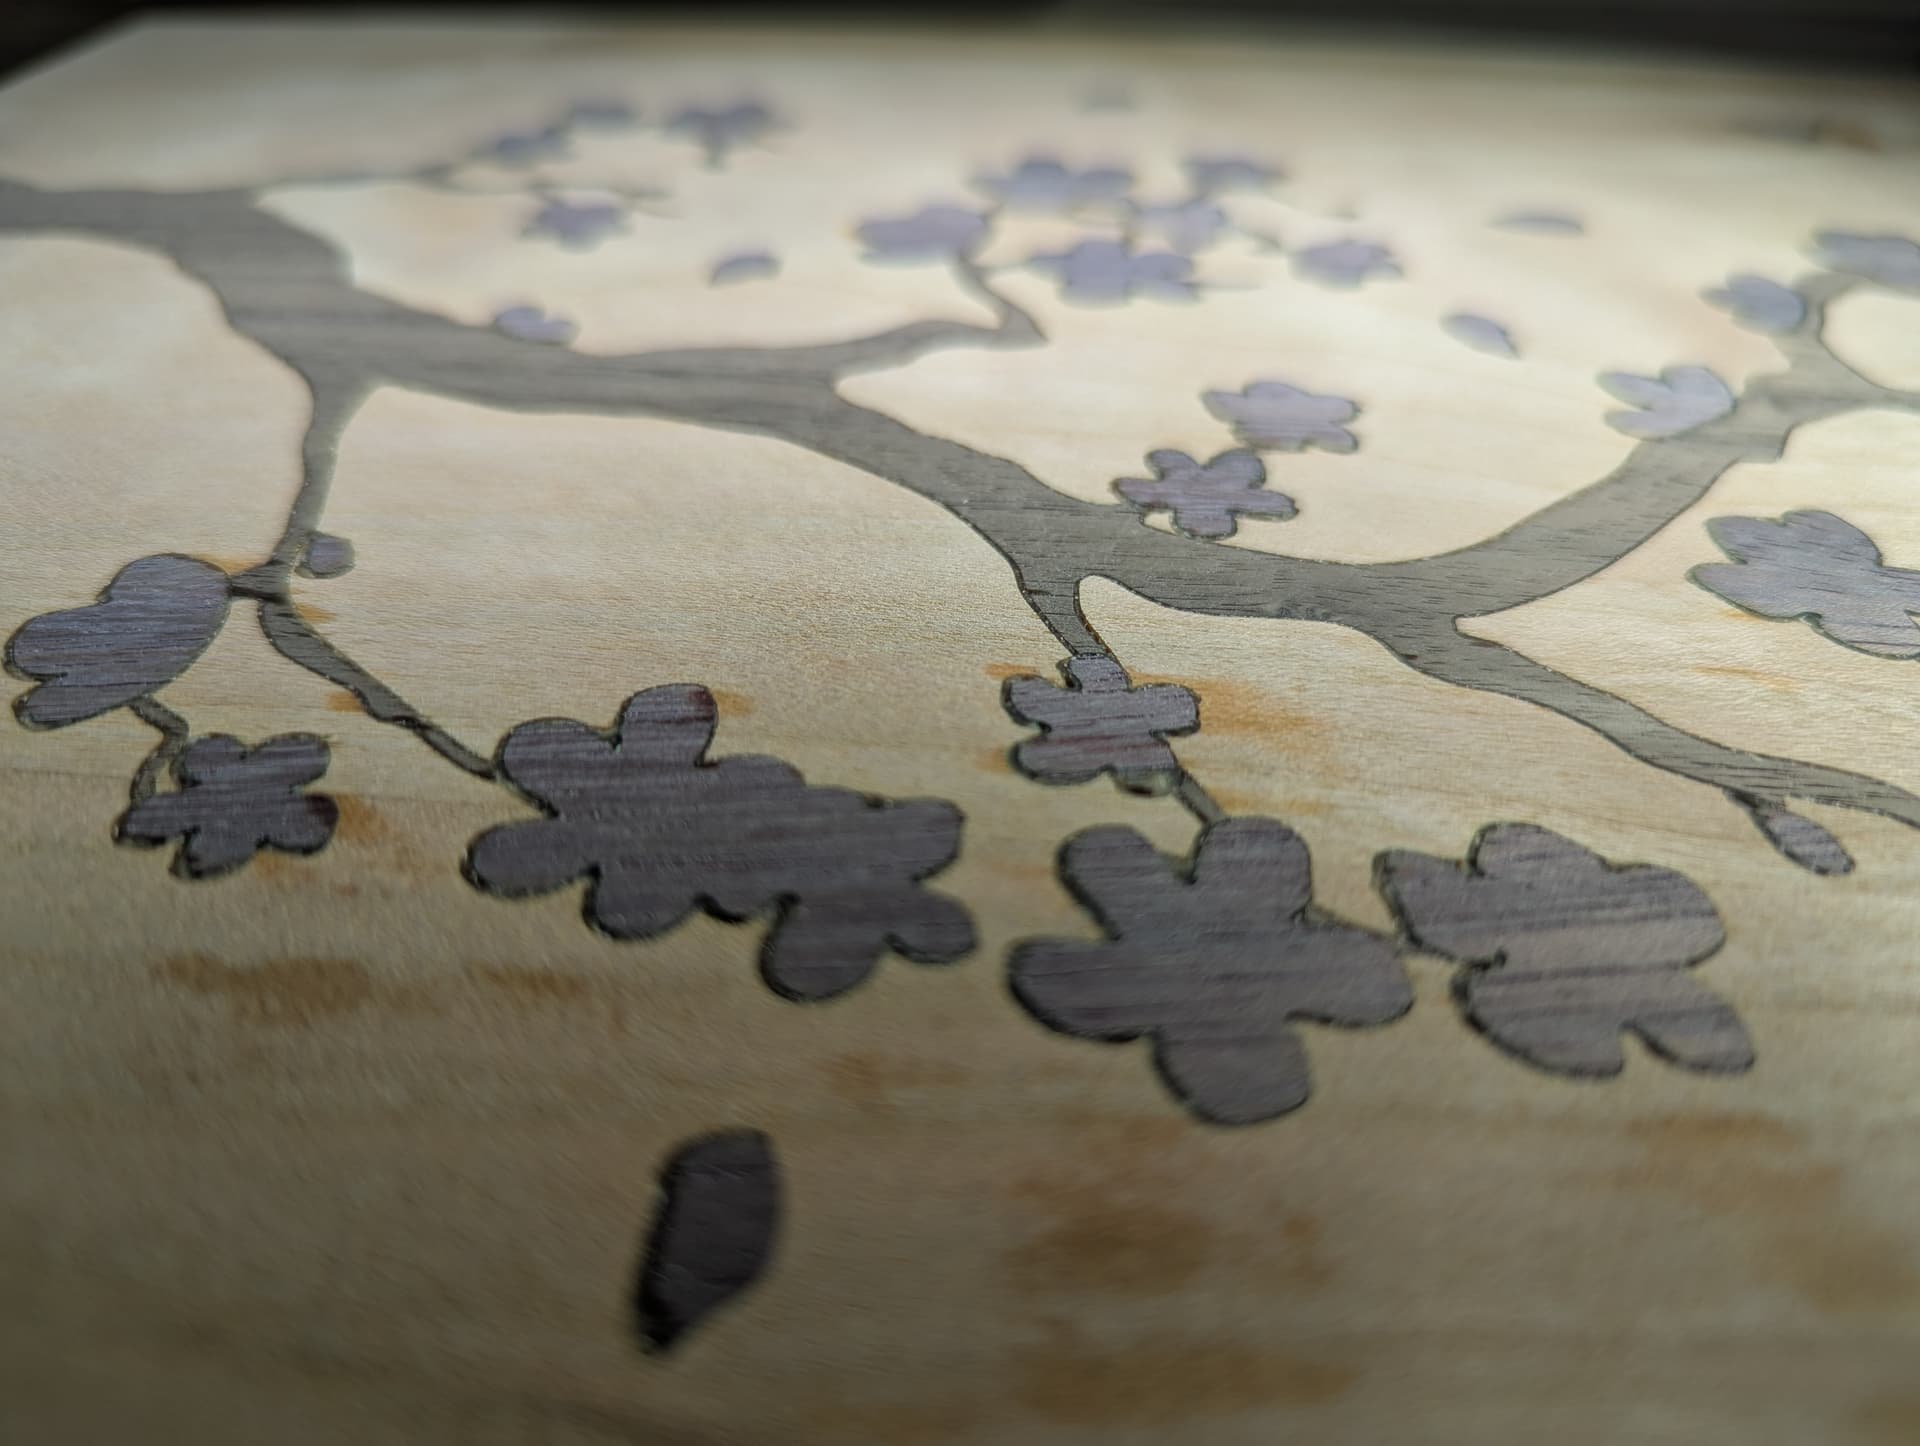
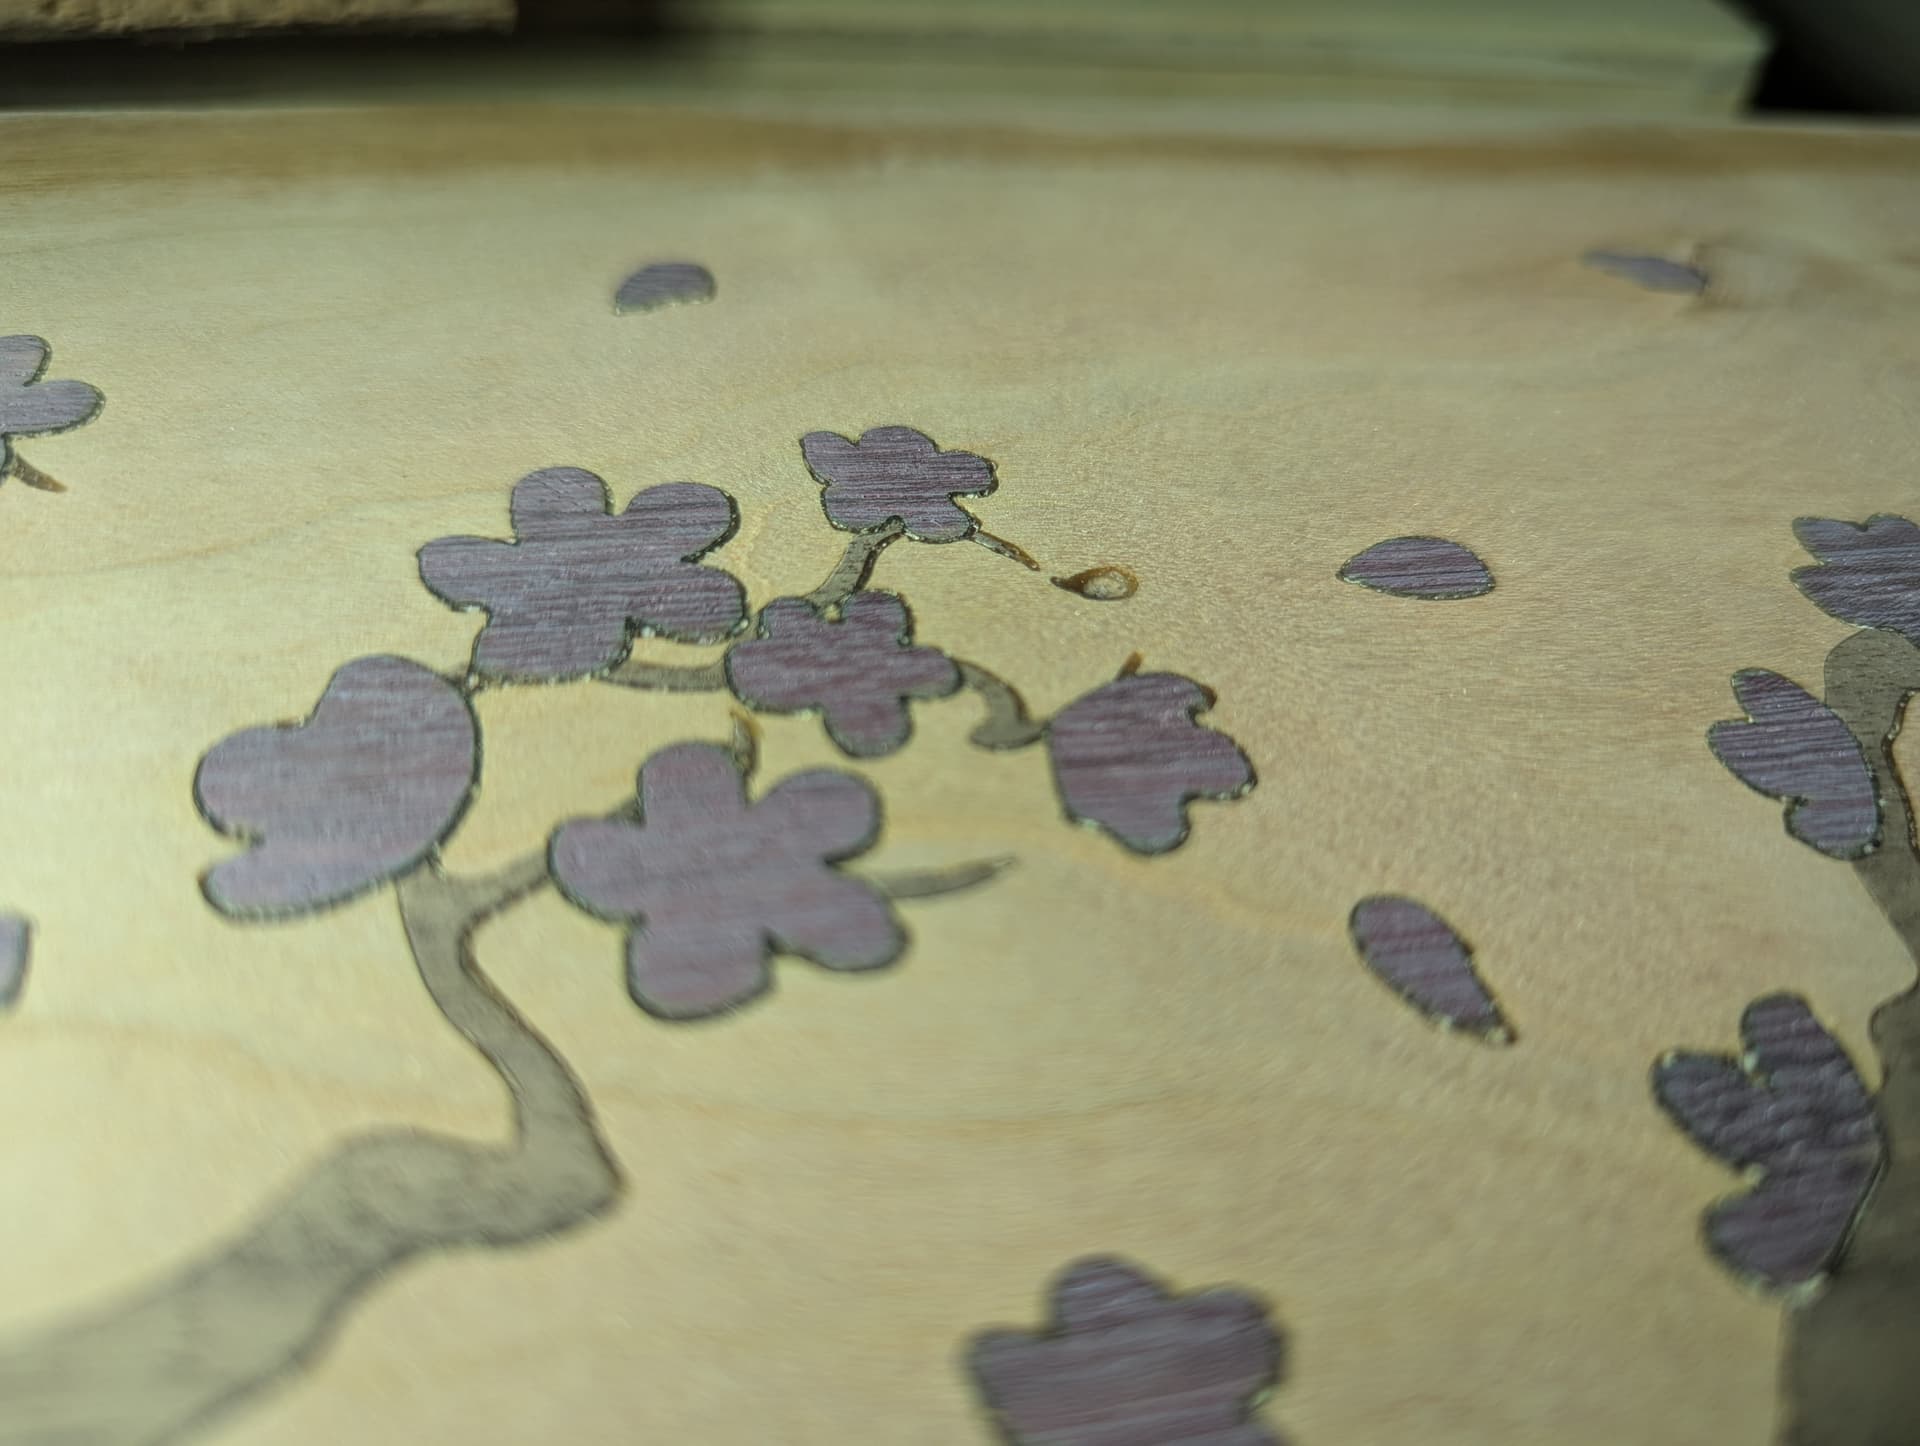
Unfortunately the glue lines are significant, and the leaves don’t look like they seated properly. It was a 5mm deep inlay with a .5mm glue gap and a 2mm top gap. I put what I had assumed was adequate pressure (6 parallel clamps) on the inlays for a 20-hour glue up. What can I do next time to tighten these up or is it a bit/machine tuning issue? Will be trying end-grain on my next one as it sounds more forgiving on chip-outs.
I’m not sure if I’m being picky, but debating on whether to toss it and just give them a blank cutting board between the artwork and glue lines. There are a few gaps and chips still. I’m not sure where the threshold is on when you can get away with glue/sawdust vs throwing another inlay on top of it. Feedback welcome, thanks!