Yes I see what you are all talking about. I am talking about using lighted standoffs. The standoff itself has uses LEDs to illuminate the cast plexiglass. This is what I am talking about.
These are still illuminating from the surface of the acrylic. Perhaps a V-groove, like @CrookedWoodTex
mentioned, at the diameter of the LED ring would work. The reviews were also not so great specifically with short lived power supplies.
Agreed that I am a bit concerned with the reviews. So many options to try and so little time to do them all.
I modeled up my idea for a circular frame in CC tonight but since it is 2 sides of 2 pieces it is hard to visualize. I started modeling it in FreeCAD to show it better but it is my first attempt at FreeCAD so taking me longer than I had hoped.
1 Like
This looks to be about what I am looking for I guess. Lighted Standoffs
5 Likes
Yes, this is your best bet for a) salvaging your current project & b) future projects that are similar (where edge lighting is required).
Backlighting (which is how your project is currently) works best with projects where the front facing material is translucent but not clear and there is some space for diffusion between the light source and what you are backlighting. Here is an example of a backlit stone counter top from my day job

This stone is backlit, but the light source is actually edge lit acrylic sheet (with a v-groove grid in the acrylic). We sourced this Evo-lite LumiSheet direct from Evo-lite & it was custom made panels (with cutouts for the sink & faucets) for each countertop.
And a whole wall from a recently completed project
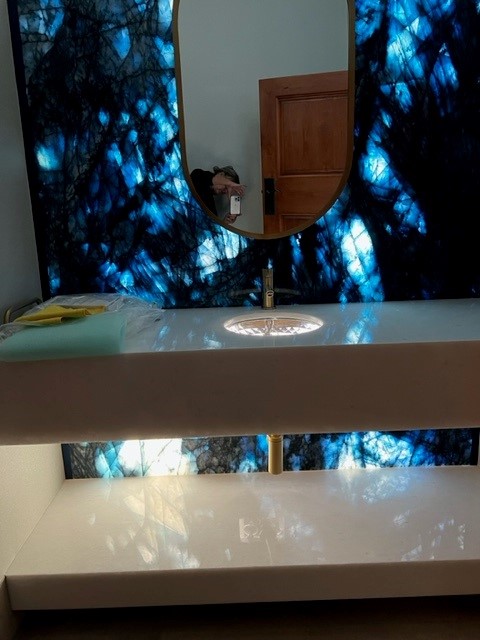
using Evo-Lite’s Auragami panels
HTH
5 Likes
I’ve never bought these LED standoffs, but I’ve bought a lot of stuff from Outwater Industries. This is a link that someone on here gave out a long time ago.
1 Like
Reading back through all of this thread and want to thank all for your input. In rregards to CrookedWoodTex suggestion, how deep would you cut the V groove? Would you just cut a contour cut using a 90 degree? Or would you use a 60 maybe? Thanks again
The objective is to turn your light “rays” to the inside of the acrylic, so definitely use a 90 Vbit.
Also, use the contour / profile cut on the line to a certain depth. Use an “appropriate” depth. ![]() You don’t want to cut through or weaken your acrylic.jj
You don’t want to cut through or weaken your acrylic.jj
EDIT: Oh, you think I know what I’m doing? ![]()
2 Likes
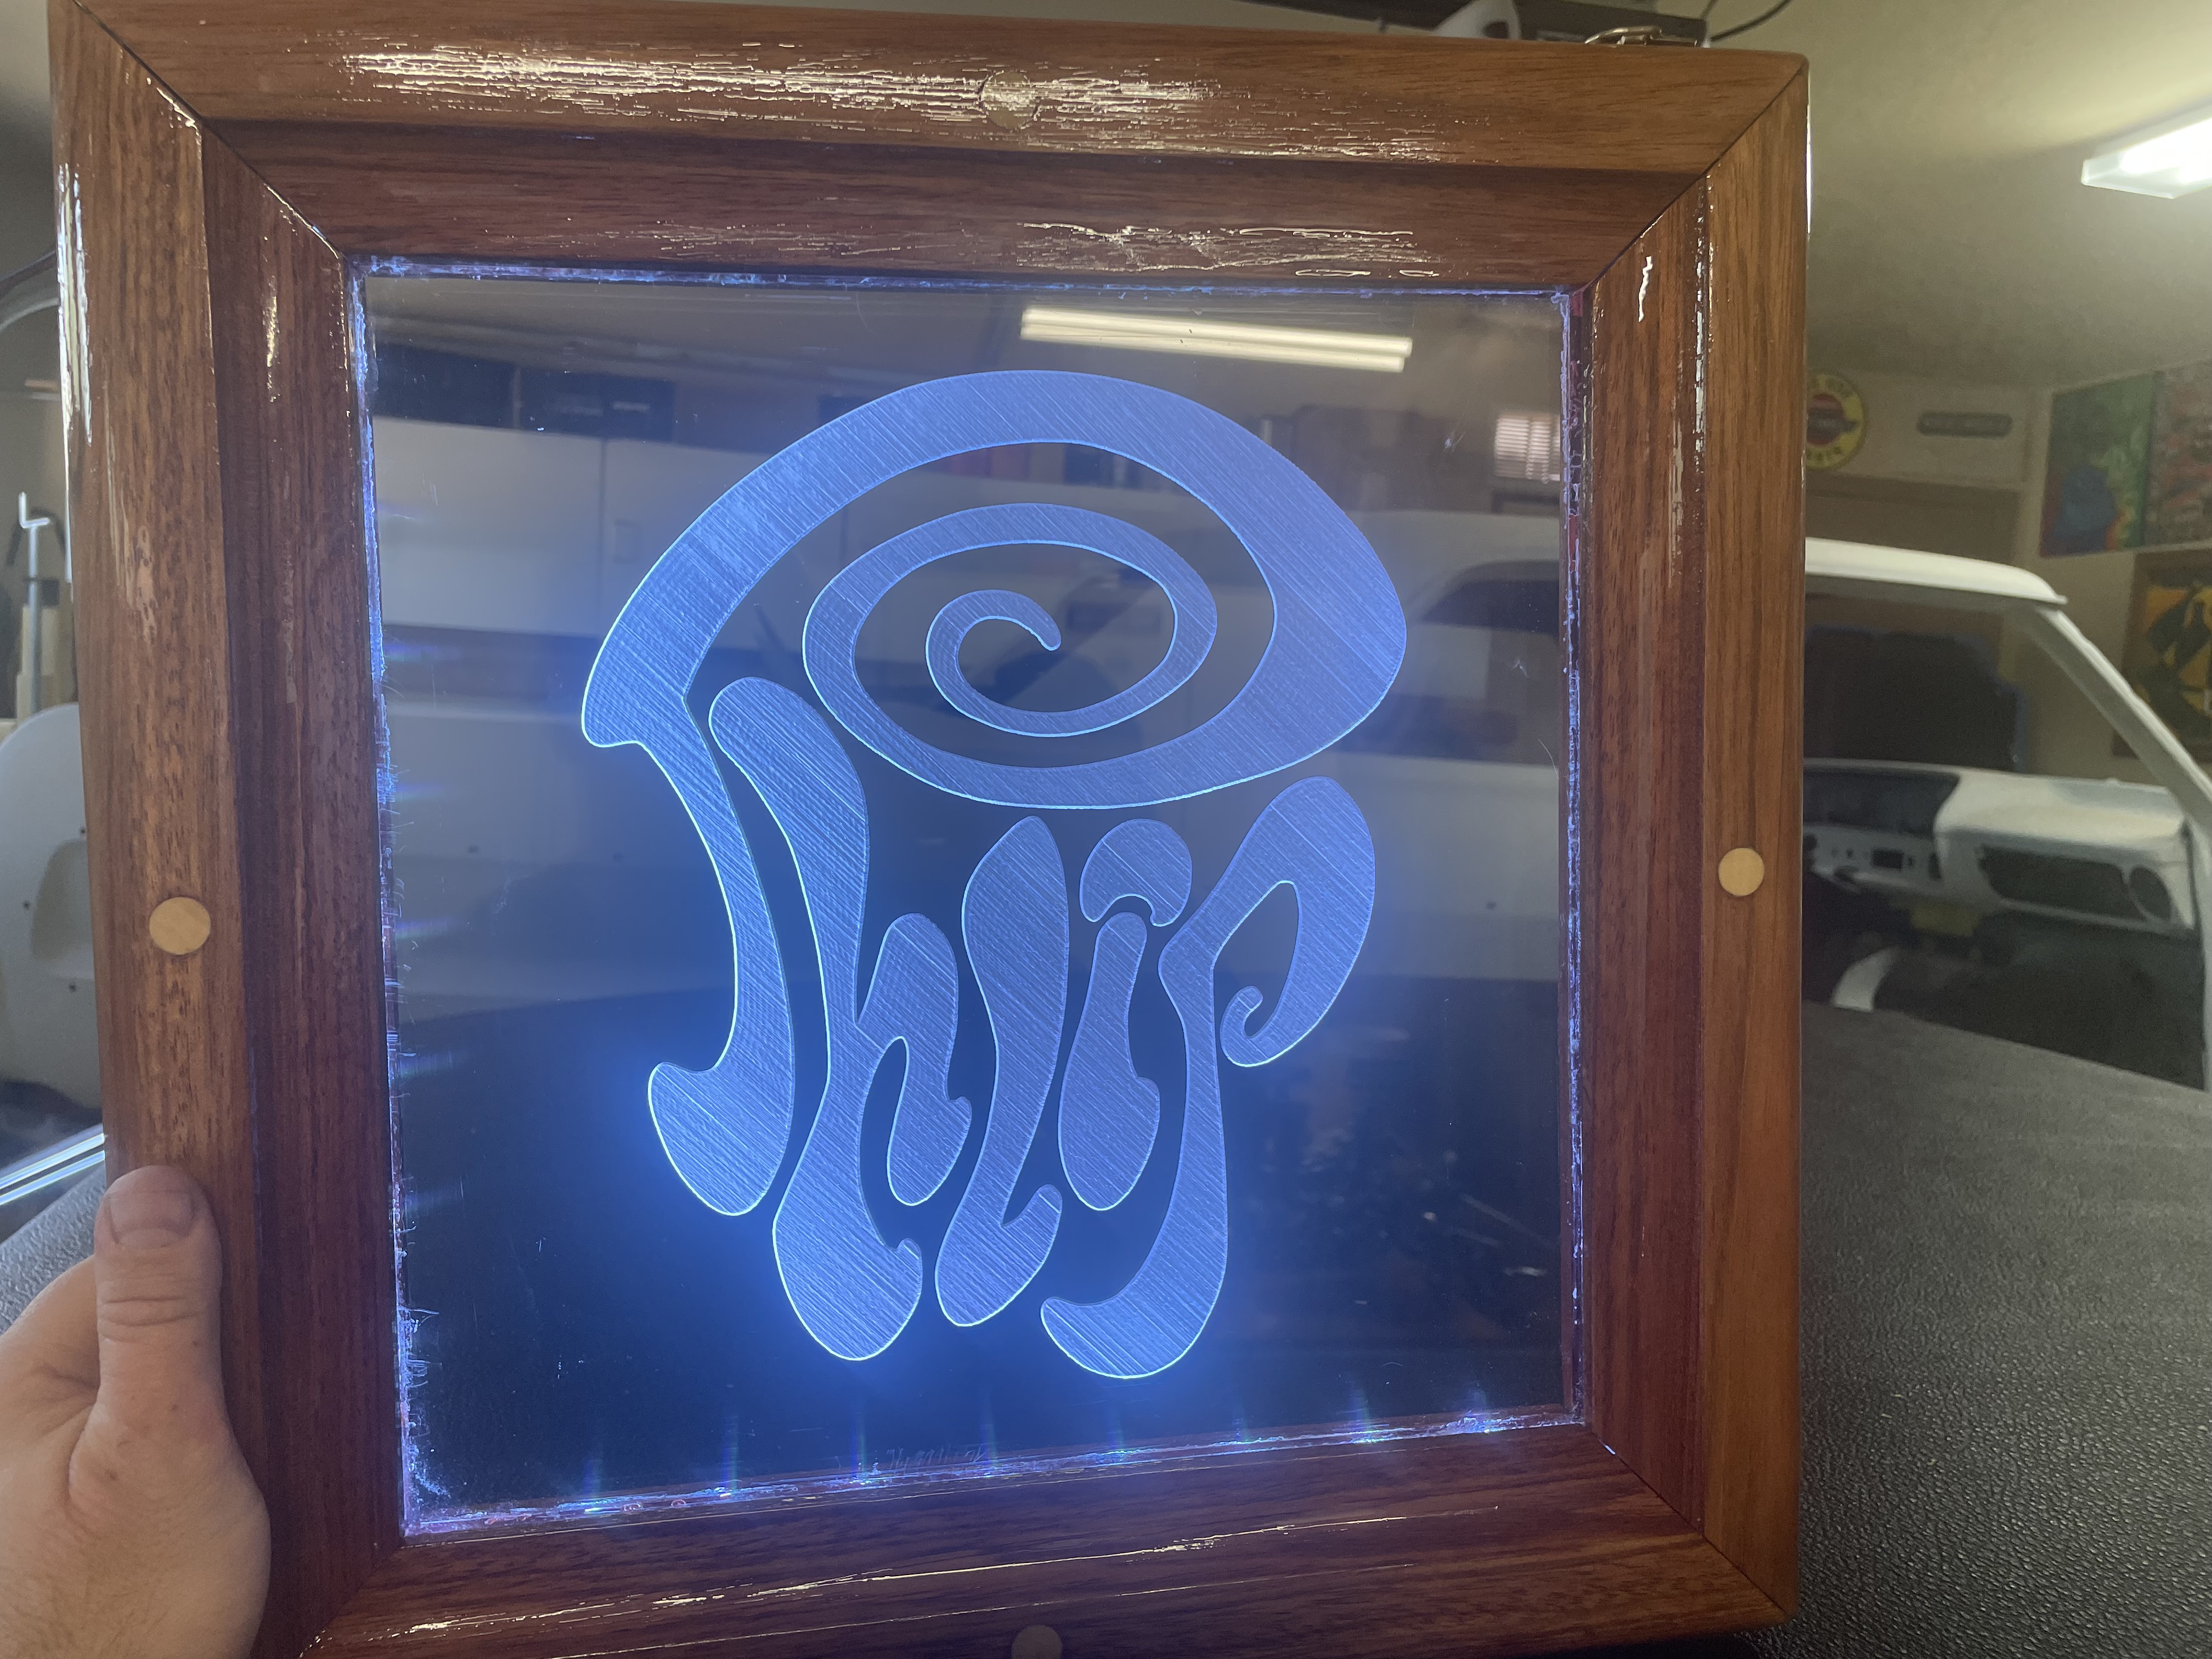
Well my cast is .125 thick, so I cut using a 90 Vee bit to a depth of .07. Not sure it helped much, but I have lots of ideas for the next one I do. Appreciate all the help.
Thats pretty Awesome!!!
I like your project. It looks great even if it wasn’t exactly how you intended.
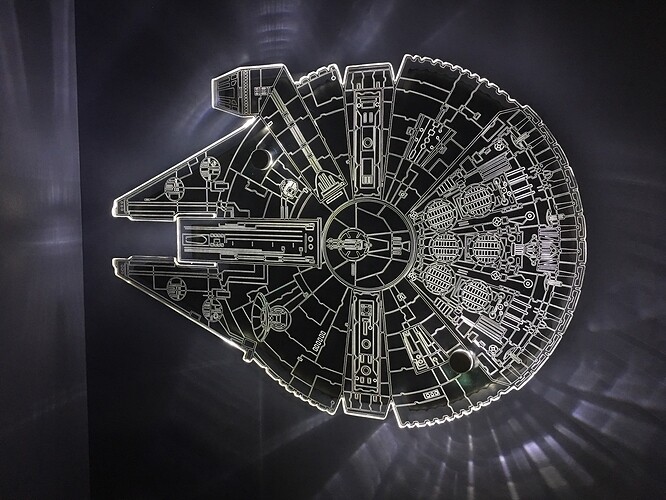
In my experience, it’s best to use 3/8” acrylic. Anything thinner and the LEDs are hard to lineup with the edge and don’t grab the light very well. The LEDs should be along the edge lighting inward. It doesn’t cast through very well we’re there are separations and when you want it bright, try to cover as much as possible with LEDs.
In this one I had RGB LEDs along the side and bottom edges and you can see very lightly the farther east corner does not glow as bright as the rest.
I’ve also found that certain colors cast better than others. White does great at carrying the glow but reds, orange, and yellow not so much.
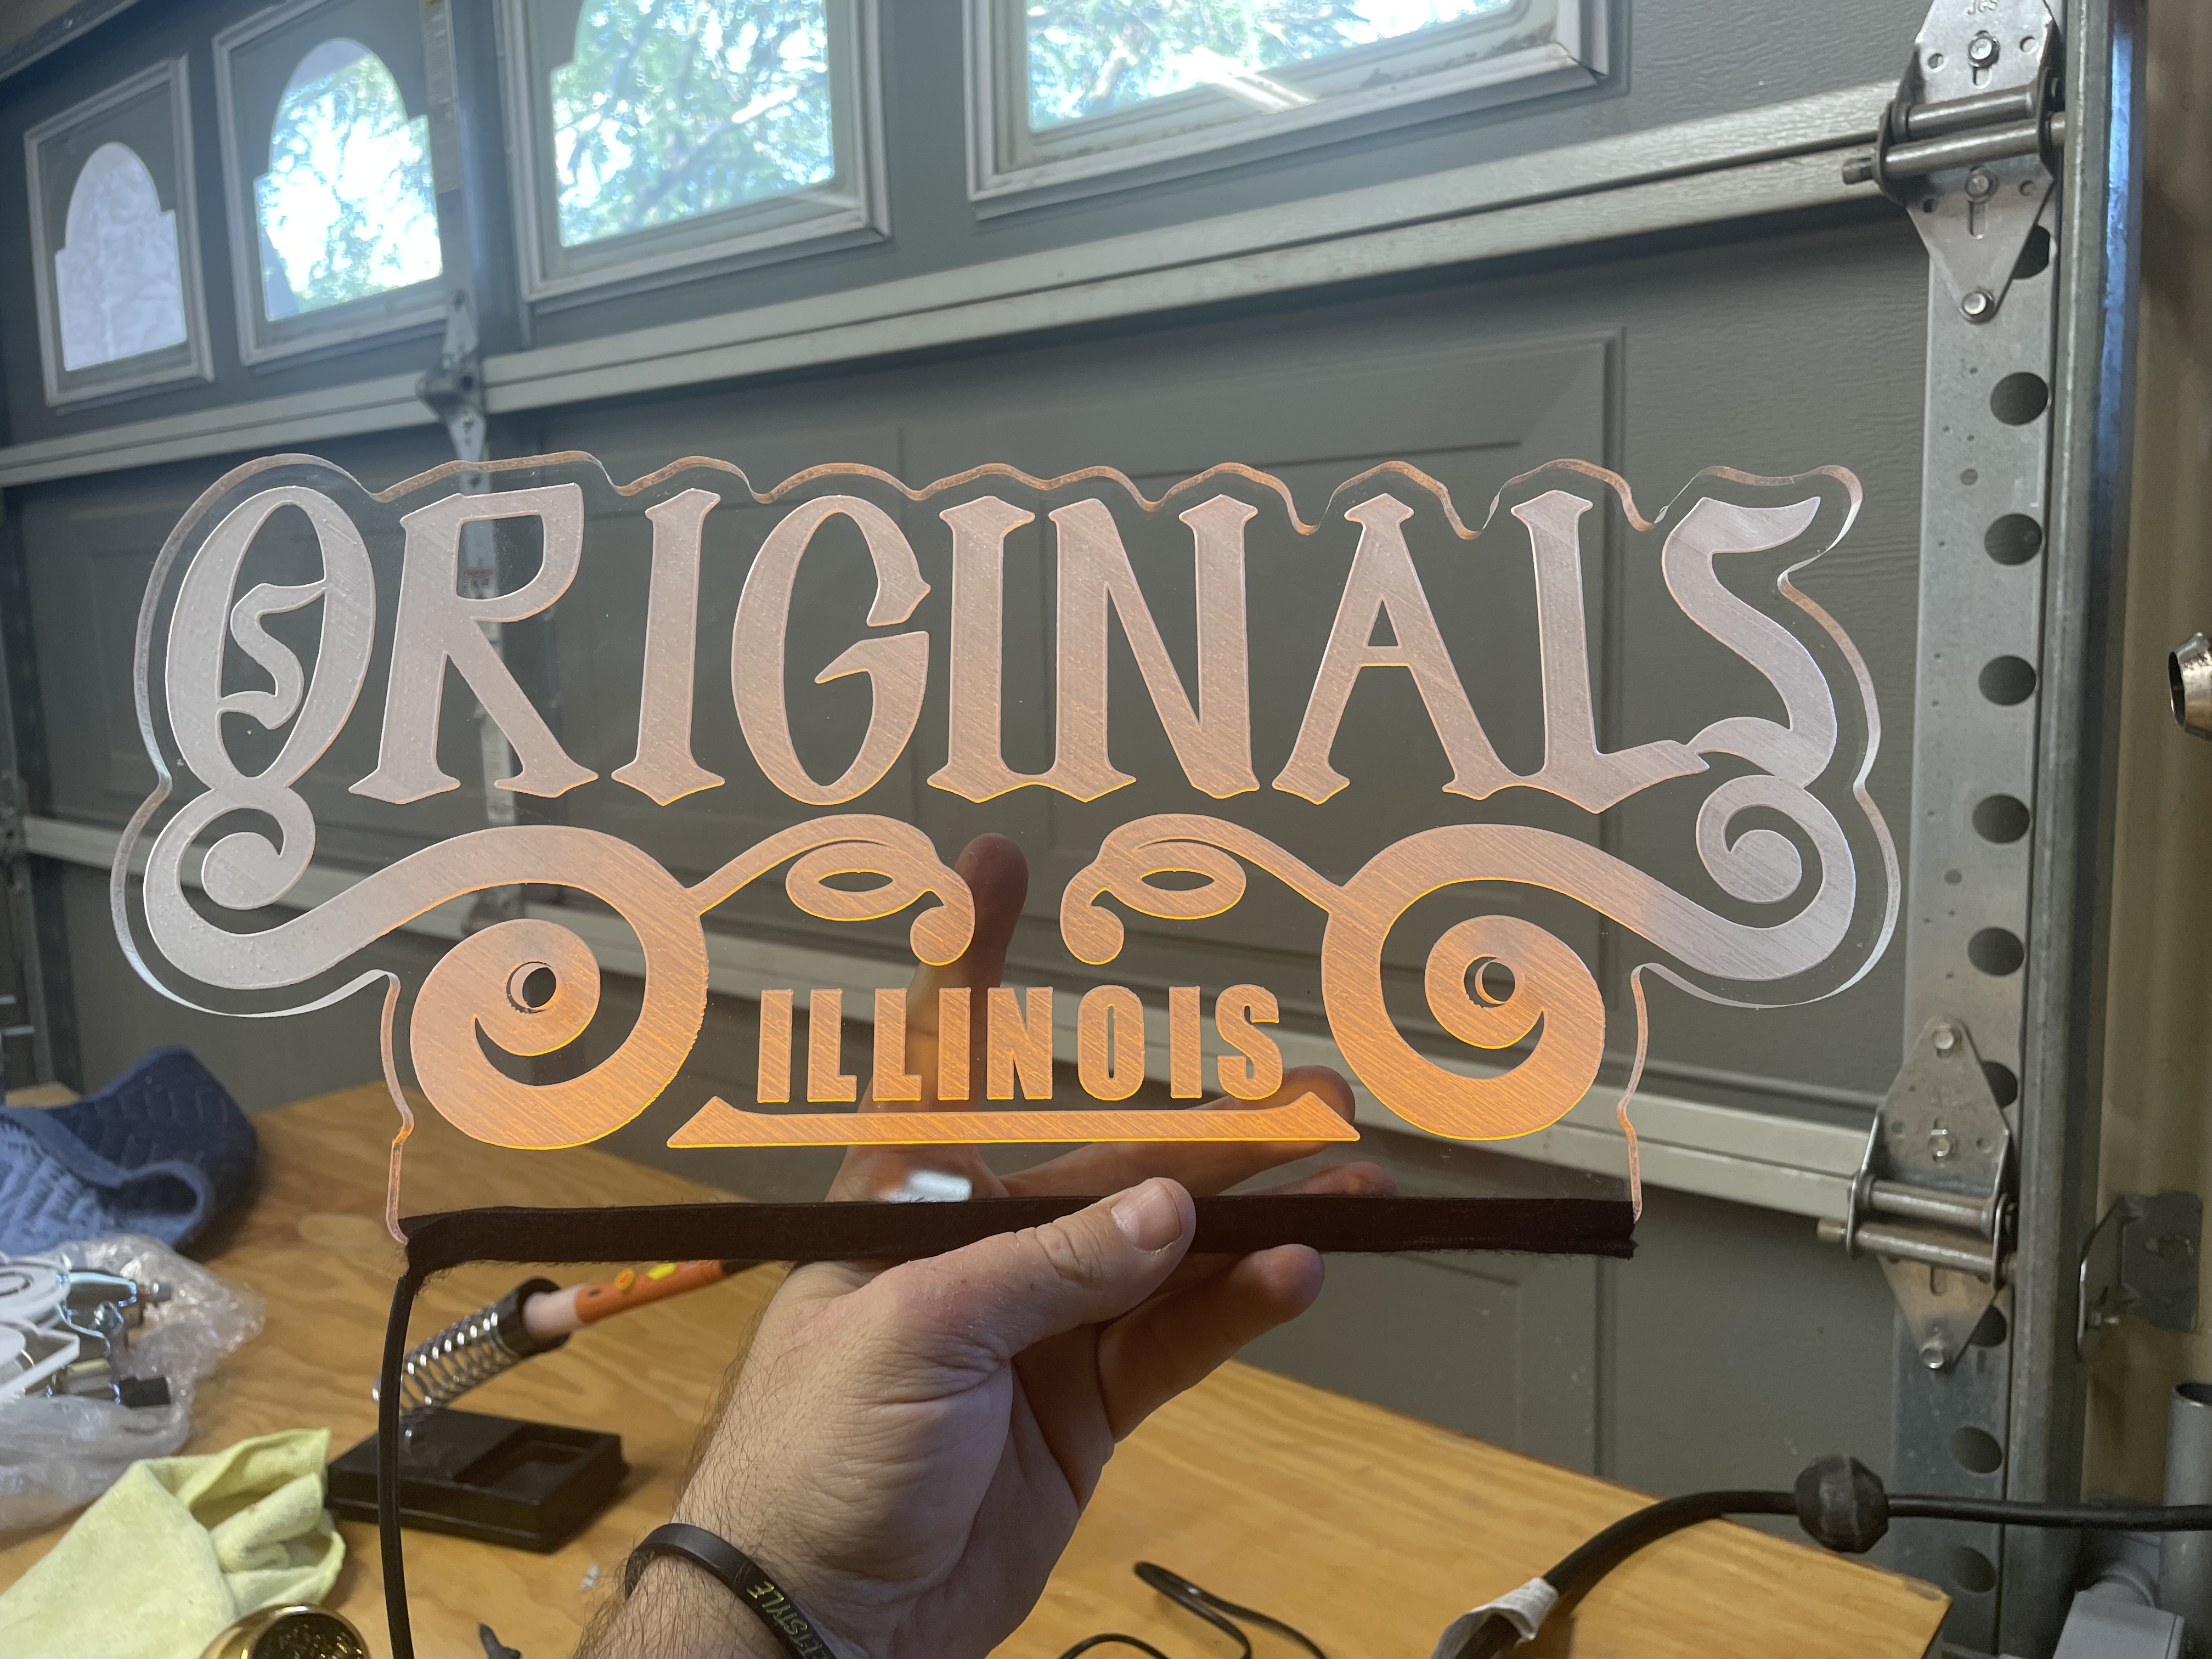
In this one, I only ran blue LEDs in the center and you can see the brightness is not even.

In this one I put the strip all the way along the bottom and it carried the blue really nicely

2 Likes
Thank you for the good advice. I have so many ideas to work with, I appreciate them all.
This topic was automatically closed 30 days after the last reply. New replies are no longer allowed.