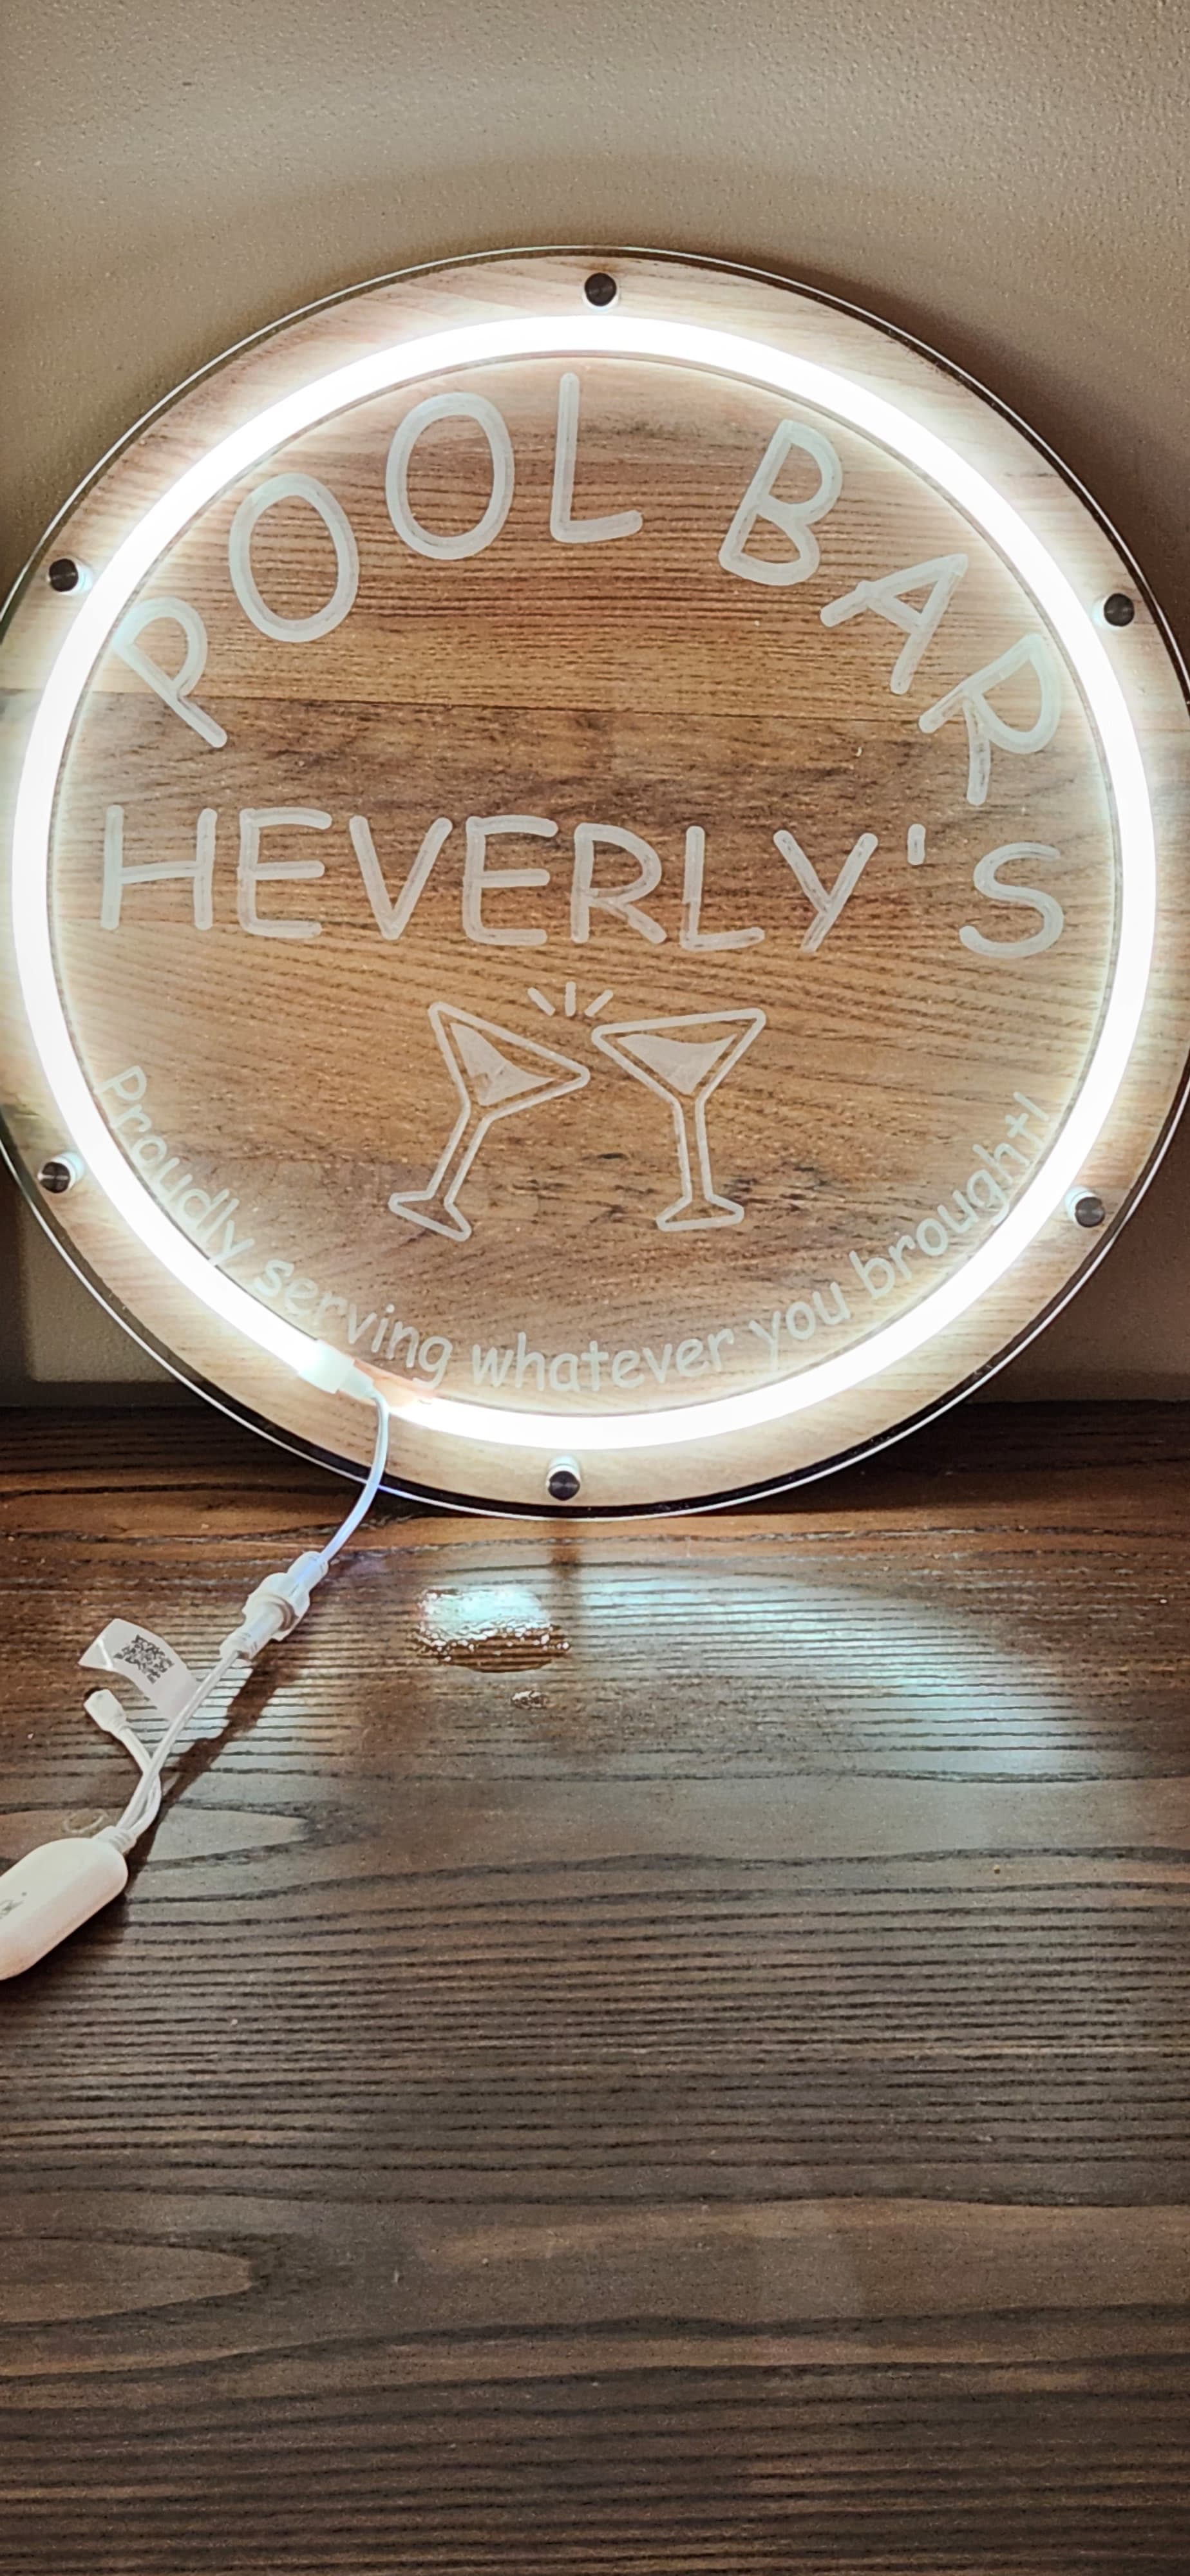
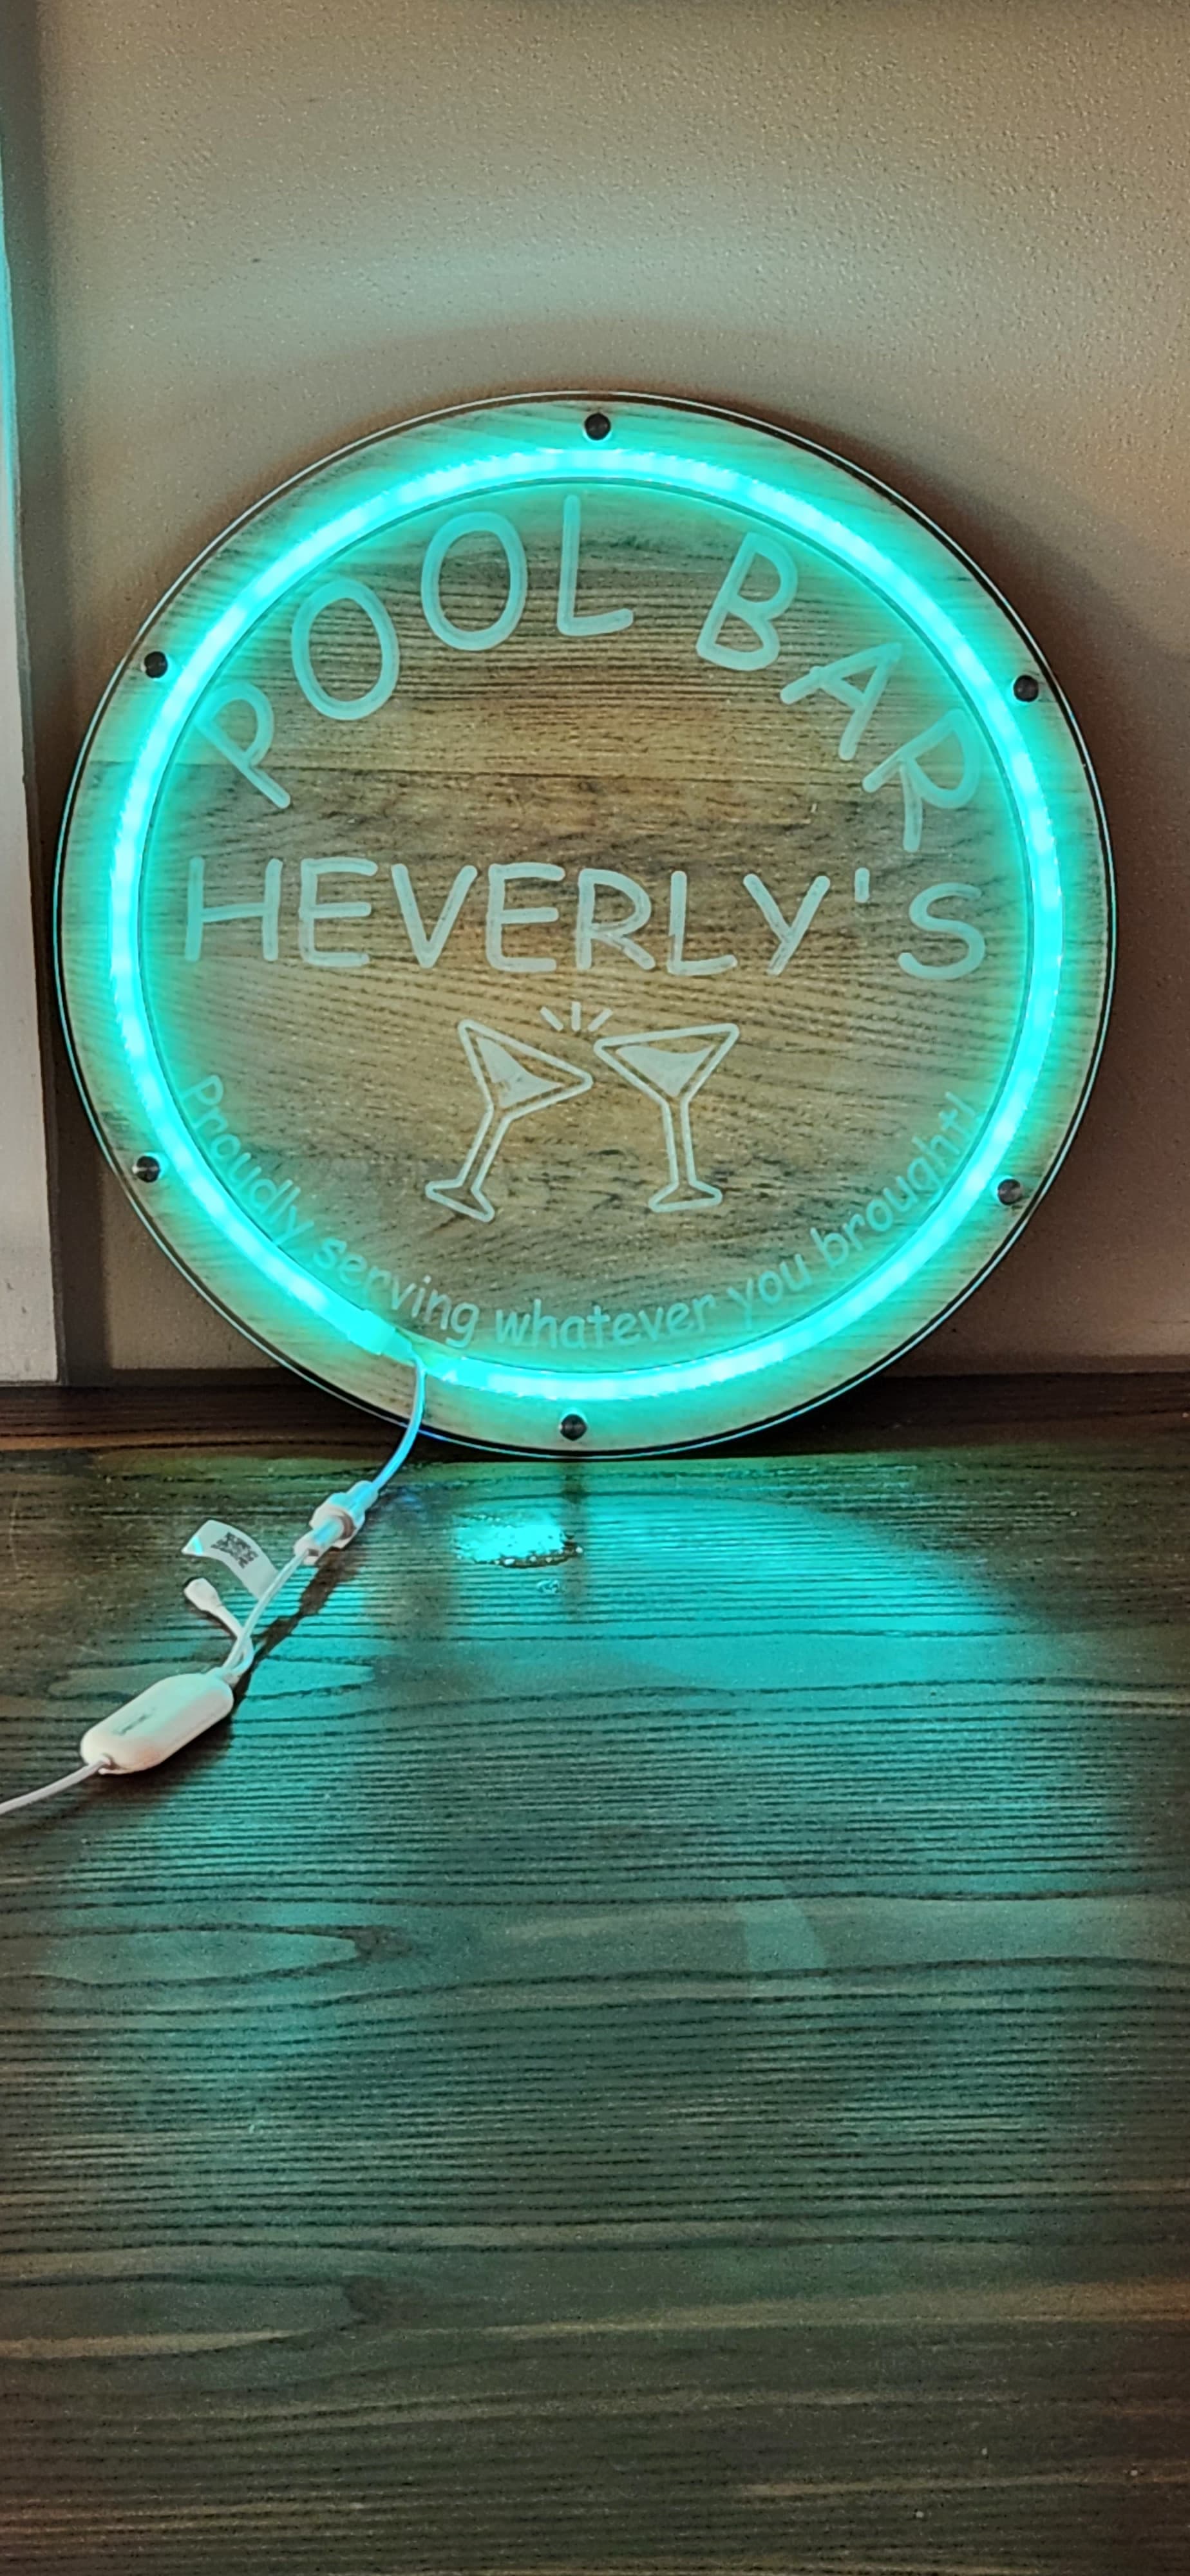
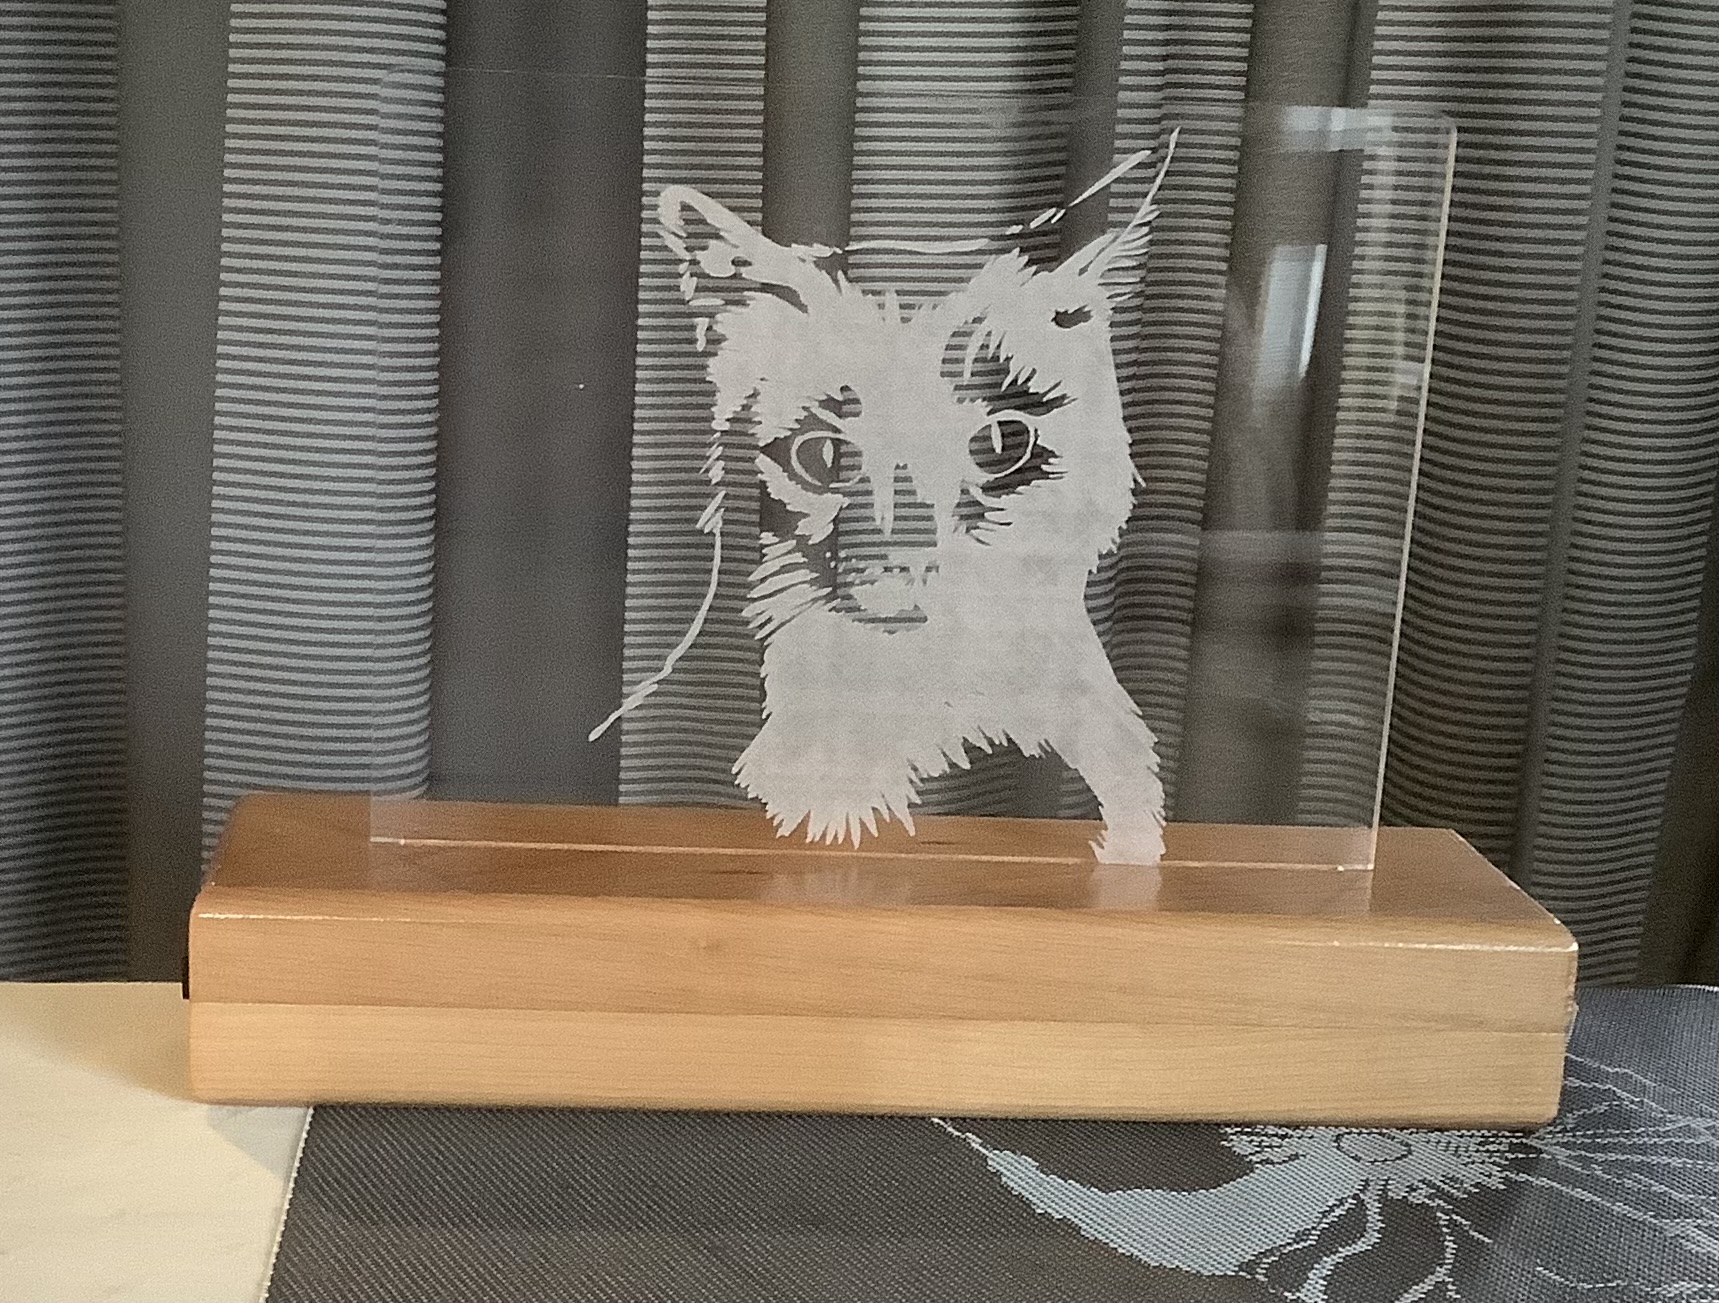
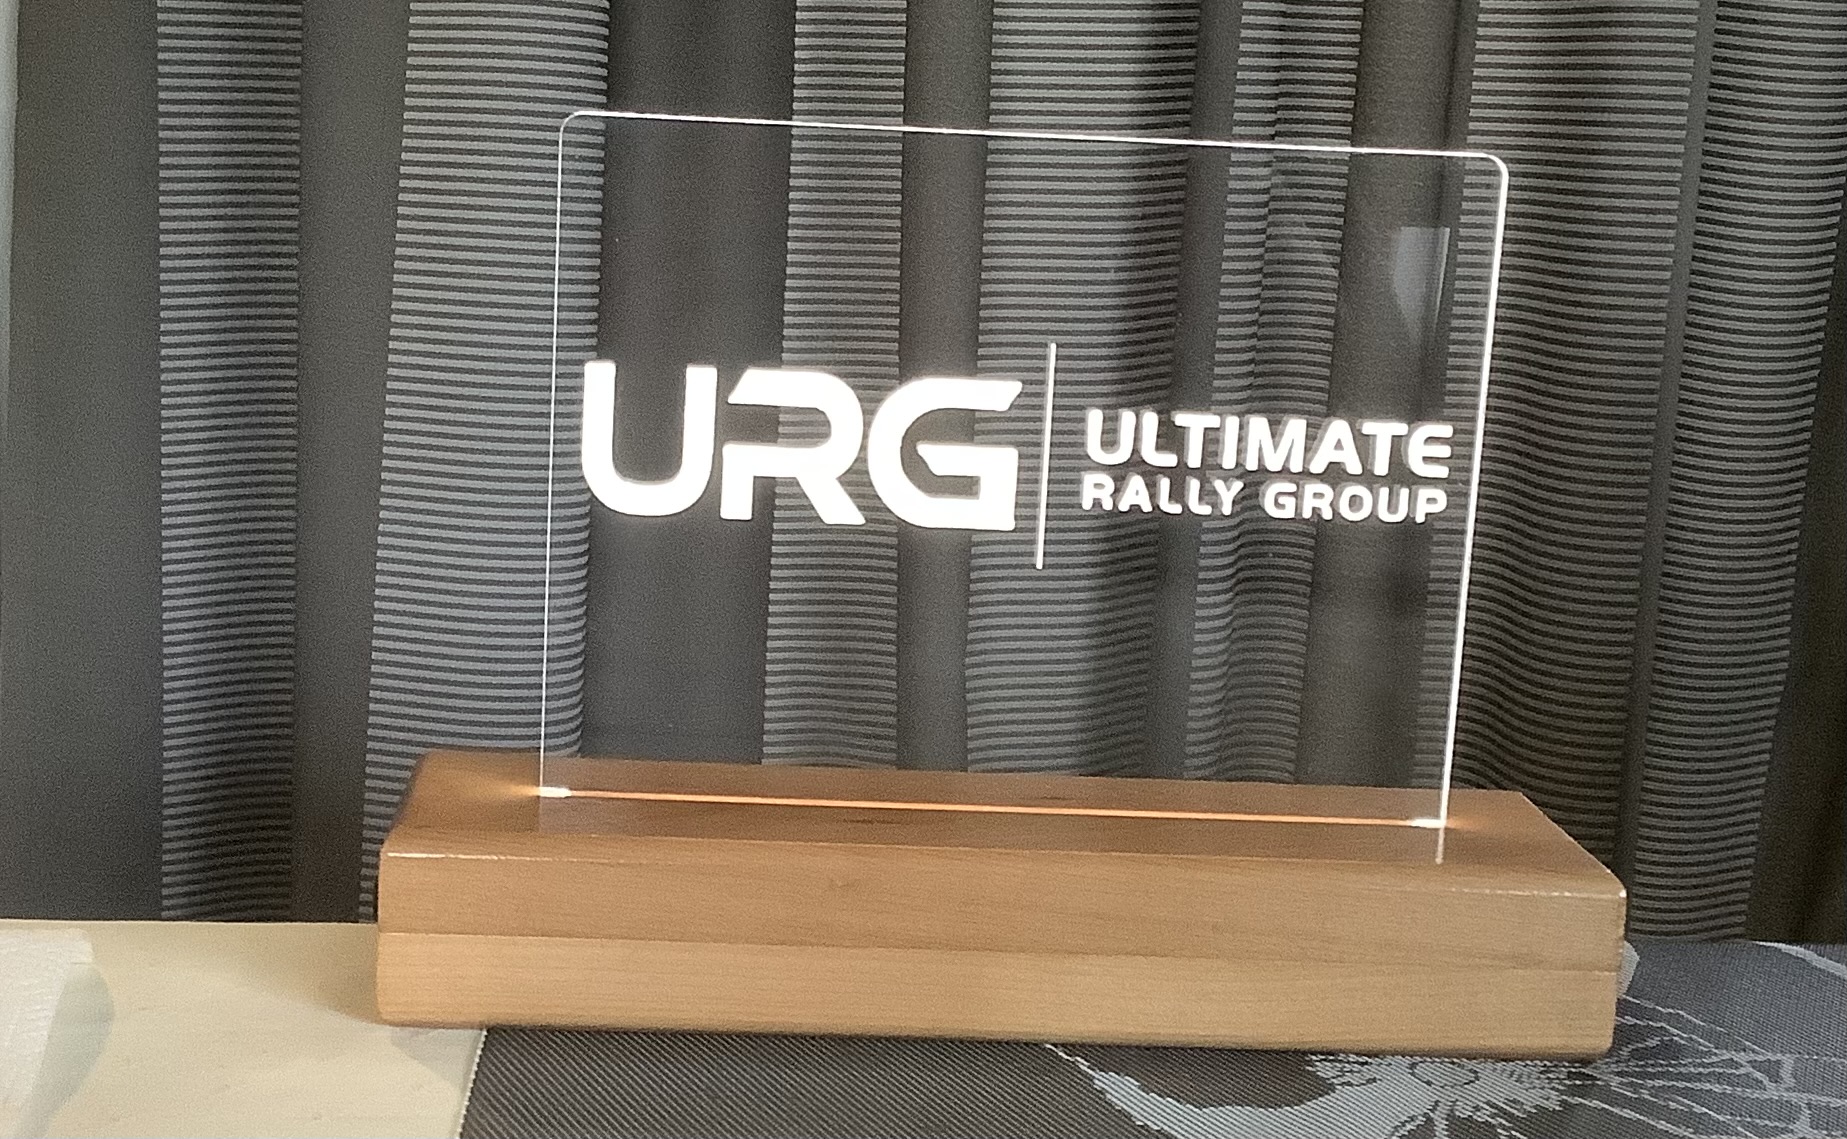
I made my first lighted project. I have been mostly doing carves and filling with epoxy. I was motivated to try this project by seeing other posts. I will say that I am not the happiest with it. I feel like the work came out ok but I was not happy with how the cast acrylic grabbed the light. I was hoping the etched part would show up brighter and better. Maybe next time I would try the lighted offsets. This is 17" across. Anyone have any thoughts on how to illuminate the etched part better? The neon light rope also has multi color movement that I am unable to share on this forum.
9 Likes
It looks like the light is in a pocket in the wood, behind the acrylic.
I think in order to get the ‘glow’ you’re looking for the light needs to shine through the edge of the acrylic.
That way the light travels through the acrylic medium & reflects off the uneven surface of the etched letters. I think it would be beneficial to also have the light hidden to create more contrast.
8 Likes
To get the best effect you need to edge light the acrylic. It helps a lot to polish the edge after cutting as well. Even when everything comes out great, daylight viewing will never be really bright.
6 Likes
So would routing a pocket in wood the diameter of the acrylic plus the thickness of the LED strip and the wrapping around the edge and seating in that pocket work? The edge of the light strip would still be visible though unless maybe installing a larger piece of over the top with a through hole slightly smaller.
2 Likes
I agree. It was my first one so its all a learning curve. Thank you.
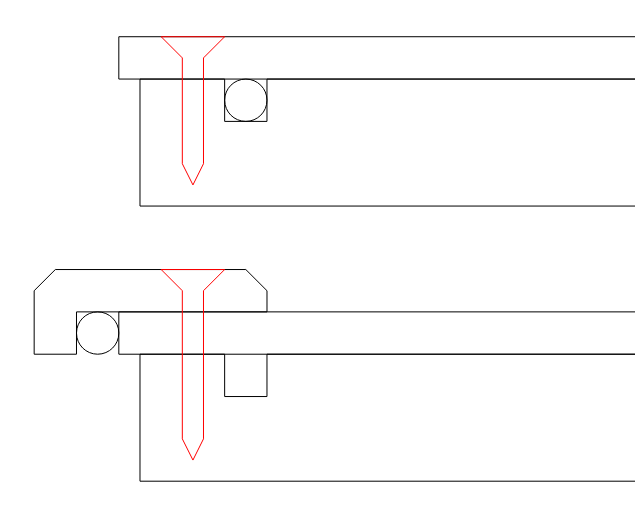
I assume that circle represents the light strip and your top image is showing what it looks like now vs the bottom with a recessed pocket to cover the edge.
If there is enough wood I would make that pocket in the face piece deeper and use a press fit or screw from the sides or back. But I hate seeing screws so that is just a matter of personal taste.
EDIT: Ooh, or maybe a couple of keyhole slots in the top piece in a radial pattern and some studs poking up from the lower so you have a place/twist to secure.
I haven’t tried acrylic etching or lighting yet. This looks great as a first attempt. I could only hope my etching goes as well.
Hey, guys. Edge lighting is no longer rocket science. ![]() (I thought so at one time!) Just look up “edge lighting acrylics”, and you’ll find a million examples.
(I thought so at one time!) Just look up “edge lighting acrylics”, and you’ll find a million examples.
You don’t need to cut your lettering very deep either, and almost every time someone creates a sign like this, they put the lettering on the back side as a mirrored image. The power to the lighting is fairly hidden from view. The front side of the acrylic is smooth.
Most of them are small, but the larger ones have more than one source of lighting. The illumination drops off as it travels through the acrylic. The closer your etching is to the light; the brighter it is.
Still, your sign looks nice and will look better if you follow these guidelines. +1
FORGOT: If you want to salvage this sign, just cut a “vee” notch on the back at the same diameter as the lighting is. Don’t polish the groove, and it will bend light into the acrylic.
1 Like
I looked online for some info on light drop across distance but didn’t see anything useful. In this case he has a 17” circle with the light strip all around. There must be some point at which the center would appear dimmer but is there any way to figure that out? Maybe with a typical LED strip the drop off wouldn’t be noticeable until you hit 10 feet and we would never have to worry about it.
Im thick in the head and I am trying to follow what you mean by your diagram. Running the lighted rop around the edge of the acrylic, kind of thouching the acrylic with the lighted rope? Or am I not getting through my thick noggin?
Lots of good ideas to try. I think my next attempt I might just used some lighted Standoffs like I have seen on the forum before. Although I really like the idea of color changing, but I am unable to find any color changing ones that I can buy. I did find a company that made them, and I reached out, but they were less than helpful in my efforts to buy any. They seemed not to want to sell them to me nor steer me in a direction that I could buy them from.
You need to search on Amazon or Ebay and educate yourself on what’s available. Millions.
Yes. Not necessarily touching, but along the edge of the acrylic, rather than behind it.
And then somehow hidden from direct view so the light travels through the acrylic & is reflected/refracted by the etched design, and you’re not seeing direct light from the LEDs.
1 Like
Some of the plastic supply houses sell them but they are not cheap a 4 pack of color changing ones was $150.
1 Like
Yes I found the ones for $150 several times. After reading CrookedWoodTex comment I looked again closer and i do see a set of 4 on Amazon color changing for around $50. I will most likely give them a try next.
Please post the results, I find them interesting and If they work well I can add more projects to the list ![]()
Would those have sufficient coverage?
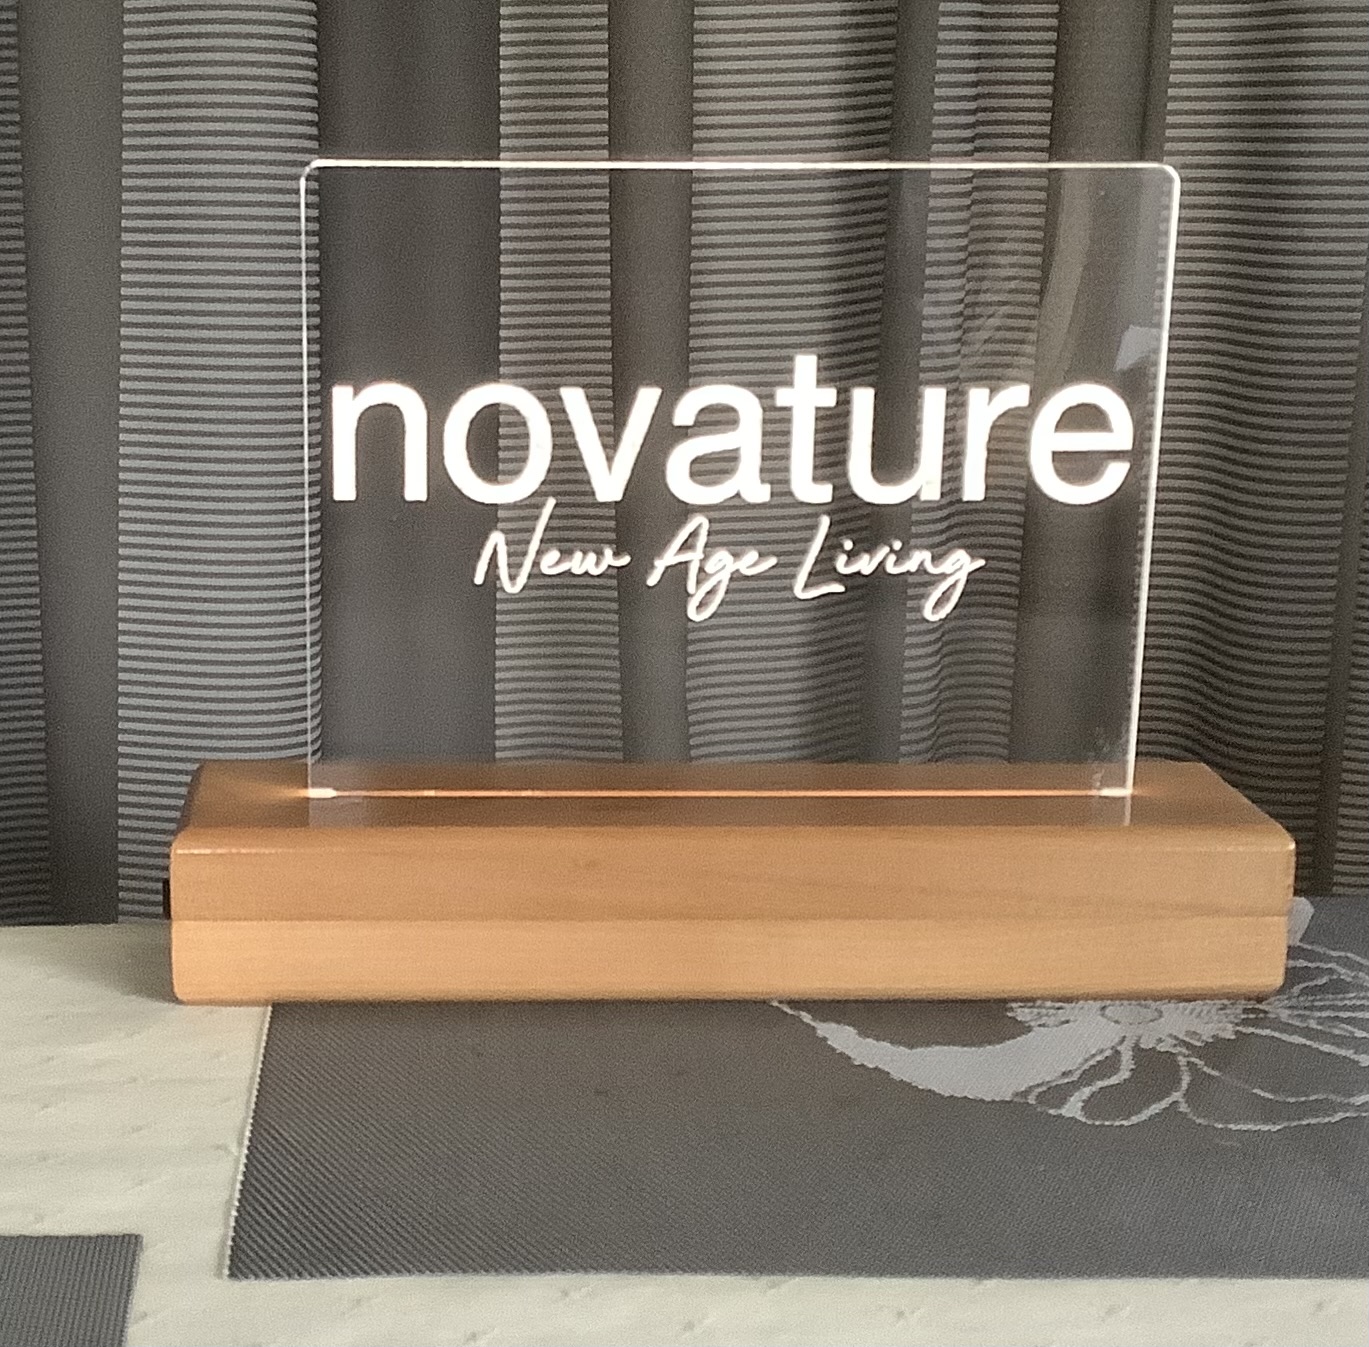
Hi Jeffrey,As Tod with one d says you need the light coming through the acrylic as opposed to outside.I use cast acrylic and machines very well.One thing I do is have the LED strip in a aluminium channel with a frosted insert above it which is your diffuser.This way the individual LED lights don’t show up through the acrylic.Having said that a circle poses a few more challenges than a square or flat.Here is a few examples off what I do.
1 Like
Not sure what size you’re looking at, but we have 8"x8" kits at:
Here’s what I bought for my last LED job (which paid for extra inventory.) Might not be suitable for what you want, but I’m sure I could make it work so you could, too.
At least this will give you details on what to search for.