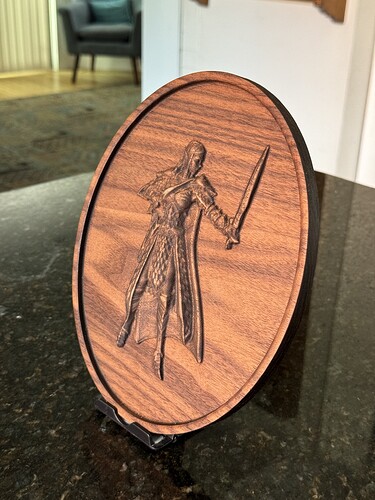
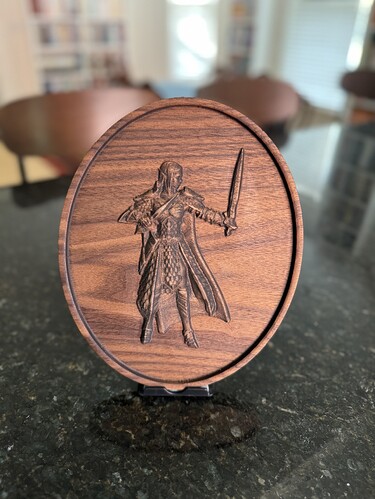
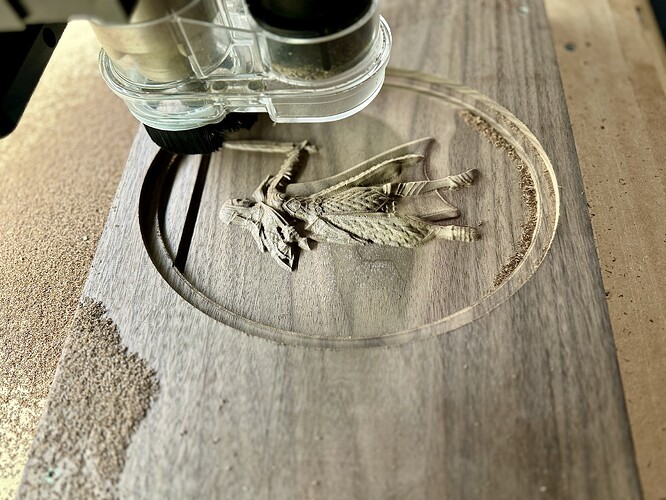
I wanted to try my hand at relief carving so I made this cameo for my daughter (it’s supposed to be her Dungeons & Dragons character). I used a 1/8” ball nose for the final parallel pass. But I should have used a 1/16” tapered ball nose to really lock in the details. It looks OK from a few feet away, but a little fuzzy on close inspection. I was hoping the stain I used would give the whole thing an antique patina—but it just made everything too dark. Now that I get the overall workflow, I’m ready to attempt more ambitious projects.
The software I used to make the relief is called Relief Maker (reliefmaker.com). It does only one thing but it does it really, really well—i.e., convert 3D models to relief models (or height maps if that’s what you need). Worth the $200, which gives you a forever license. I looked at a bunch of free options but none had the same quality or easy workflow. I have not used it with Carbide Create; the author has a specific tutorial for Create, however.


