So I bought a plank of Wenge thinking I would use it for some inlay projects. I first tried to use a 1/4" upcut which ended up chipping out the wenge plug significantly. I switched to a down cut and everything turned out exceptionally well. I now have the project in the press and I was contemplating which bit to use to shave off the wenge plug. I’m thinking a down cut would best, any advice?
I would stick with the down cut If I was doing it.
2 Likes
Wenge is a very brittle and splintery wood. Just handling Wenge gives me a splinter. If at all possible try to cut in the grain direction. Going across the grain can make the grain tear/splinter out.
3 Likes
I’ll give that a shot.
Depends on the desired final project. I use downcut bits and a sacrificial spoil board on top of my normal spoil boards as in you would use a “zero clearance” insert on a table saw to minize the blowout on the bottom. The other option is tp elevate the project piece up off the table for an outline or outer finish pass with a compression bit. It’s still a gamble due to the brittle nature of Wenge, but that has not stopped me from cutting it on the CNC. Don’t use older worn bits.
In your case above I would use the downcut bit, you may want to leave it proud by 0.002” and sand/hand plane the rest to prevent potential chip out along the glue line.
1 Like
Thanks for the advice. I generally leave stock and sand it off with my drum sander when finishing inlays. I have a few newish down cut bits and plan to reduce plunge pass depths to .125 vice .25. I’ll post results when I complete plug waste removal, still waiting for the glue to cure.
1 Like
I made a 9 x 16 x 1.25" tray out of wenge with the Amana 46415 Solid Carbide Spiral Plunge 1/4 Dia x 1 Inch x 1/4 Shank Down-Cut bit, both to rough out the bowl and to remove the tray from the stock. I had excellent results with the bit. The wenge made such a beautiful tray. Good luck, Jarret!
3 Likes
Well, everything turned out perfect. Thanks all for the advice and recommendations. I ended up cutting with the grain with a 1/4" down cut bit and left ~.06", last pass was set to .125". Durm sander took care of the rest.
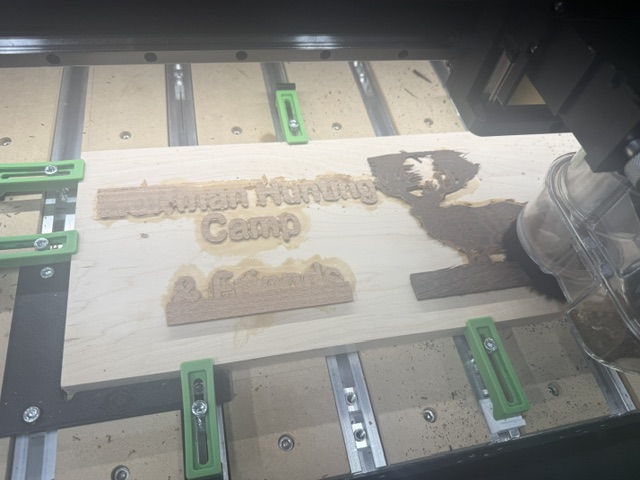
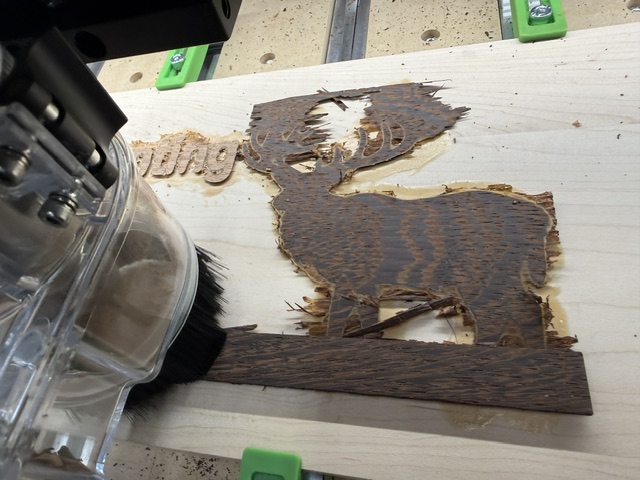
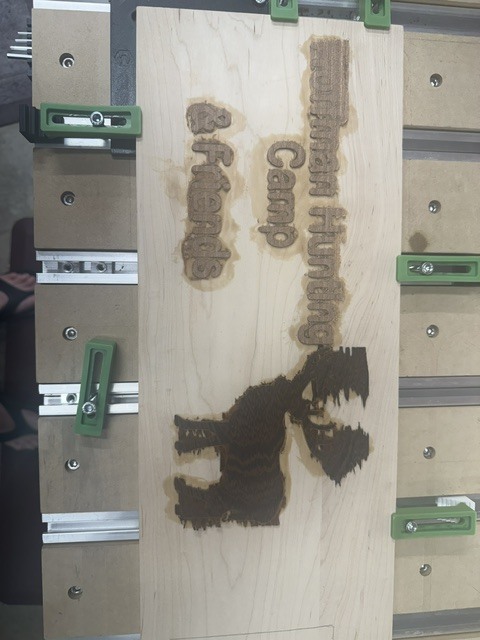
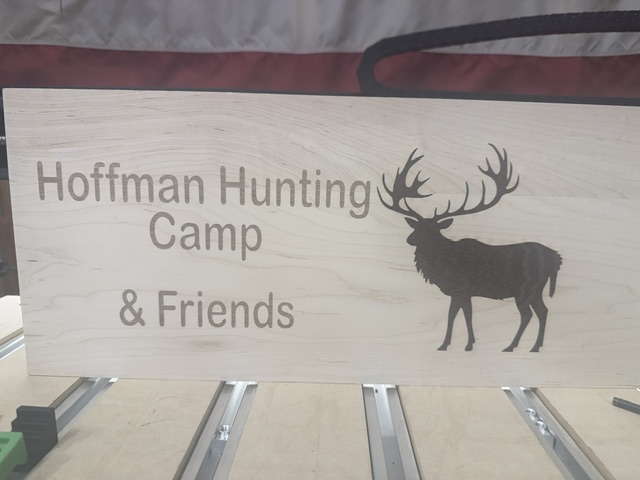
5 Likes
Turned out fantastic!
1 Like
Beautiful! I am really surprised how well the side grain carving went.
May I ask what Starting Depth (S) and Max Depth (D) for the plug you used, and what plug depth (D) and top gap (S) for the plug and what V-carve you used?
So the Maple inlay was cut at 0.125" (flat depth) with a 3 Flute 30-degree v-bit, 1/4" and a 1/16 bit for clearing. Start depth was top of the material.
Inlay setup was with a pocket depth of 0.125", Glue Gap: 0.03" and a surface gap of 0.05".
1 Like