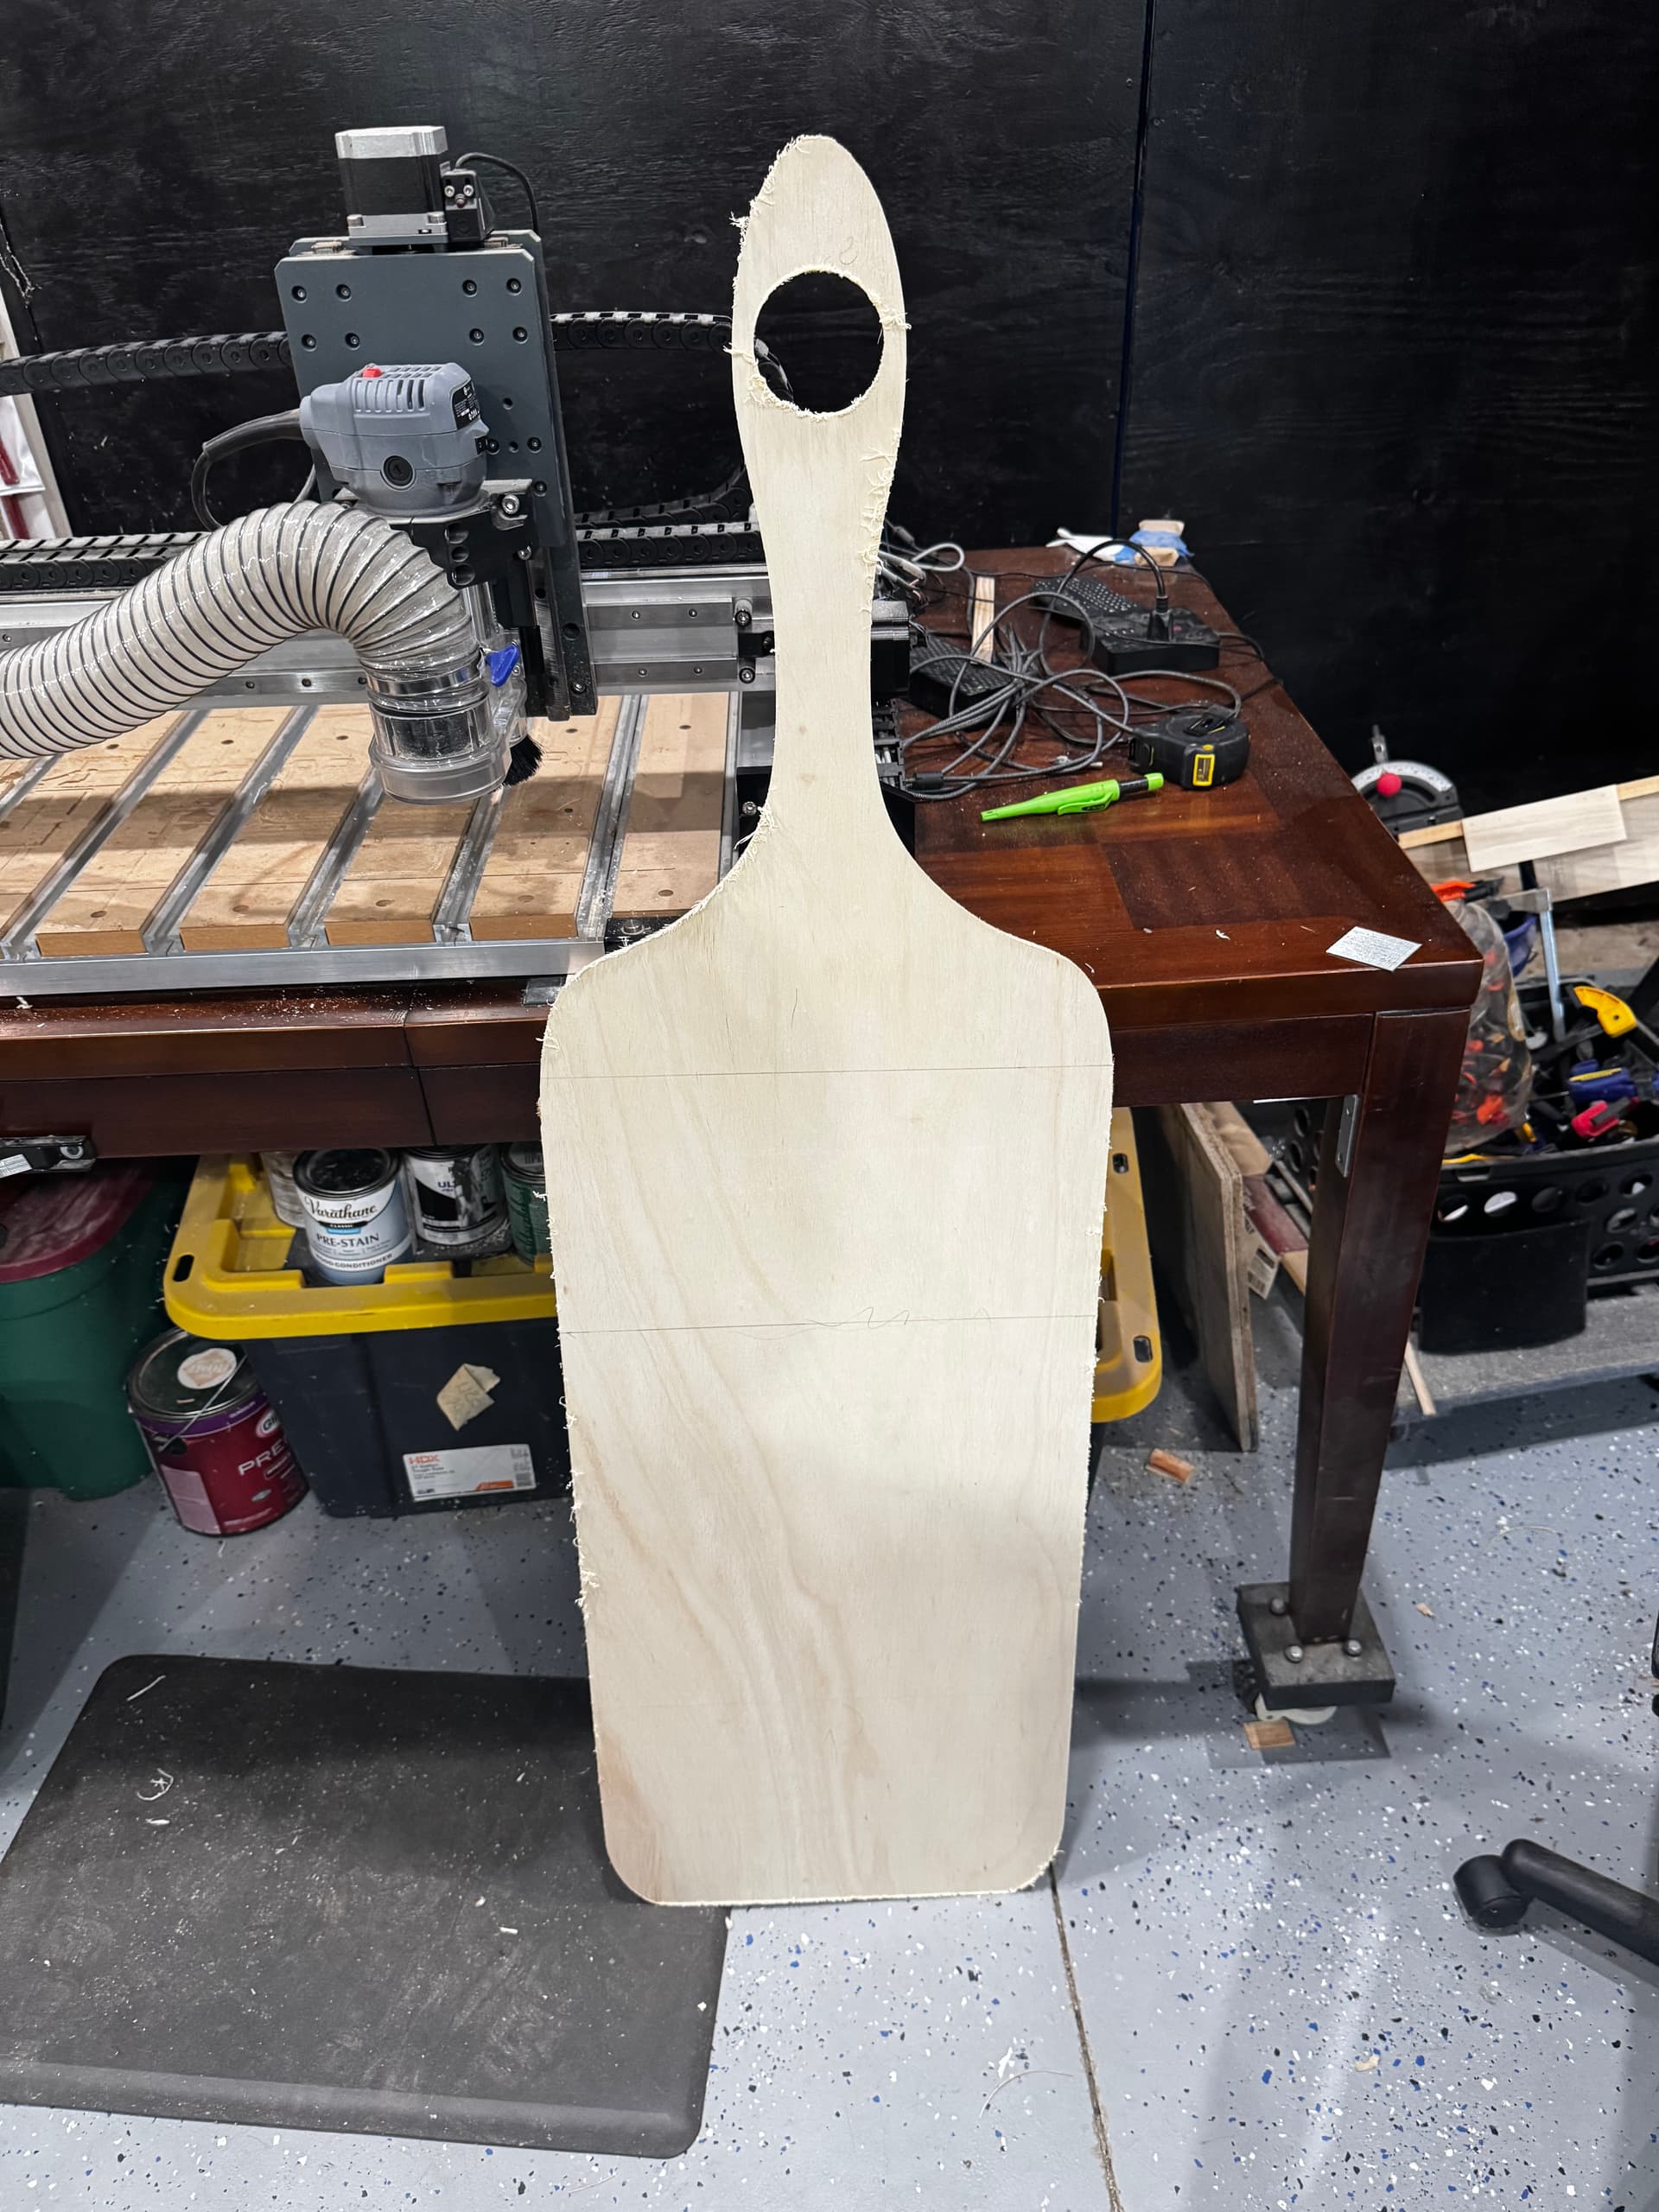
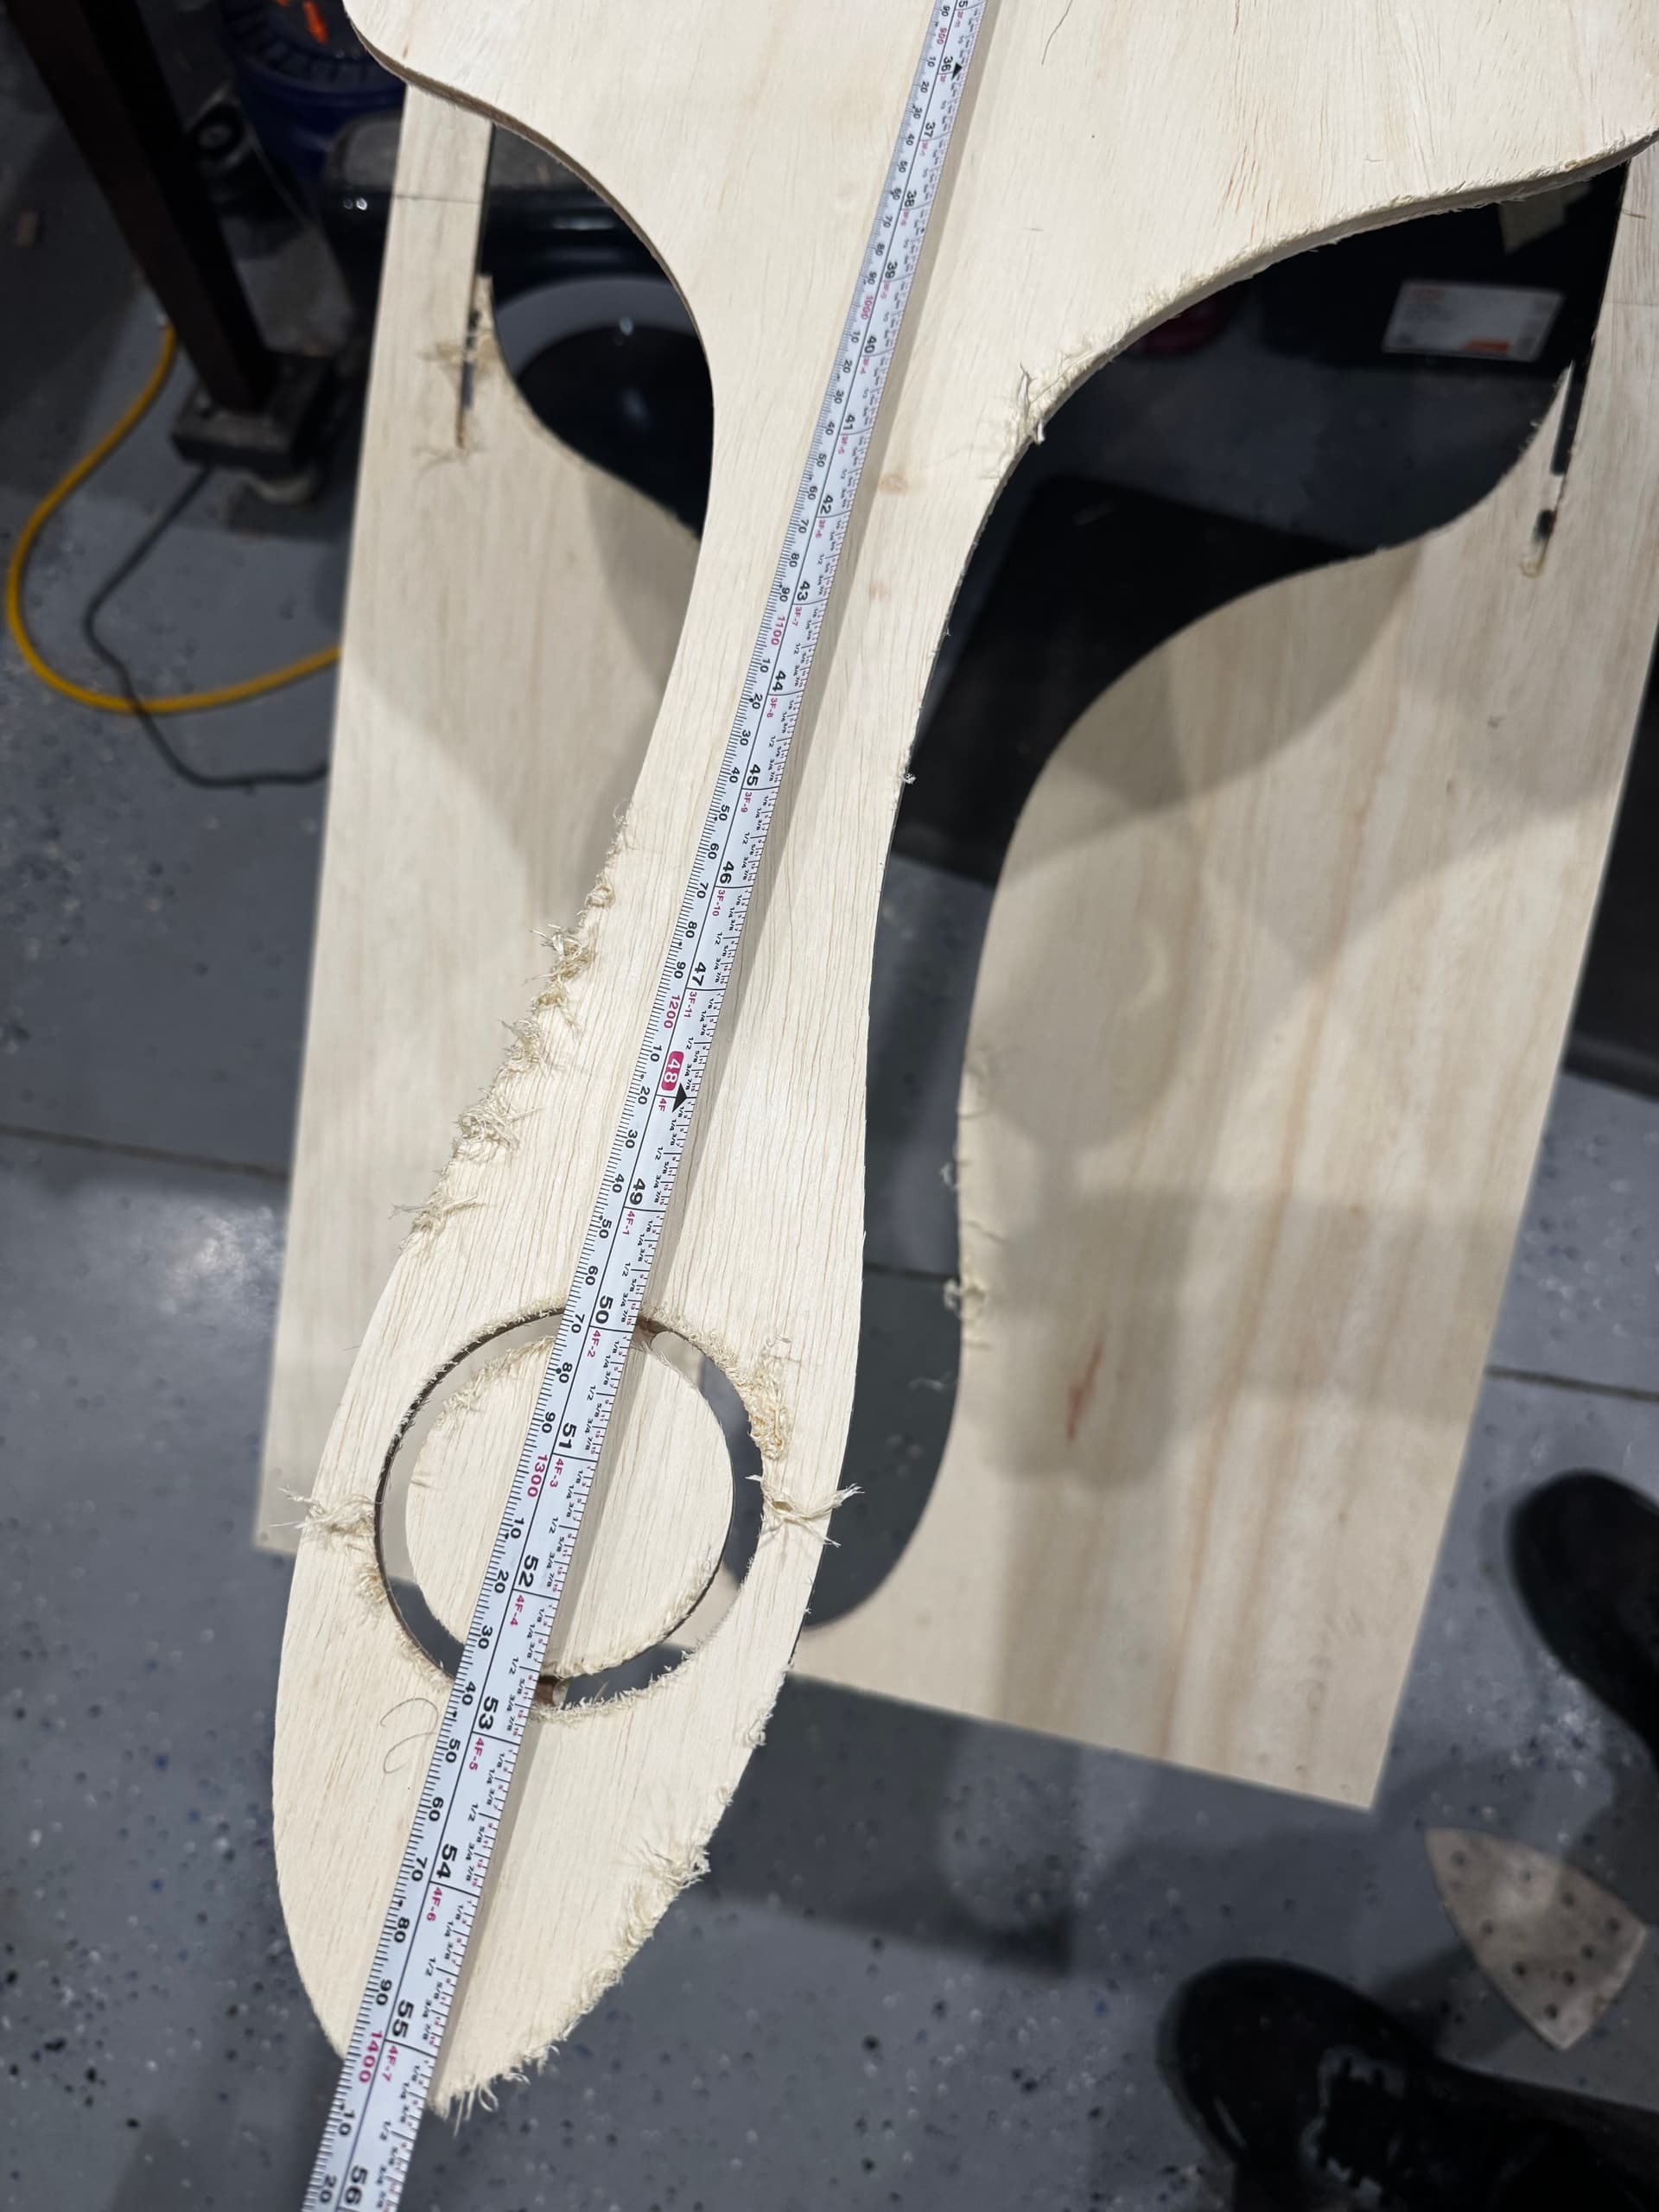
I am new to tiling in Carbide Create Pro, I would appreciate any help figuring out what went wrong. See details below.
Machine and software
Shapeoko Pro XXL
Carbide Create Pro Build 842
Carbide Motion Build 656
Project
Charcuterie board
Design size: 17" × 60"
Test material: plywood that is approximately 3/16" thick. After I figure out what I did wrong, I plan to cut the board out on 5/4 cherry. Charcuterie Board - Tile 1.c2d (60 KB)
Tile setup
3 tiles
Tile Height: 24"
Vertical Overlap: 0.75"
X Margin: 1"
What I did
I used a BitZero on the front-left corner of the plywood to zero X, Y, and Z before cutting Tile 1.
After each tile, I moved the plywood forward 23.25 inches. I kept it aligned using the front edge of the wasteboard as the upper stop and a scrap fence along the left side of the workpiece.
I did not re-zero after moving the plywood. I repeated the same process for Tiles 2 and 3.
Problems
The finished board measured only about 55.5 inches instead of 60 inches.
Also, only three holding tabs remained during the cut, even though several more tabs were placed and visible in the Carbide Create toolpath.
My two main questions are:
Why is the cutout shorter than what I designed in carbide create?
Why would only three of the tabs appear in the actual cut?
I have the Carbide Create file, all three G-code files, additional photos, and a photo of my fence setup available if they would help.
I will use a pocket for the circle. That makes a lot of sense. I will also add more tabs. Any idea why it cut shorter than my file? Did I do something wrong with the tiling setup? Here is a photo. As a new user, I limited to posting one photo. Thank you!
If you have your tile height set to 24" then you need to move your board 24". Along with your tool path offset being set to “inside”, that’s probably what wiped out your two tabs and made your board shorter than expected. Attached is a modified version of your file that may help.
Firstly, is that a wall decoration or do you have some giants where you live?
Move the piece the same as the tile height as Ed said.
I mark my spoil board with a pencil when I zero for the first tile and I mark the material at each tile interval. Then slide the piece forward until the marks align for each tile.
Lol. My sister asked me to make it for her. I think she plans to put it on her table and put food on it like a serving tray. It’s huge! Also, thanks for the recommendation about marking the material and the spoil board.