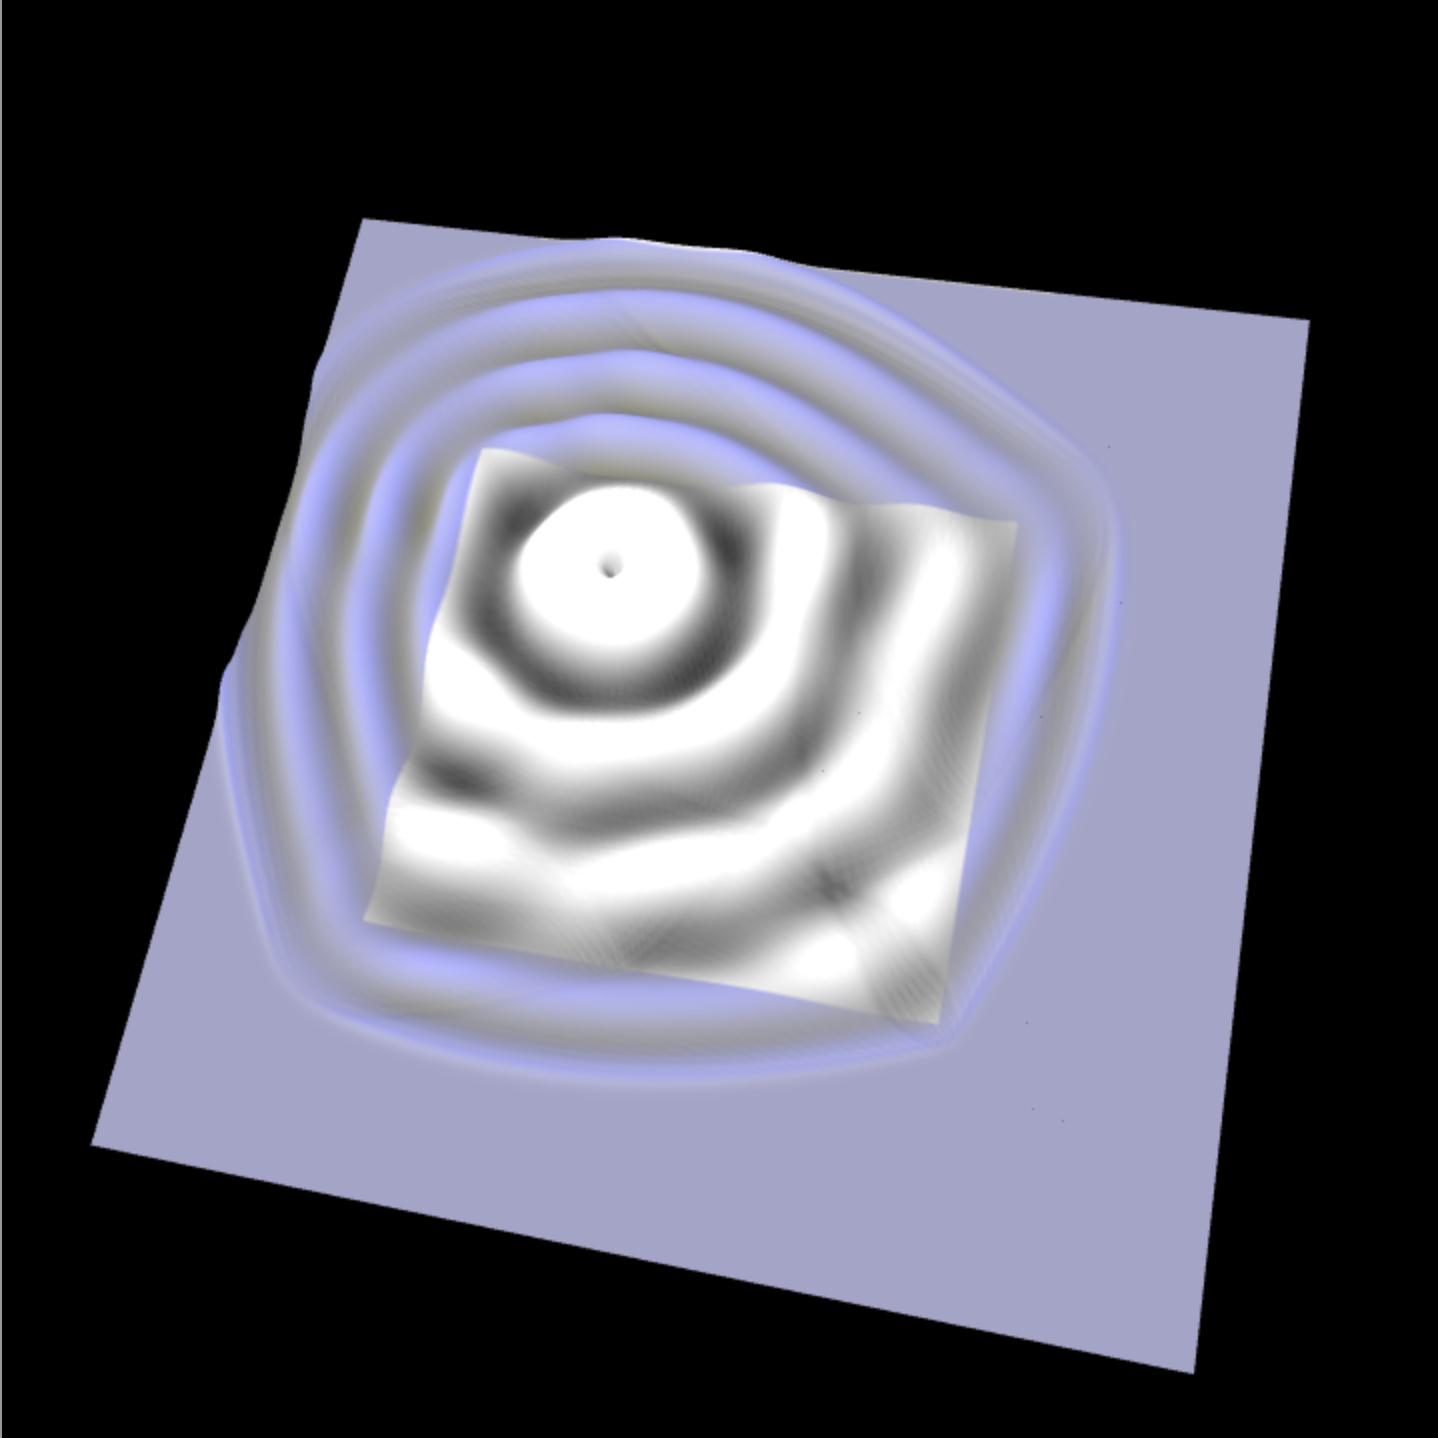
I’m having a little trouble creating a 5 sided-box in F360 out of a 3D texture I want to place on top of it. Heres the idea:
The middle square represents the “face” of the box while the blue border surrounding the face are the 4 edges of the box (top, bottom left, and right) if you were to fold them away from the the face at 90 degrees into the black space. Where I’m having trouble is these 4 edges need to be Rectangles and the ripple pattern needs to meet at each mitered joint and be continuous around the perimeter.
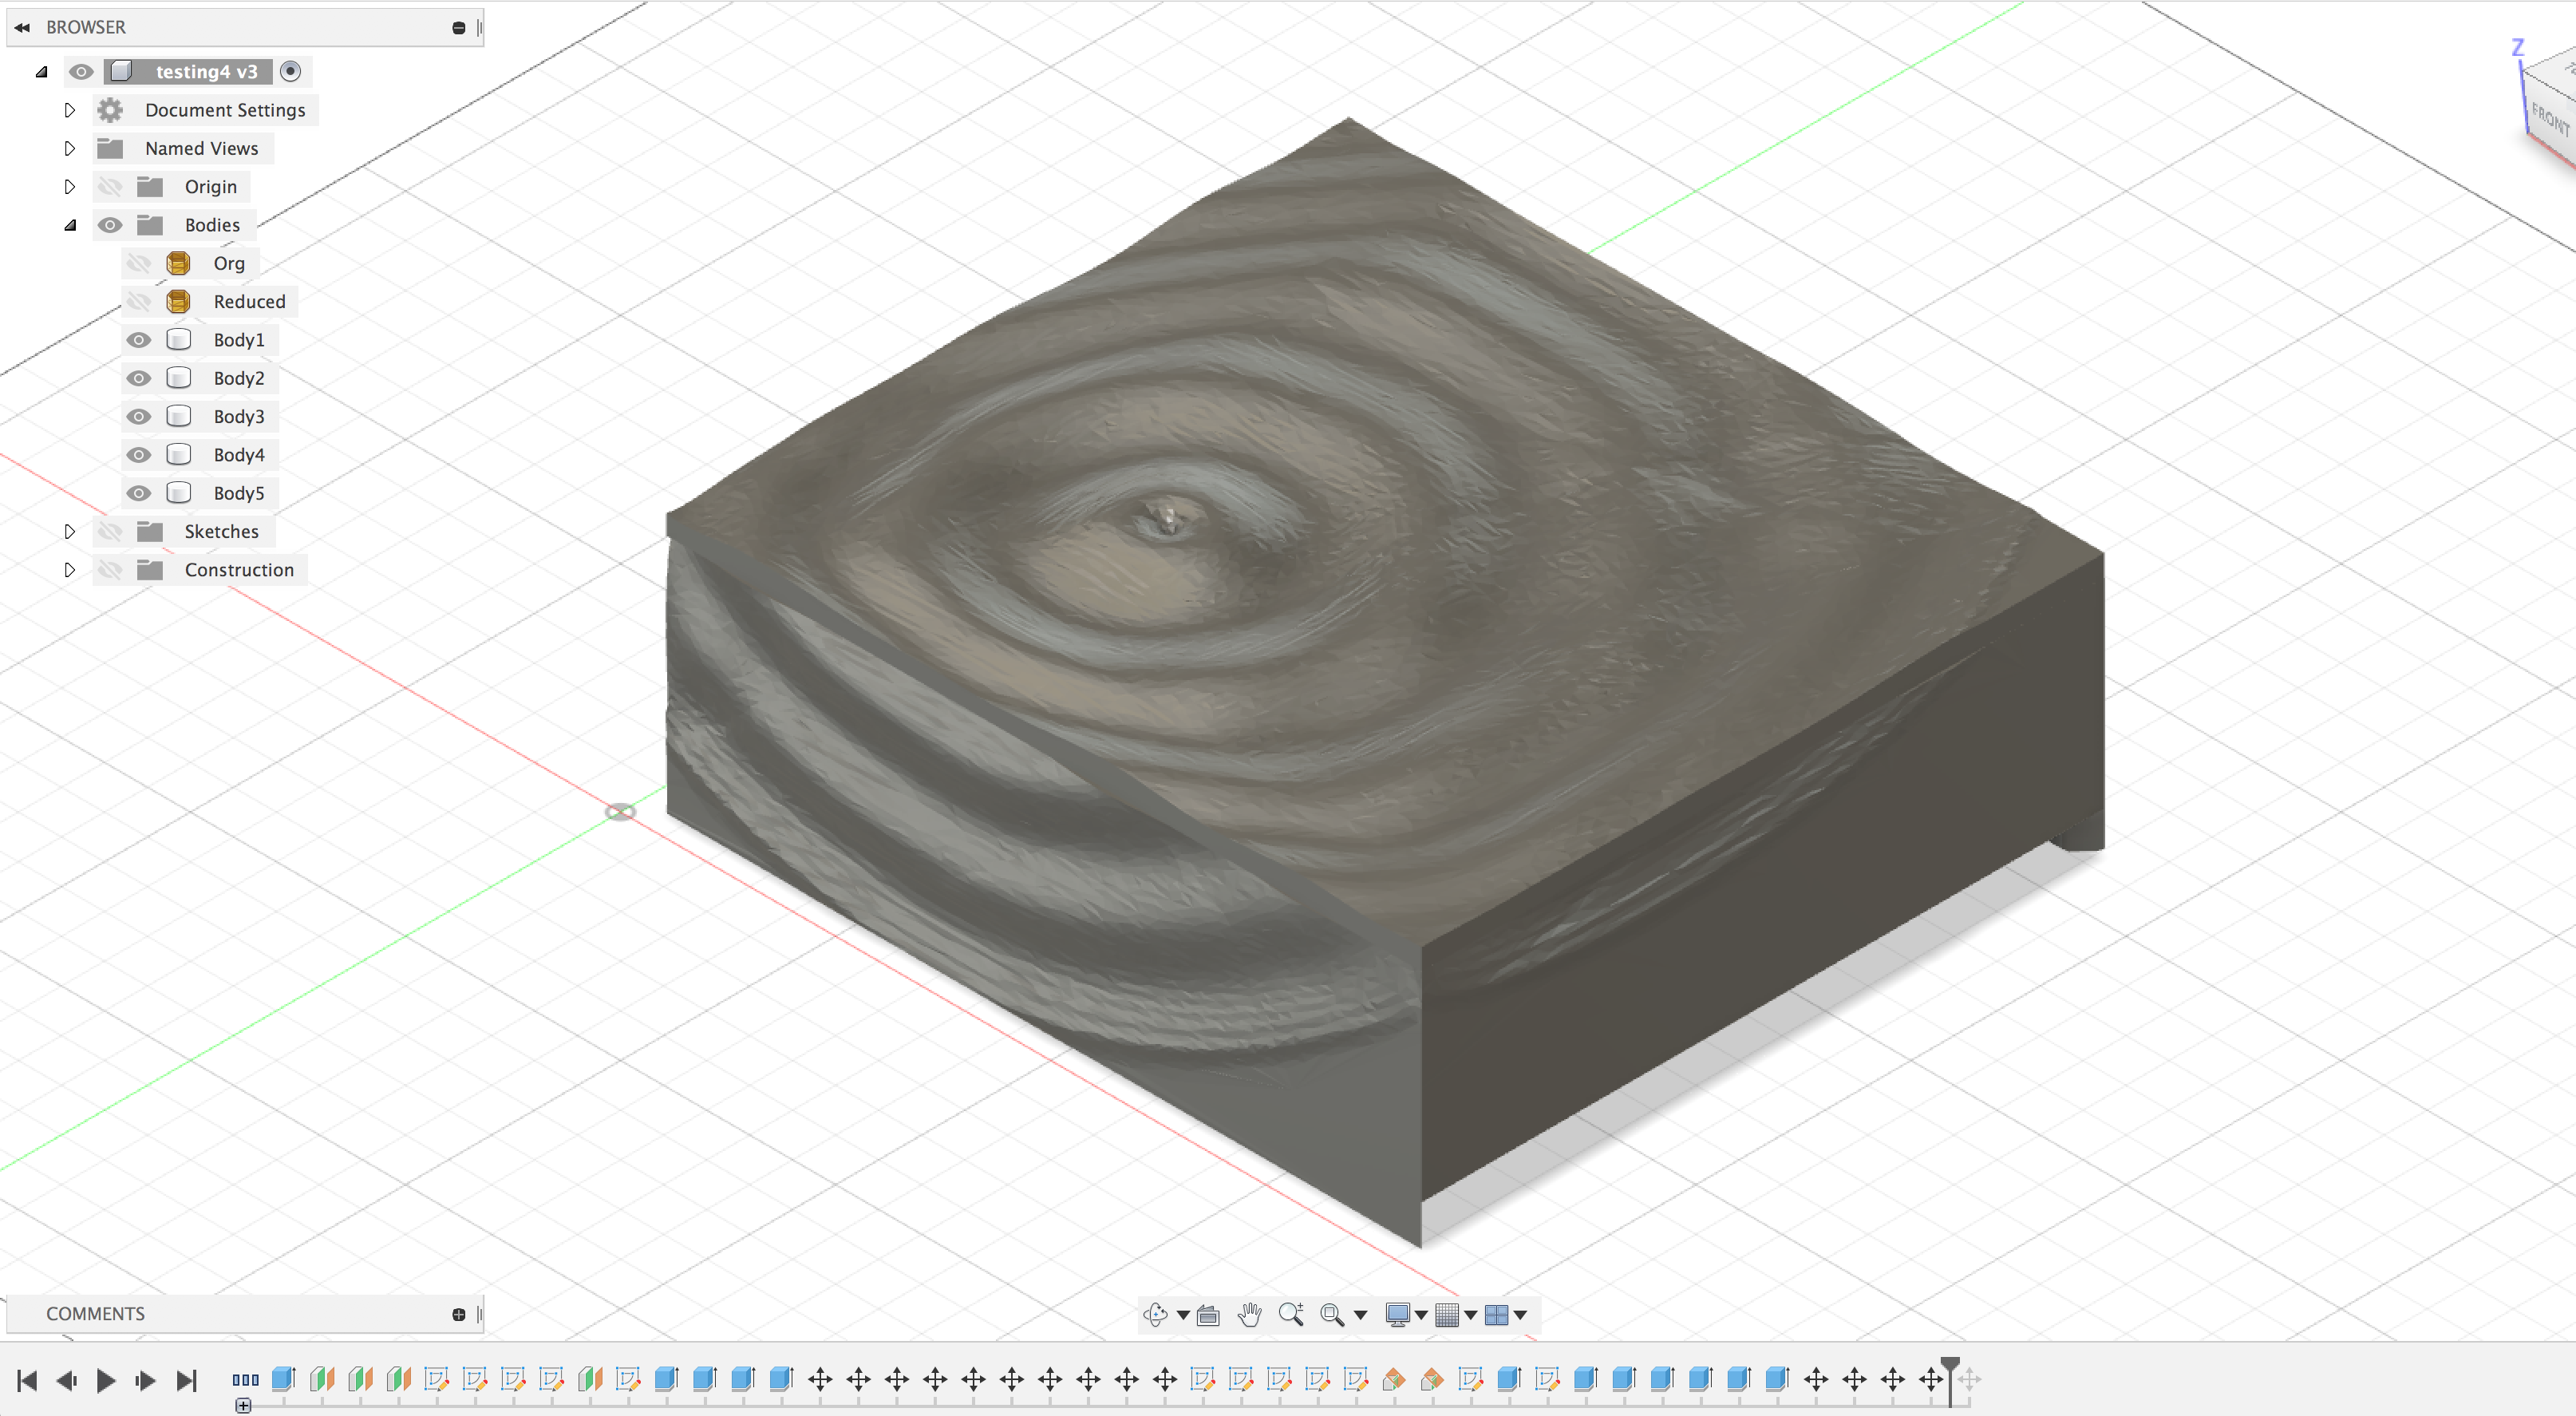
I’ve attached a Fusion File here that can be manipulated; however, please track the history in your re-share as this is just a testing file to make sure the concept works. Original is the pre-reduction STL, Reduced is the post-reduction STL, Body1 is Reduced converted to a body.
Could you create 4 separate components using what you have for each? Each component would be 1 side with the rest cut away. Then just move each component into position and miter as needed.
I would say that of all the workspaces I understand sheet-metal the least. Followed not that far, by surface. I’ll try to make another ugly baby in surface tomorrow AM. Thanks guys
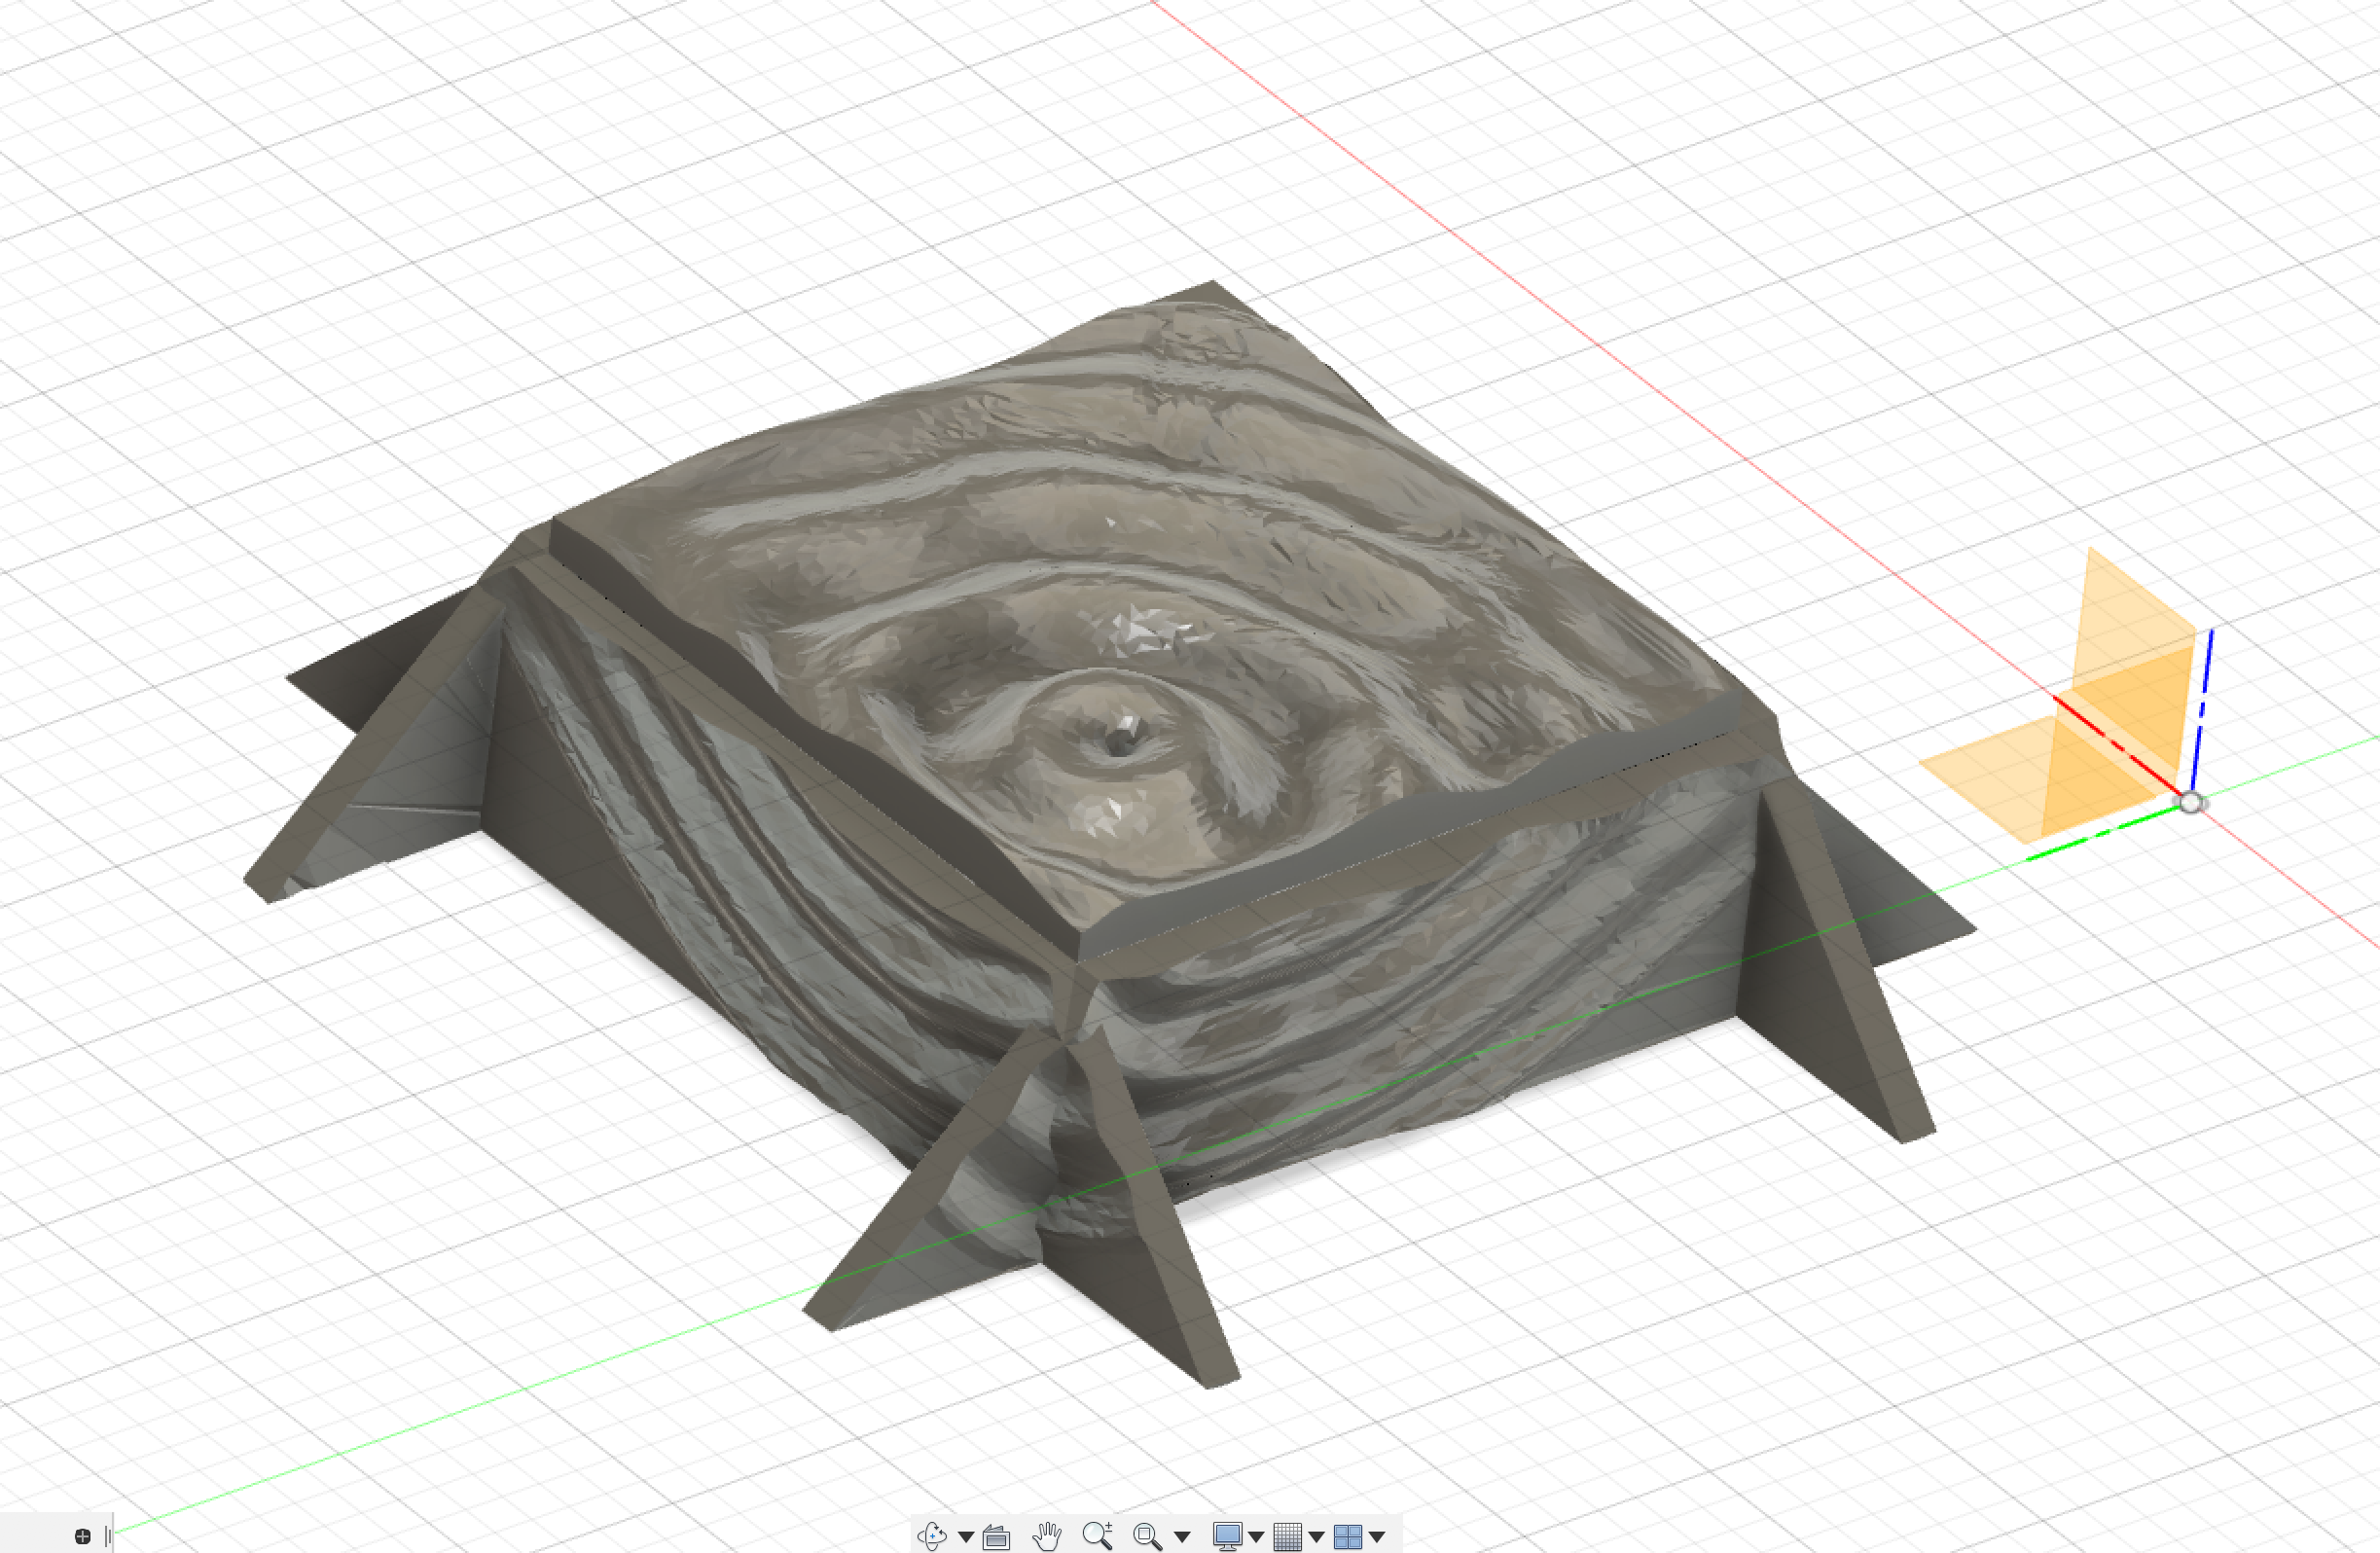
This looks close? Can you cut the triangular ends of the sides and get closer that way?
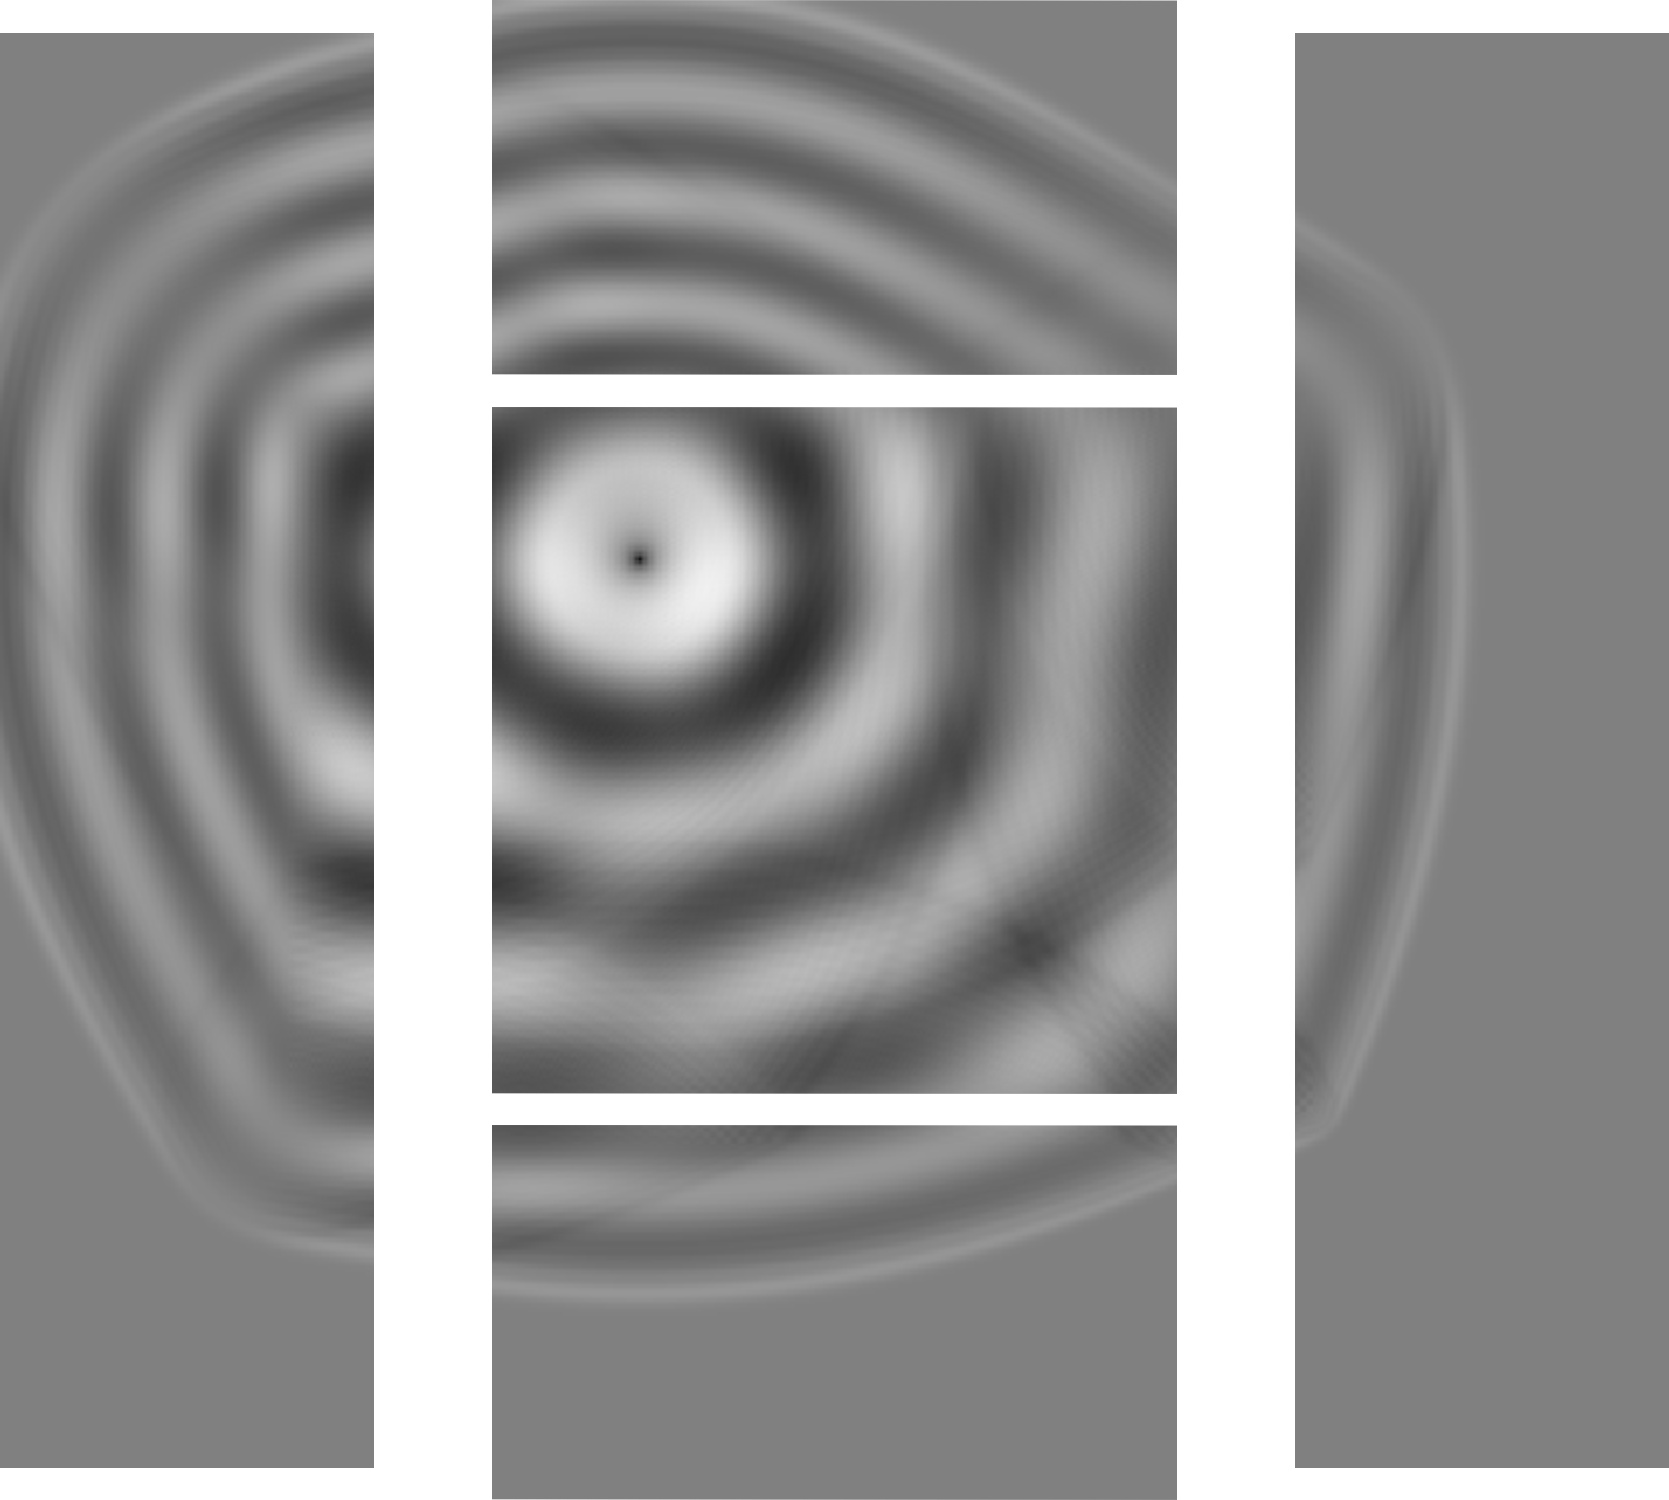
Another thought is to create the box first, then apply the texture to each side. You would need to manipulate your greyscale into the 5 sections.
Just throwing darts.
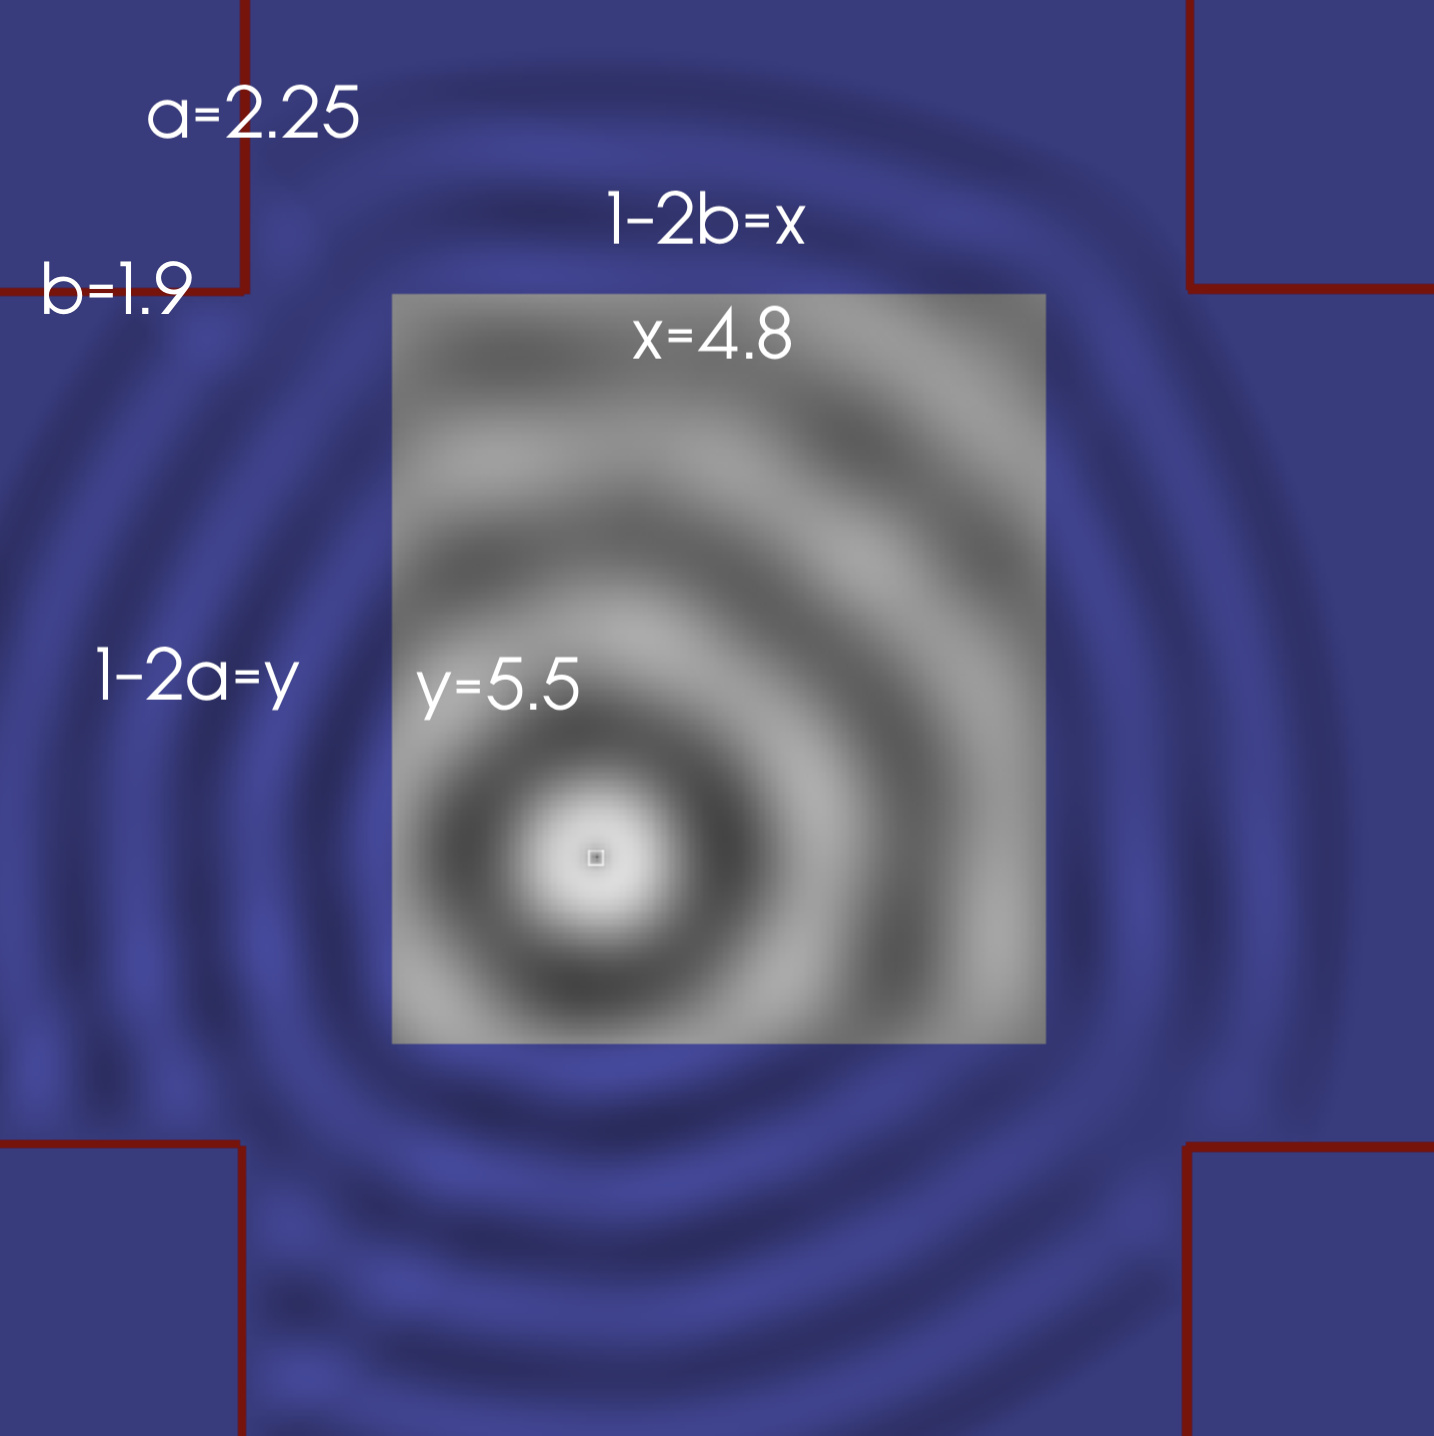
I thought about doing that, but Because each individual greyscale wouldn’t have the same black and white points assigned to z max and z min and as a result the Z Heights would get messed up in the conversation to STL.
I’m sure I could force the above ugly baby to get closer, but it’s never going to be perfect. I was hoping for a solution that stretched the texture where it needed to stretch. There’s bound to be a better way, that might be the surface or sheet metal workspaces.
Still shooting for that Triple 20…
Can you manipulate the greyscale into a 5 piece collage, then use the collage to create a model that could be used to more easily make 5 seperate pieces?
Finally, some body splitting and moving around in F360 an Vola… (in this particular application i do no think I will miter the top side (we will see). But concept works.