Carbide 3D Community Site
Foolproof belt tensioners needed
Feature Request
neilferreri
(Neil Ferreri Ω)
August 26, 2020, 5:05am
17
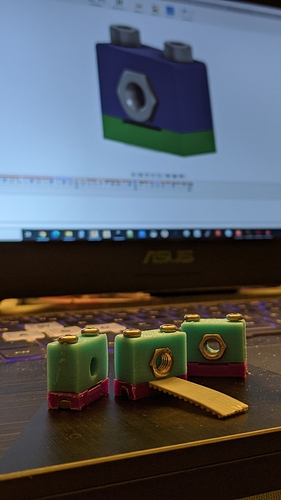
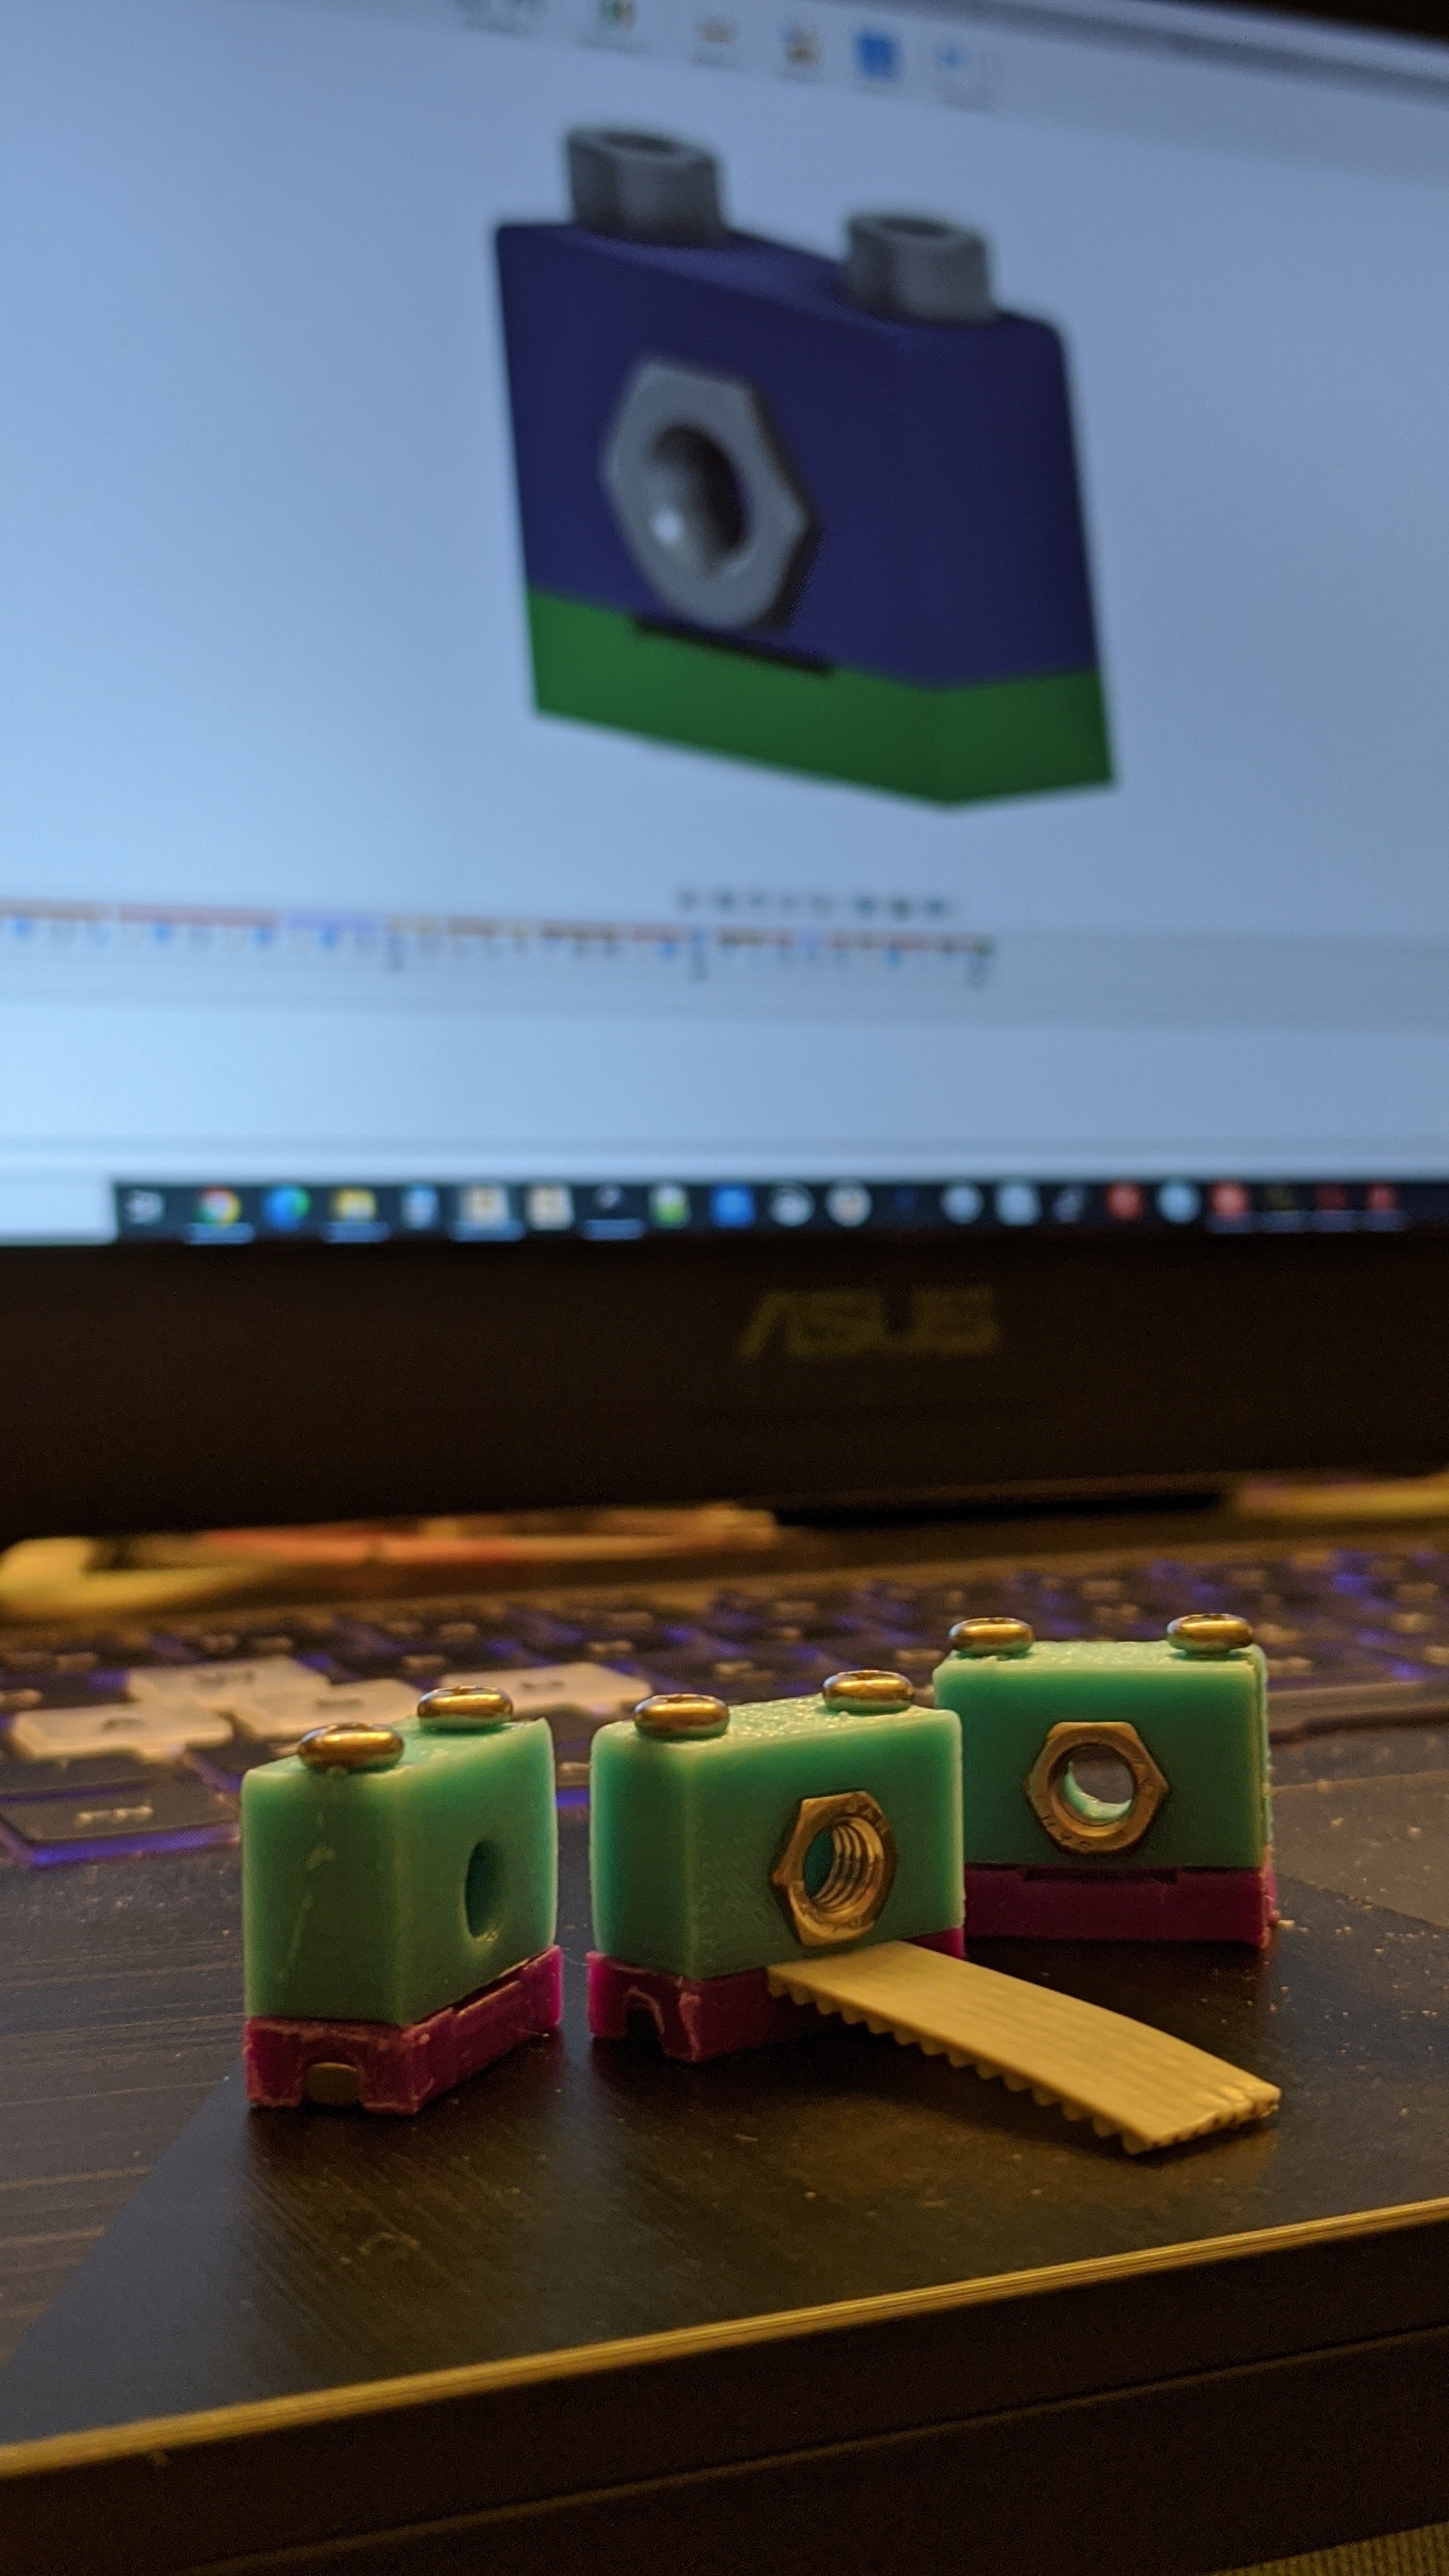
00000PORTRAIT_00000_BURST20200826010444531
2160×3840 1.82 MB
7 Likes
Laseoko Pro Build Thread
show post in topic