Tensioning the x and y axes shouldn’t be such a tedious pain. The design team should look into this and come up with something better for such a critical part. The elegant solutions shown on YouTube for Shapeoko2, screw-type tensioners, won’t work for Shapeoko3. I’ve been futzing around this issue for 3 ½ years and I’m fed up.
3 Likes
Which generation of machine do you have? older w/ M3 belt anchors and sliding motor mount belt tensioners, or current with M5 belt anchors which also tension?
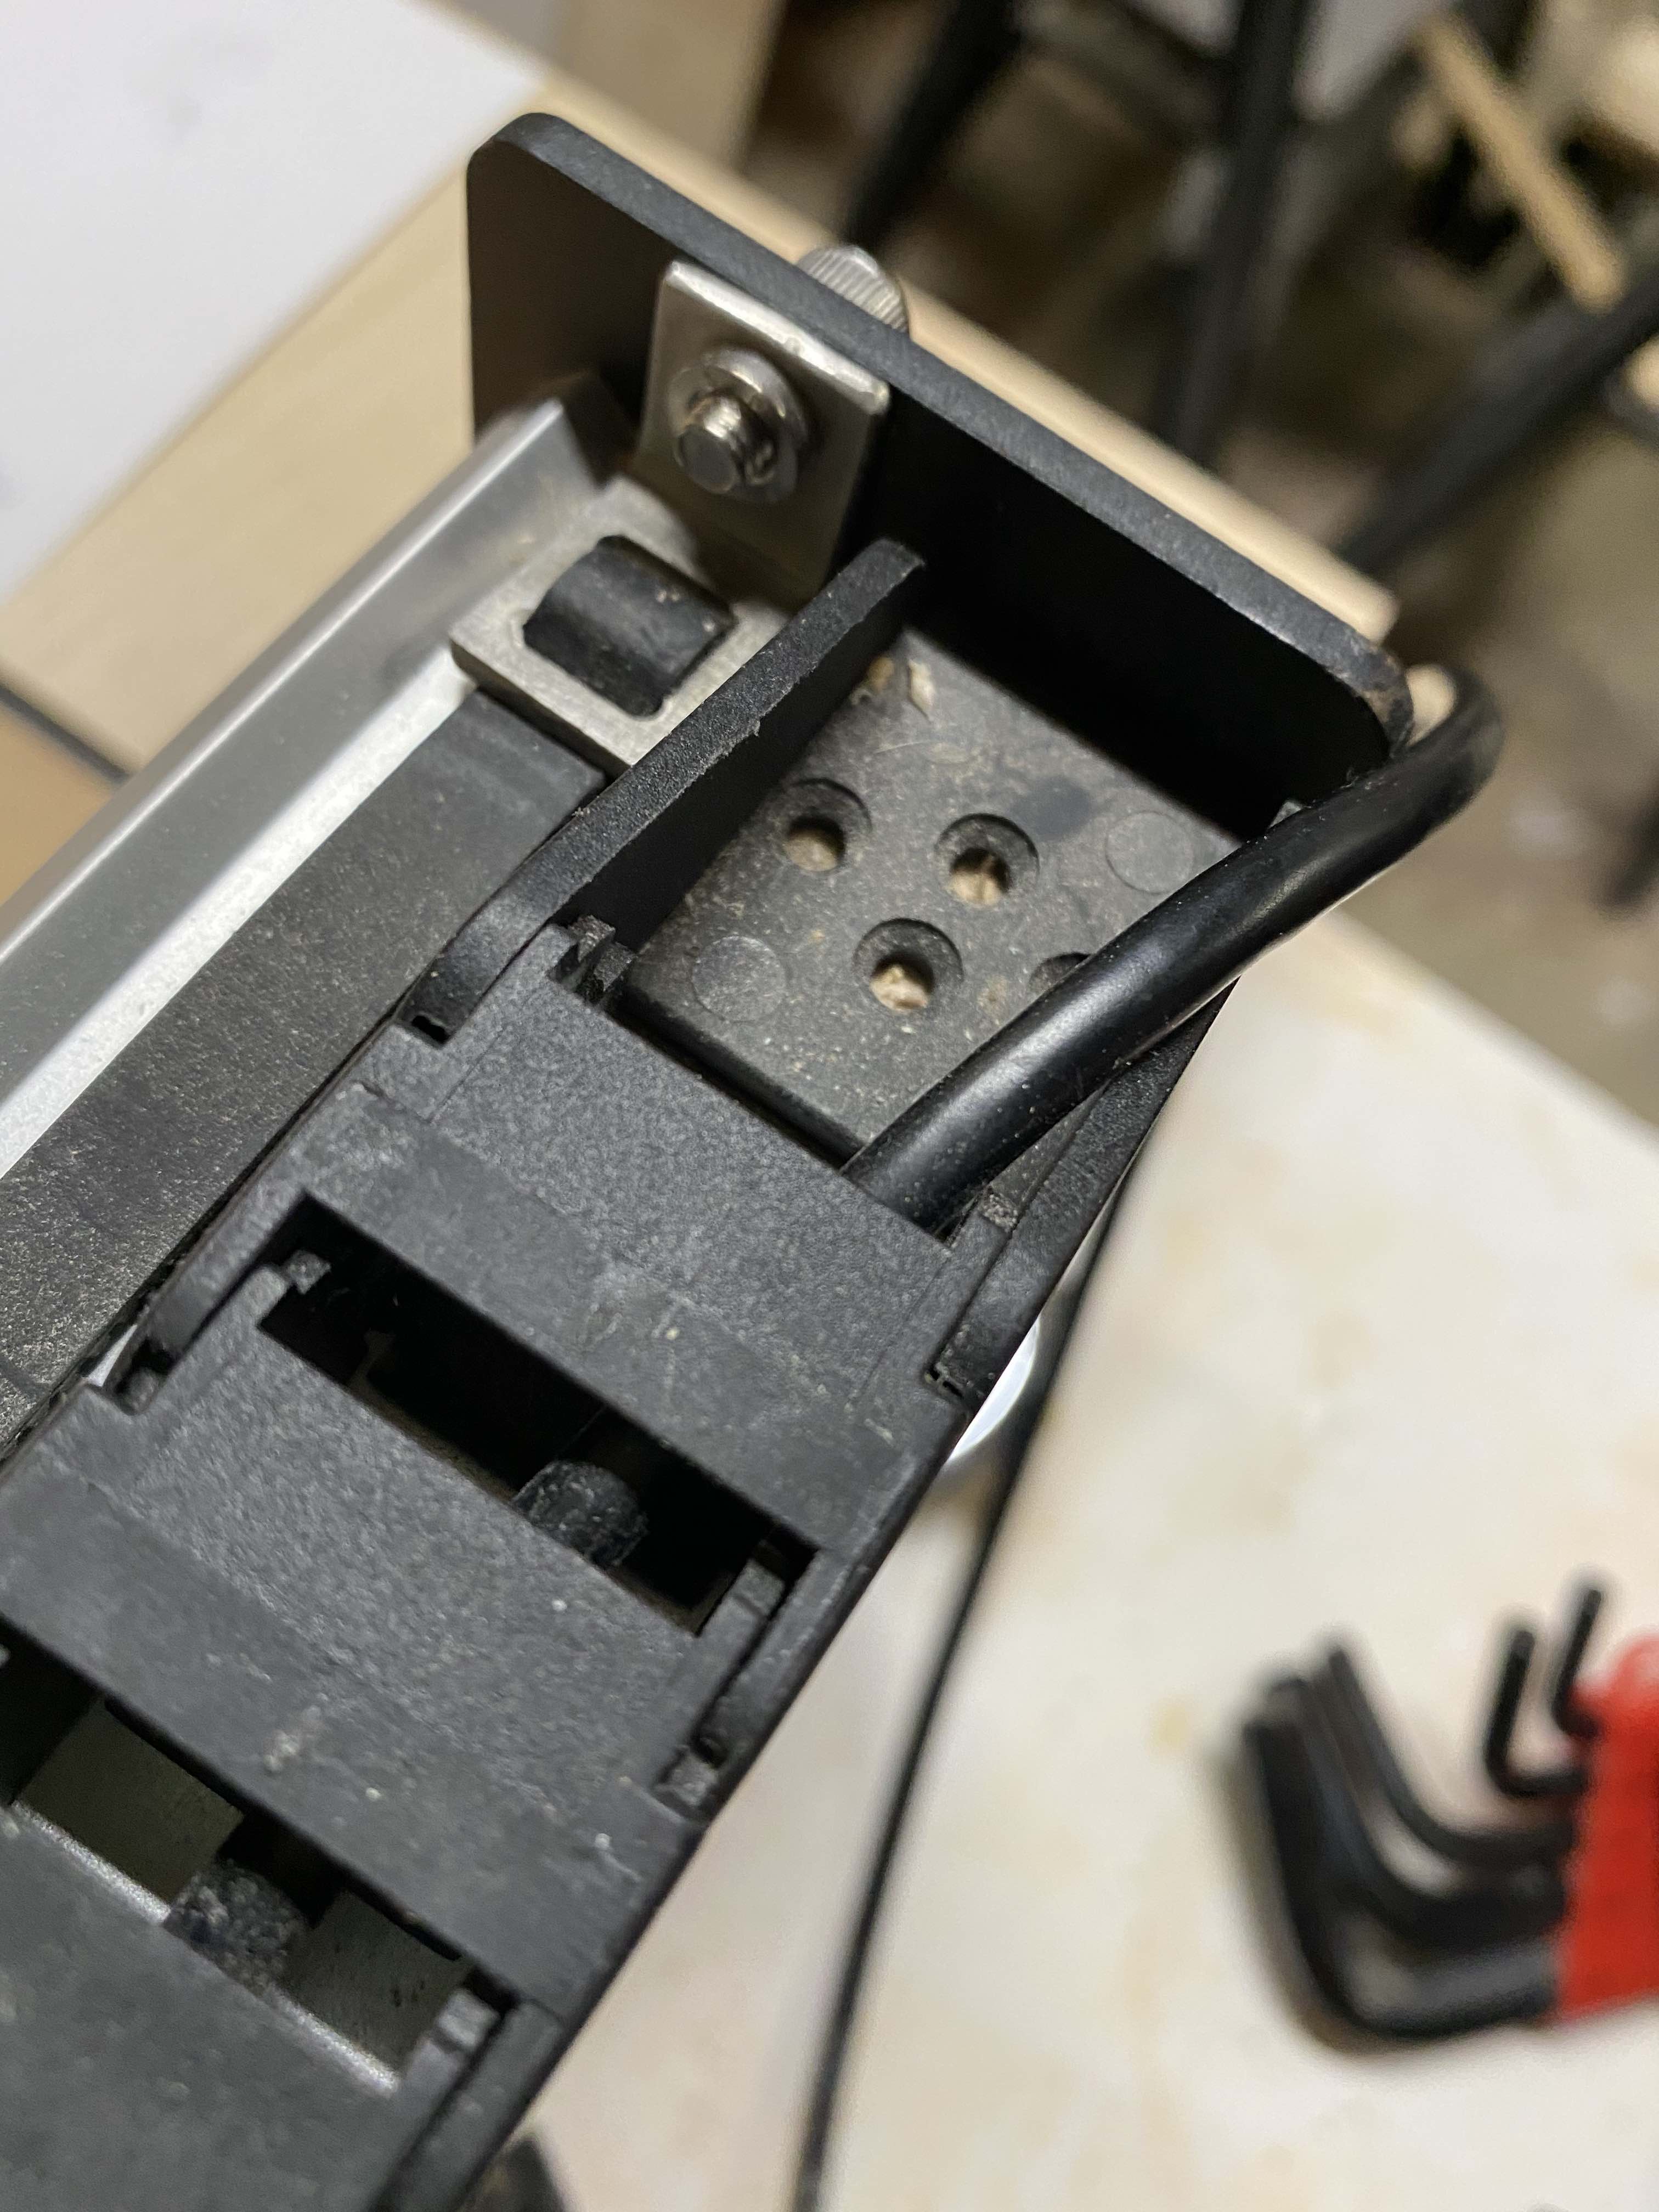
I got my machine in March, 2016. Shapeoko3 XL. I don’t know the size of the bolts but they require 4mm hex wrenches and they are metal belt anchors. Pic:
Those are the newer style M5 belt anchors — you should check w/ @Luke to see if he has any ideas.
I’ve always been somewhat surprised that there isn’t some standard/commodity industrial part for this.
There are loads of clamps for these GT style belts on AliExpress etc. in various grades of quality but they’re not designed as tensioners, just fixed anchors. So far as I can tell the expected way to tension the belt is a sliding mount for one of the pulleys, as per the motor mount on the old Shapeoko 2 or a sprung tensioner in the belt system which would not be useful in our situation. Oddly I have not been able to find any vendor for the loop style of clamp on the Shapeoko 3.
@Dr.Angus Might I ask, which of the alternative tensioners did you think were well designed and usable? (I haven’t seen them so I’d like to take a look).
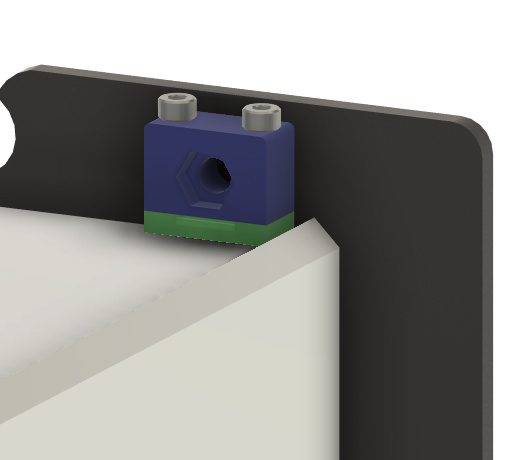
Untested: (EDIT: I should make it clearer…the image is a link to the part)
2 Likes
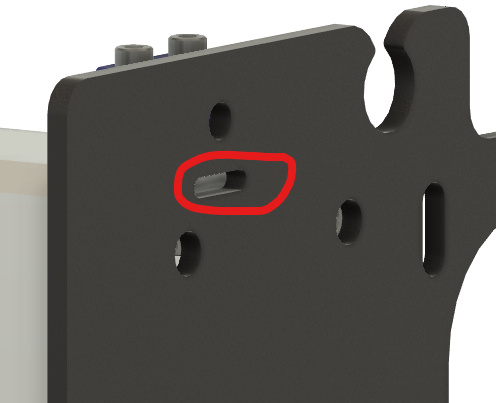
ISTR Catalin having a design where a slot to pass the belt through was machined in the endplate and the belt was tensioned with a bolt and clamps from the other side — wouldn’t be too bad on the Y-axis since you could hide these in back, but the X would be problematic.
A student I had a year ago had an uncle who had access to a laser that cut parts for the aviation industry. I have these on the machine I’m building for my classroom.
The original version of the design linked above (previous post) was made to use an M8 and mount on the outside.
8 Likes
The one I thought very clever was for the Shapeoko2 only, because the latter had oblong holes in the steel corners: https://www.youtube.com/watch?v=O4jDh-Kc9qA
Lucky for you to have access to a laser.
in the 3D printing world the ENder 3 V2 just came out and easier belt tensioning is a key feature of the v2… maybe worth a look to see how they did that
Not anymore. ![]()
The file I linked above should might work without any modifications to the Y plate.
Hmmm. What material would be suitable for such a design? I’ve never done any 3-D printing.
Hey @Dr.Angus,
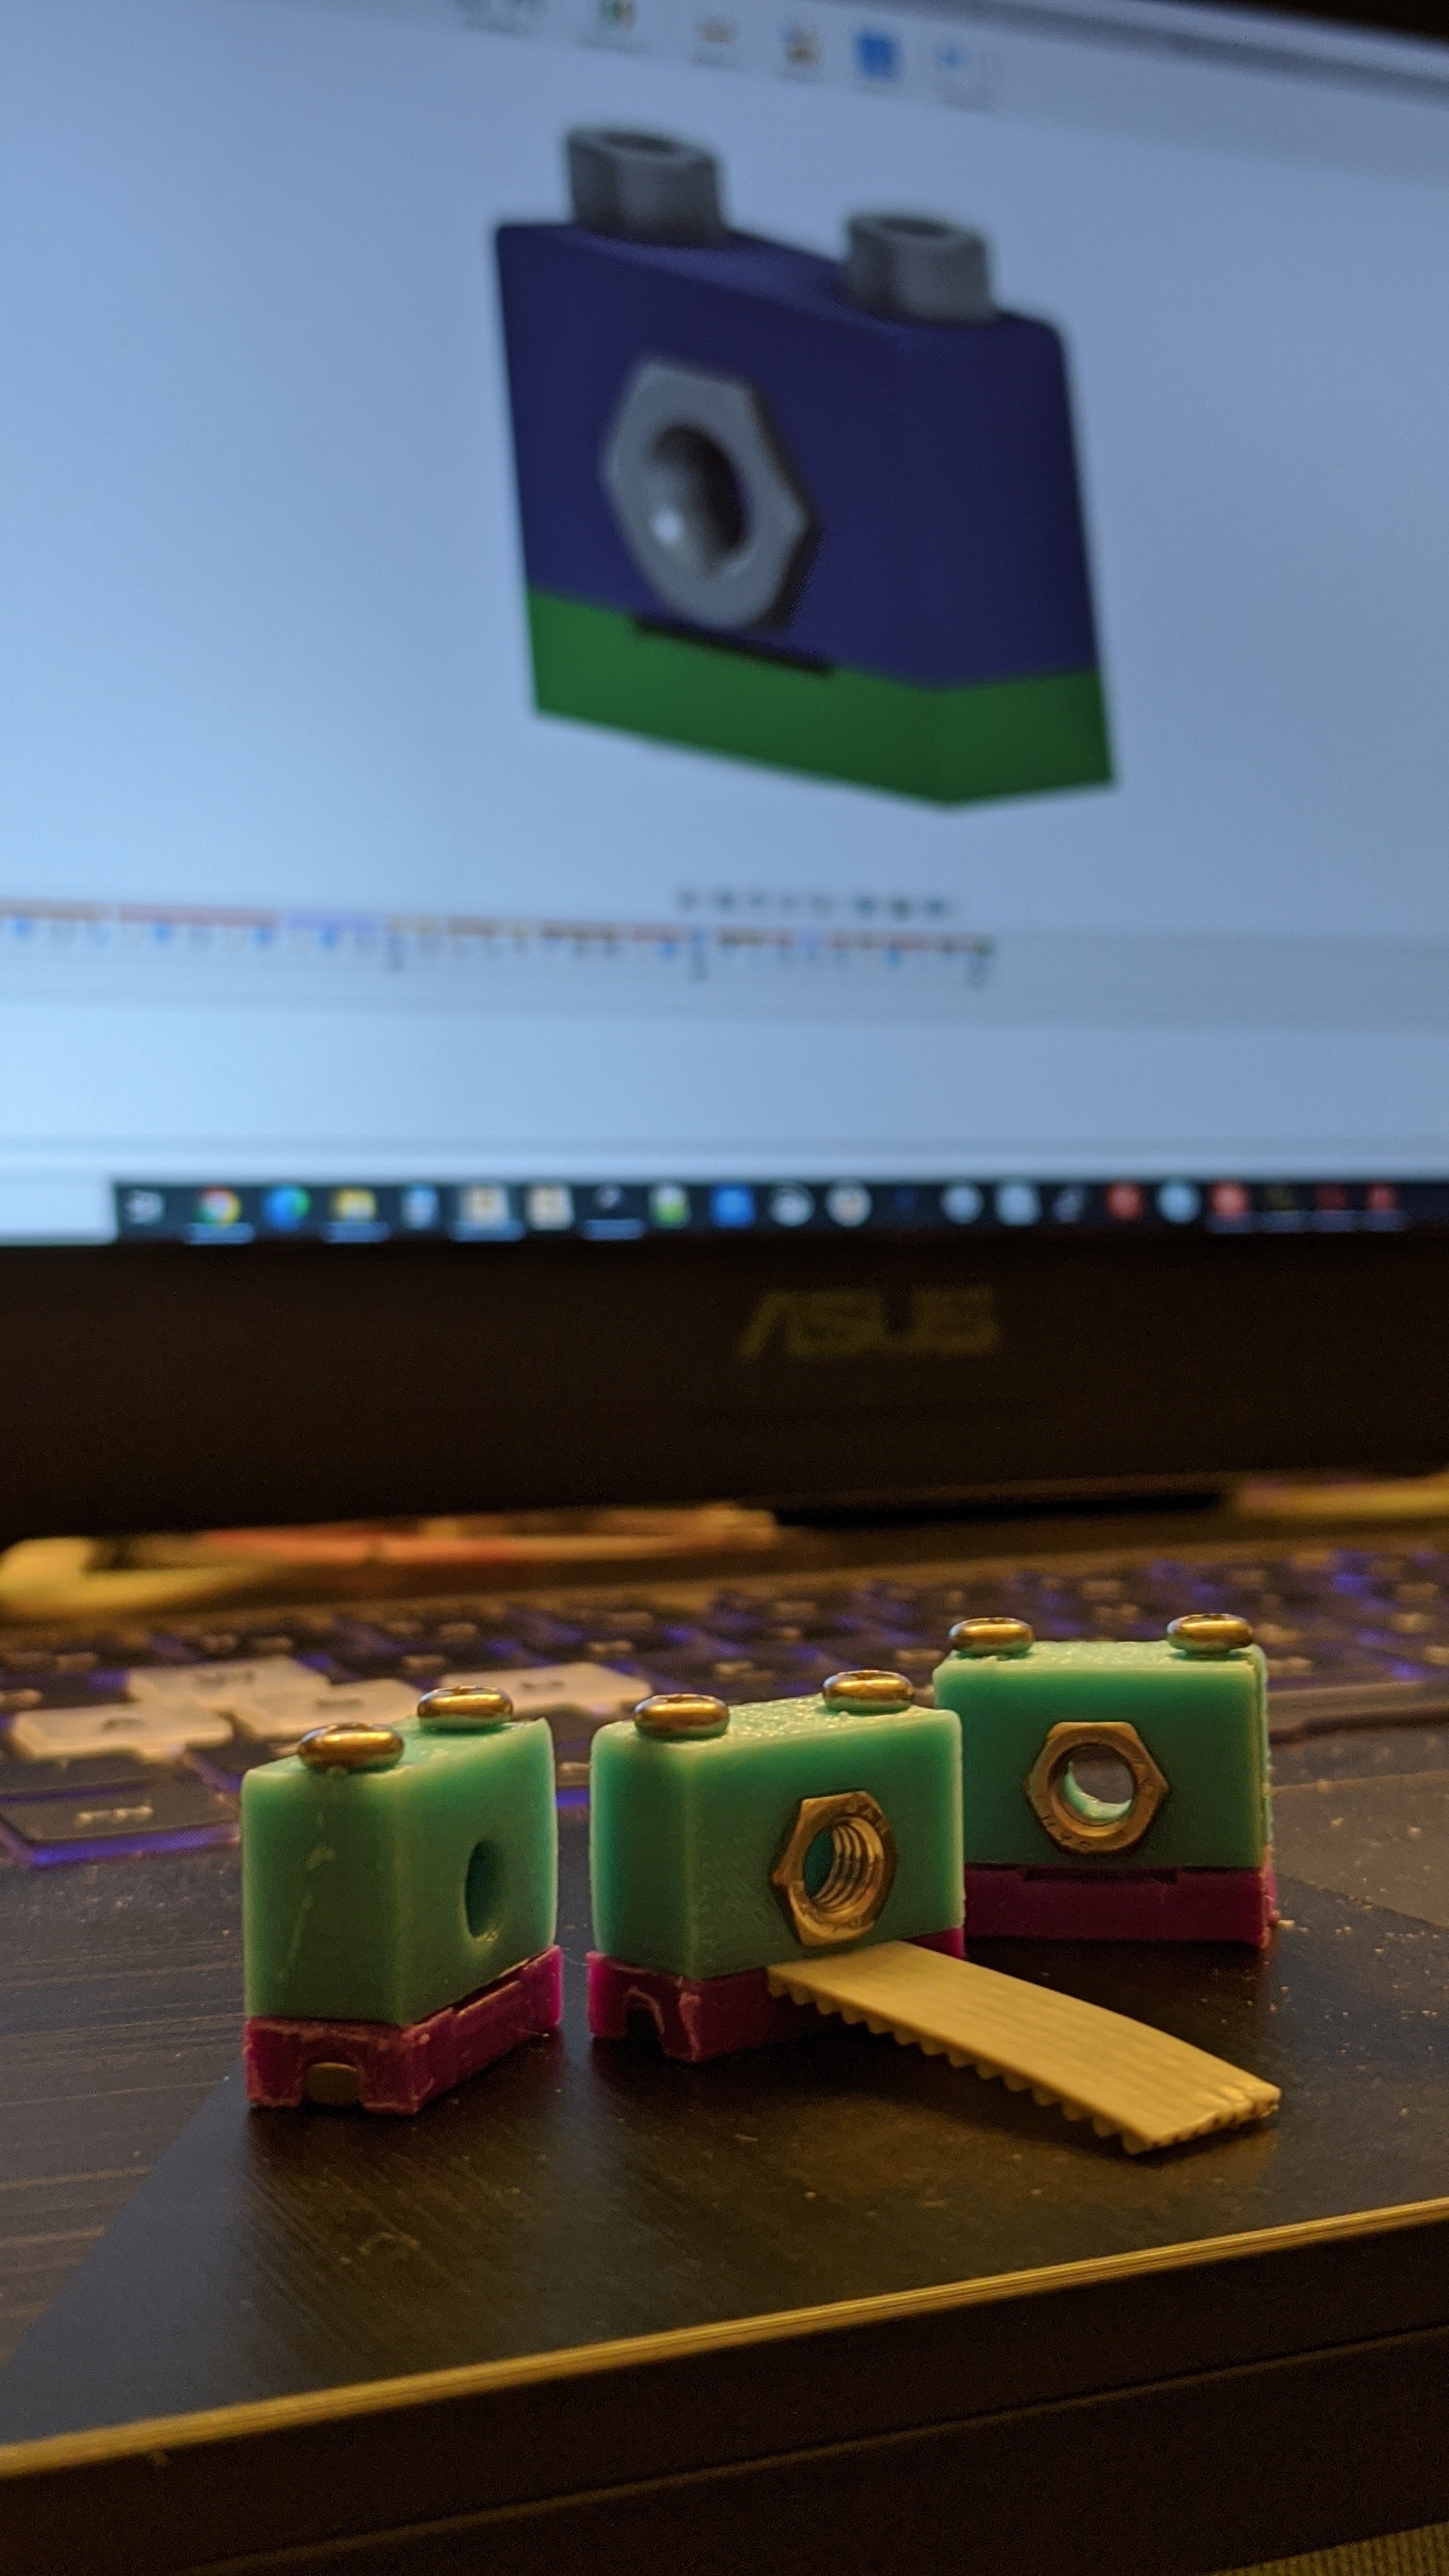
I’ll get some printed today or tomorrow and send 'em your way. You’ll need two 16mm M3 screws, two M3 nuts, one M5 nut and one M5 screw (length depends on your placement). Probably good to have an M5 washer as well (or just mill one out of scrap as thickness wouldn’t matter).
1 Like
Fantastic! Many thanks.
No problem. You’re the beta tester…I have not had a chance to test yet.
Also, I just realized this is the main thread and not the PM. Oops.
1 Like
What sort of sustained tension do you think those are good for?
(Assuming we’re staying in the sensible region belt tensions which don’t torture stepper motors)
No Idea. I think the outside-the-plate mounted version is ideal, but most dont have a slot in the plates.
1 Like
Yep, I have been considering that adjustment to my steel plates…
May I suggest that a beta user of the printed clamps could install the carbon drive app and measure belt tension on installation and then a week / a month later to see if it creeps?
2 Likes