As a beta tester, I plan on using both the Gates Carbon Drive app and portable “luggage scale” method of determining creep, etc.
4 Likes
Excellent, I look forward to the results, the belt clippy things are a pain and really hard to get good adjustment with. On my XXL there is a working static extension range of 1 to 2 belt teeth on the clip without getting into stepper torturing tensions which is a bit binary.
Julien’s suggestion of using 1/4inch cutter shanks to hold the belt up is good, the less the belt is pulled up for the frequency test the less change there is from the static tension. I only use the frequency test now as it seems more repeatable to me and it’s quicker and easier to do.
4 Likes
@Dr.Angus How are the tensioners working for you?
Well, I don’t know. The wildfires here have been so bad that the air quality index today was 592, WAY off the chart, and you can’t be outside or in the garage without coughing and getting itchy eyes. The Shapeoko is in the garage, unfortunately. The weather forecasts are for some change in the patterns starting next week.
1 Like
Oh man… Please stay safe.
3 Likes
I have actually been debating doing this by hand. Basically carefully drill a hole through the plate and then use a micro file to open the hole up. In my opinion the belt tensioner should be on the outside face of the plate. This allows for more clearance to the v-wheels on the carriage and a better system for doing the tensioning. The tensioner could be attached using the top two holes used for connecting the cross member to the plate.
2 Likes
I agree. The problem is drilling the holes and widening to an appropriate slot…three times.
Yep. Though I am thinking of 3D printing a guide for aligning the holes properly.
Excellent idea. Maybe one that incorporates a steel drilling collar so the drill wouldn’t damage the plastic.
Possibly, though for three holes that might not really be necessary.
For three holes you only really need a locator for a centre punch so you can accurately place a centre drill for the initial cut.
Yep, and possibly a filing guide to keep from filing too much away. I would like to not scuff up my cross members.
This topic was automatically closed after 30 days. New replies are no longer allowed.
Just checking, did anyone do this with stock SO3 endplates yet (cut a slot in them like in post 8)?
(also @neilferreri and @LiamN )
I did my own version of this idea. I drilled 3 holes and then used a coping saw with a fine toothed blade and some cutting oil to finish the slot. I have some other parts that then attach to the belt. It would be easy to over tighten them with my setup though.
2 Likes
I think @AndyC may know something about this…
2 Likes
Great idea! Did it turn out ok?
It works okay, I don’t love it. I am probably going to change out the actual tensioner bit I made. My design is fiddly and can loosen itself. I think I am going to see if I can make a simpler version of the one @AndyC designed for the contest.
1 Like
Hopefully I can attach the design files here, so you can take them as-is, simplify them, or use them to help realise your own ideas. Am very pleased with what I made, they are simple(-ish) to make, really simple to fit and use, and have stayed at the tension I set despite some challenging tests to stress the machine a bit.
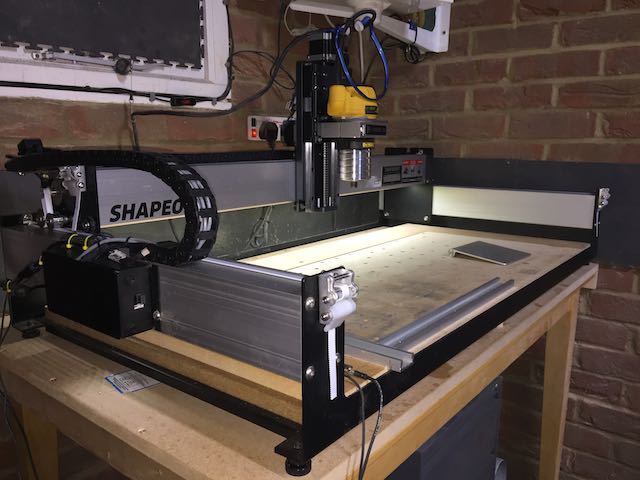
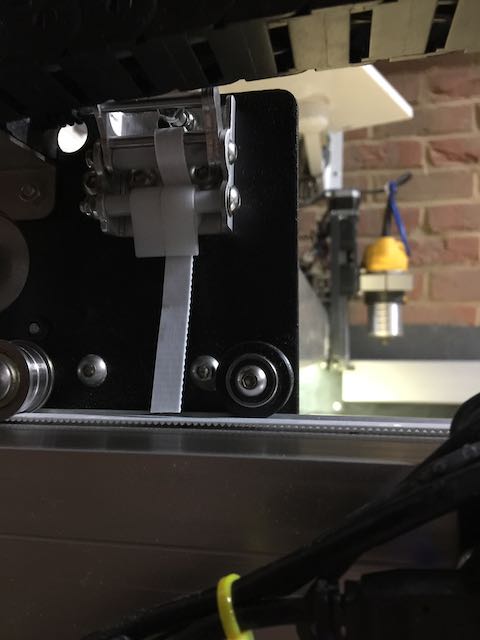
I have one fitted to each of Y1, Y2 and X axis (pics attached). My Z is at long last now HDZ, so without considering linear bearings and screws (likely hugely expensive), tuning my 3XL is now down to HD Eccentric nuts, re-visiting squaring and truing.
If you want to avoid bending sheet Aluminium, it would be possible to make the clamp ‘frame’ from a block and rotate it 90deg for profiling and hole boring.
Belt Tensioner Clamp Flat Profile Rev-2.dxf (1.1 MB)
Vectrics VCarve files.zip (527.8 KB)
2 Likes