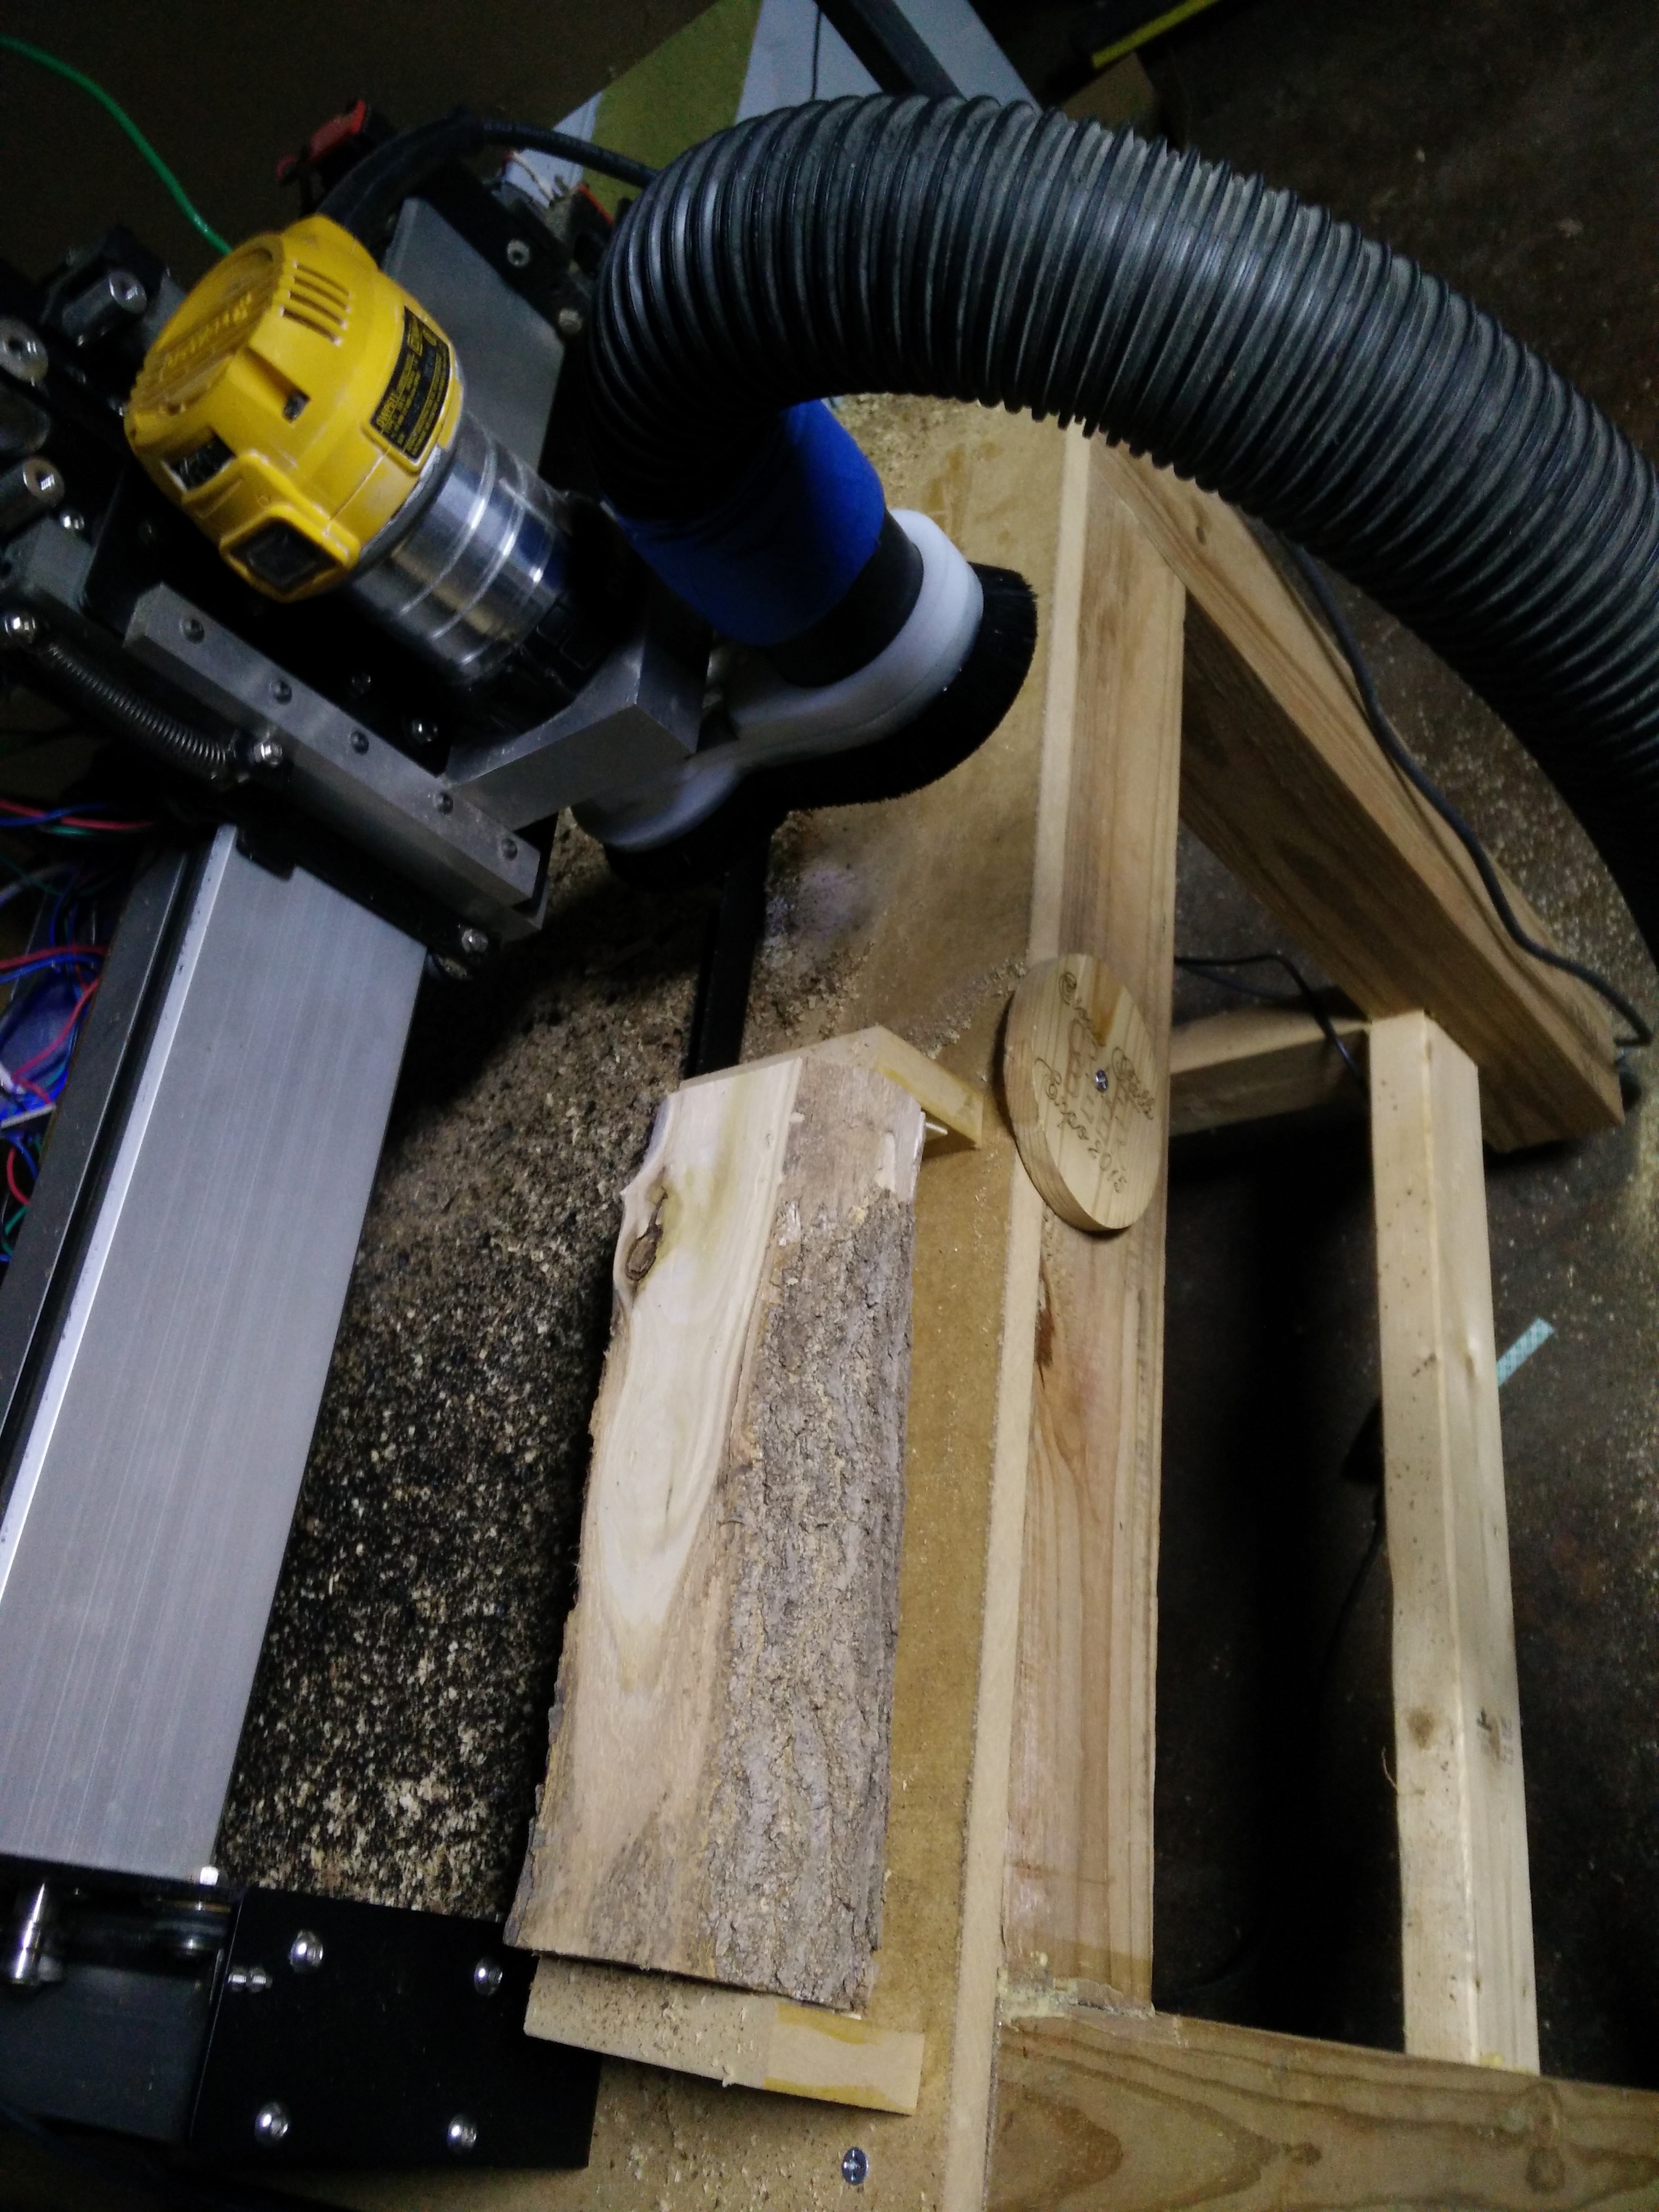
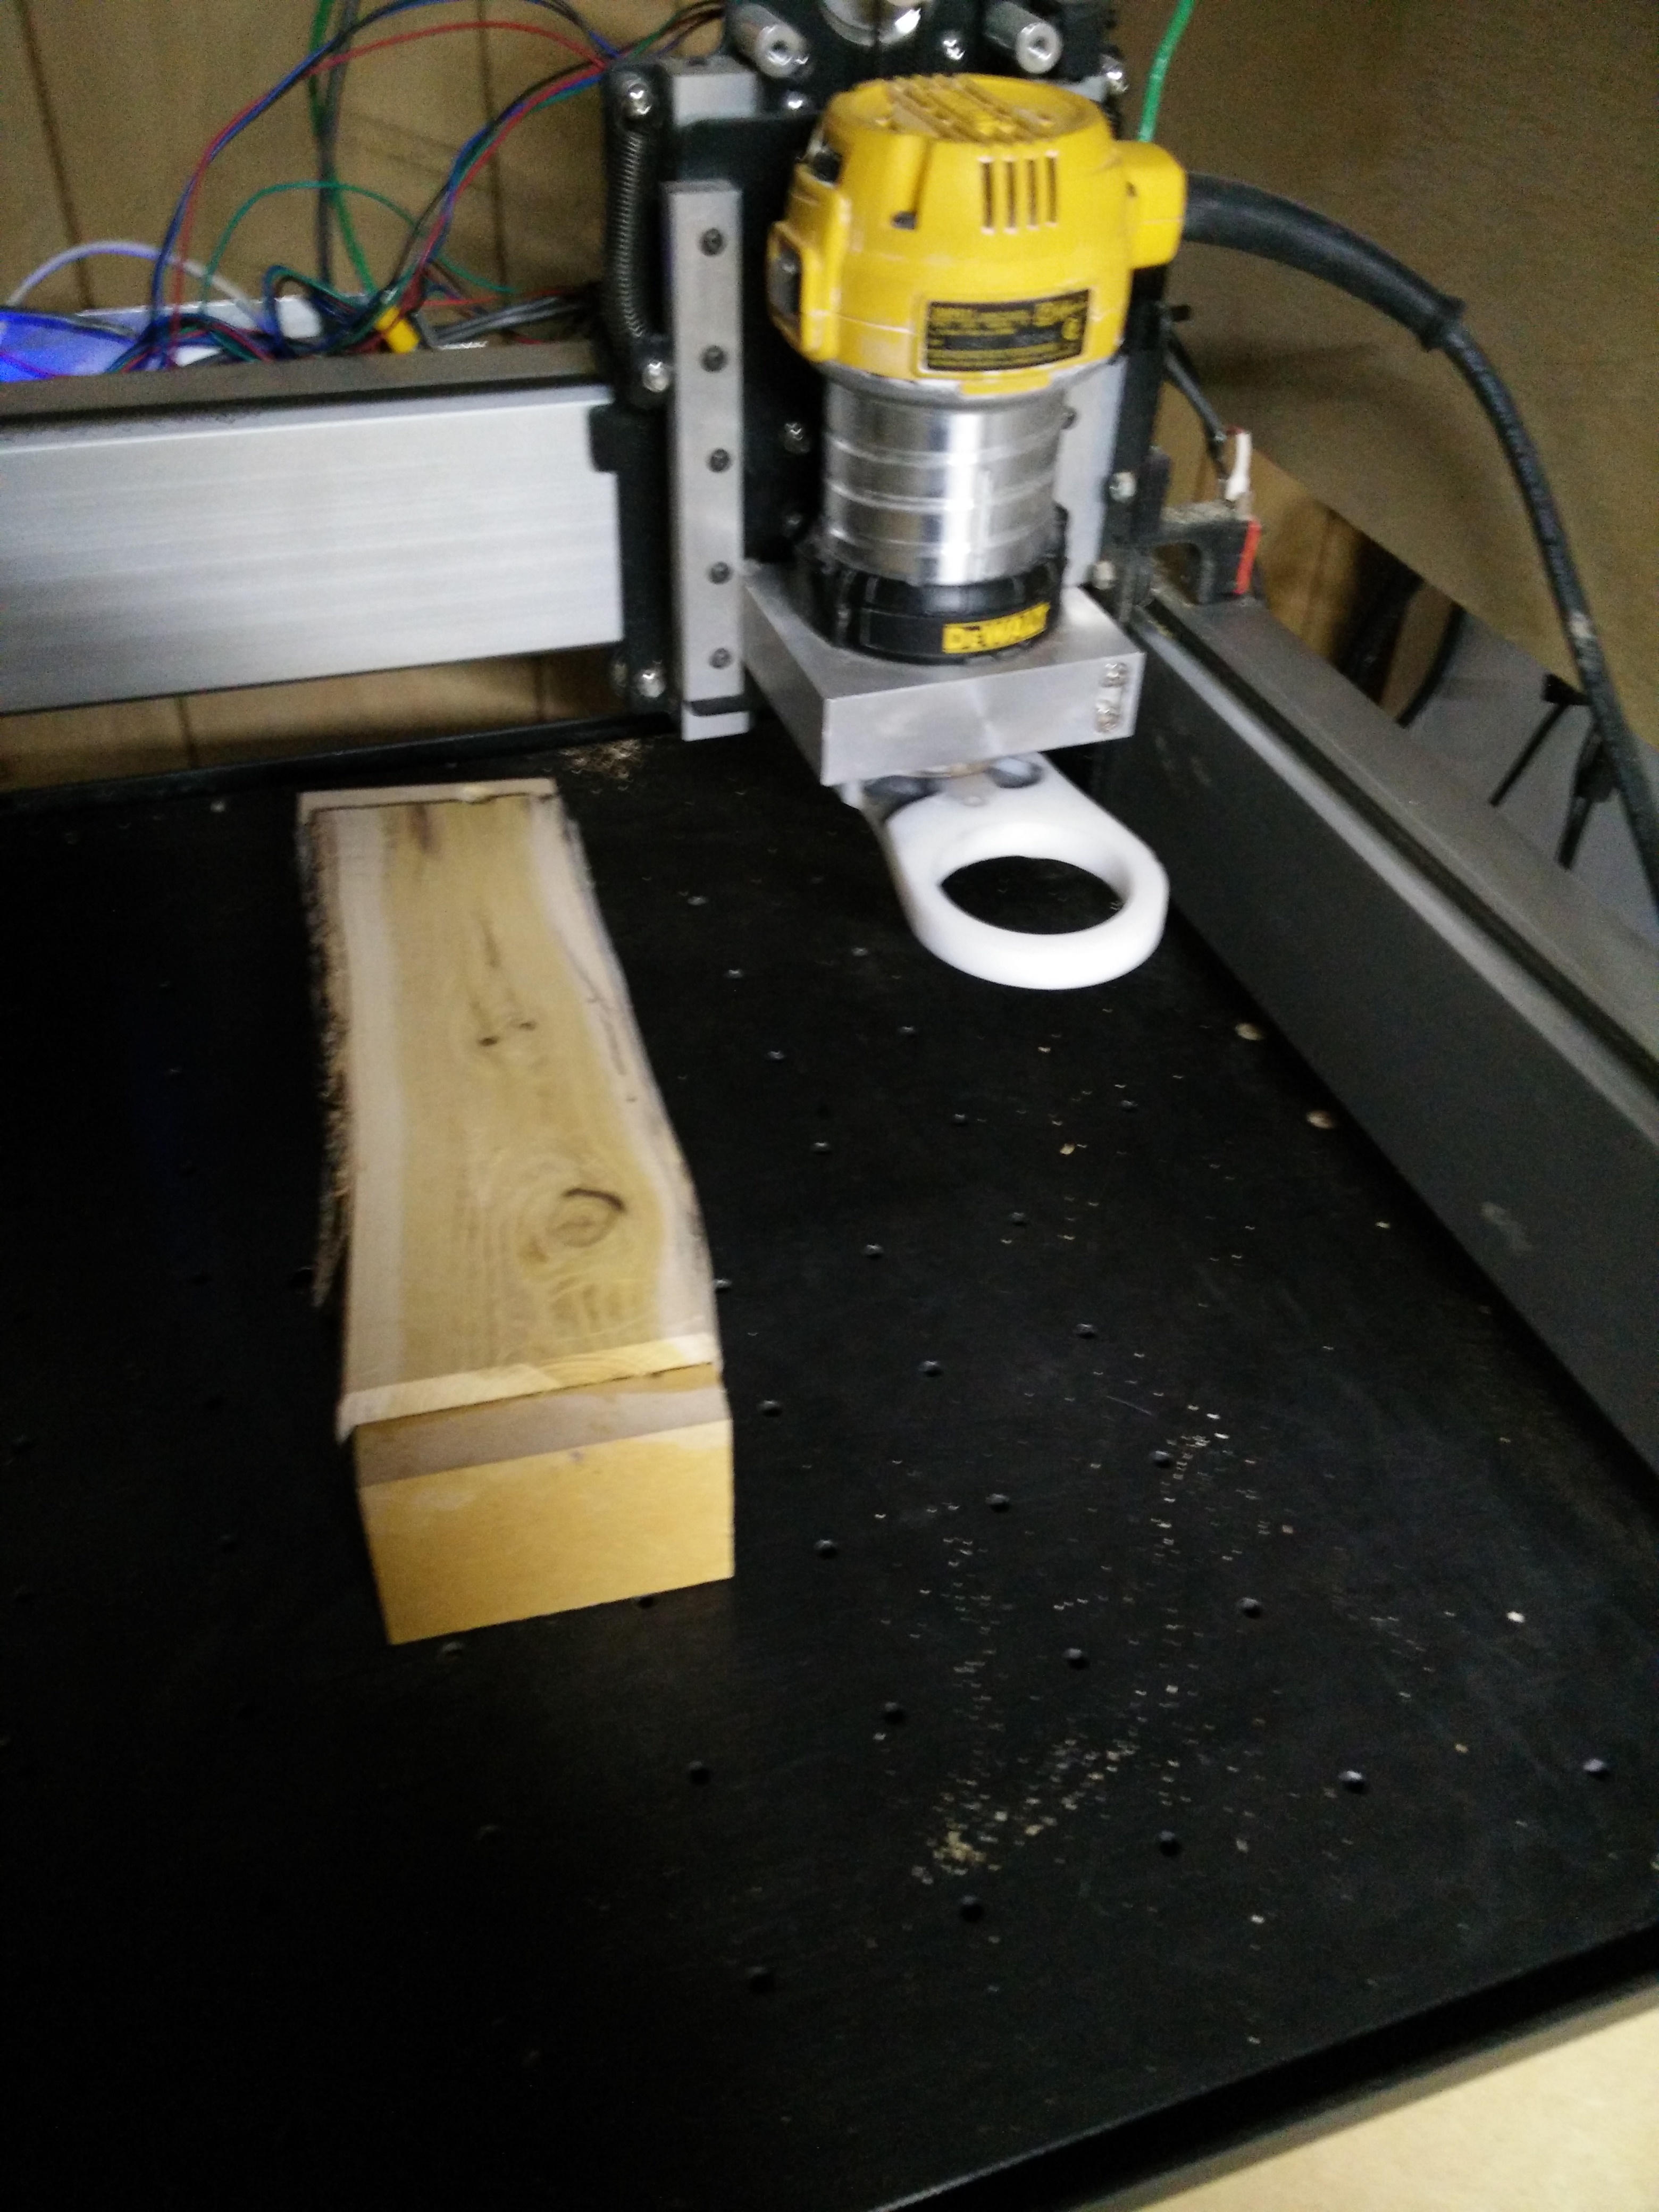
Has anyone used the front part of the shapeoko? The spindle sticks out a bit. I think given the right setup a person could cut tenon joints easily. This project was really spur of the moment and utilized the overhang. I was limited by the z travel.
Attaching some square objects to otherwise firewood I used the machine as a reverse router table of sorts. I’m sure Mark will chime in on safety here… Basic idea here is to get it within working dimensions with a flat bottom.
I then used 3m double sided tape to attach the squares to the side to create my angles. All just cut manually jogging again. This type of project would be easy to draw up in carbide3d (still doesn’t open for me), but a pain in fusion 360 which is why I manually jogged the machine.
That was an intentional design choice to facilitate this sort of thing.
I used it to cut my initially too-large Wasteboard, and have since gotten started on a jig to cut joints, but haven’t’t found occasion to finish or even use it (it’s just too easy for me to cut dovetails by hand instead).
I was going to do a post on this myself. The XL is supposed to be 33" X 17" but with the 2" overhang there is only 15" of useable real estate in the Y axis.
I was wondering if anyone has made a waste board extension to utilize the full 17" potential? Anything to easy will coast a lot on the Z axis.
I would love to see it if anyone has done it.
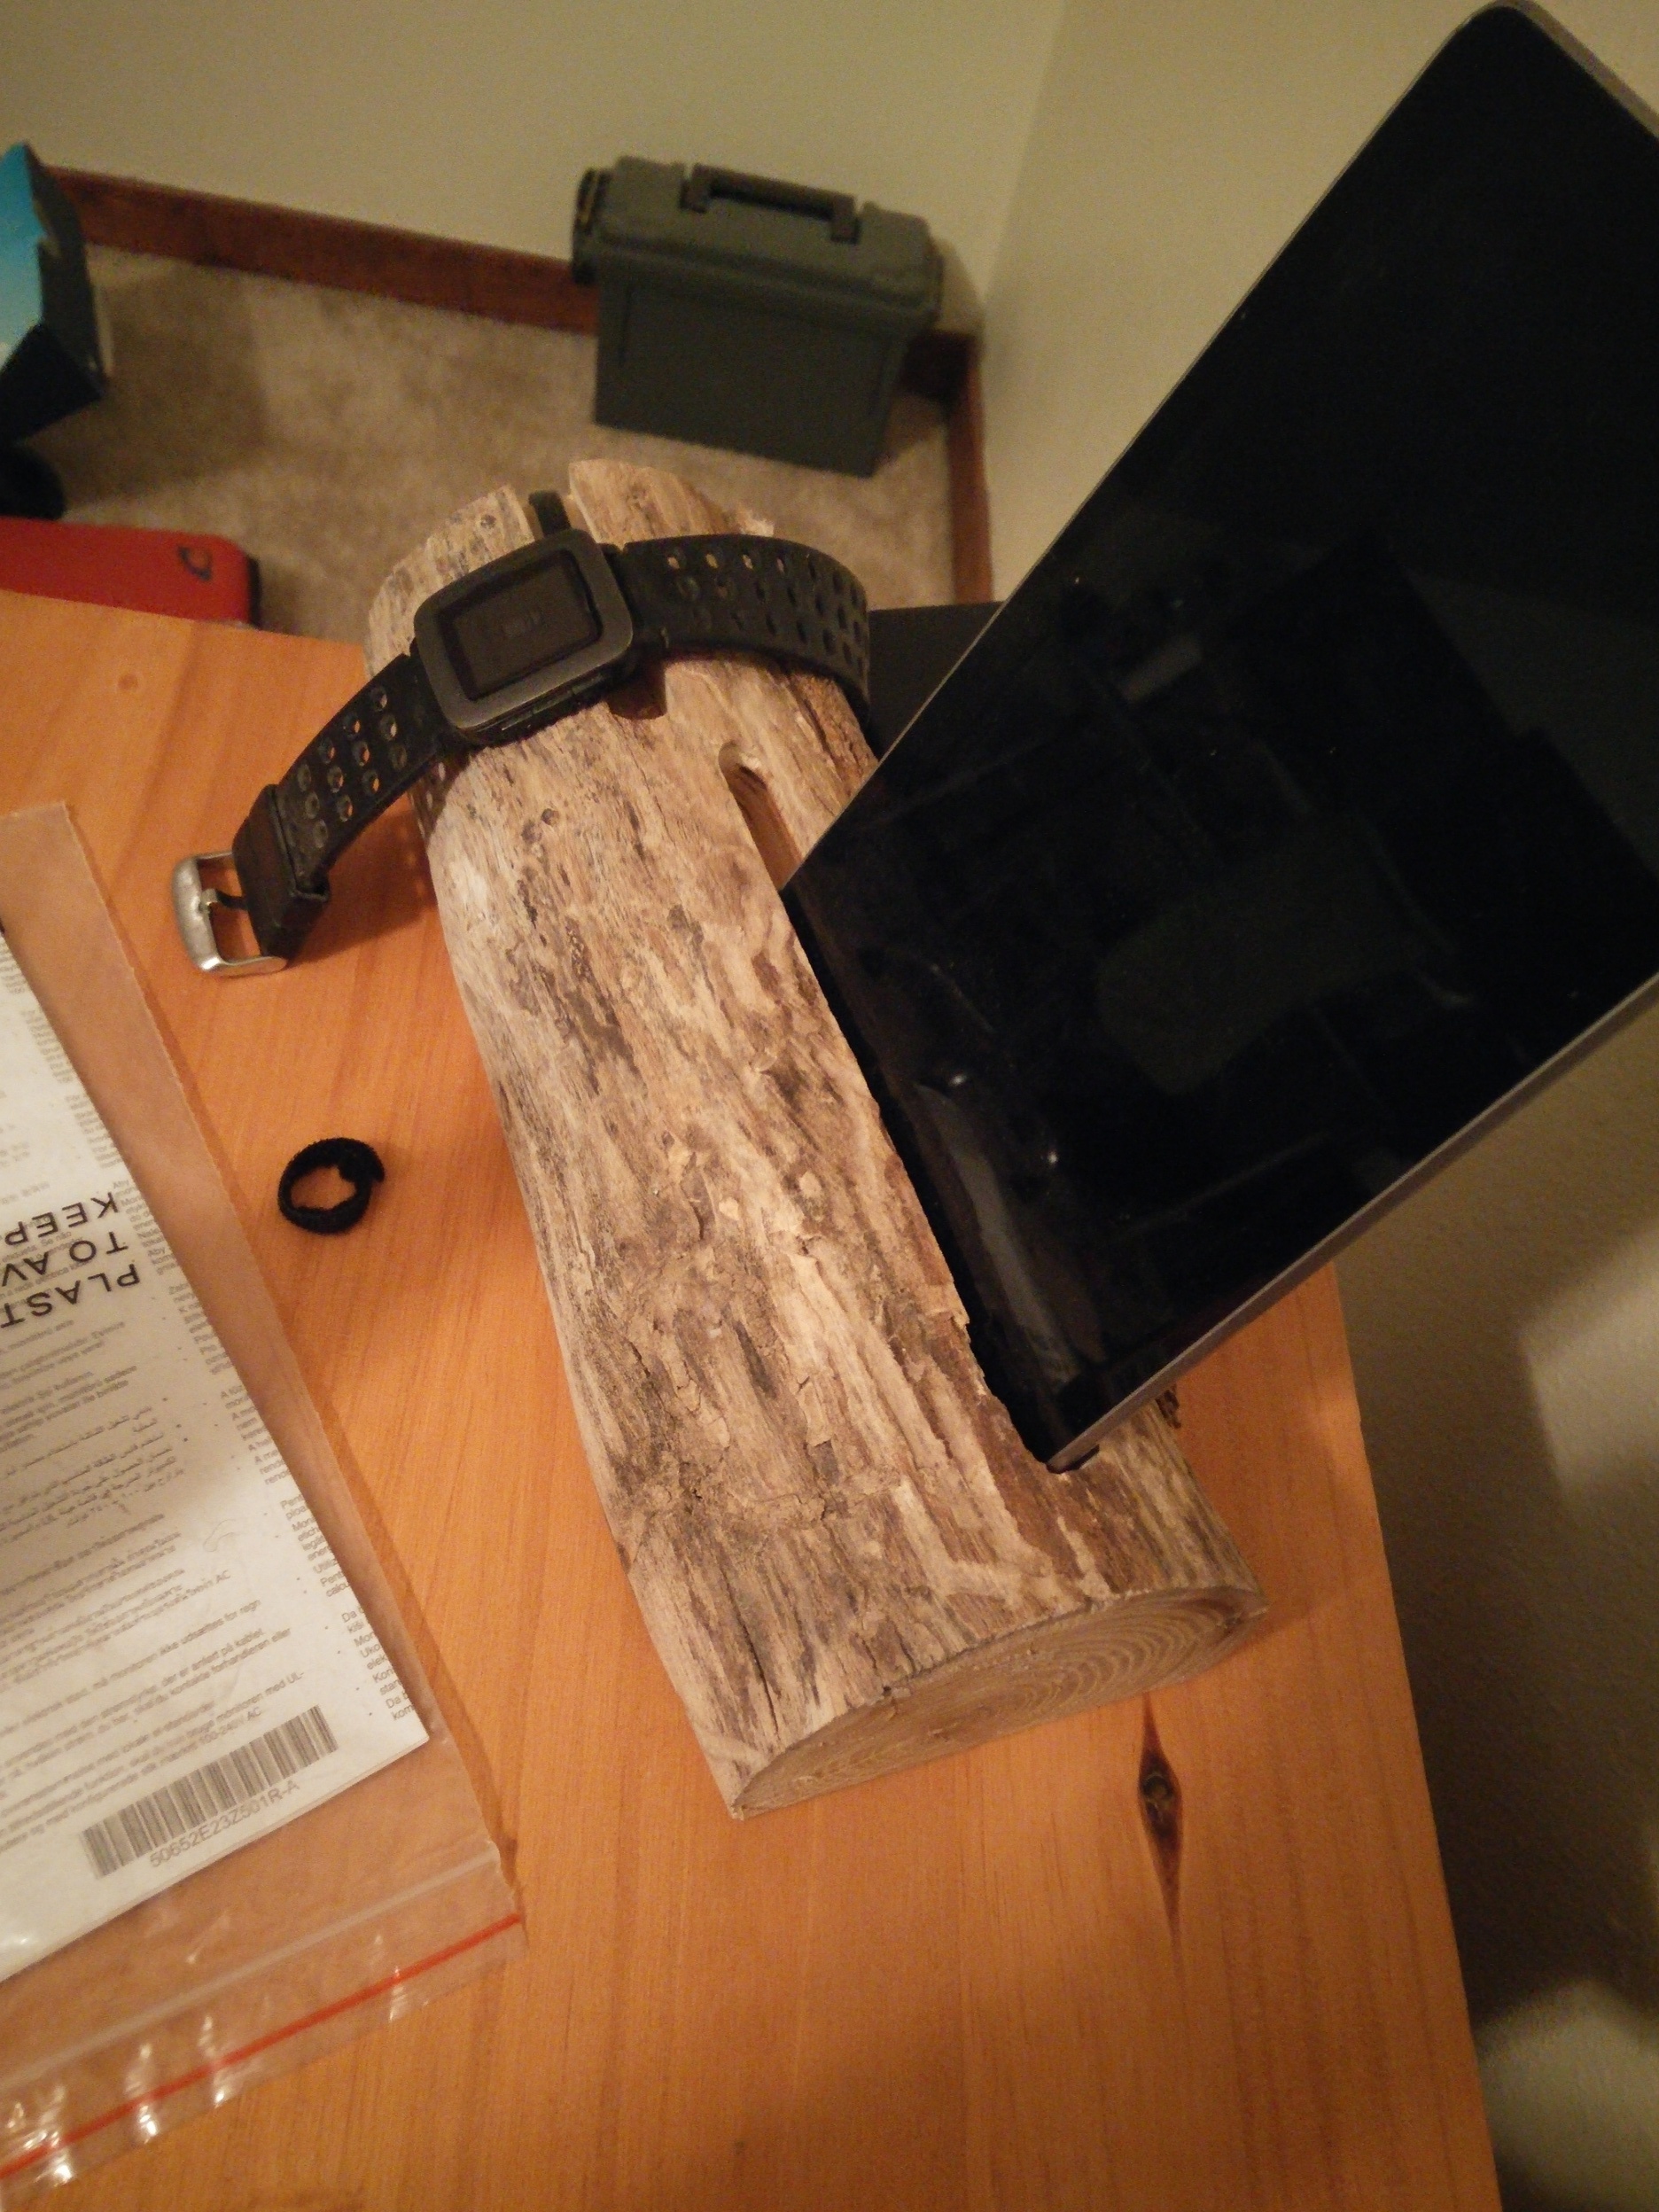
But now I’m pumped about a jig to cut joints and vertical boards on the end of my work bench.