Howdy…
Thought I would share a project I’m doing this week. I’m hoping to publish a video this weekend ![]() I’ll post the Fusion 360 file at the bottom of the write-up if you want to check it out.
I’ll post the Fusion 360 file at the bottom of the write-up if you want to check it out.
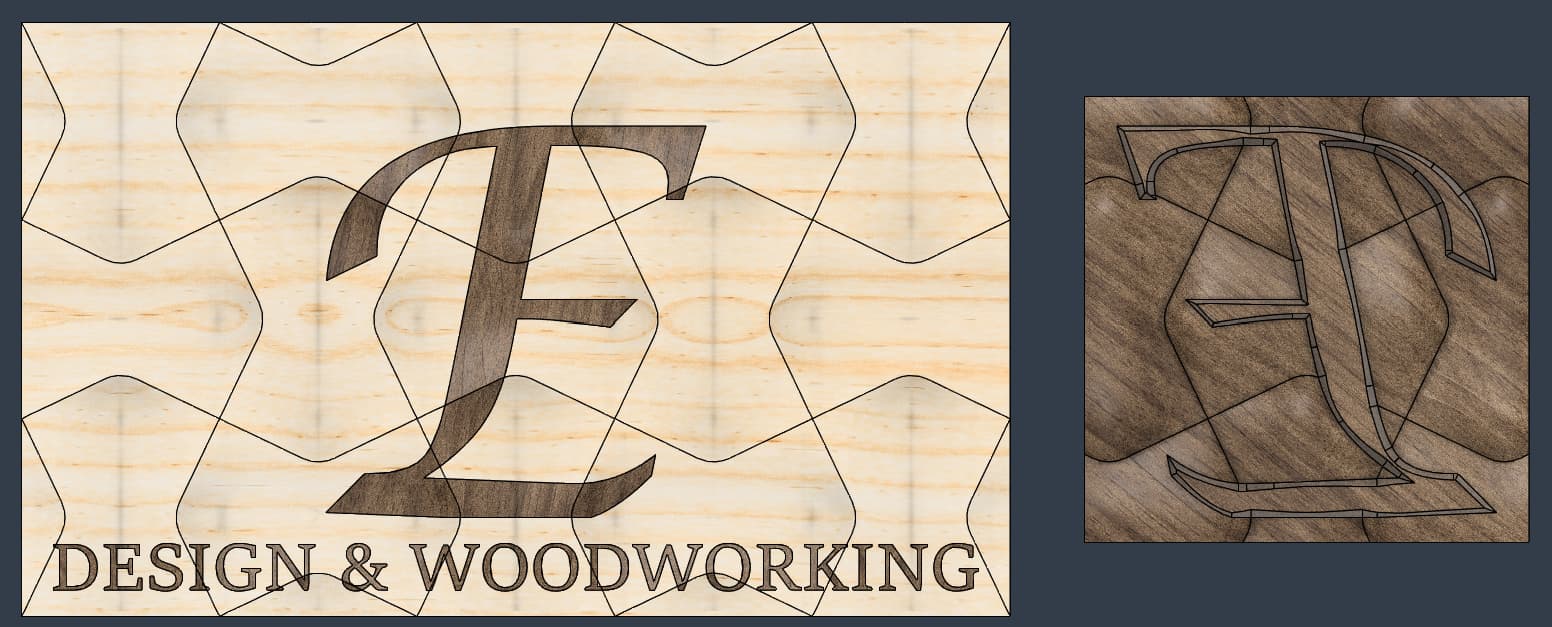
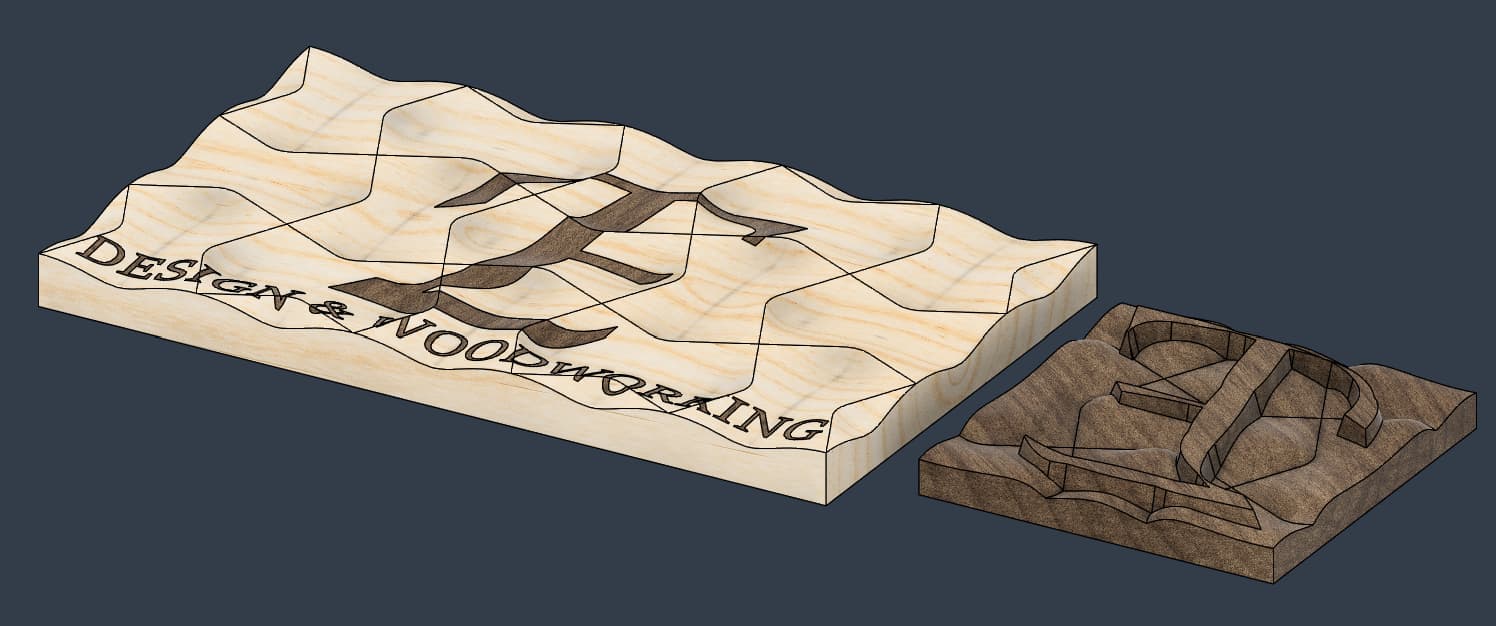
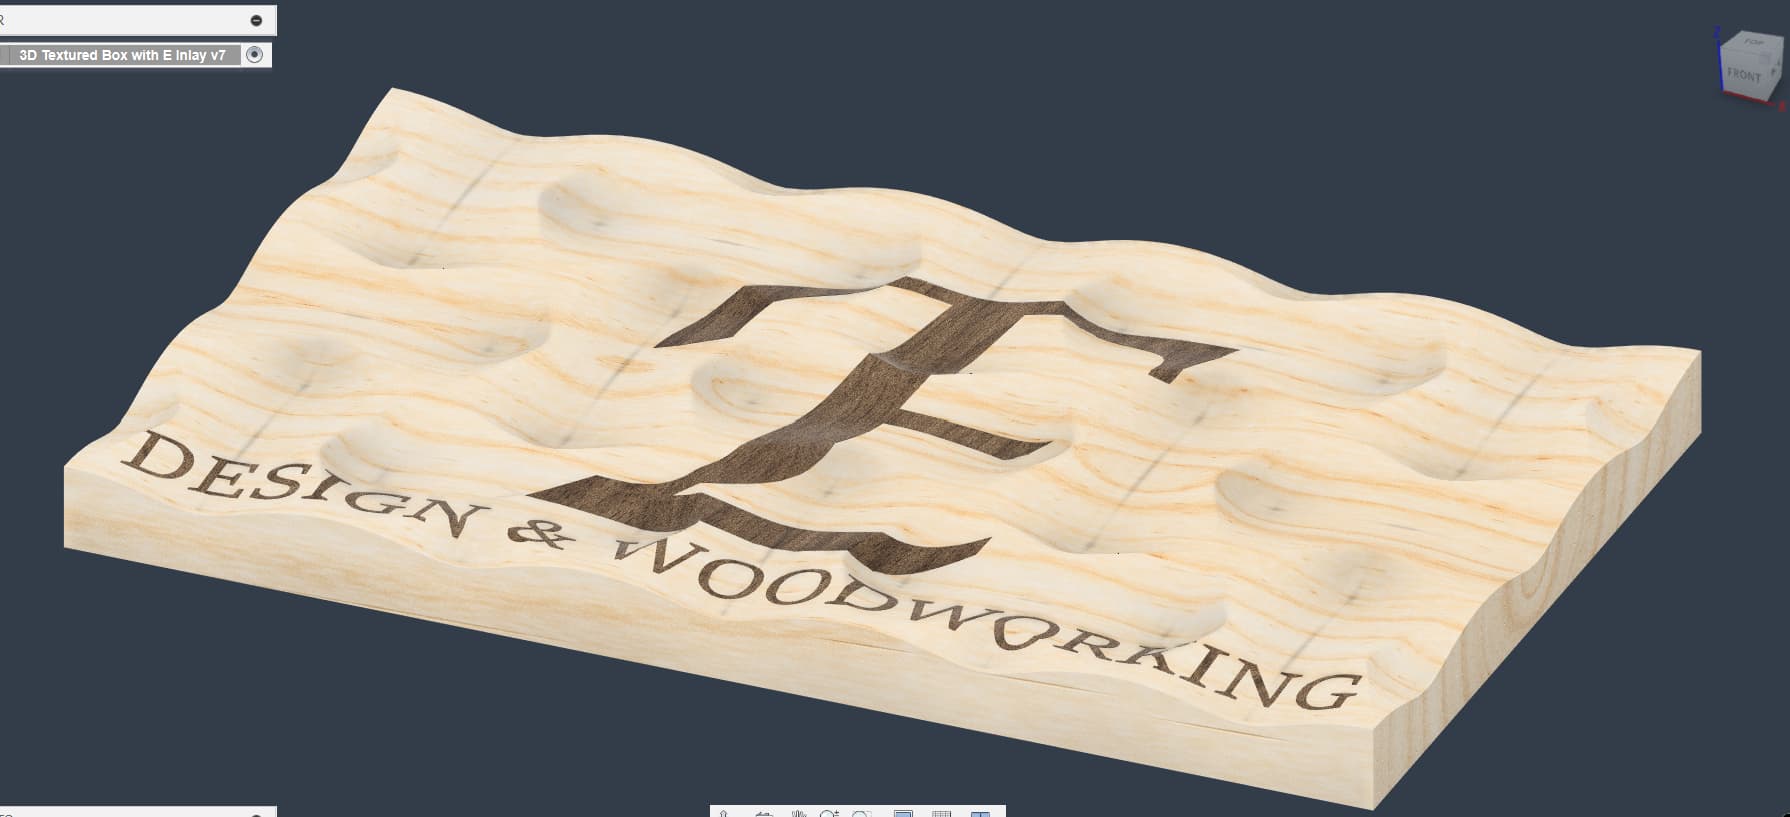
This is an interesting project that shows how to create V-Carve Inlays using a traditional wood method and also an epoxy method on an uneven surface to maintain clean and crisp edges. This defeats the straight edge approach which is constrained by the tool endmill radius and tolerances of the male and female pieces.
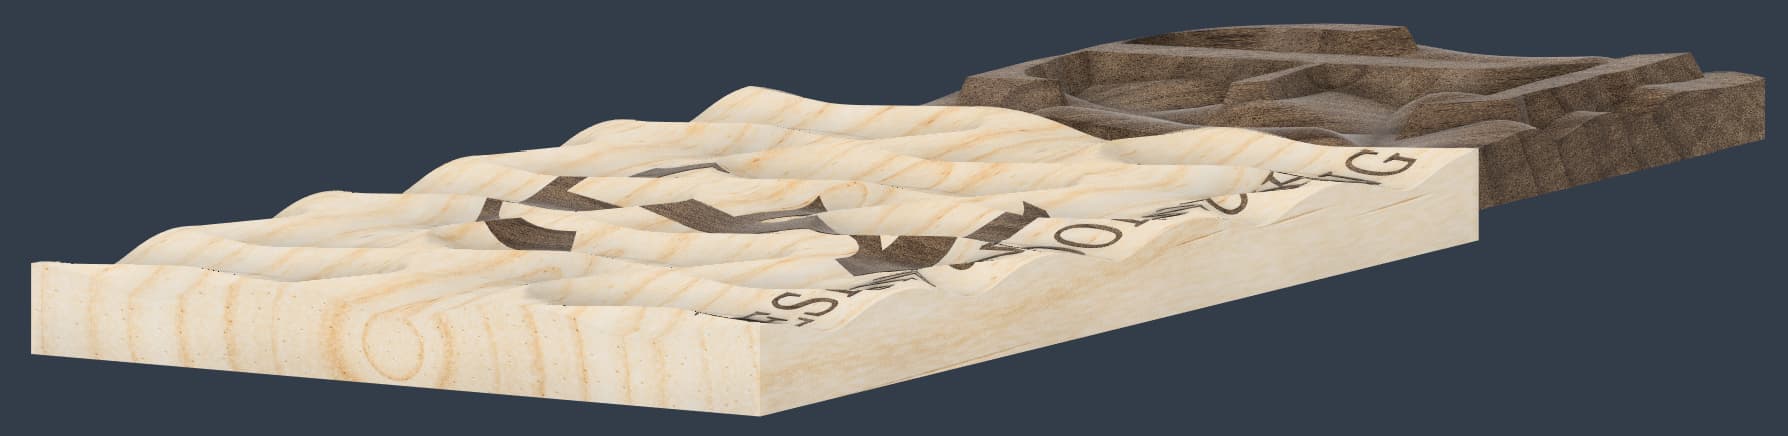
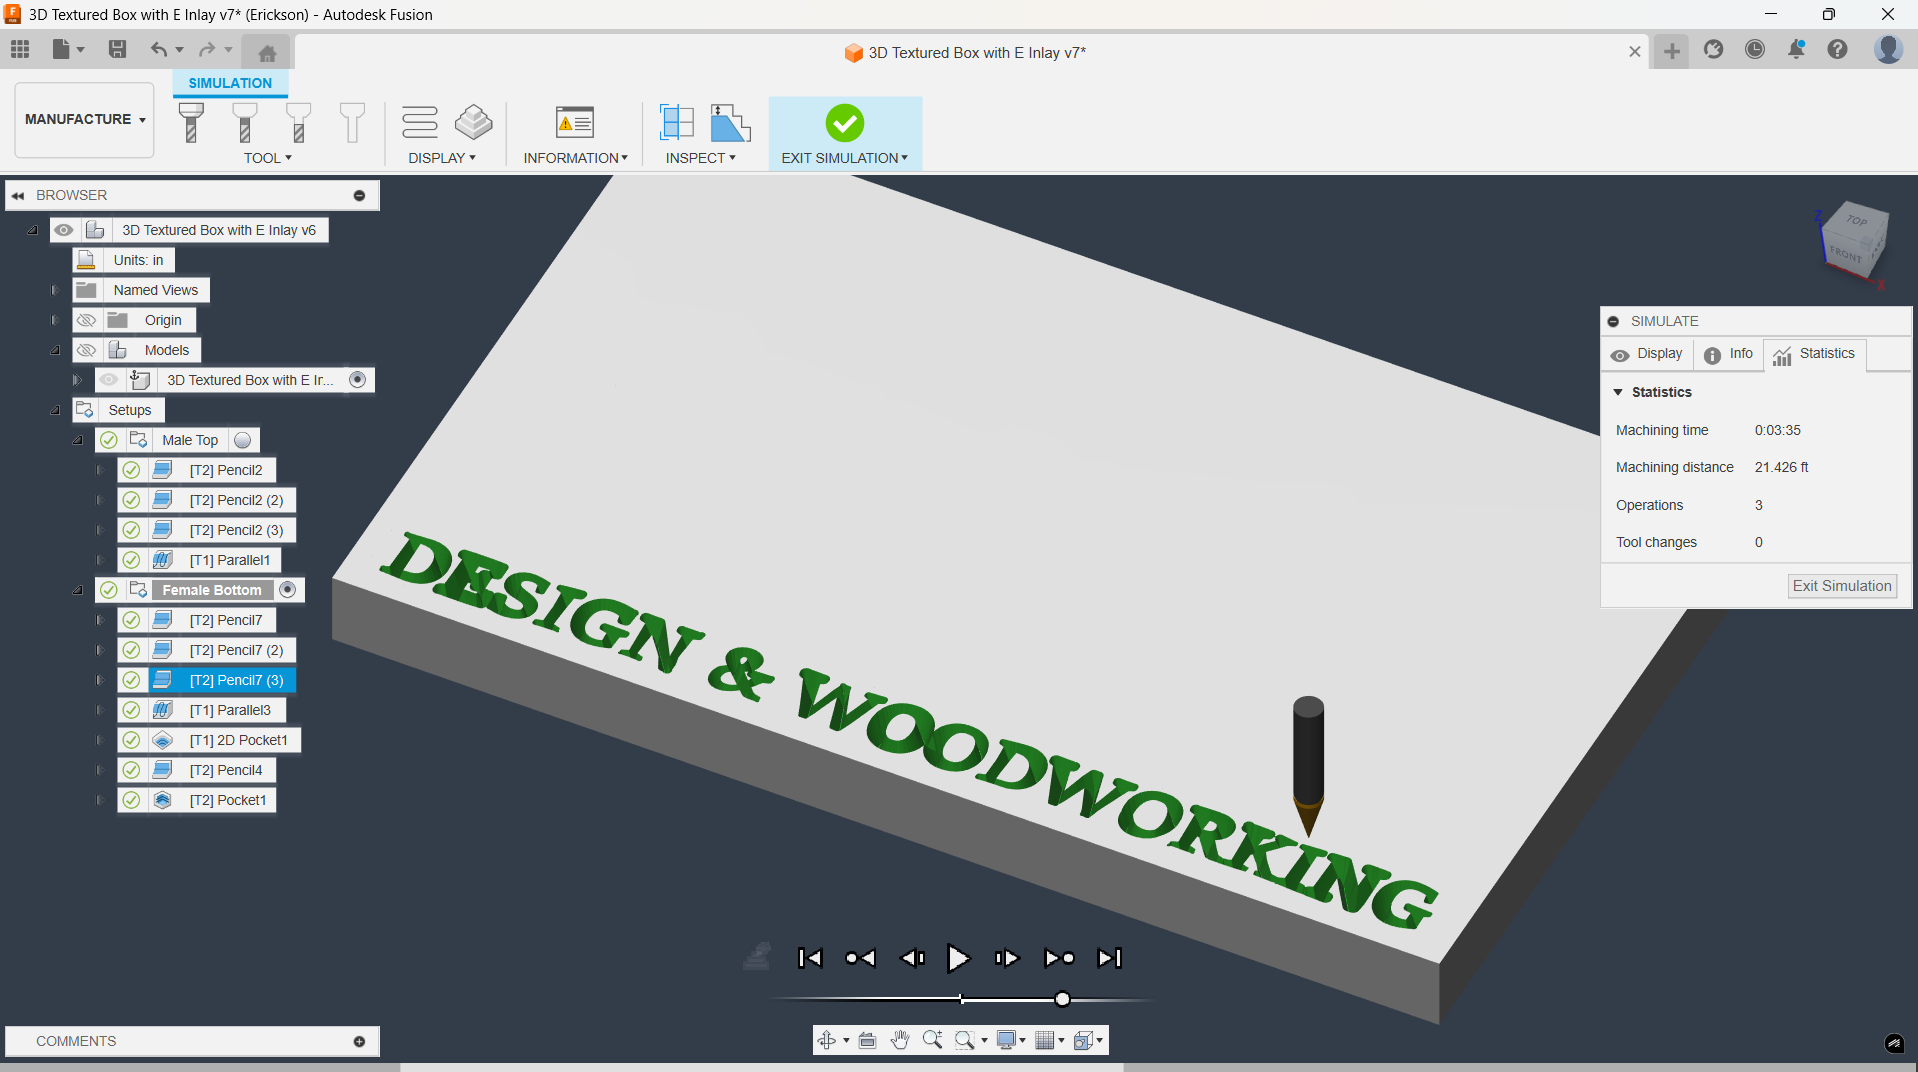
So here is the project pics, it’s a 10x6 piece of maple. The large E inlay is walnut, and the smaller text is black epoxy. In the pictures, the edges are maintained, and the overall dimensions are maintained as it interacts with the surface as seen from above.
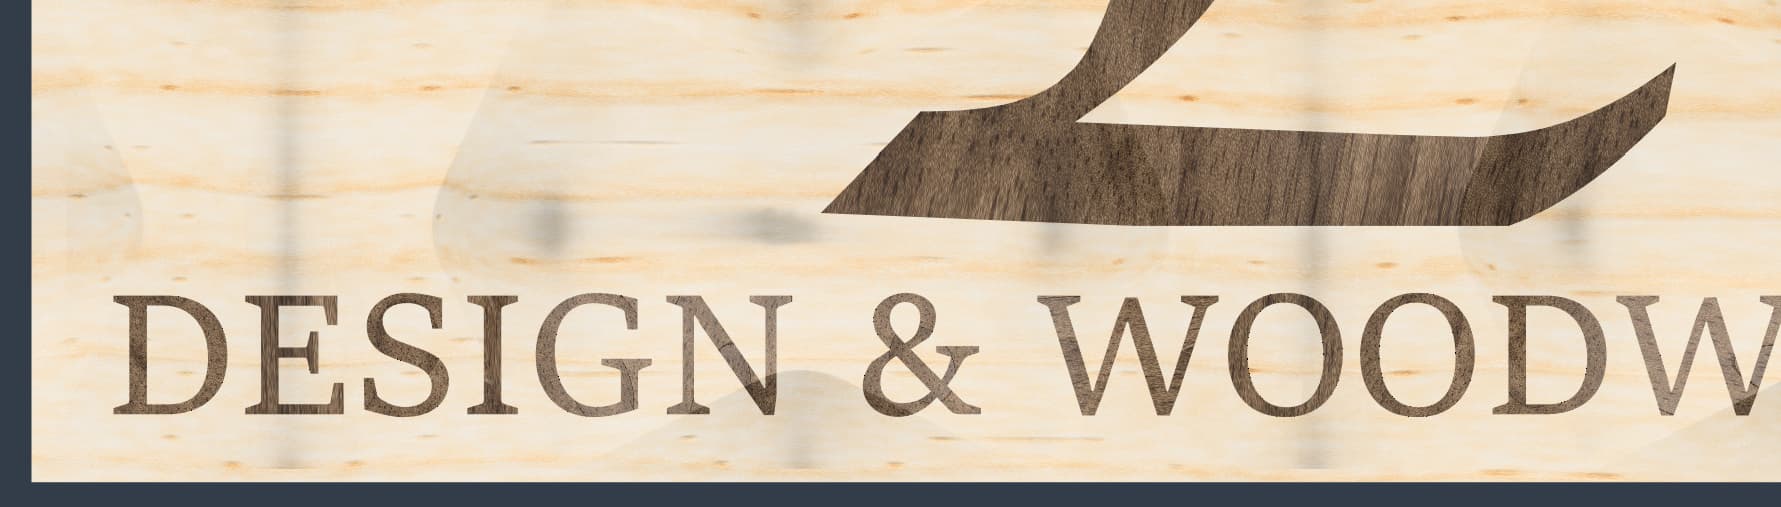
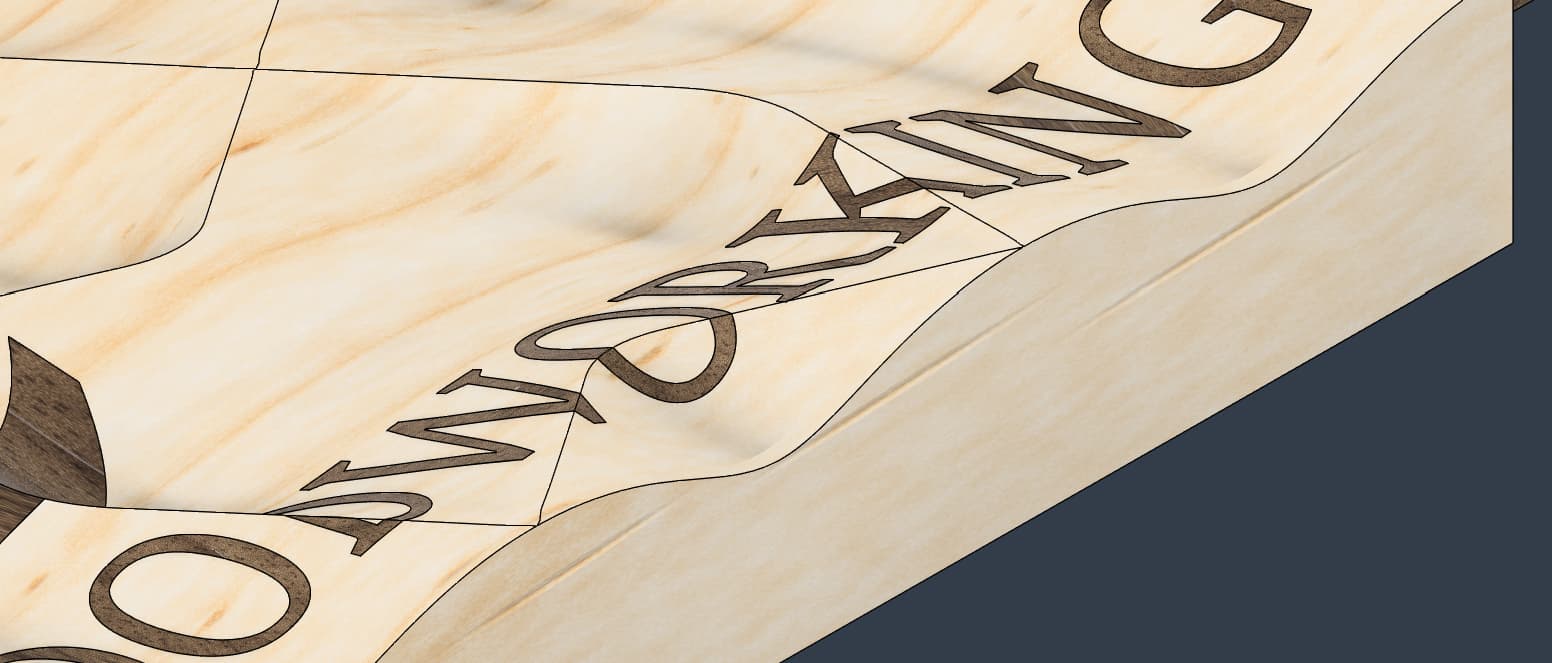
For the epoxy lettering, I’m starting with a V-Carve toolpath that accounts for the 3D surface but leaves the additional stock as a barrier to hold the epoxy.
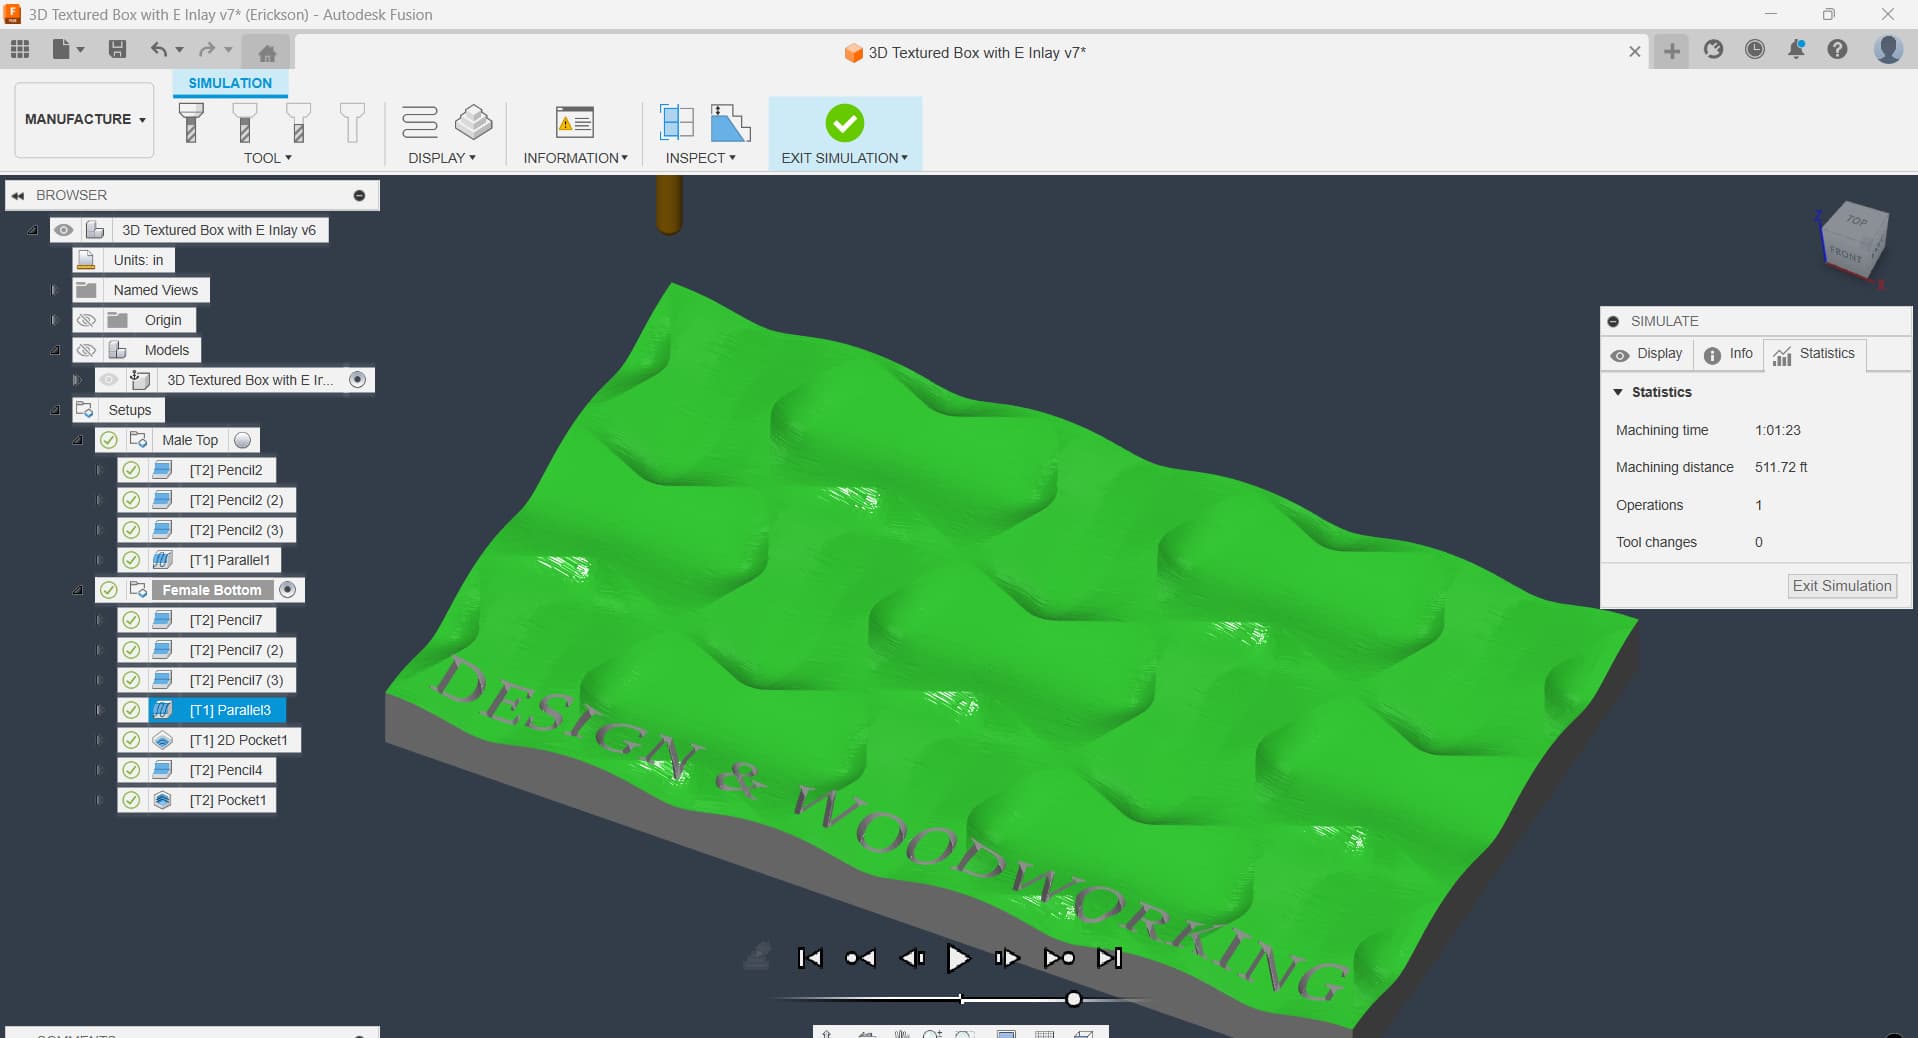
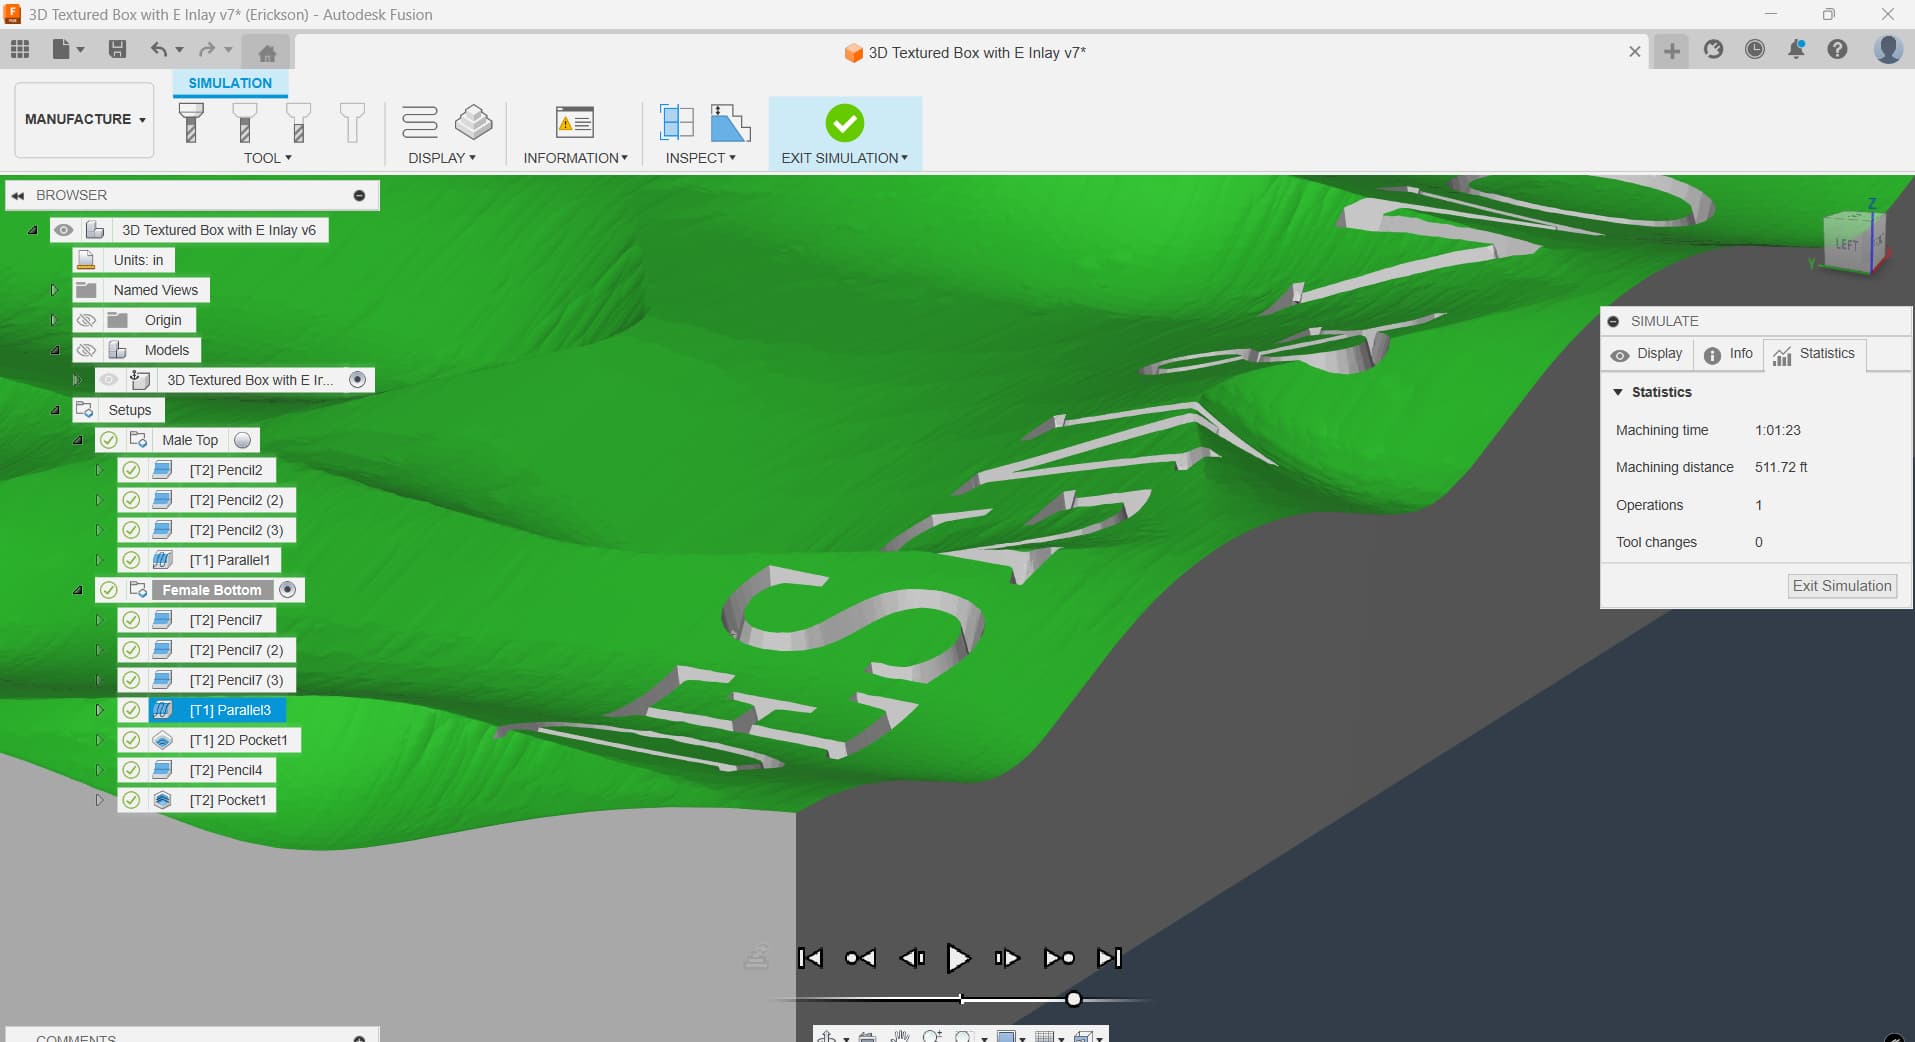
After the cure, I’m using a TBN to clear the stock for the 3D profile, exposing the finished lettering.

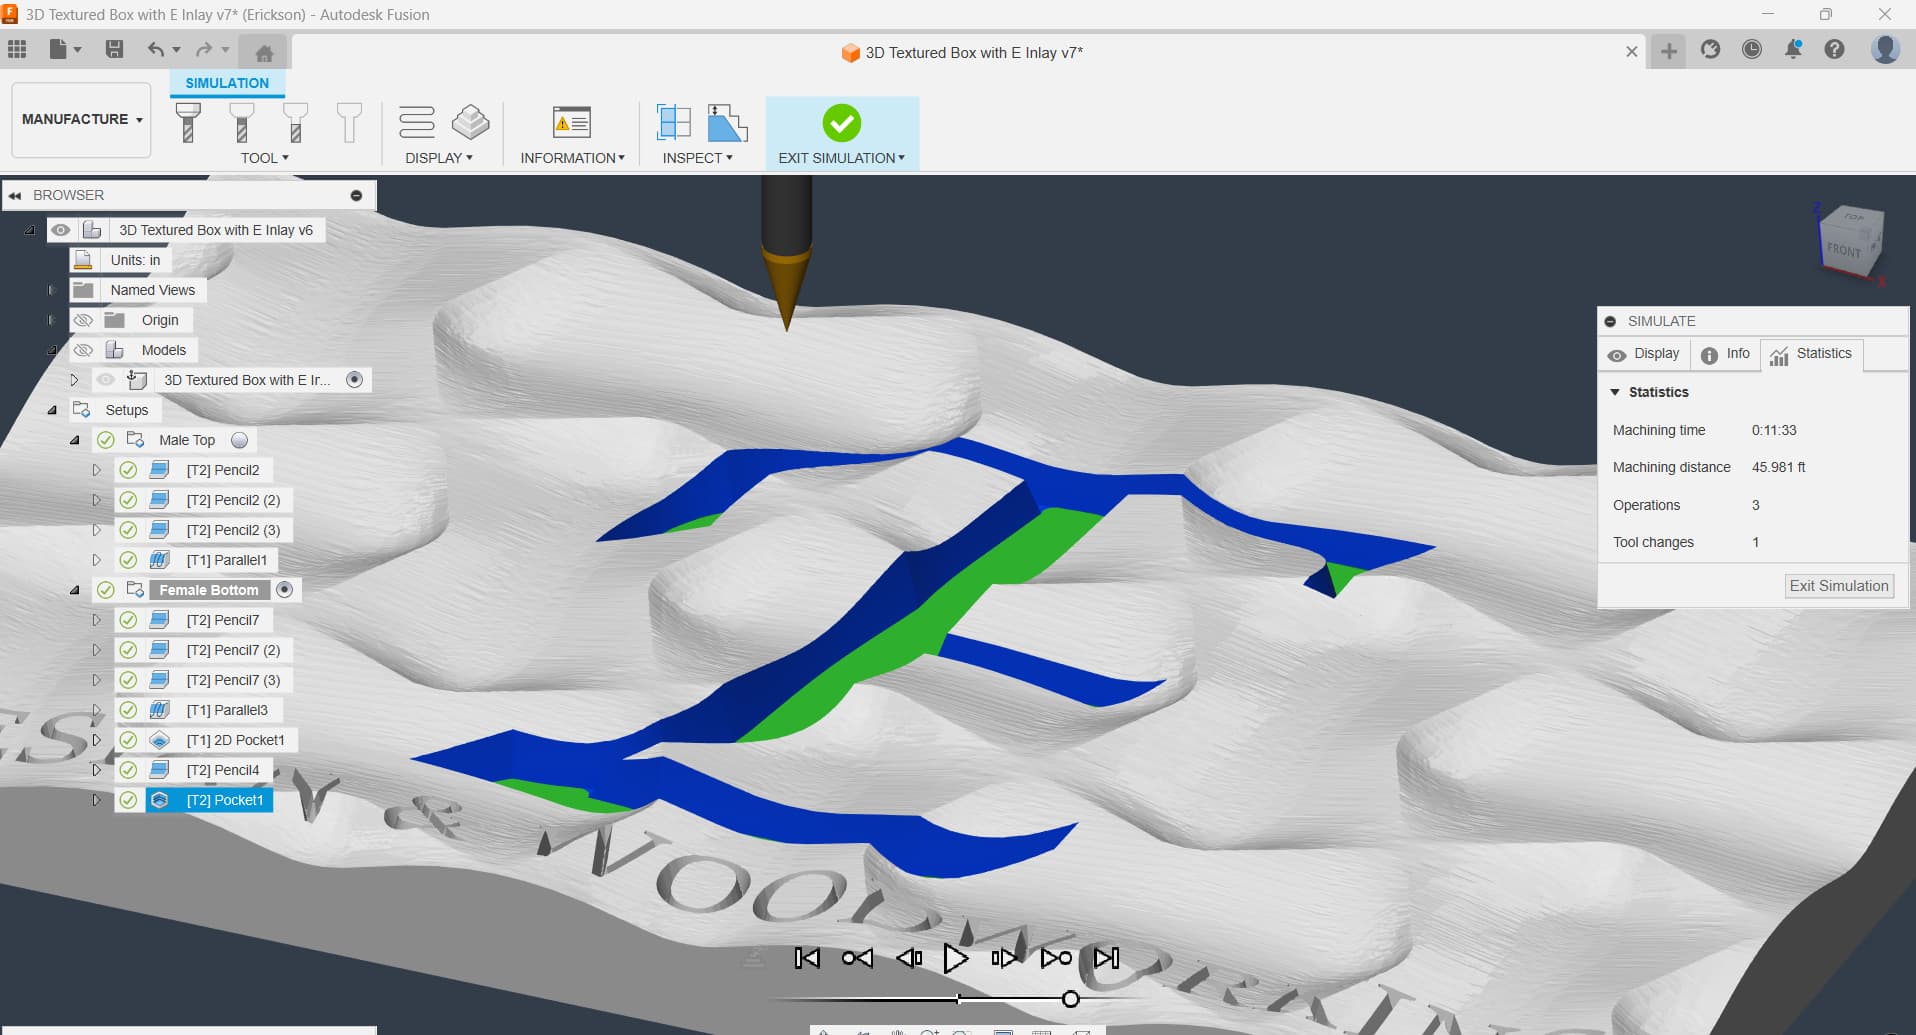
After this step, I’m V-Carving the larger E
After that, its machining the Male plug for the insert. I have to mirror the surface for the plug to sit into the female part, with a .1 gap.
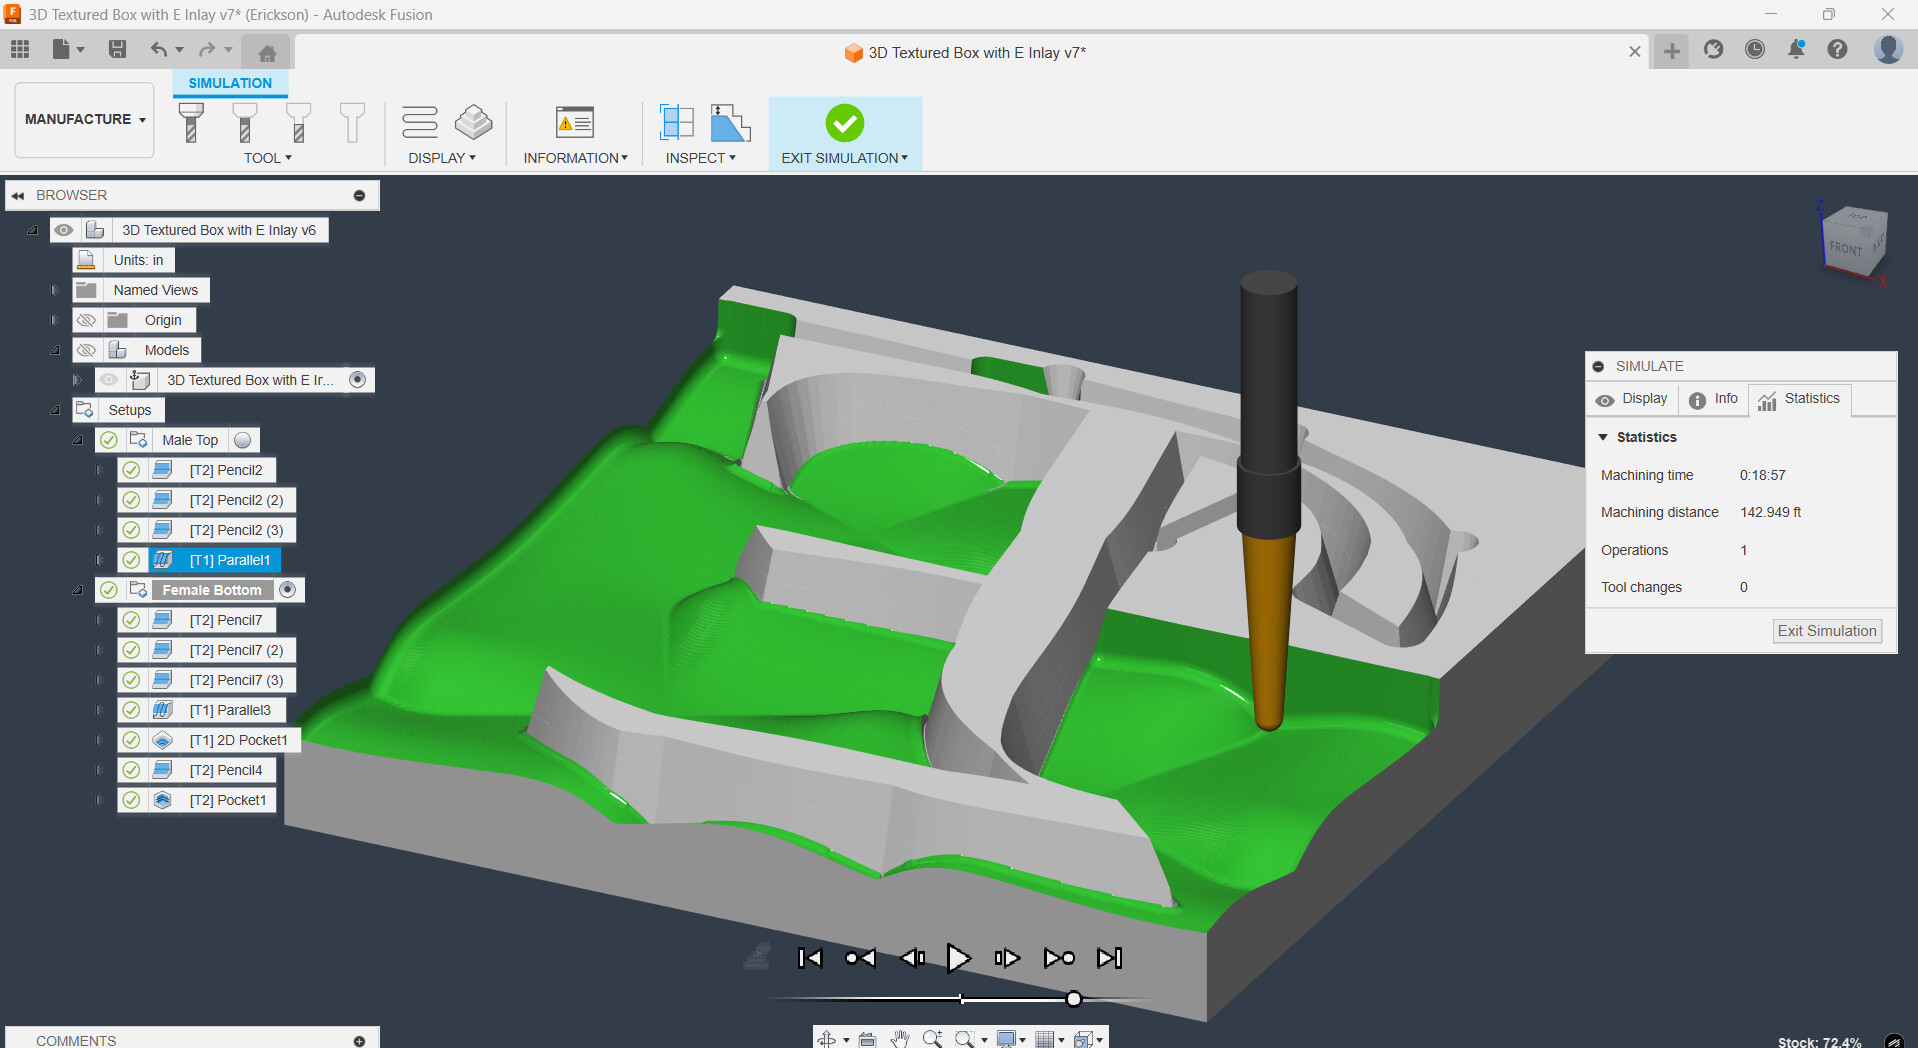
After that, it’s clearing the male plug off, leaving a V-Carved wood E and an epoxy filled lettering on the uneven surface.
This application has endless applications, but it does take some time making Fusion behave correctly. The math checks and will post the final result. Hopefully it will look like this:
The order of machining needs to be considered on how to maintain the zero between operations. More than likely, I’ll machine the male plug first, then work through the multiple toolpaths and epoxy pour to maintain a clean zero.
Here is the Fusion File for the settings. Note: I have the paid version, so I combine my toolpaths for the manual stepdowns during each tool.
Fusion 360 File: Fusion
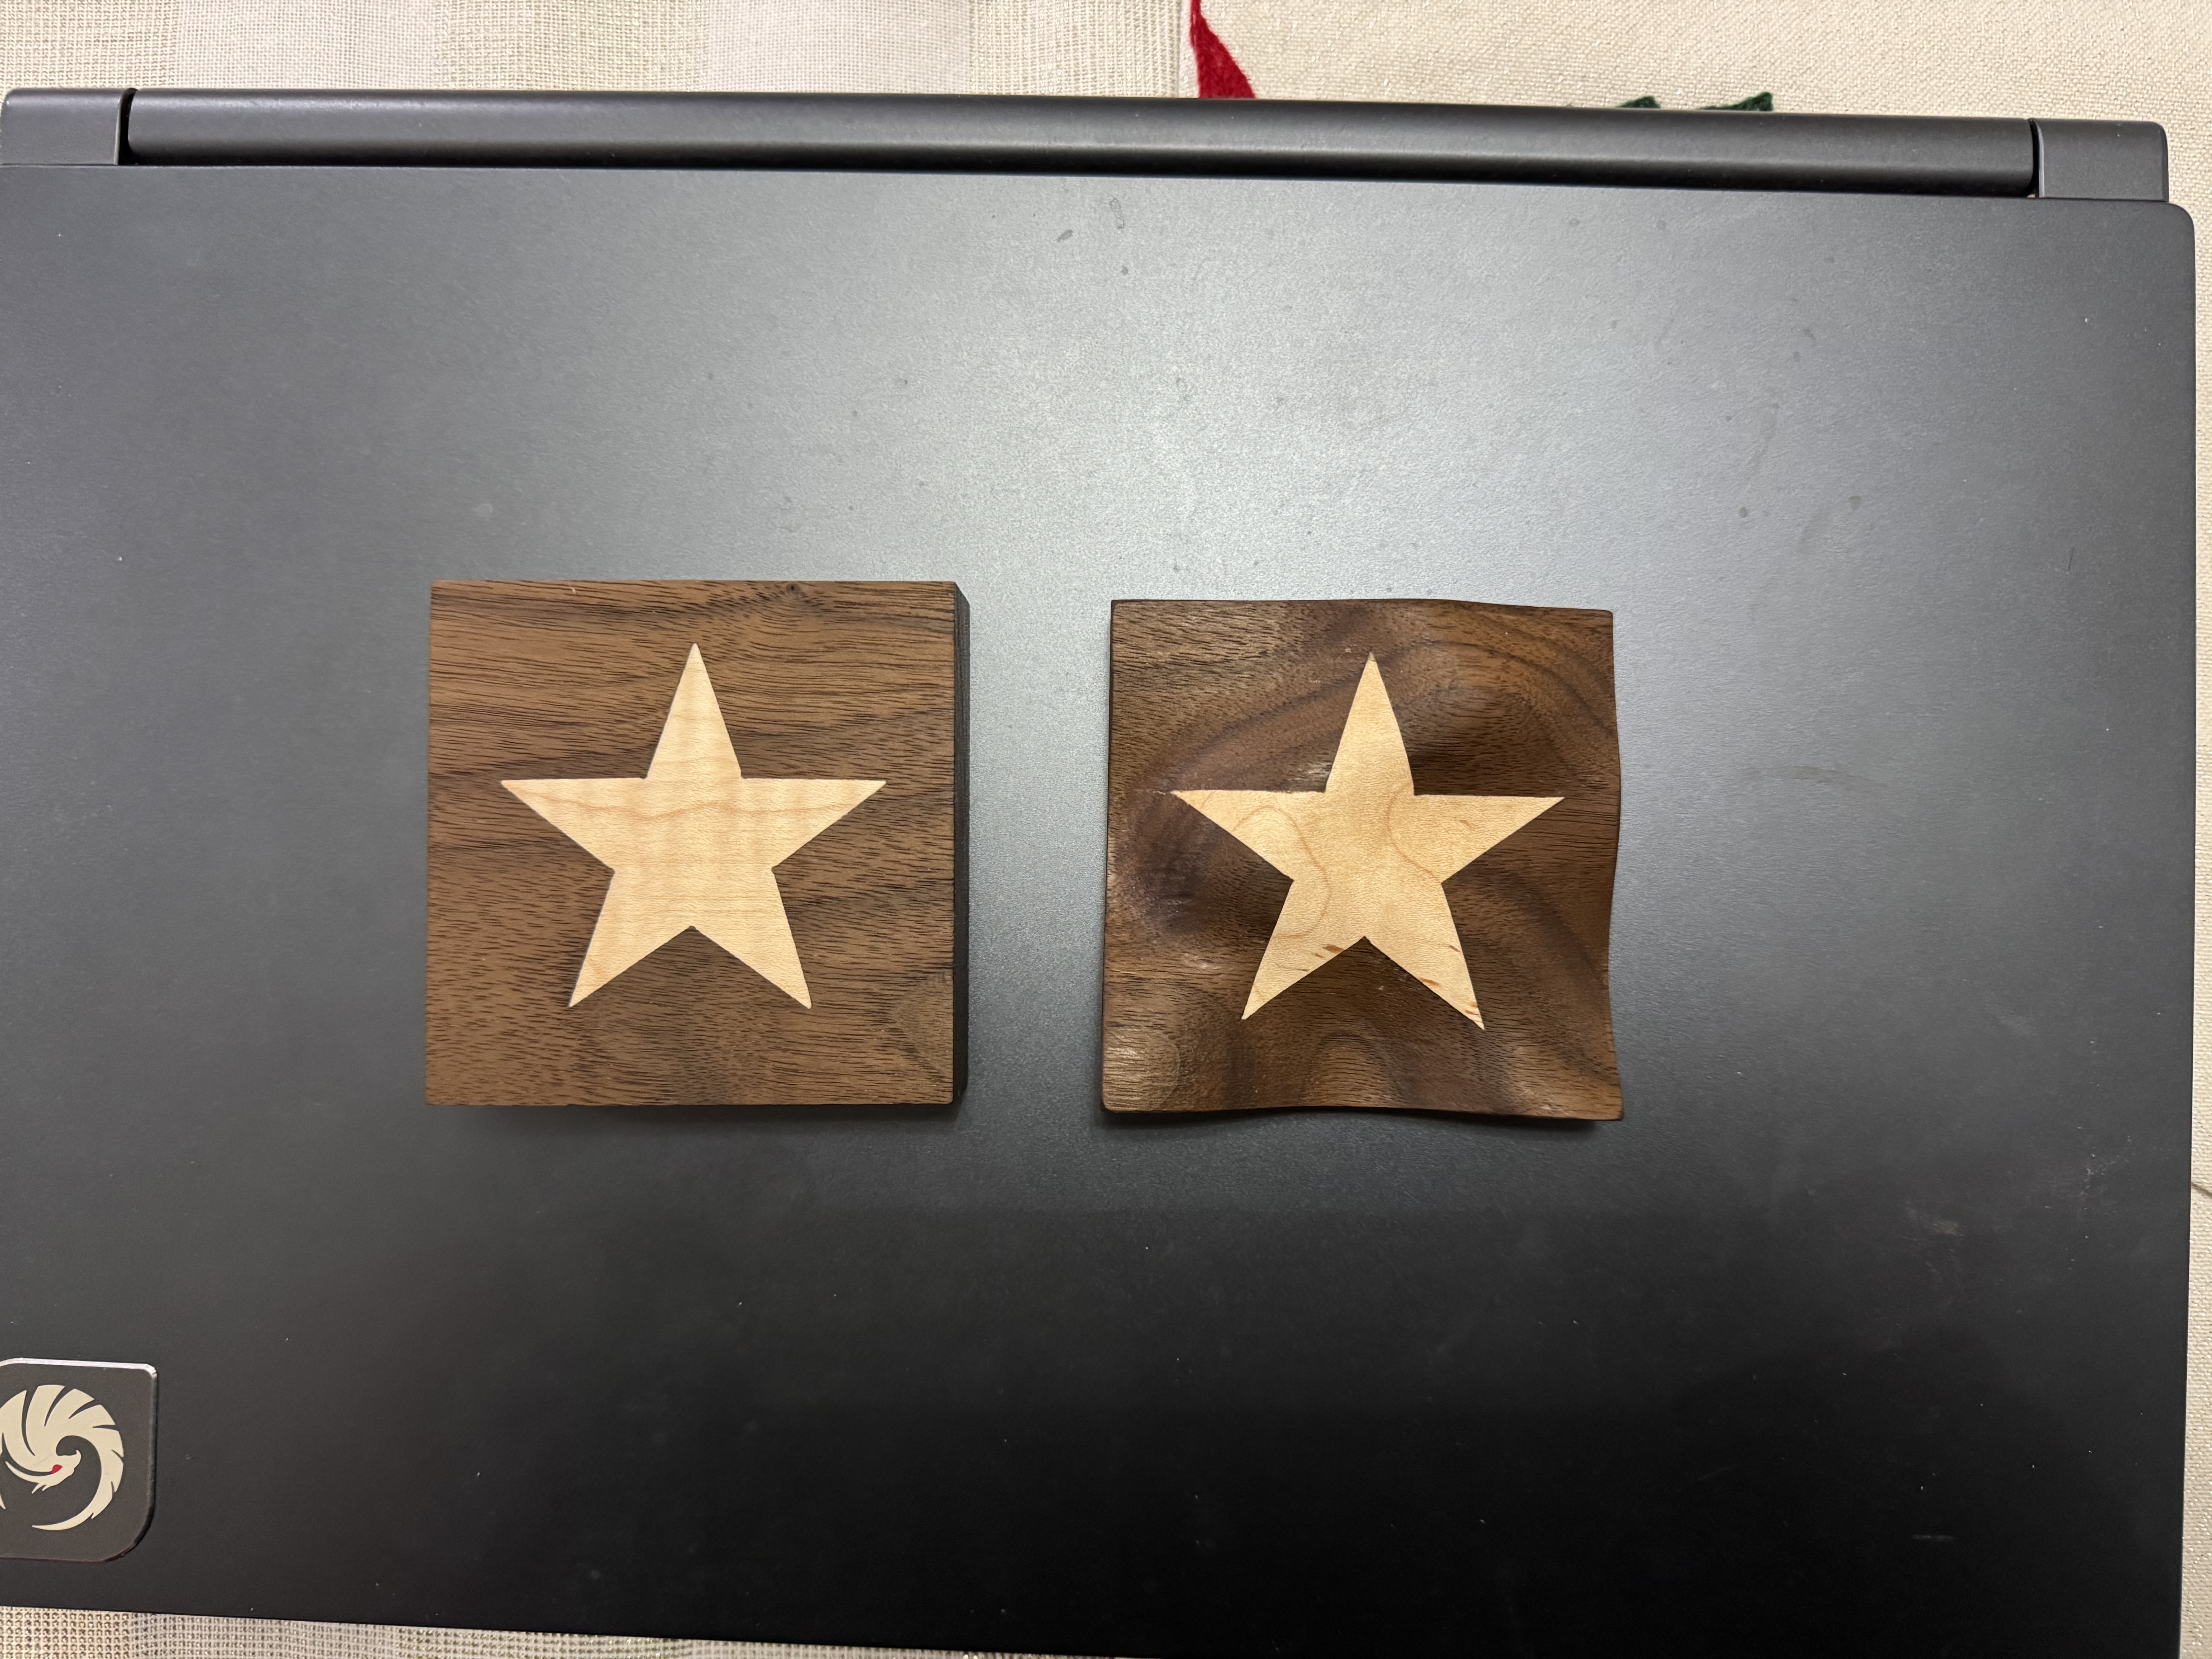
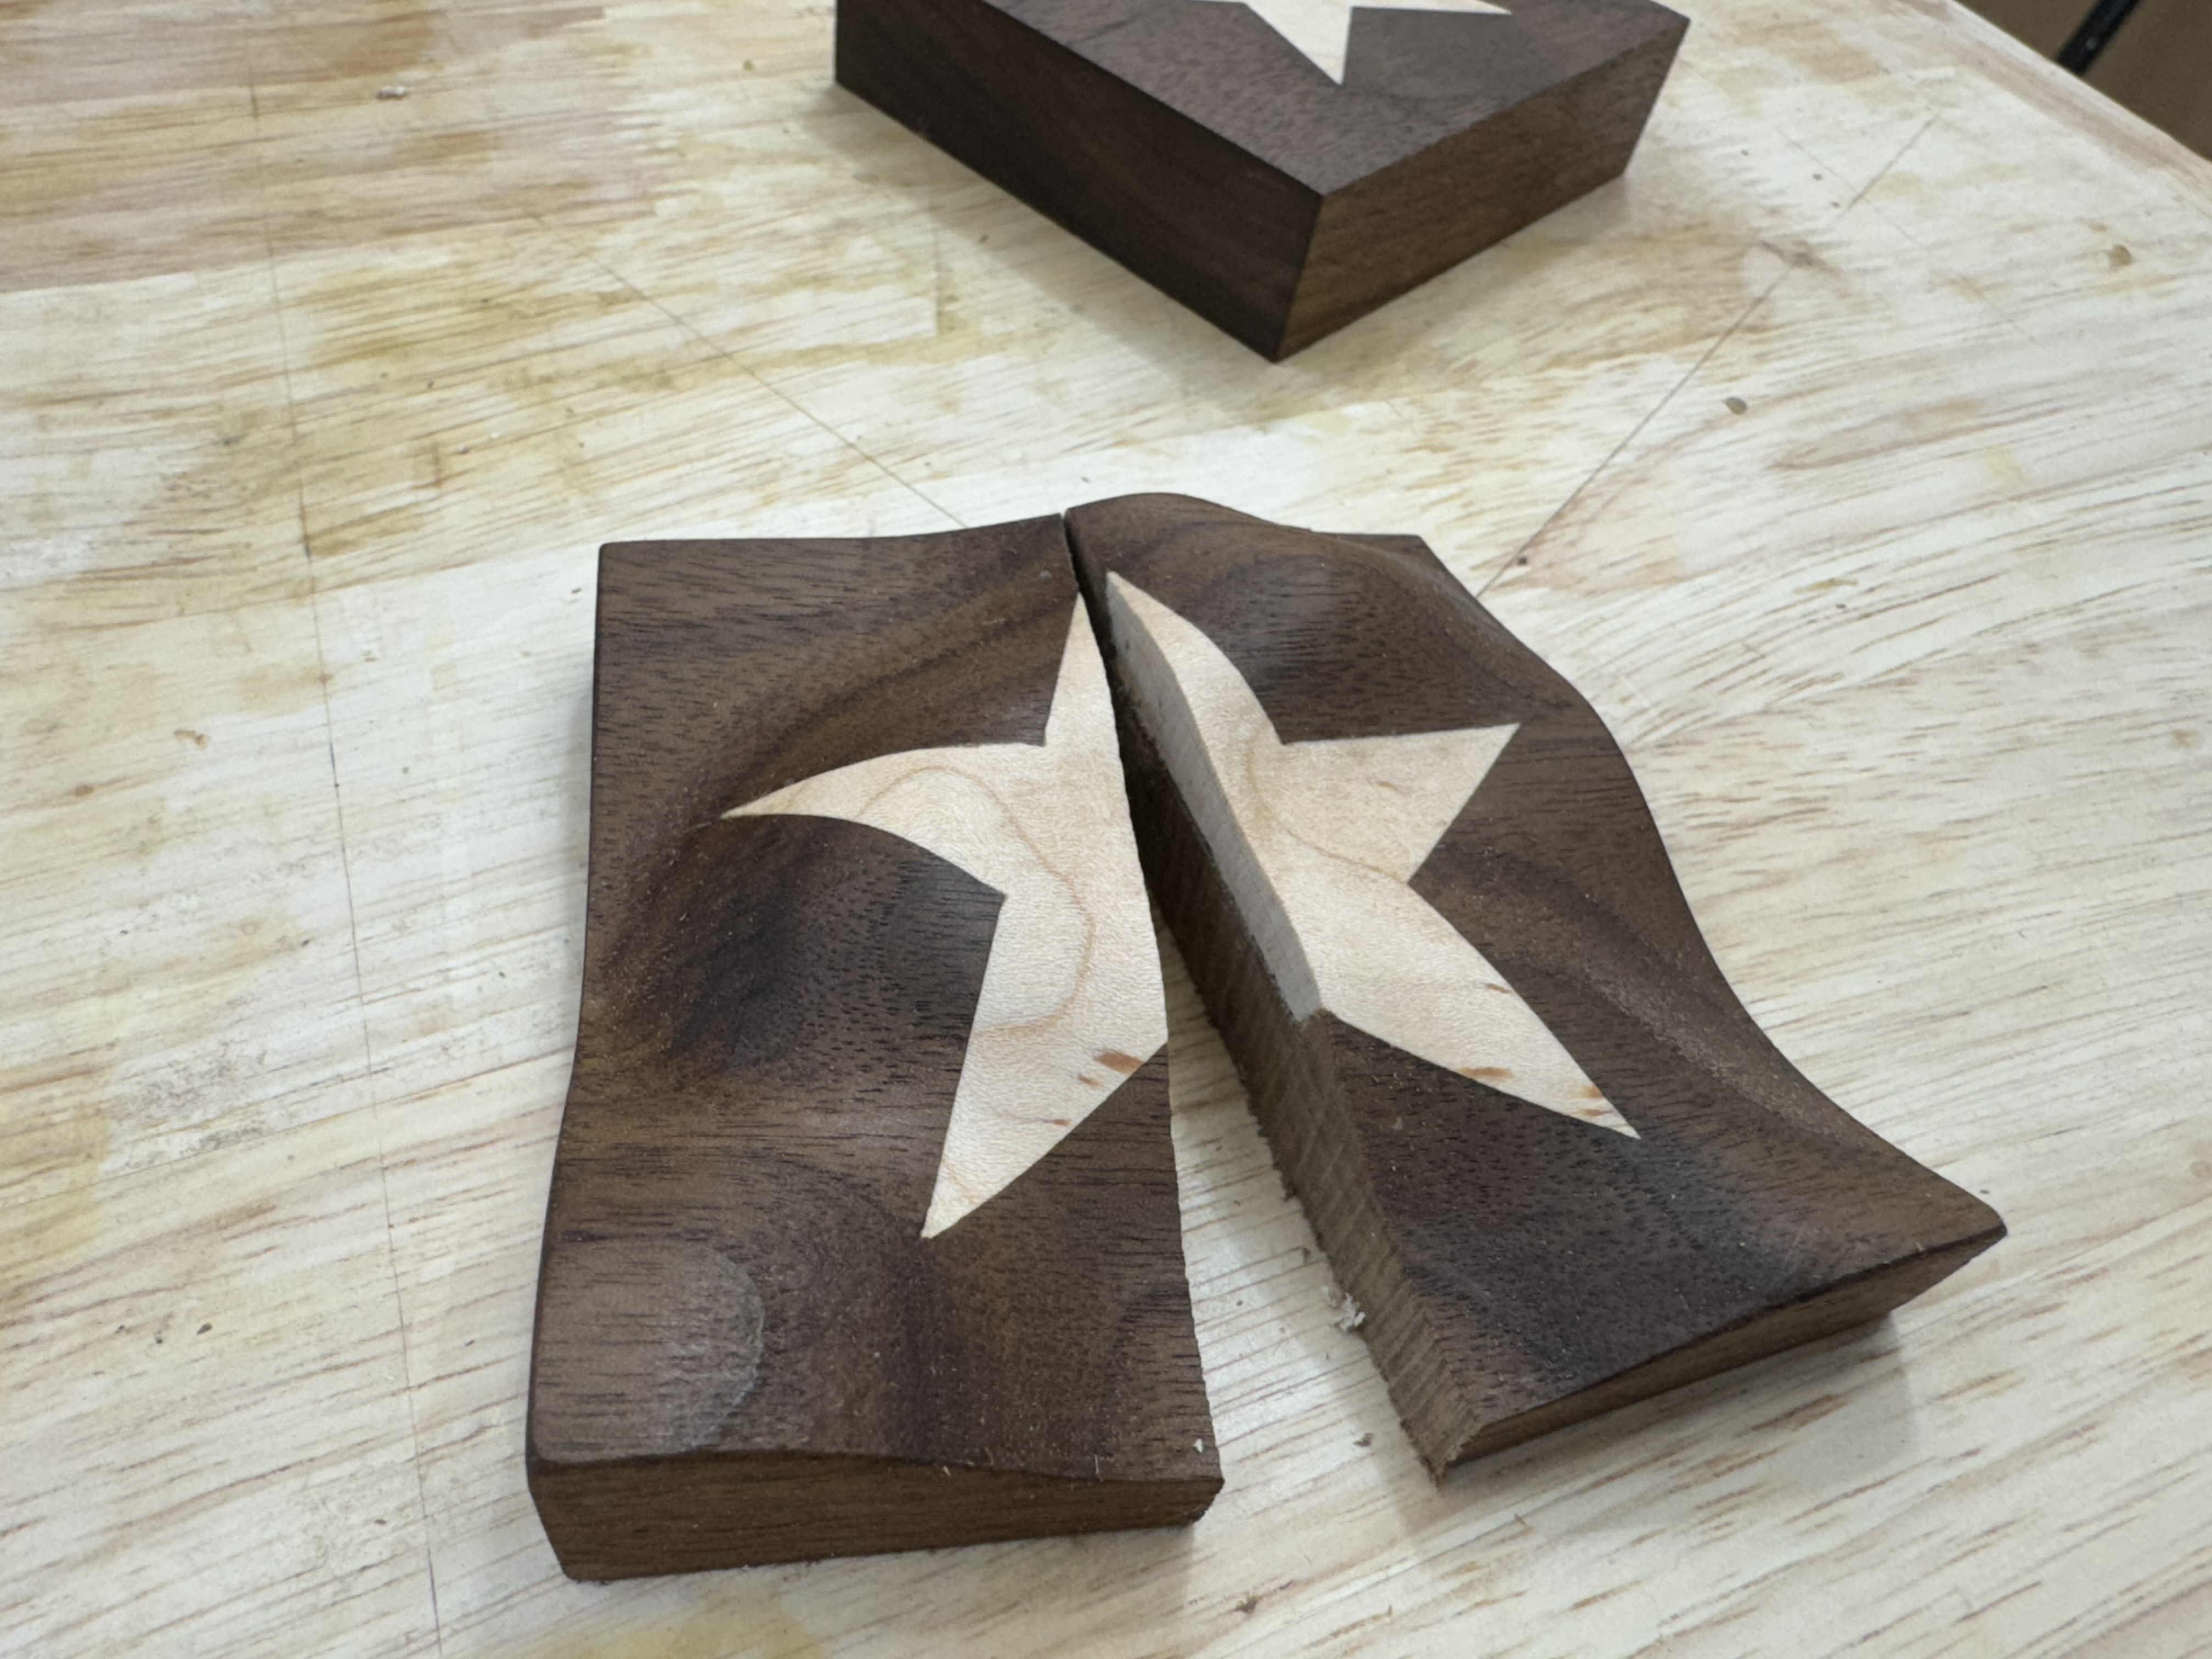
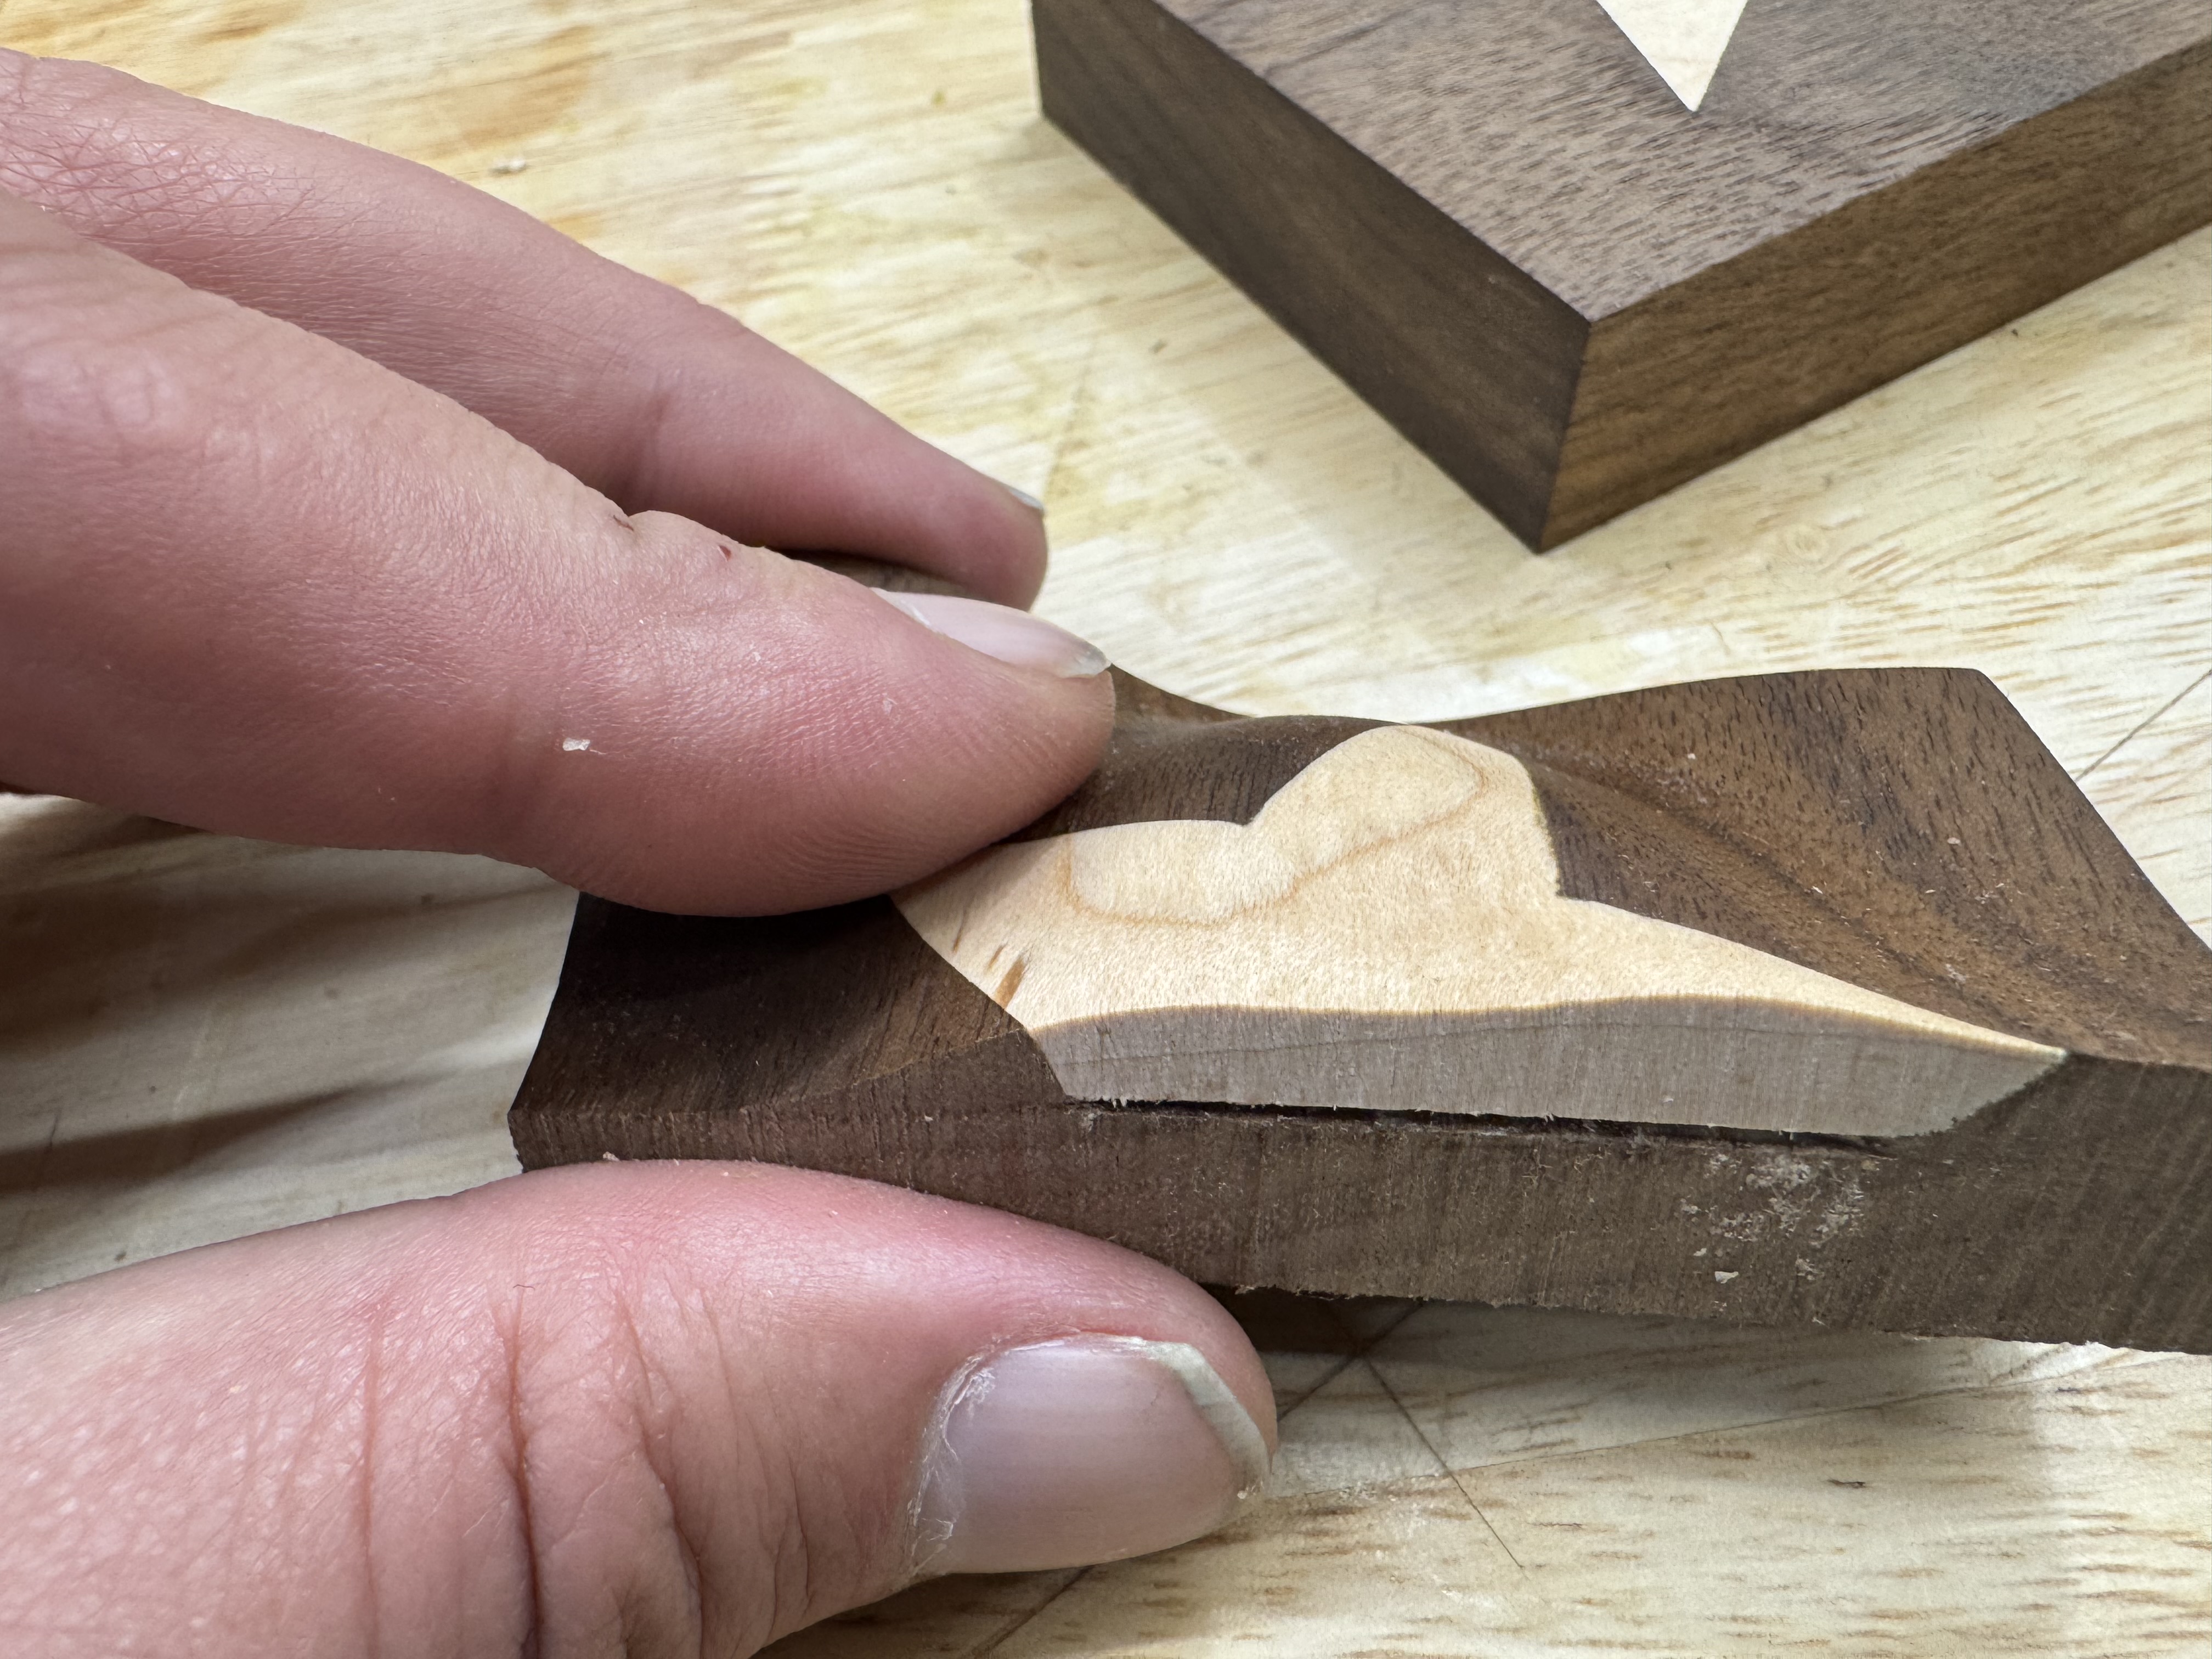
This is the same method, with some updated settings, I used to test the star pattern inlay: