Disclaimer: this is old news, I initially posted this in the community challenge #8 thread, but since it was wiped out in the unfortunate server event last week, I’m recreating that post albeit with less comments. This is about using the Fusion360 slicer add-in to generate 2D slices from a 3D model.
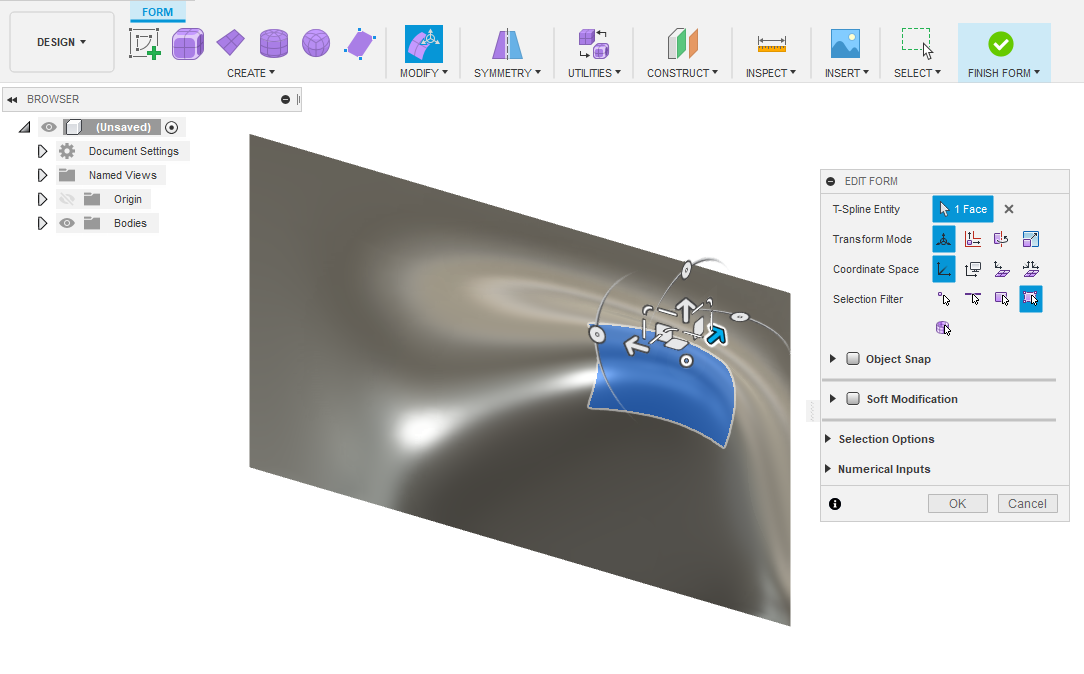
Step 1: create something 3D. If you never had a chance to try Fusion360’s “Form” features, go and have a look, it’s quite interesting and easy to use (well for making random surfaces it is…)
Step 2: turn the 3D surface into a 3D solid object, using the “Boundary Fill” function and an enclosing box:

Which gives this:

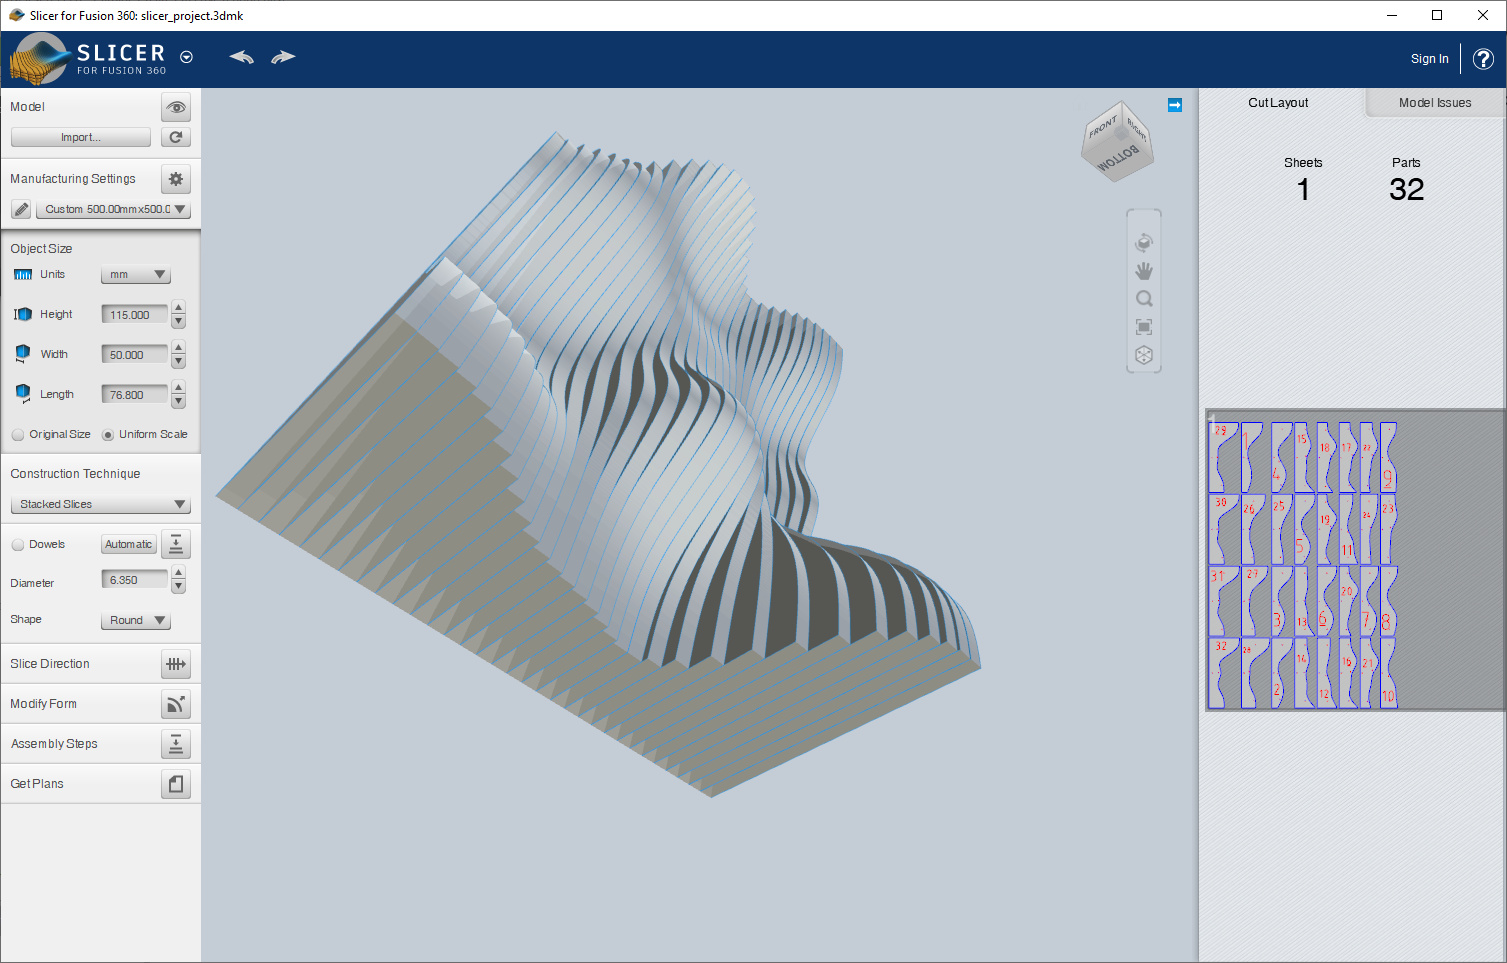
Step 3: Launch the Slicer add-in and slice to your heart’s content, then export the slices to an SVG or DXF file:
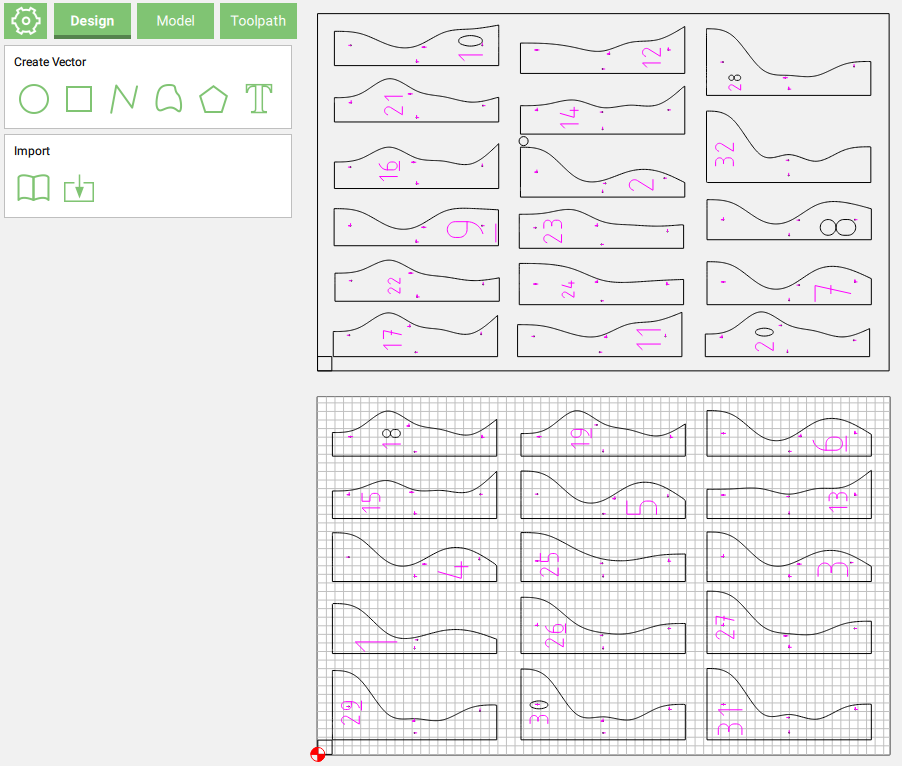
Step 4: import the vector in CAD:
Step 5: find the most beaten piece of acrylic you have in your garage:

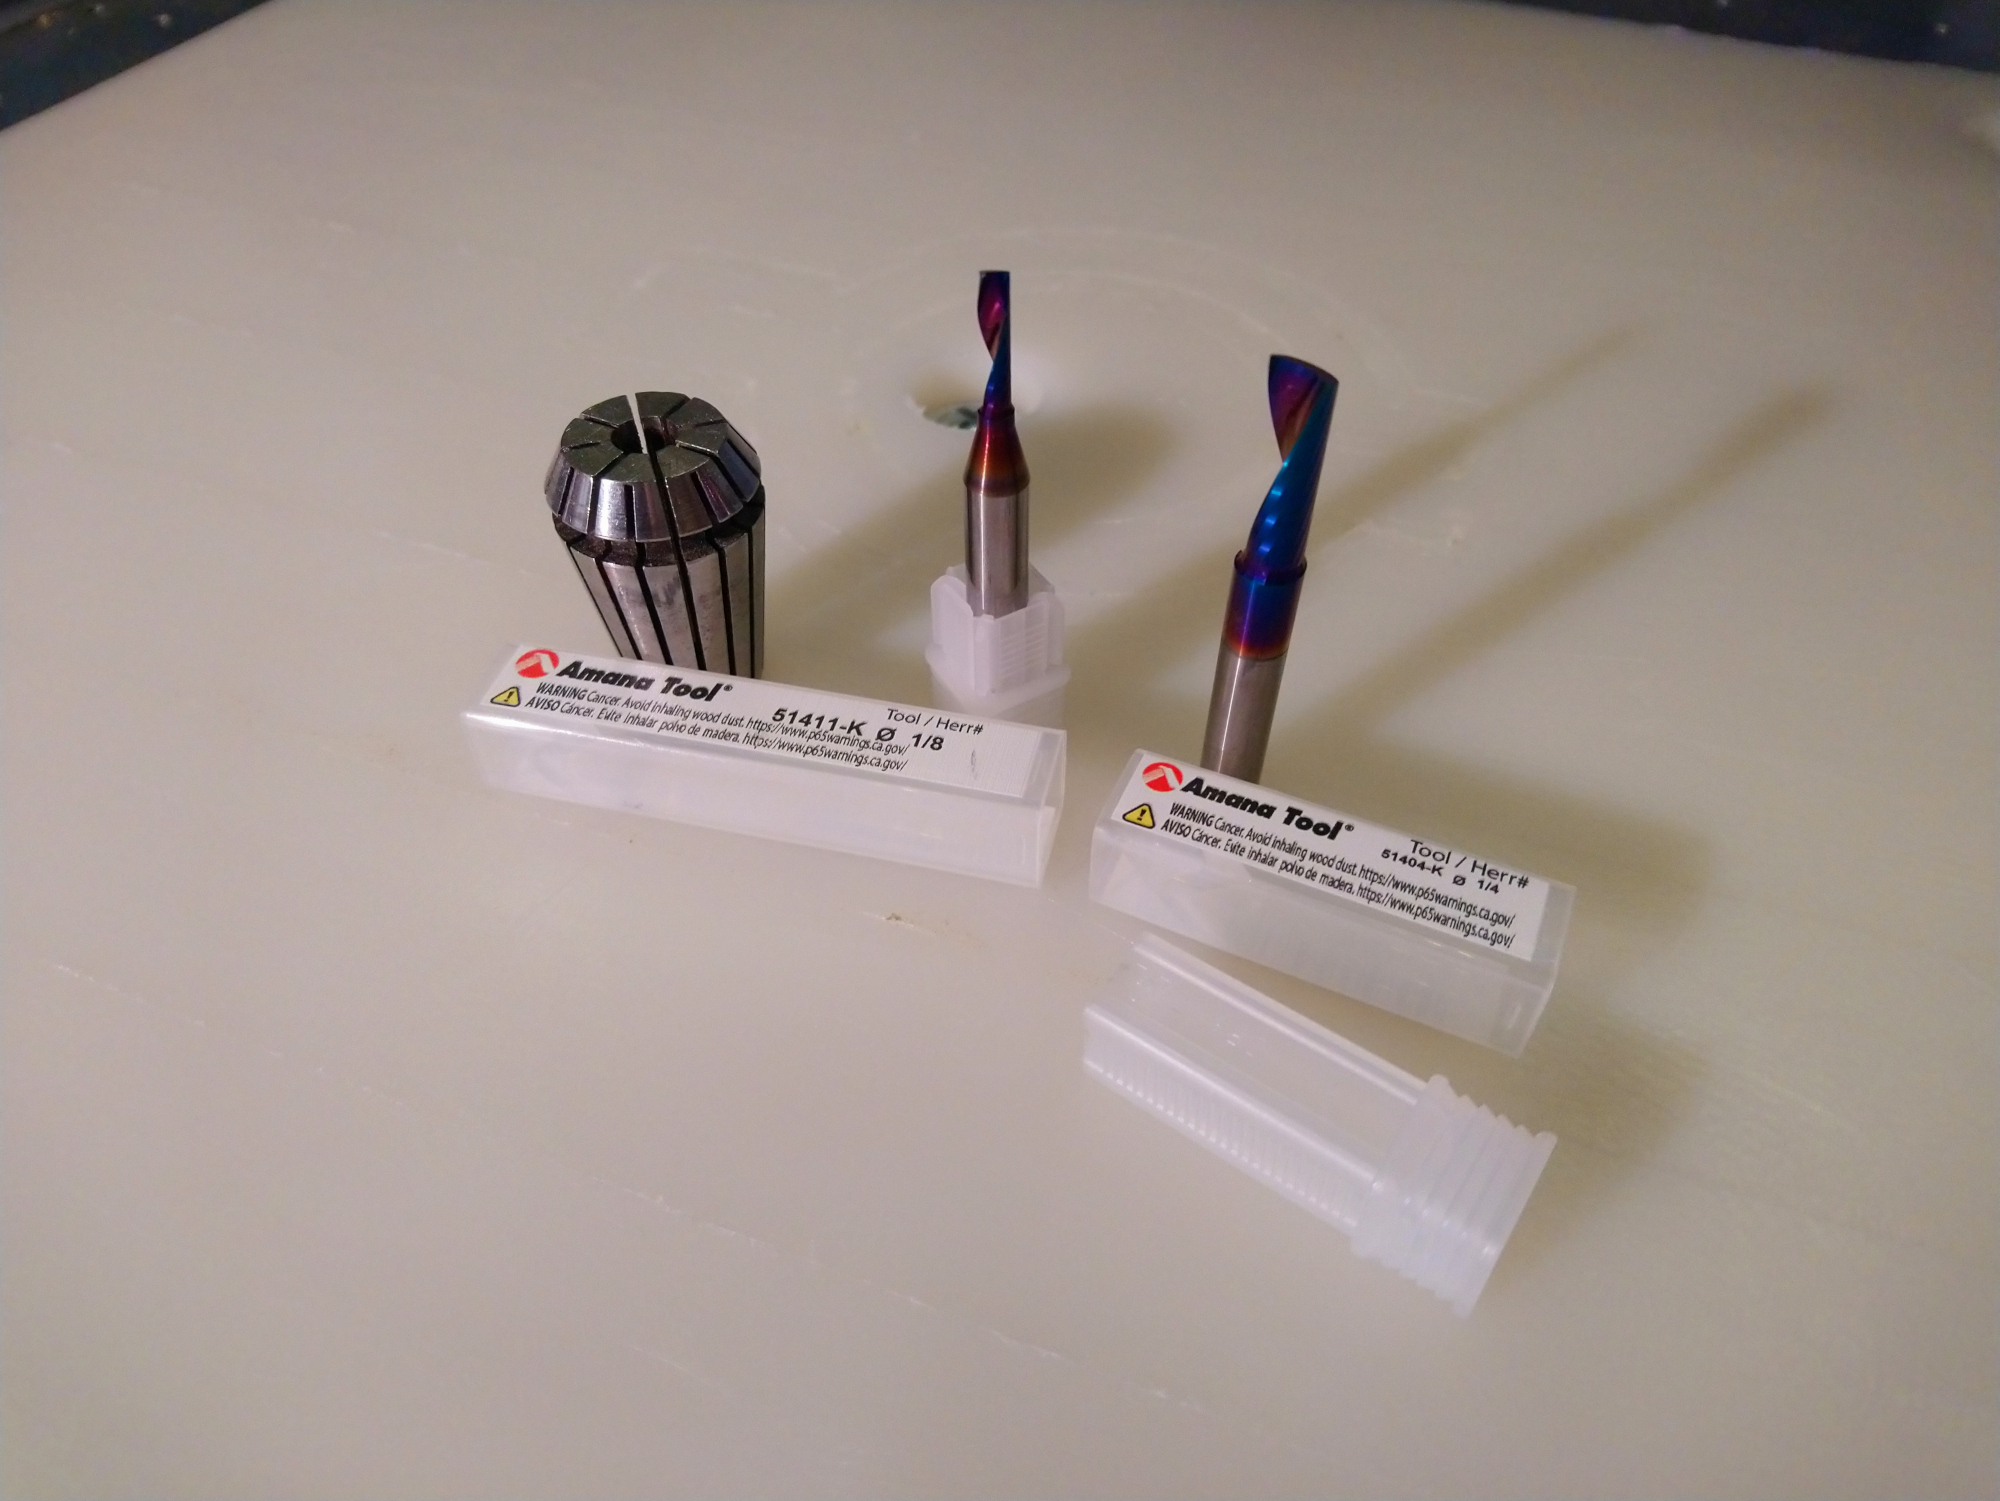
Step 6: go get those O-flute cutters. They love plastics.
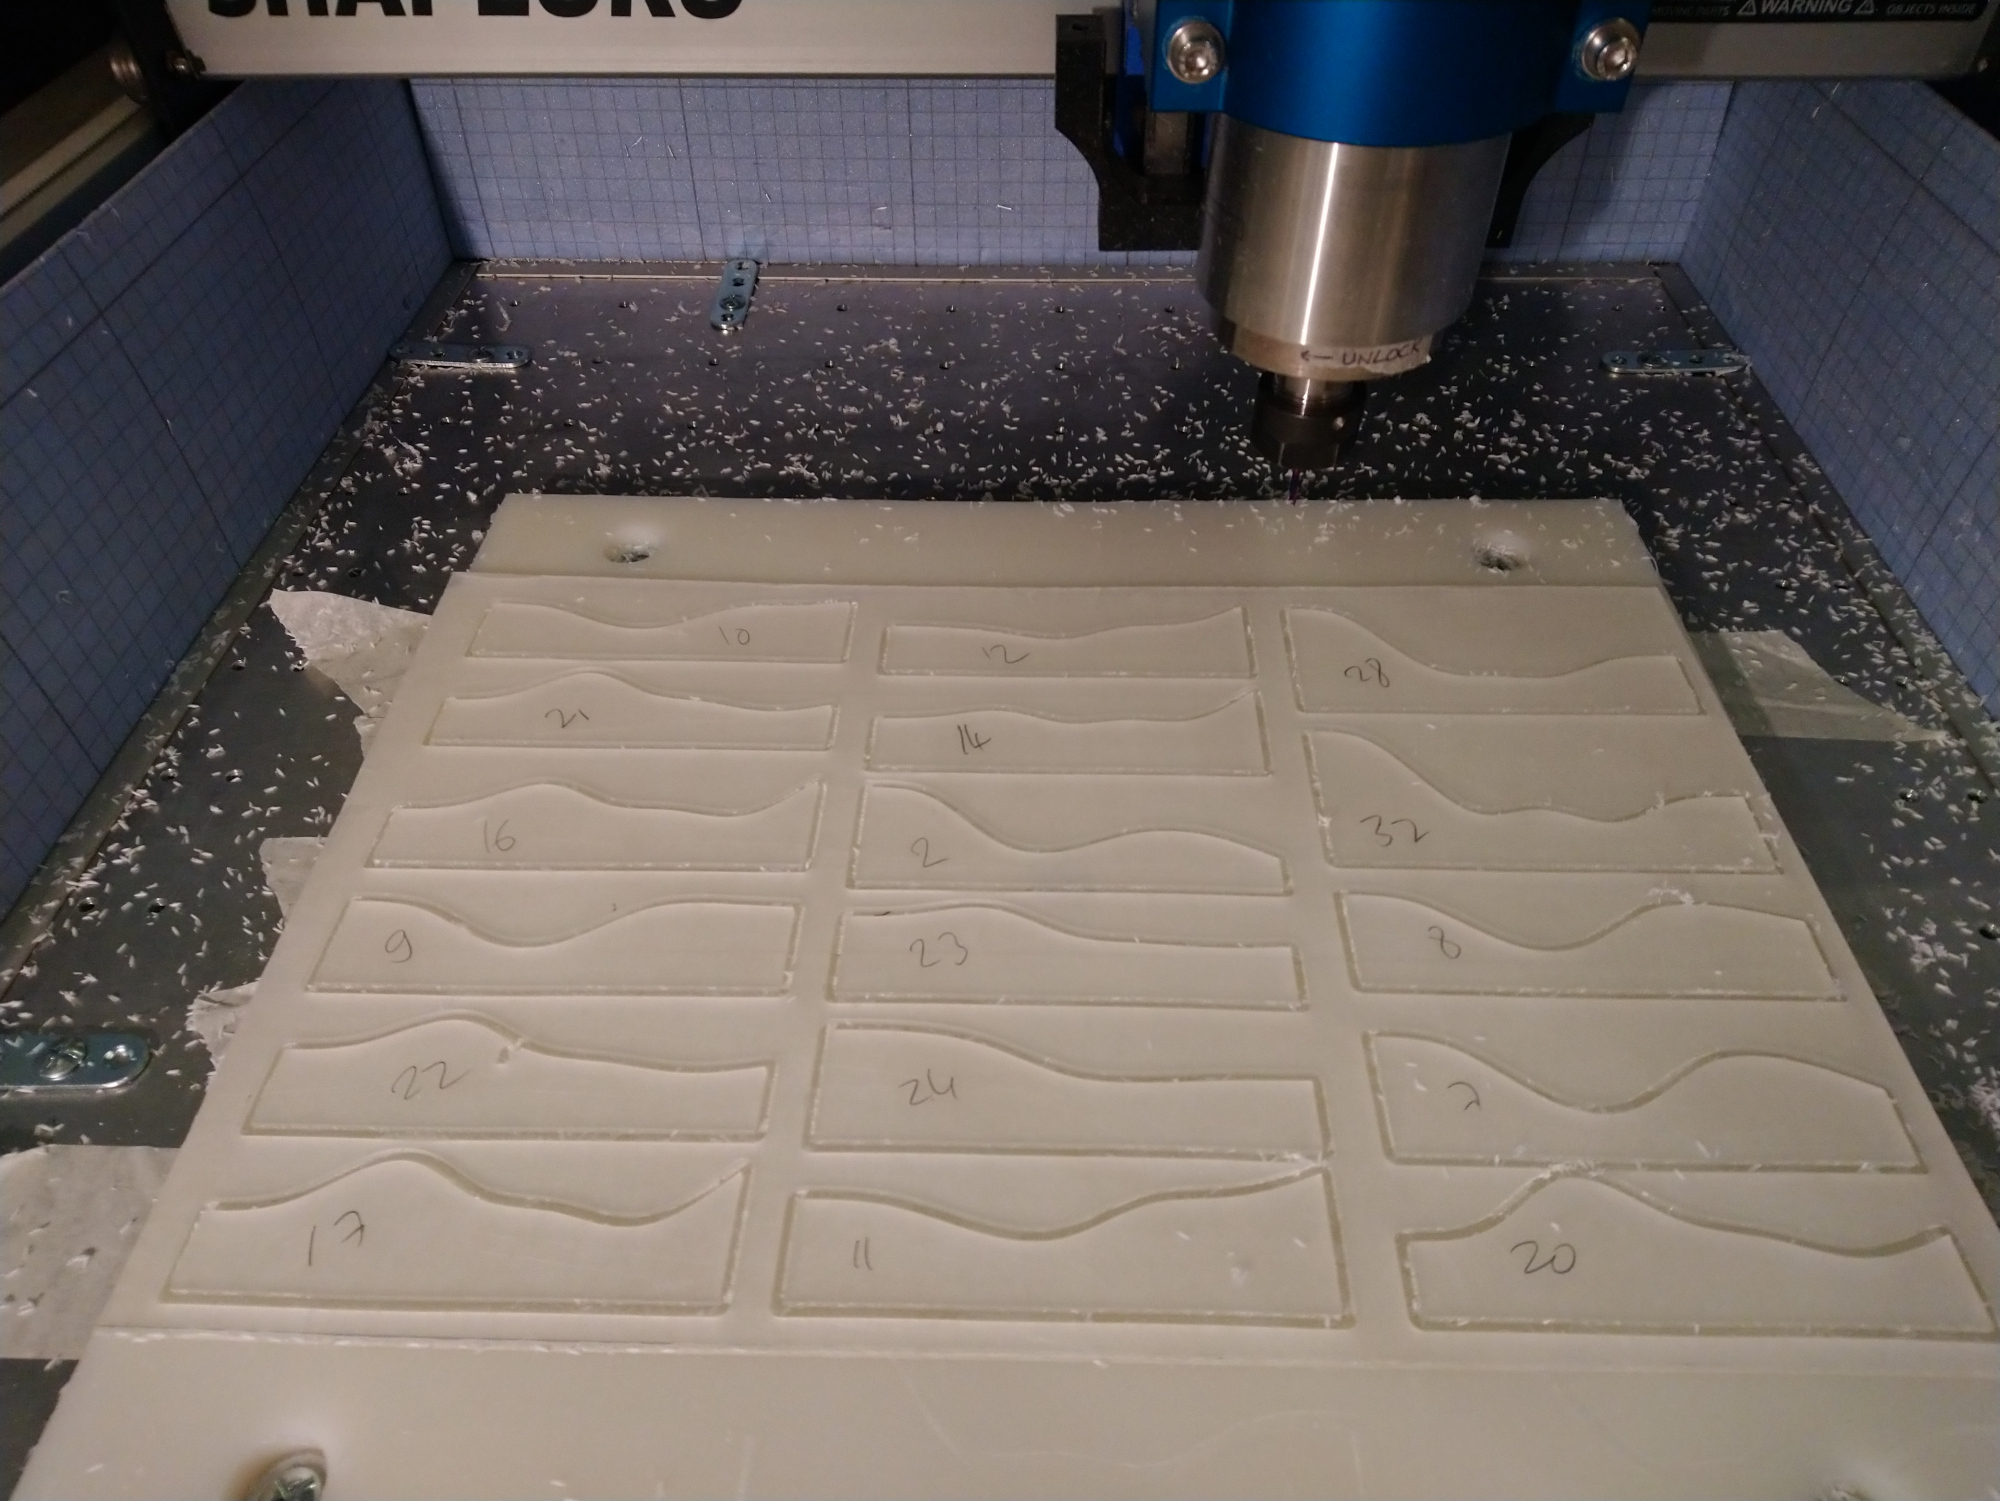
Step 7: pick reasonable feeds and speeds :
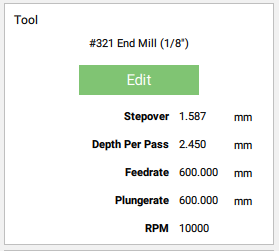
and cut a test piece, make sure you end up with nice curly chips:
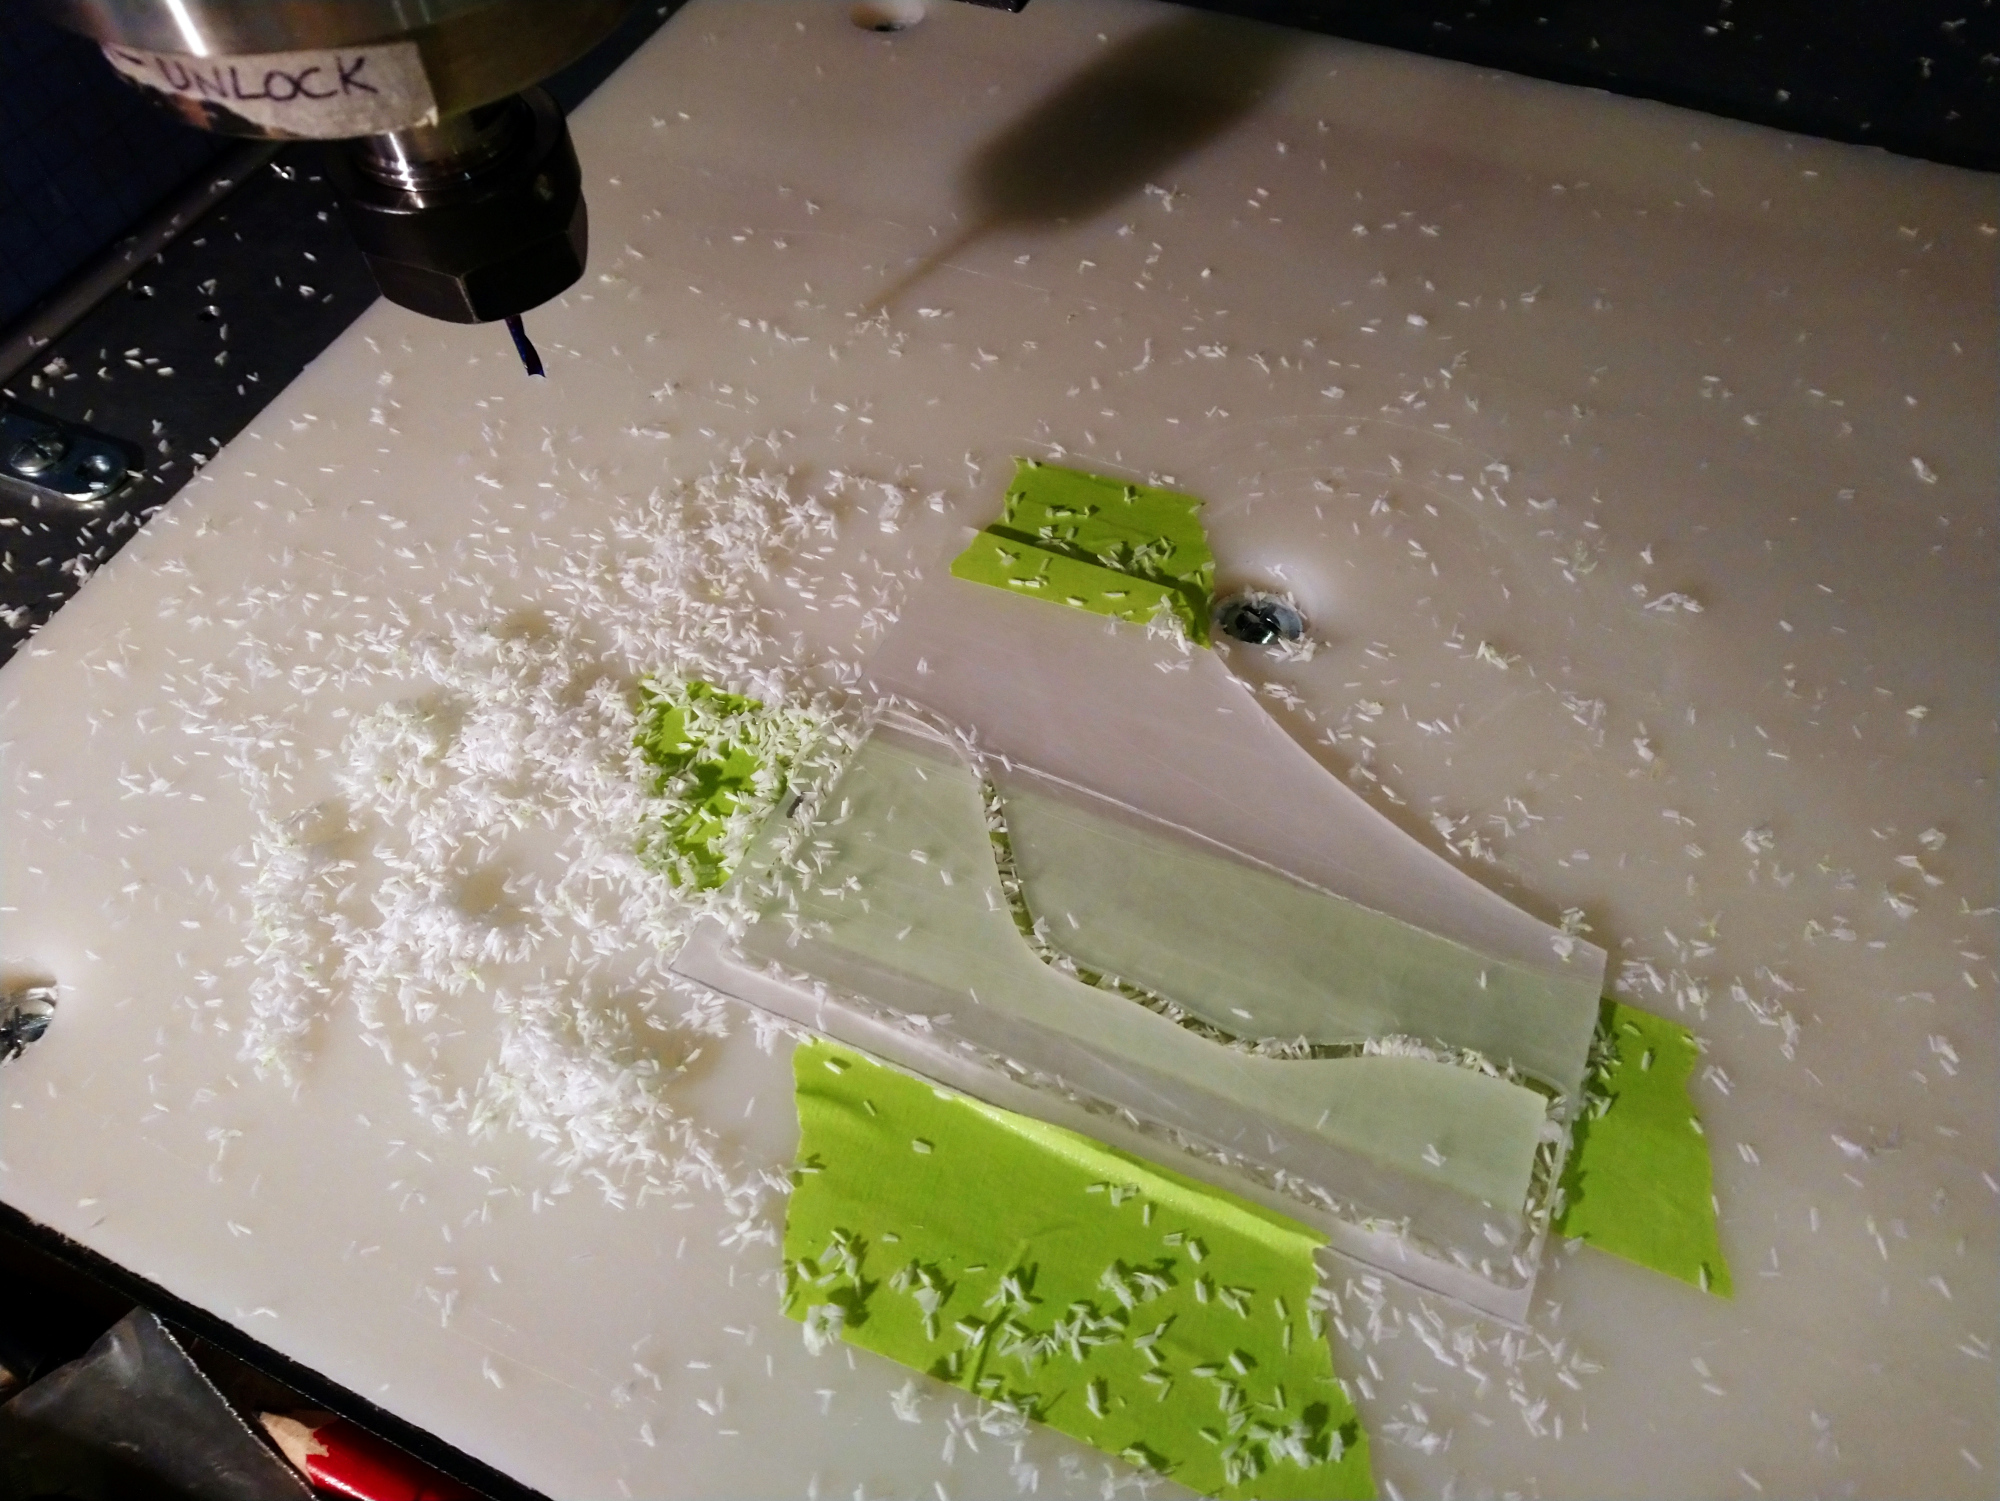
Step 8: use your favorite workholding method even though it’s not really adequate:
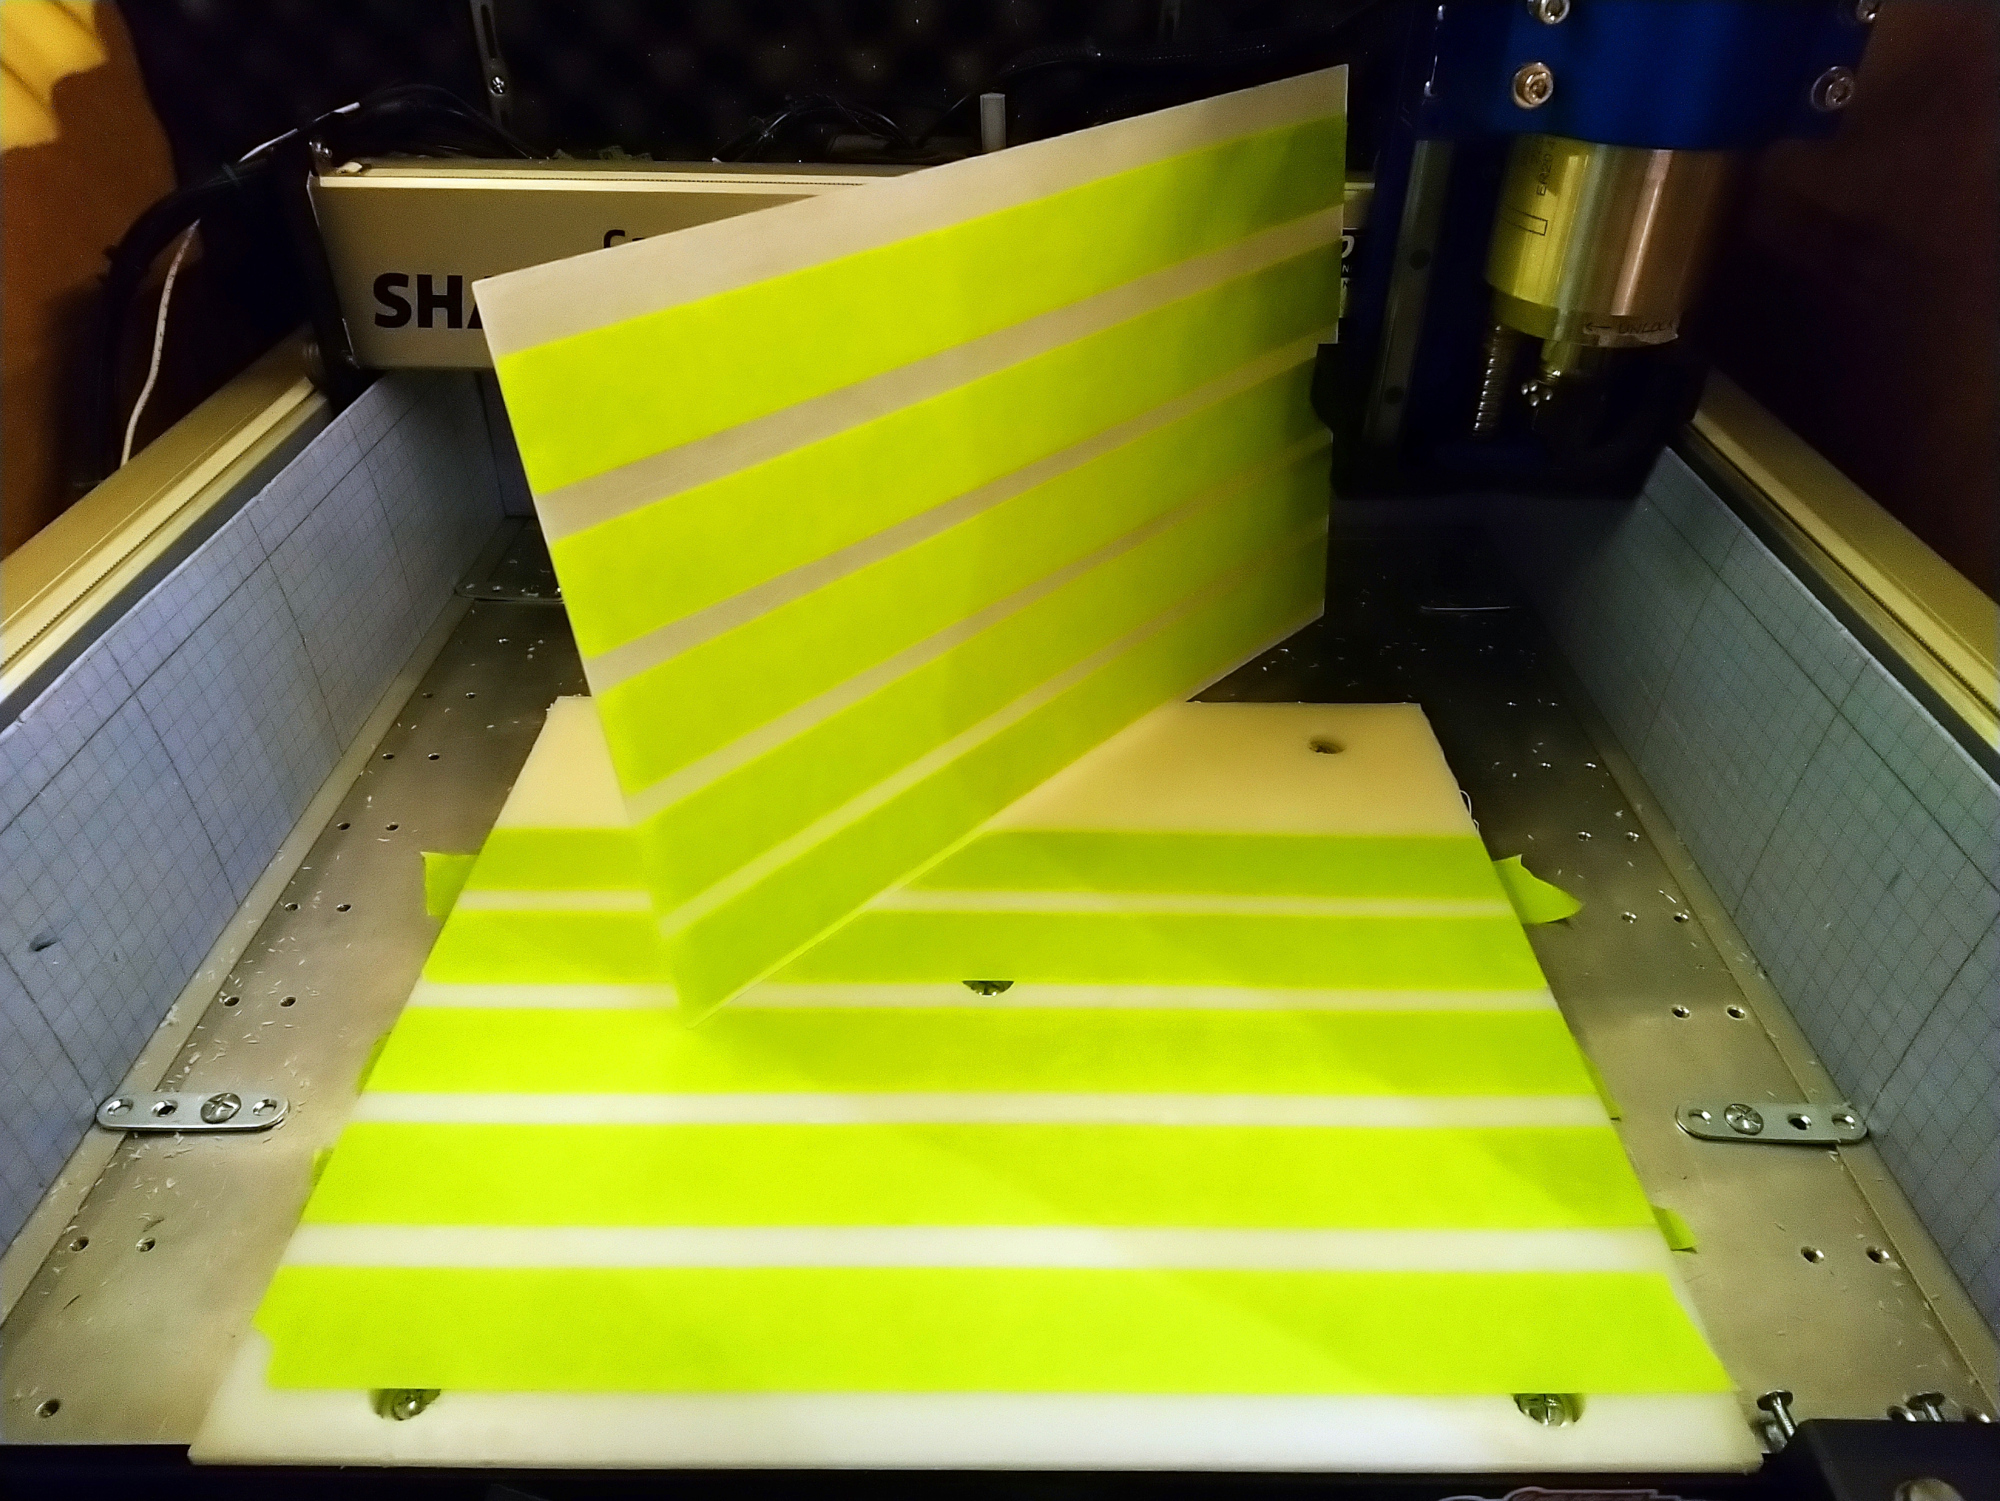
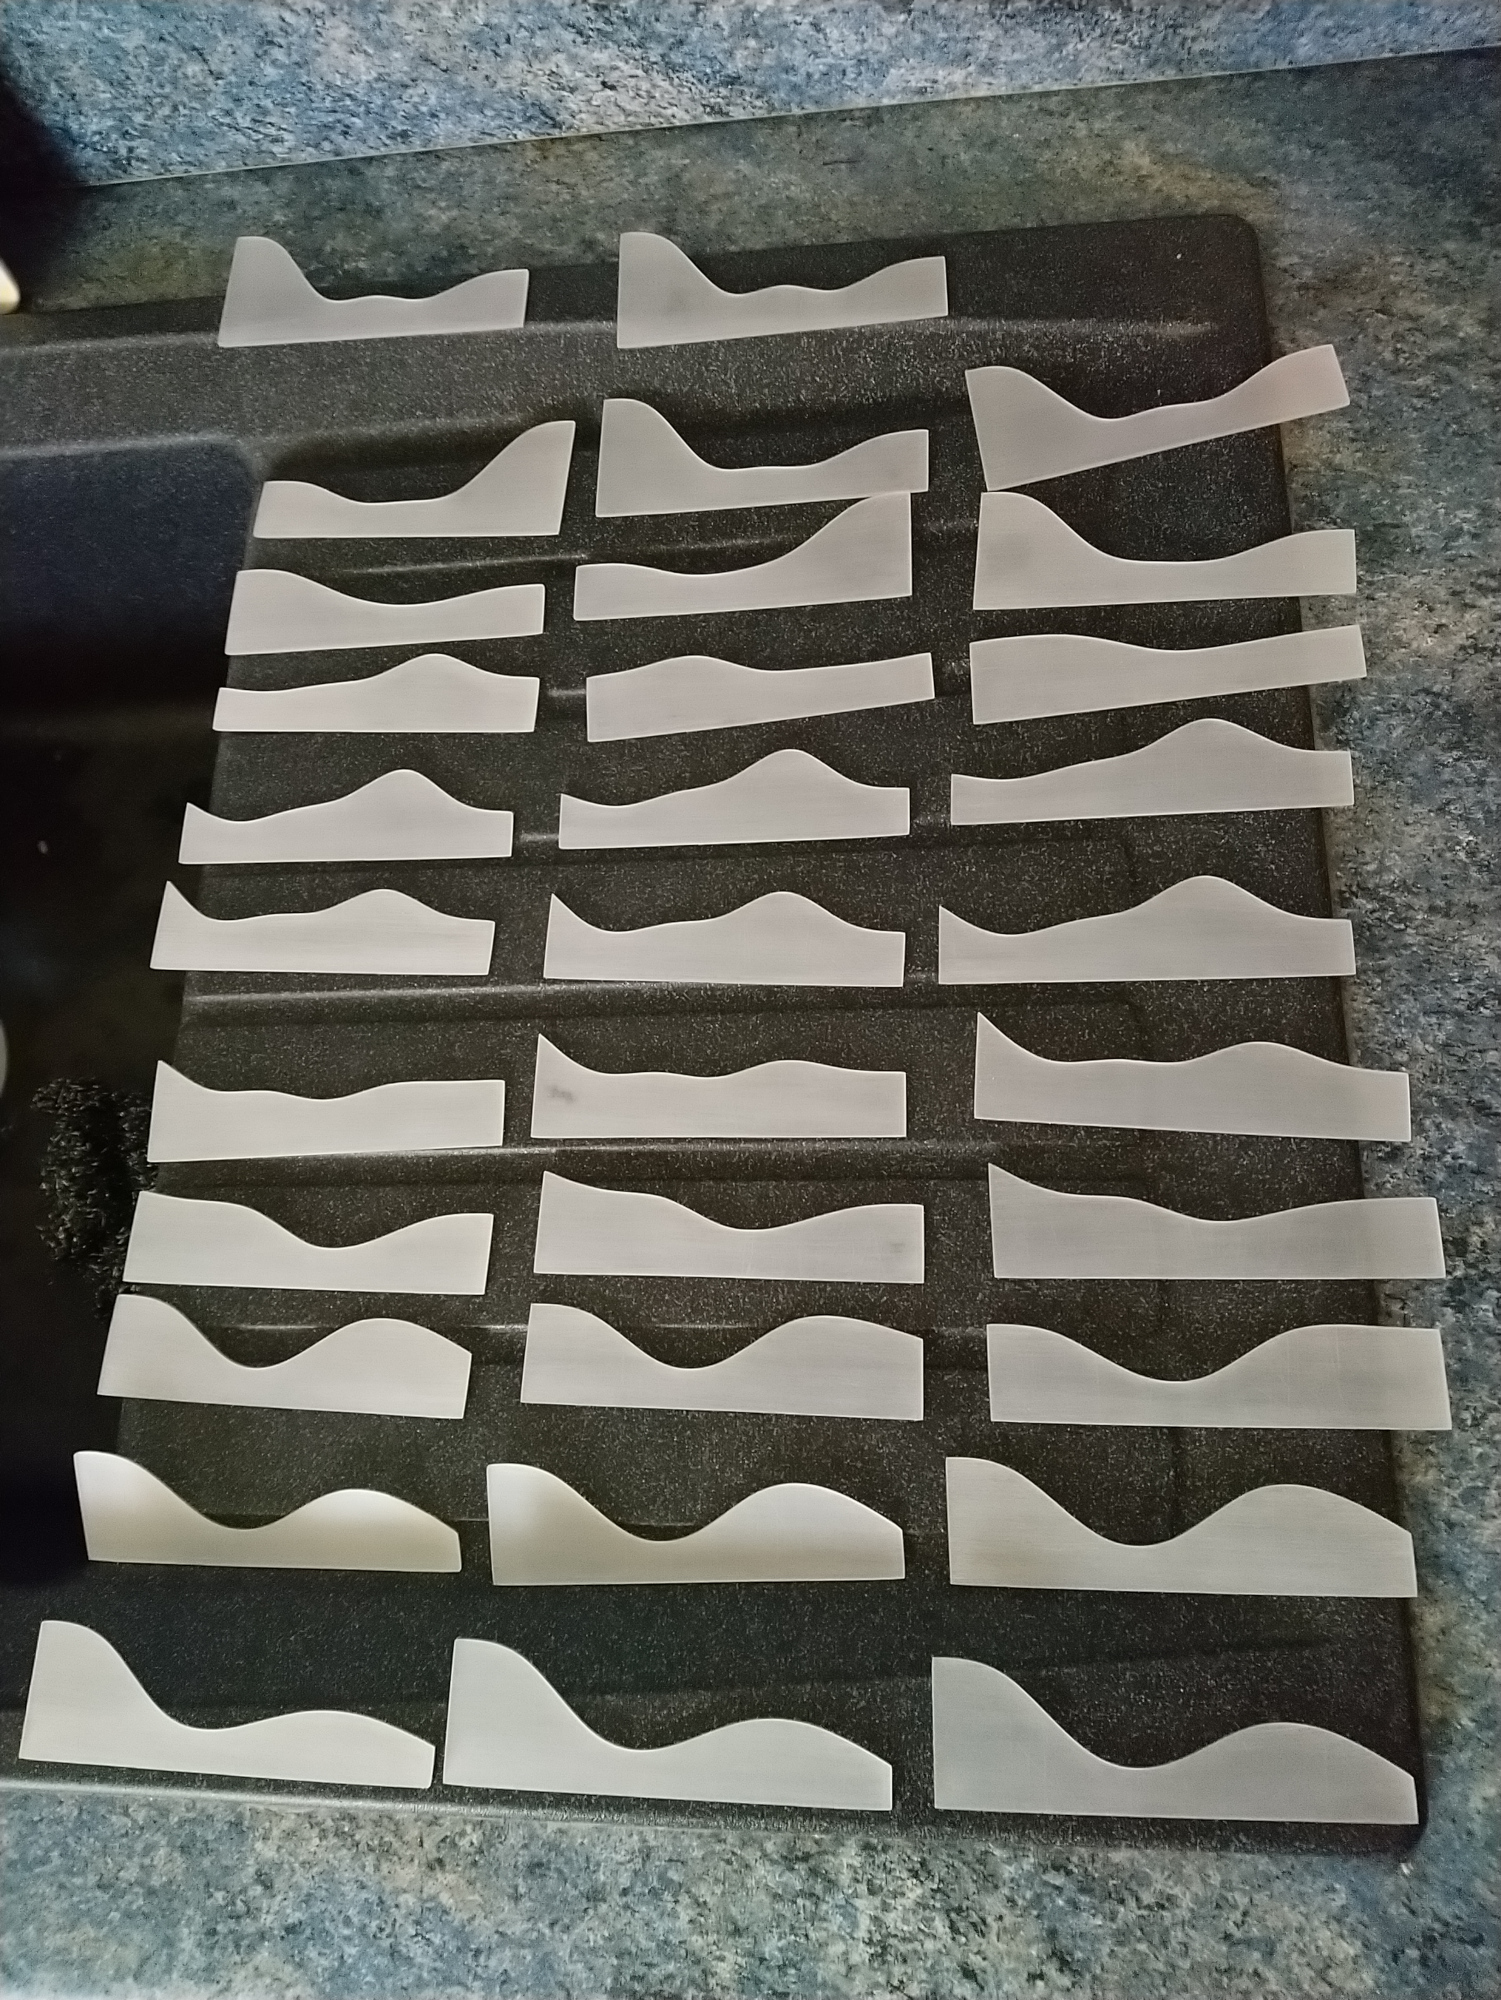
Step 9: cut and label the pieces before removing them…
Step 10: be happy you labeled the pieces, unless you like puzzles:
Step 11: sacrifice a serving board from your favorite supplier of cheap exotic wood:
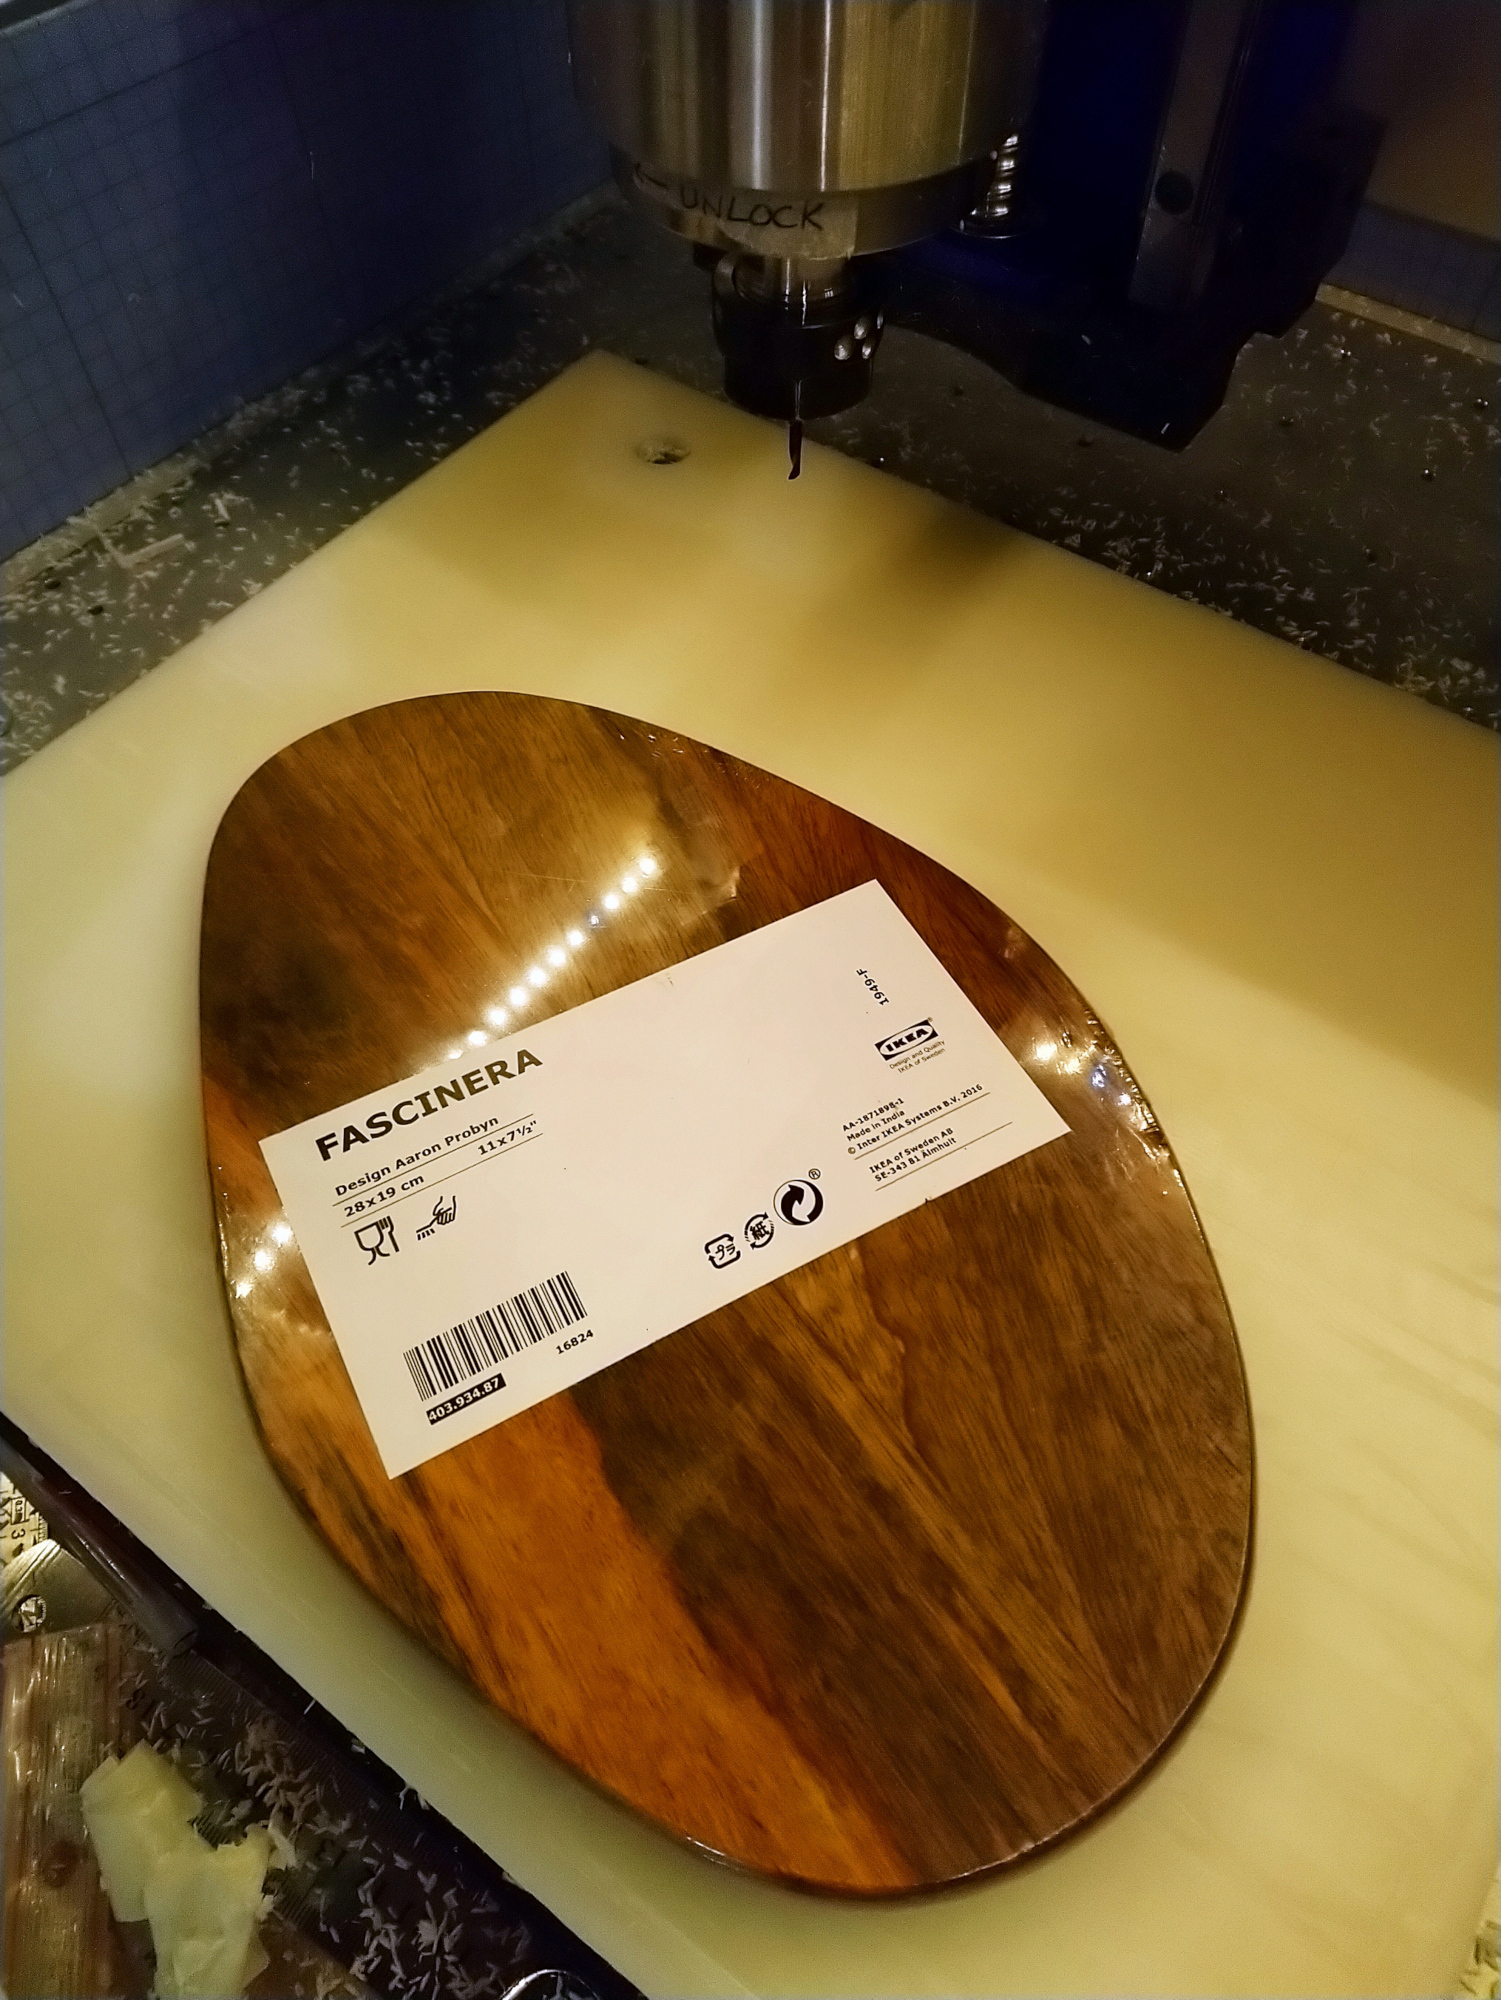
Step 12: practice subtractive manufacturing:

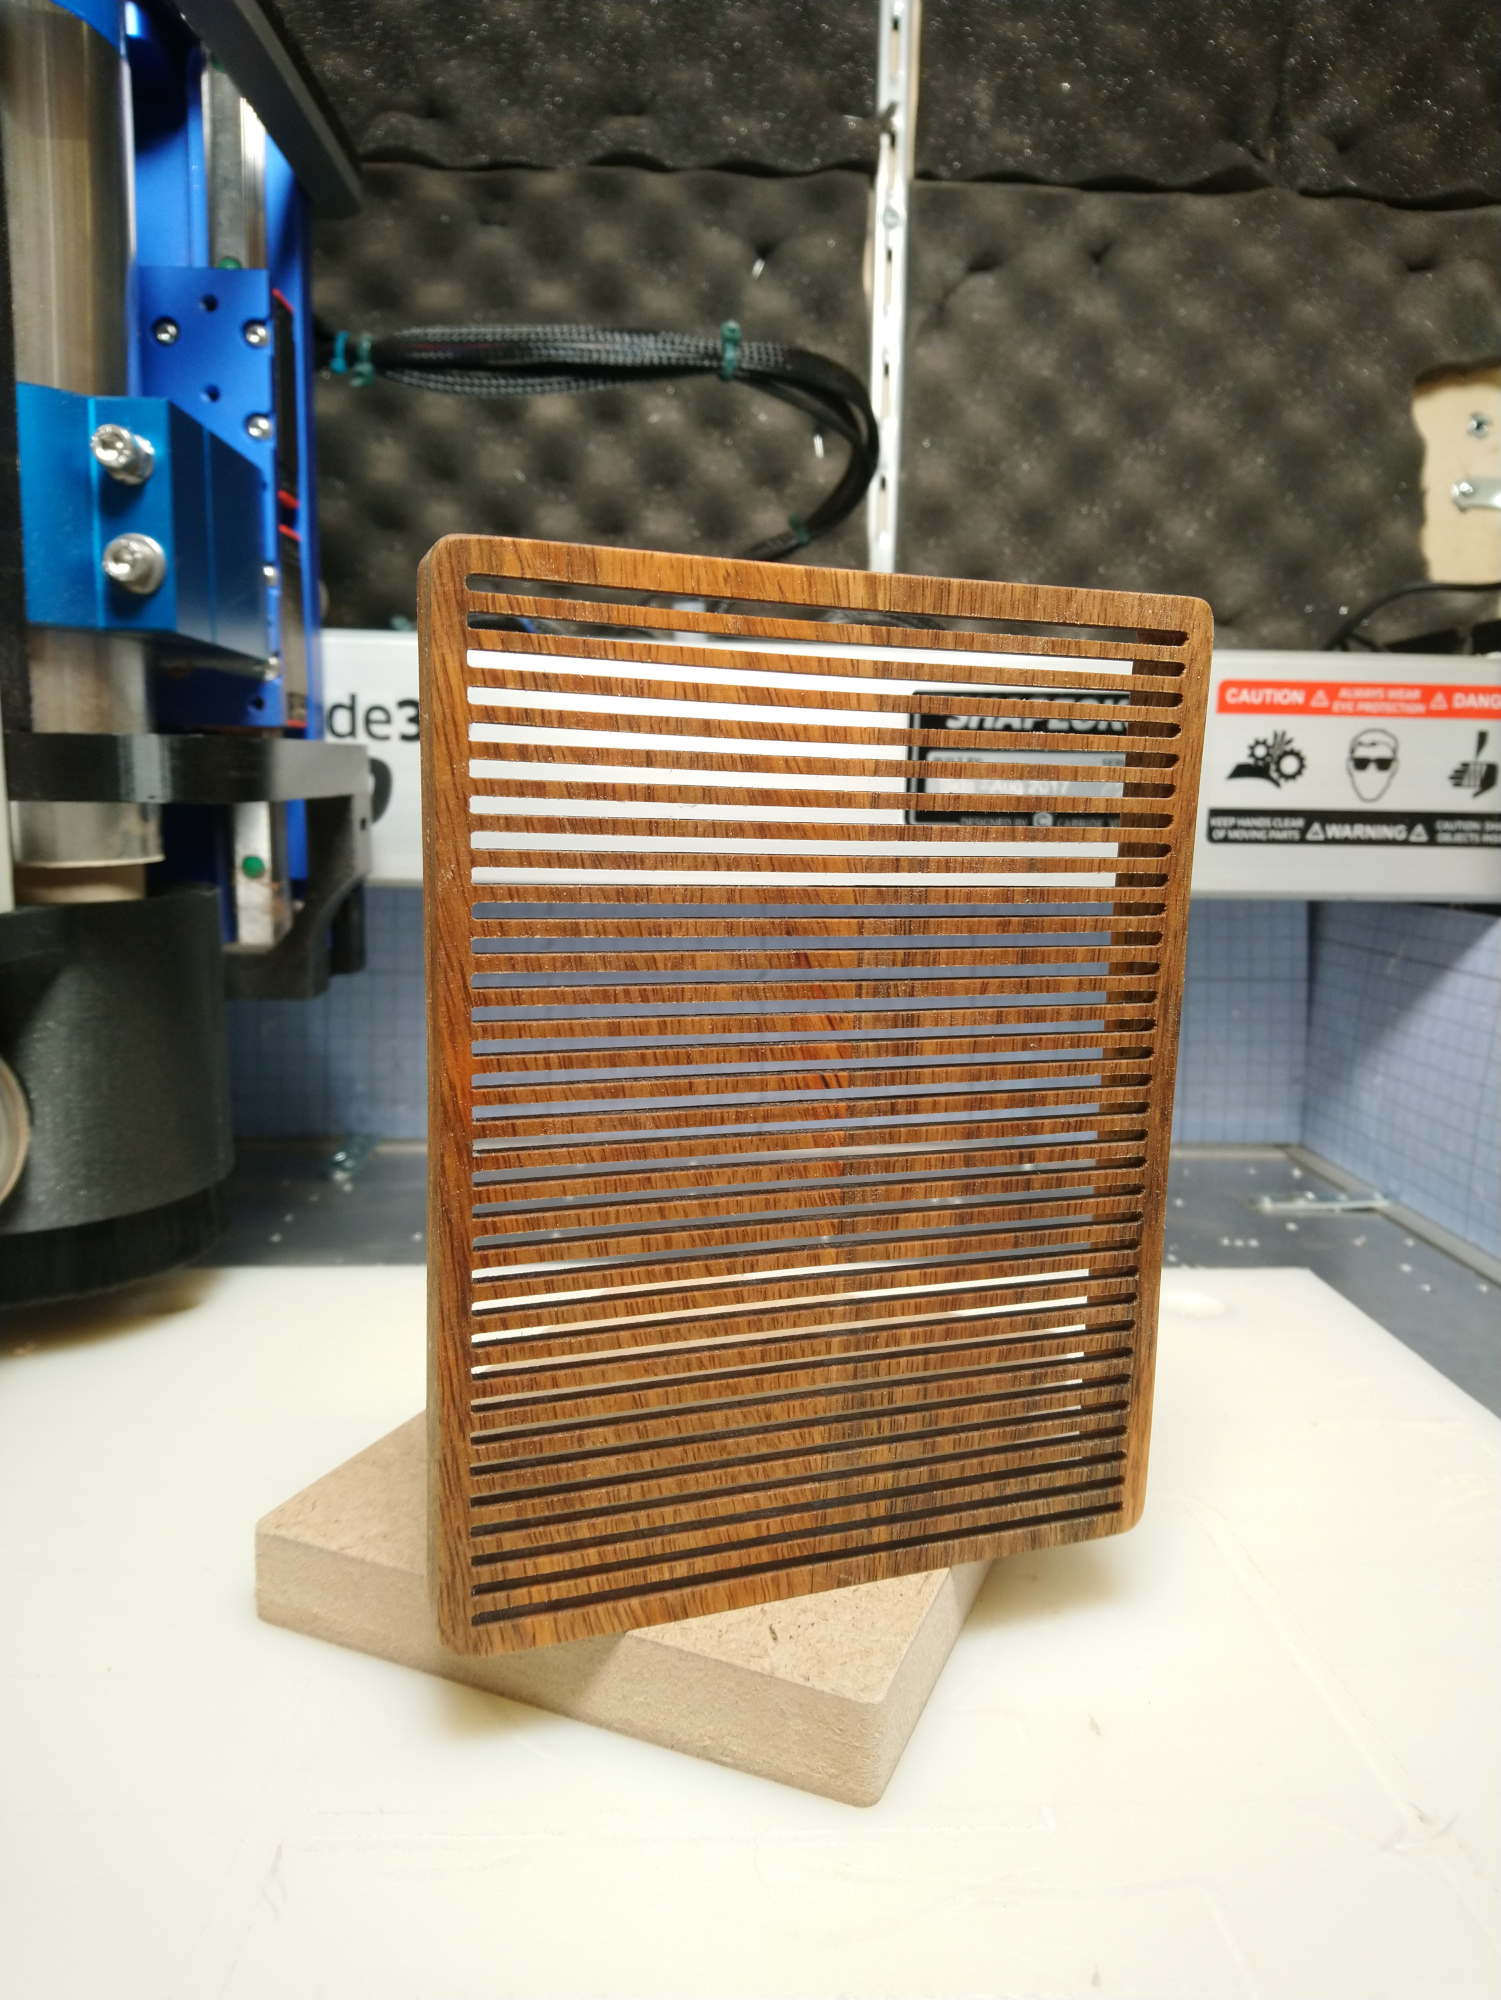
Step 13: take a moment to appreciate the fine cuts one can pull off with a Shapeoko
Step 14: sacrifice a spare LED strip and practice soldering, to make a pretend LED matrix:
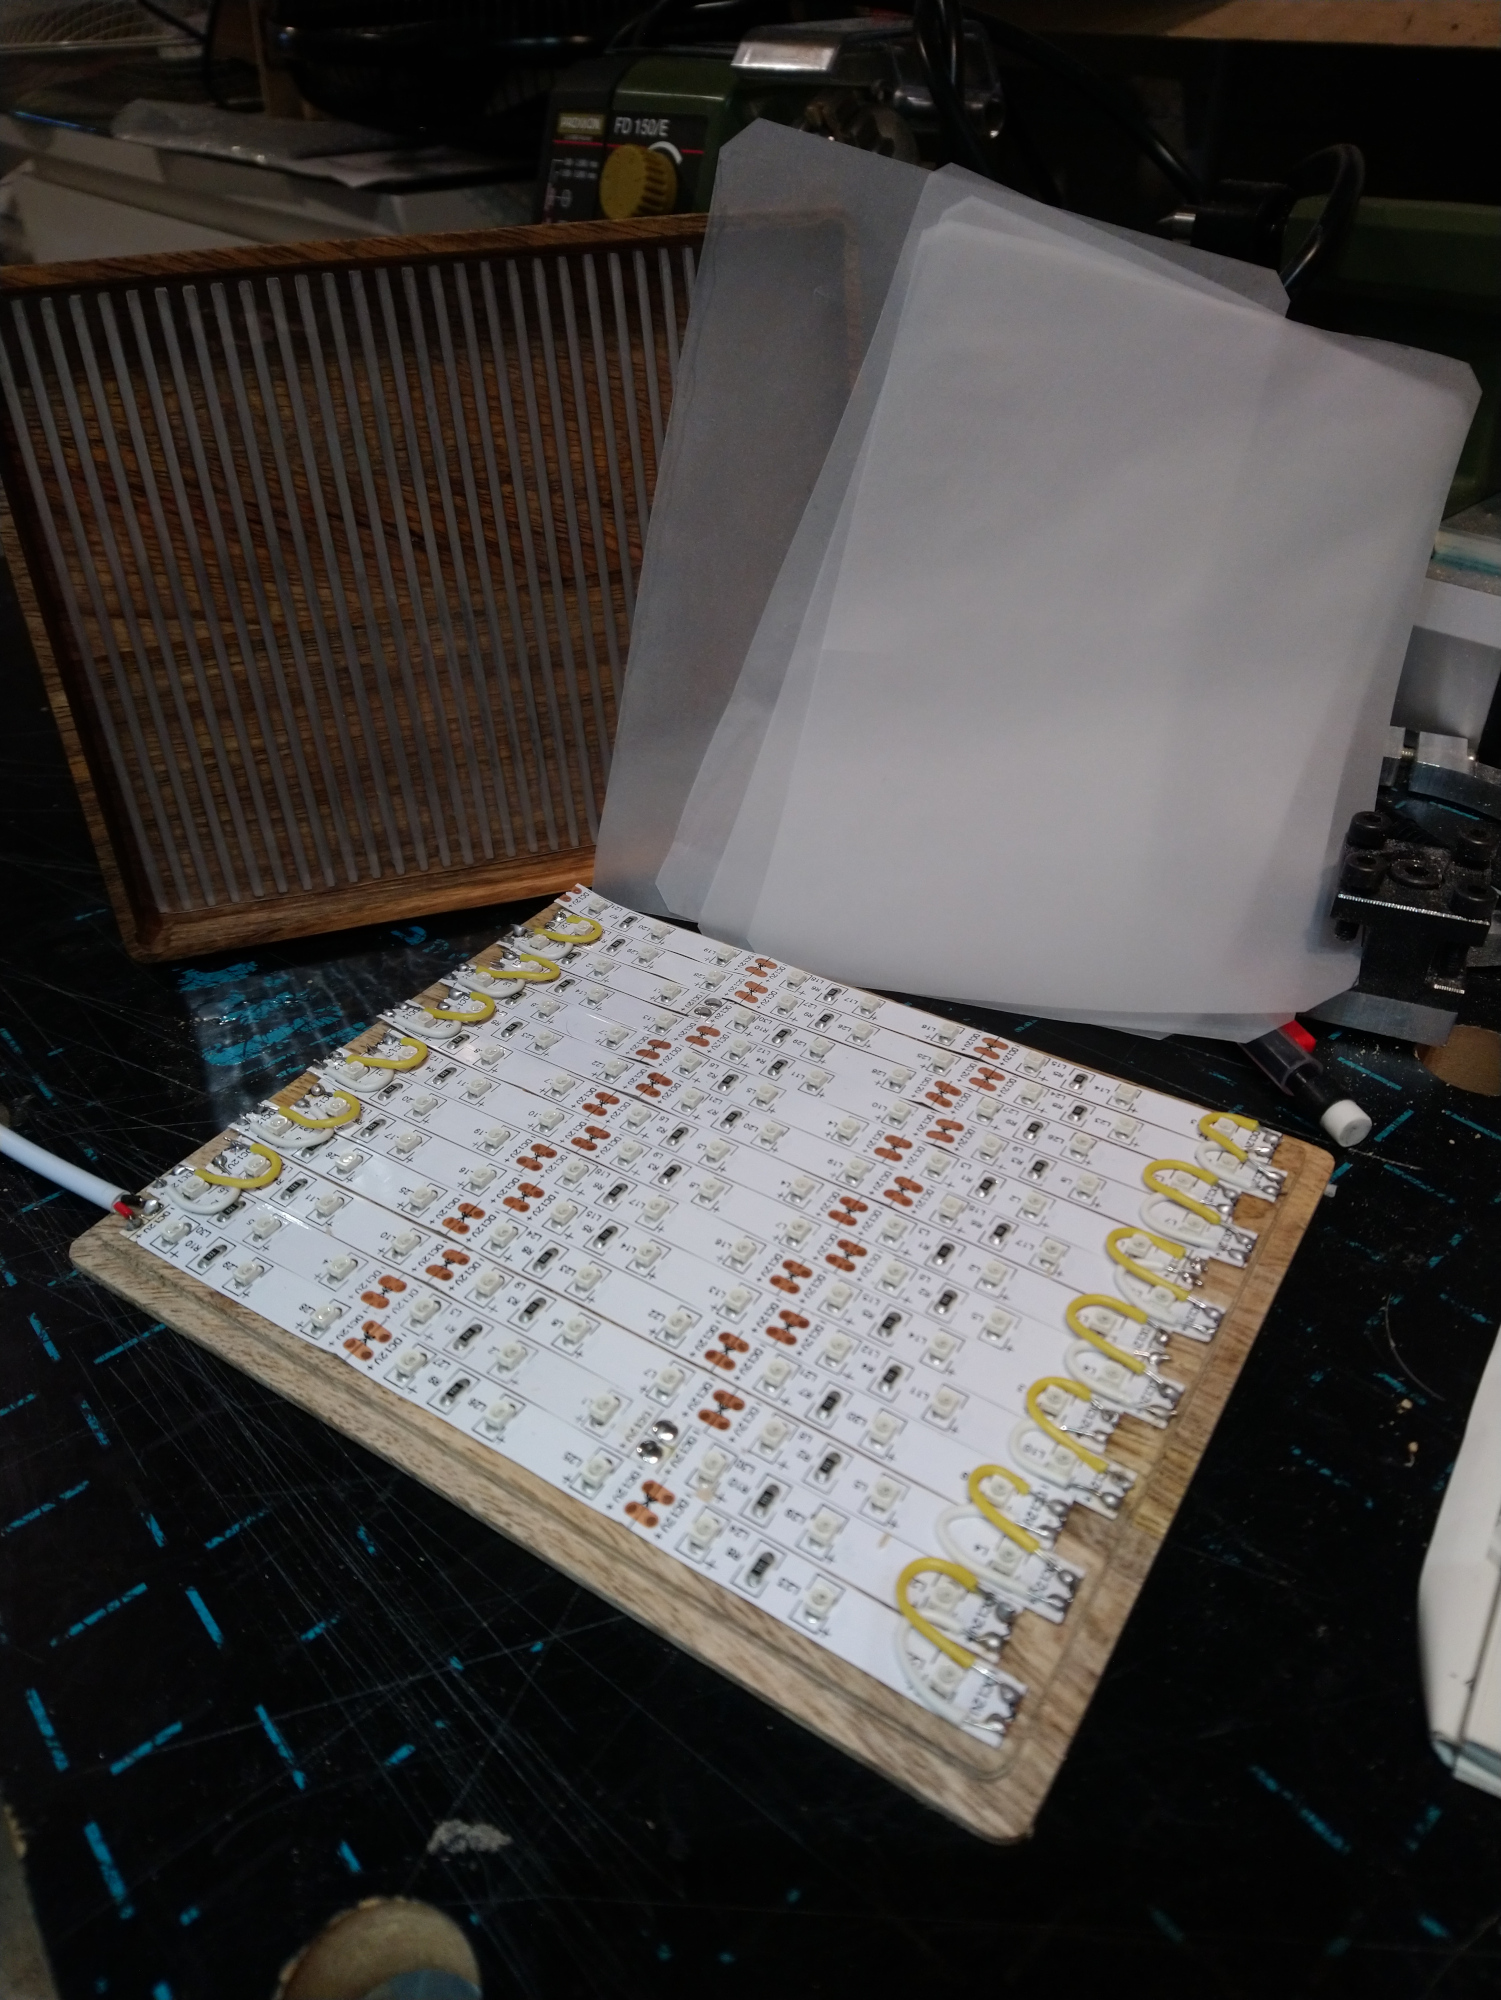
Step 15: assemble the final piece. Break those fine slots a couple of times, glue them back on, nobody will know:

Step 16: enjoy some LED time

Step 17: figure out where to store this thing, which your wife says does not belong in the living room.