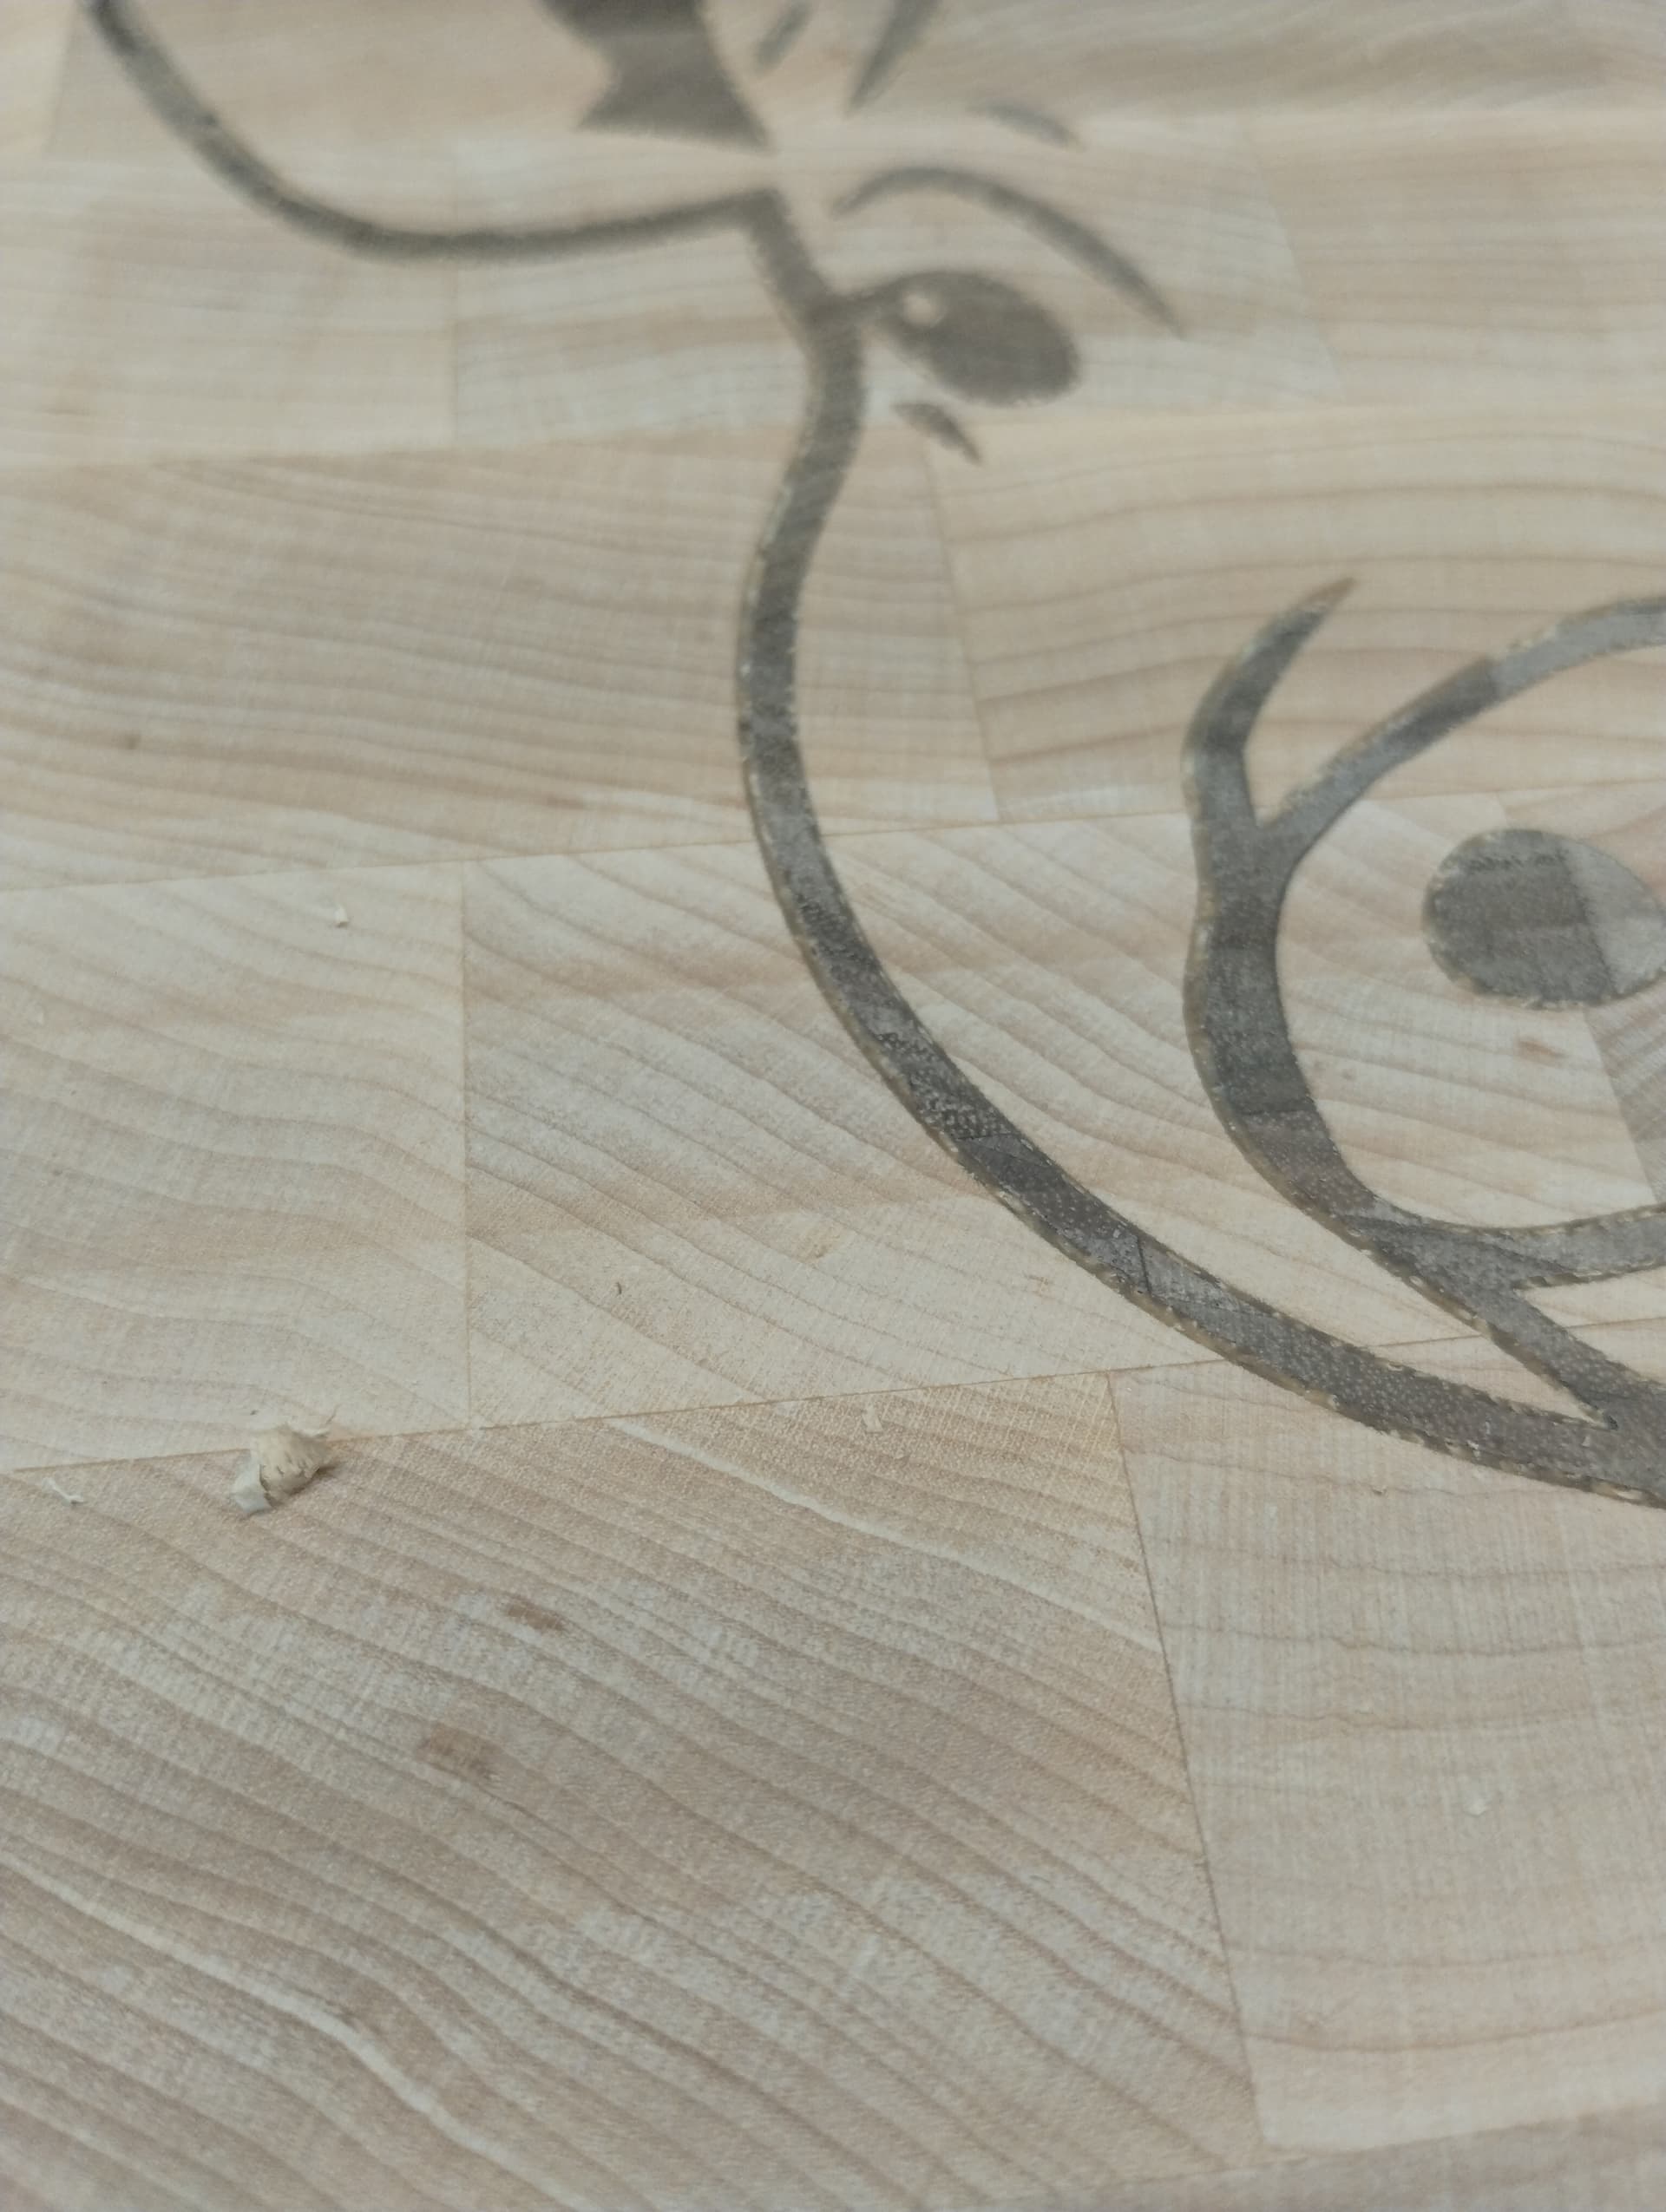
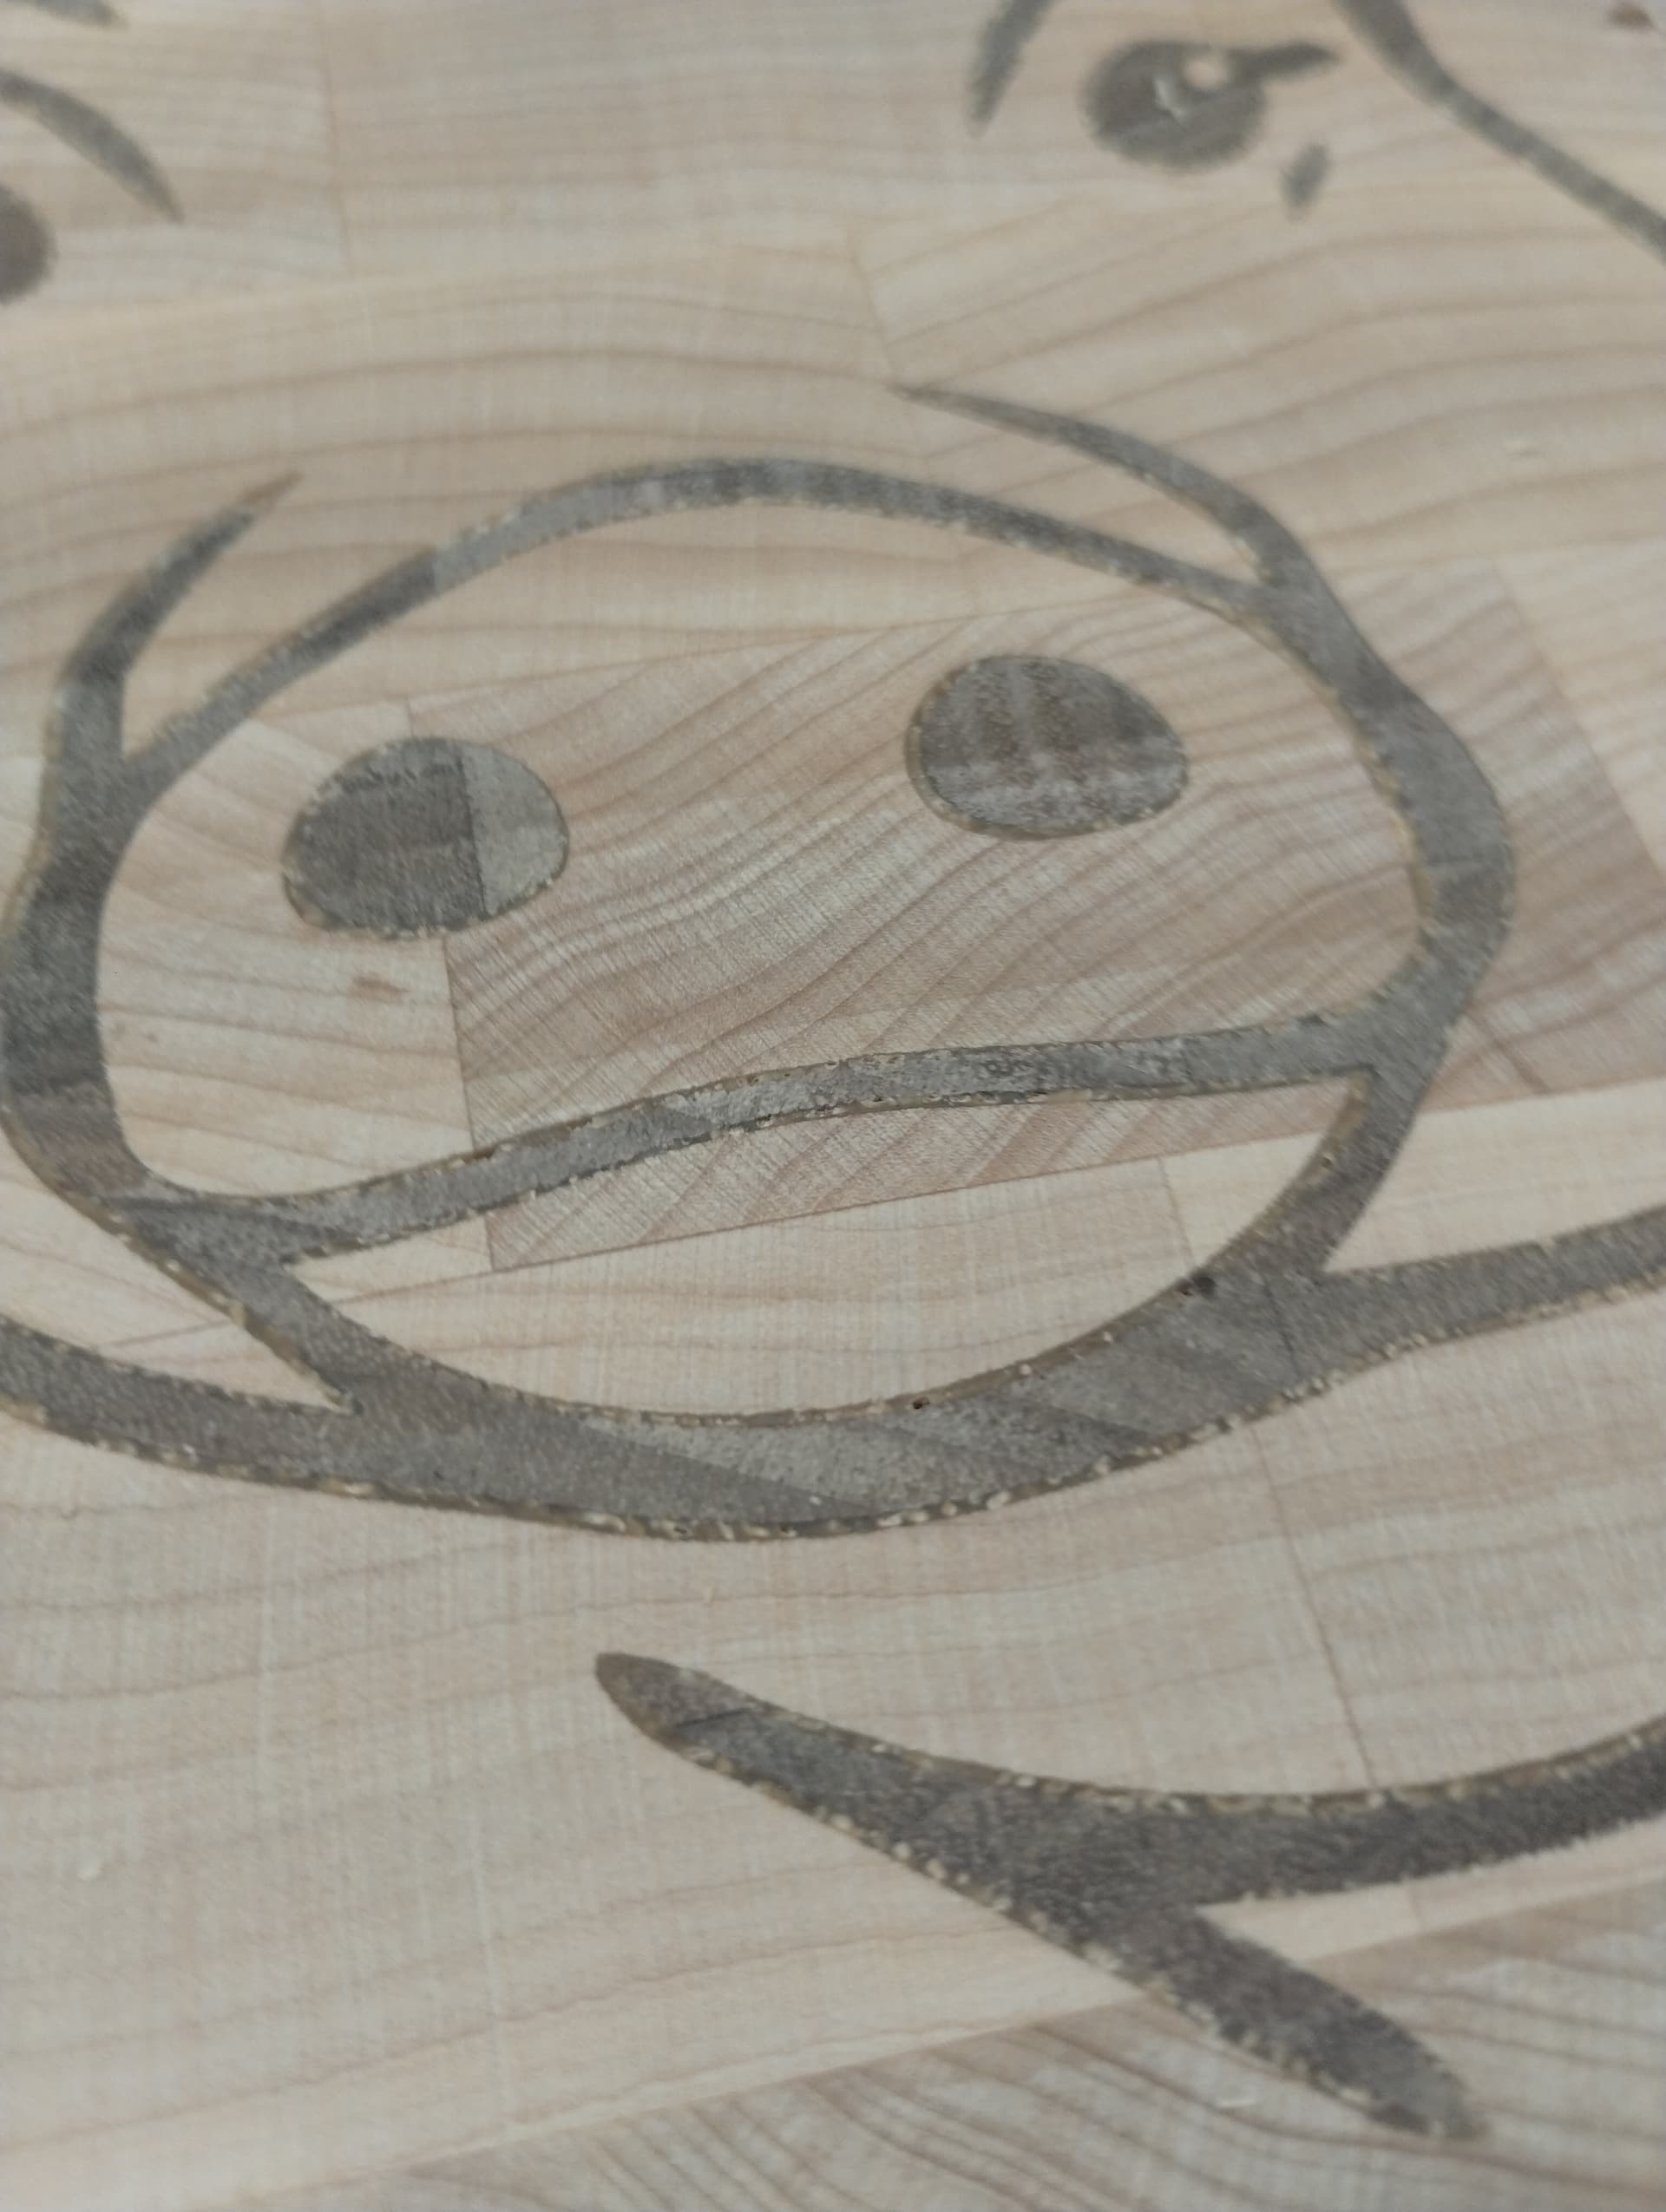
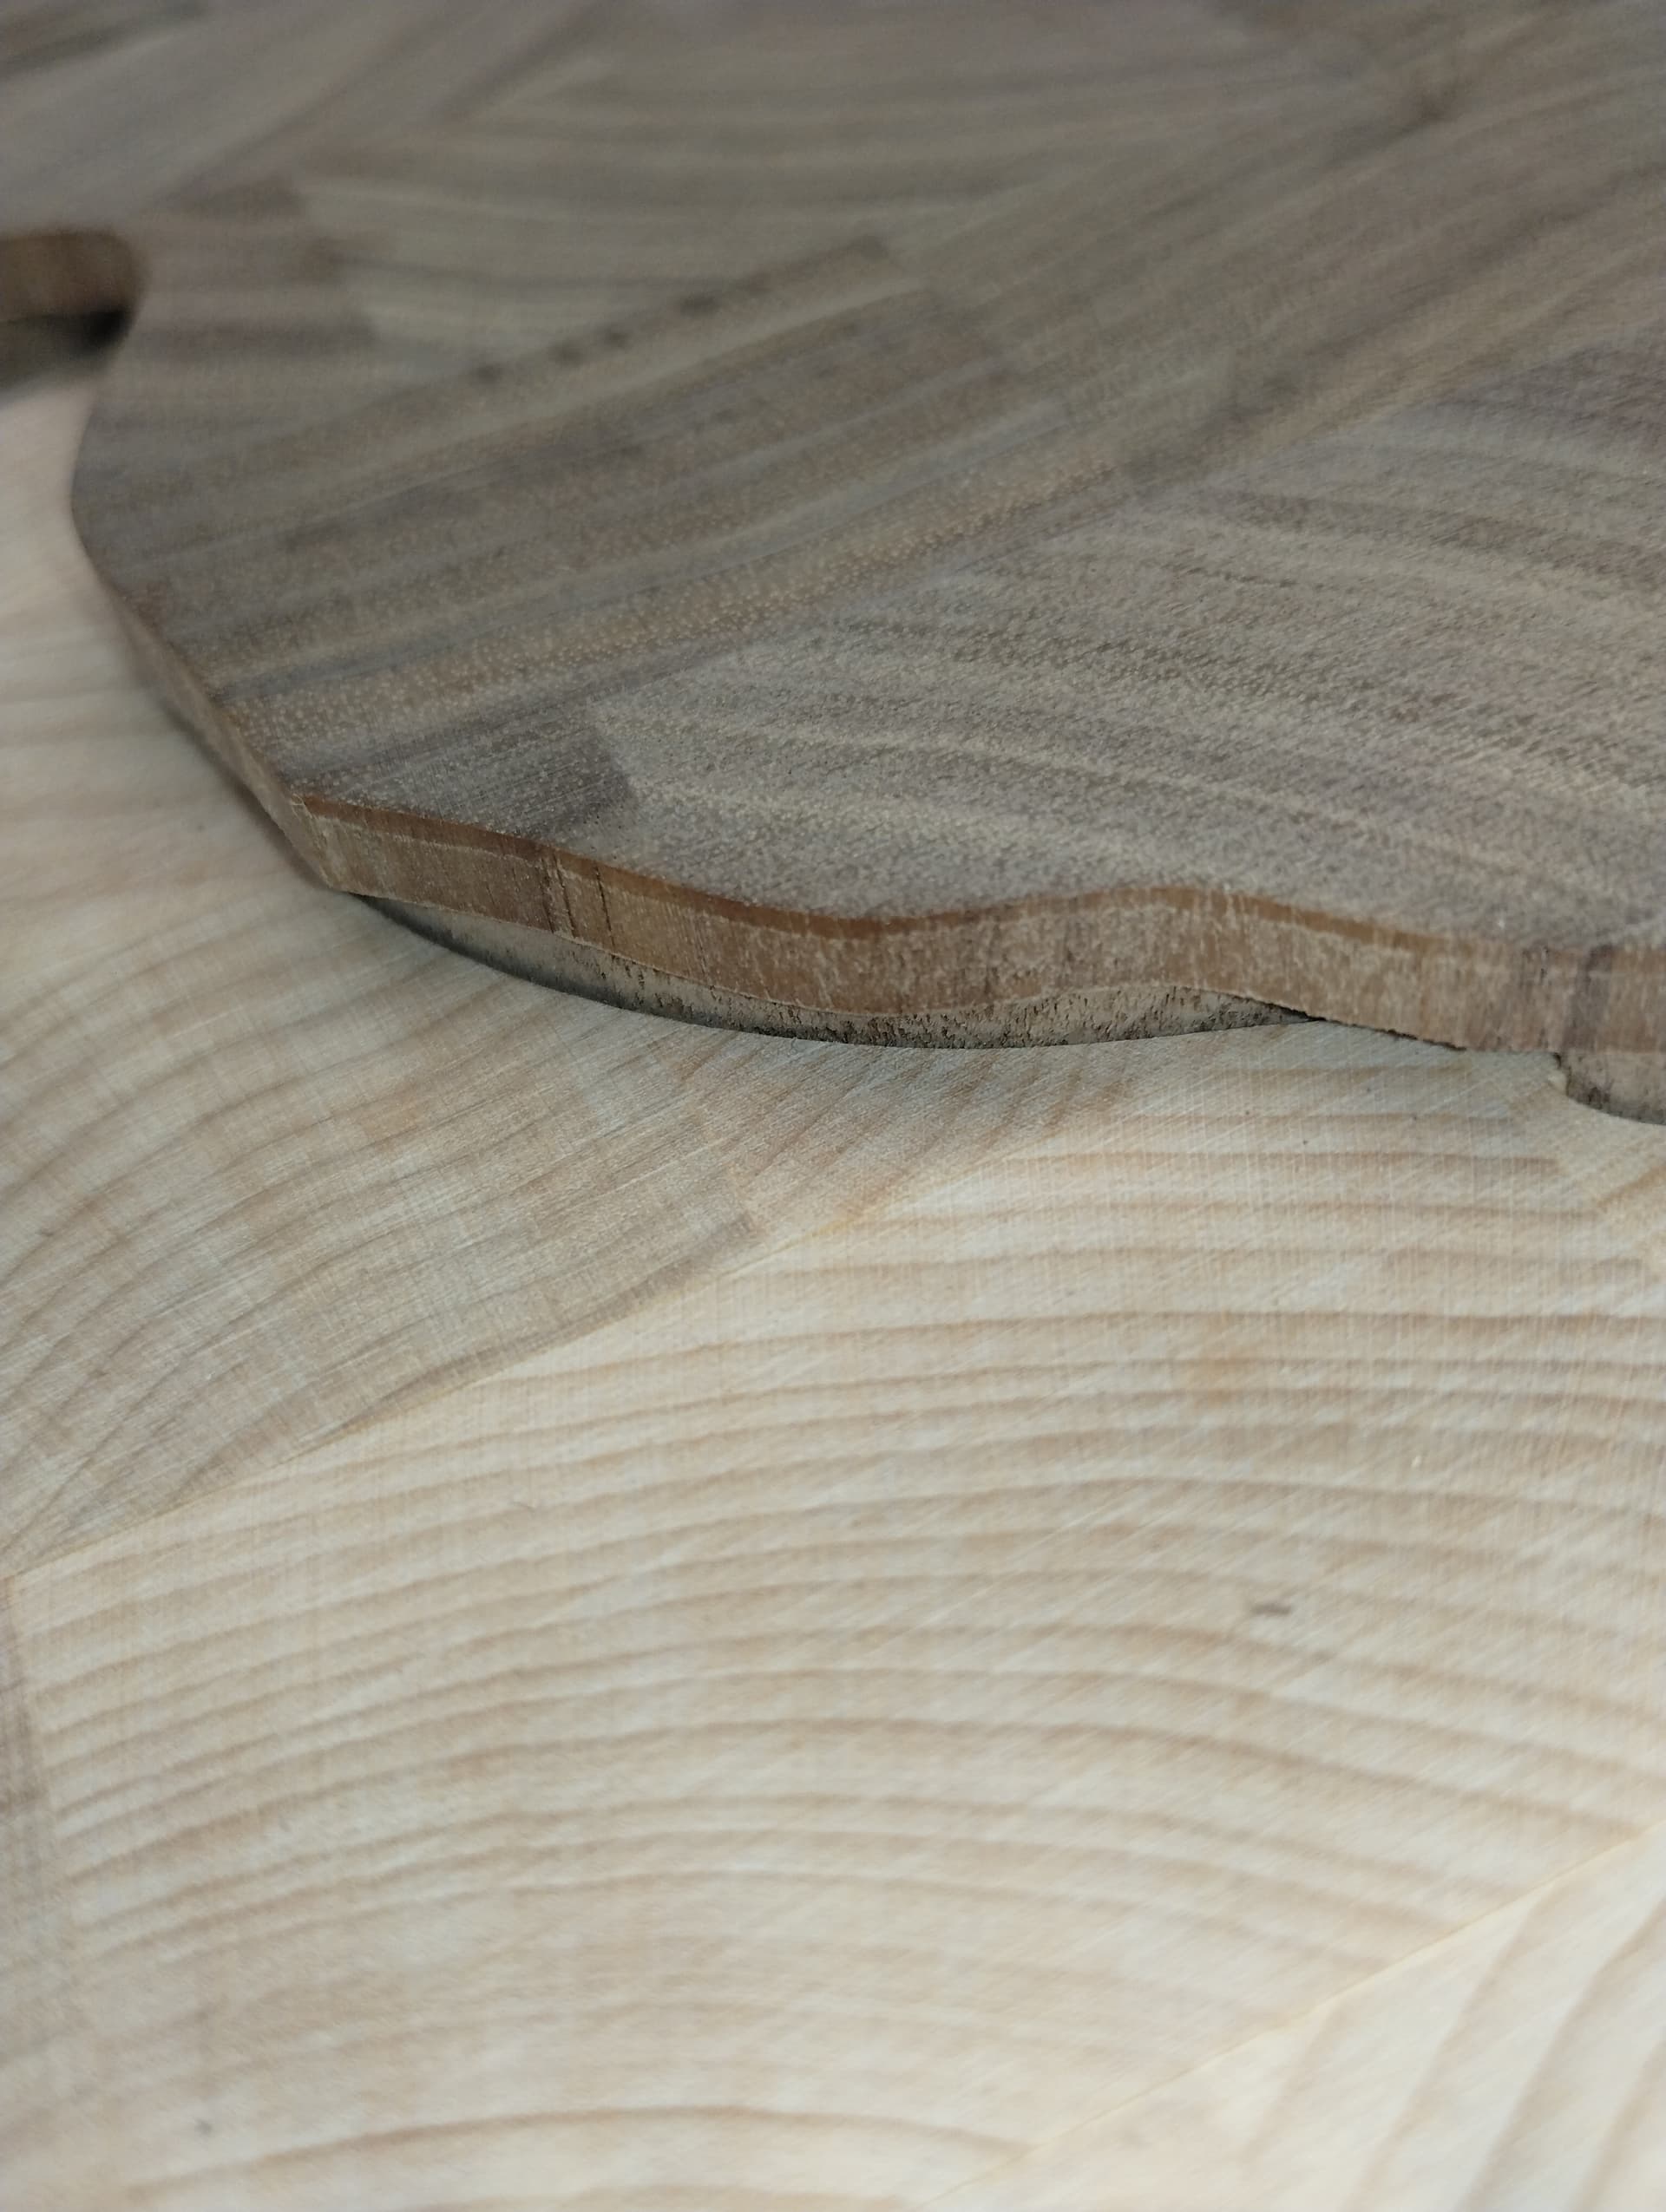
There are some gaps between male and female parts that I had to fill with glue/sanding dust, appr. 0.5mm, still visible. It is my impression -of course I cannot proof it now- that the male elevations are of the same height than the valleys on the female part are deep. So the glue gap (?) is not big enough, and the male and the female part cannot touch each other on the flanks but rather the male part dives down to the female depth. Could I express what I mean? Is there any way to alter this in the settings?
Advice is appreciated.
Perhaps if you showed the forum members a photo and/or the file itself you would get much better of an answer.
I use this as a cheat sheet… If the tool does not have a perfectly sharp point, you will need to offset the vectors to account for that. Or increase the the Top gap on the Male.
4 Likes

Tod: ty for the cheat sheet. How does that translate to the settings in CC Inlay Mode? Any link? I think the plug depth compared to the pocket depth is too much.
Certainly when I put both parts together there was a goo saw/clamp gap of 1.5-2mm.
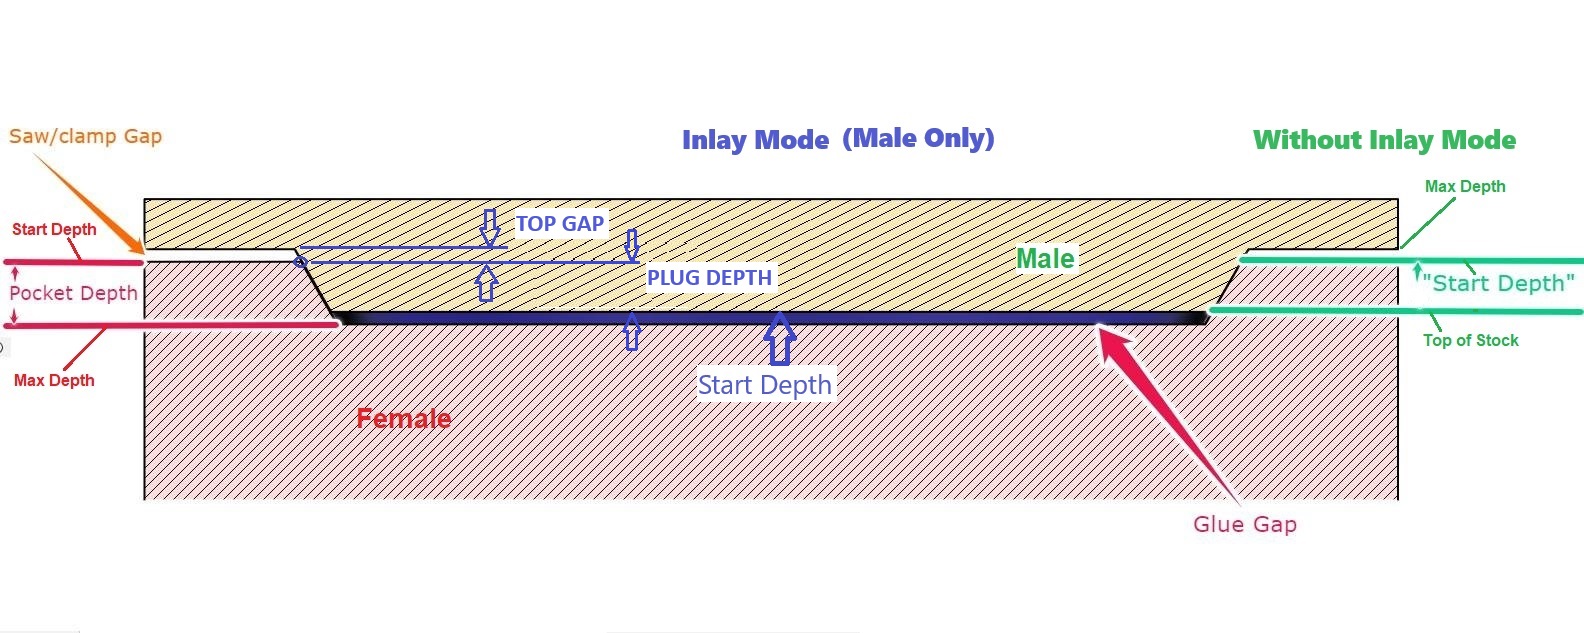
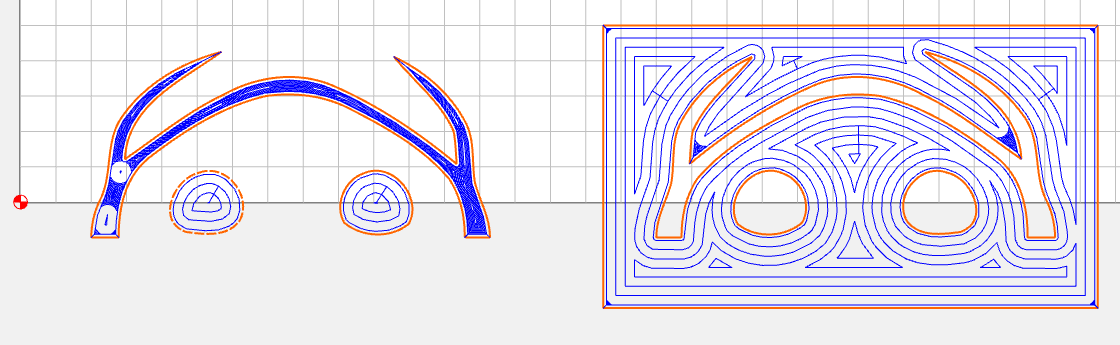
Red values are female, blue values are Male with “Inlay Mode”, Green is Male without Inlay Mode (the old way).
You didn’t comment on the tool. Is it a perfectly sharp point? If not, what is the diameter of the tip?
You’re using 6mm for the female, and 5.5mm for the male. So your “glue gap” is only 0.5mm
Those gaps look to be at least 0.5mm. With a 20° tool, that’s a depth offset of 2.8mm.
To correct this by adjusting the Male settings, Set your plug depth to 1.7mm, and the top gap to 5.8mm (subtract the correction from the plug depth, and add it to the top gap)
To correct it using offsets, offset the vector inward for the female 0.25mm, and offset it outward for the male 0.25mm.
1 Like
Tip is 0.2mm, very sharp, in medical field I had injection needles less sharp ![]() . TY, will adjust, and probably make another one today. Will keep you posted…
. TY, will adjust, and probably make another one today. Will keep you posted…
This sounds contradictory. I would call “very sharp” a tip of 0.0. But 0.2 is still pretty small.
The software assumes a perfectly sharp, 0.0" tip.
There are other ‘fudge factors’. Wood can spring back a bit. I usually leave 0.010" (0.25mm) clearance for fitting wood pieces together for a snug fit. A little more for a slip fit.
Any deflection, runout will take a little too much material off. So often you need to trial & error the perfect fit. My numbers above were purely mathematical (theoretical). If the tip of your tool is 0.2mm, add another 0.1mm to those adjustment numbers.
3 Likes
Tod,
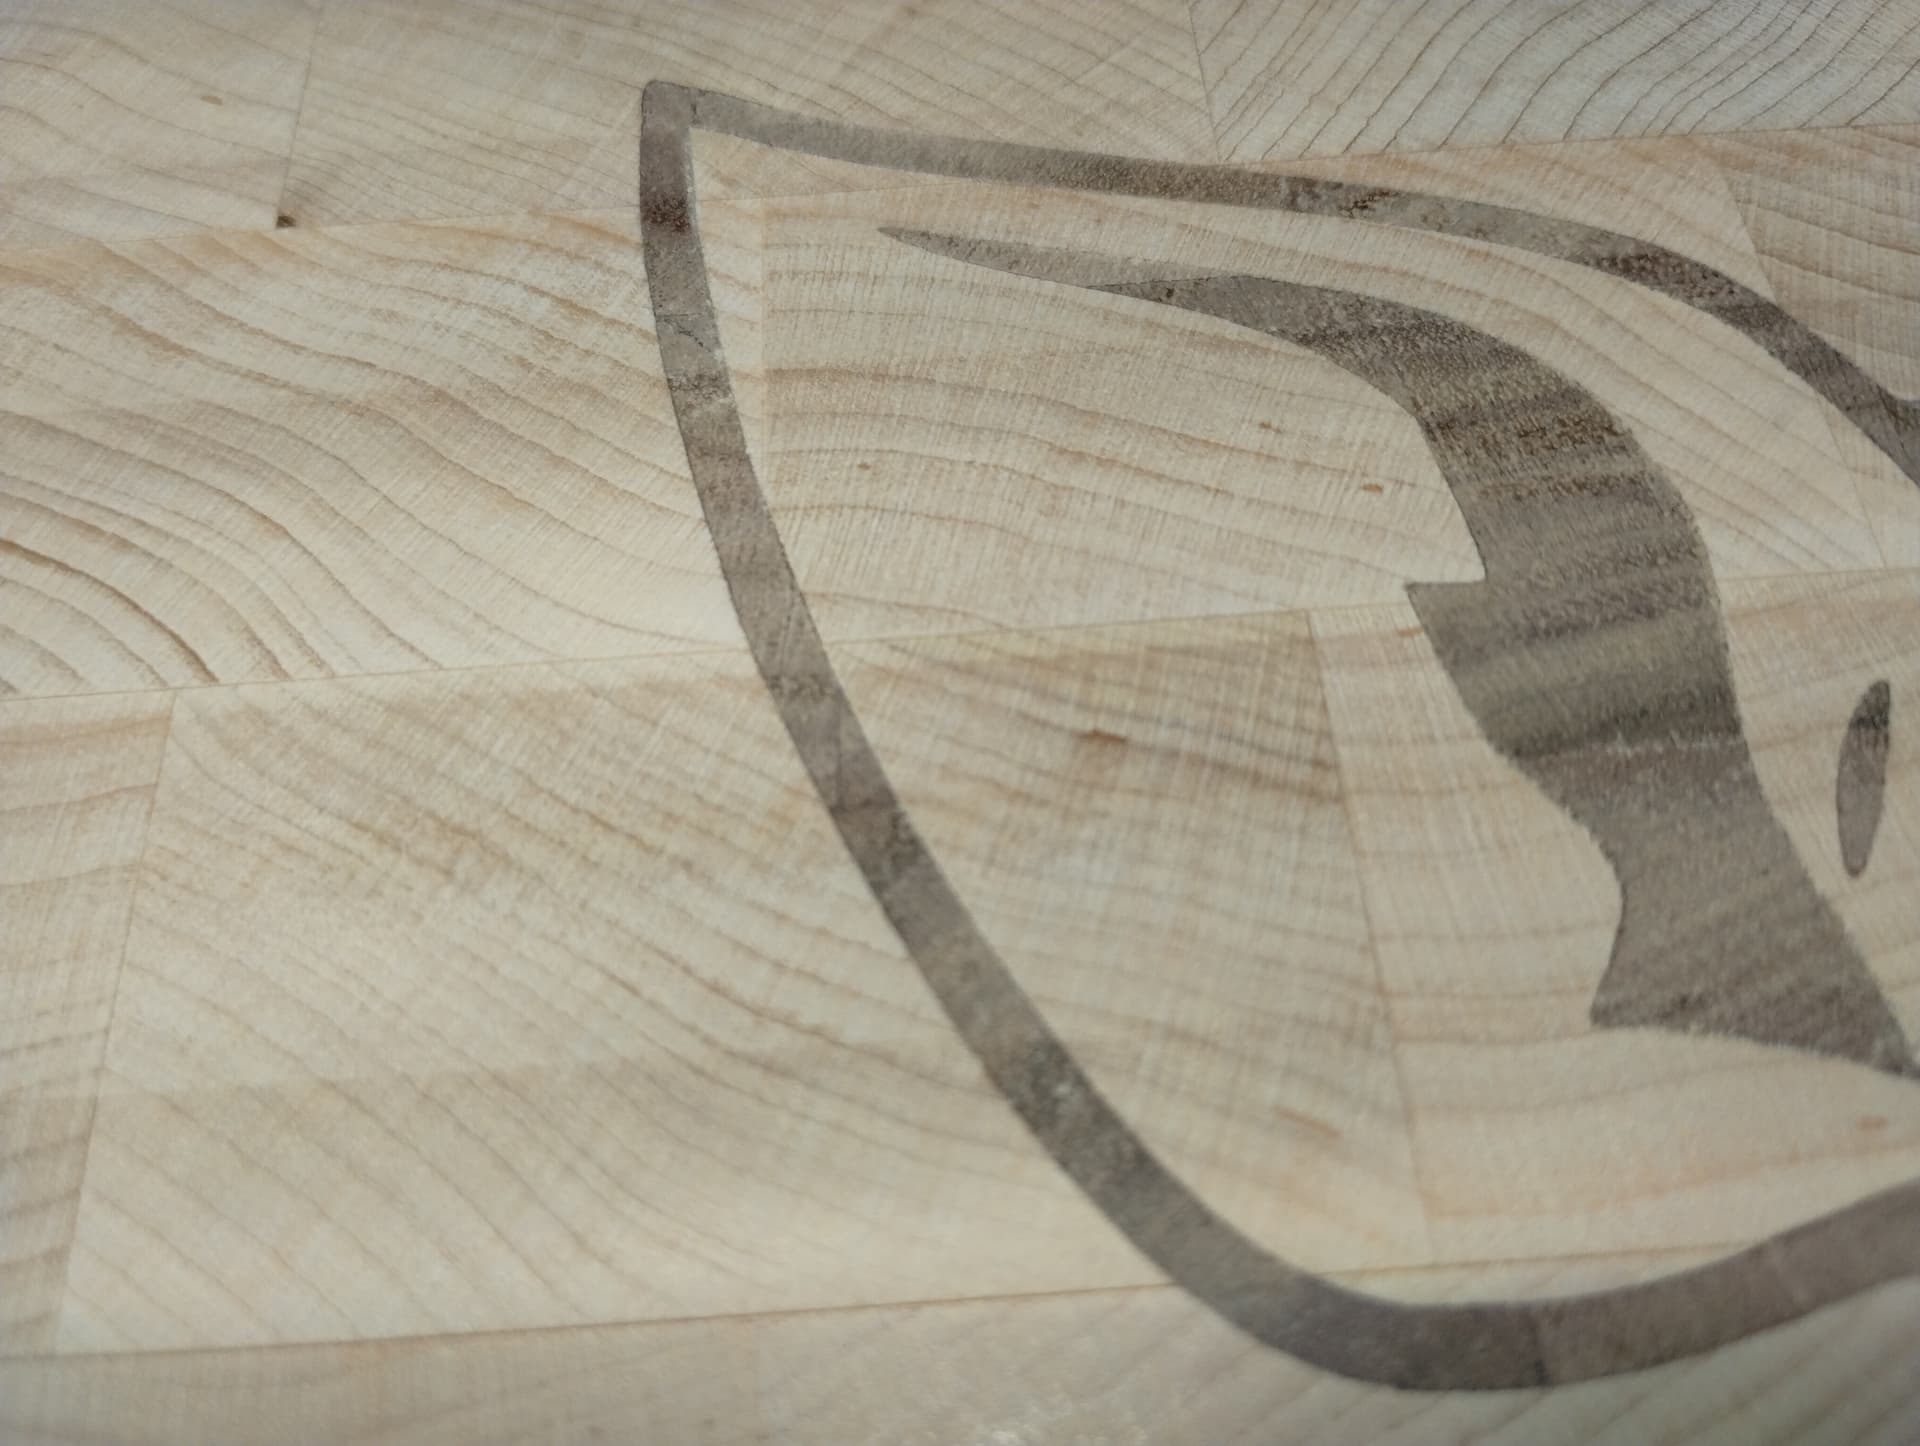
also this atempt did not go well.
Don’t know what went south.
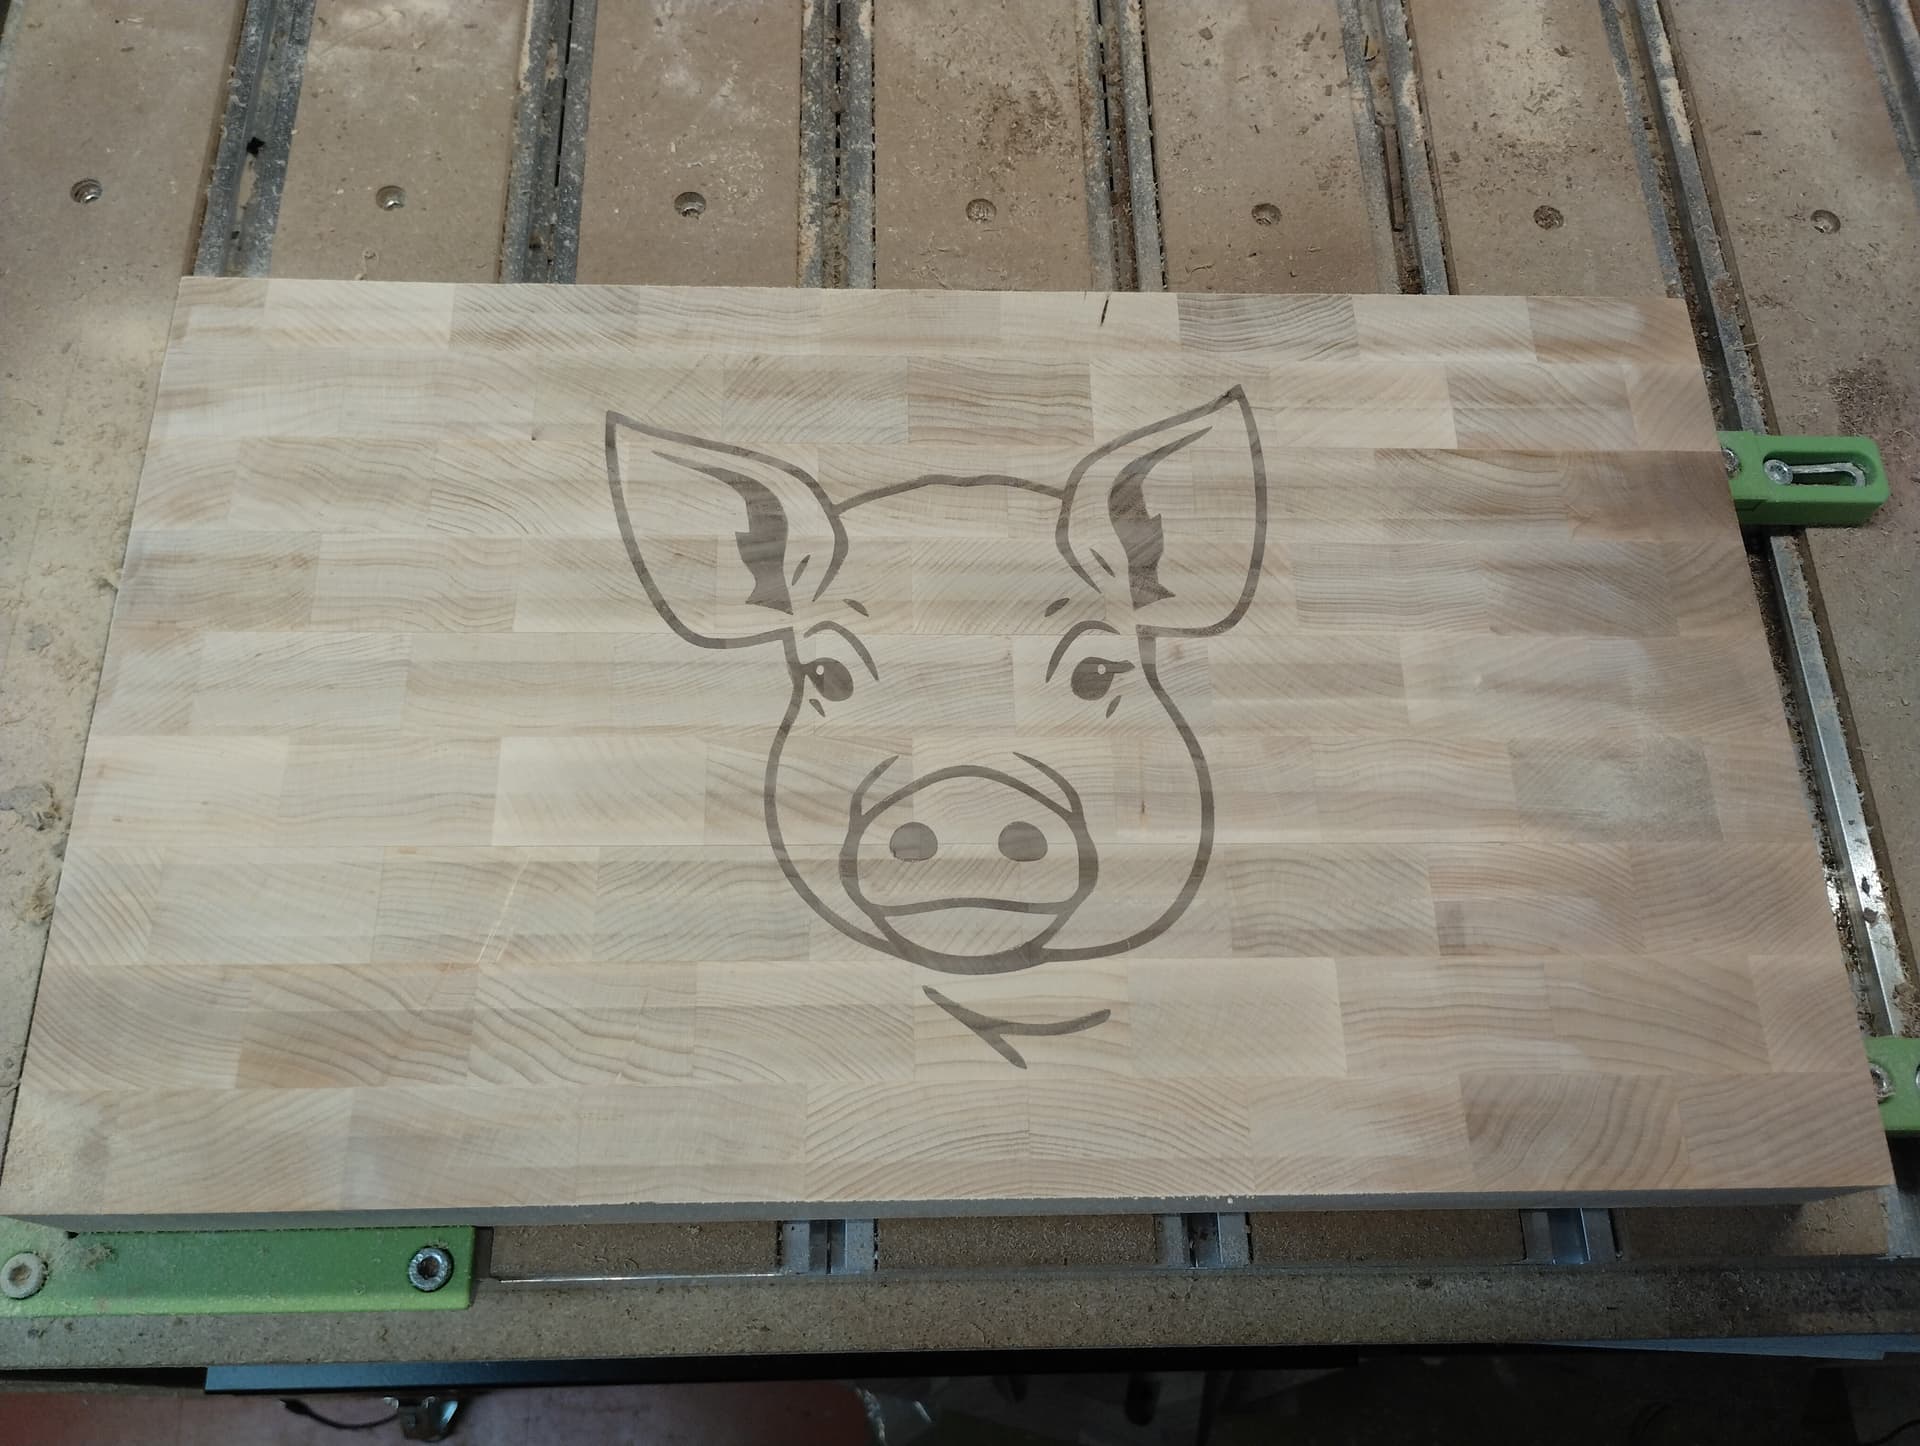
If you don’t mind please go over my files and fix them that I can make the cutting board nicely eventually? And feel free to use the vcarve bit you think would be the best. I have some 20, 30, 60, 90 degree.
Anyone fell free to use the files, the pig image was done by any of those AI sites, so there should not be a concern of copyright.
TY!
Hi,
I’ve been going over your tool paths, and everything looks good. Don’t understand why you’re getting that gap.
I noticed that your path name is V 40, but the tool appears to be a 20 degree tool. Could it be that the tool is not set up correctly in CC?
A couple of ideas:
And, as a test, you could do a small segment of the image and run a 0.25 mm difference between the plug and the mold.
You could run the same trial with a 60 deg bit, since this is already fully available in CC.
Good luck
1 Like
I would need the new files with the adjusted settings. And measure the gap between the male & female & the top gap. I assume the glue gap is 0.0 and it’s bottoming out? Also a screenshot of your tool parameters.
If you clamp the male back down & take 1mm off the top, does it fit better?
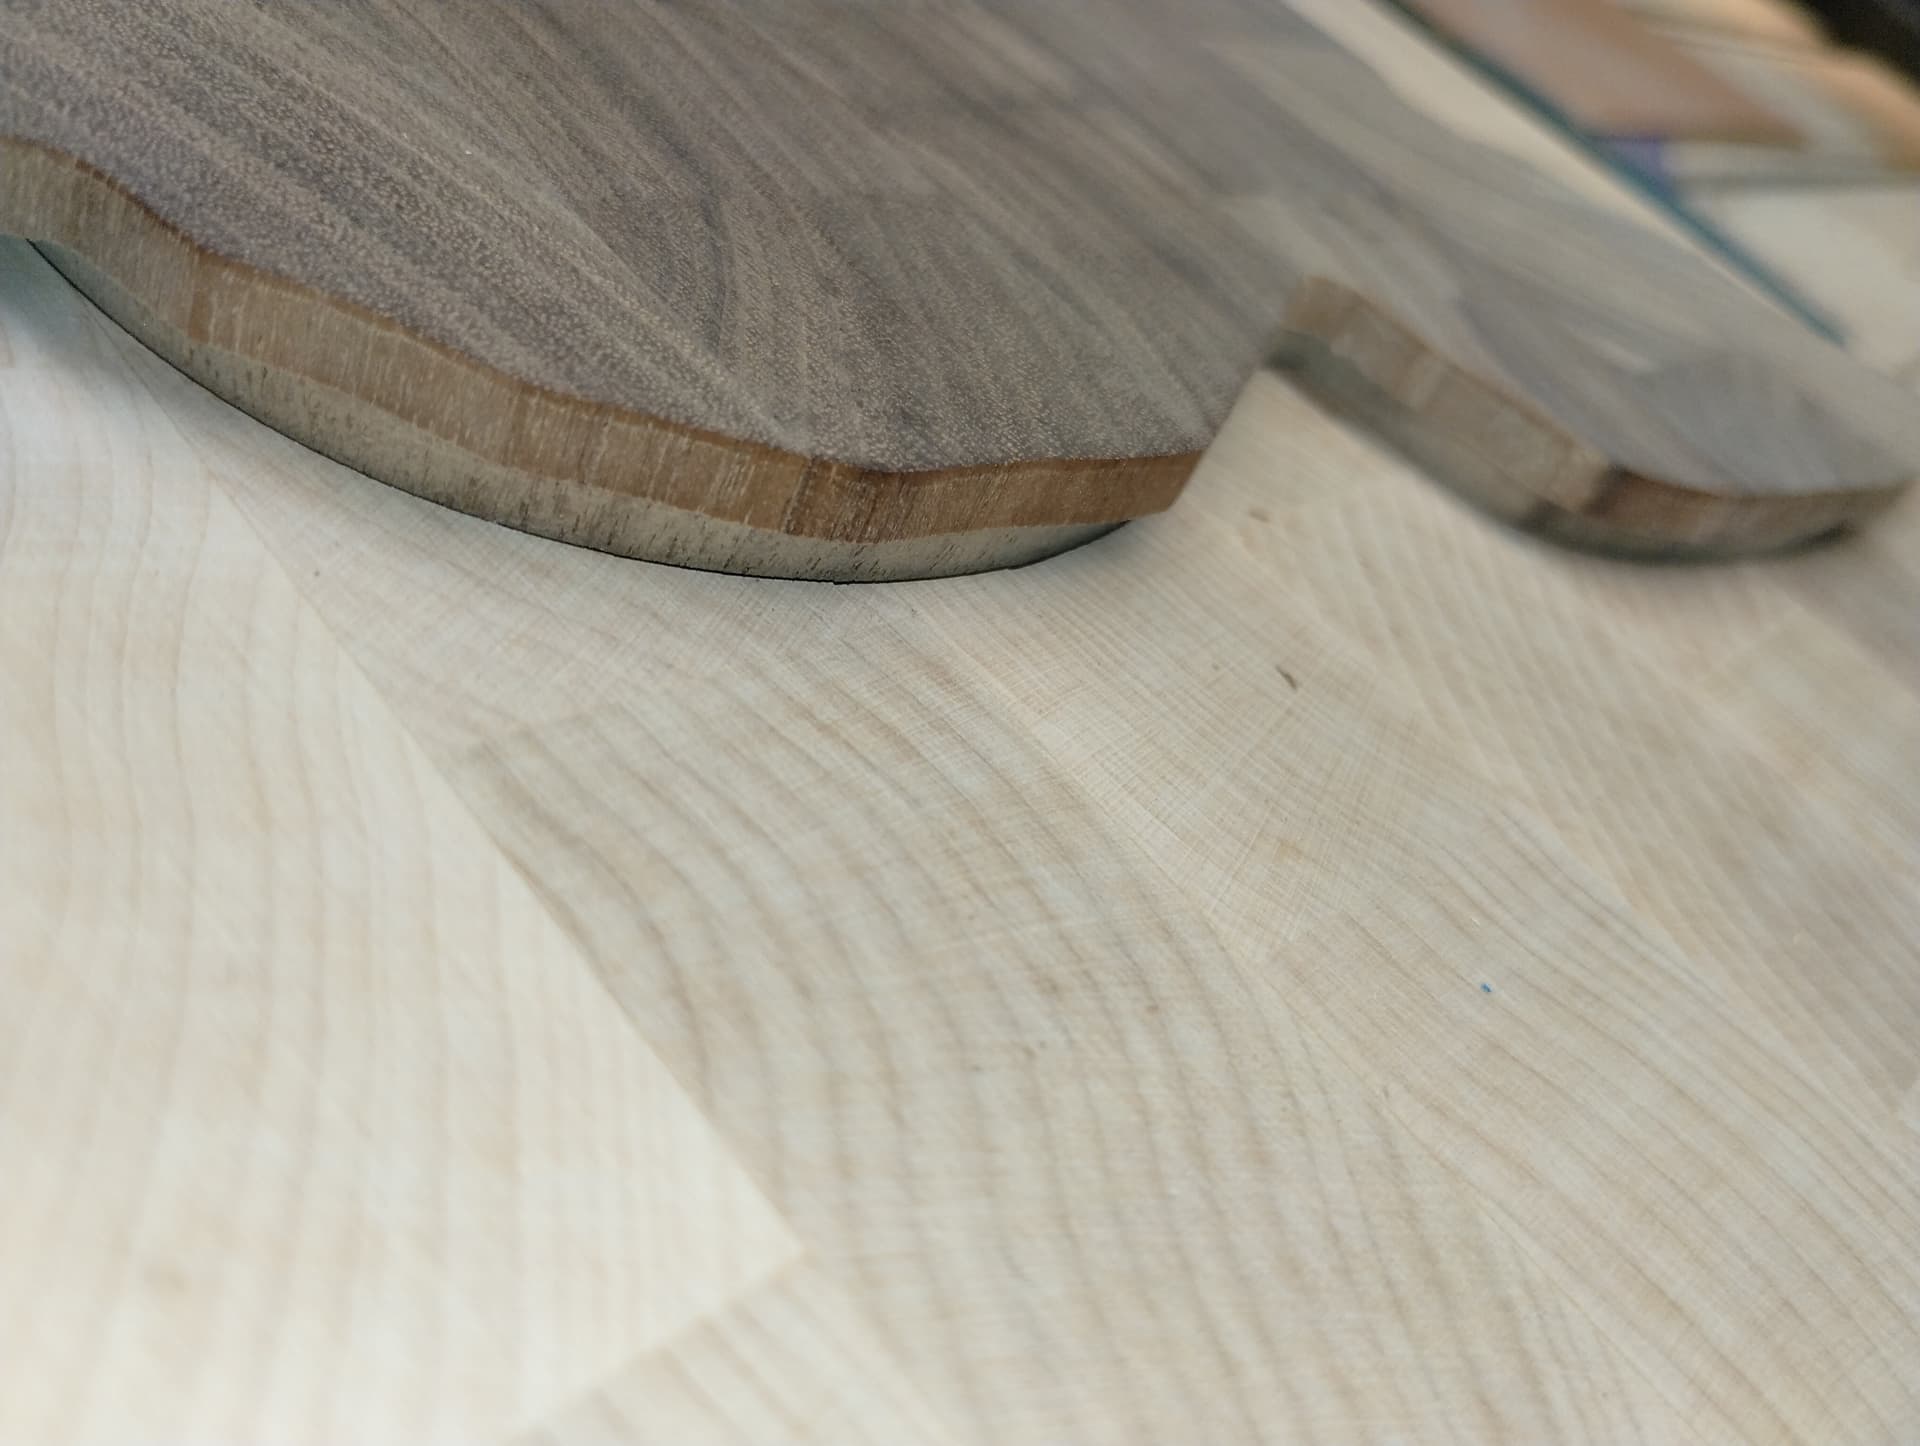
You an also try some test cuts like this, with a smaller detail & hanging off the edge of the stock so you can see the cross section when you fit them. Cut the female & remove it from the machine. Cut the male with a Top Gap of 6mm, and a plug depth of 0.0. Leave the male clamped & fit the female to the male. Adjust the cuts on the male & recut until it fits right.
I just took a chunk of your design, but it could be as simple as a circle or square overlapping the edge.
1 Like
7Alfa: TH, the tool is set to 20degree indeed,
- I did not think of the tip diameter with 0.2mm, learned from Tod CC assume a sharp tip.
- And yep, the next will be done with tested settings, means 60 degree bit.
Tod: Yep. I took stepwise 1.5mm from the male part, and eventually now it fits snug, I think… Glued, dries now. Next days the plug will be flattened, will report back by then.
The idea with cutting corresponding parts on an edge, and see like a cut through… Great! TY!
So yesterday I glued it, and cut off the upper layer of “him” today 204h later. So far all good, just an observation: in areas that were not ventilated glue is not dry, still liquid. Recommend to drill holes in those areas in the plug part. Will let it dry over night, and flatten the surface finally. Report back then.
Tod: THAT! is EXACTLY the quality and precision I expect from items that leave my shop, presentable to my wife:
Thank you VERY VERY much!
And also of course to 7Alpha!
You guys are simply the best!
4 Likes
Turned out very, very nice. Good job.
This topic was automatically closed after 30 days. New replies are no longer allowed.