Gotta Catch'Em All

I recently discovered that my godson is in his Pokemon phase (I was naive enough to think that by now Pokemon was just memorabilia for thirty-something folks, but apparently not!)

I remembered this video @wmoy published early this year, and thought this would be the perfect gift:

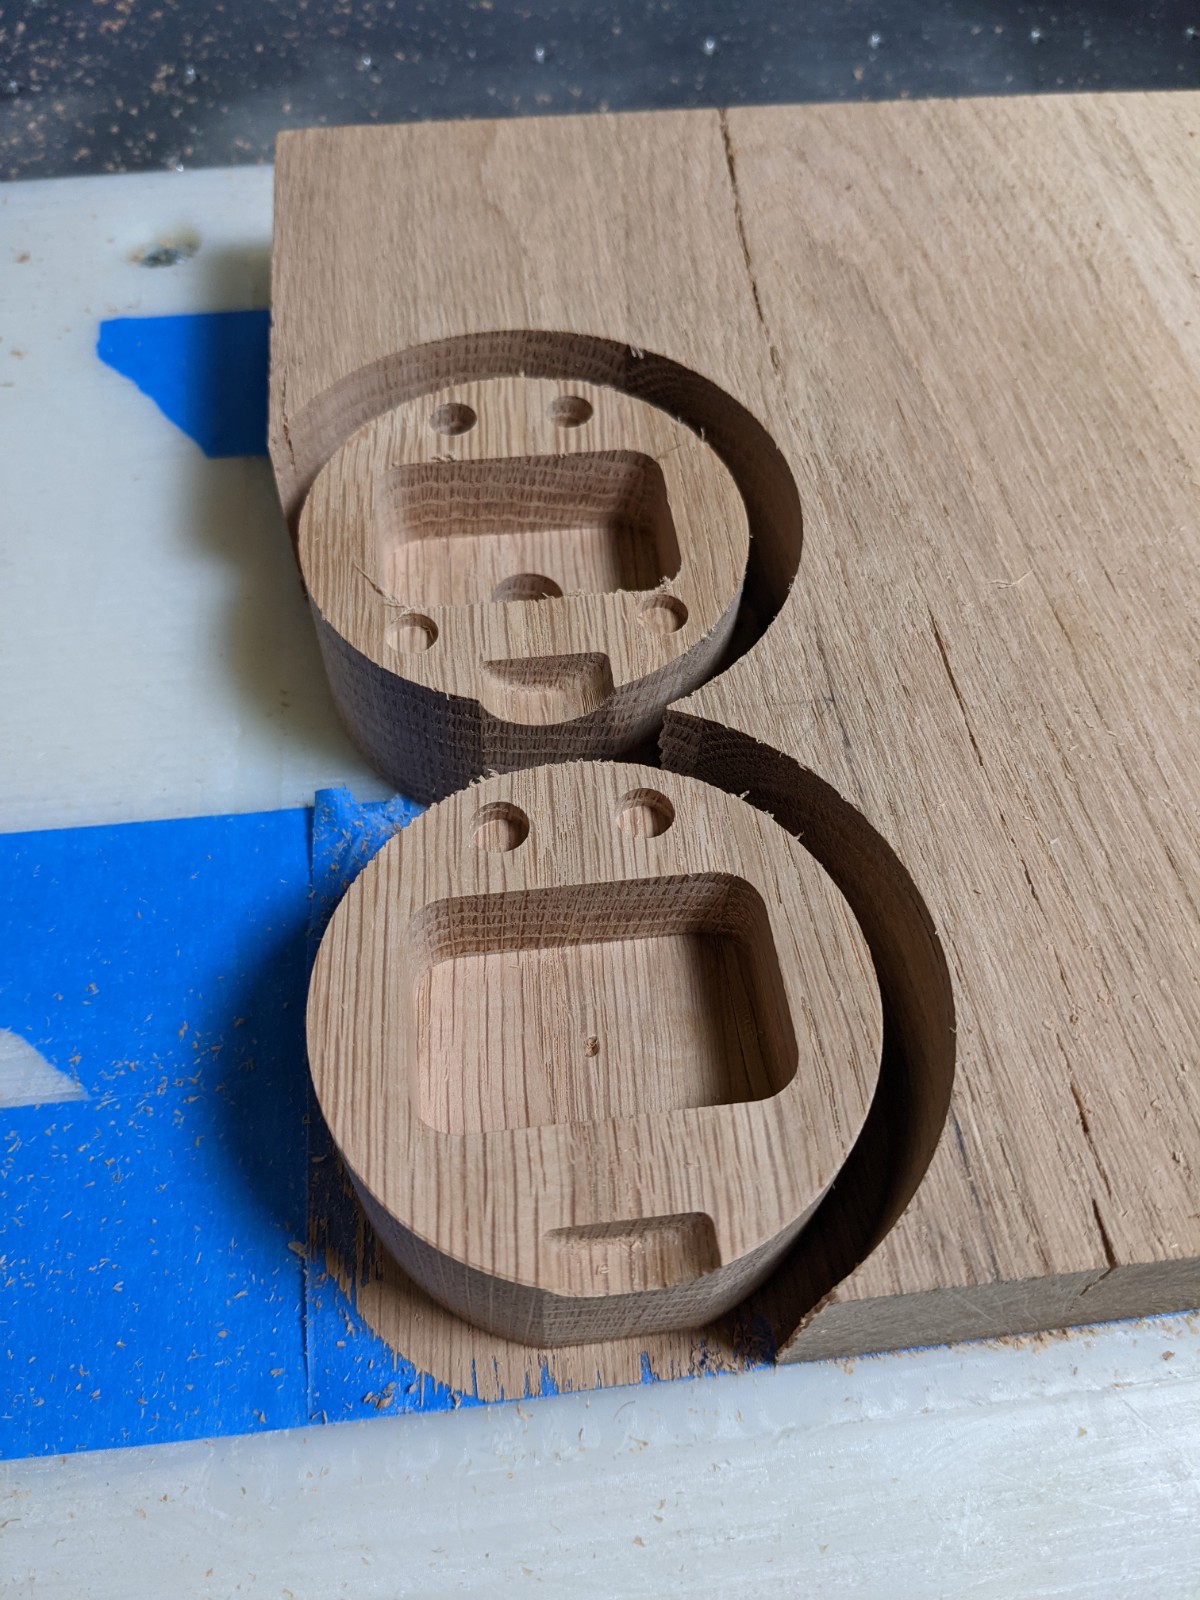
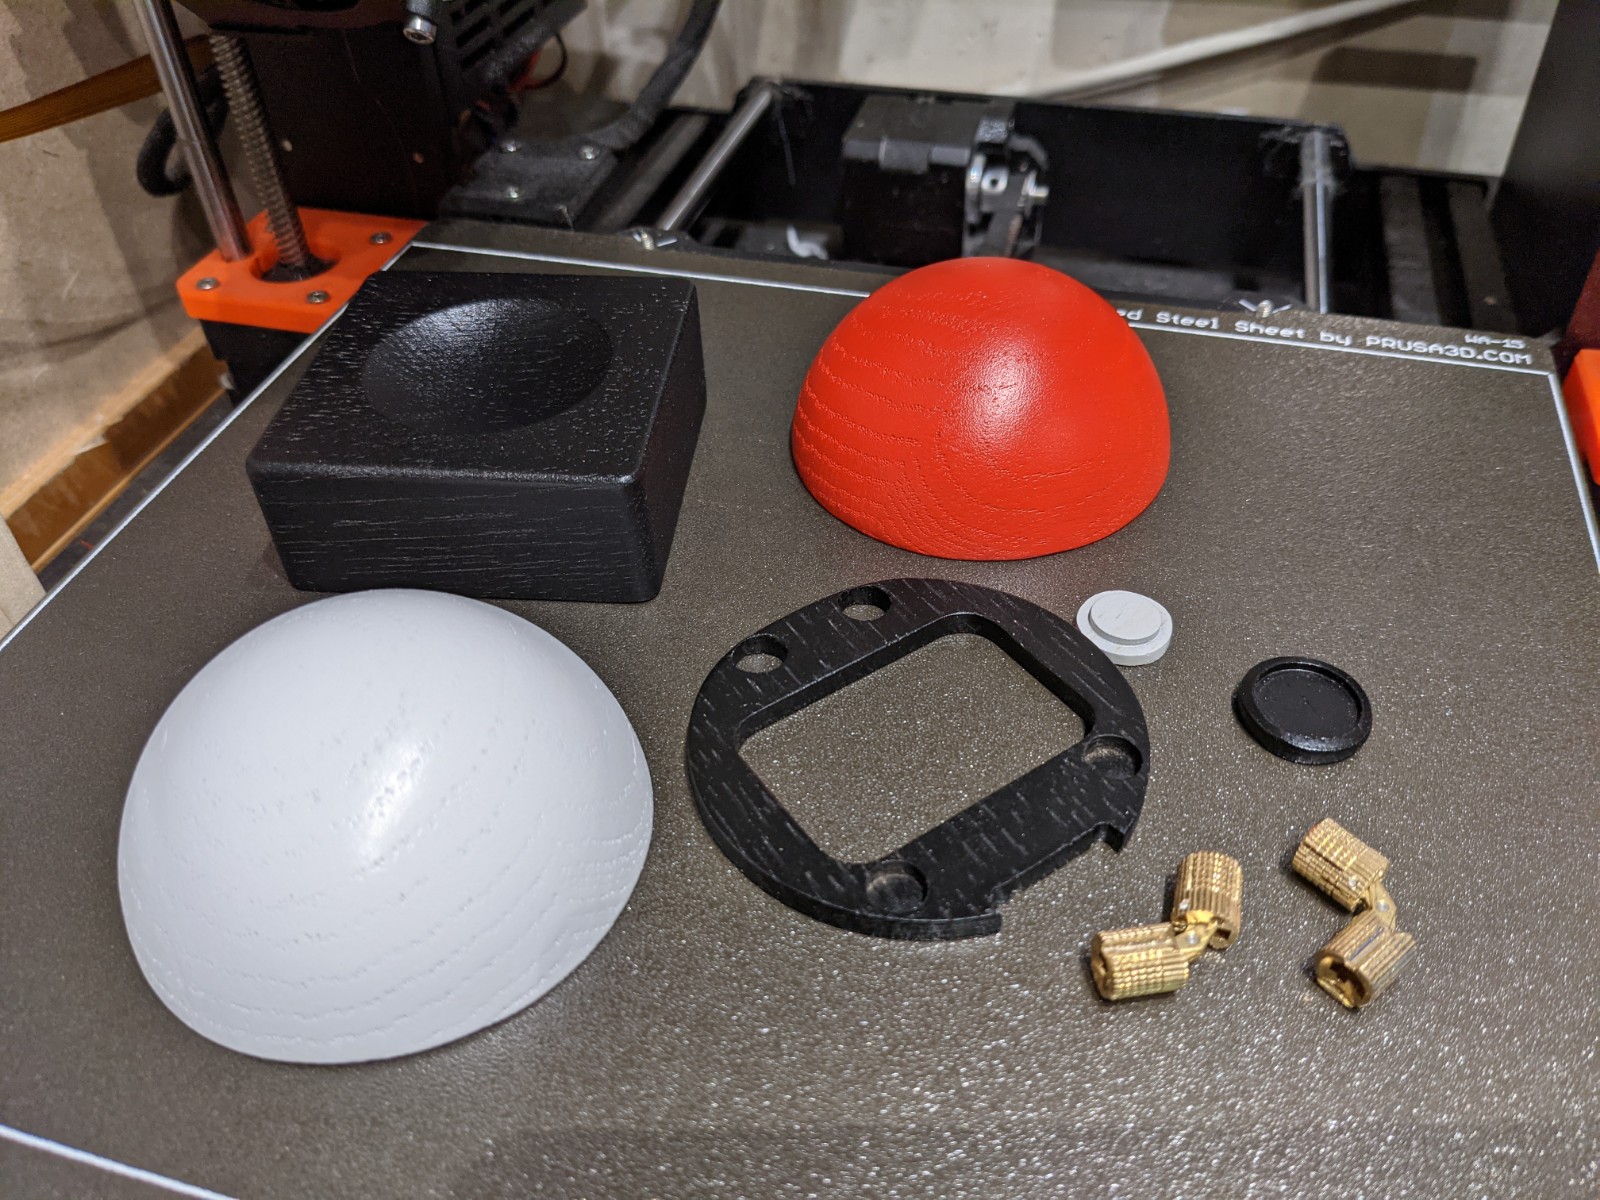
Luckily I had impulse-bought a 38mm slab of oak recently, which happened to be perfect to mill the two halves of the Pokeball.

The inside cuts first:

I then cut a jig pocket a few mm deep in MDF, flipped the parts and used tape&glue to hold them,

and ran the roughing cut

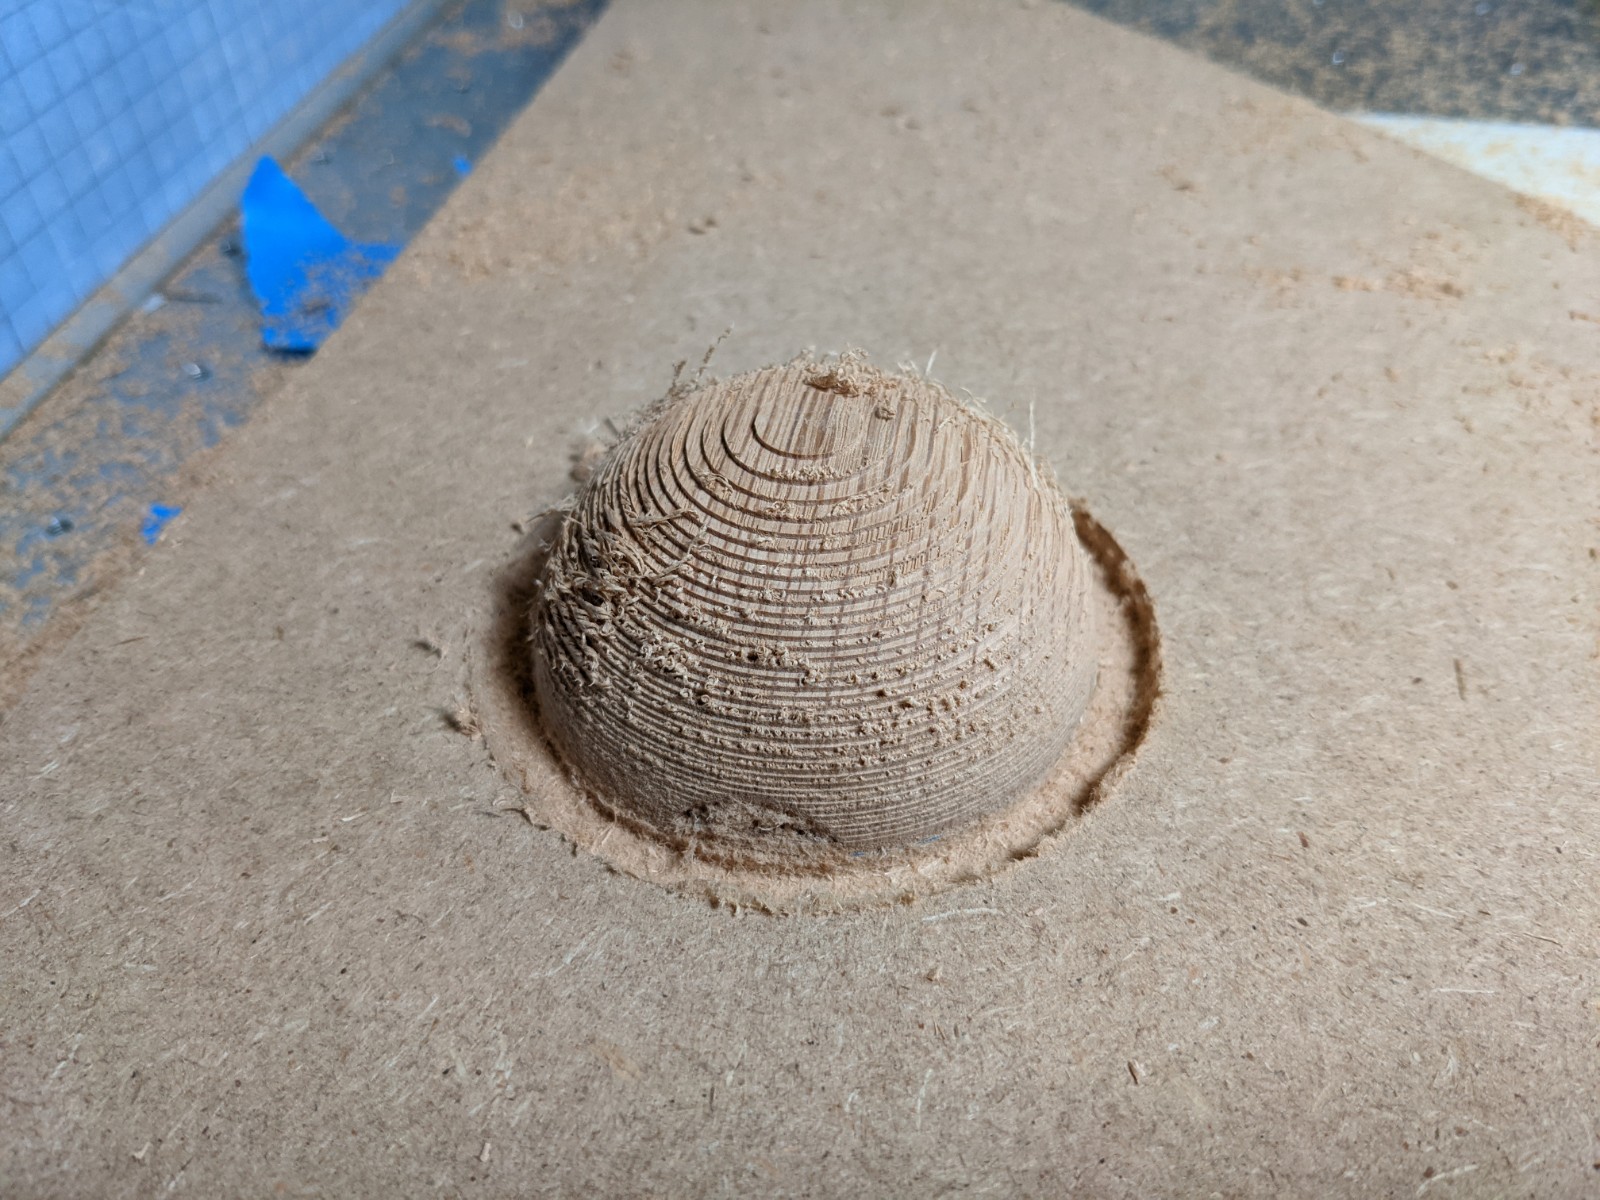
Some tearout, but not to worry, there was enough stock to leave at that point.

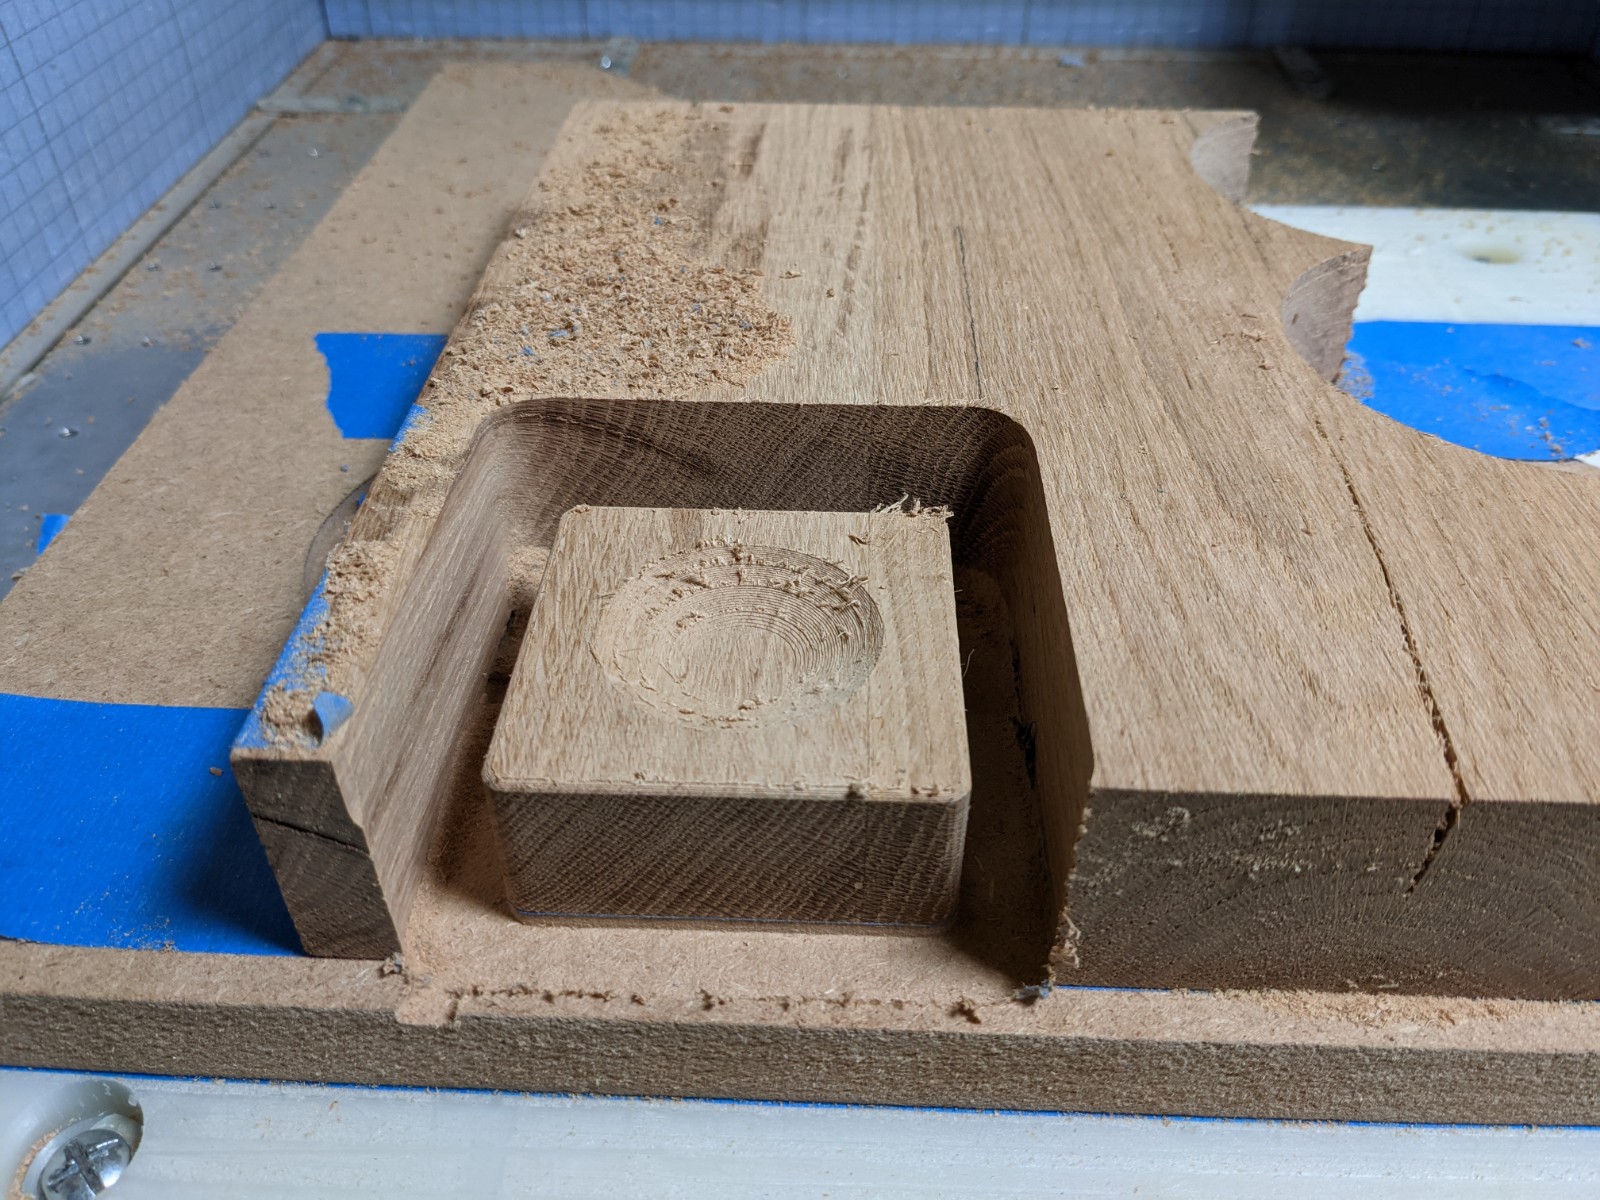
For the finishing toolpath (scallop toolpath at 0.2mm stepover) I used a 1/4" ballnose. I love how smooth it came out, very little sanding was necessary:

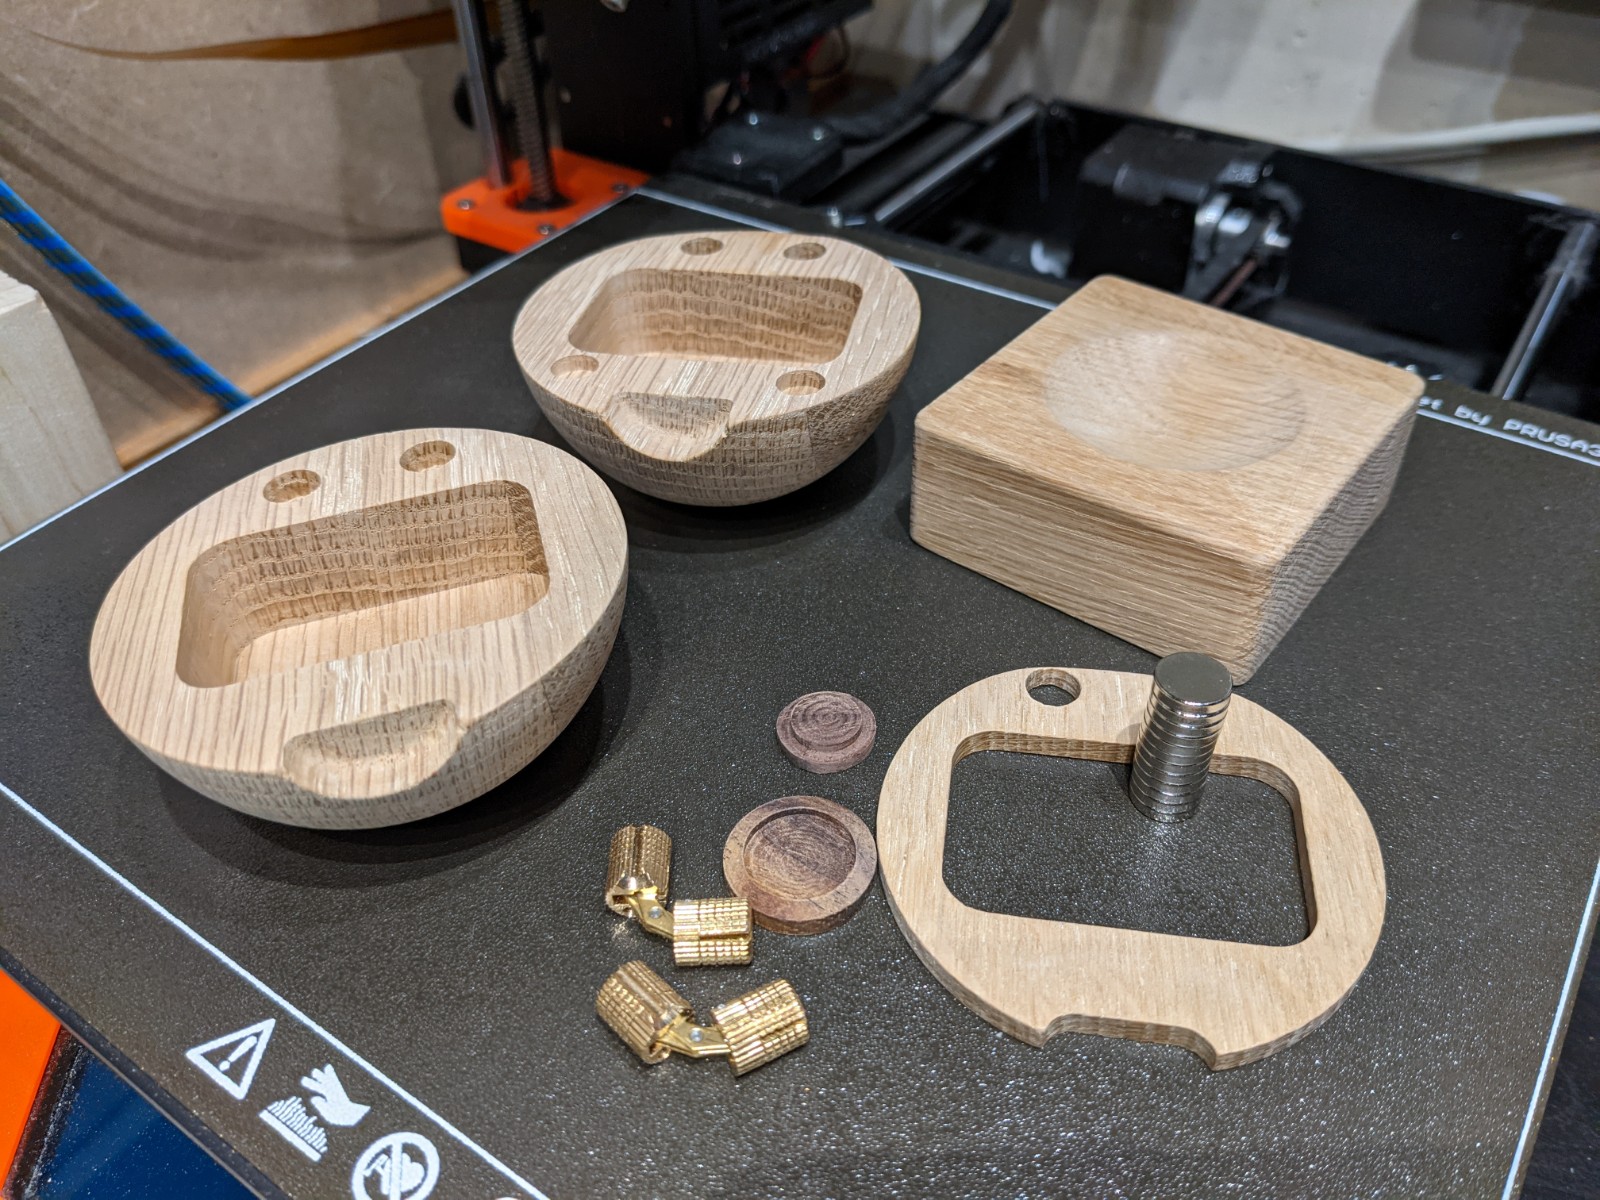
I also cut the middle section, and front knob (not shown),

And finally the base/stand (shown here before the finishing pass):

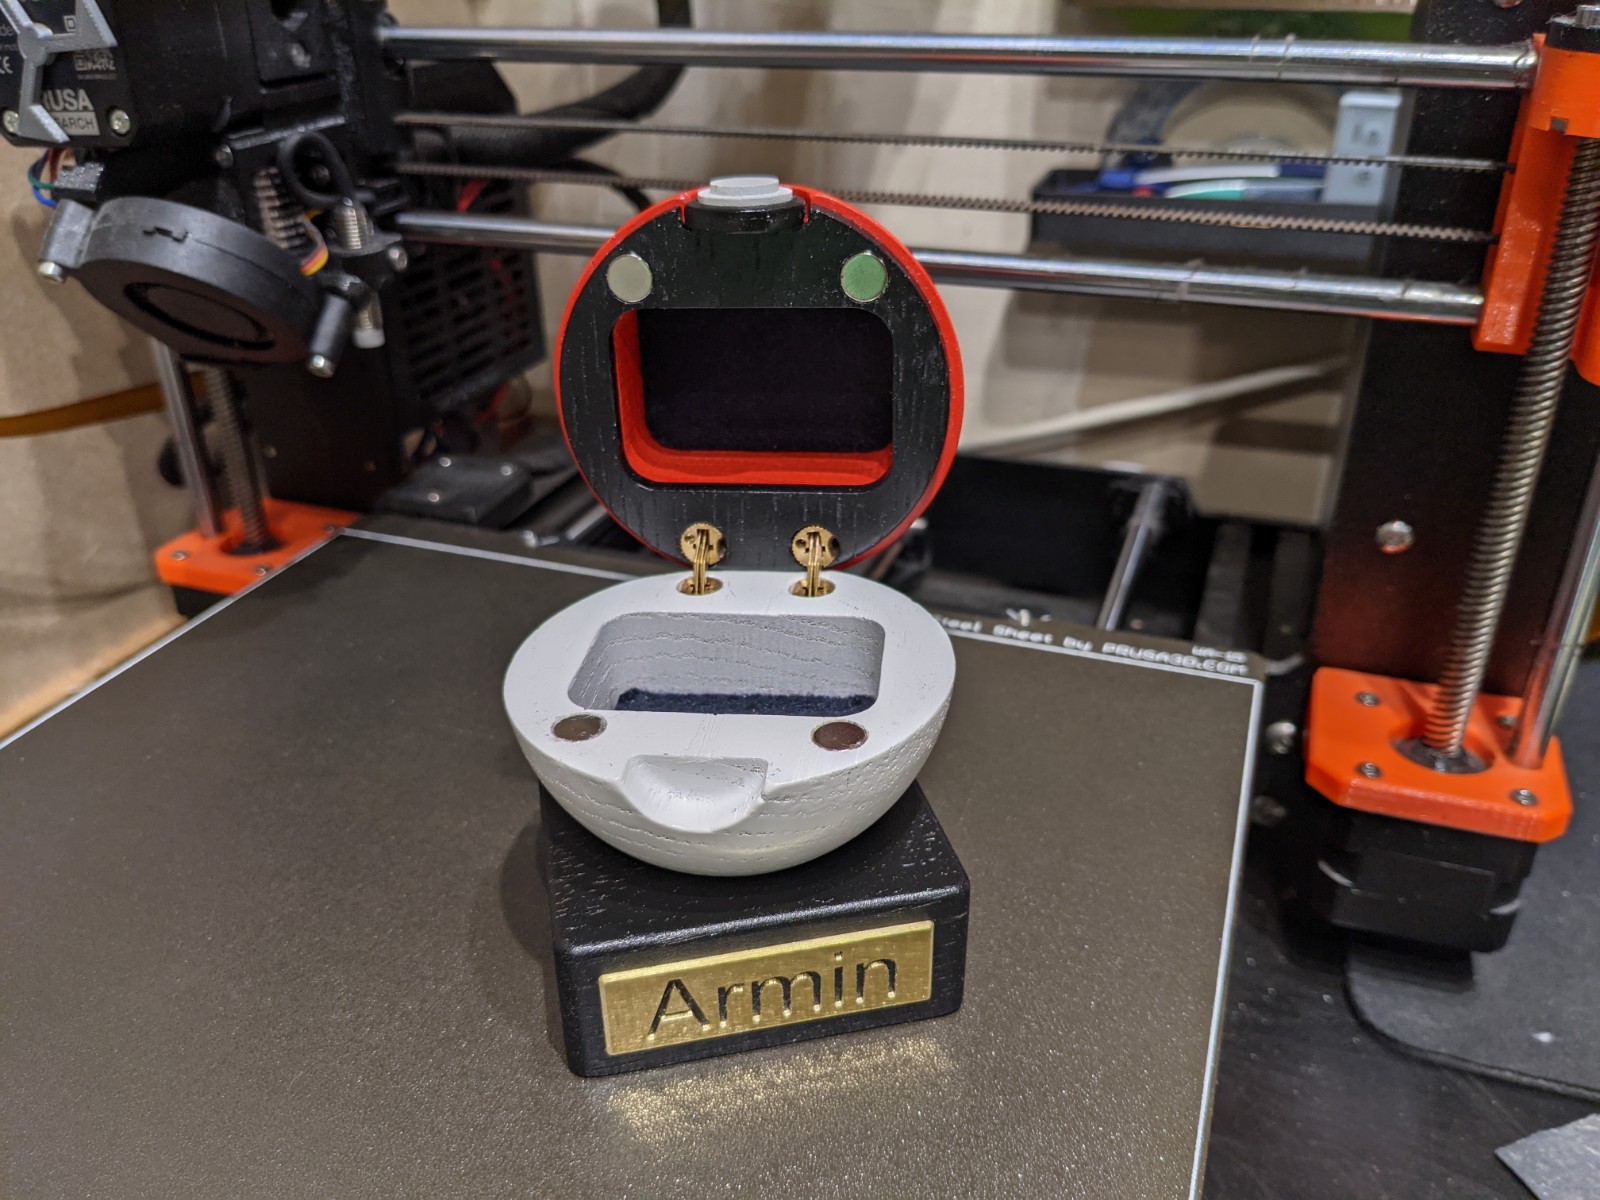
All ready for a dry fit test. The magnets go at the bottom of a pocket in the bottom half of the ball, and inside the base too, so that the ball snaps in place on the stand (great idea, Winston)

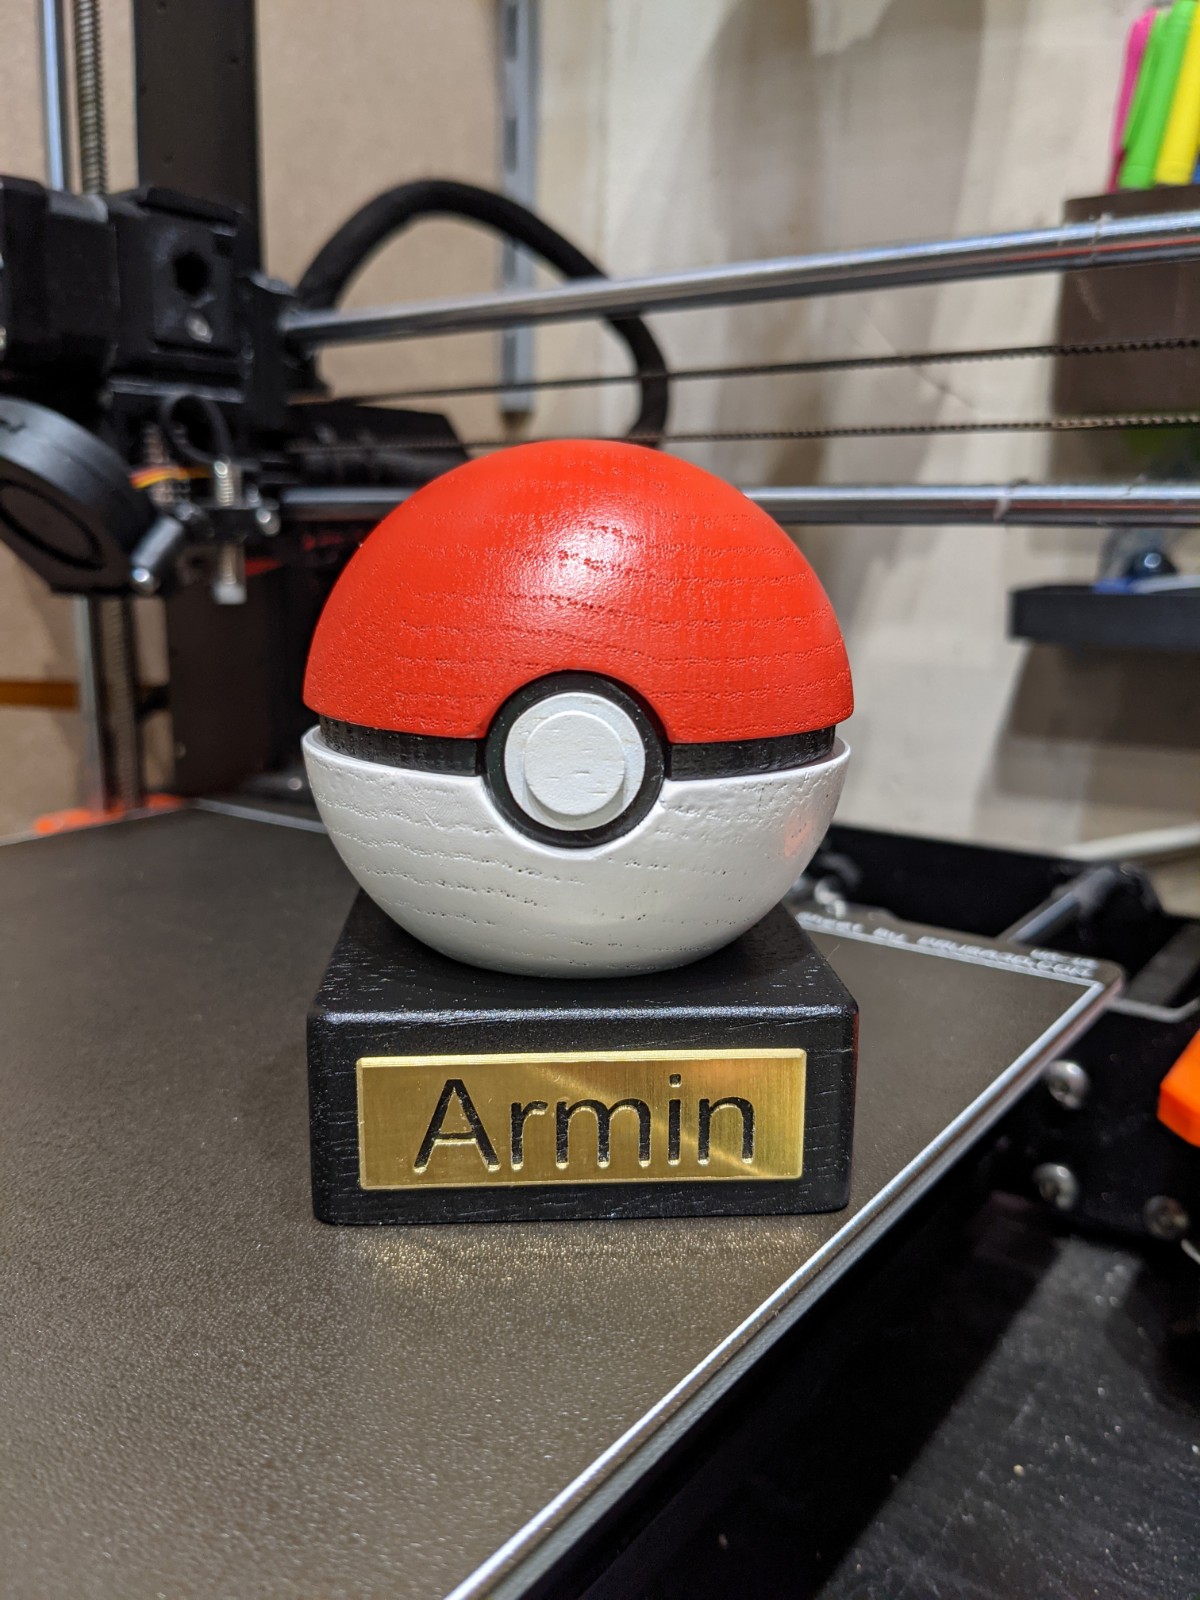
As much as I liked the wooden look, this is a gift for a child and I thought he would like it better if it had the real Pokeball colors, so I spray-painted the parts:

Much to my surprise, I got my tolerances just right on first try, and both the barrel hinges and the magnets fit perfectly:

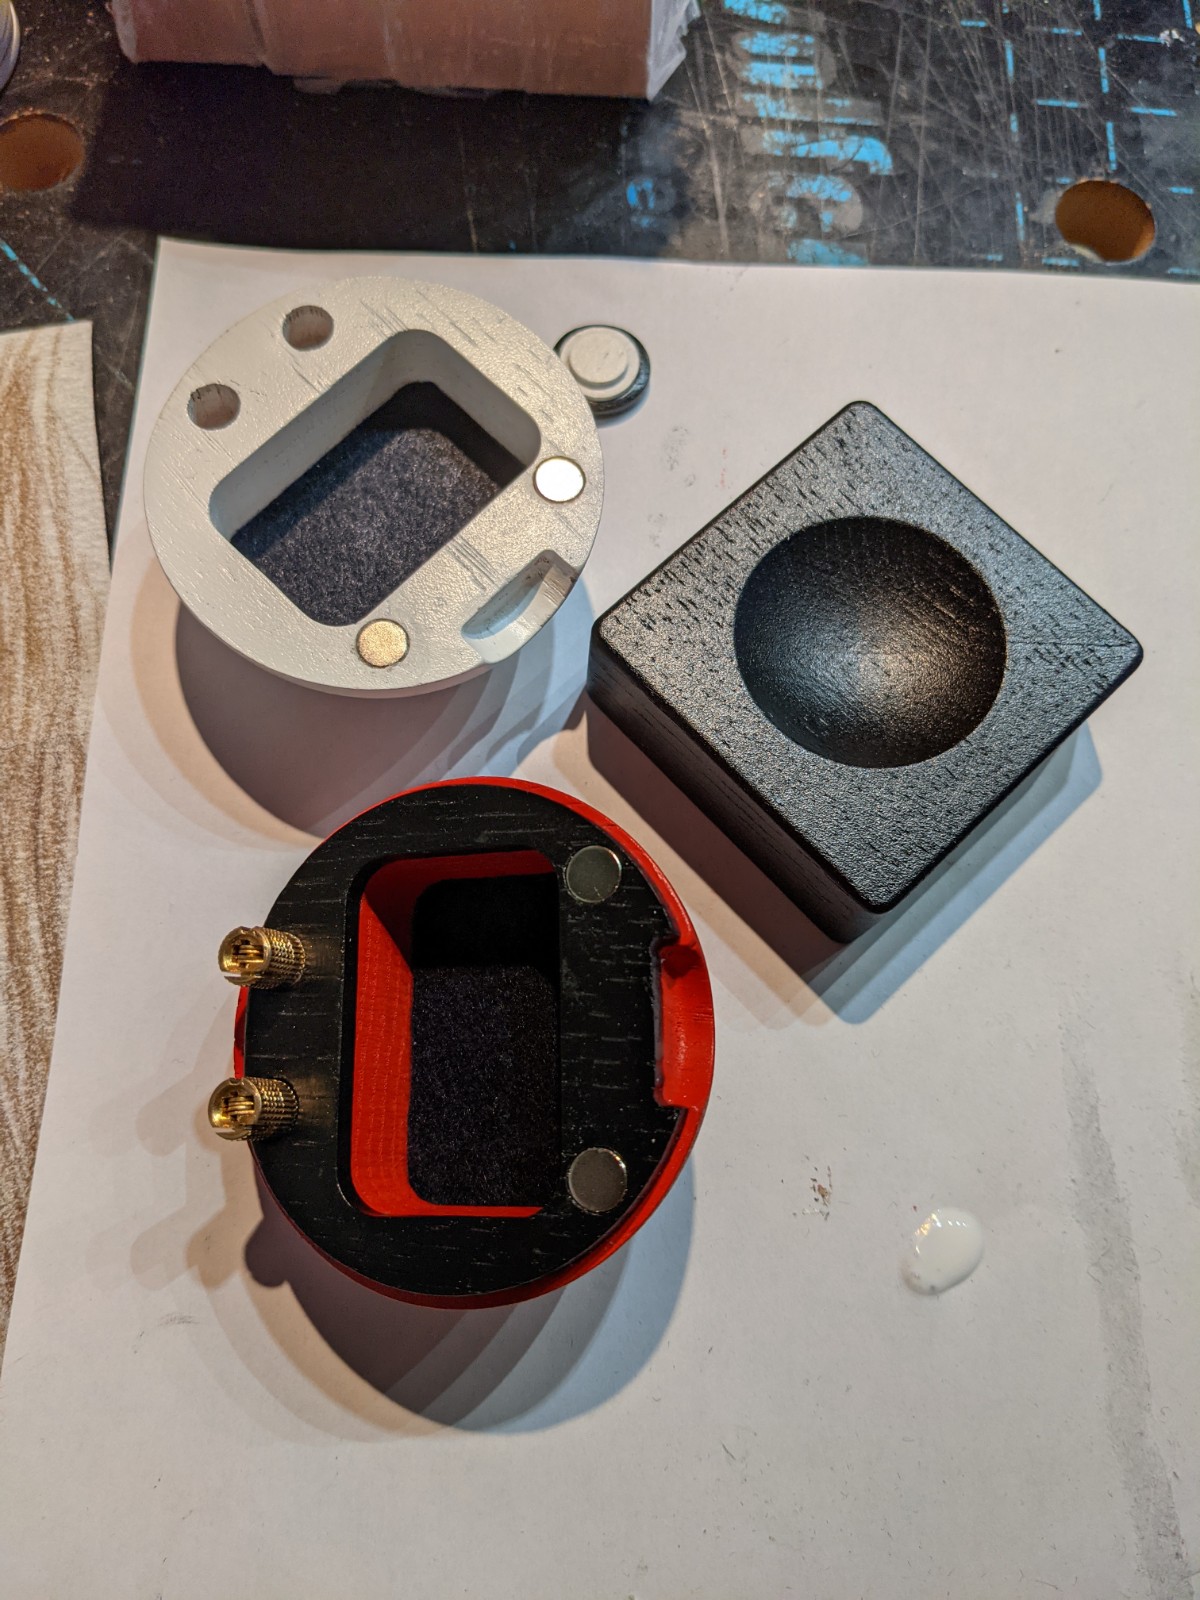
I used felt fabric to line to bottom of the inner pocket, and conveniently hide the magnet pocket.

Assembly completed:

I then milled a name plaque out of 0.8mm brass, using a 1/32" endmill, to give it its final look:

I still need to spray some clear poly onto it to make it shinier and protect the paint.

Hopefully I will earn serious “cool godfather” points, we’ll see!

Anyway, a tip of my hat to Winston for the pretty cool idea.

23 Likes

I assume you used Fusion for the tool paths?

I need to figure out how to do this with CC pro…or buy Meshcam, maybe?
My wife would go nuts for one of these!

1 Like

Yes, Fusion toolpaths.
The two half-domes should be easy to do in CC Pro, I would just download a 3D model of a half sphere, then use @fenrus STL2PNG to create the corresponding heightmap. The only tricky part may be to convince CC Pro to overcut such that the edge of the ballnose reaches the largest perimeter of the half sphere while finishing (i.e. going one radius deeper than the bottom of the half-sphere)
The rest are just regular pockets.
Meshcam would work too of course.

1 Like

https://www.thingiverse.com/thing:156207 has spheres… pick a relatively high poly count one. Then in
https://fenrus75.github.io/FenrusCNCtools/stl2nc/stl2nc.html set the depth offset to 50 (percent) to end up with half a sphere. (this option moves the Z-zero plane up by 50%… which is exactly what you want for half a sphere)
I would recommend also in CC Pro to do a circle outside-contour path with, say, a 1/4 flat endmill to get a nice clearing around the sphere, and to clean up the roundness of the ballnose if you use a large diameter ballnose.

3 Likes

I suspect the opening you have for the round “eye” of the ball isn;t quite a regular toolpath :wink:

fusion can export STLs :wink:

2 Likes

You should also do some pokemon!

I think I’m going to try bulbasaur next.

2 Likes

It sure can
Ballbottom.stl (318.1 KB) Balltop.stl (291.1 KB) Base.stl (202.6 KB) Button Bezel.stl (162.6 KB) Button.stl (37.2 KB) Interface Ring.stl (61.6 KB)

3 Likes

I have to give it up for that Pokemon Ball, pretty neat. The original creators of the Pokemon were genius’s. They designed a never ending marketing idea that you just gotta “Get Em All” and yet you can never get them all. All that was old is once again new.

2 Likes

I didn’t know about these small type of barrel hinges, ordered a few and will have to try them out and some upcoming projects. I like that the wood grain still really came out even through the spray paint, for some reason I was thinking like you’d have to use a stain to get that type of detail still.

Yeah I was worried about that as I really wanted the grain to still show. I did multiple light passes and oak has tiny (crevices? what’s the word?) so that helped. That and not using a primer

2 Likes

Yup, red oak is very porous so it sucks the paint right in.

3 Likes