I was asked to cut 2 11" high shields (logo). I cut three tests to determine settings, then started on the actual project. The first went went well, no issues. The second one started having issues, but I was behind schedule so had to soldier through.
In VCarve, I selected the v-carve engraving toolpath with a 60 degree vbit, a flat depth of .15", and a .125" endmill to clear it out. I ran the pocket toolpath first so the vbit could clean up everything. Keep in mind that this was now the 5th time with the same file. I knew I was in trouble when the endmill cut the first area out in one pass, not the three passes that I had specified. When it got to the other areas, it followed the toolpath settings and did three passes.
The second problem was that the endmill didn’t cut down to the specified flat depth of .15". On a happy note, it added more dimension, and the customer liked it better than the “correct” toolpath, but I want to know why it happened and how to stop it.
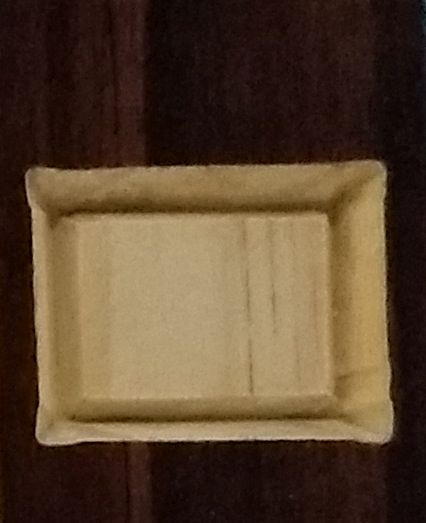
Here’s what it should have been - you can see that the vbit goes down .15" and there is no other material:
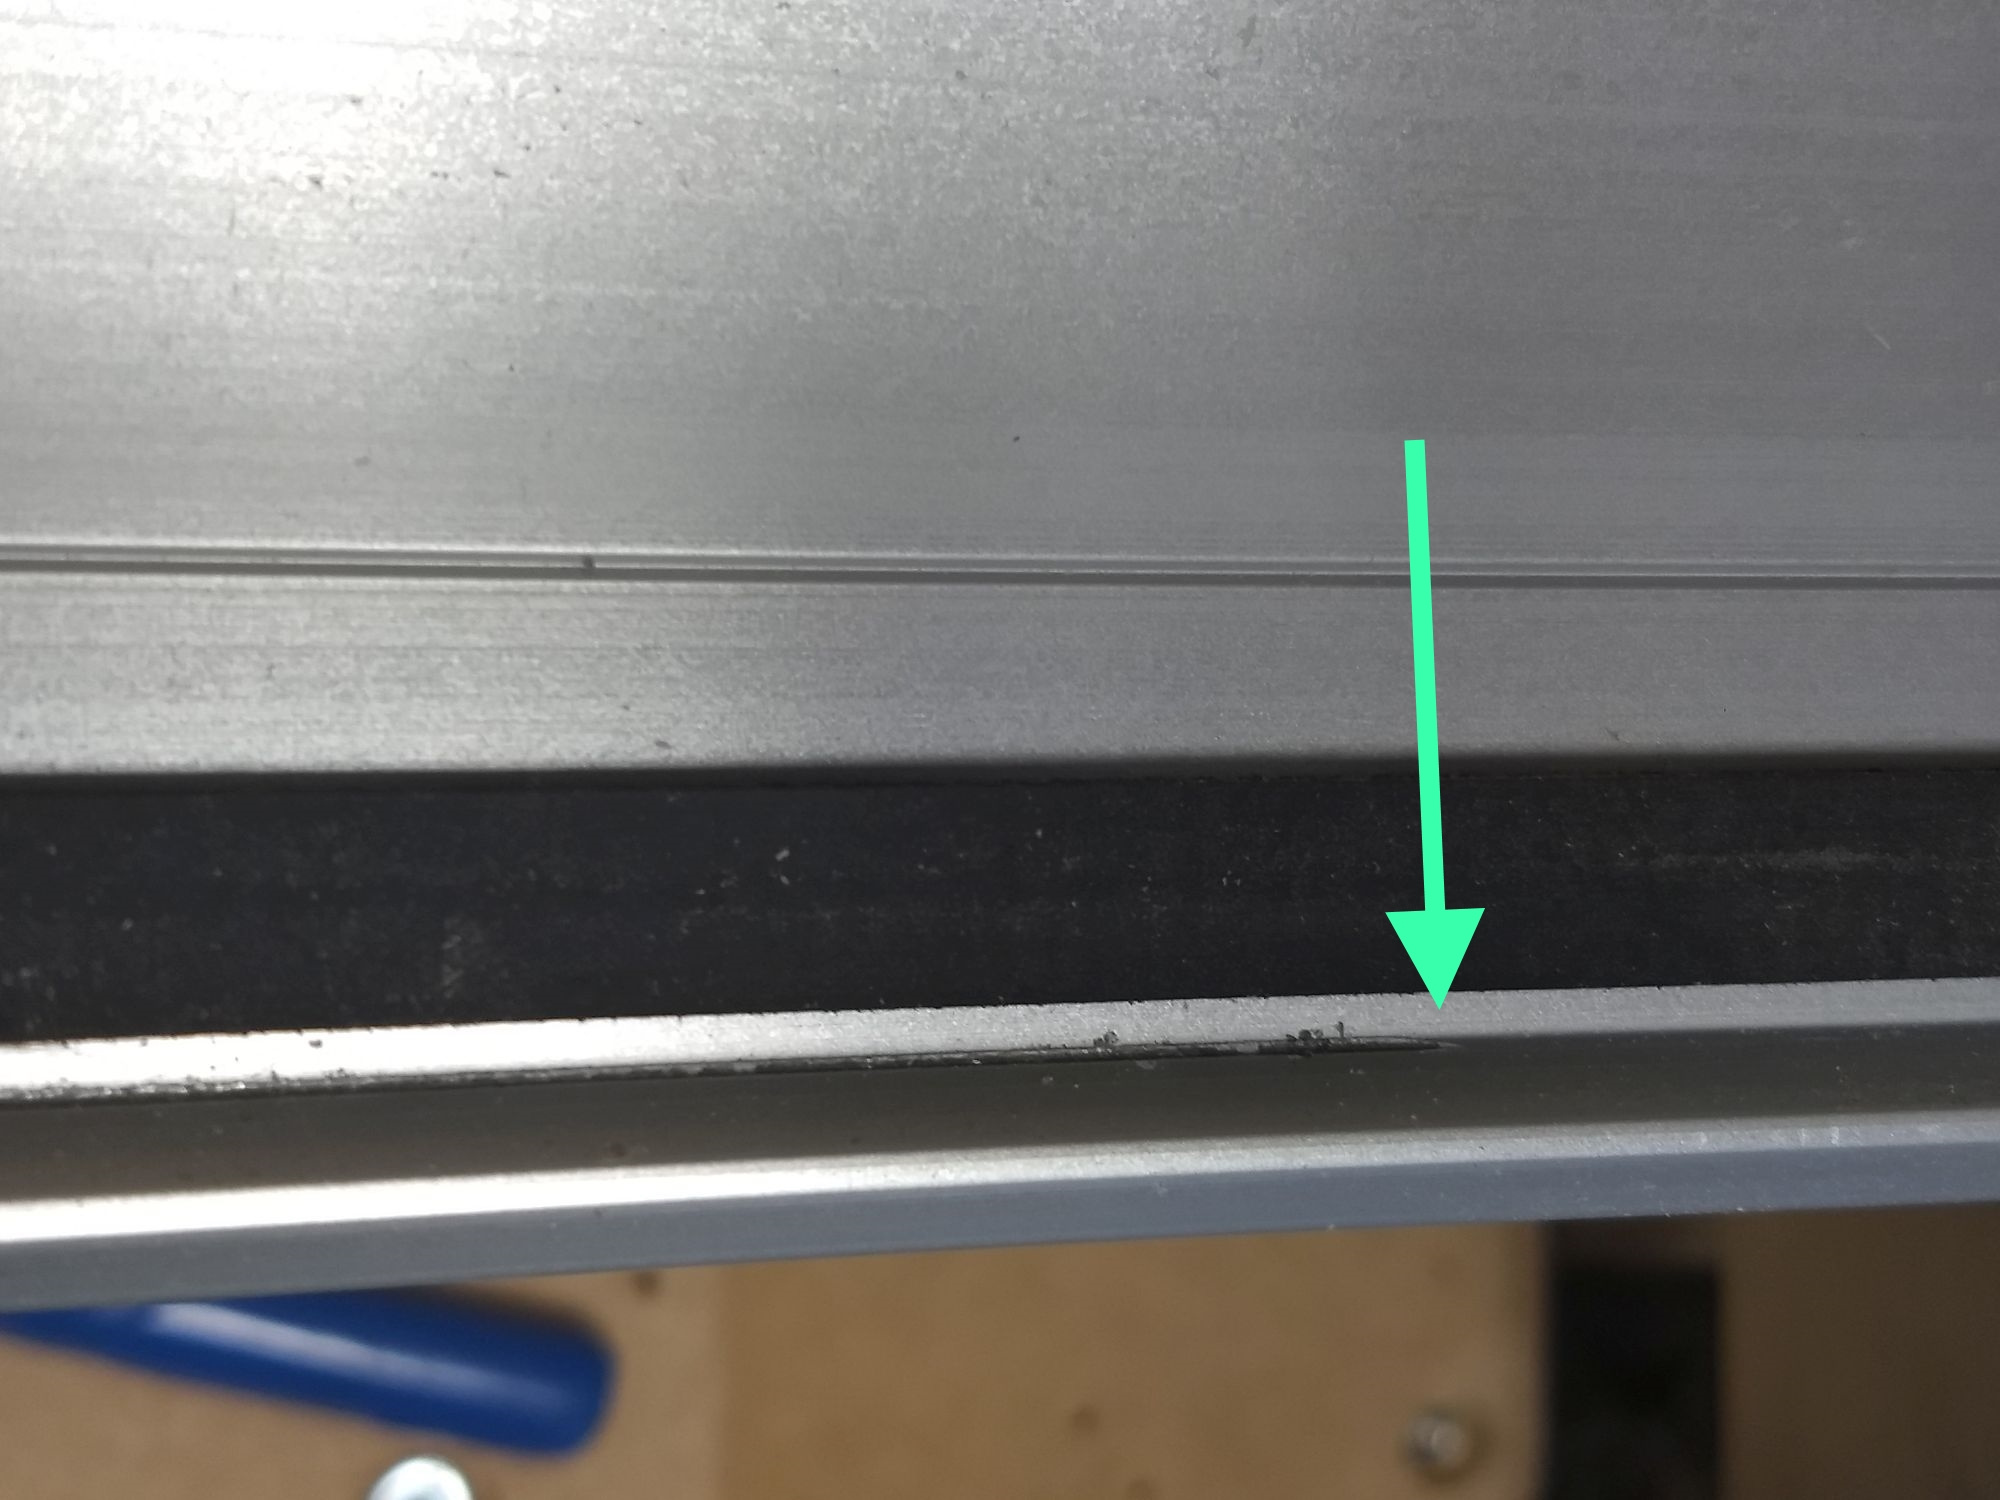
I started messing around with calibrating and checking things, etc., and to my horror I found that the x rail, on the back of it, has a serious groove cut into it by the Delrin V-wheel (I think that’s what it is called - the silver wheel on the back of the Z carriage that runs on the rail). You can see where it starts and end in this picture:
This is very common. The holes for the screws holding the steel wheels allow for some adjustment (they’re larger than the stud). And during assembly, the wheels should be pulled high to prevent them from riding the X-extrusion. BUT, it seems like they’re pulled low.
ANYWAY, adjust the steel wheels higher, so you can slide a playing card between the wheels and the rail. Just loosen the screens, pull them high, tighten.
You’ll likely have to snug the belt when you’re done.
The V rail damage is cosmetic. You an prevent it from getting worse by removing the idler wheels, removing the powder coat, and if need be slightly enlarging the holes at the top.
If you were setting zero using a Probe, the usual cause for this variation is probing for Z while the Probe is positioned as it ought to probe for all three axes on a corner.