Has anyone just purchased the router and how has its performance been?
Which router do you mean?
the router that is listed on the Carbide 3D website. Carbide Compact Router +$ 80.00
I’ve had a couple and they’ve all worked well for me.
There have been some instances where folks have had premature failures — we send out a replacement at need per the 12 month warranty — in very rare instances we’ve had to send out 3, and I believe on one, maybe two or three occasions we’ve sent out a 4th before the customer got a unit which worked well for them.
A person who was good at calculating mathematical statistics could use that to determine the failure reate.
I purchased the router with my Shapeoko Pro XXL. I’ve had it for I believe over three years now and it runs like a top!
No complaints here!
1 Like
I currently have a SO3 with the Z-axis that came with the machine. I’ve used it for about 3 years and for the most part I’m really happy with it. I’ve started to do more intricate v-carving and I’ve noticed a lot of “chatter” in the cut that I’m sure is from the Z-axis. I have the eccentrics adjusted as well as I can, but there is still some play.
Here’s what I need to know: Is there a noticeable improvement in cut quality and hopefully feedrate when upgrading to the Pro? Seriously considering purchasing the pro but I would like to hear from owners that it’s worth the investment.
Thanks
Yes, the linear rails are a huge step up in terms of rigidity and the ability to push the machine or to hold position for a given cut.
That said, you could get a bit more rigidity by upgrading to the Z-Plus or the HDZ on your SO3.
FWIW, when using my belt drive machines I found that leaving a roughing clearance and then taking a finishing pass had quite good results — have you tried that?
I have tried something like that. I have duplicated the toolpaths so that I’m essentially cutting everything twice in the hope that the second pass would clean up the chatter from the first cut. I still have the chatter in many places. I want to paint the v-cut so the result needs to be a clean cut.
What material? What tooling?
Post a file and a photo?
I appreciate your help on this:
The material is Southern Yellow Pine
The bit is an Amana RC-45711 Insert V Groove 90 Degree. I rotated the insert to a new edge.
Plunge rate is 12ipm, feed rate is 45ipm, 18000rpm. I told carbide create that I was using tool #301.
One thing I noticed running these is that the depth per pass is not the same for all vectors. It’s set at 0.1" DDP but I noticed a couple places where the router seemed to plunge to full depth immediately. I can see the value in having duplicate toolpaths and having the second one machine deeper to clean everything. I’m asking if there’s a solution where I only have to cut this part once.

If I was going to run a second pass on pine my inclination would be to swap out the carbide tool for an HSS one.
What’s the advantage of the HSS tool versus the carbide insert tooling? Most industrial tooling is solid carbide or inserts.
HSS tooling is sharper than carbide, but not as rigid/durable — it can however do well making a light cut on pine.
2 Likes
This is a pretty good reference from woodweb.
2 Likes
In my experience, they work well. I do recommend buying two.
I have one to use and one to keep handy when the first breaks.
Nothing is worse than having your Router burn out on December 15th while you rush out Christmas orders. The $80.00 is a small piece of insurance and your customers will be a lot happier getting their items on time and as promised.
3 Likes
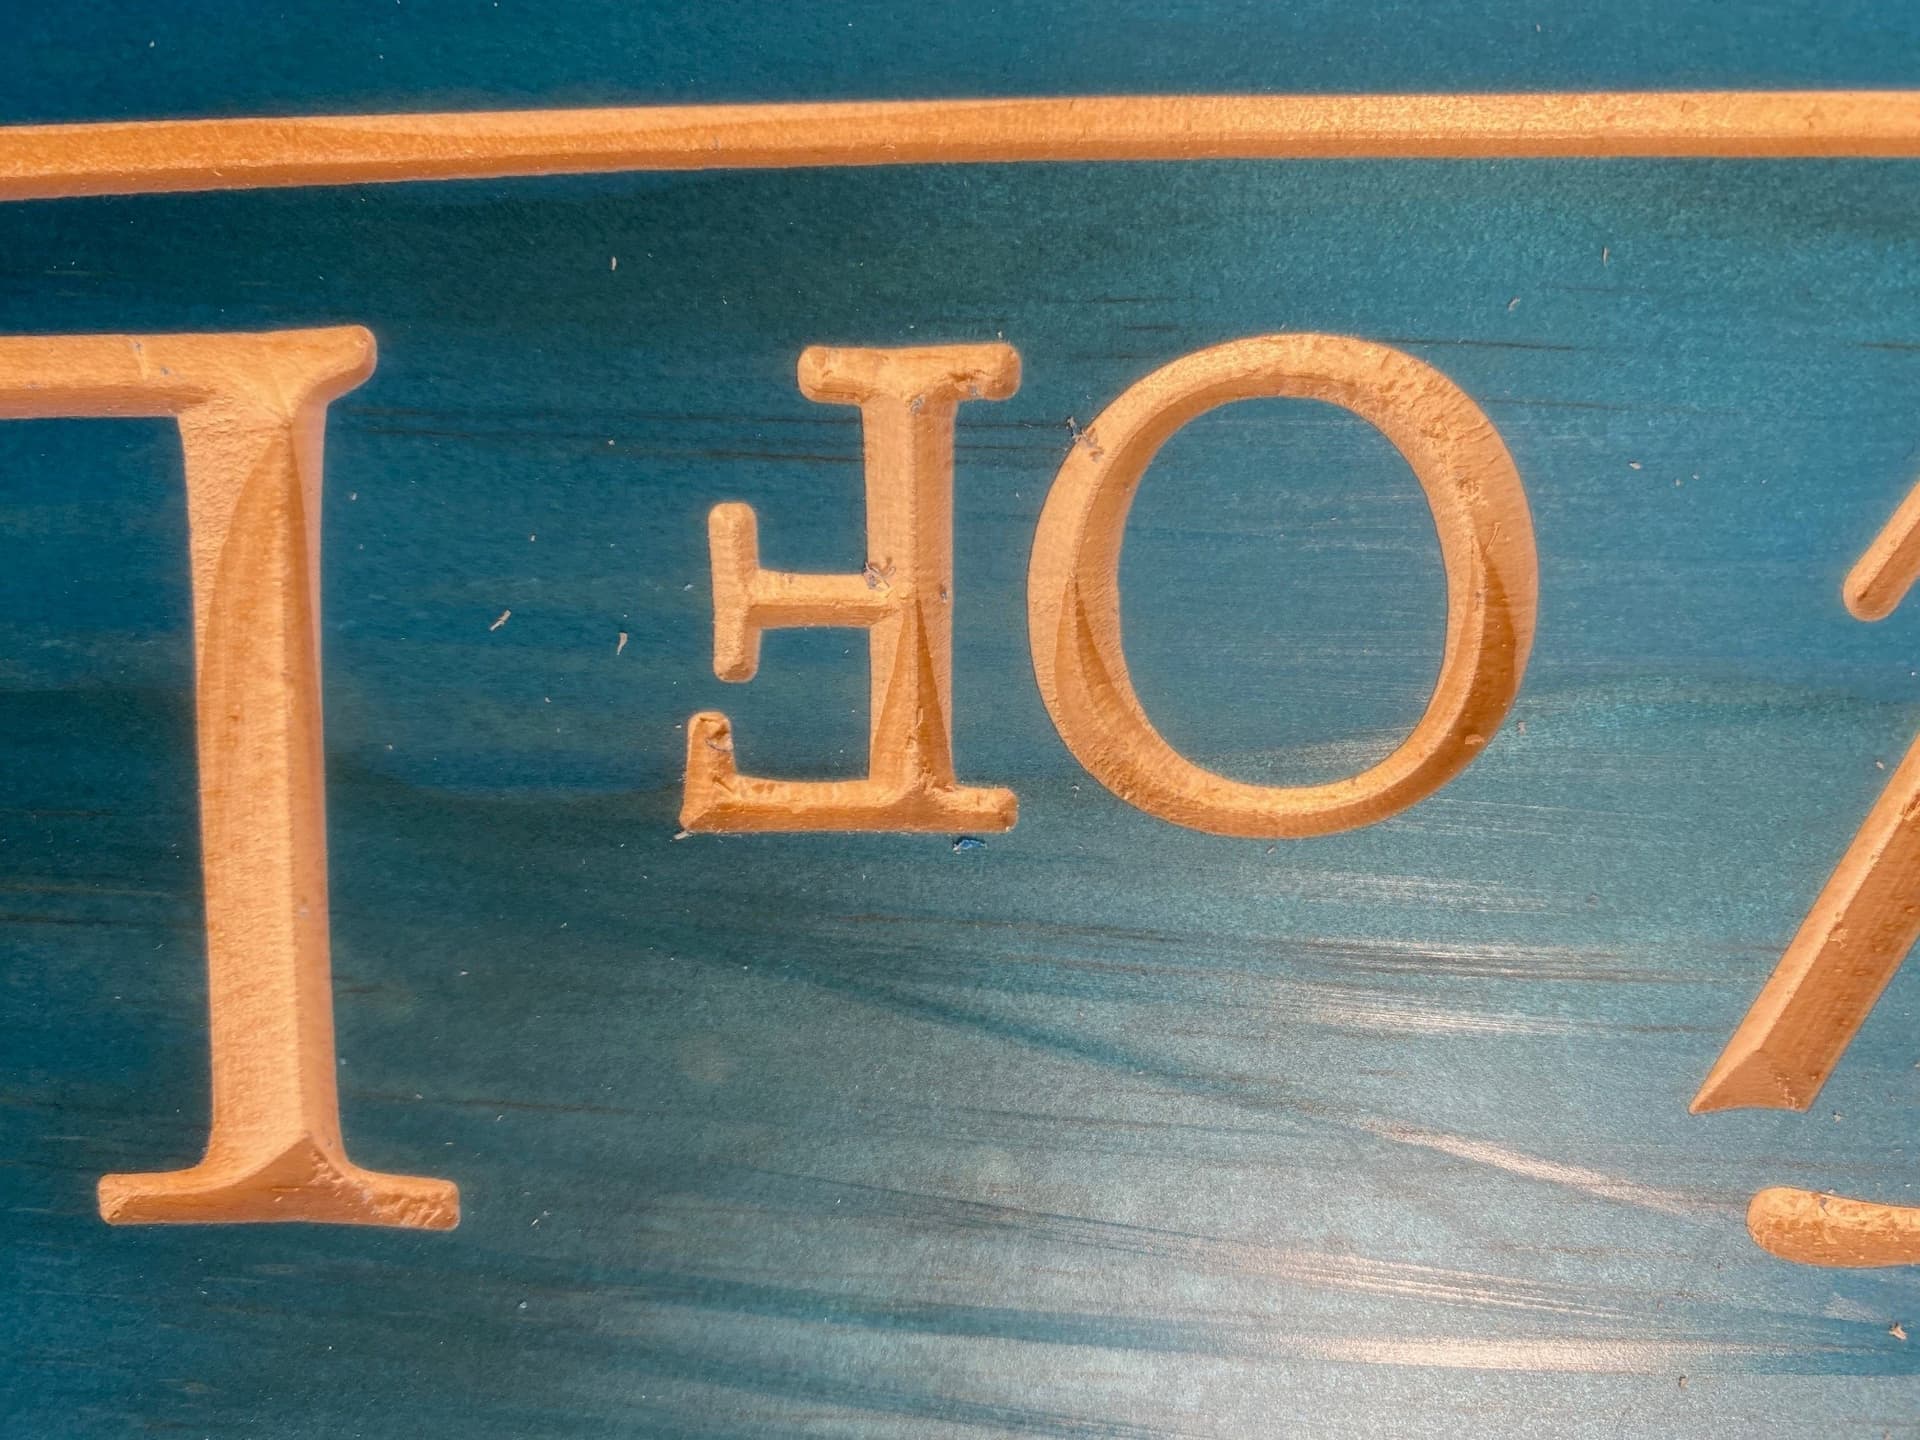
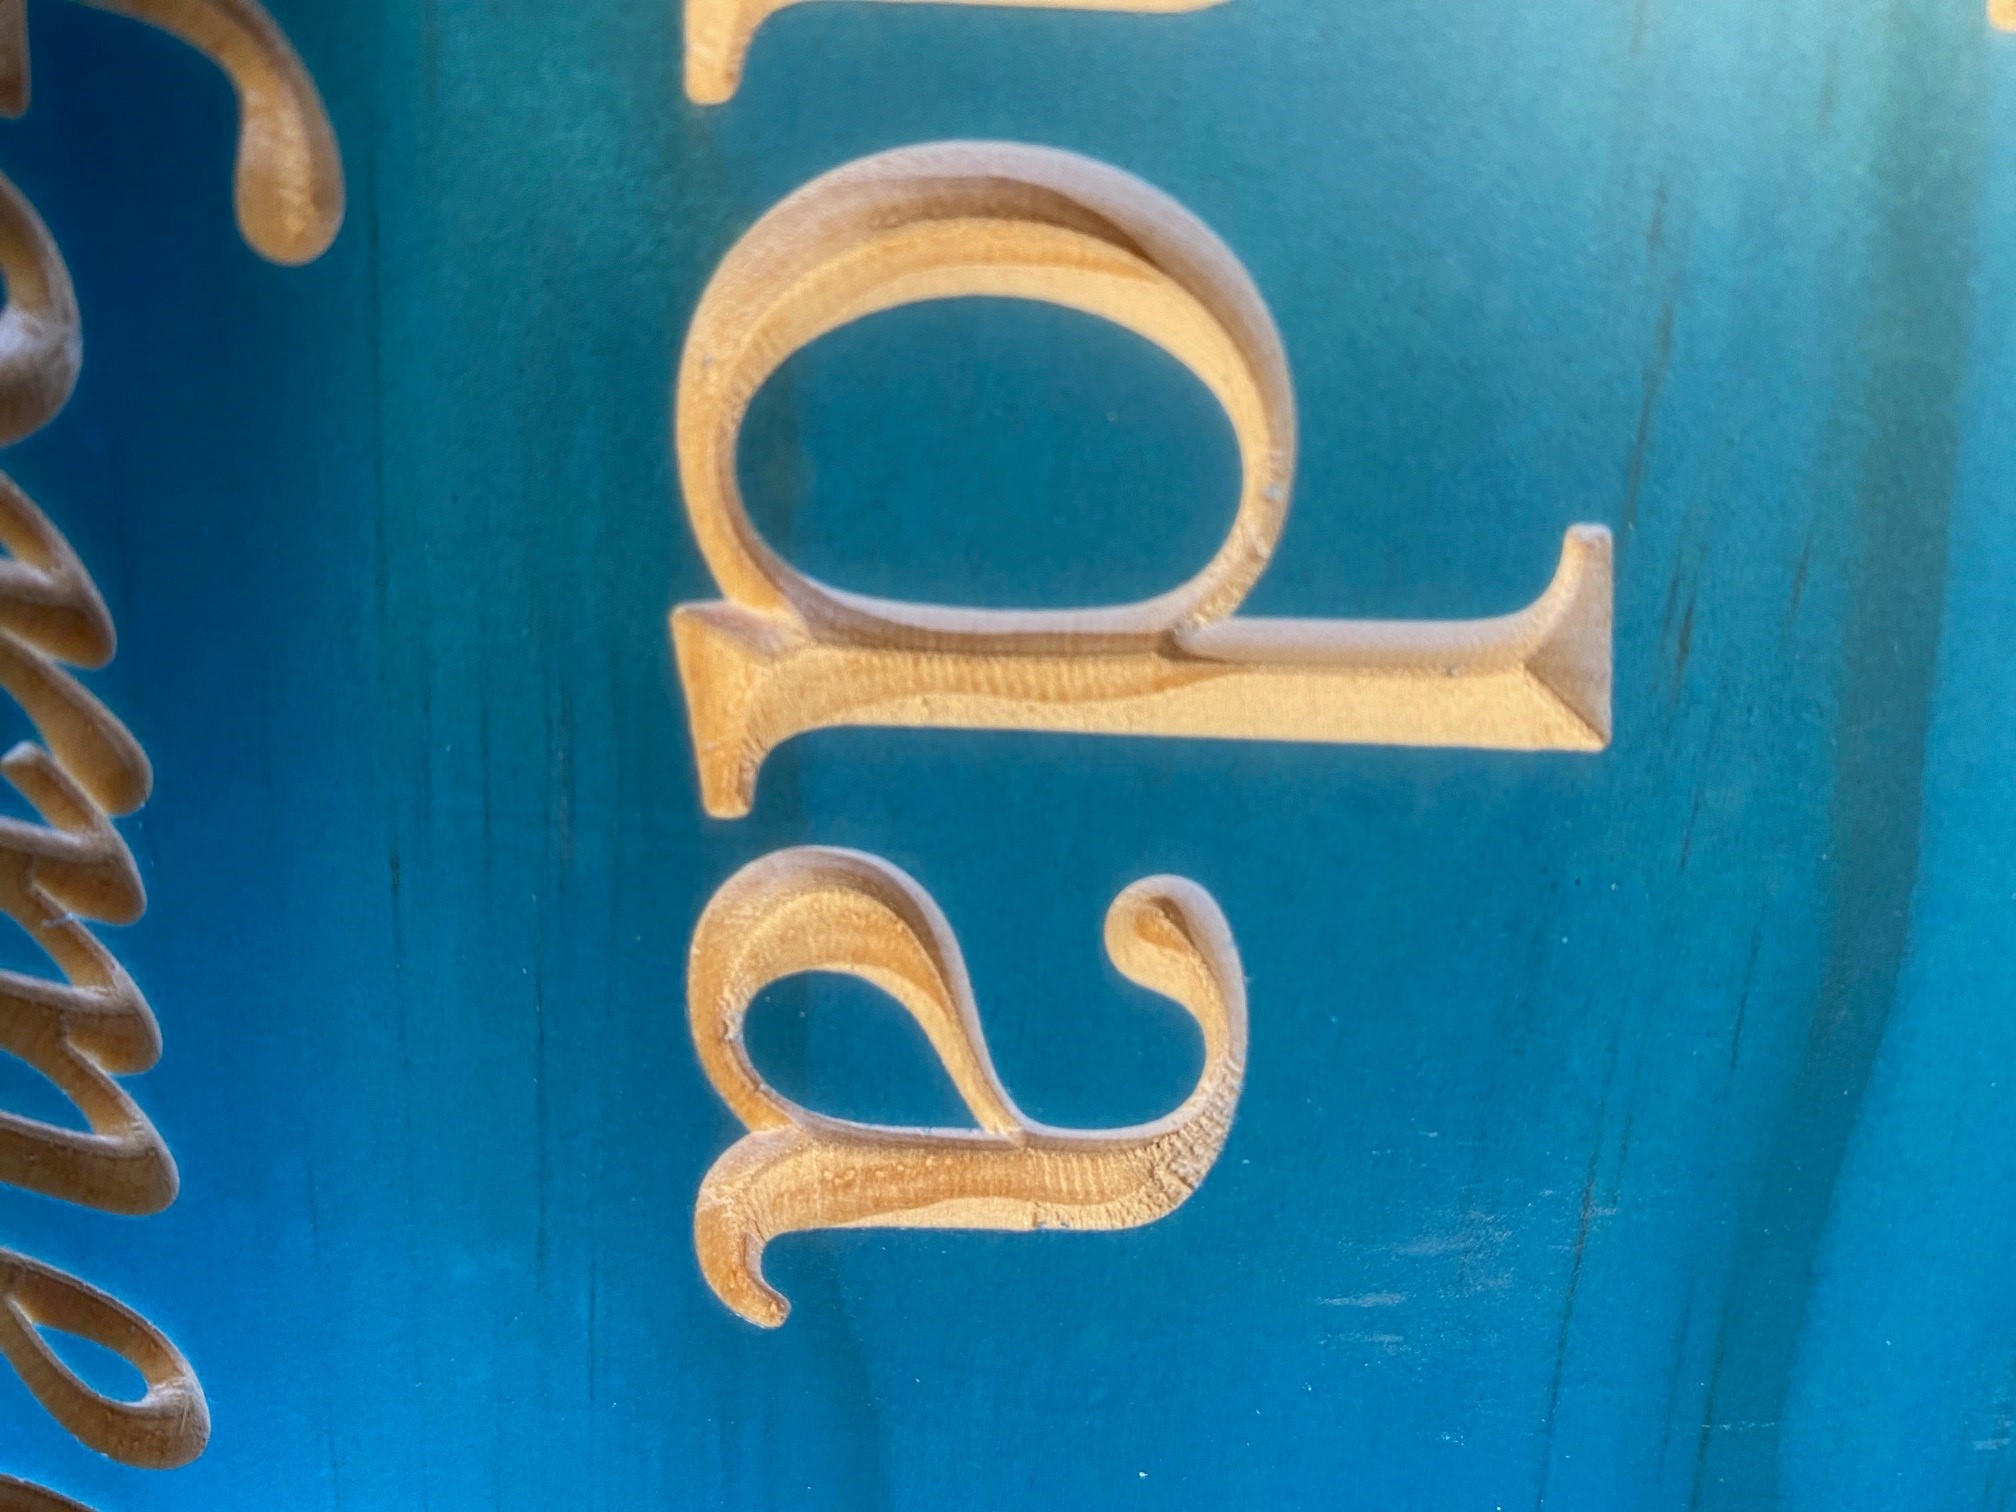
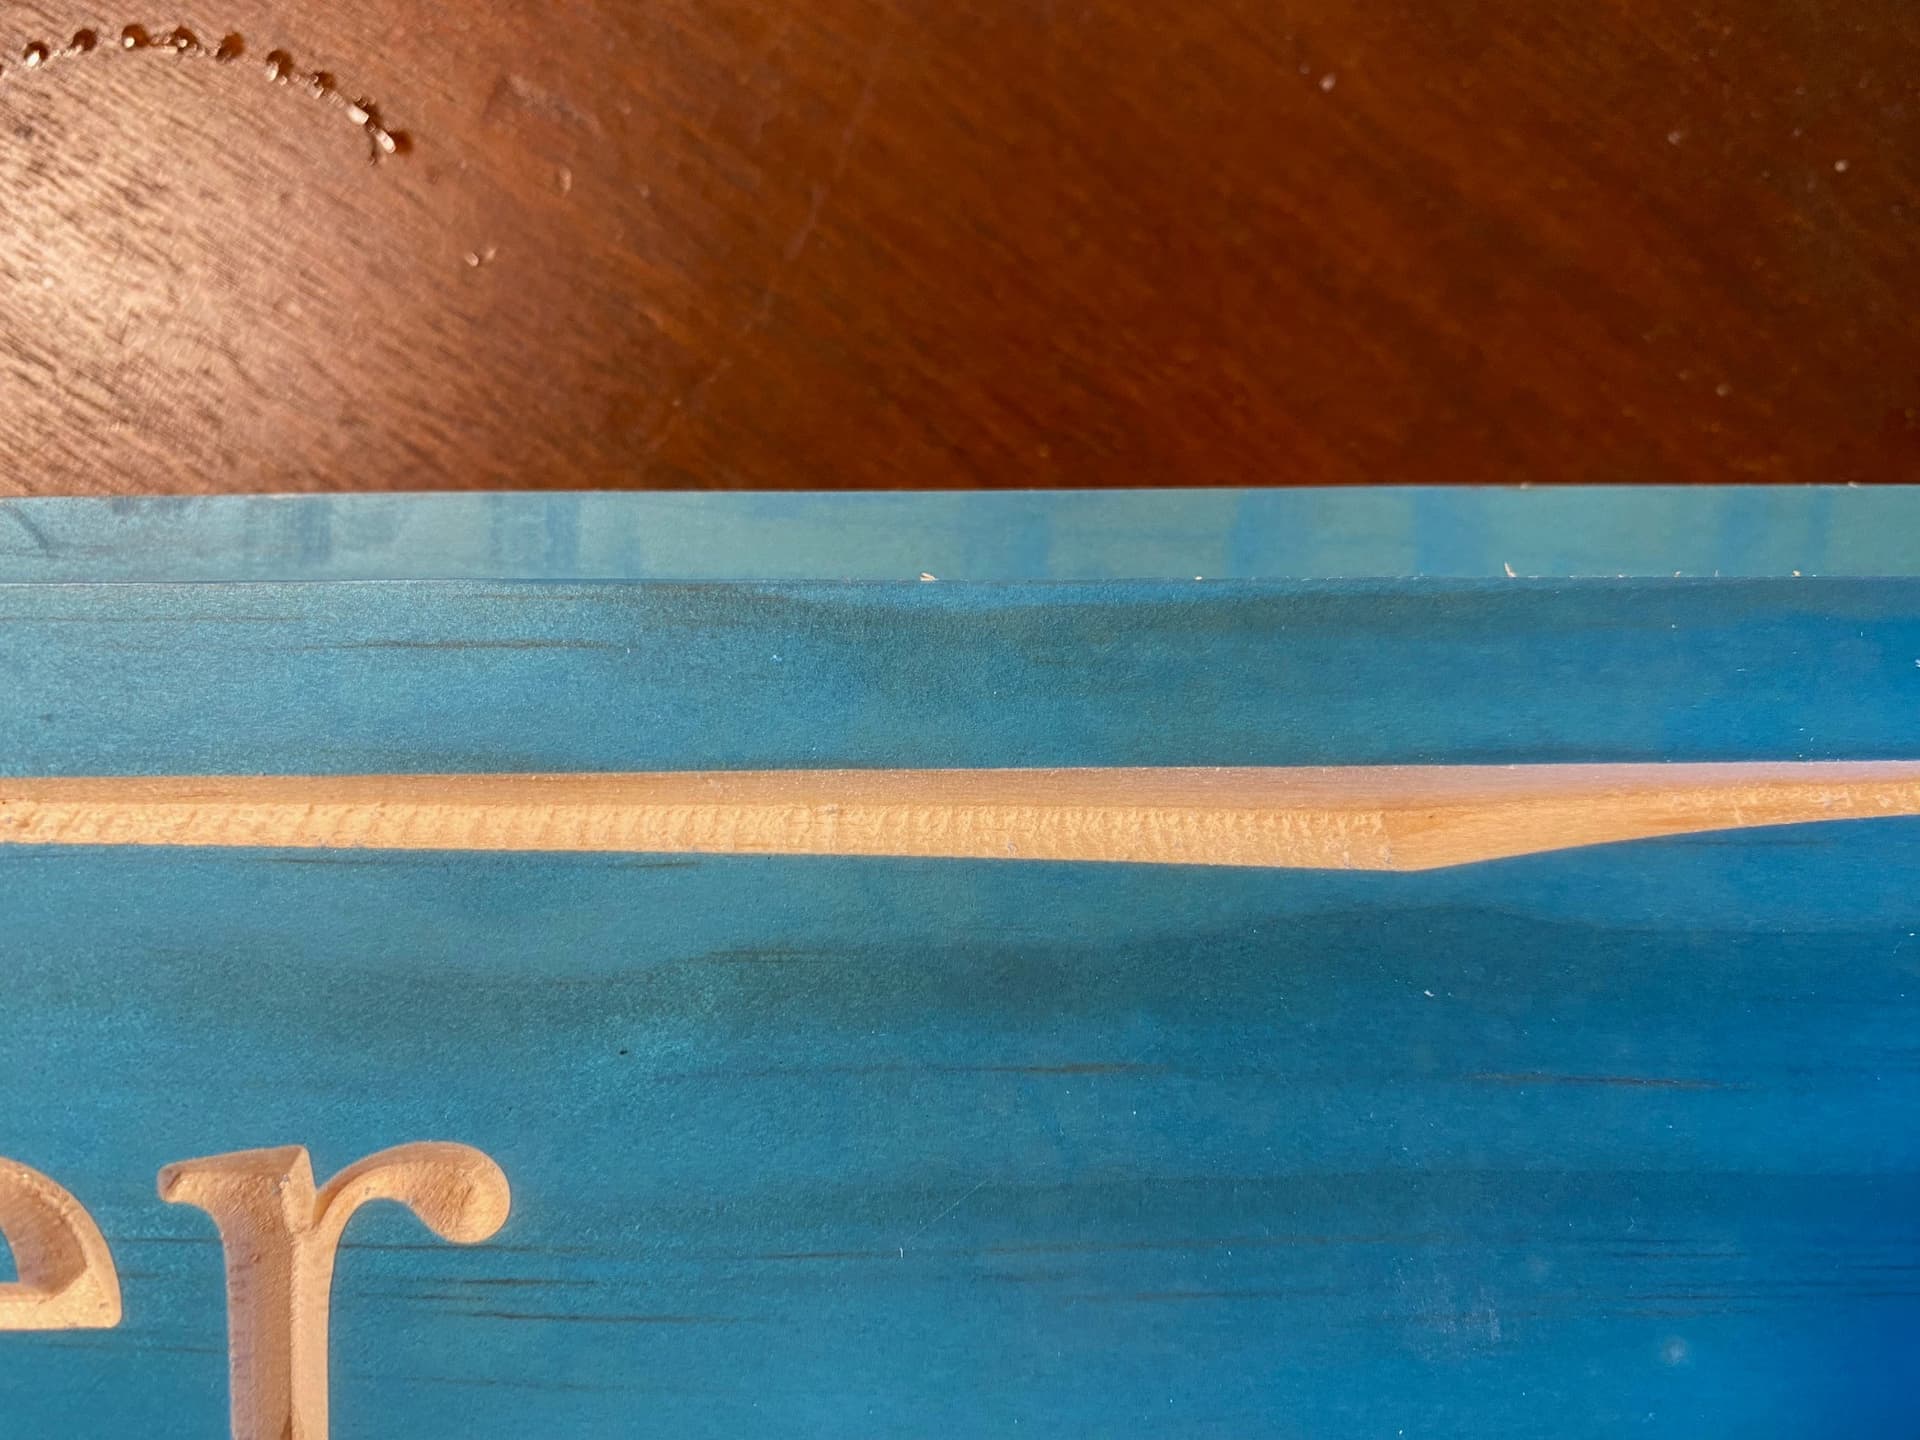
Wanted to share my results and what I found to be more effective, IMO. I did get a HSS tool and ran the program a second time to clean things up. I cheated the Z zero down .002" and ran the same file again. I was still not satisfied with the results. I then got a free trial of VCarve Desktop and brought in my design to tool path it and realized really quickly that Vectric had a much different strategy for V Carving the CC. I ended up buying the software and ran some designs with the carbide insert tool and got really clean results. I understand that having the correct tool is critical but having the right cutting strategy is just as important. The vectric tool path cuts “both sides” of the letter. It doesn’t simply make on pass cut to depth to make up the width of the geometry. It makes a conventional cut against both sides of the design which cleans things up nicely. I did these with the carbide insert tooling bit and got a great finish without changing tools. There are still some knife marks but I can easily chalk that up to the stock Z carriage having some play in it.
I have Vcarve as well as CC Pro. I think what you are describing is Vcarve with a “flat depth” set which is more or less equivalent to Advanced V Carve in CC.
If you uncheck that flat depth option you should get the same behavior as a regular VCarve in CC.
1 Like
I think you’re right. I do have flat depth checked. I also have the flat depth set lower than the bit has to go to complete the route so it’s not really coming into play. I think what this comes down to is the difference between a VCarve and an Advanced VCarve in CC Pro. I feel like a moron right now. I guess some people just have to learn the hard way. This one wasn’t too painful but I could have definitely spent that $350 somewhere else.
There are a lot of other nice features in Vcarve. Check out their online tutorials for a good exposure to the capabilities. At the start of every video there are icons at the bottom to tell you which pieces of the software the lesson is applicable to. So be forewarned not to watch the ones that are going to make you want to spend more money ![]()
1 Like
This topic was automatically closed 30 days after the last reply. New replies are no longer allowed.