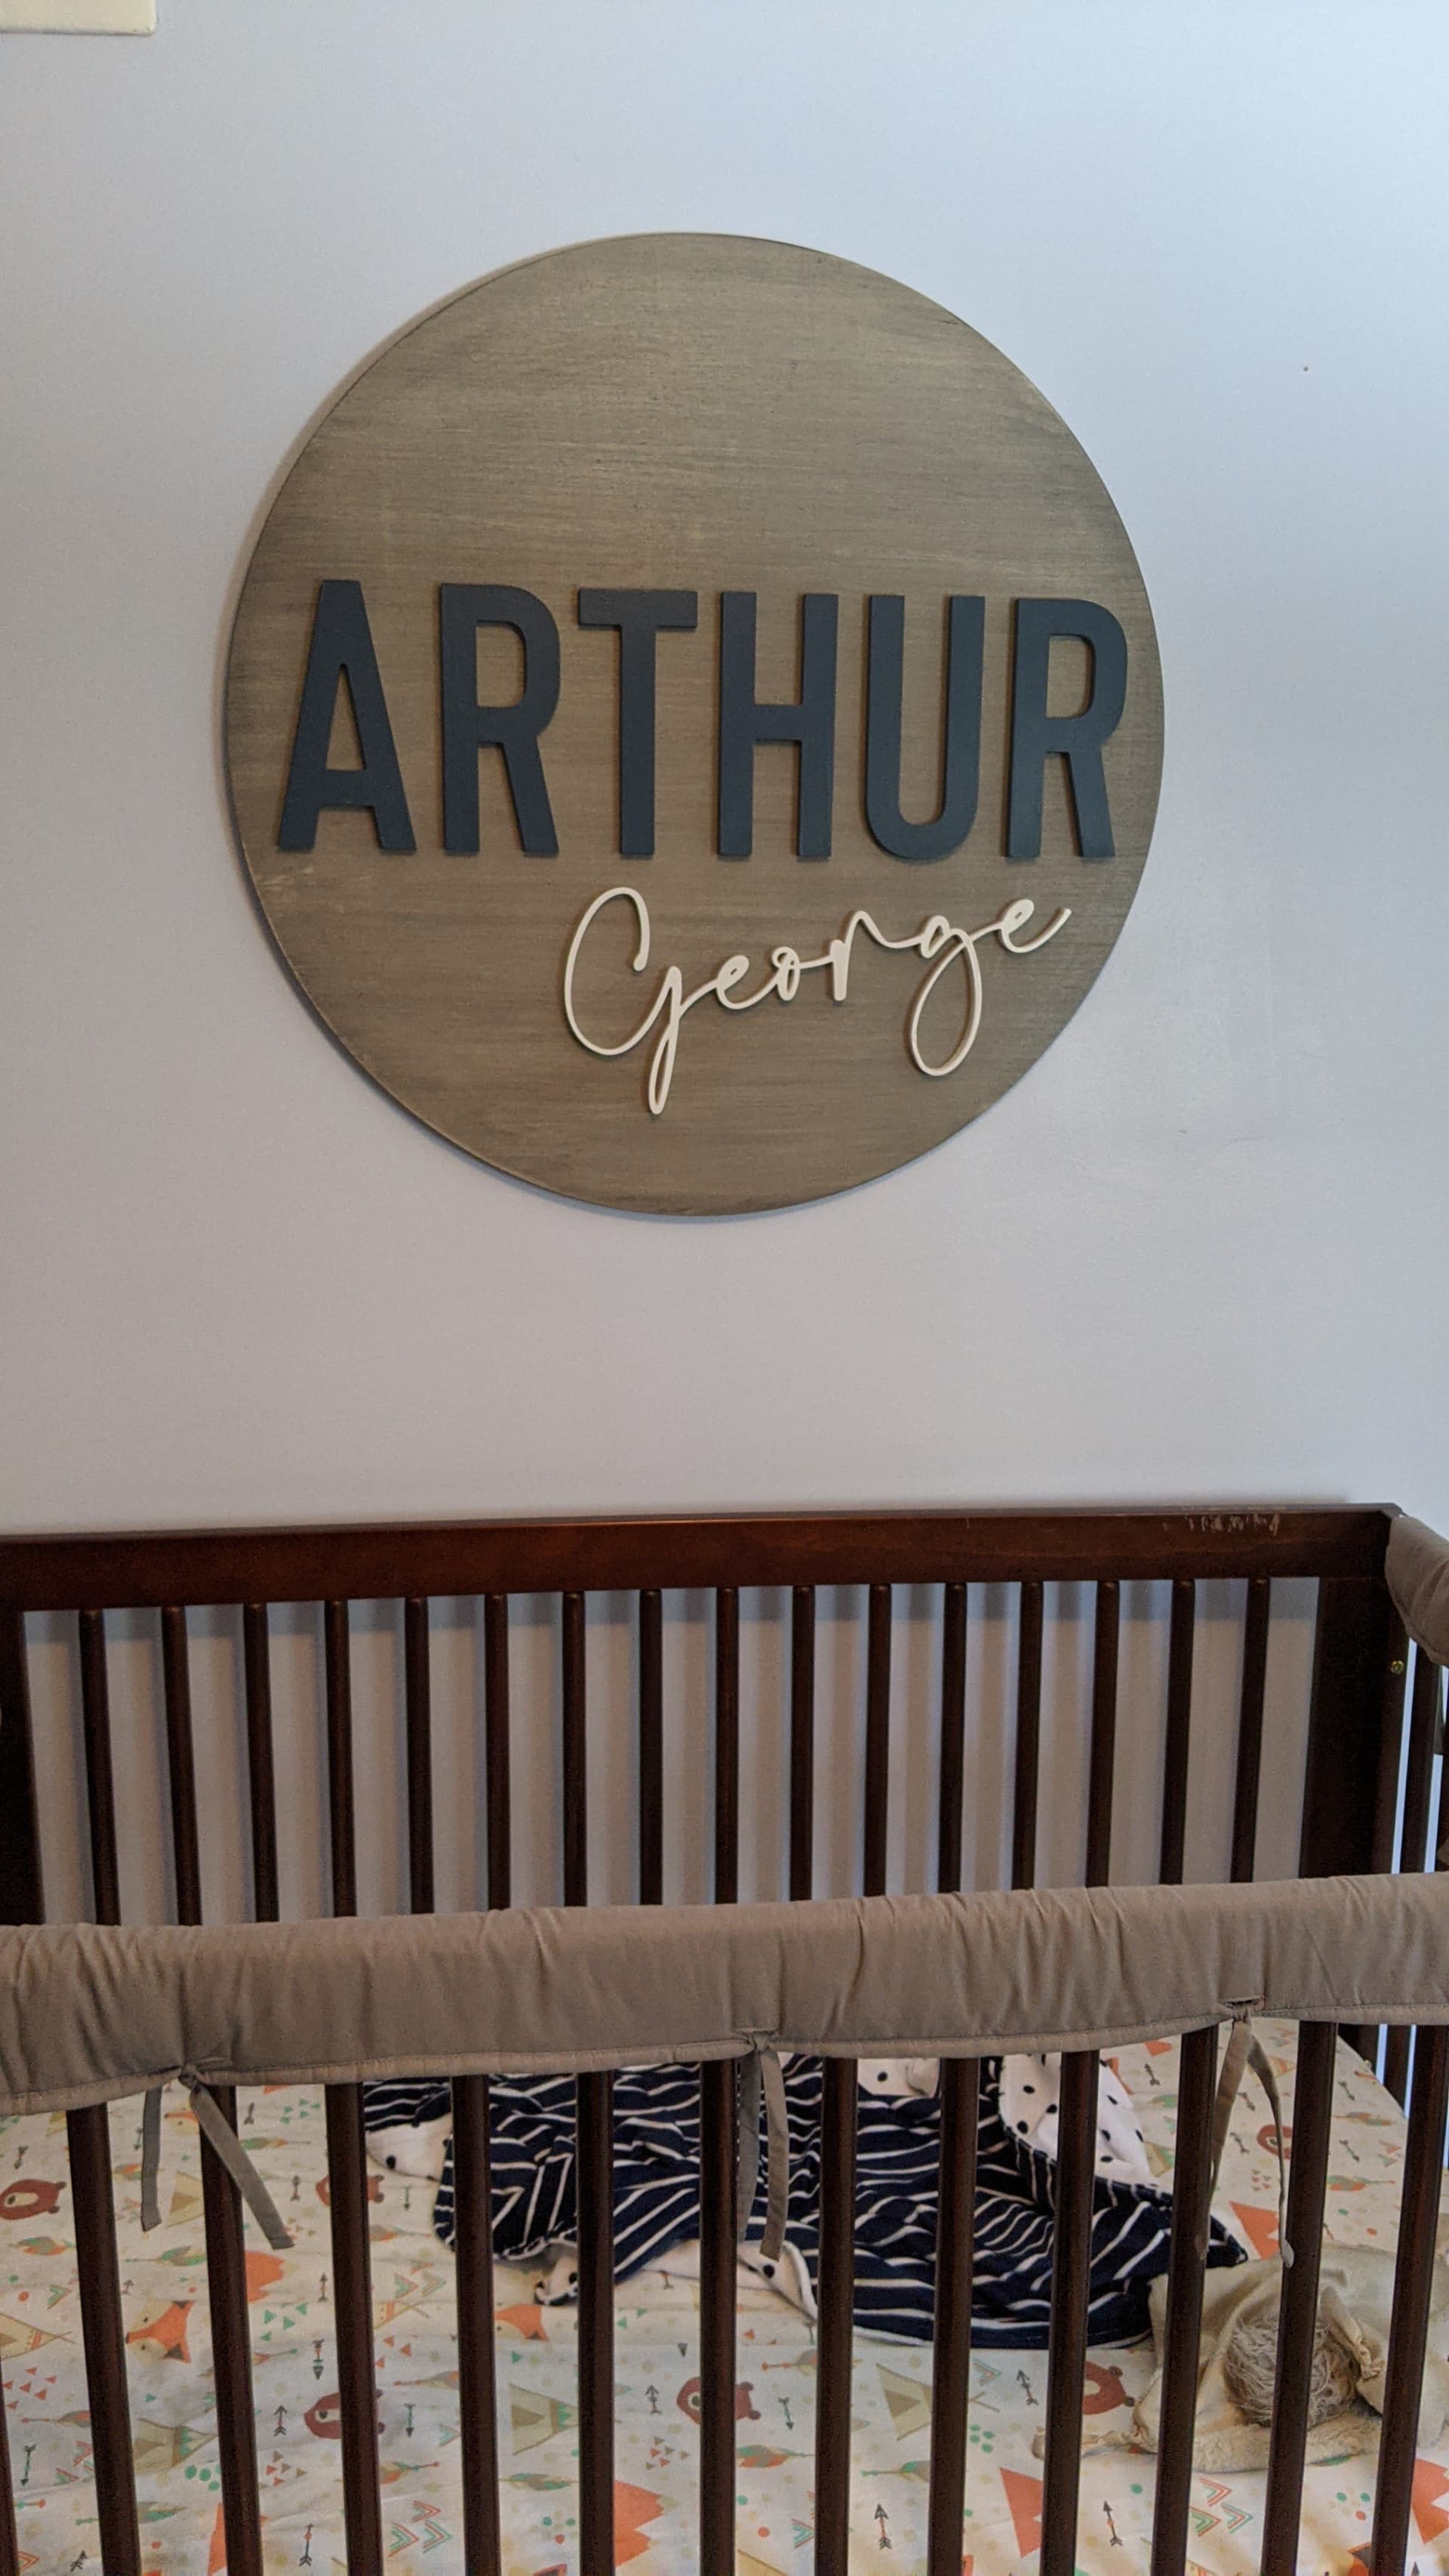
I wanted to make sure my plan wasn’t crazy. I have a 2’ diameter circle sign made of 3/4" baltic birch. I’m thinking the best way to hang it will be via key hole slots with 16" spacing so it can be attached directly to studs. It will be in a nursery so I want to make extra sure there’s no accident (I’m going to recommend it does not go over the crib as well).
I laid them out so it has +/- 1" of horizontal adjustability. Also if either end was secure, it would stay on the wall (it would fall crooked, but stay on the wall). Is this a good plan?
Yes, you are crazy. Note that after you drop your piece 1 inch into the vertical keyhole, you would only have slid 0.033" to the right on the horizontal keyhole. So pretty pointless. You can verify my math:
I’m not exactly sure what you are worried about. If you just make two conventional vertical keyholes, you can use some scrap wood to match the horizontal spacing and mark your walls with that. Or you can use some tacks or pins or whatnot to insert into either they wall or work piece and mark the other.
If you really want to pursue this, you need to increase the vertical slot by a lot. A 5.6 inch vertical slot for instance will give you 1 inch of horizontal change on the right hand side.
Just to be clear, you would insert it into the horizontal hole first, slide it until the vertical lines up, and then drop it down. It should be easy to install and allow flexibility. I’m not the one installing it so I just wanted to provide flexibility.
Not sure you could do a key hole slot. The thinnest slot is possible but dropping a larger bit in and then run it across the slot at the end it would retract and make two big holes, one at each end, and defeat the key hole by having a double large hole.
It may be easier to do t his manually with a plunge router and a key hole bit.
I’ve already made a prototype. I used a polyline that starts at the hole end, runs to the far end, move up tiny amount, and then runs back to the beginning to retract. I run it at 10 ipm with no fuss.
I was able to make a downsized prototype. It works, but the biggest con is that since one side is engaged before lining up the second hole, you have to lift the other side up to slide it over the screw and locate the second hole. This makes the sign act as a lever with the horizontal slot and first screw acting as the pivot point. It’ll apply pressure at this joint and you’ll likely scratch up the back of the sign while lining up the second hole. Prototype was designed for 6" o.c. so I hypothesize that this will be less severe with wider spacing (lower angle to clear second screw).
The risk of breaking the key hole slots during installation is definitely elevated over two vertical slots. The question is does the elevated risk outweigh the flexibility of the assembly.
I also found that I should clear as much of the slot with a 1/8 endmill before using the keyhole bit. I was getting chatter while milling out the slot. I suspect it was due to chip clearing. I was also having to run at a low ipm so that the chip load was <1mil.
I used an online mp4 to gif converter to get the clip.
As far as two vertical slots, I’m asking myself the same question. I may end up doing the two vertical slots, but I like trying to reinvent the wheel. I thought the horizontal flexibility was an interesting idea. The screw spacing can be +/- 1in so you don’t have to be super precise during installation. It definitely complicates it though.
You could mill a wide horizontal slot (big enough for the screw head) at the base of the vertical keyhole, that way two screws can be ‘incorrect’ by the width of the slot and still be able to have the piece go over both screws at the same time. Shuffle the piece side-to-side until the vertical keyhole drops over the screw and done.
One long horizontal slot with ledge for screw head.
Z clips.
Options 1 and 2 are free. Options 2 and 3 have horizontal flexibility. And finally least secure to most secure (resistance to vibration/bump failure) is 2 → 3 → 1. I think all of them are adequate, and I think getting creative is just going to hinder my workflow…
That’s what I used. Added a thin strip on either side to prevent lateral movement. That plus Velcro command strips and that thing won’t come down until we really want it to.
Neil reminded me about my RV (caravan) atomic clock that I hung with one screw at the top and a splatch of Velcro at the bottom. The only time it moves is when I change batteries, or we’re moving down the highway!