Hardcore Aluminum milling on an S3

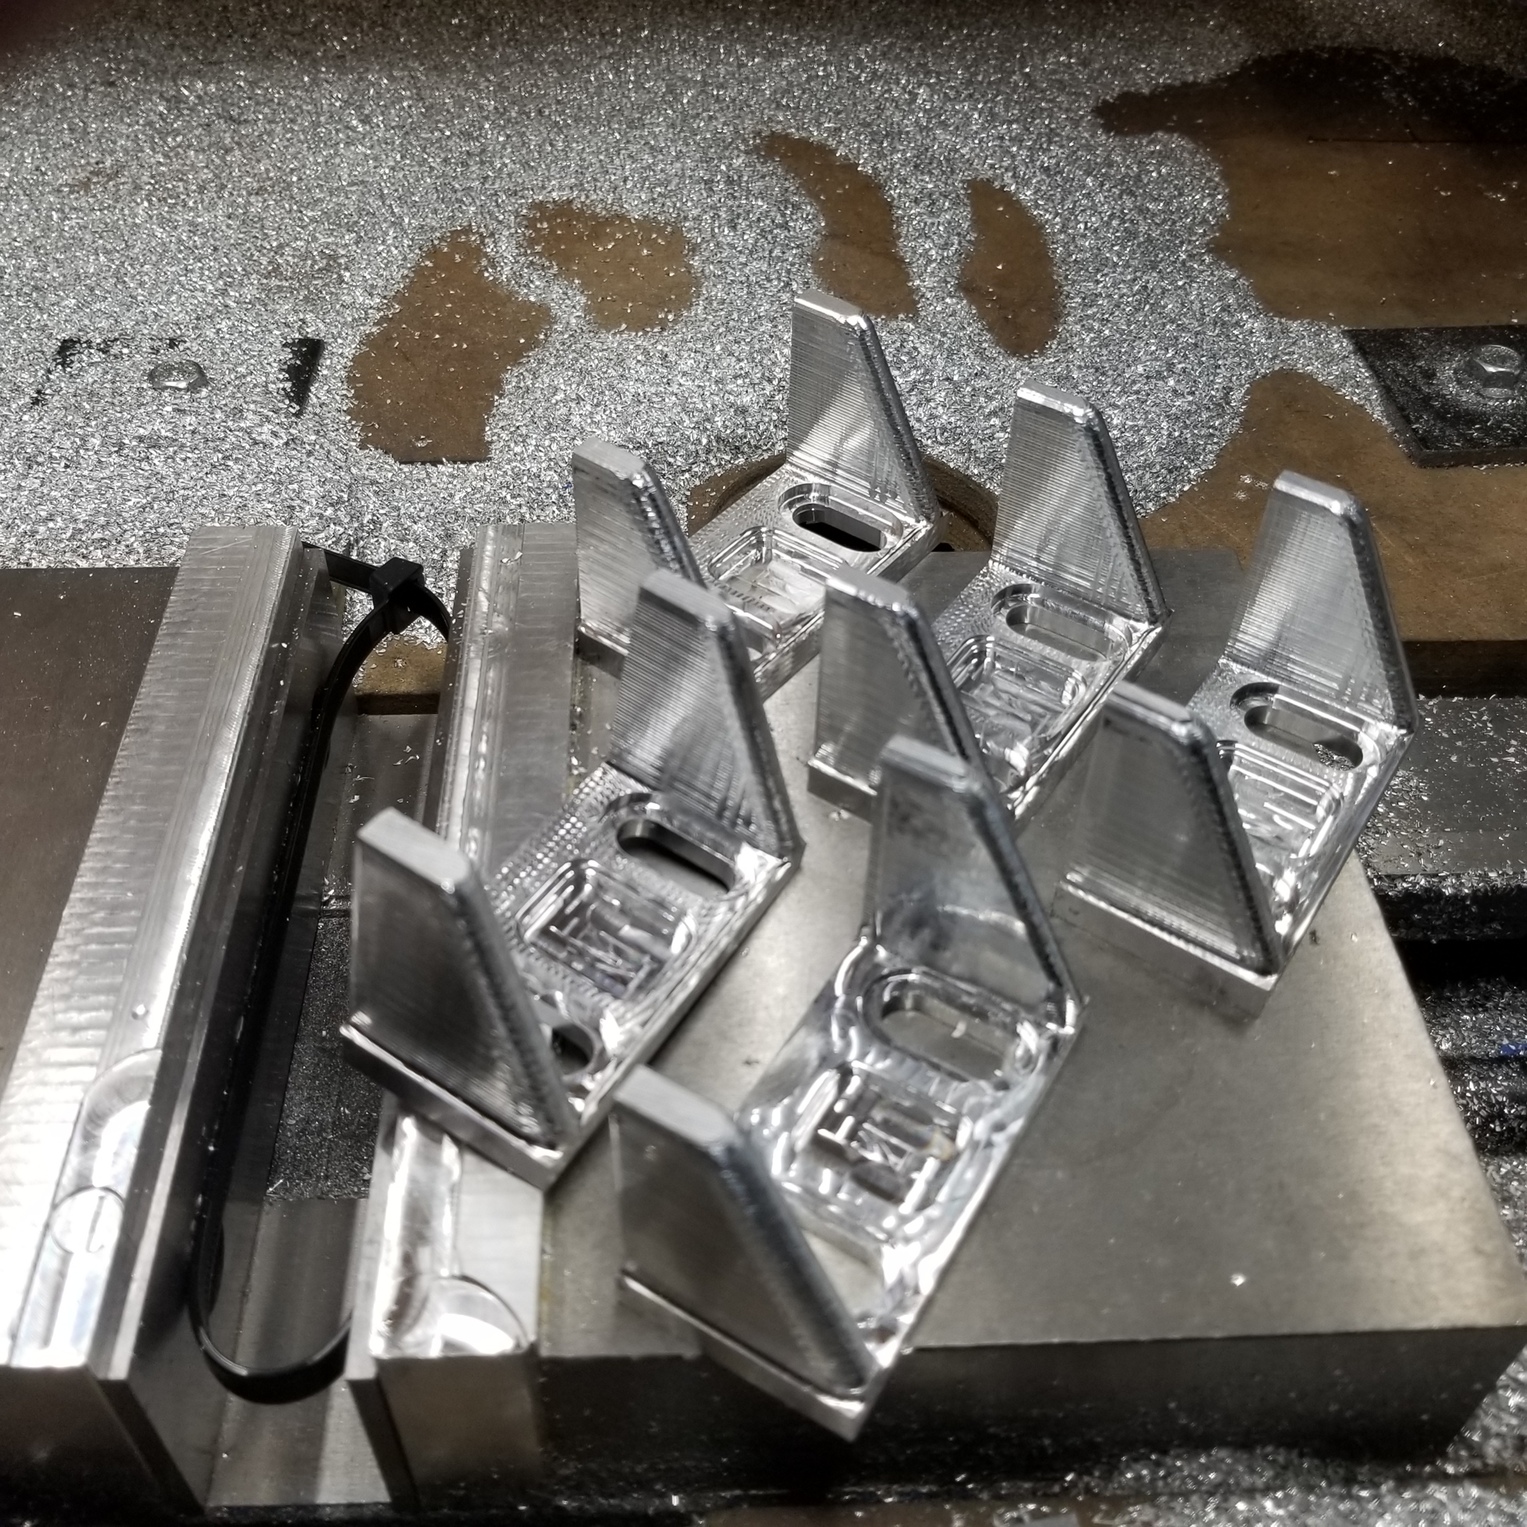
Saturday’s workflow. When you need 8 parts but 16 parts gives peace mind and a stock set. Will be running these at 150 ipm.

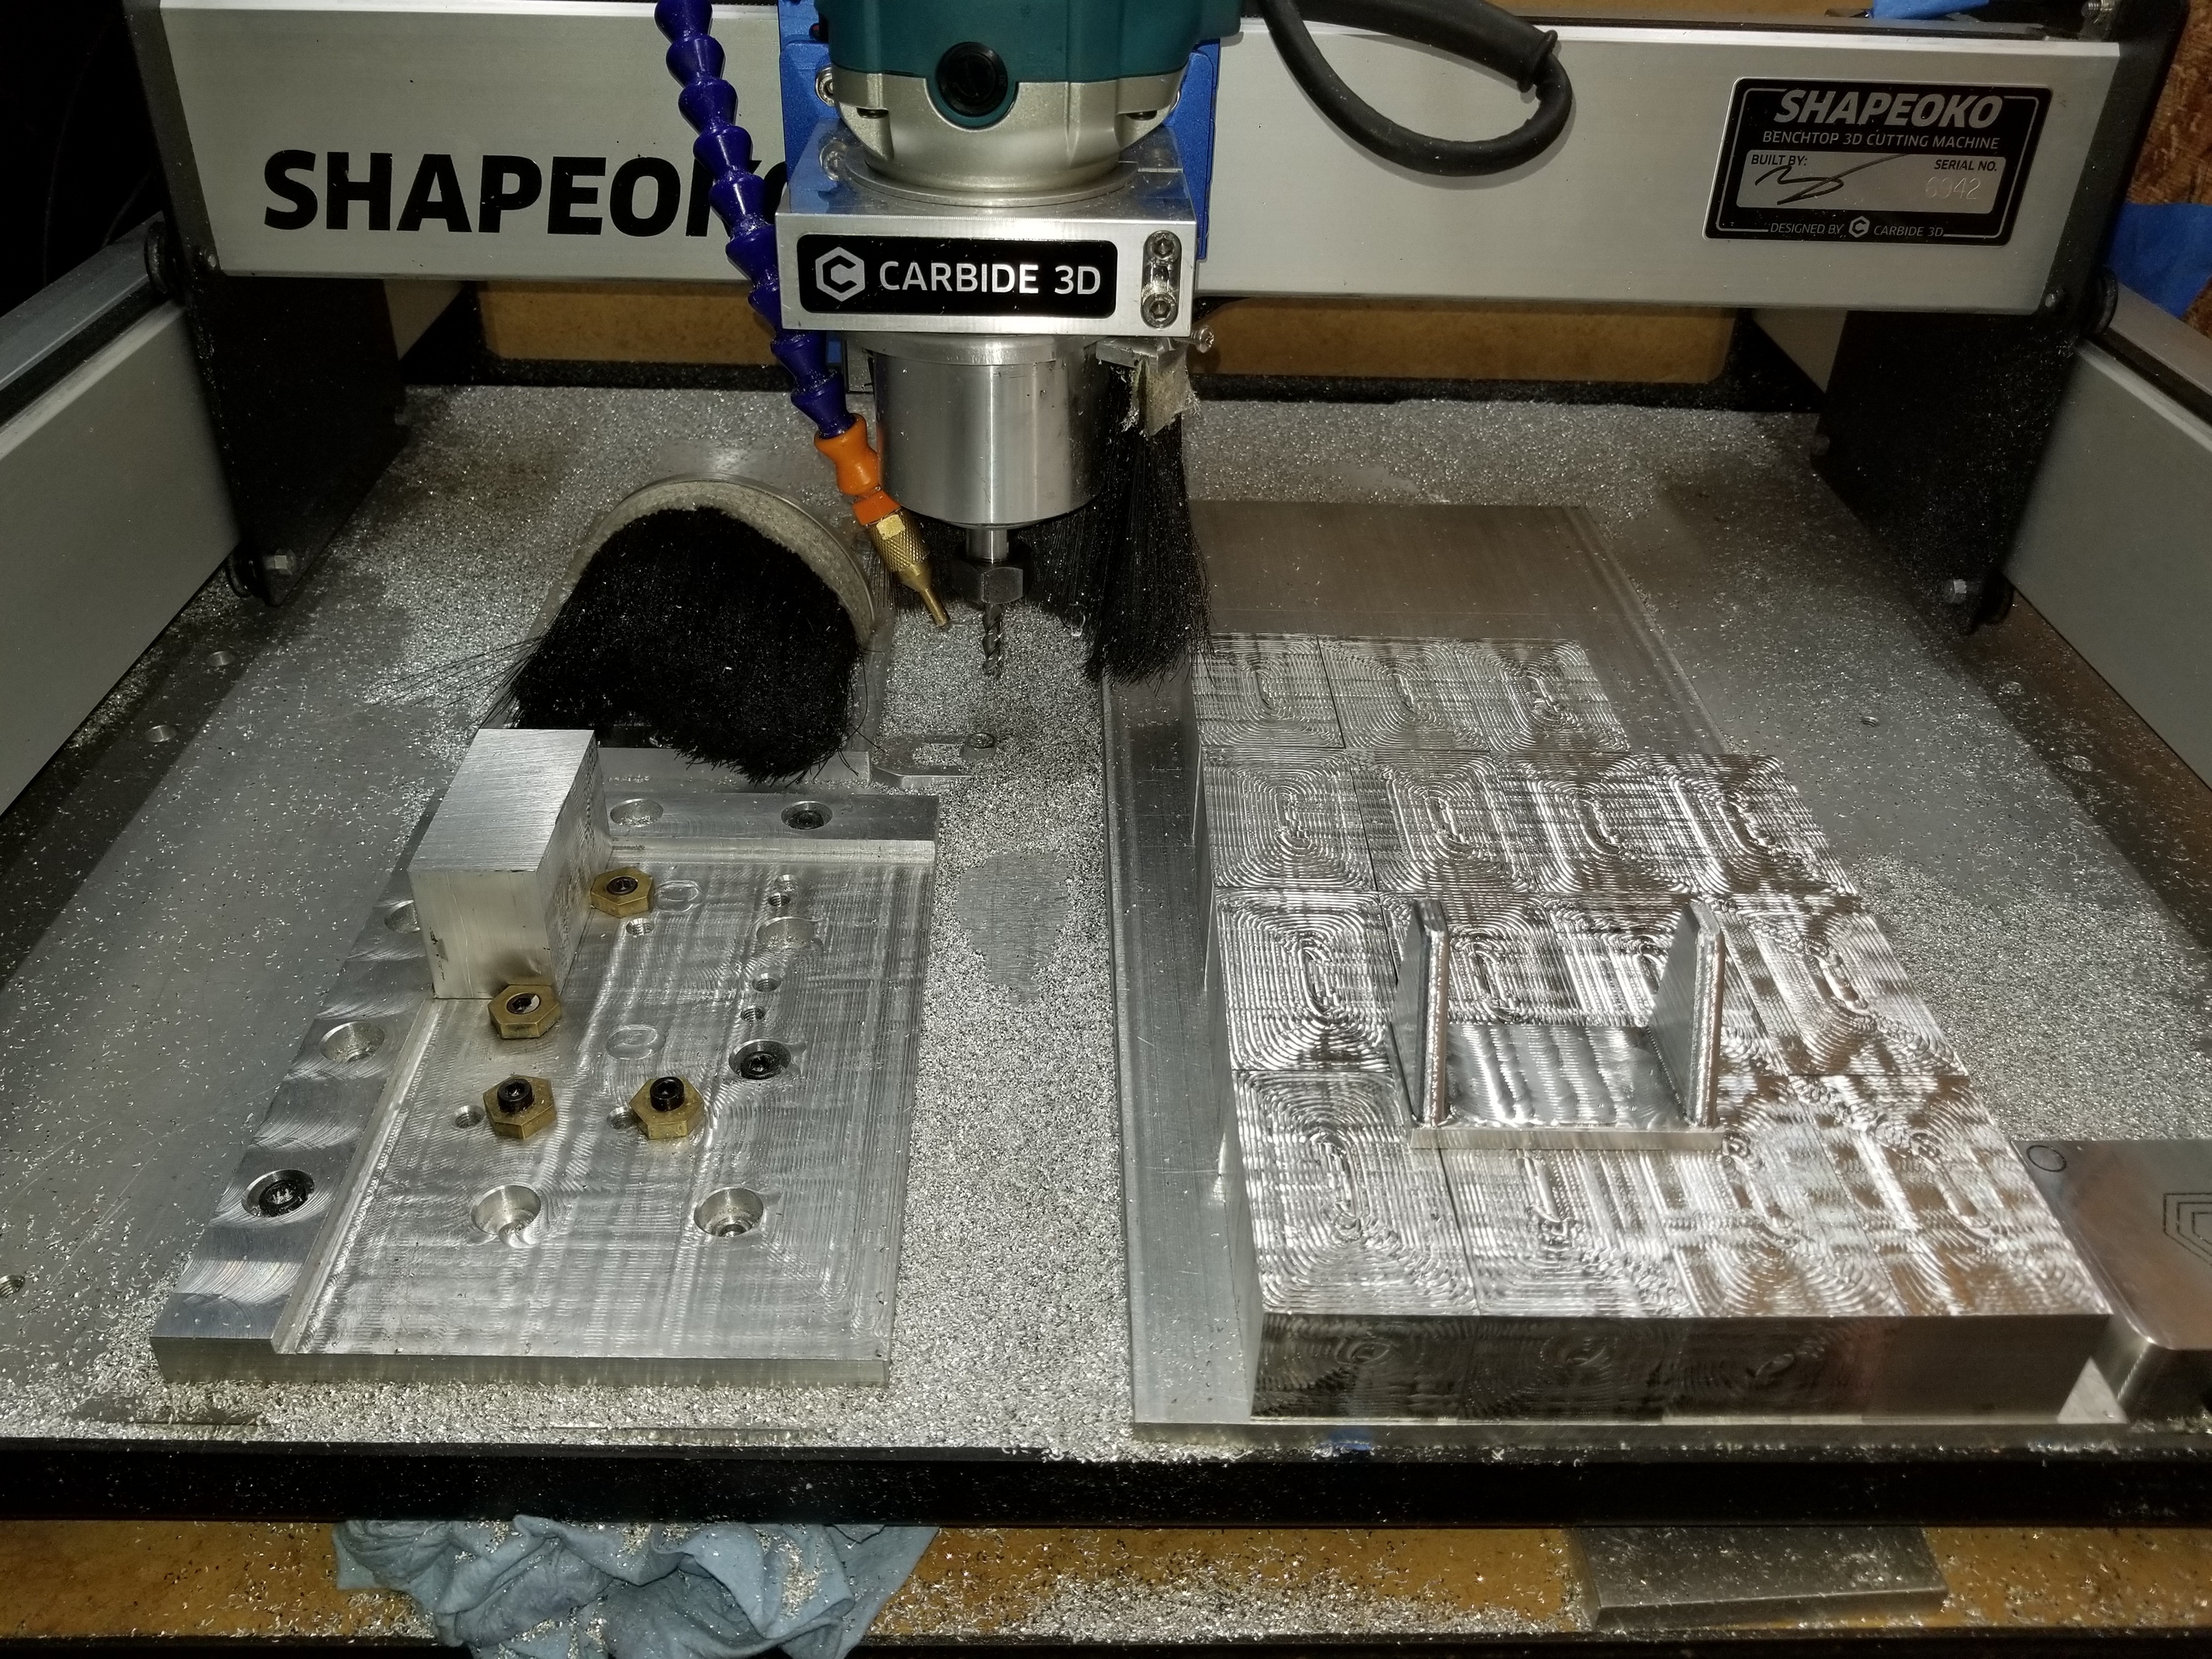
Had both s3s running last night decking ops to get the blocks to the perfect size, faster and with less cleanup then running the parts with the additional stock. Looks to be keeping a 2-3 thou tolerance easily, could be more accurate with finishing passes but we hogging all that out.

2 Likes

Hey @Vince.Fab,
Do you have a Fusion 360 file with the CAM setup you could share? I’d like to see how you set up your toolpaths.

2 Likes

@neilferreri I don’t like to share any production part files but maybe I can draw a general shape and do something just to show cam.

Just don’t try to duplicate my speeds and feeds unless you are very confident and well setup.

4 Likes

Completely understand. My '99 RAV4 could use some aluminum upgrades, though. (Like floorboards without holes)
:wink:

That’d be greatly appreciated (I’m guessing by several others as well).

Yep, I’d be keen as to see how your running your tool paths. I don’t want your production files as I don’t know what 90% of your parts even do but they look bang tidy.

I’m just keen to see how your running things and the types of path you choose and for what. I’ve not had any formal fusion training nor understand inches so I’m interested to see how our tool paths compare.

3 Likes

As a compromise, perhaps you could work up a simple part which would be generally useful, say a clamp or step clamp and publish that?

This will be a good one, also for cam practice in real life. It’s a shame I don’t have any 1/8 ball mills. Simple enough guys?

4 Likes

@WillAdams maybe I’ll draw up a new set of clamps, wouldn’t hurt to have more. We actually just picked up another 20lb of 0.250 6061

2 Likes

Thats perfect for me!

@Luke I need to get you some videos, it looks insane to cut heavy at 150ipm!

1 Like

thats around 4000mm a min right? what kind of DOC?

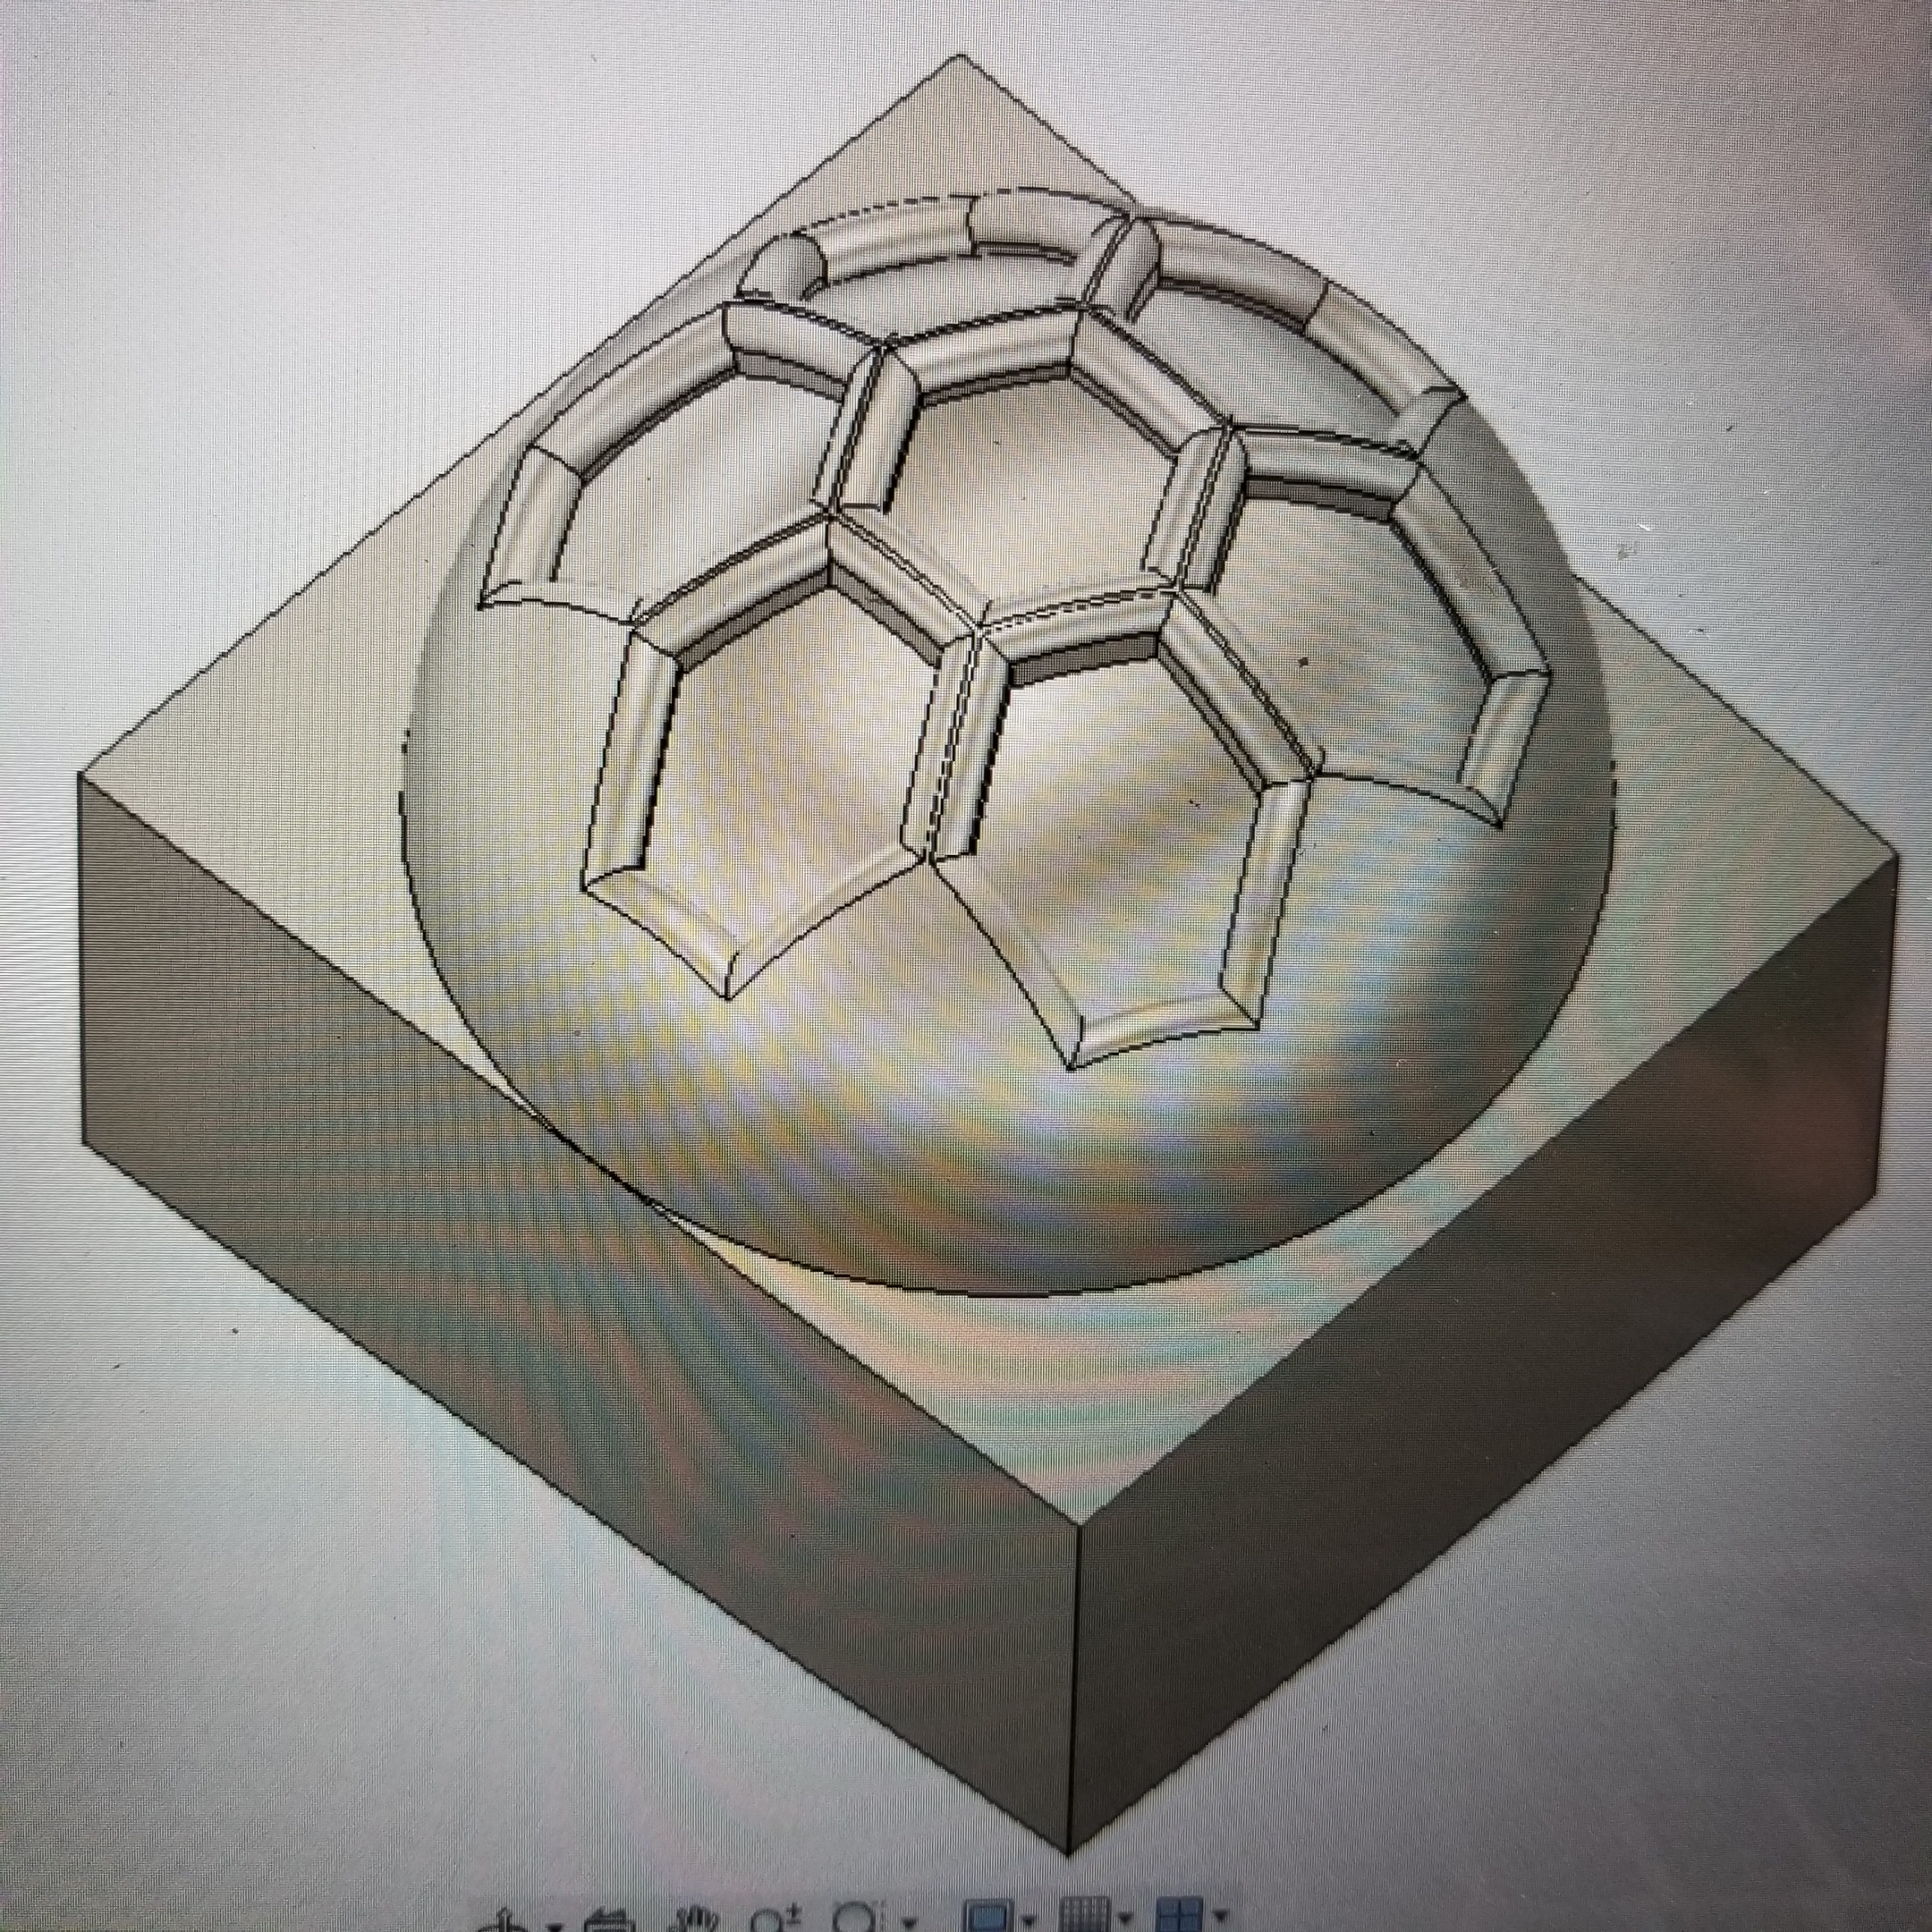
I’d like to see someone who knows what they’re doing (@Vince.Fab) just set up a simple pocket and profile in aluminum. How about the infamous 3-axis touch probe? The 3D stuff is cool though.

1 Like

3710mm/m cutting, 2.54 doc sir

Imo its not worth the extra side loading to run a higher doc. But I have some ideas

1 Like

Ill try to keep the clamps simple and 2d, no reason to be fancy everywhere

1 Like

That is very fast… now I really want to see your tool paths. is that adaptive clearing with a 1/4 ripper bit?

I have a 10mm ripper bit I might chuck into the beaver pro and attack a block of ali…

Got a link? I don’t know what a ripper bit is.

@WillAdams that $c checking method is awesome! I had no idea such small changes could cause invalid arcs but it takes seconds to check now. With UGS you can actually see the program checking in 3d with the visualizer.

For anyone that wanted to see the roughers I use. Actually Carbide 3D uses the same TAS to make parts for the machines lol. They cut amazing and chipbreakers produce much more manageable chips, more square and much less sharp.

http://www.lakeshorecarbide.com/tasrougher.aspx

4 Likes

Vince. Every post. I go…hmmm. Thanks for sharing

3 Likes

Griff, we’re just getting started! Far as I’m concerned, we’re all in this together haha.

Running both at once tonight. Certain ops take less time and its beneficial to switch setups mid job. Got the NC file down for the slots within 5thou, time to switch to a ball mill final op while the roughing setup on the S3+ catches up with more parts. This is a run of 16 parts and its been pretty fun and challenging to keep everything going and in line with lean.

With careful fusion setups I’ll never change my x/y and only Z out when tool changing. Set it and forget it.

I cheat for the bottom, but I’ll show that step later.

1 Like

I think you guys call these roughers?

4 Likes