Having Issue with Cutting Flipped Fillet

Hi, I have been cutting pieces that have a flipped fillet radius for the four corners. I really like how the flipped fillet looks when compared to the other corner options. However, I am having a frustrating issue in that when I go to cut the piece itself the bottom left corner, where the router always starts, too often gets a small chip in it and usually when the that happens the entire radius itself has small chips/teeth marks from the bit.

I have used multiple spiral bits, up cut, down cut, up/down cut and had the issue happen with each of these. I have used both the original router that can be ordered with the Shapeoko and the Makita and I am still getting this issue. I have played around with the feed rate and plunge rate, and still have this chipping issue.

I sent an email to Carbide support about this a month or so ago and the person gave me the suggestion to add some geometry by adding some offsets. That was helpful, but the issue still happened. I cannot seem to cut more than a few in a row before having this chipping issue.

While I am no professional, I do not get why I am having such an issue with this seemingly simple stock design when I see people make some incredibly intricate and beautiful designs on youtube and online elsewhere.

The first two photos show the issue I am having. The third shows how the other radius corners are always unaffected by this issue. It is just the bottom left corner where the router starts. The final two photos show a second piece where the mishap did not happen. I have not been able to figure out why exactly this is happening.

If you have experience using the flipped fillet feature and have certain feed and plunge rates you use that information could be real helpful. Any other ideas of why this may be happening and what could solve it would also be very much appreciated. If you think you need more info about the issue let me know and I will do my best to answer.

Thank you.


Two more pieces of info. I have been using a radius of 0.33’’. The spiral bits, as many of you probably already know, are 0.25’’ in diameter. While I don’t think the radius measurement should matter maybe it does?

Also, I select the outside right for the tool path. I’ve tried inside left but that does not make the radius as pronounced and appealing as outside right. I will try no offset, but I imagine it will be no different than the outside right path.

hmm i haven’t had this happen to me yet

whacky idea for a workaround

since it’s basically a circle part with 0.33 radius, gave you tried adding an actual circle there and pocket that first?
it’s obviously a workaround but if the problem really only is at the start point…

2 Likes

Leaving a roughing clearance and taking a finishing pass may help.

Switching to cutting circles first, then the straights will probably just change where the problem happens — unless you plug the holes and then cut the straights.

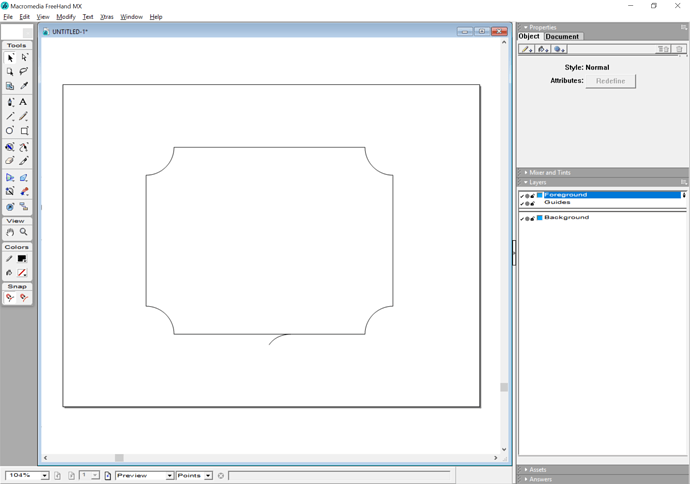
Unfortunately, at this time Carbide Create doesn’t afford control over path begin/end point, so the only way to control that would be to use an open path — so you could draw in a ramping in and so forth, something like:

Or, draw in a series of pockets which define the desired shape.

Leaving a roughing clearance and taking a finishing pass is the best option for Carbide Create at this time — where possible avoid slotting and add geometry and cut as a pocket (Making vacuum hose adapters and/or Adding geometry to cut as a pocket with a finishing pass ) and consider leaving a roughing clearance and taking a finishing pass.
1 Like

To answer your questions:

I am using cherry wood for stock.

My feed rate is generally between 75 and 85. I’ve played with it at different speeds. I’ve never gone higher than 90.
My spindle speed is roughly 20000 rpm. However, I never felt the need to change the RPM in carbide create because the router operates independently. I always switch it on manually. The RPM is carbide create stays at 18000. I don’t think there would be a difference if I changed the RPM in carbide create since the router is not connected to the switchboard of the machine.

Conventional milling.

I tried a two fluted bit a while back. I could try it again, but I likely ran into the same issue.

I tried adding circles to a square and cutting them separately rather than using the flipped fillet feature, but that did not work.

I will go back to the adding geometry and try that again because I remember I forgot to do a finishing pass when I did add offsets.

I wish CC would allow control over the path begin/end point.

Do you or anyone else reading this know of a design program that allows control over the path begin/end point? A software program that costs a few hundred at most. Not looking to plunk down four figures.

Vectric Vcarve desktop has that sort of control.

You might try turning the design 90 degrees so the grain is oriented differently to the start/plunge point. Wood is easy to cut, but its anisotropic nature can lead to some non-intuitive issues.

Unfortunately, that isn’t reliable in Carbide Create, since the rotation may cause the entry point to change.

If your cutting the fillets seperate from your stock outline i have used a scrap piece of wood clamped down next to where the end mill exits the fillet. In my experience this has stopped my tearouts from occuring.

1 Like

This topic was automatically closed 30 days after the last reply. New replies are no longer allowed.