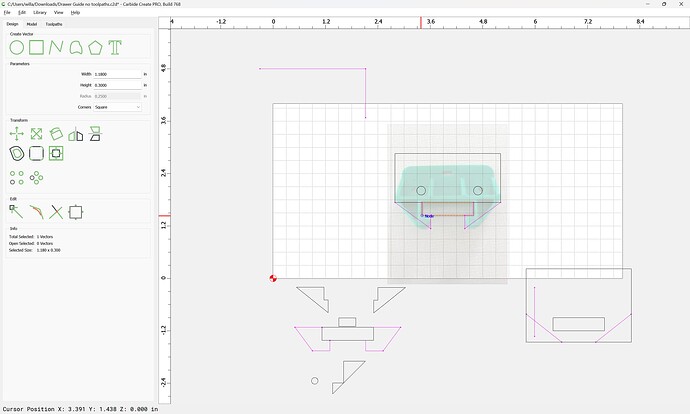
I have worked on this for a few hours now and don’t seem to get anywhere with it.
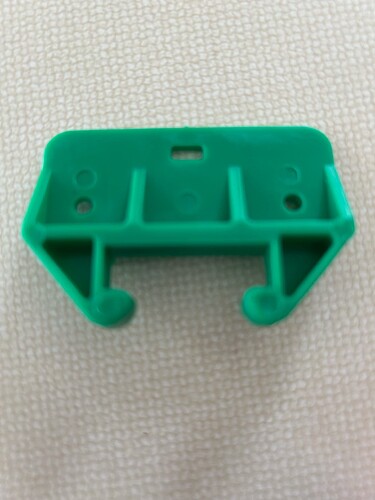
This is a guide for a dresser drawer that I want to make.
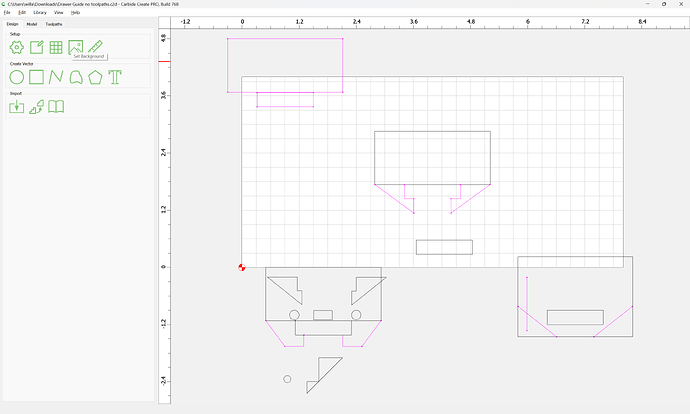
I think I have it close enough now but having trouble with the toolpath cutouts.
Would there be a better way to design this than the way I did it by just piecing together rectangles and polygon lines? I think there must be.
PartDrawer Guide no toolpaths.c2d (60 KB)
2.42 wide
None of these measurements are critical.
WillAdams
March 26, 2024, 10:02pm
2
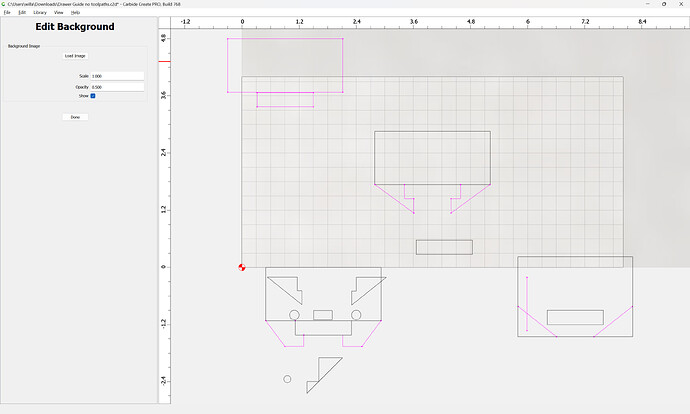
Something which will help this is to import the pixel image into your file:
“Set Background”
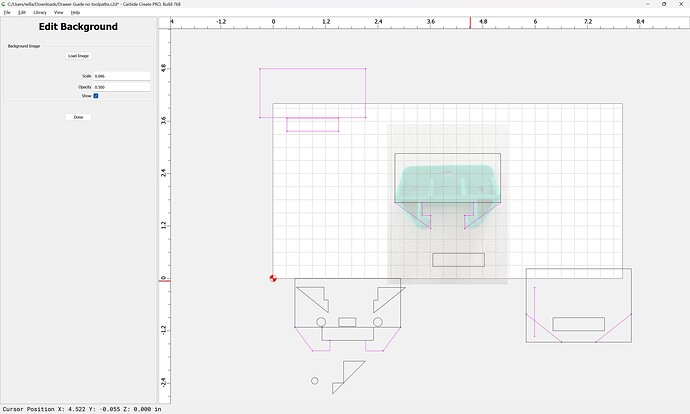
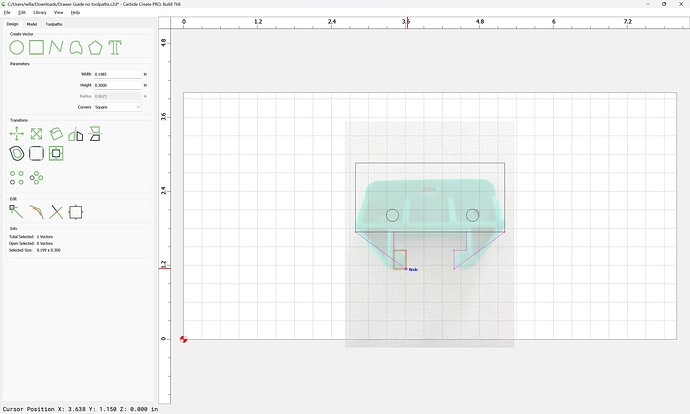
With the image in place it becomes a bit easier to arrange the elements so that their sizes and positions match up.
WillAdams
March 26, 2024, 10:14pm
3
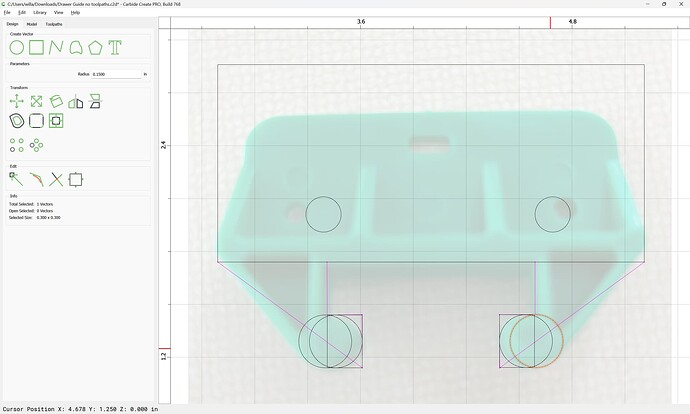
Drag elements into register and verify position/scale:
In some places a slight adjustment of the geometry is warranted:
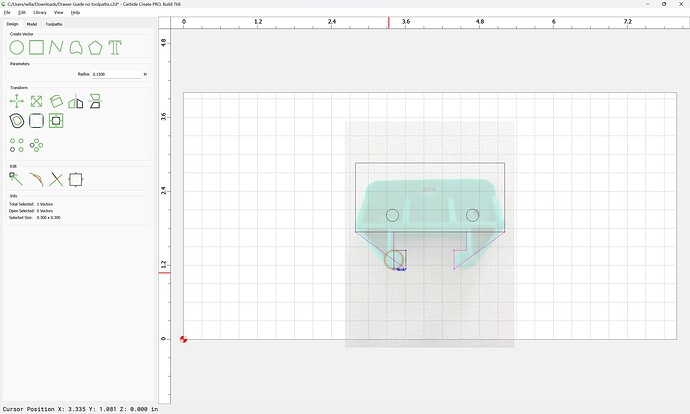
Where necessary, duplicate geometry:
and then nudge the duplicates into position:
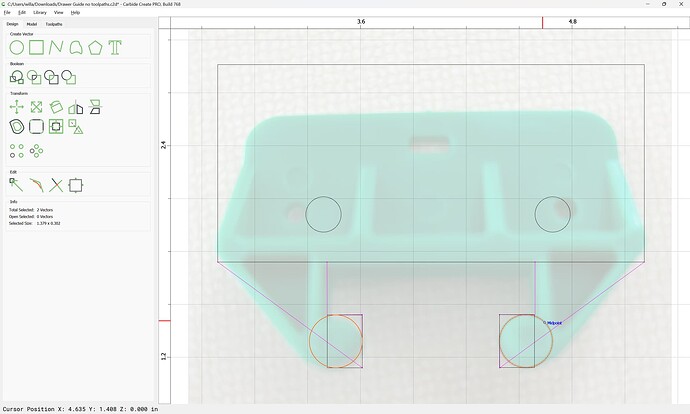
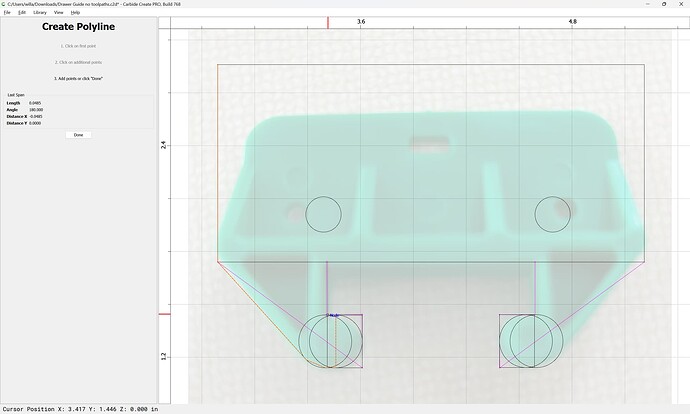
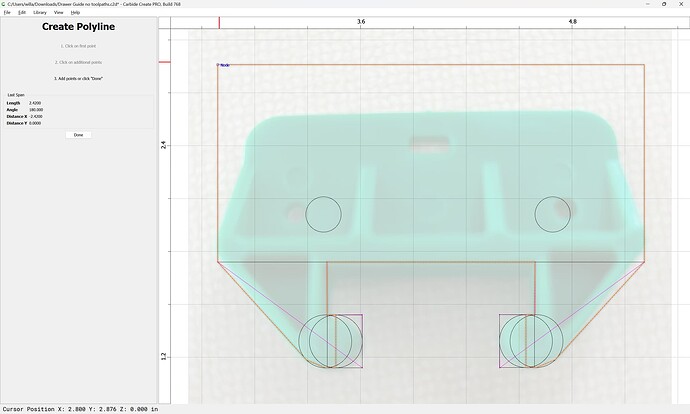
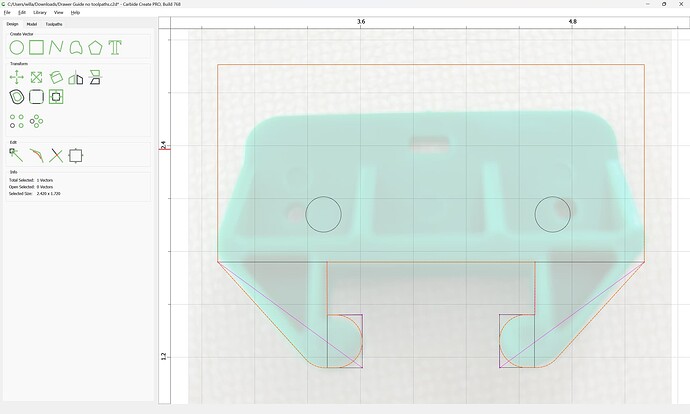
Then draw in geometry for the outline:
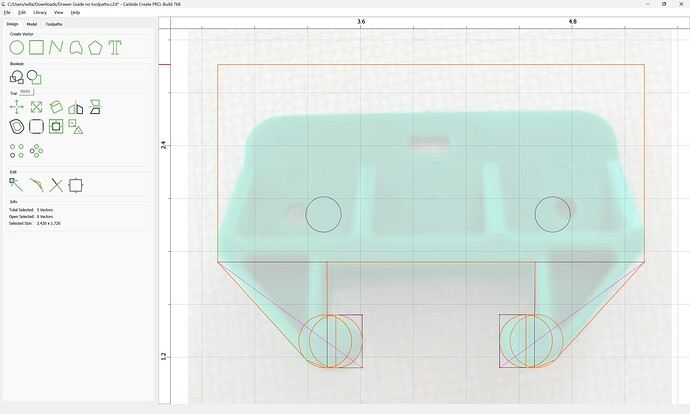
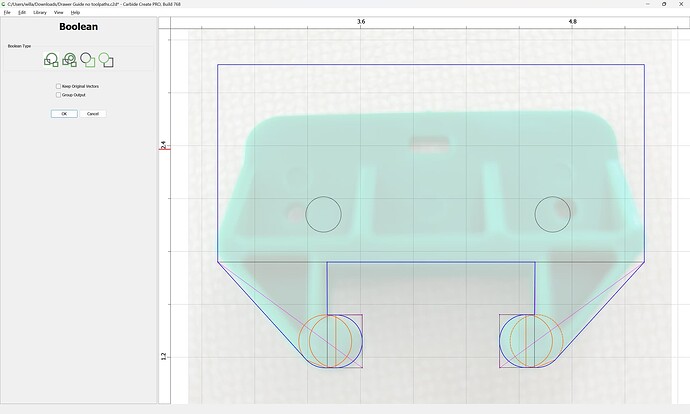
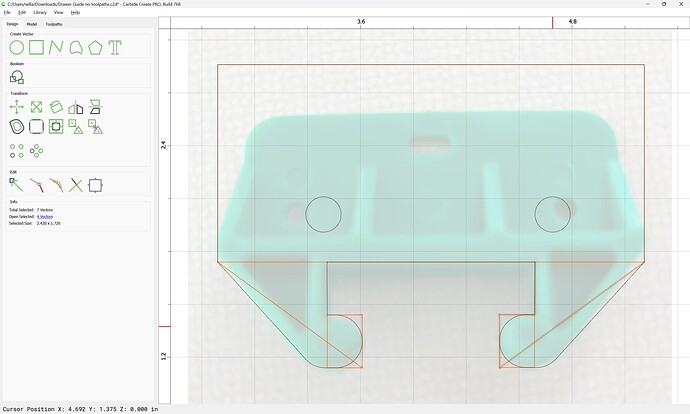
Select everything, and Boolean Union:
OK
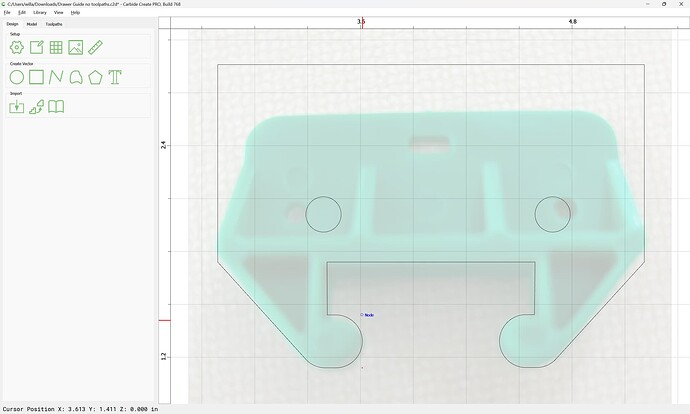
Clean up:
and then it’s simply a matter of assigning suitable toolpaths — note that you’ll want a flat-bottomed hole for the screws, and then a narrow through hole at the center.
2 Likes
WillAdams
March 26, 2024, 10:15pm
4
Here’s a v7 version of the file.Drawer Guide no toolpaths_v7.c2d (1.6 MB)
system
April 25, 2024, 9:37pm
5
This topic was automatically closed after 30 days. New replies are no longer allowed.
