Uh oh are we going to get an HDPE side wall quality thread now? Rabbit holes, man…
Yikes! Someone else can, I’m done with them and shipped them out. 
Seen a few threads about HDPE lately and it seems to be problematic between chip loads and static generated. Do you think it is just the nature of its soft nature and being plastic? What materials would you suggest as an alternative to HDPE?
Delrin machines very nicely, but is much more expensive than HDPE.
What are you using it for?
1 Like
I use HDPE for thermoform tooling and have had zero issues milling it. An alternative to it is really dependent on your application.
I agree entirely. My experience with HDPE is that it mills wonderfully and I love using it. Static problems aren’t really an issue for me with good dust collection and those minor sidewall milling marks aren’t an issue for anything I do. Some of the concerns about HDPE are when trying to get perfect sidewall finishes on thick HDPE and if you’re not concerned about that then I see no reason not to use it.
1 Like
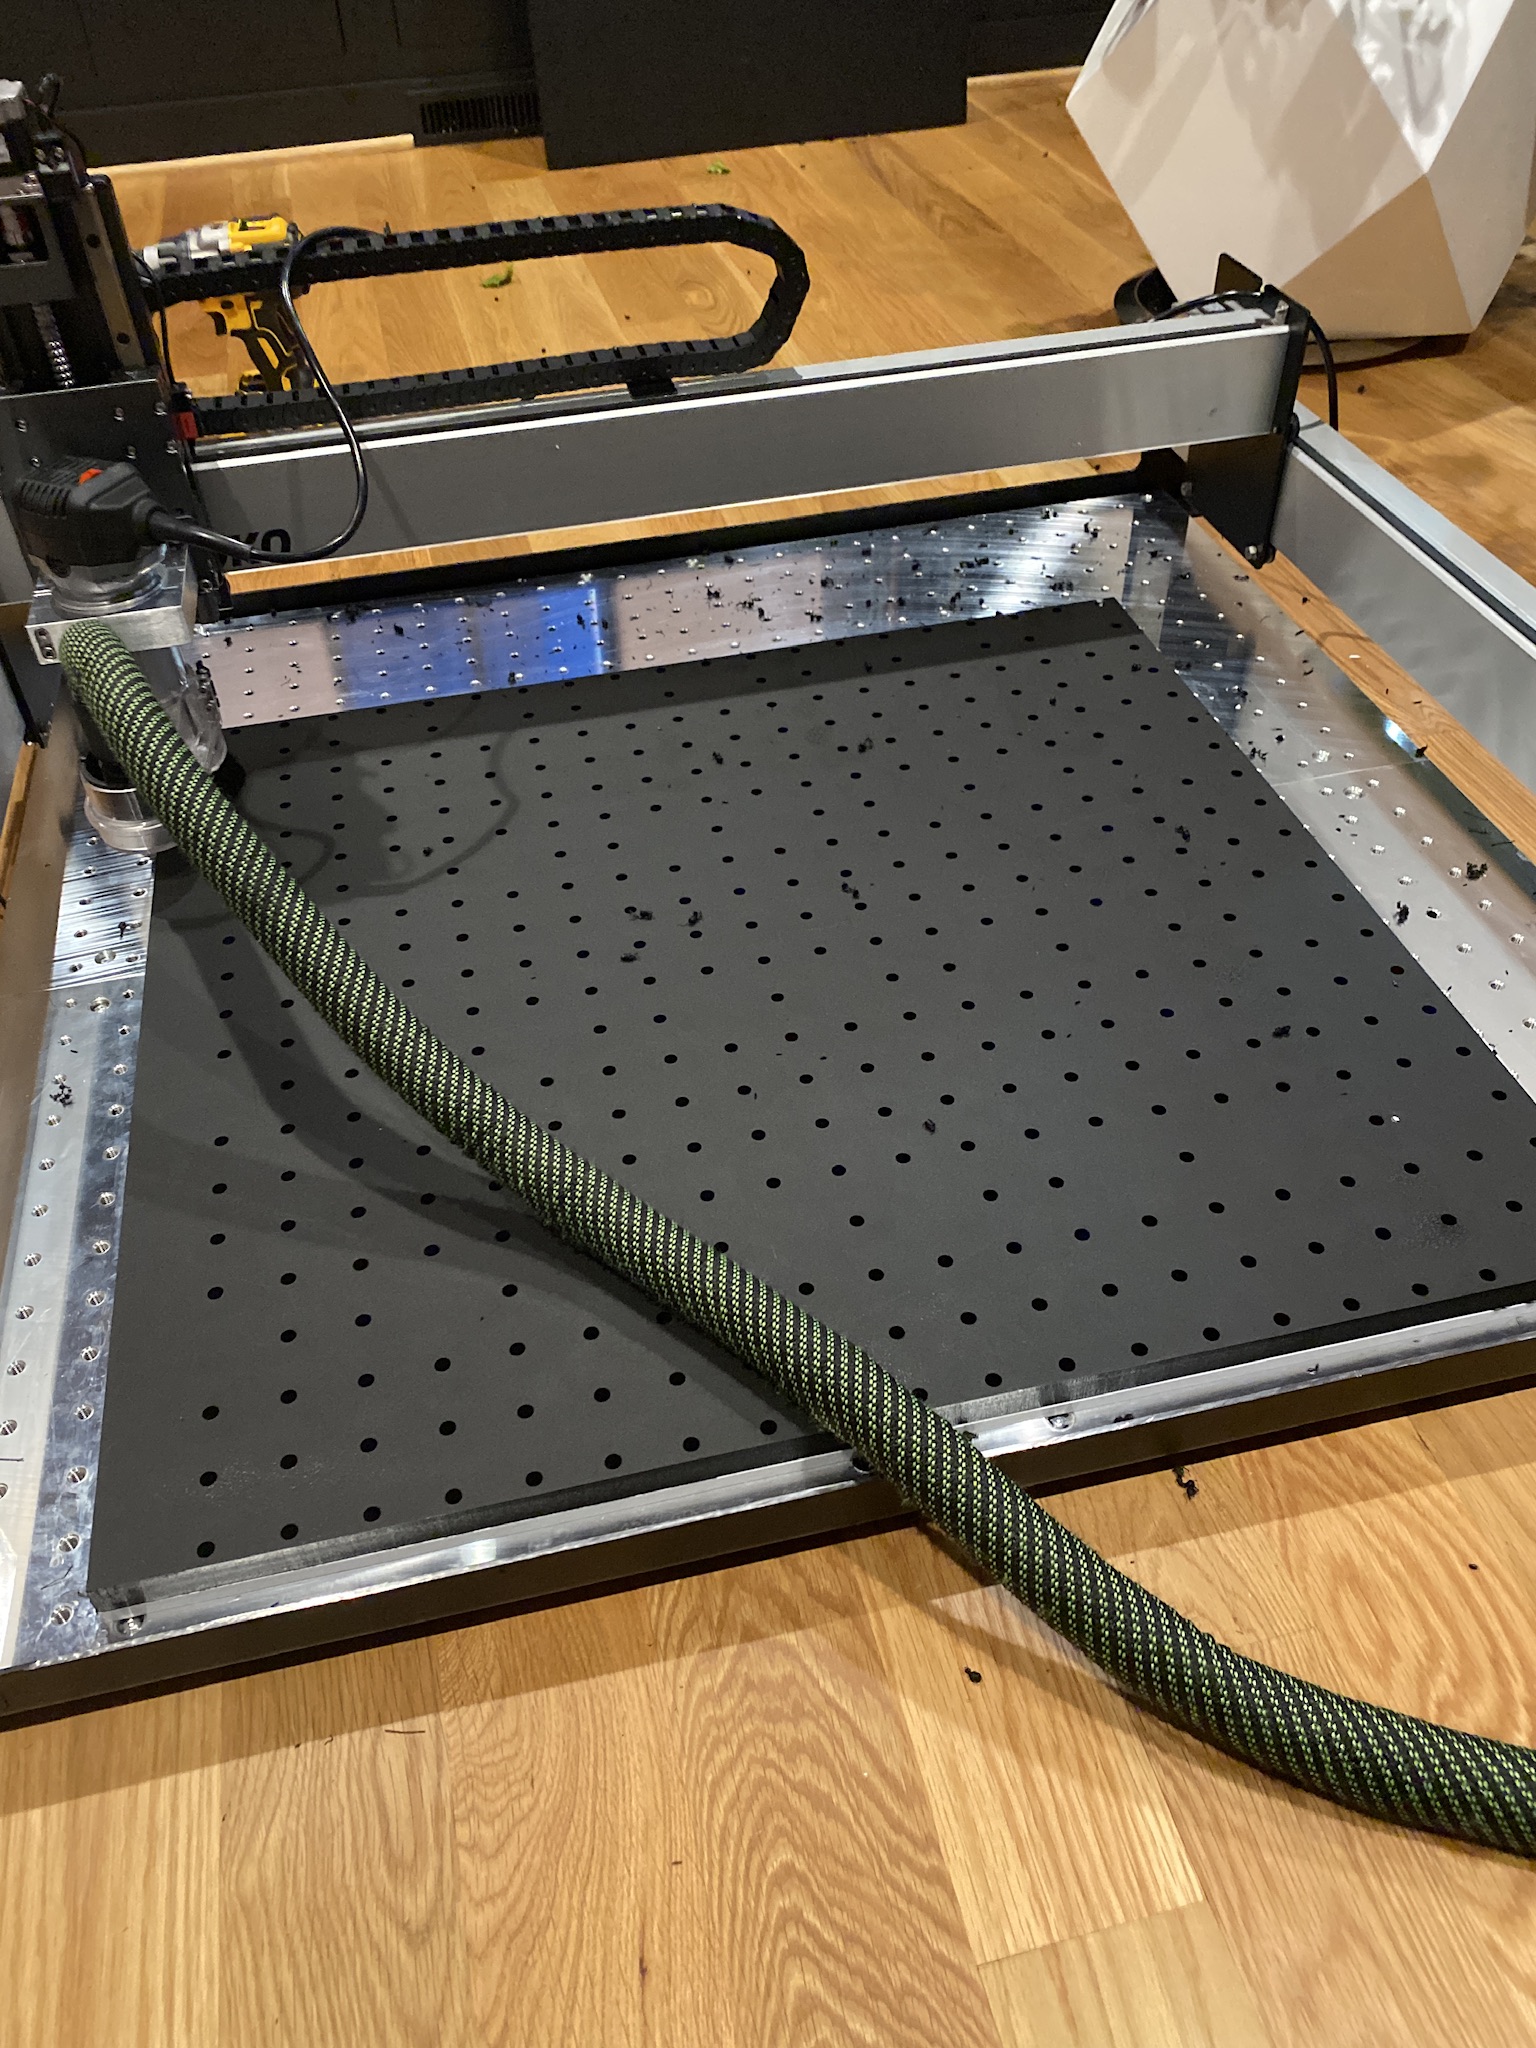
No problems, but I also switched over to a aluminum bed and threaded table so my setup will be less dependent on double sided tape (which I love to use btw).
Each hole on the spoil board goes through ~.72” of HDPE then a .1875” riser of compressed PVC and aligns with the threaded table.
5 Likes
Thanks Mark, that looks great. Looks like I have a new project to keep me out of trouble for a while  .
.
Is that why you were surfacing PVC as well? That’s a beautiful setup, though I would be very tempted to put a few vacuum holding zones in it.
No, actually, but I haven’t had a disconnect since using the aluminum bed and surfacing a 30x29 pvc chunk from .75 to .1875. My guess is that having all of the screws holding the pvc riser to the metal fixture table is helping.
Vacuum table in good time my .75” HPDE was a 5’x10’ sheet so I’ve got 5 more to iterate on.
4 Likes
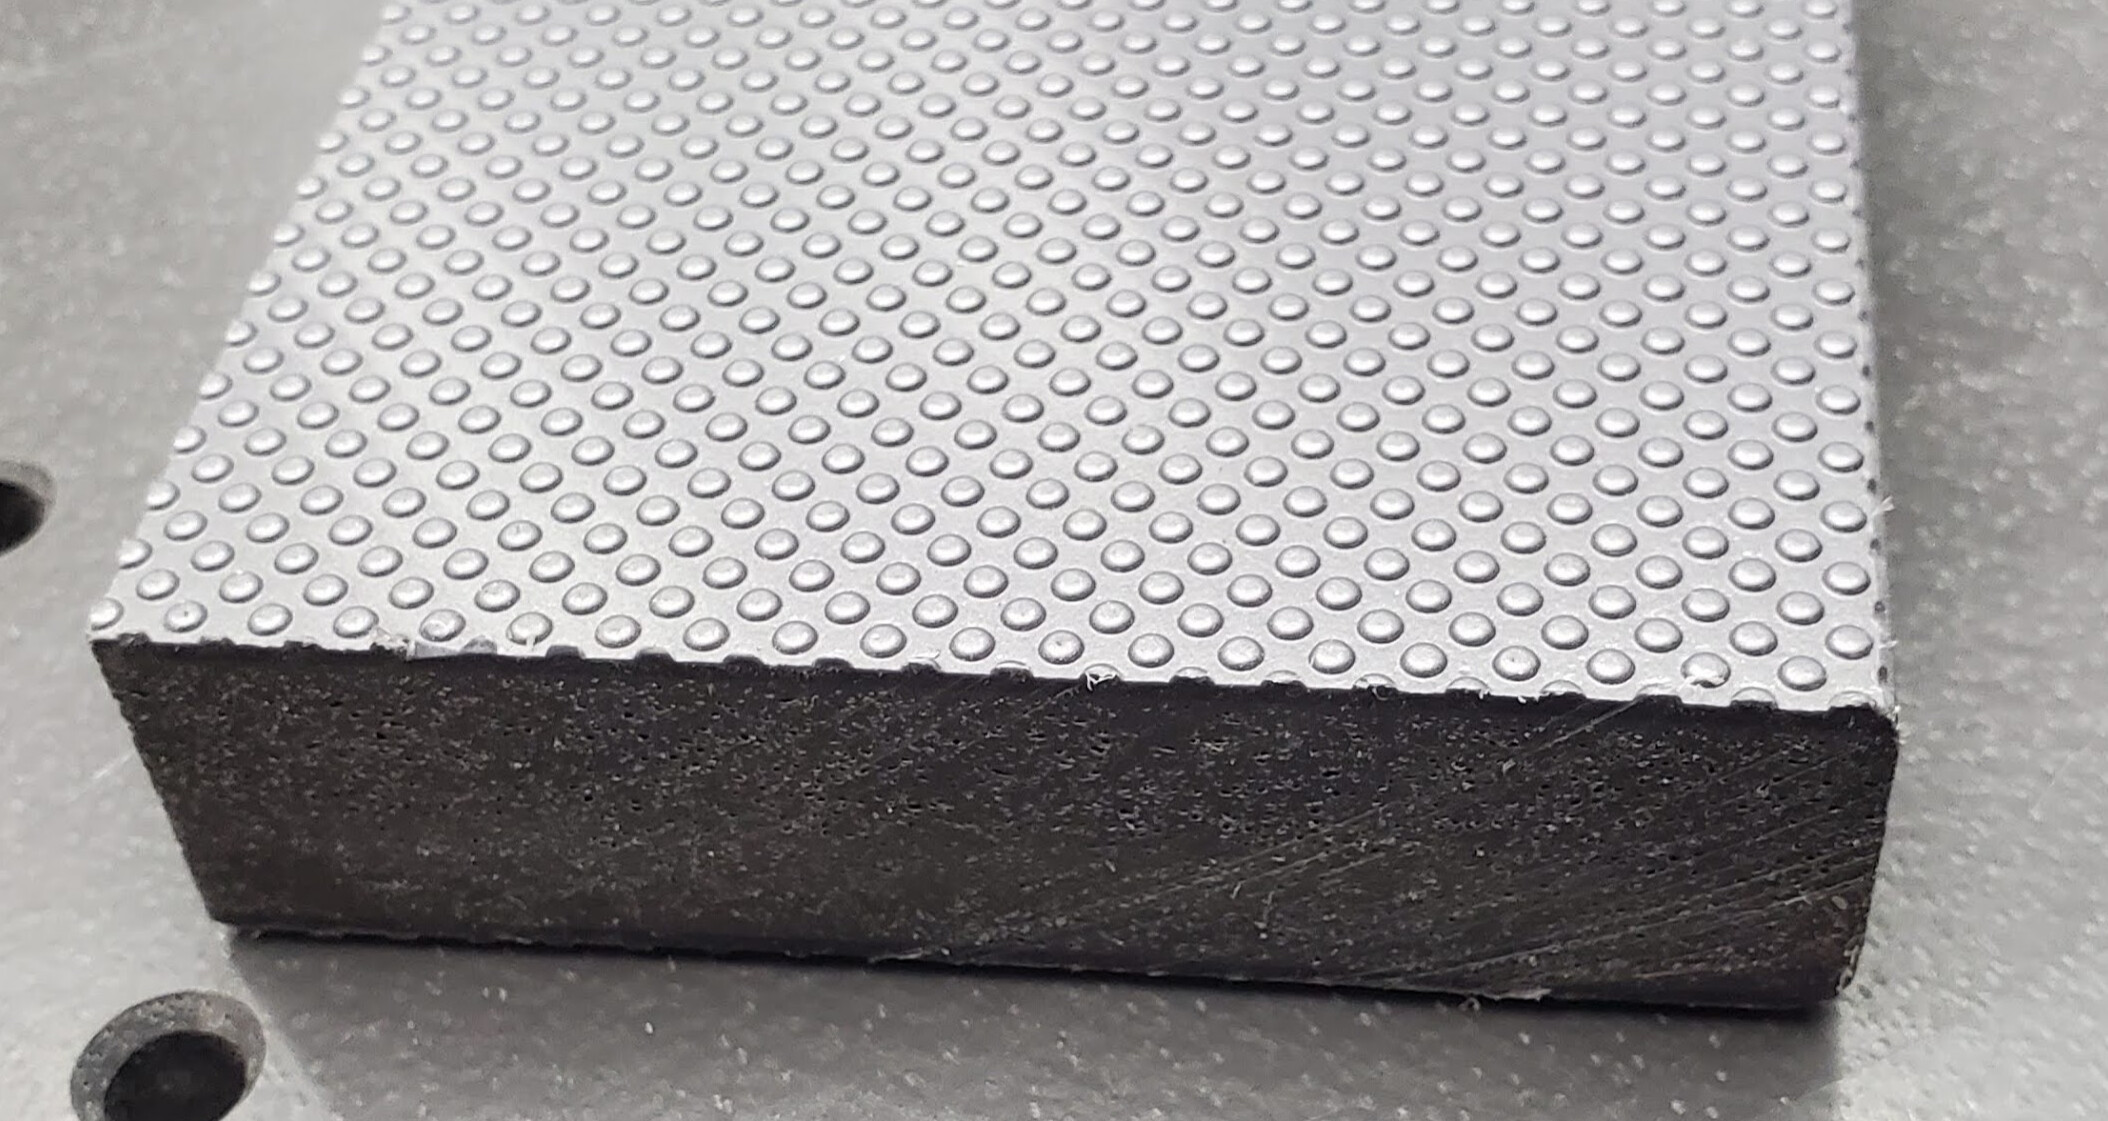
I finally got the HDPE spoil board done. I can’t wait for the weekend to get to spend some time using it. Interesting material it was rejected high end bathroom stall dividers from an Ivy league college - never installed because some of the lot was slightly warped. Removed 0.060" surfacing to remove the texture there is still some of the lighter color showing but it is nice and flat and smooth as silk. I’ll also get to use the Carbide corner square that has been waiting for me to modify my original Myers MDF spoil board that served me well.
7 Likes
@LWSIV How do you like the extrusion bed? I am debating between making an aluminum bed out of cast tooling plate or extrusion, but I haven’t decided which route I would like to go yet.
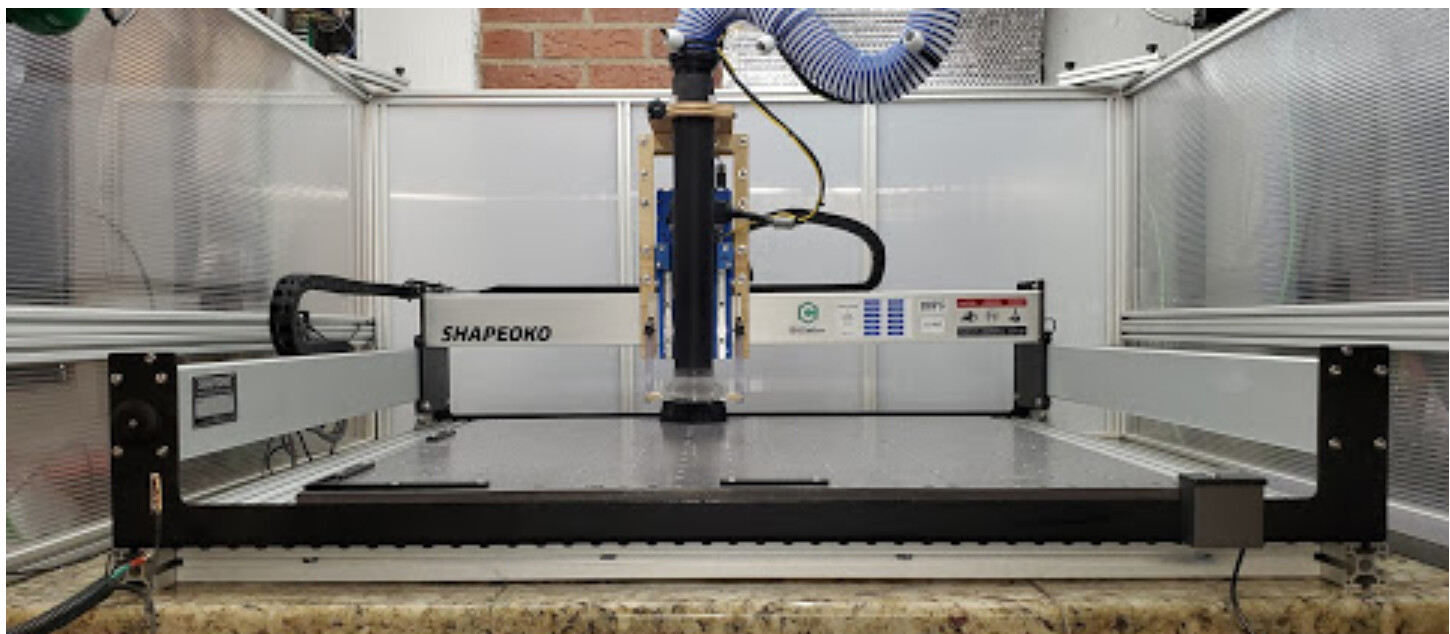
I really like it. The table deflection is now negligible for my purposes. Combined with the HDPE spoil board water, oil, and alcohol lubricants don’t pose a hazard to the machine bed anymore. I found a great Craigslist deal on the extrusion (high end temporary construction walls). They were more expensive to store and transport so the company went back to making temp walls with steel studs and drywall. My benchtop is also granite counter top pieces saved from the dumpster of a local granite fabricator.
2 Likes
@LWSIV Do you have any more photos of how you structured it? It looks as though you have multiple layers of it.
Funny you mention dumpster diving for counter top material. I just did that a few weeks ago and got some good smaller pieces that are perfect for sand paper sharpening tools. I have slow speed wet grinders and a Work Sharp Sharpener and they all work great but if you really want the “Scary Sharp” chisel the sand paper method on glass or a counter top fragment is the way to go. I started with a bought piece of glass but the counter top material is bigger and you can glue down more grits of sand paper and it is faster to sharpen your chisel. I use the Work Sharp is I have a gouge on my chisel from dropping it to other misadventure. Then have the paper ready and waiting and install in a chisel jig from Veritas and just go to town. It does not take long once you get a chisel flattened on the back and hones to touch up a chisel and keep it scary sharp.
1 Like
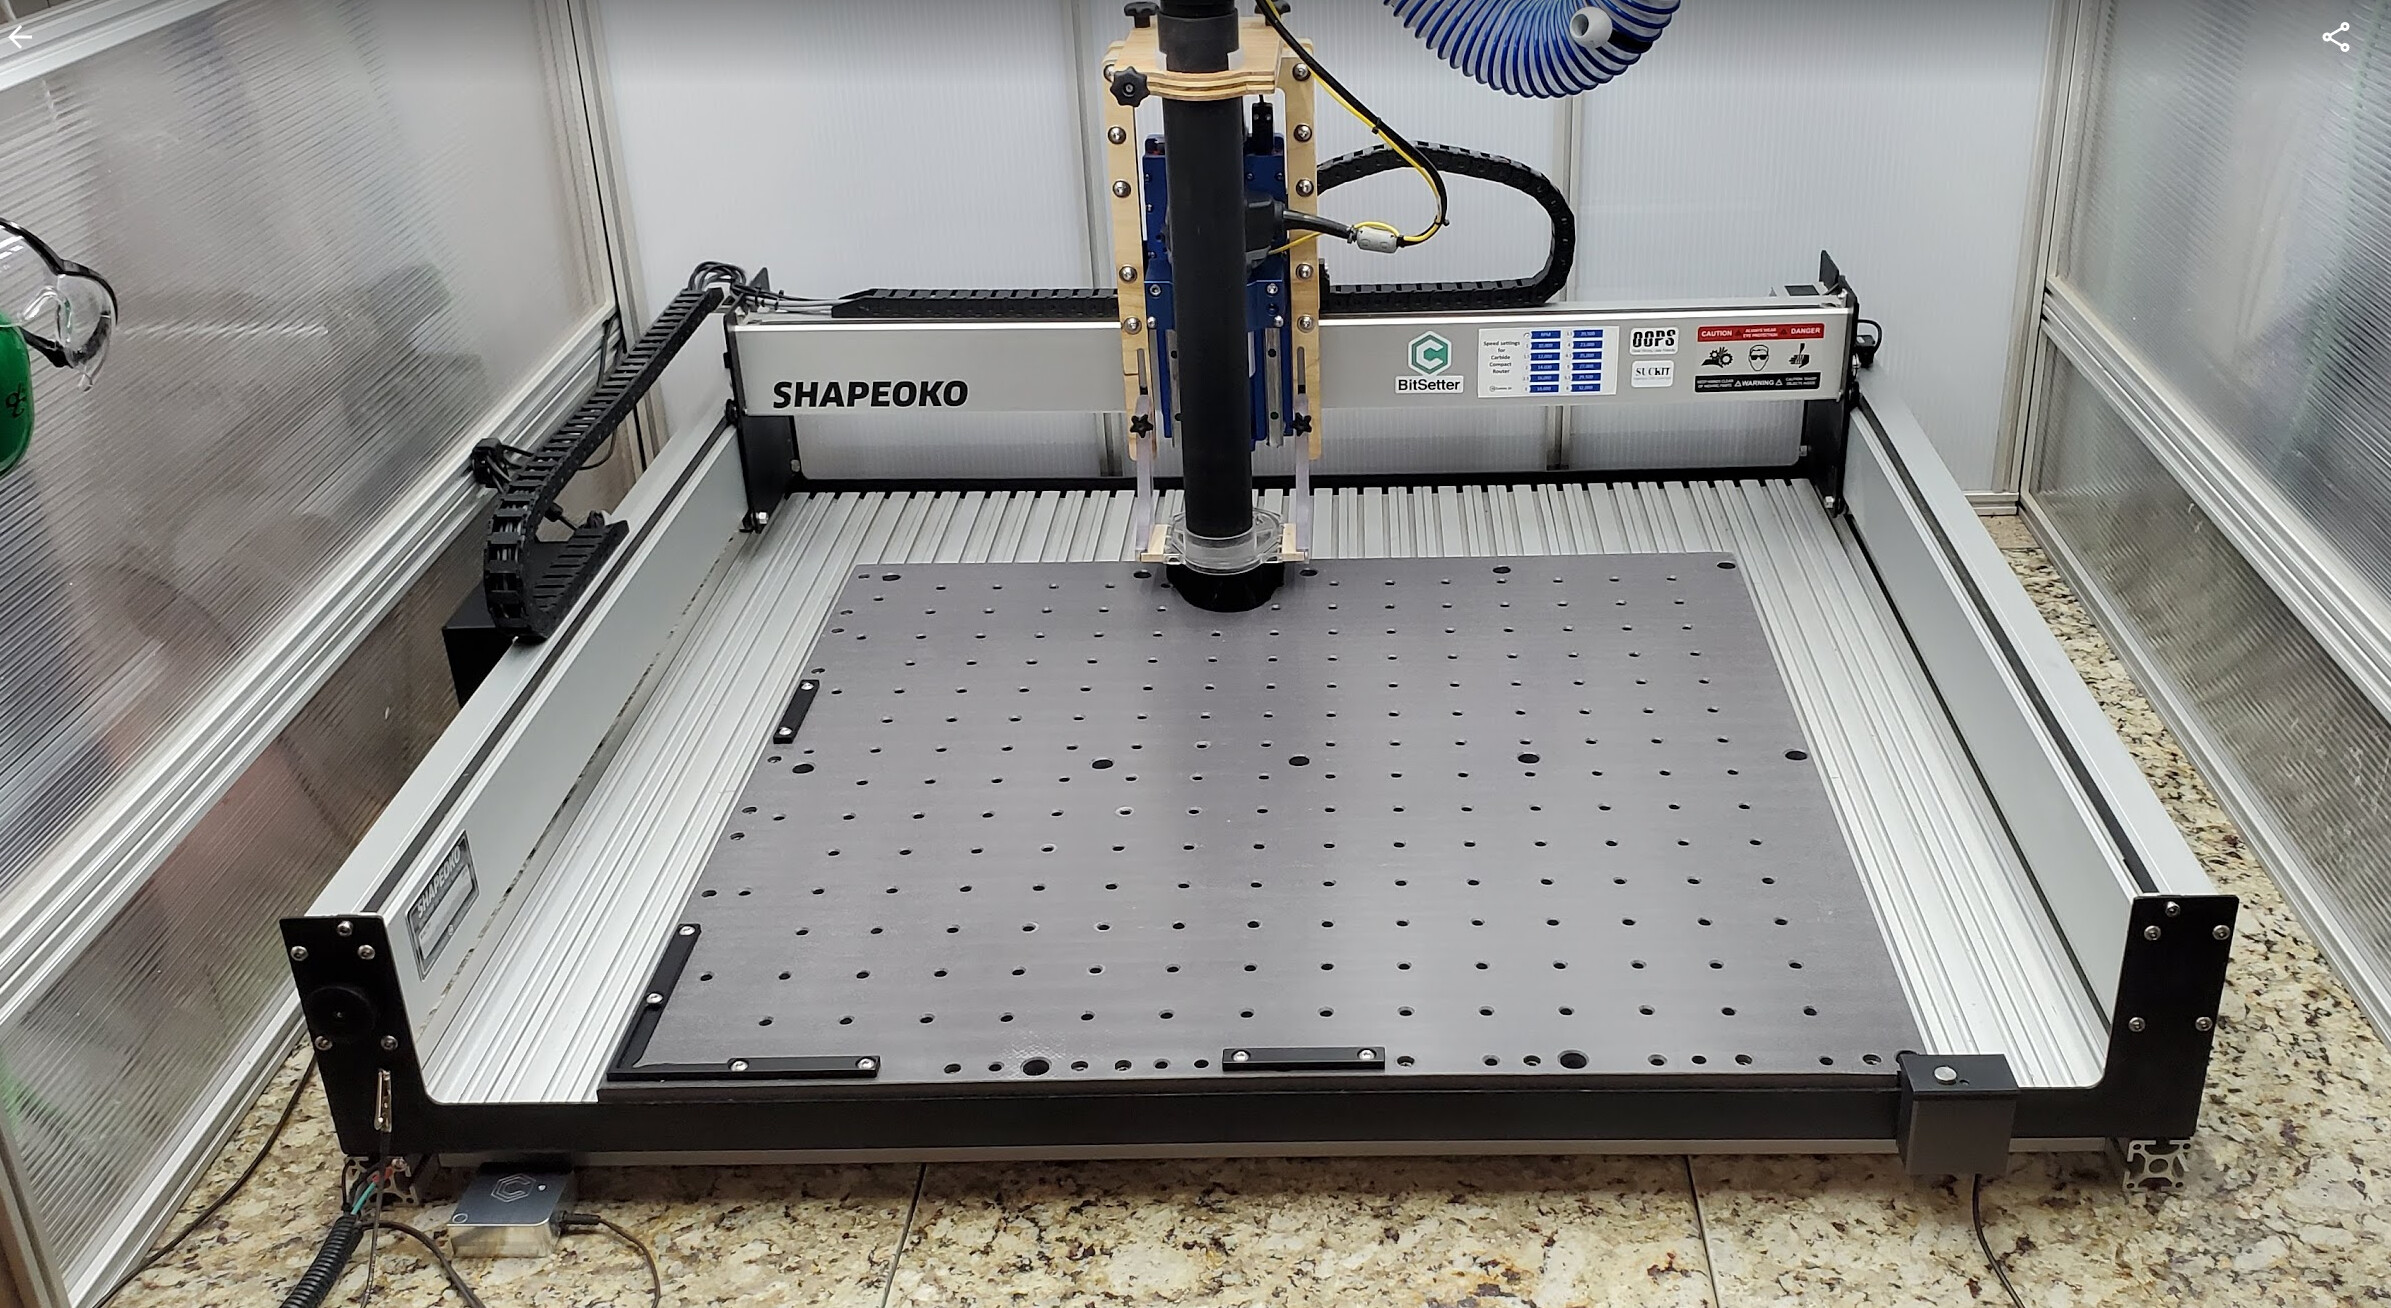
I’ll take some pictures this evening after work. I have larger 1.5" extrusion as the foundation running from front to back connecting at the holes for the mounting feet (Pem nuts removed). There are 3 cross pieces connecting the sides. The Shapeoko frame with the 1x1 and 1x2 extrusions for the base board sit on top. The cross braces have an aluminum filler strip the thickness of the steel frame to ensure complete support. I used the pwncnc build as inspiration - https://pwncnc.com/read/f/extrusions-bed-for-my-shapeoko-xxl
I have some extra that I use for a sanding platen too, it does work well. It is also a good assembly table, give it a quick coat of paste wax and glue squeeze out does not stick. The granite fabricators near by piles the counters they remove when redoing kitchens on pallets next to the dumpster free for the taking. If they aren’t being used quickly enough they put an ad on craigslist. There is nothing wrong with them other than someone wanted a different color or layout.
Hi Ben,
Here are a few pictures, not so easy to see the underpinnings.
The Shapeoko frame attached to the “foundation” at the original foot locations.
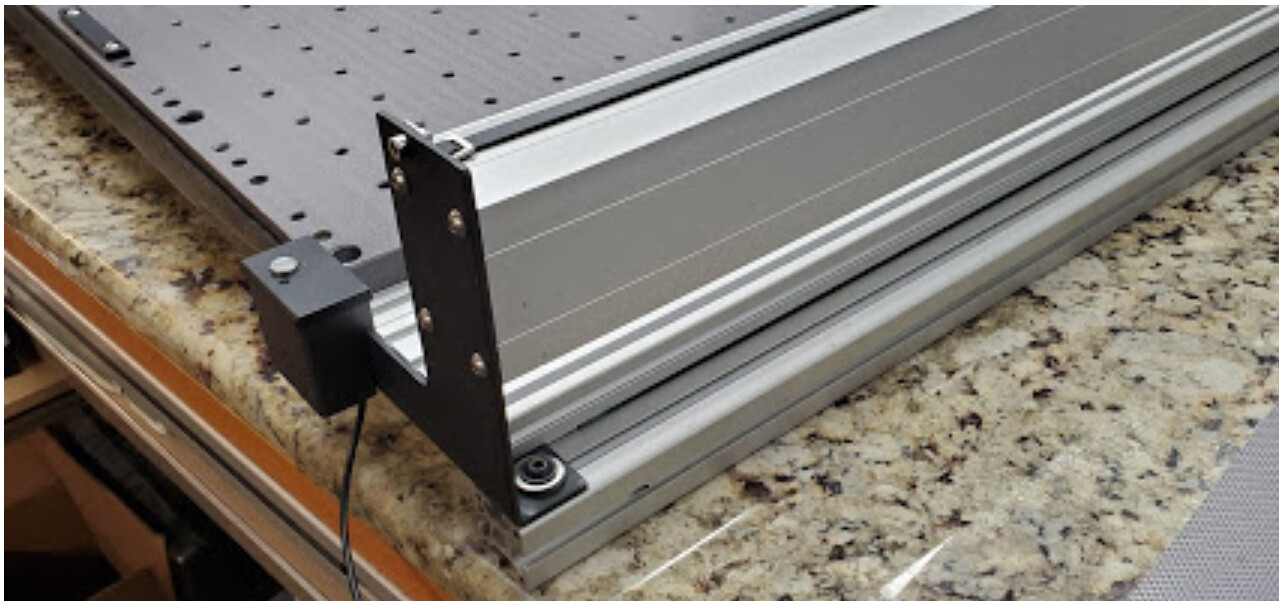
With the machine pulled a bit over the edge you can see the front cross brace just behind the stock frame. There is another at the back and a third down the middle. between the cross braces and the table there are filler strips the thickness of the steel frame. This is where having a CNC helped, I made a template for center punching the holes. Using the foot holes as a locator making the template a few holes wider than half, it was easy to mark half flip the template and mark the rest. This mod requires a lot of holes, one every inch, front and back. Using the wider extrusions could save you some work.
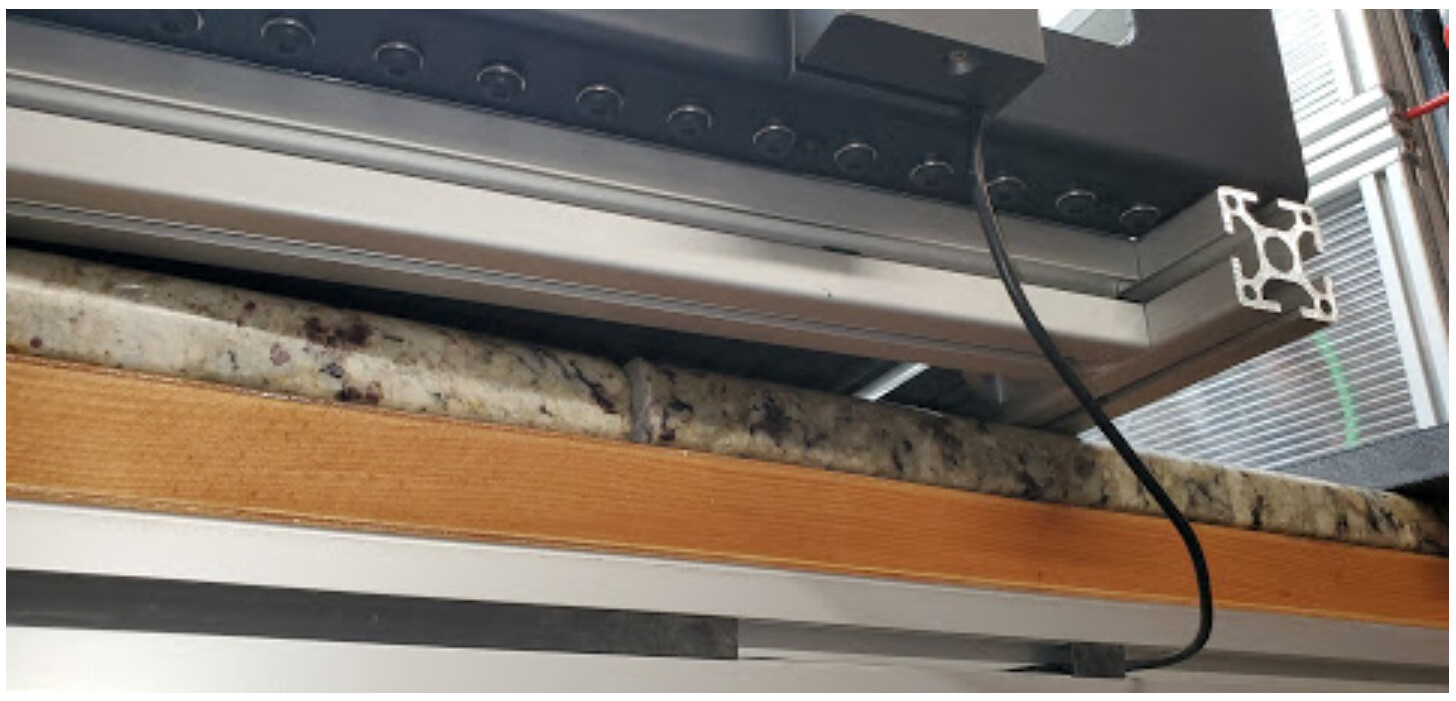
A lower angle in its normal spot.
Full res pictures: https://photos.app.goo.gl/QnJJhM8QZt9Uj3559
4 Likes
@LWSIV now that you have one done i’m going to leave it to you to come up with a vacuum table that will serve both of our needs!