I found a source which worked out to be quite nice. My plan is to replace the original 3/4" MDF slats on my HDM with 1/2" HDPE. I don’t need them to be 3/4" since I’ll be using a 1/2" MDF spoil board on top of the slats so it’s fine if they are level with the aluminum extrusion t-tracks. I’ve built a jig I can use to cut holes for M6x10mm threaded inserts into the slats. My spoil board will have matching 8mm holes which I can use for dowels or for feed through access to the threaded inserts.
This will also give me the option of removing the MDF spoil board and installing aluminum fixture plates to machine metal and since the slats are HDPE they will be impervious to liquid coolants.
My ebay source cut them to precisely 74x701mm which is the exact dimensions of my original HDM slats, so I won’t need to cut them to size.
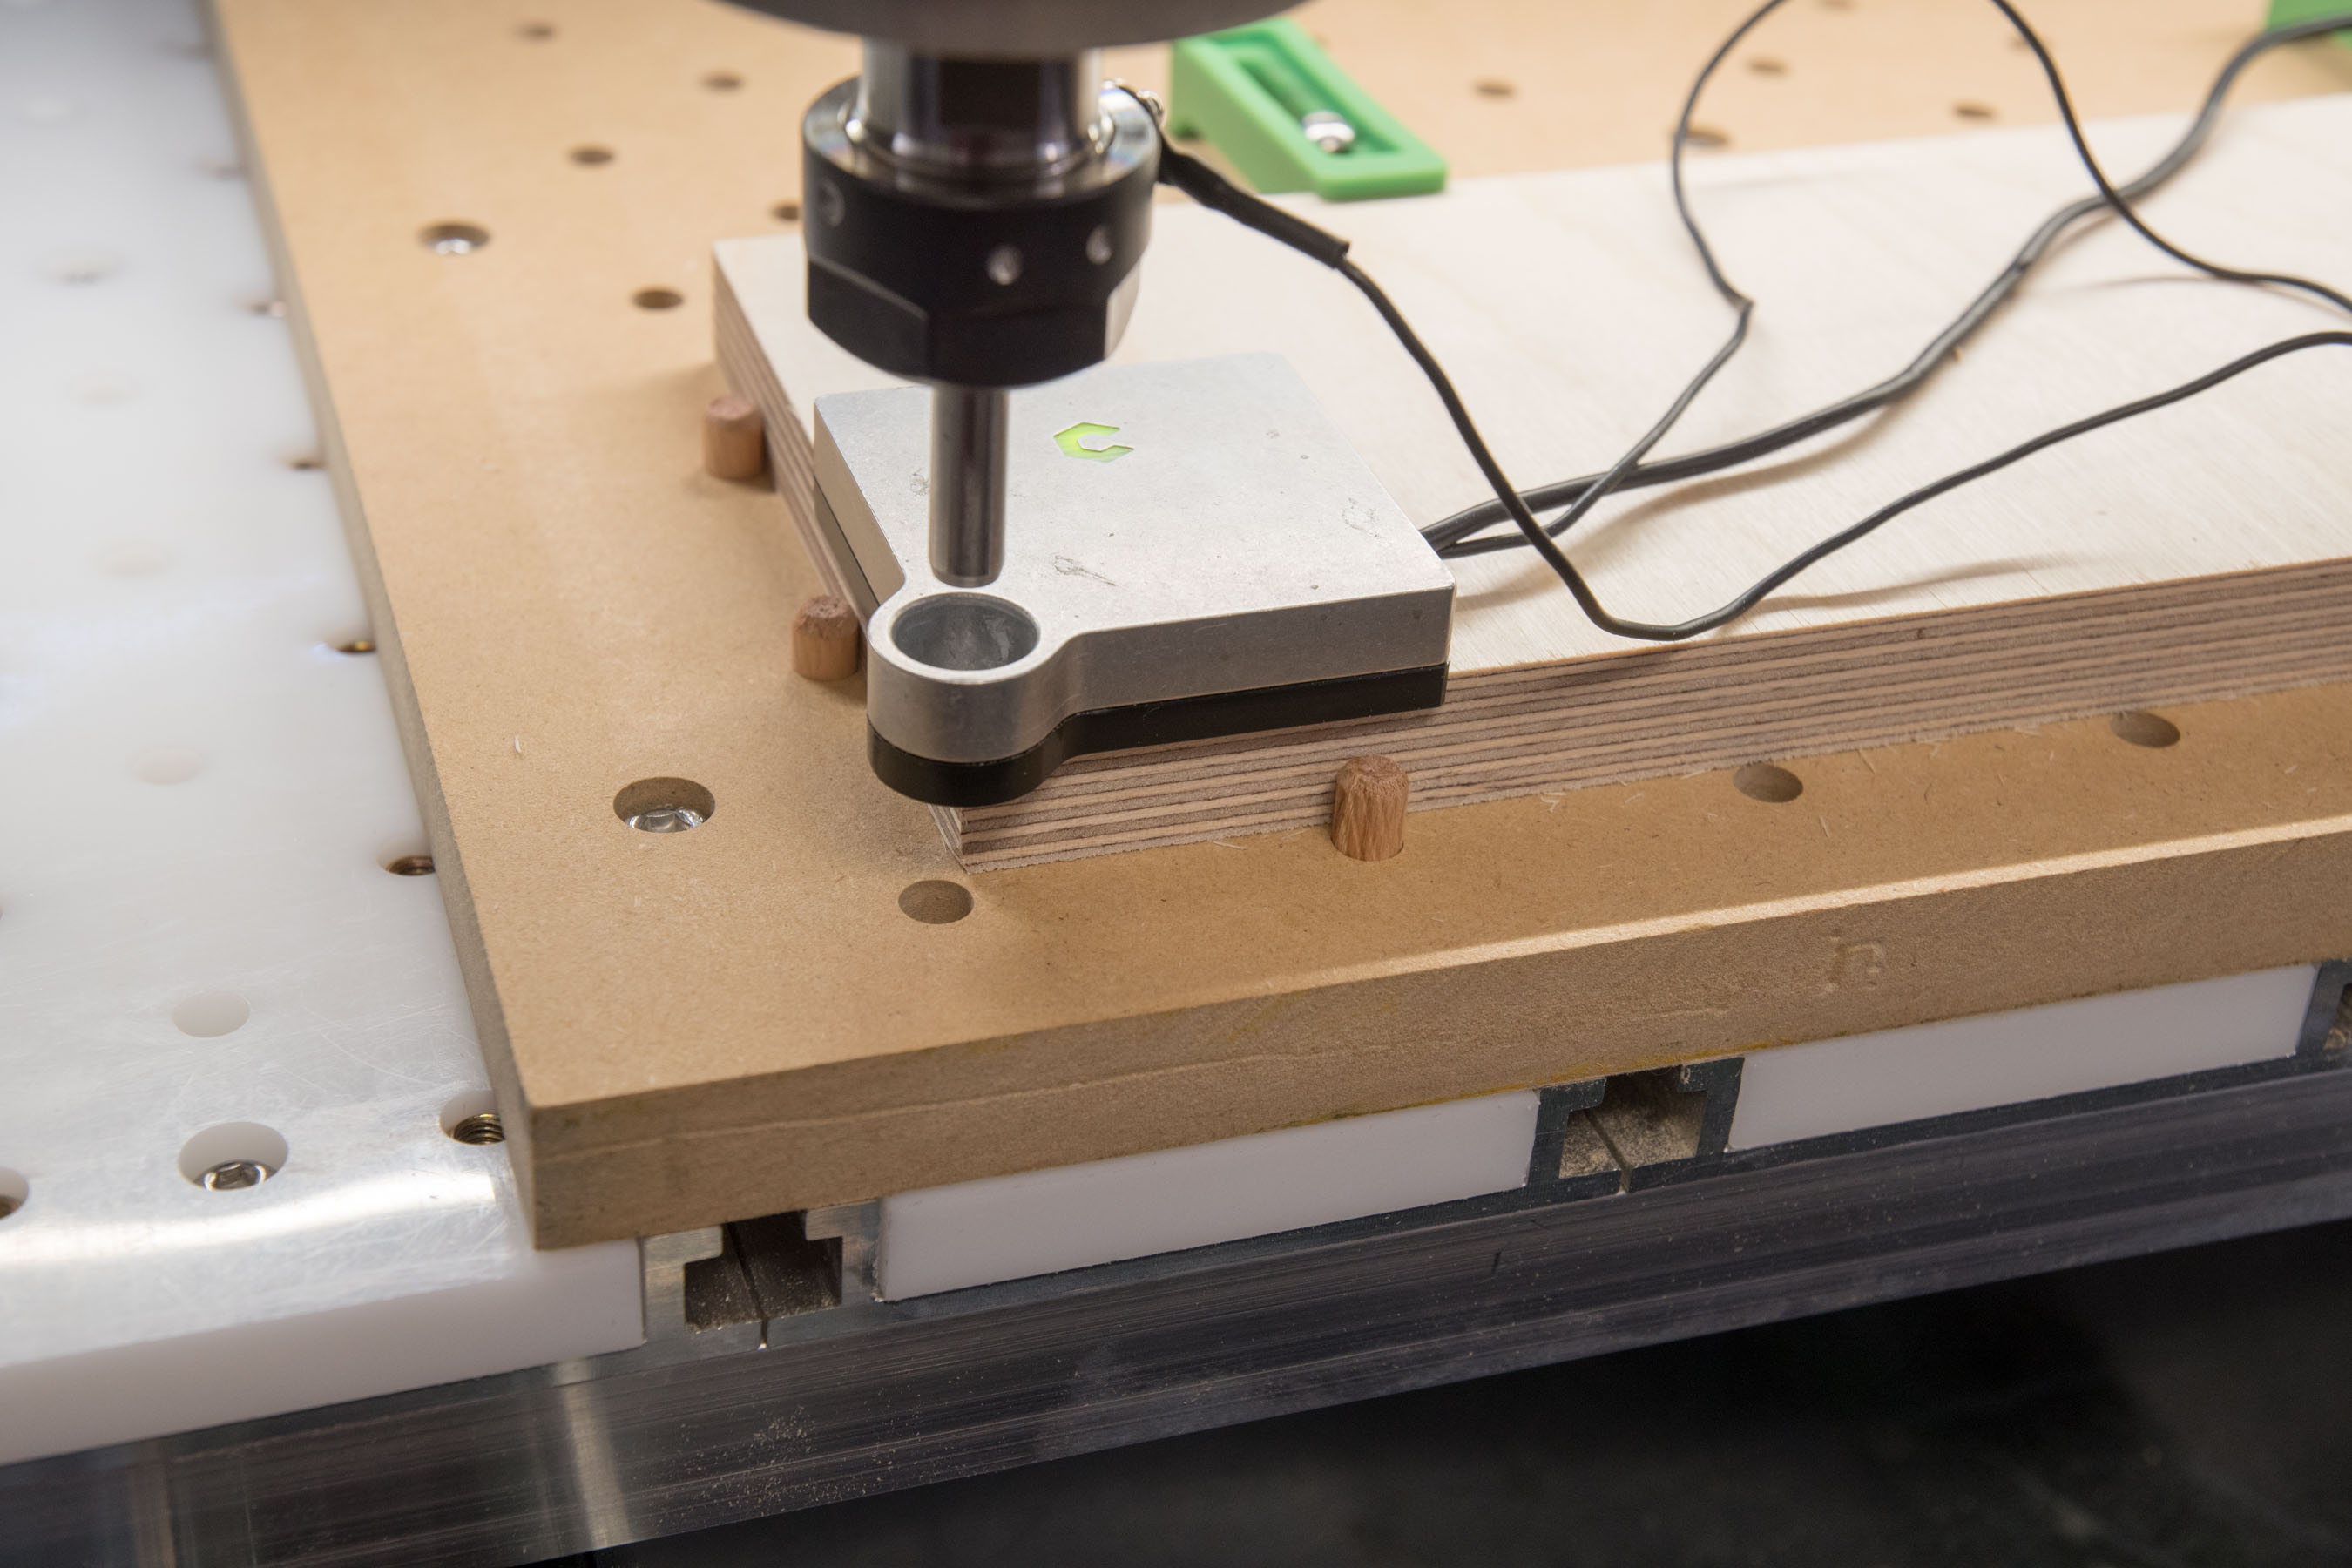
There are some advantages and disadvantages. The biggest advantage is if you want to use any sort of liquid for cooling, it’s going to cause problems with MDF so you are better off with something that’s either impervious to liquids or highly resistant. I’ve seen people use phenolic material, which probably is superior to HDPE, but it’s more expensive. I haven’t used the HDPE yet, so I don’t know how well it’s going to work, but so far I’m pleased with the planks I received and I think they will do what I want. I have done some testing and I know HDPE will hold threaded inserts well. What I like to do with my slats is install an array of threaded inserts spaced every 50mm, but I never cut into my slats as I’m always using something on top of them. My spoilboard has 8mm holes which line up with the threaded inserts in the slats. That way I can either use those holes for dowels to give me a reference perfectly square to my spindle, or I can feed through them for threaded inserts. Since the spoilboard has no threaded inserts it becomes easier to replace and recreate.
If you don’t plan on using liquid for cooling, you are probably better off with MDF. If you occasionally cut into your slats you would want MDF as it’s cheaper to replace. If you only occasionally use liquid cooling you could always just remove your slats on those instances.
I got all the slats how I want them and installed. I learned a few things I’d do differently if I were to do this again.
I designed the jig I used to cut the slats to be able to cut the slat to size with the CNC. It would have been far easier to cut them to size using other methods. That way I could have just made a pocket on the jig the exact size of the slat and I wouldn’t have to worry about getting them positioned perfectly. This caused me a few extra steps which could have been avoided.
My ebay source cut by slats pretty accurately. The widths ranged from 74.18 to 74.5mm. It would have been better to have them all slightly under width, say about 73.75mm to 74mm. This would have given me a bit more clearance and made it easier to align them during installation since I wanted all of my 8mm holes to be as close to perfectly spaced and all square to each other as I could get them.
The slats on the HDM are 701mm long. I started the first set of reference holes 25mm on centers from the bottom. I should have started 25.5mm. The reason is because the last set is now 26mm on centers from the top. This isn’t a problem so long as all the slats are oriented the same way, but I just have to make sure I don’t have any of them reversed.
The first version of these were in MDF and for those I used 3/4" dog holes in the middle of my inserts since I already had a lot of 3/4" accessories. I decided against this since all of those are metal and wouldn’t do well if I crashed into them. Instead I used 8mm holes which will take 8mm metal pins or 5/16 wooden dowels. I might use some 3/4" dog holes in my spoilboard.
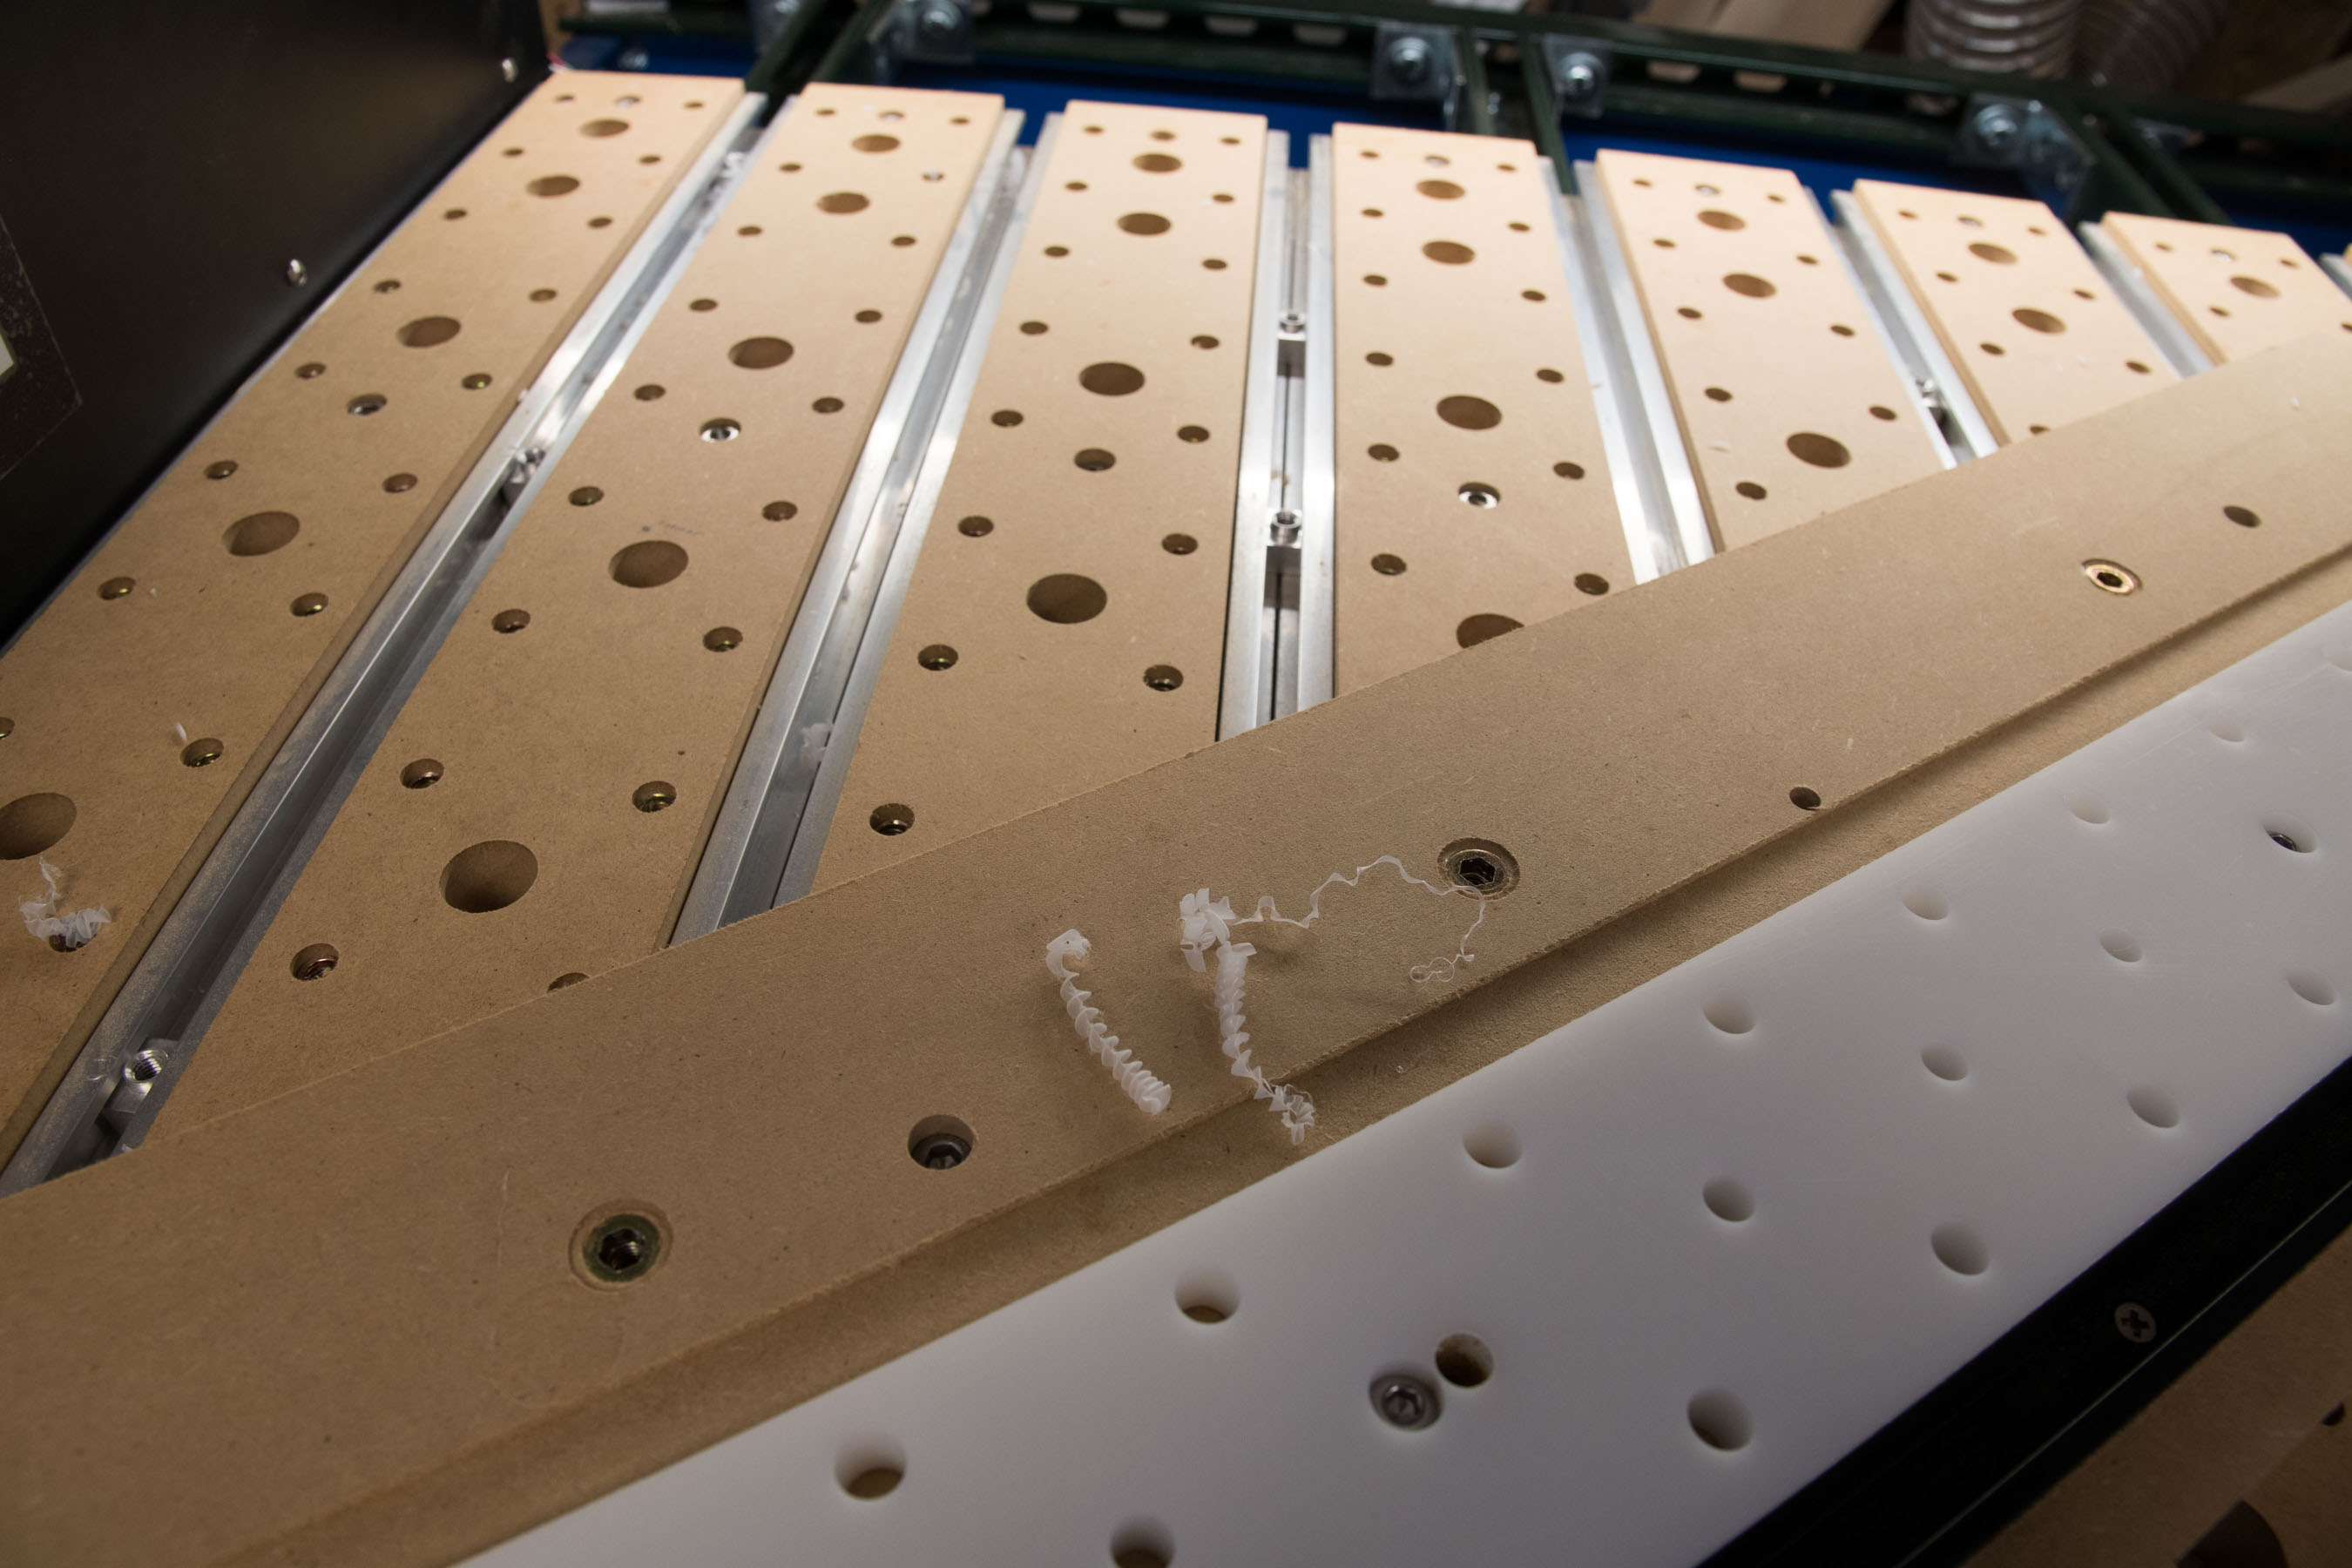
HDPE is a bit tricky to machine which I was expecting. I used the Amana 51404-K which is designed for plastic, but still had the problem with the cuttings getting wrapped around the mill. The solution was to use deep and fast plunges. I used a feed rate of 3000mm and a plunge rate of 1500mm which worked much better than the default settings. The plastic pretty much inevitably makes ribbons instead of chips, but you want them to be as thick as possible so they get thrown away from the cutter instead of getting wrapped around it. Otherwise you find yourself pausing the operation to clean the endmill. Below is a picture of the chips you want.
Once the inserts were installed it caused the slats to bow in the middle. It wasn’t a big deal as they straighten out once they are screwed down to the table, but something worth noting.
For whatever reason, the slats on my HDM are exactly 701mm long. Since I started the first row of holes 25mm on centers from one end and spaced them 50mm apart, this means the last row is 26mm from the other end. Had I started at 25.5mm, they would have been symmetrical. It’s not a big deal because I had to skip one of the center 8mm holes since it would have interfered with one of the mounting holes. So it’s easy to tell which way they need to be oriented.
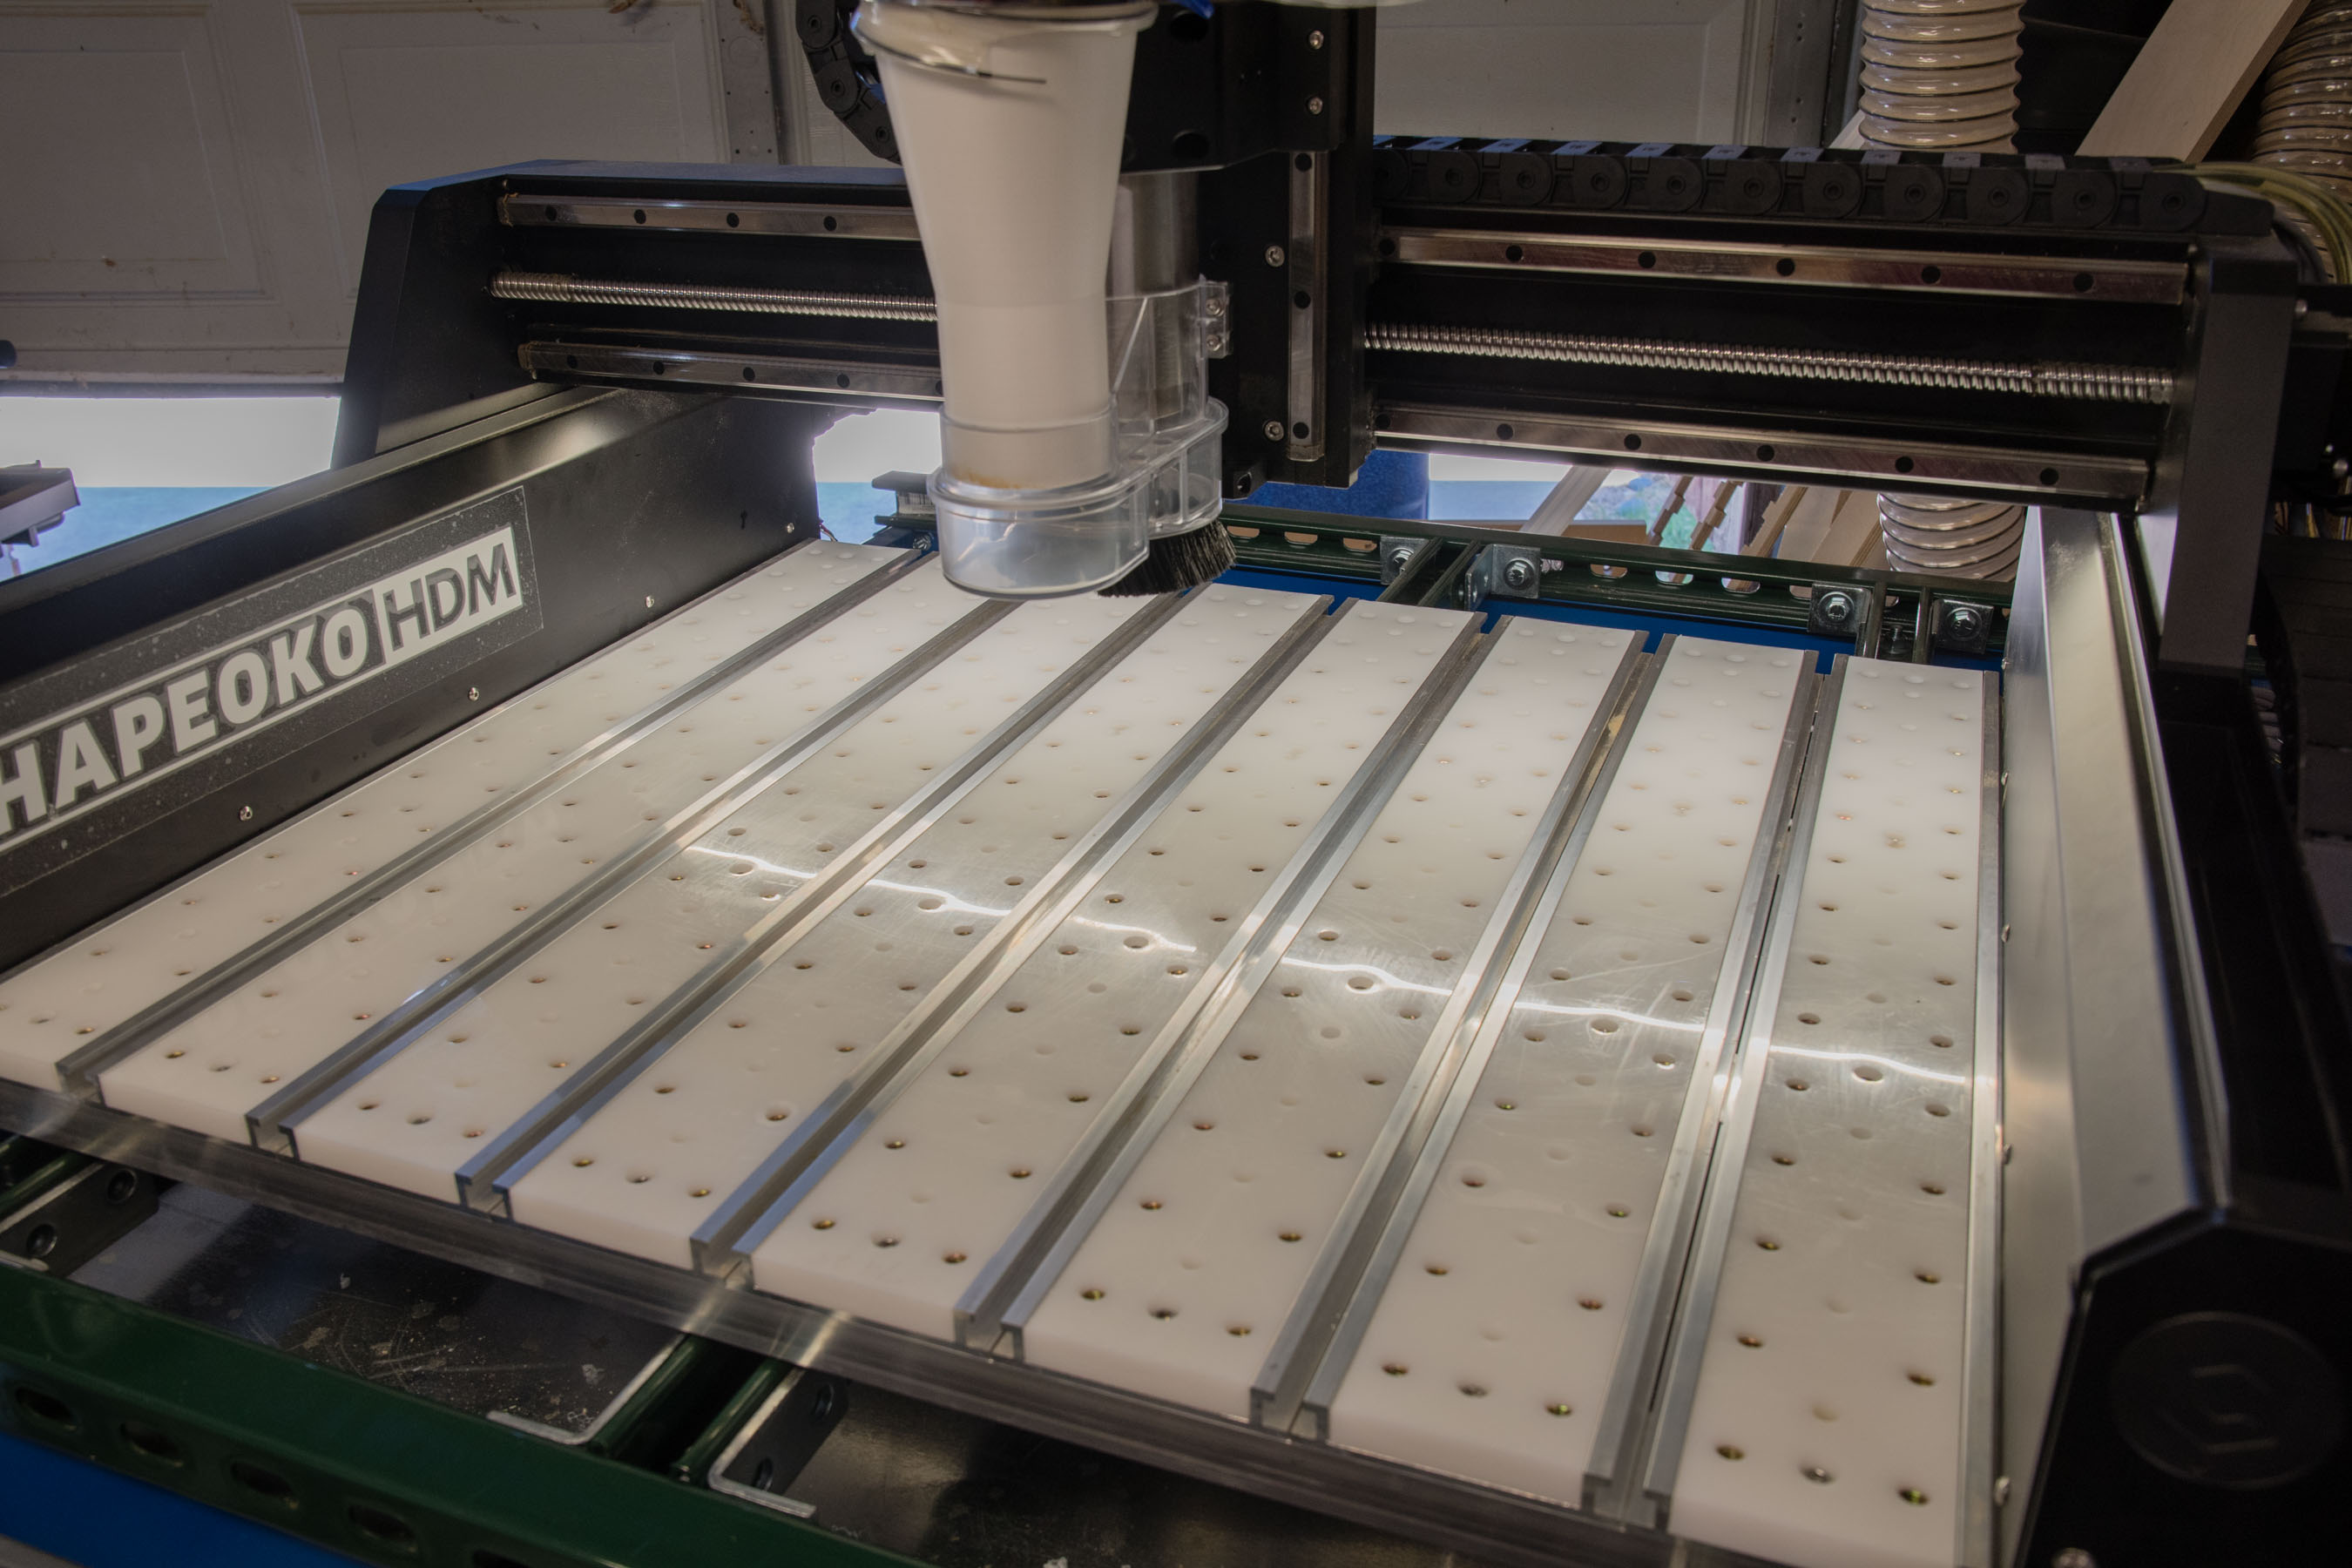
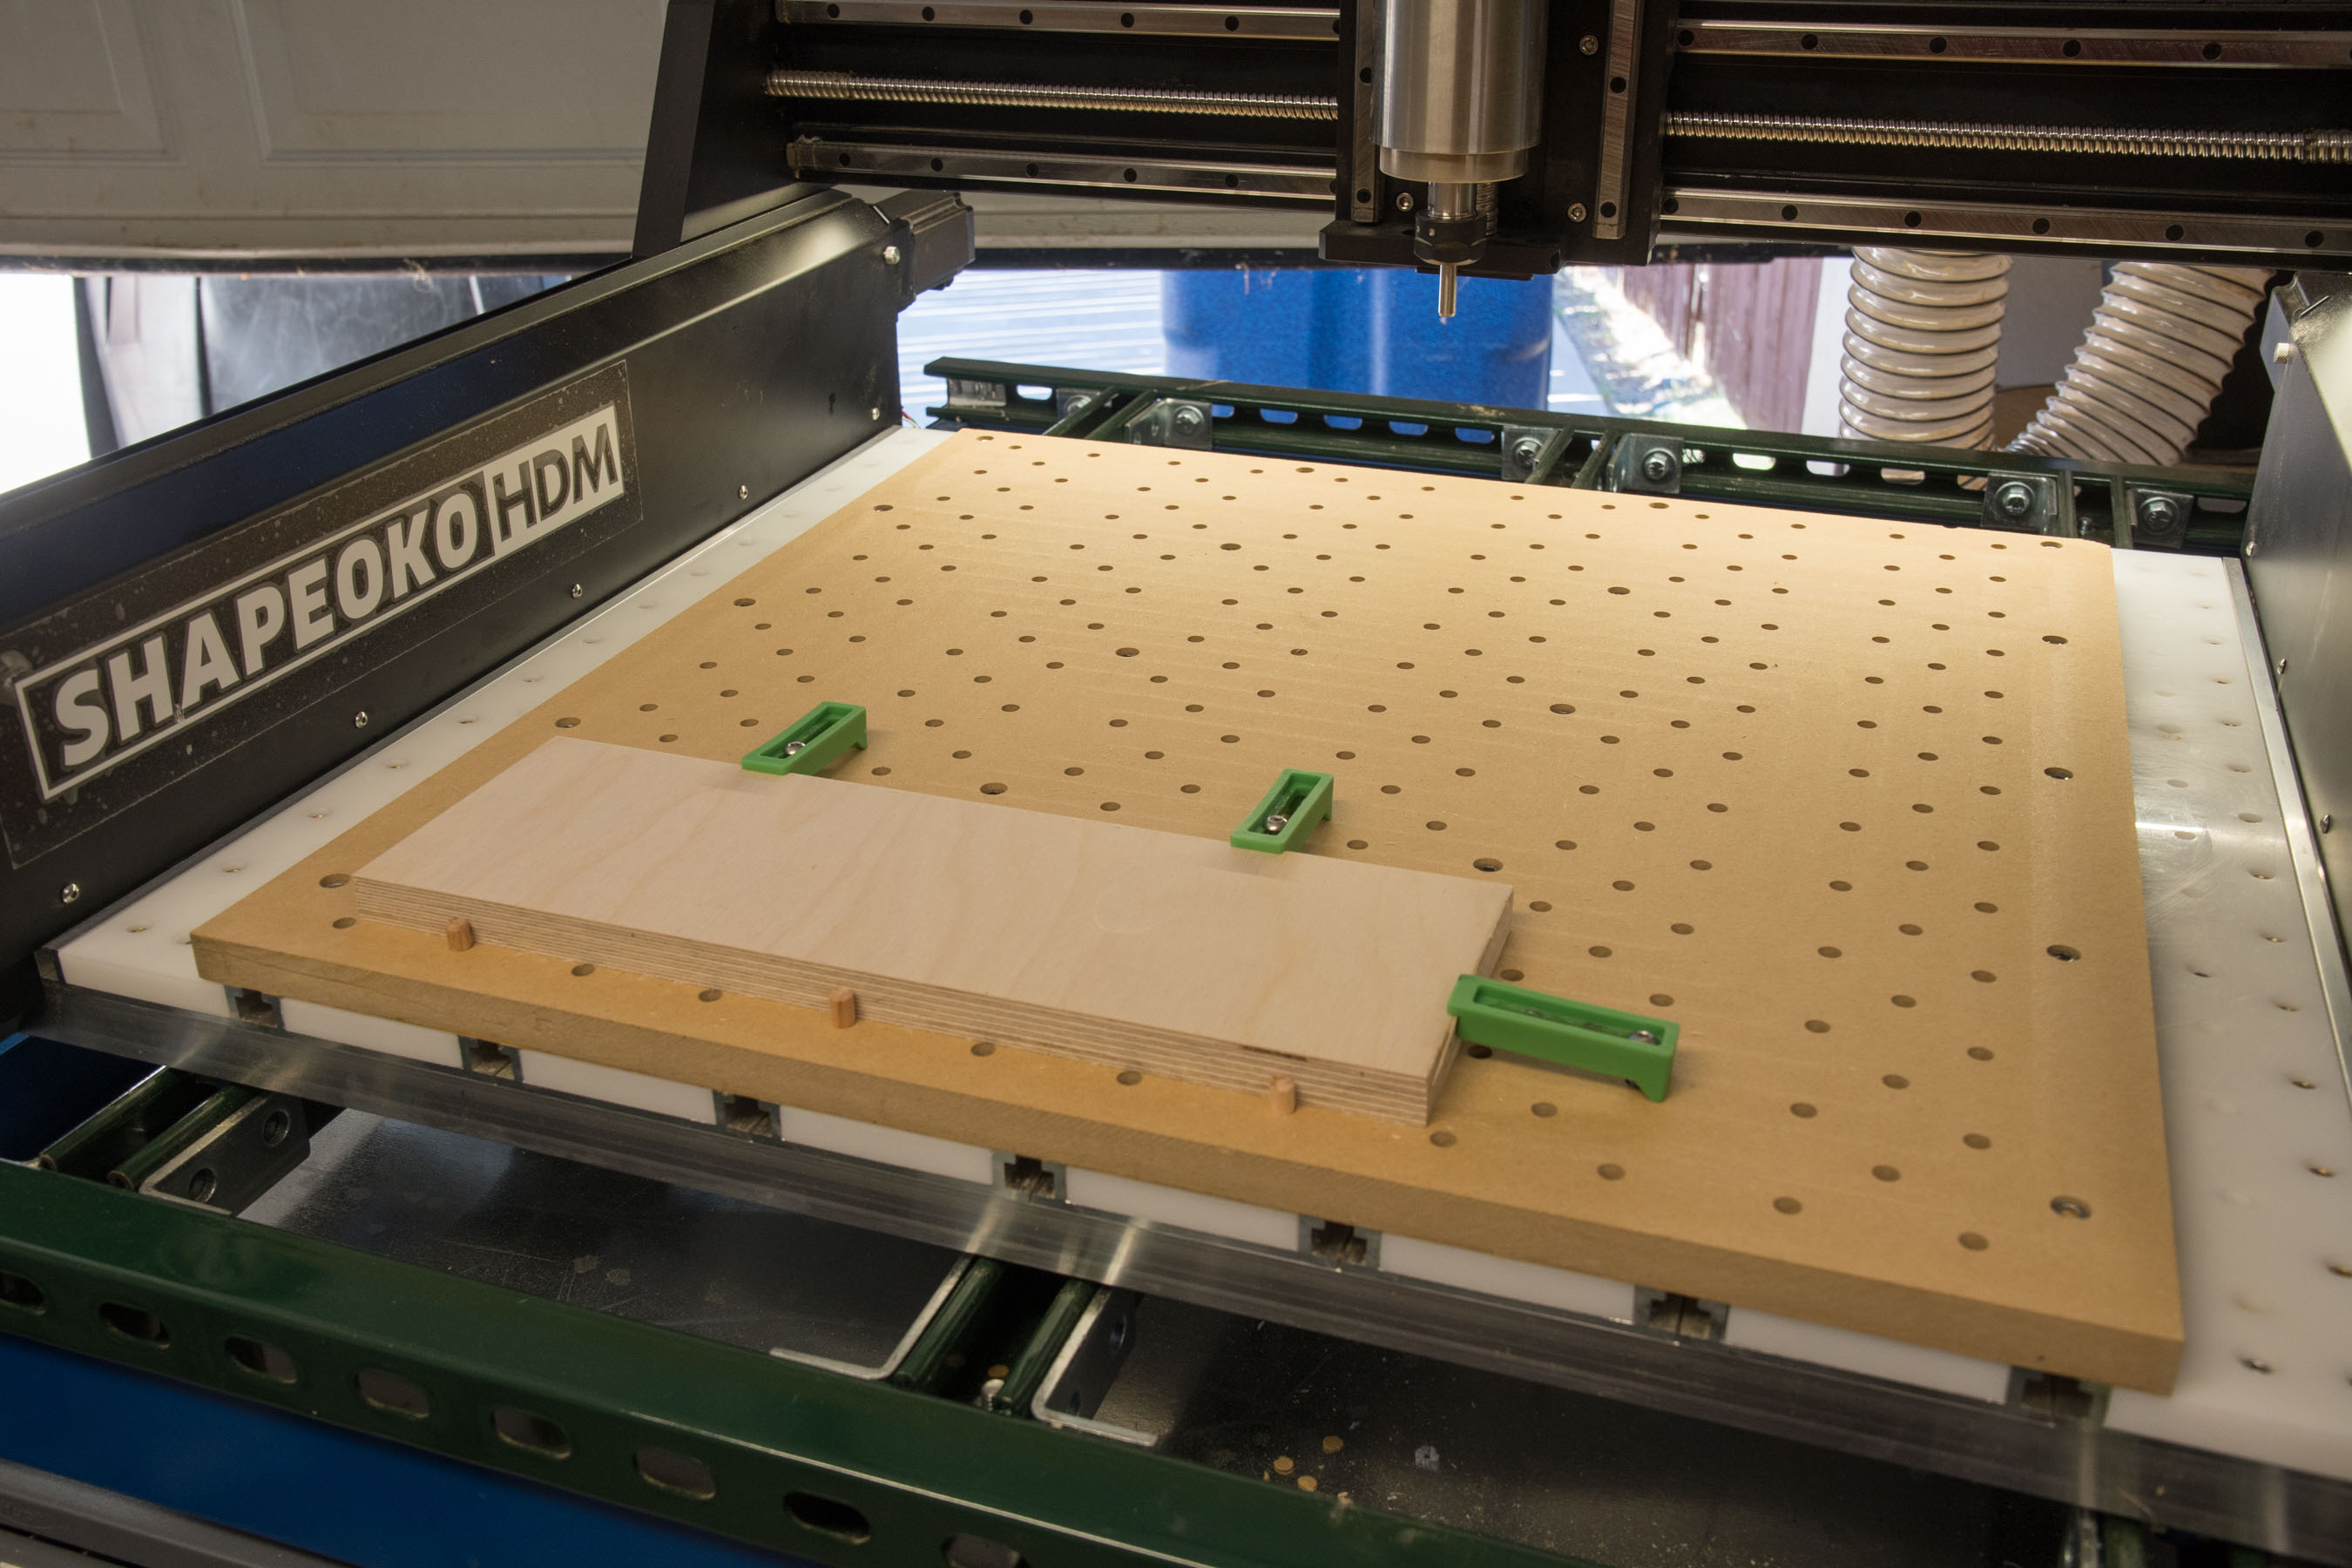
Here is my setup with a spoilboard. Eventually I’ll get some 1/2" MDF and make a spoilboard that covers the entire bed, but will be split into two pieces so I can machine all of it.
All of the holes in the spoilboard are 8mm. I can either feed a screw through them and access the 224 threaded inserts in the slats, or I can insert a dowel and use them as a parallel or perpendicular reference that’s perfectly aligned with my spindle and at known points.
Eventually I’ll get some fixture plates for machining aluminum and I’ll be able to remove the MDF spoilboard and attach the fixture plates without having to remove my slats since they are impervious to liquid cooling and slightly below the hybrid table extrusion t-slots. I think it’s a pretty slick system that will make the machine more versatile as far as using it for both wood and other materials.
I’ve already started doing just that. The spoilboard I’m using right now is just a piece of mdf I had on hand and it’s only 650mm wide while my usable X is 685mm. I’d also like to have reference on the spoilboard to the set of holes that are on the outside slats and are spaced 700mm apart on center. So if I had a spoilboard that was about 720mm wide or so that would be ideal, but for now the spoilboard I just made will be fine.