All,
I have a question on adding a new tool I got my hands on. I can’t understand what goes where in the “New Tool” screen. Can someone assist?
Tool info:
Engraver
20 Degrees
Solid Carbide
Shank Diameter: 1/4"
OAL: 2"
All,
I have a question on adding a new tool I got my hands on. I can’t understand what goes where in the “New Tool” screen. Can someone assist?
Tool info:
Engraver
20 Degrees
Solid Carbide
Shank Diameter: 1/4"
OAL: 2"
Search for post “Carbide Create Tool Database Definitions”. I would have linked it but I could not.
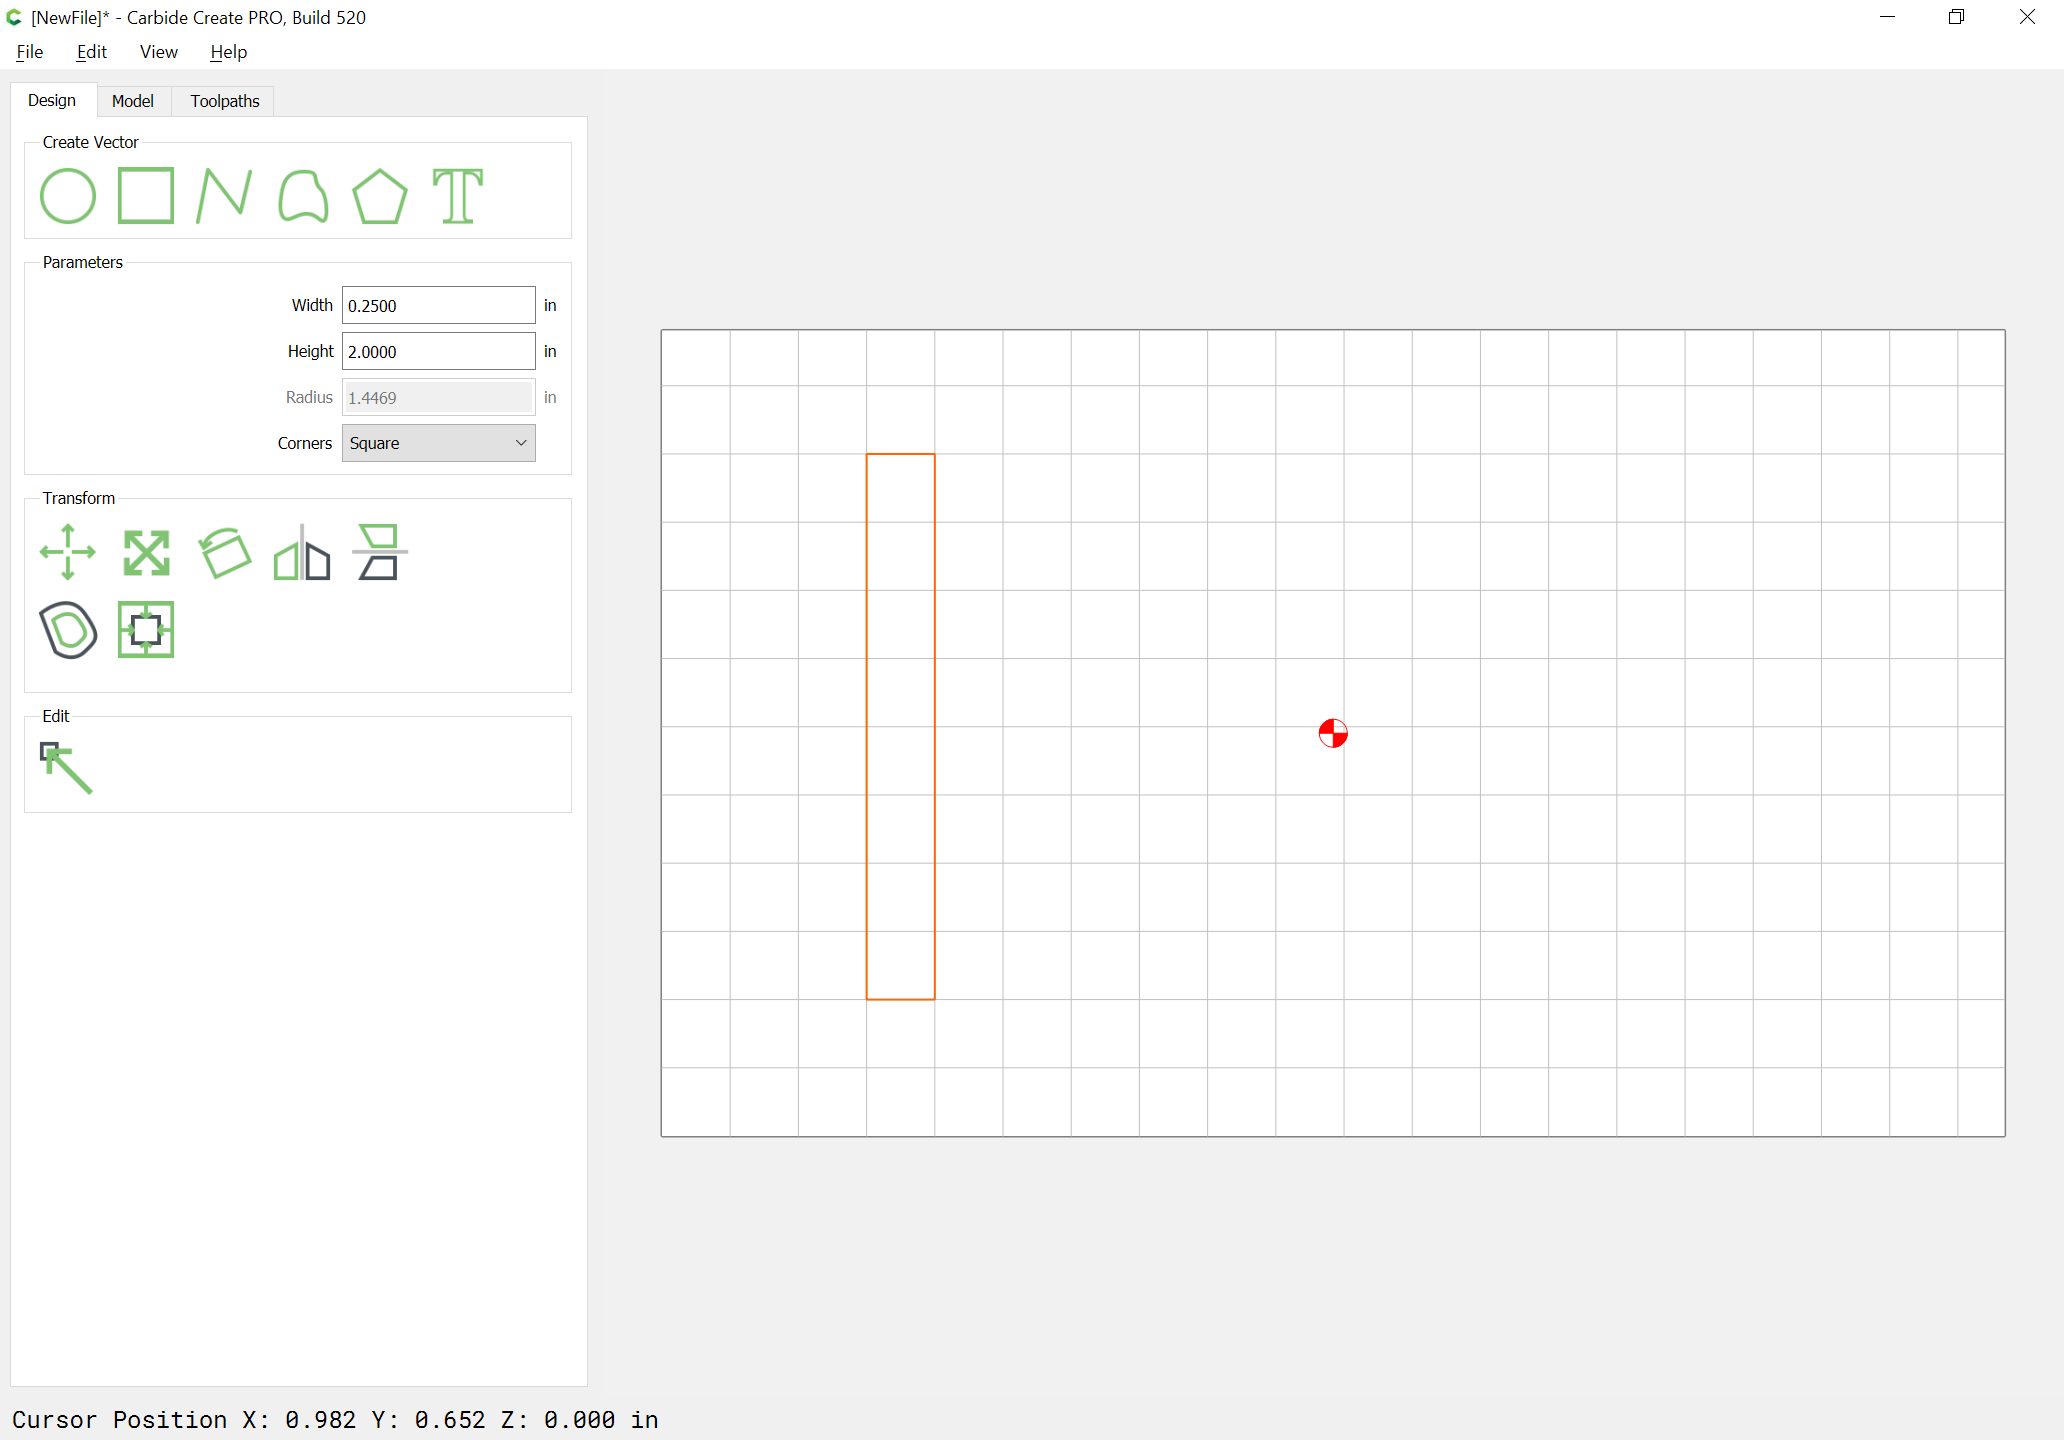
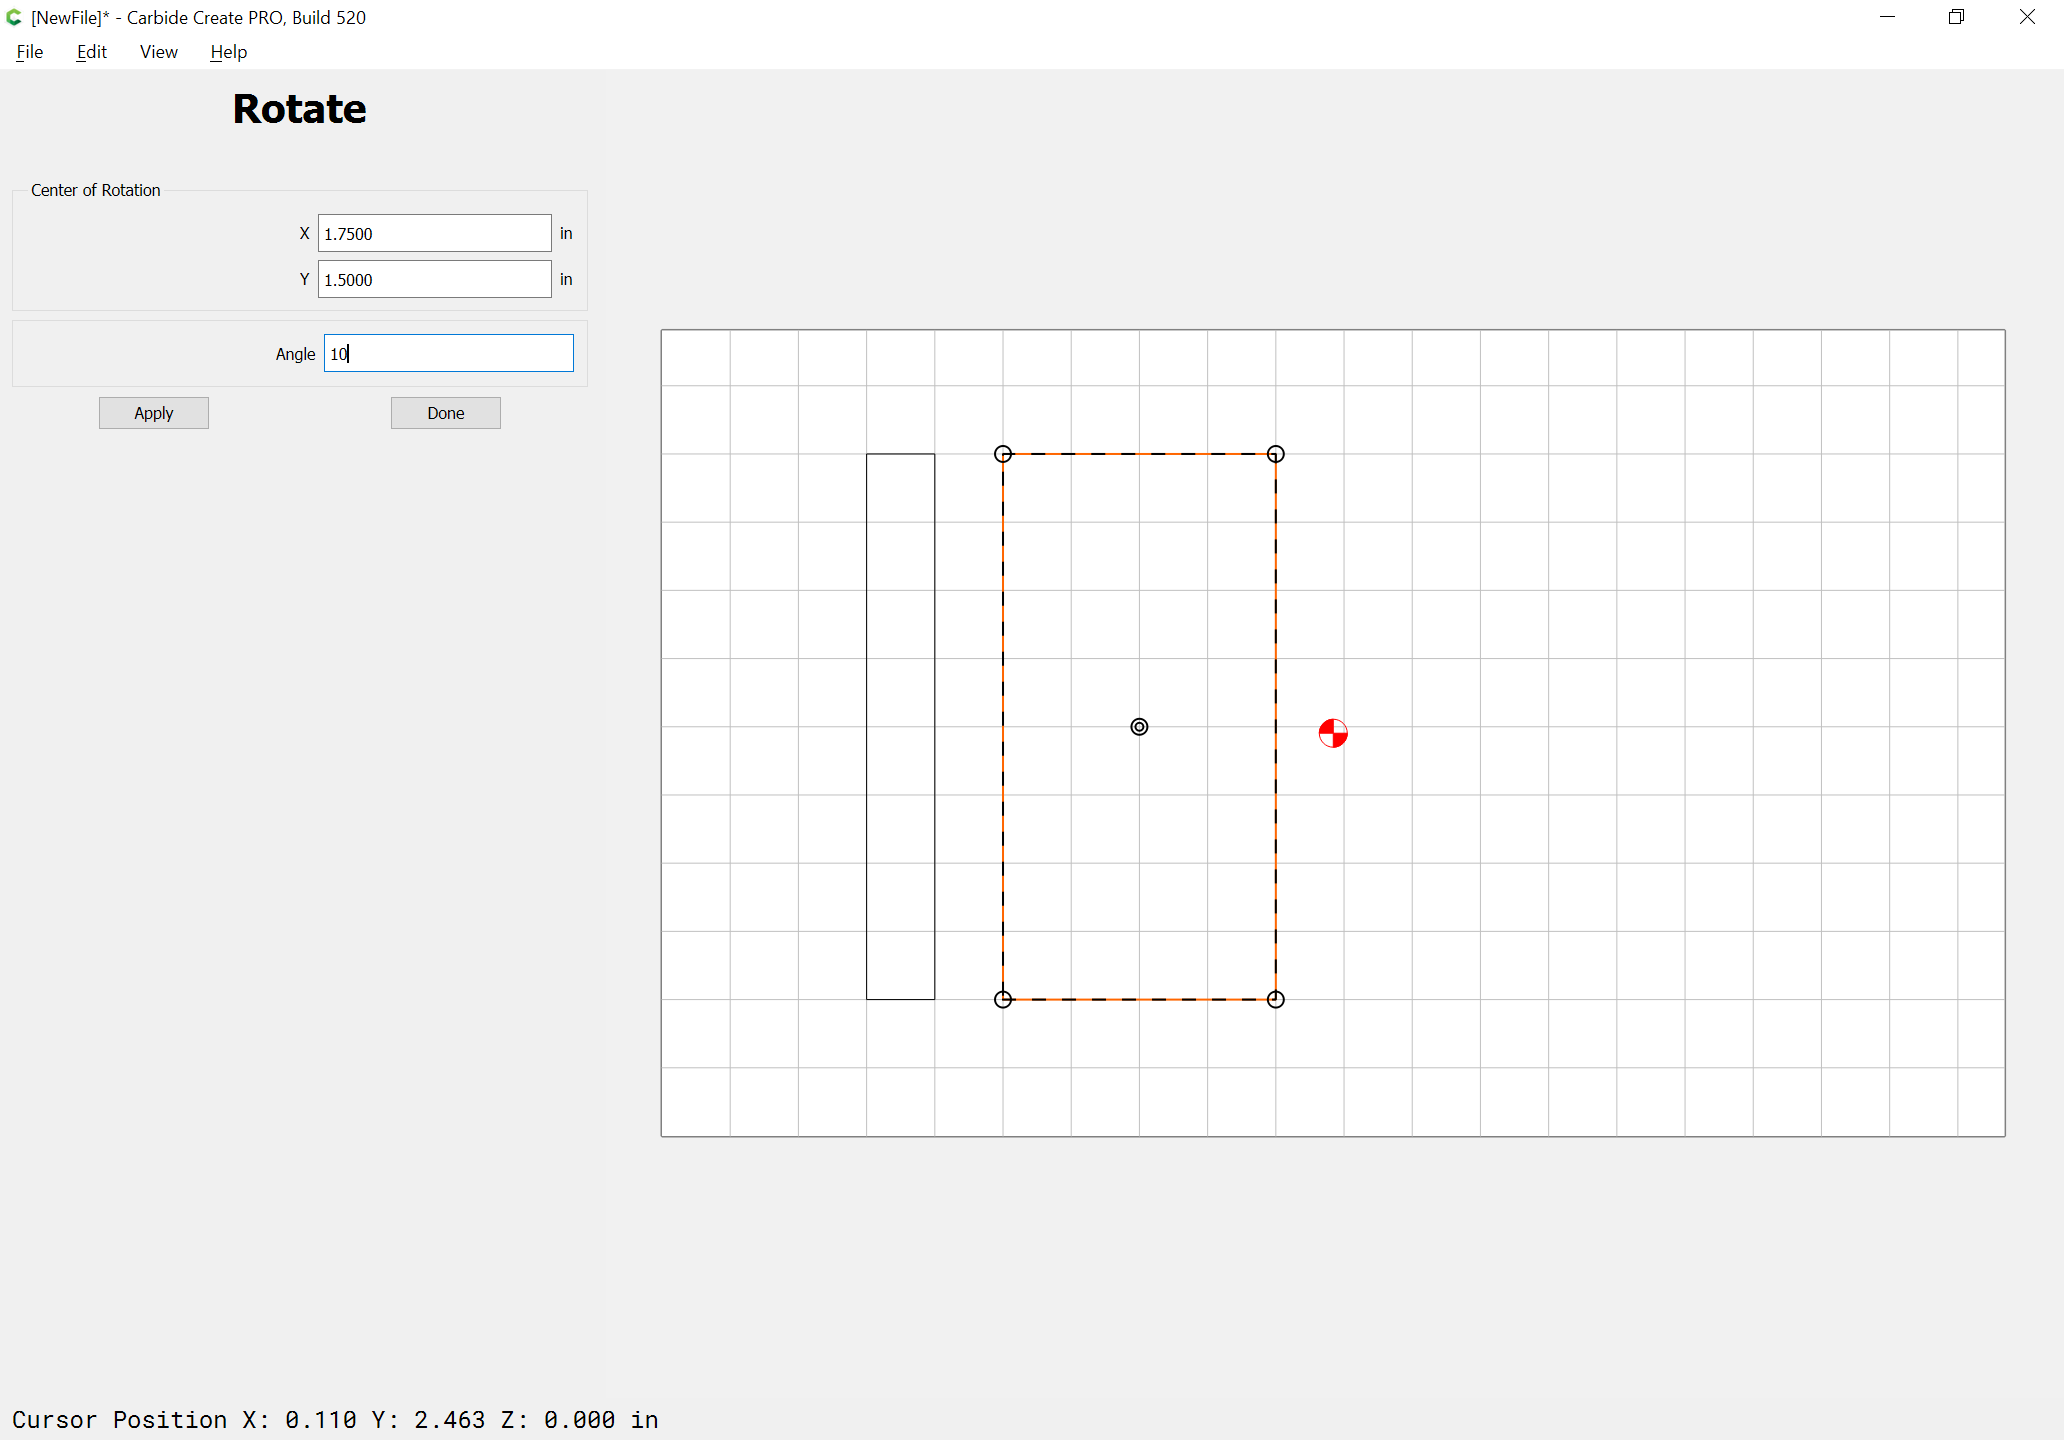
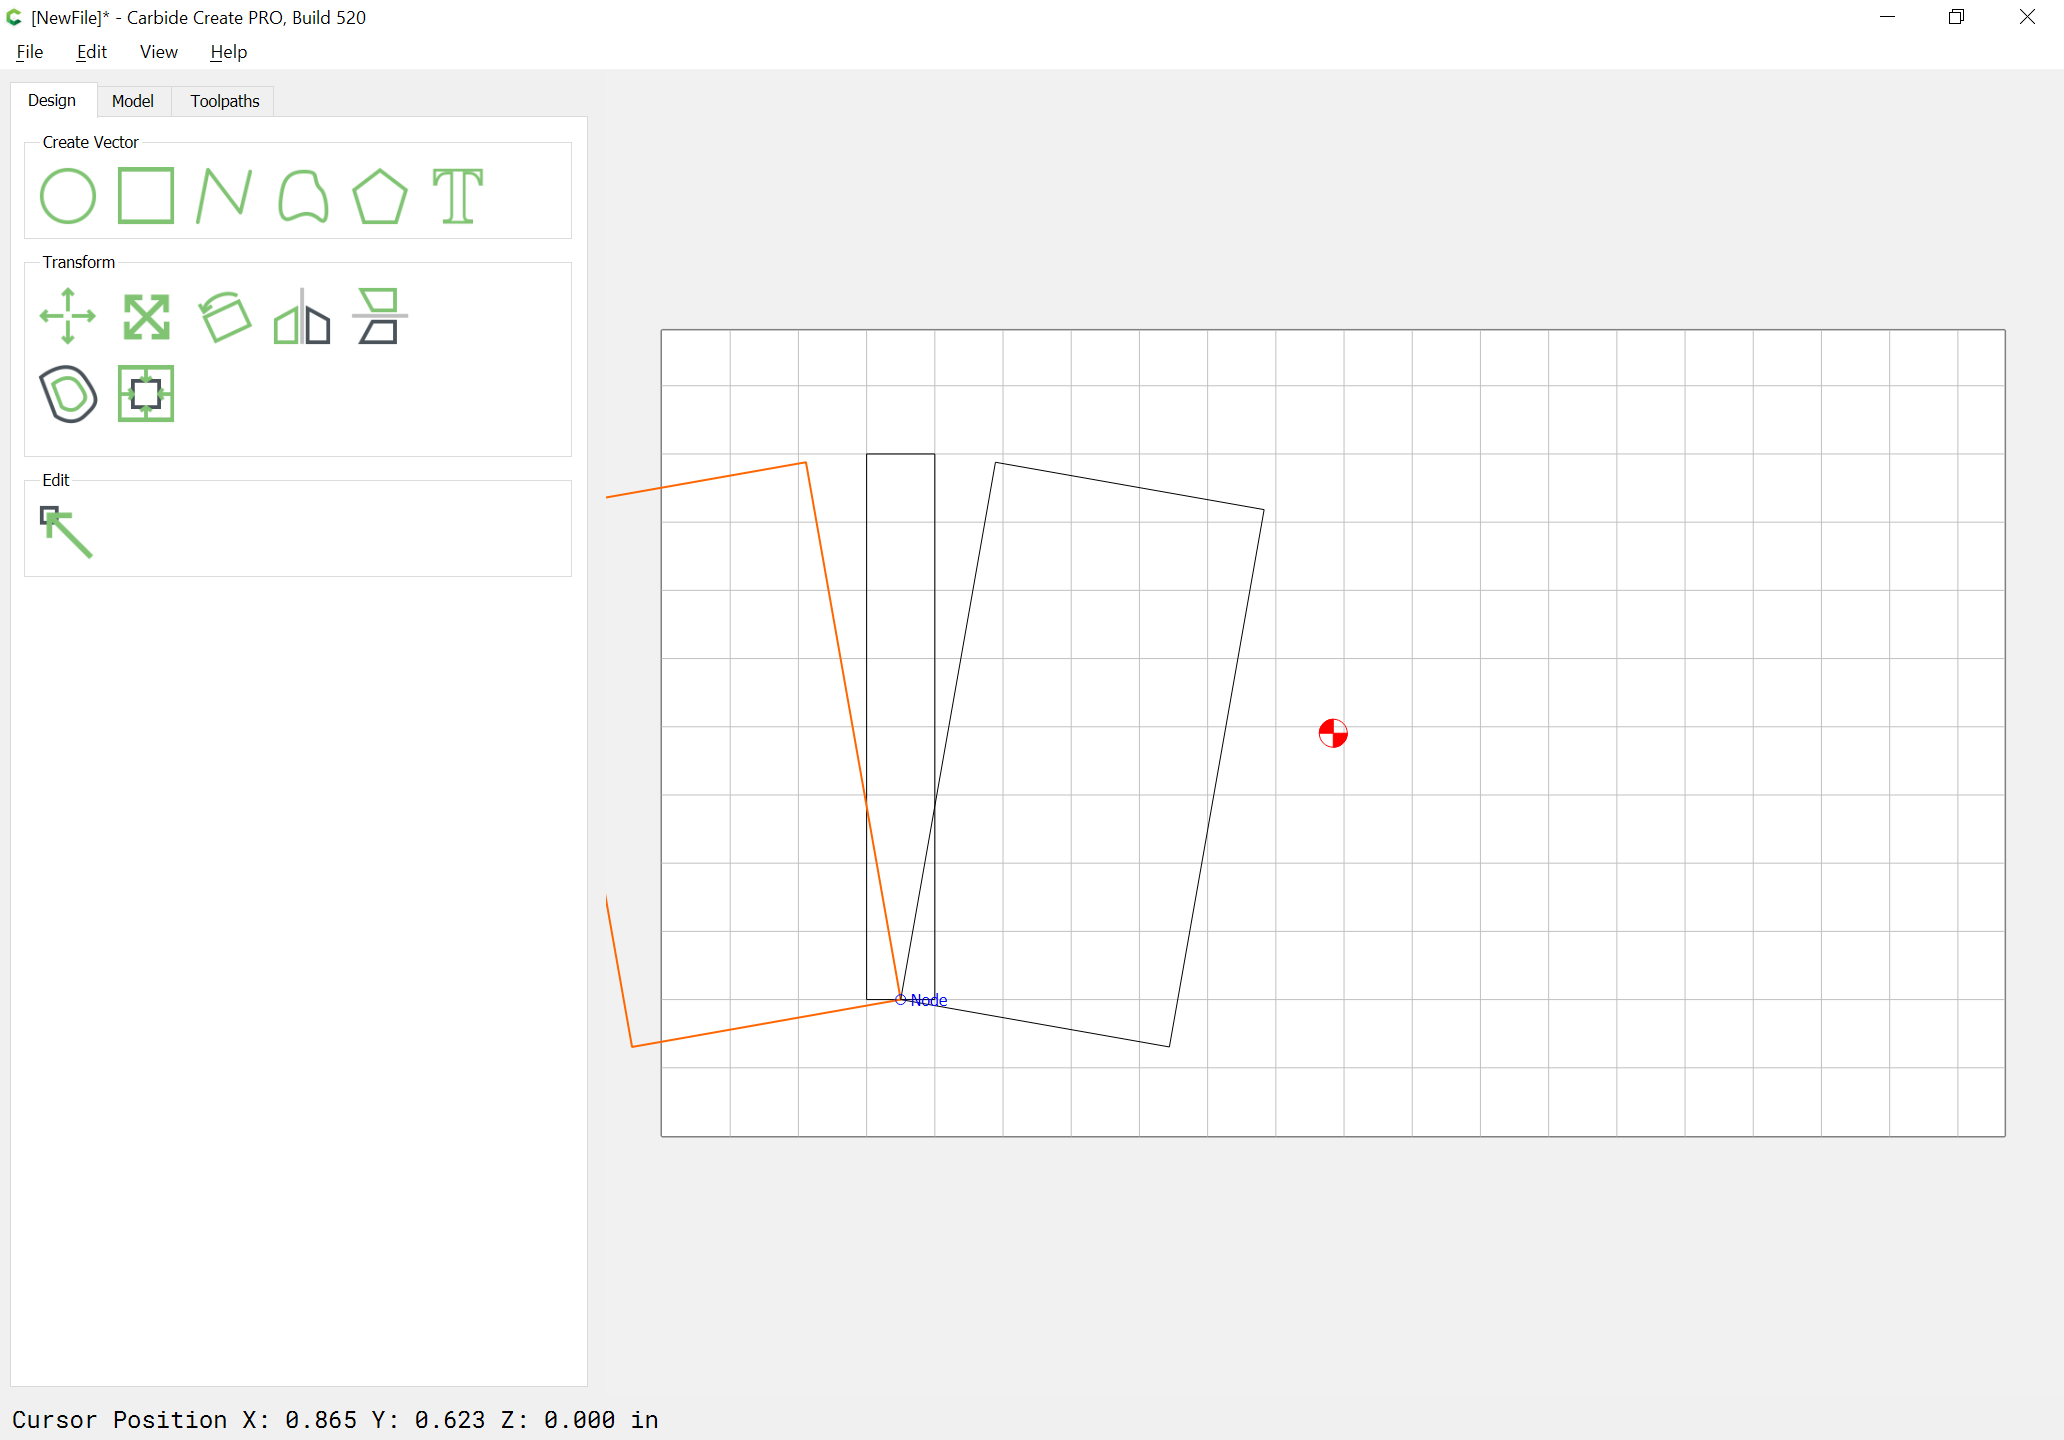
When entering tooling, if need be, I like to draw it up:
Apply, Done
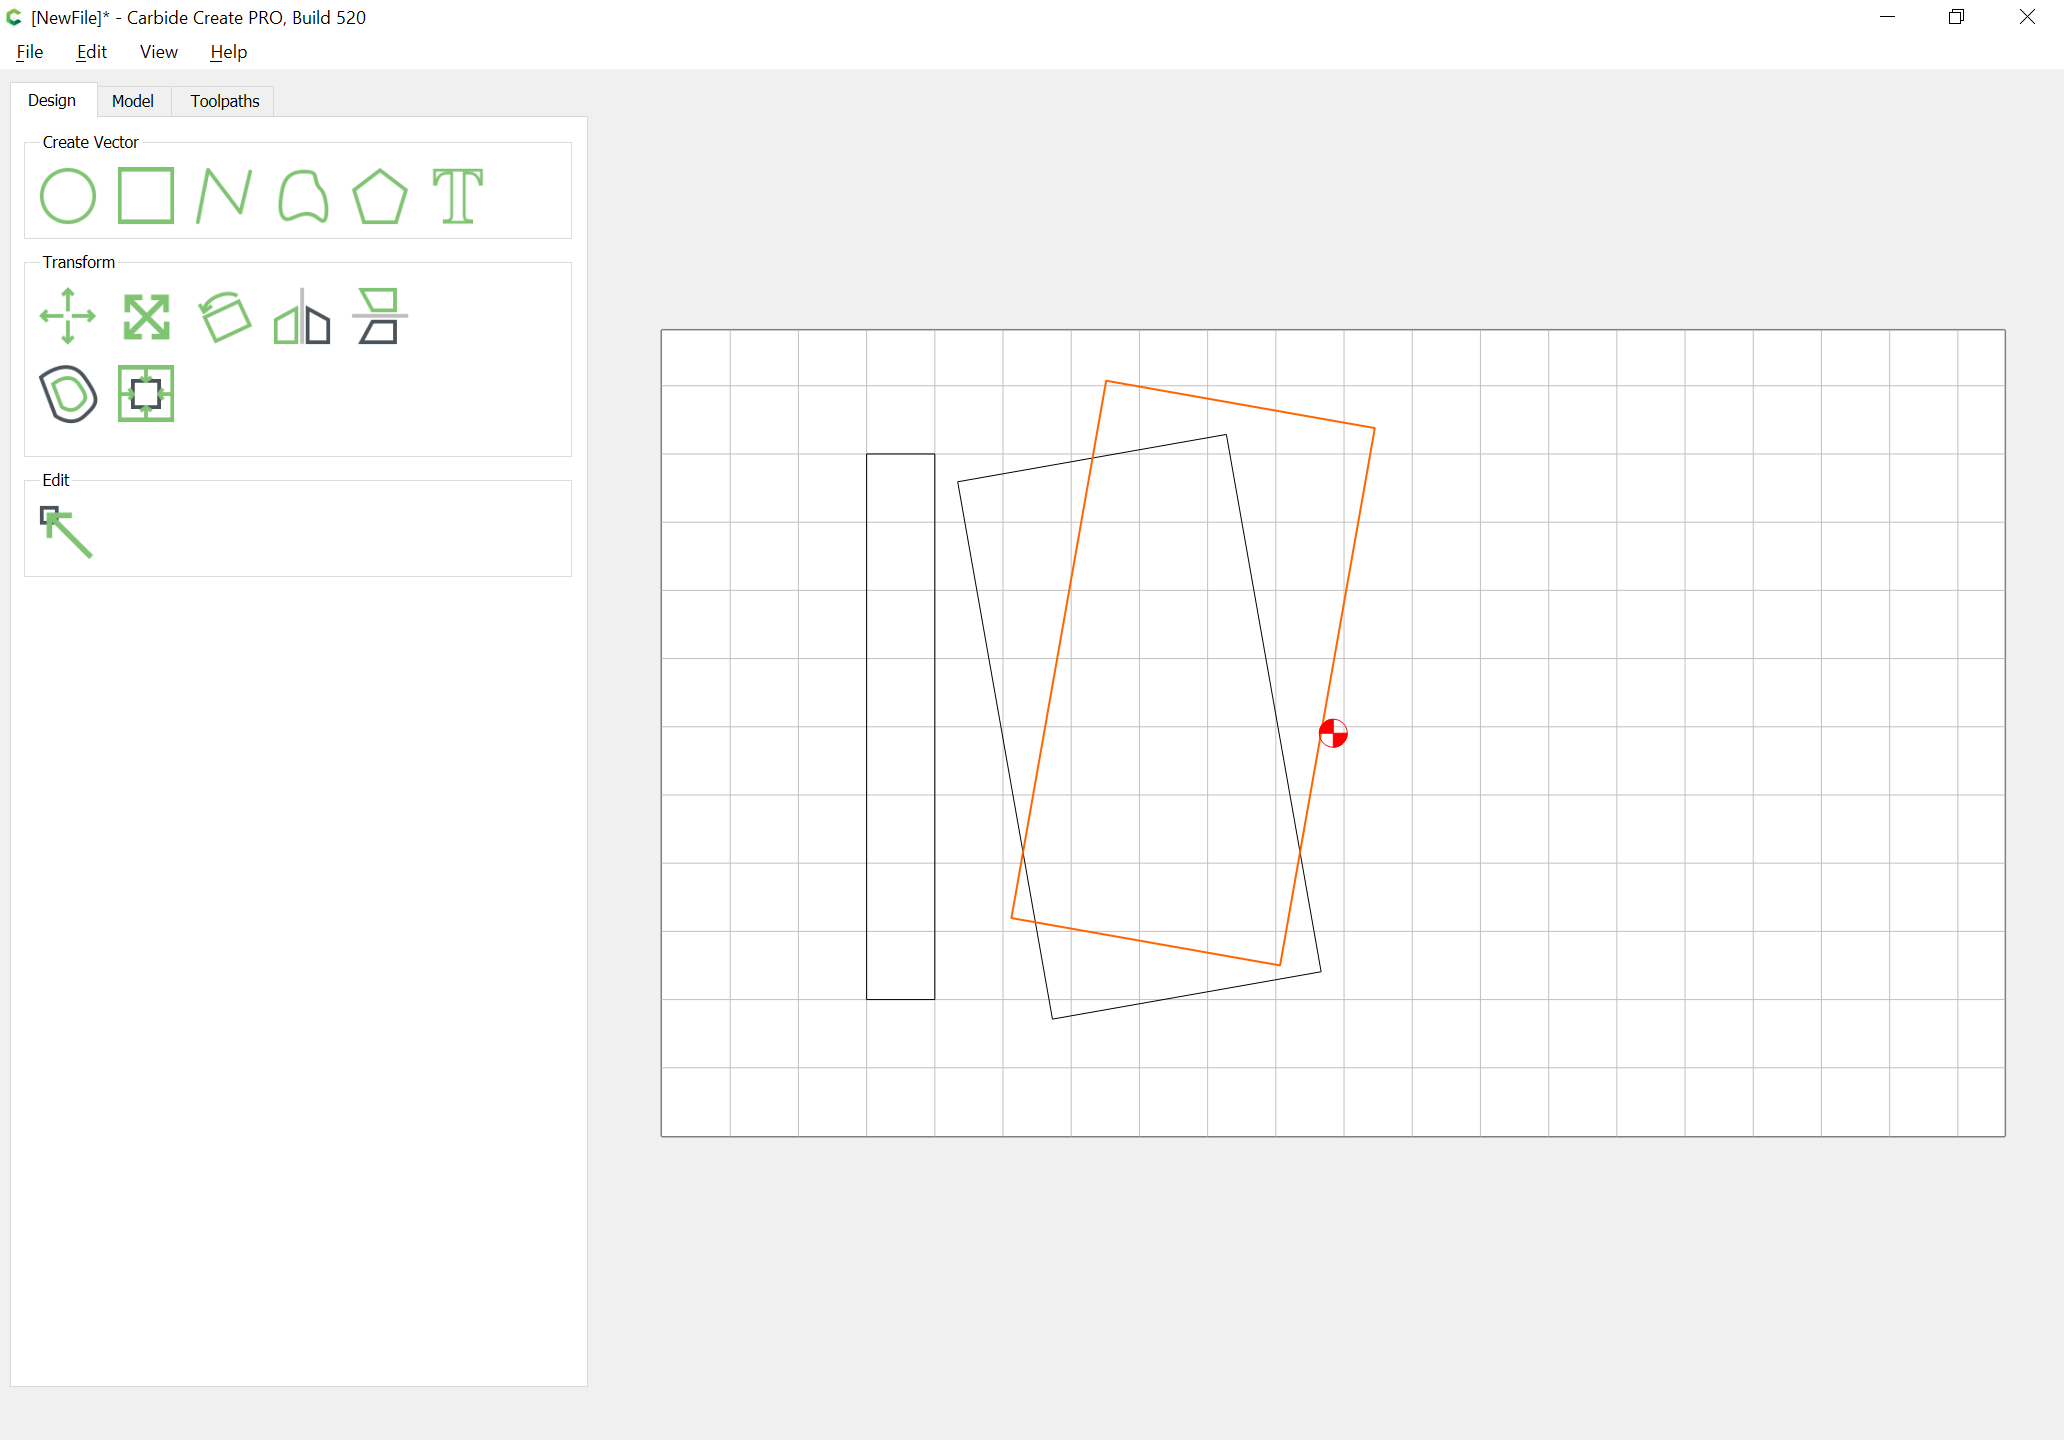
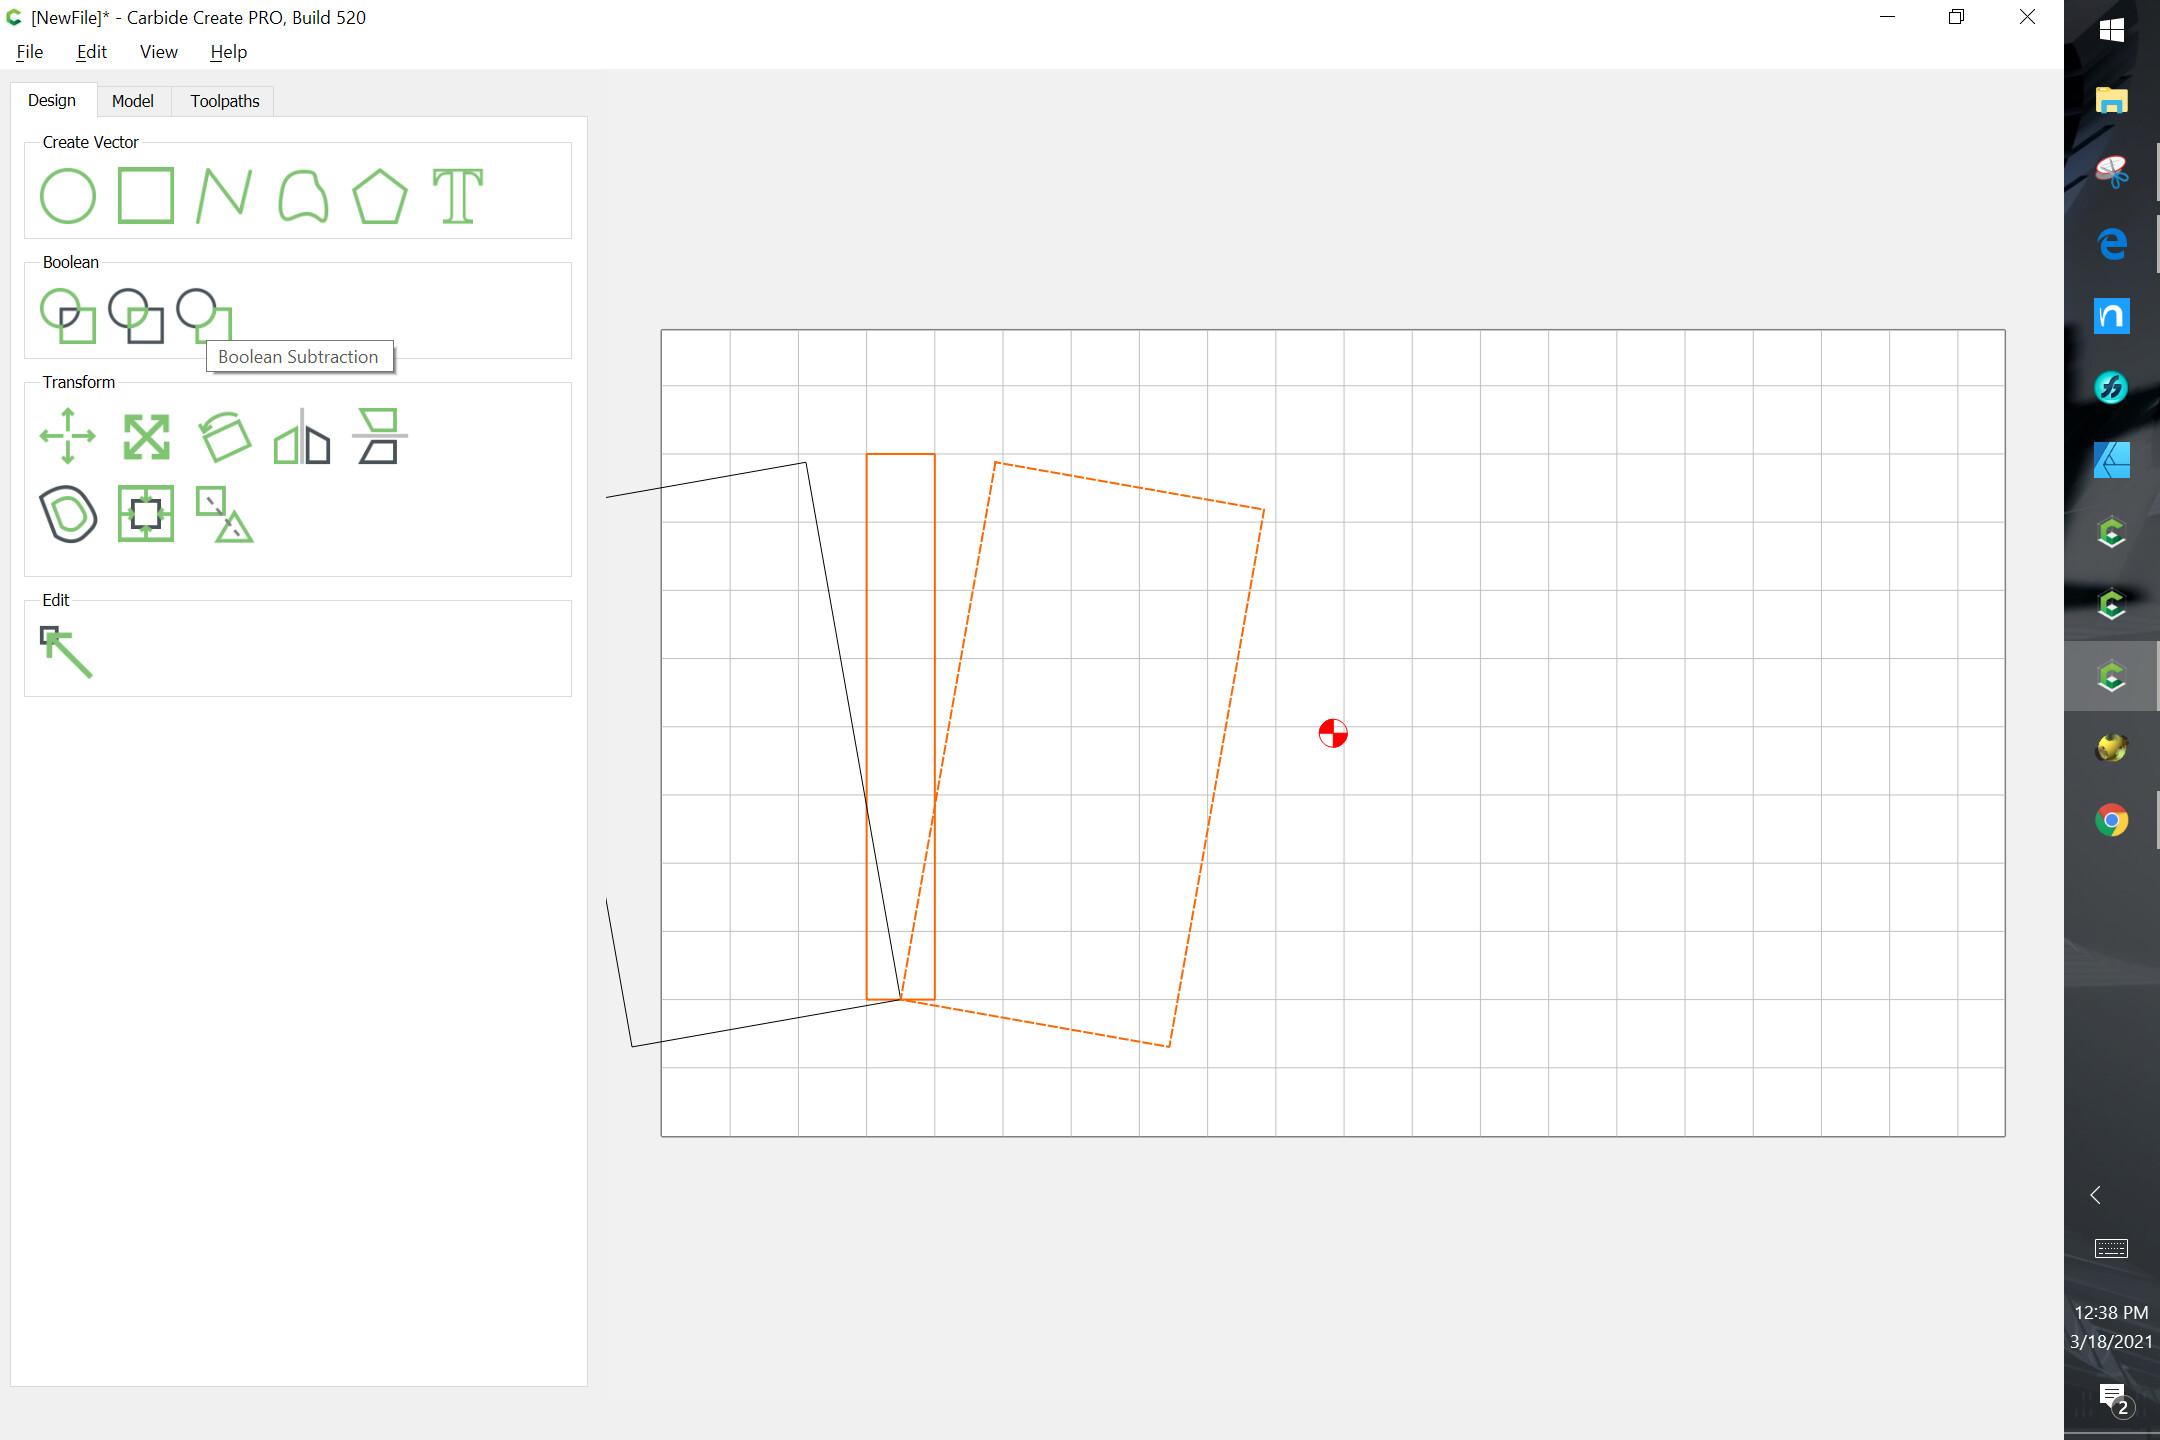
duplicate and mirror:
drag into registration w/ the first rectangle:
Select the rectangle and one of the canted one as key object:
and do Boolean Subtract:
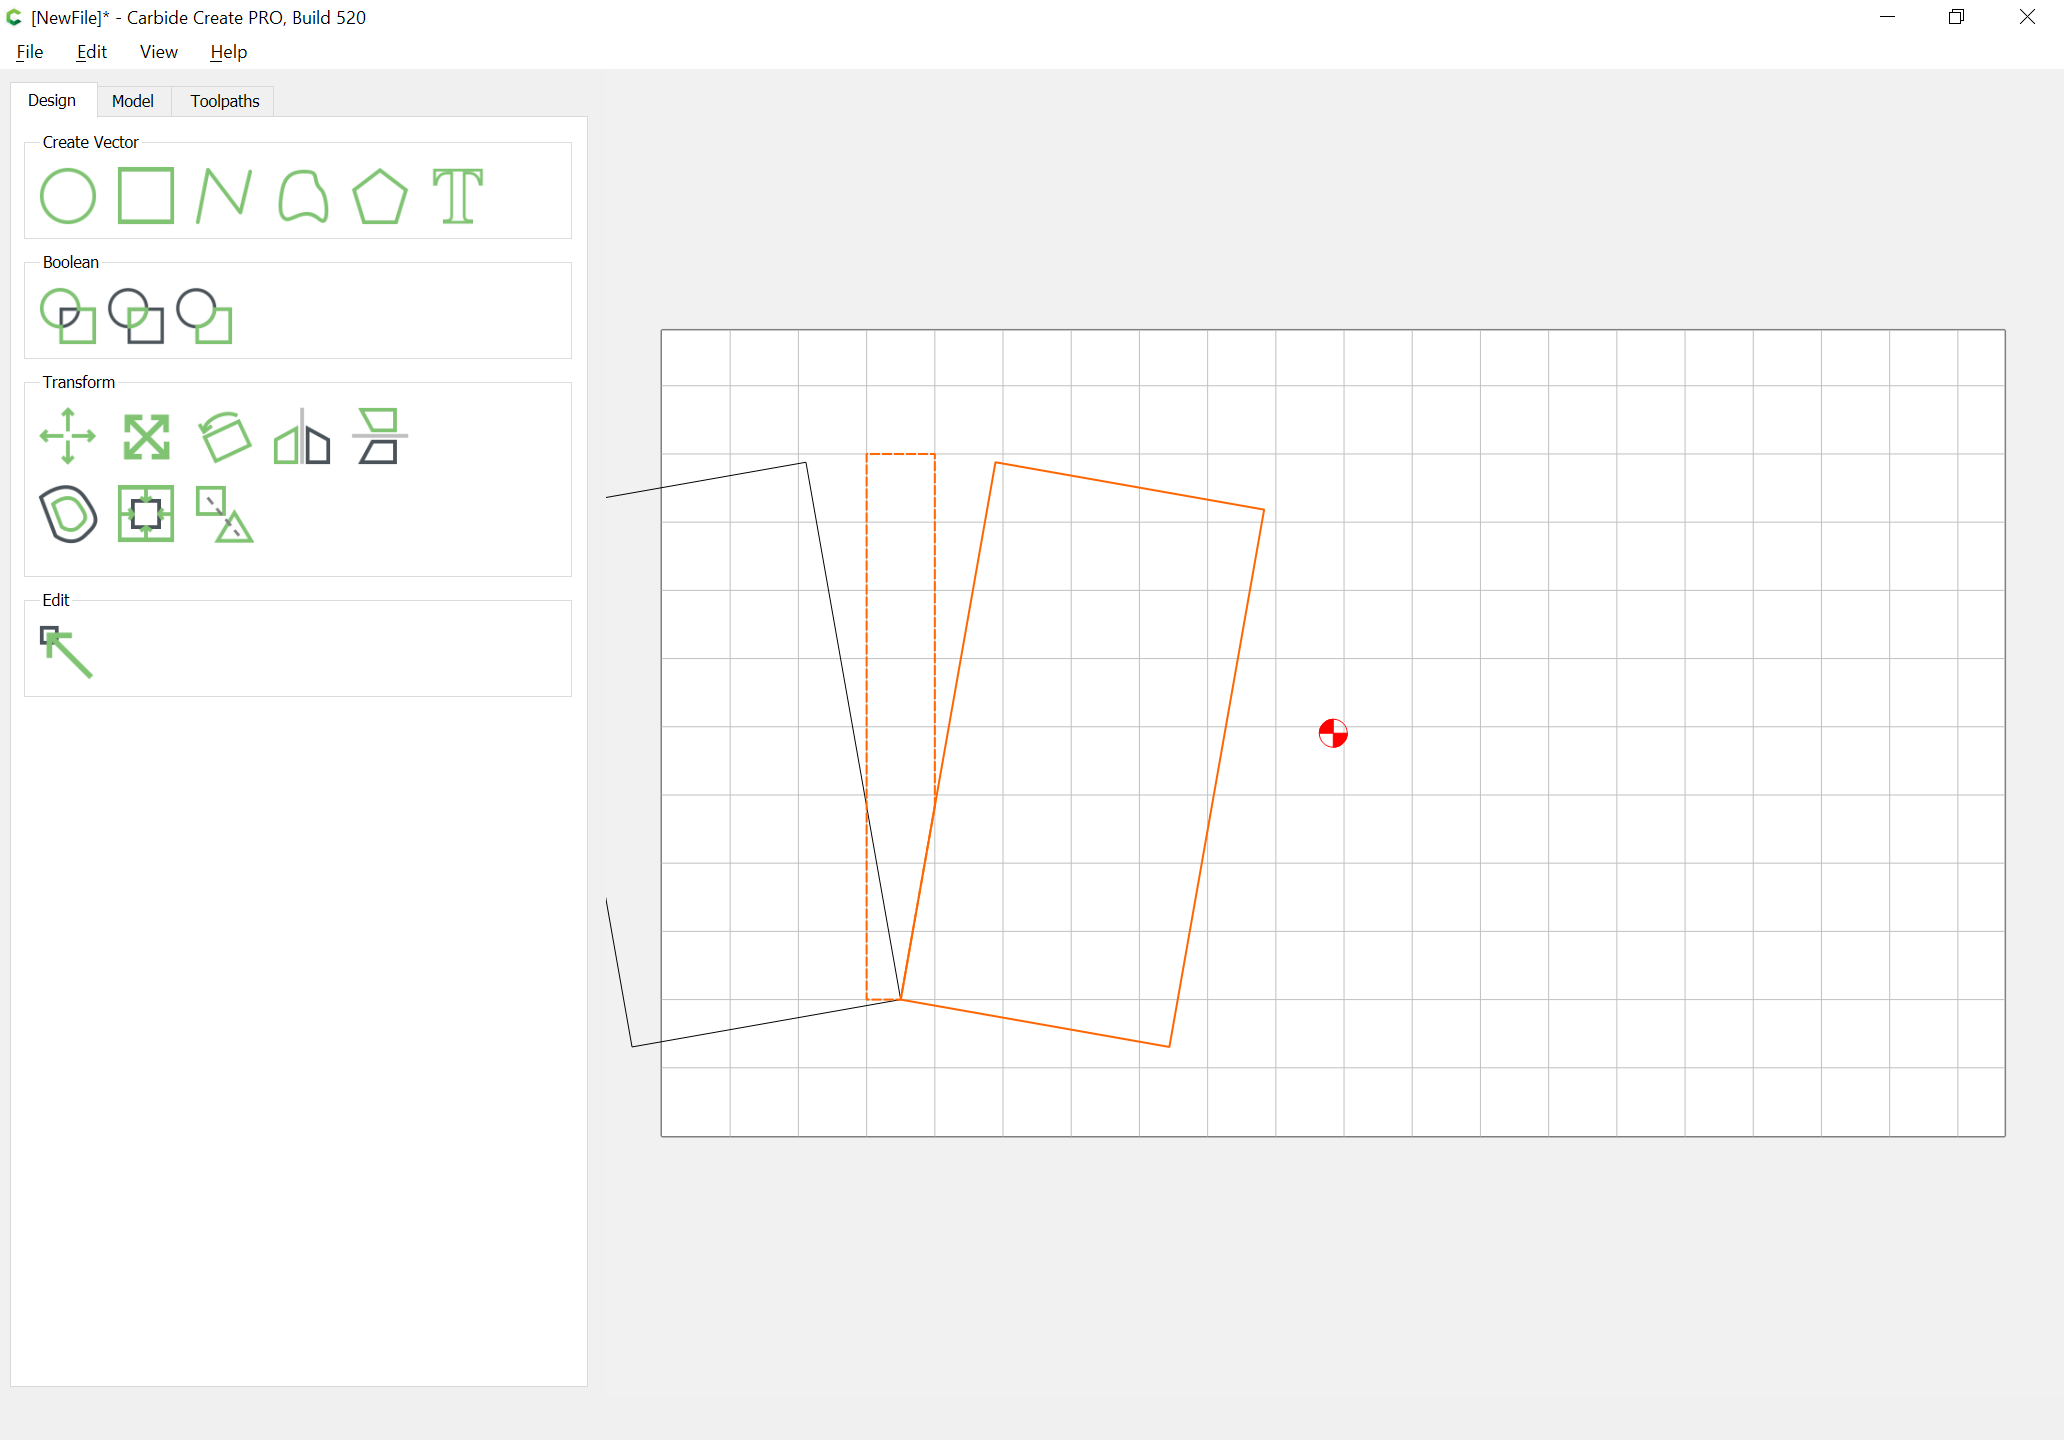
if need be delete the rectangle:
Repeat for the other:
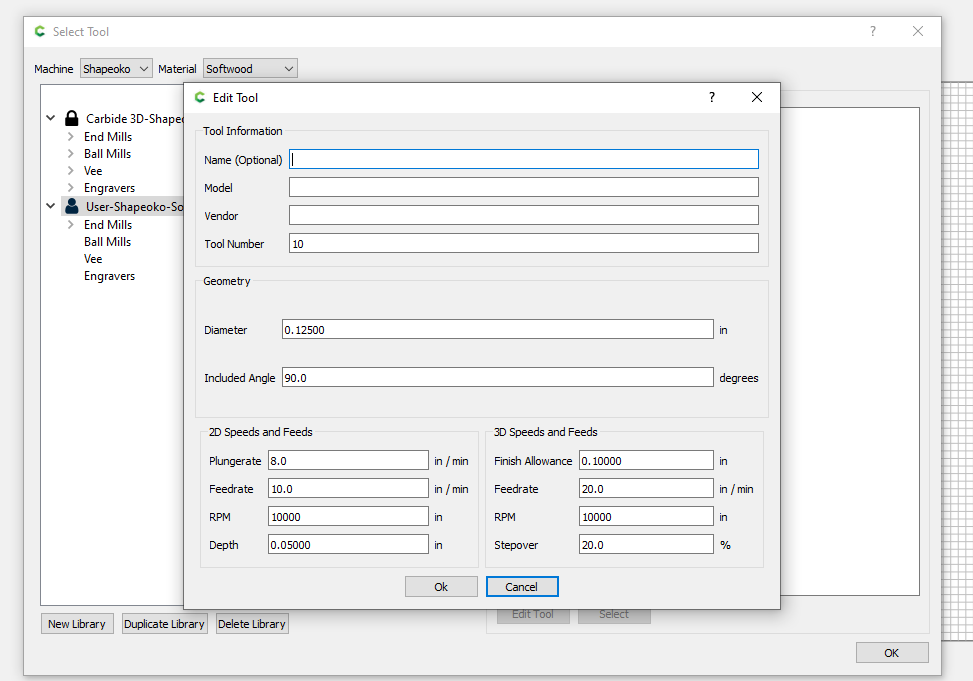
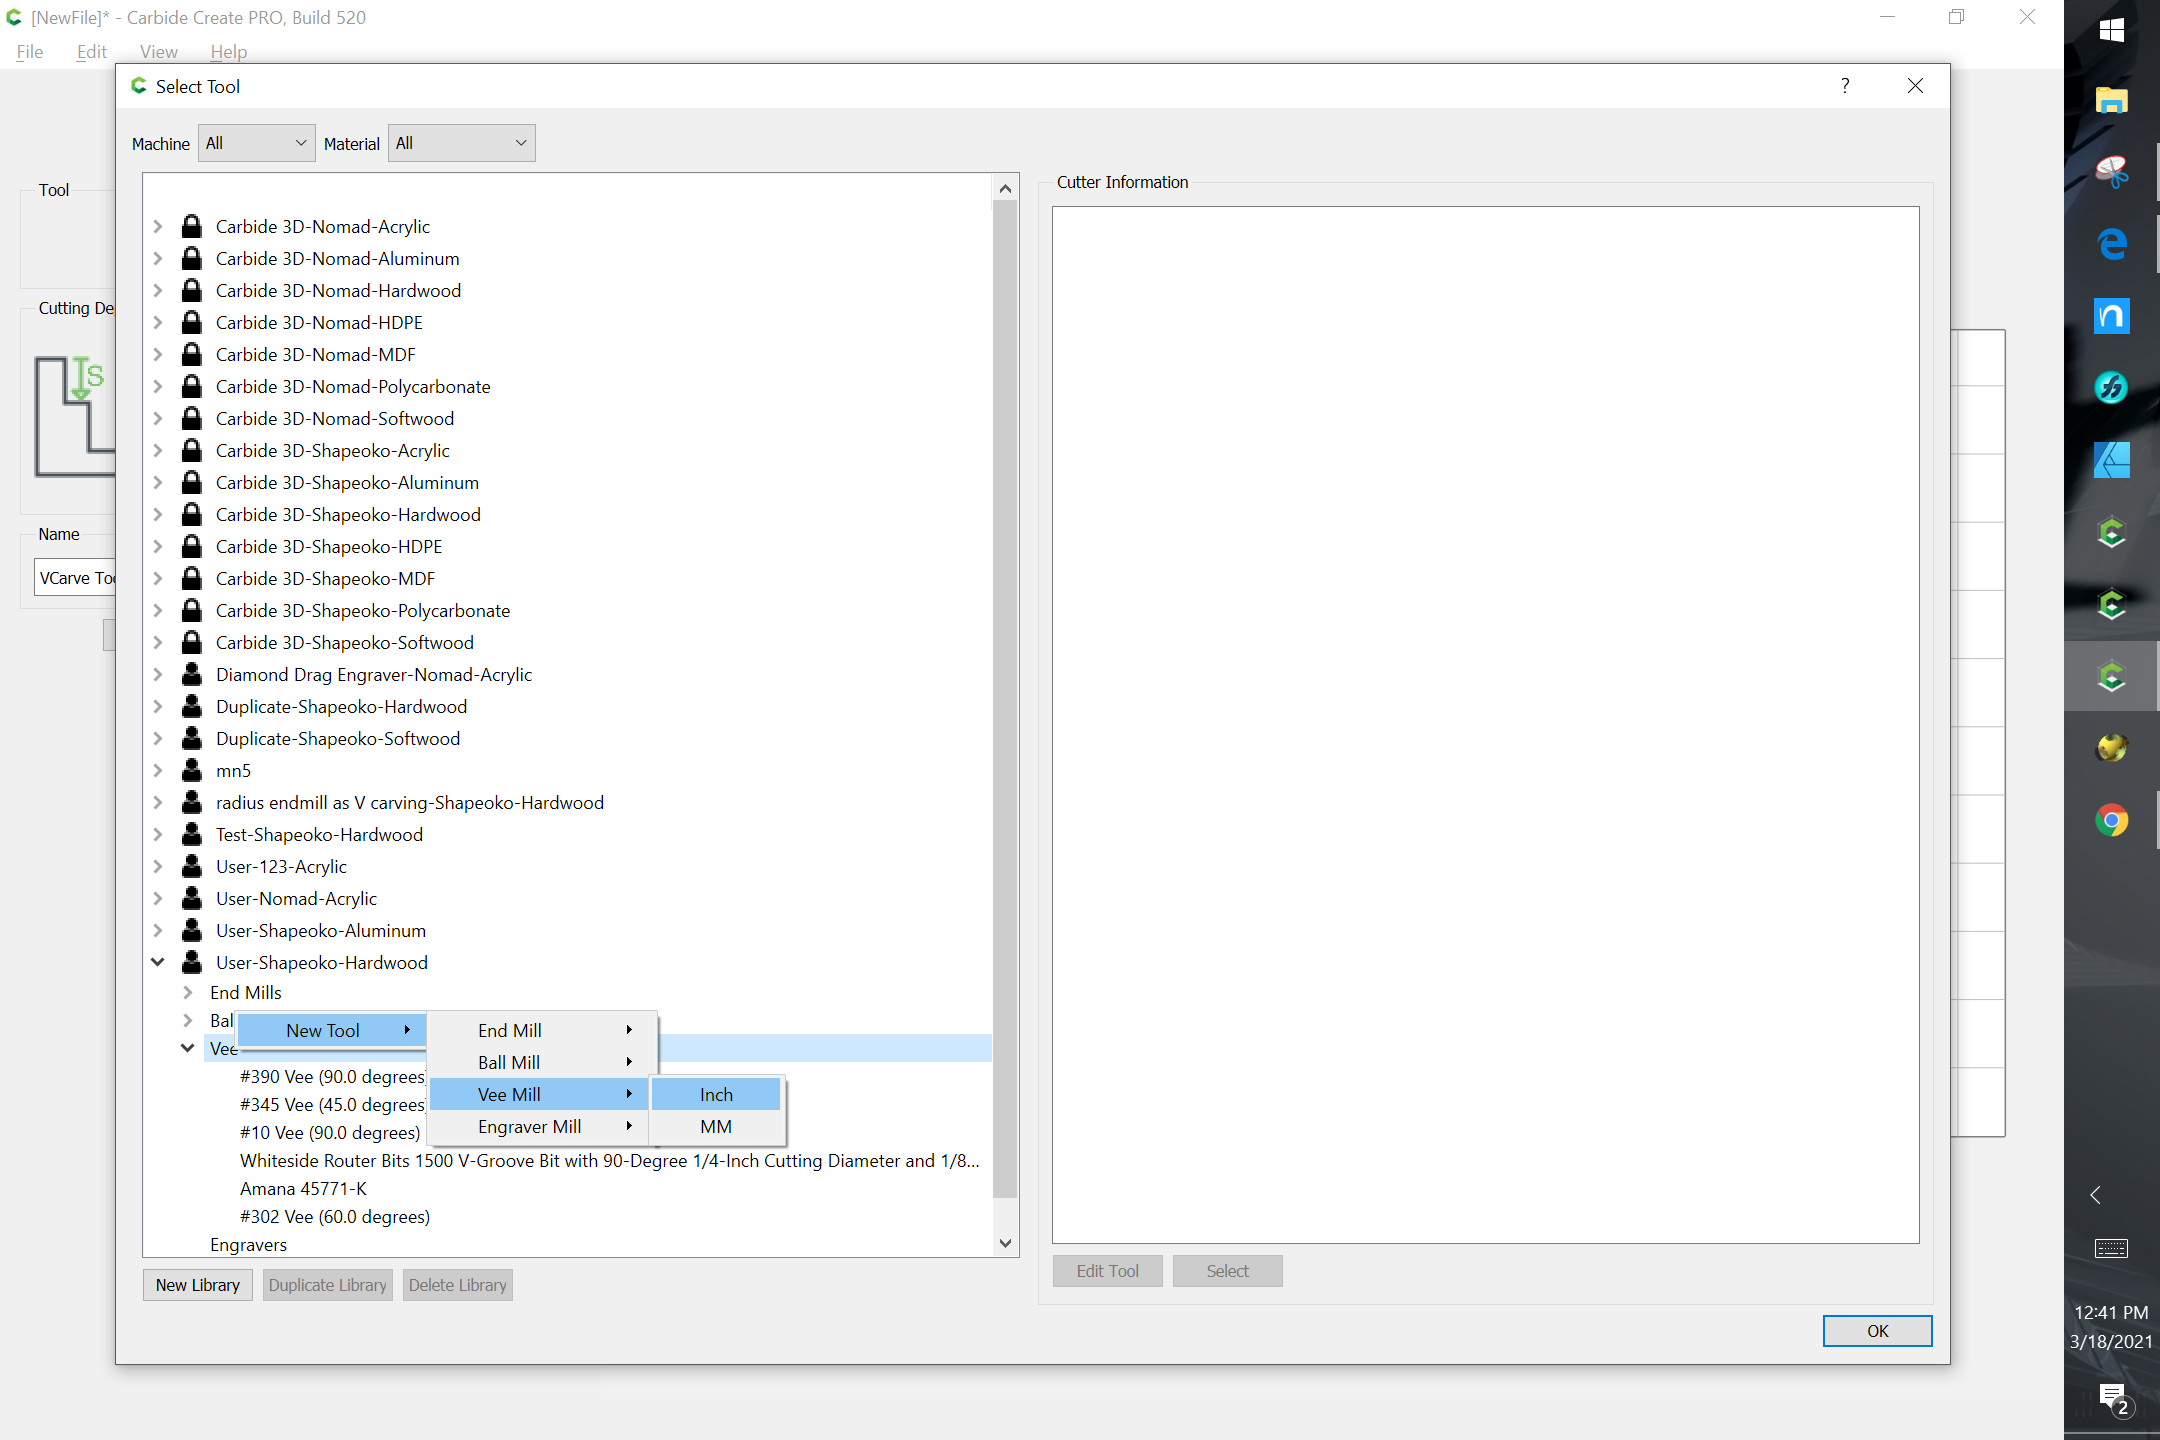
If need be, create a new Tool Library.
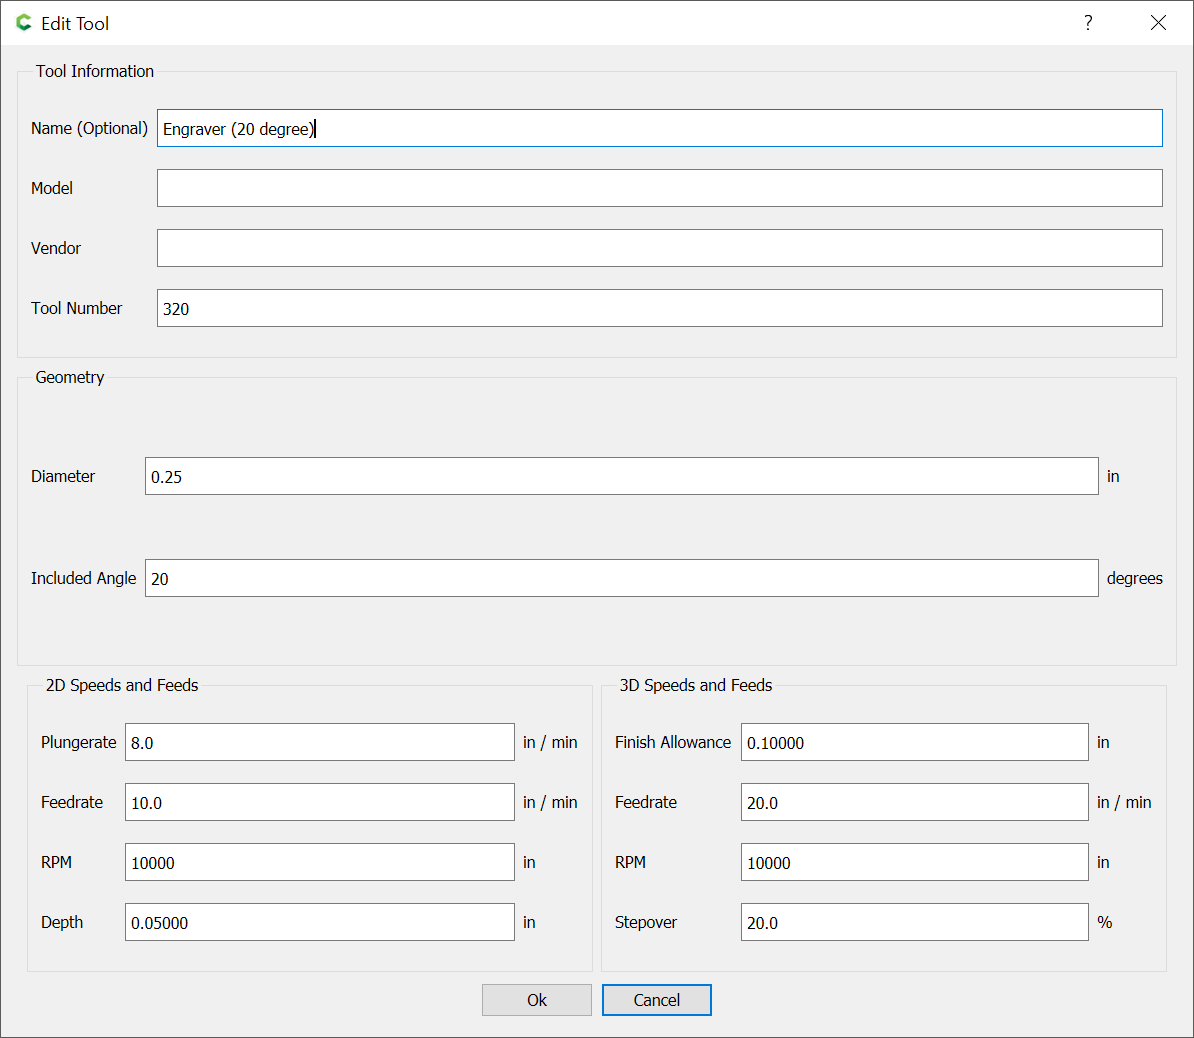
Measure the tool as needed to fill in the necessary values:
You’ll need to work up the feeds and speeds on your own for each material which you wish to cut with this tool.
William, how would you go about inserting the info for a tapered ball nose bit? Also 1/4 shank and may also have 20 degree angle but it does not reach a point as there may be 1/8 radius.
Do these just get entered as 1/8 ball nose with no reference to the taper as that option only becomes available for V bits.
Fusion database allows far more information but was curious if there was a better way of doing this in CC other than listing them as standard ball nose bits.
Carbide Create does not support tapered ball-nose endmills.
The work-around is to add them as a ball-nose endmill and use them in EDIT: projects (not tools) where the taper won’t cut into the geometry of the part.
The other way to enter tooling is to directly edit the CSV.
@WillAdams Thanks Will! As always, very helpful!
Is it safe to start with the following for cutting soft wood:
Plungerate: 10
Feedrate: 20
RPM: 10k
Depth: 0.03
Mark - what is that bit used for?
Hi Les,
Primarily I use it for 3d carving finishing path 1/4 shank with 0.118 diameter ball nose. Believe it is less prone to deflection etc. than a straight 0.118 or less ball nose.
This is from reading so I would bow to the knowledge of the experienced members of the forum.
Considerably so. From my experience, one can drive 3D finishing passes in wood at pretty high feedrates (also pushing RPM accordingly to maintain a decent chipload, if need be), and the best way is to use the feedrate override during the cut to find the limit (depending on how adventurous one feels, that is)
The feedrate override is a blessing in disguise. It has come in very handy from time to time when you realise you have been a bit too conservative on your feedrate. No need to stop, just nudge it up through the range accordingly.
Hey Julian - where can I find the Feedrate Override in the program?
I don’t suppose you can override the stepover at the same time? Thought not. I haven’t dared change it in the job setup, but I can swap an eighth for a sixteenth bit and the letters I’m cutting round are a bit fatter at the end, but no other difference! It all takes a very long time… 
I think @Julien was referring to the feed rate override in Carbide Motion. When running your GCode file you can ramp things up or down dynamically to see if the machine “feels” (usually sounds) better at different rates
That
Nope, you need to go back to CAM, regenerate G-code and rerun. Experiment is key to figure out how far you can push the value
Ah, I understand. Of course I forgot that I am using Carbide Create Pro for the design and g-code, but Planet CNC for the machine, since the controller card comes from them. It never occurred to me to look for such an override, but with a bit of luck it’s in that program too.
Thank you. 
This topic was automatically closed 30 days after the last reply. New replies are no longer allowed.