Another question is about repeatability. I have 3 tool changes for this part,
.25’’ for adaptive, then .125’’ for marking of the holes to drill, then back to 25’’ for contour.
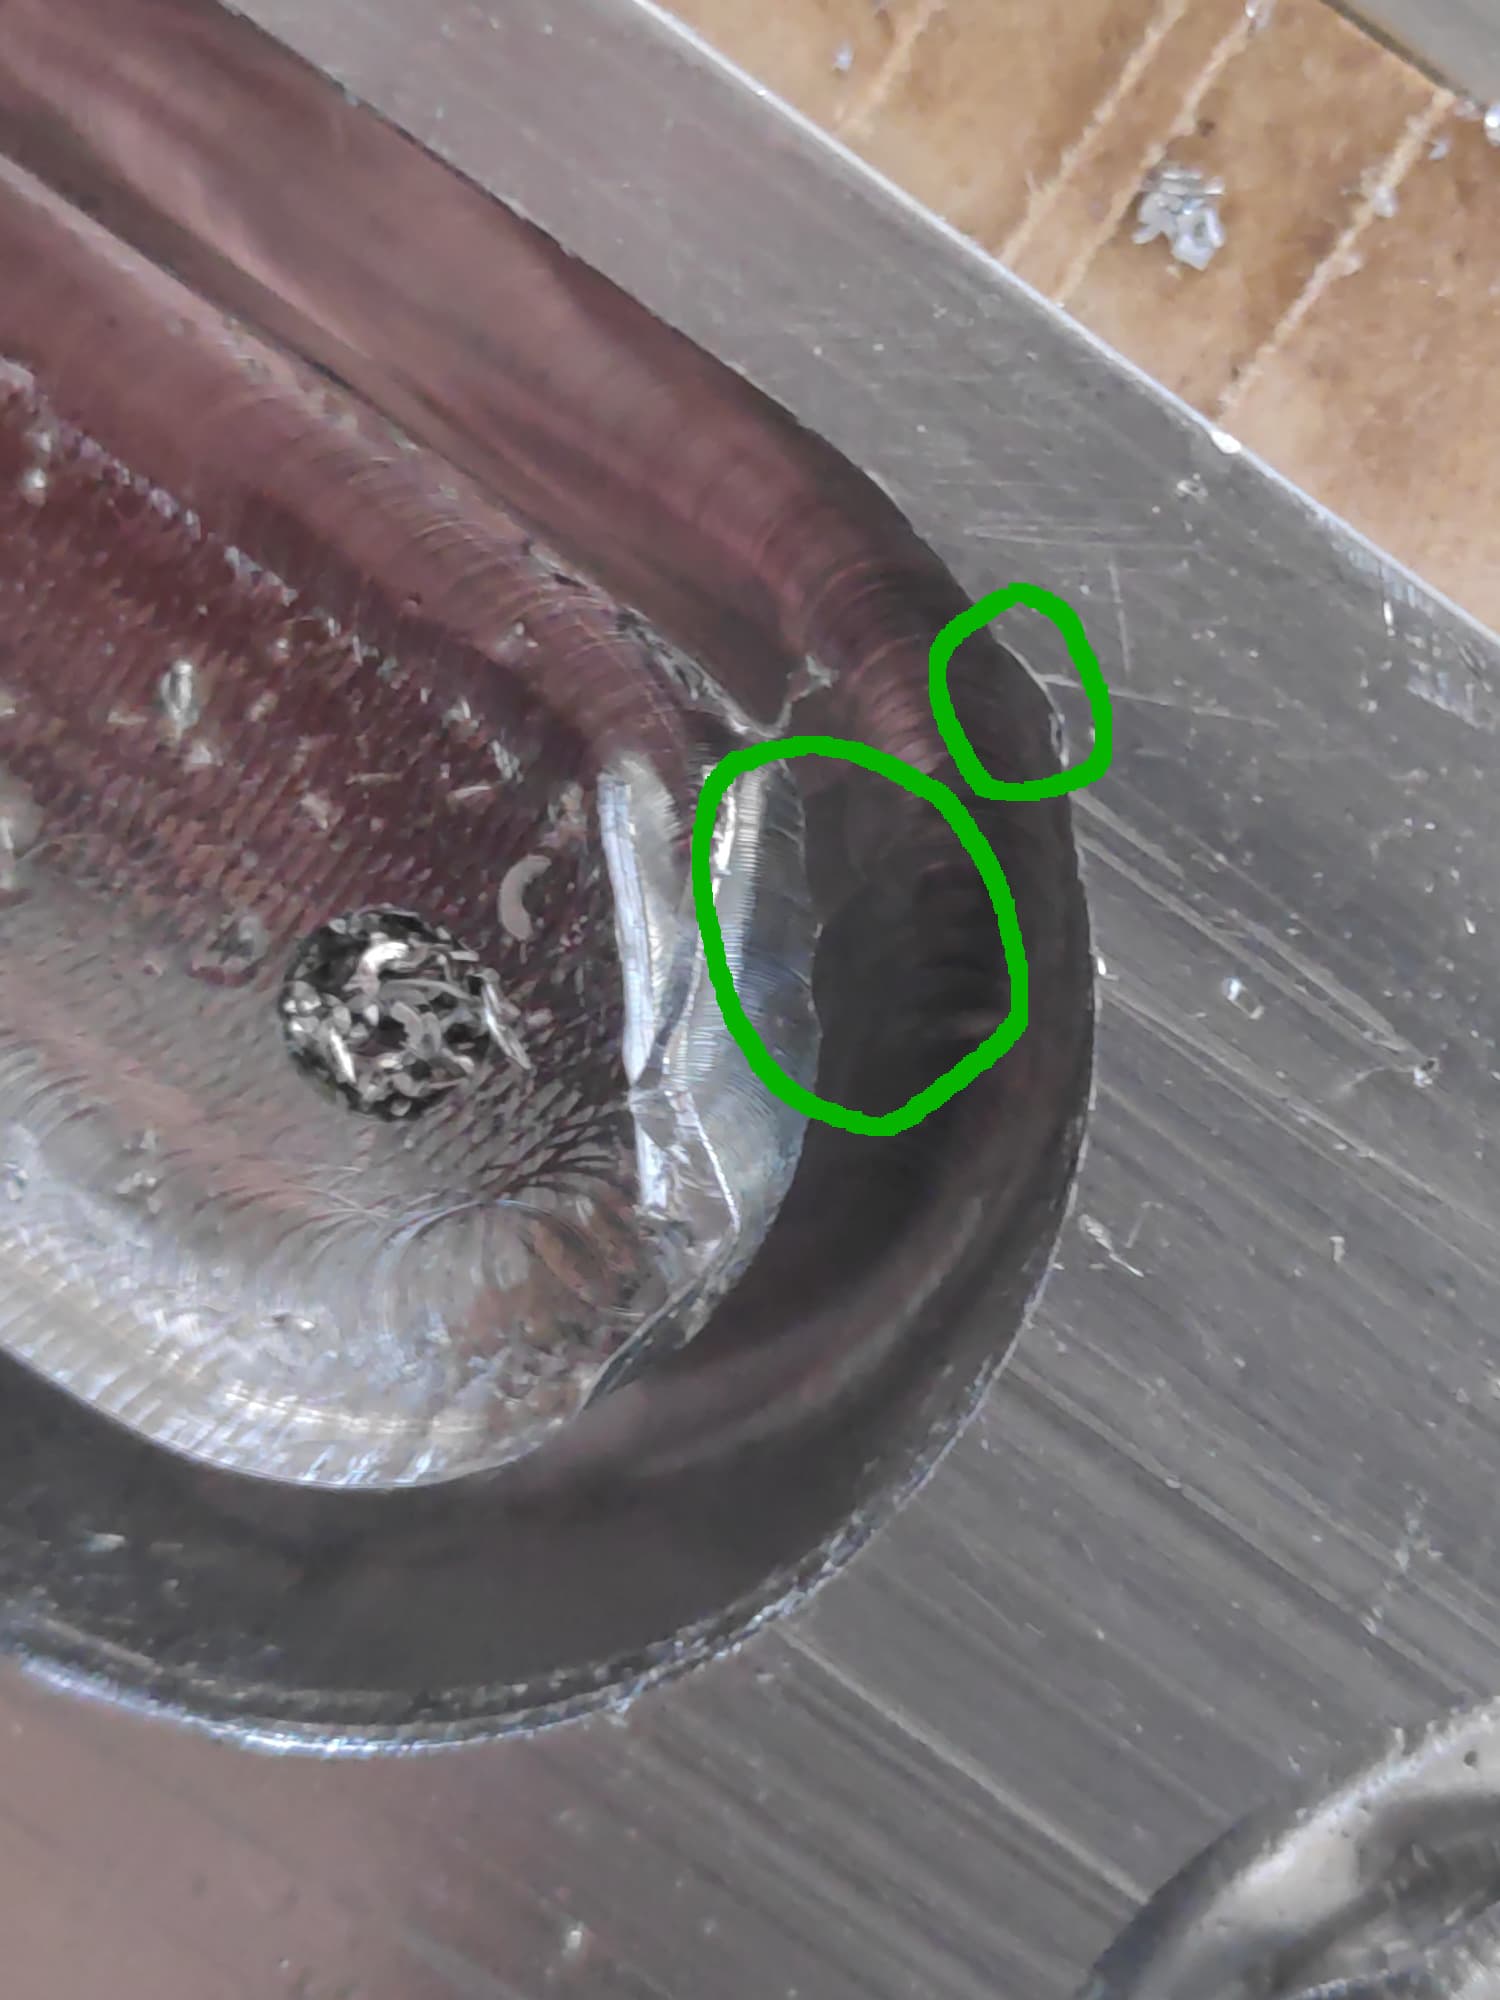
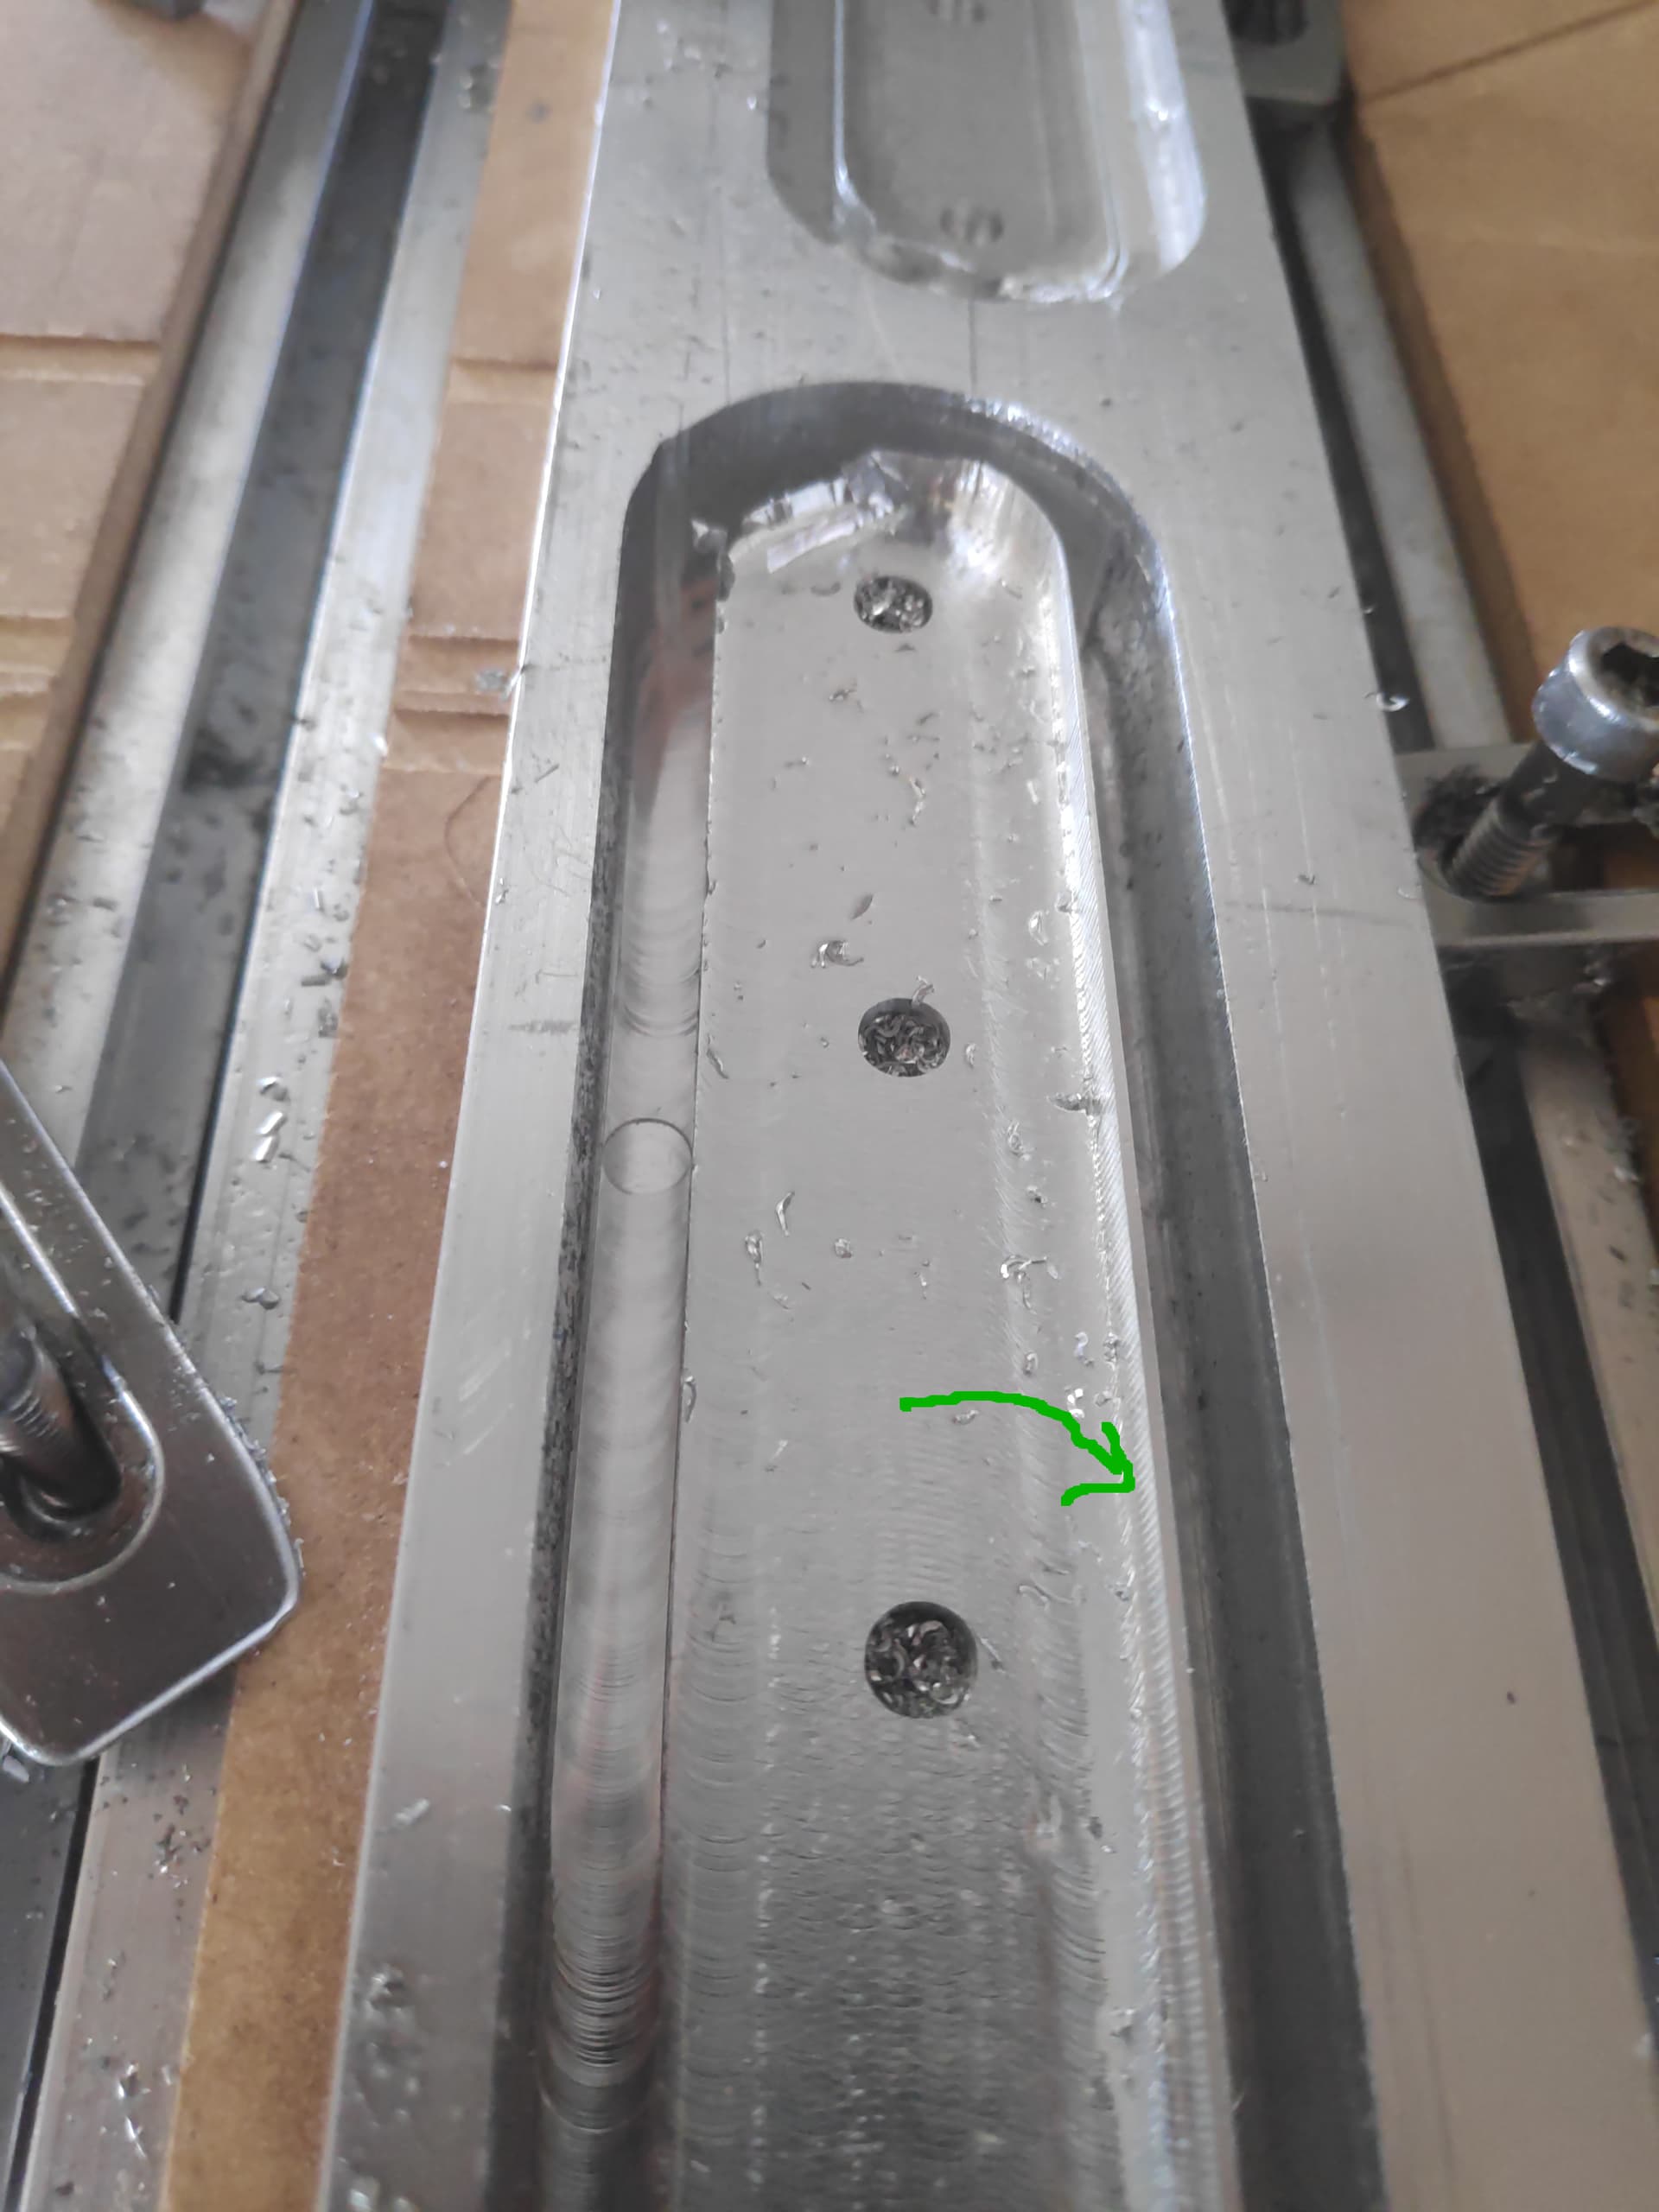
The issue is that no matter if I home the machine or not between tool changes, I’m having these small fraction of mm differences in what each tool is doing… how do you ensure you are always zeroed correctly?
last question is about ramping speeds… I’m doing a helix ramp into these hole markers with #274Z .125" and I’m doing this mega slowly for safety 10000RPM (11inch/300mm /min) with 2 degrees angle, and would like to kick it up a bit, even though it doesn’t sound like the machine is too happy about this ramping already… Is there a rule of thumb on how to calculate ramping feeds and angles?
The grade of aluminum can make quite a difference. For 6061-T6 with a 1/4 single O-flute ZrN coated, I use about 9000 RPM & ~15 IPM. I can usually sneak the feedrate up a bit unless it’s burying the cutter more than the WOC.
I think your 18000 RPM may be generating too much heat. Are you using coolant/lube?
You can calculate angle from hole dia., tool dia., and pitch. Pitch should be the same as your depth of cut.
a = tan-1(π * D / P)
a = angle
D = Hole dia - cutter dia
P = Pitch (depth of cut)
I typically use an angle of 1° or less.
If the tool is going to be fully embedded, i.e. a 0.25" hole with 0.125 tool with no pilot hole, you should use about half of a normal DOC.
Great info tnx, so basically I should slow down, I’m not using some automated coolant, my dust extractor is pulling all the chips out and I’m spraying cutting oil by hand…
I’ll try 20imp for a start, since 48 contour I’m doing seems to almost work well, 96ipm adaptive is actually working flawleslly as far as I can tell. 10k is minimum rpm my makita can do so I figure shouldn’t go too slow since my chips will be too small (I didn’t go carefully enough through shapeoko A to Z article to back this up with concrete numbers :D)
Consider pre-drilling the holes with an 1/8" stub drill first then bore to final dimension. On the contour I would use a roughing pass so the end mill has extra room to clear chips and is only cutting one side on the finishing pass.
Look at Winston’s pumpkin video on the HDM to see an example of the benefit of roughing passes on contours.
I also linked a great video of feeds and speeds used on a MPCNC which is less ridged than a Shapeoko pro that might also be of use.
This is super helpful and I think it will solve most of my deep alu contouring issues, I didn’t notice this contouring roughing passes option.
atm I’m milling 2mm deep holes and then moving the piece to a table drill.
You mean I could use a stanard drill bit with the mill? hm interesting, the issue for me is repeatability problem, every tool change is a risk… I think it might be due to my jog speeds, I will tweak them and investigate
helpful videos, had no idea 15mm doc is possible… thanks!
Thanks, very helpful for a start since I had no clue which numbers to use.
I’m wondering two things, should I prefer drill bits that are a bit larger then my endmills so that I can enter despite small zeroing differences between ops, or should I expect my machine to hit the holes perfectly or power through on follow up ops?
Would you run larger drills like 1/4’’ on the cnc as well? with the similar numbers to the above?
Also an update after today, this contouring roughing op helped resolve my most serious issues and videos made me more brave to experiment.
I got reminded to prefer entering the piece from the side instead of ramping (obviously)
And most ops I’d eyeball the numbers then tweak RPM and feed speeds as the machine runs, until I’m happy with the sound and chip size. I’m running much higher speeds then carbide mentions (as per the second video) around 25k (Yes I should read something more serious about milling starting with shapeoko a to z)
I (accidentally) pulled off 20mm To my surprise chips were nice and machine sounded good. I started with very low loads (0.2mm for 1/4th’ endmill and 600mm/sec) and haven’t tweaked further since high DOC is so fast anyway. Don’t think I’ll be doing 20mm much more since it’s so extreme, but now I’m confident at like 5mm
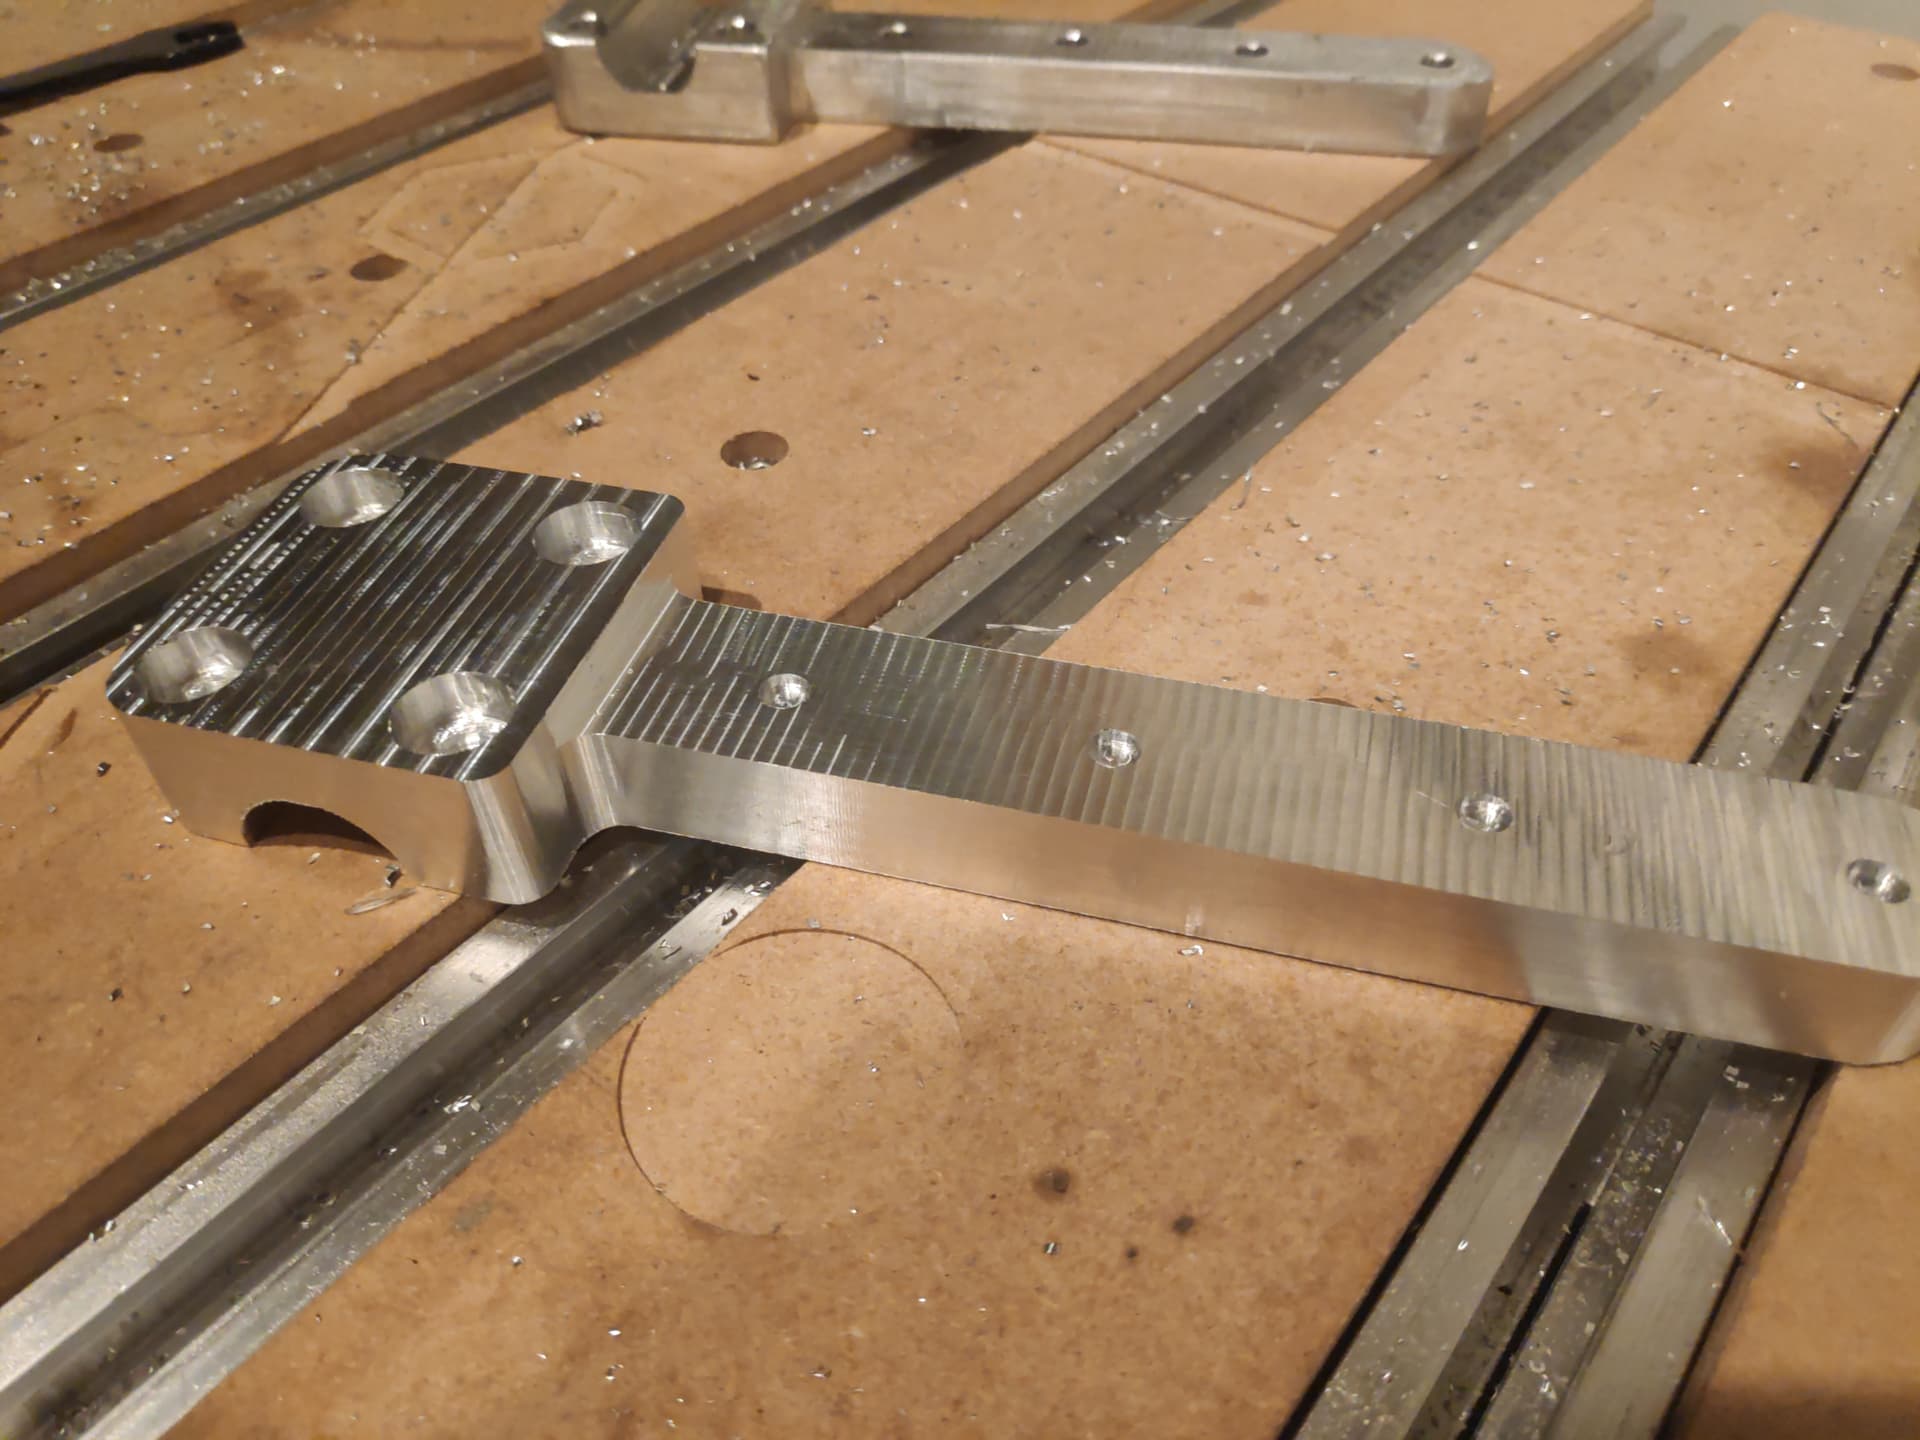
Part just came off the machine, this is without any postprocessing
I don’t know the drilling limits of a Shapeoko pro with a router as I run a HDM with the 2.2kw and haven’t touched my So3 with HDZ and a router since. 10k 30 ipm .030" pecking with full retracts works well for me with zero issues from .159" - .25" drills so far. I don’t know if the lead screw Z axis and router are up for drills bigger than .125" so someone will have to test that out if they are willing to risk damaging something to find out.
Even a small pre drill hole significantly improves helical entry with an end mill.
If you are using Fusion 360 when you find feeds that work great for a desired tool path, with a specific cutter, in a certain material. Highlight it and SAVE as TEMPLATE
Then you can simply bring it into any project with “New from template” and simply edit the tool path to select the new desired geometry and set the heights. It saves sooo much time.
I started with Zero knowledge and experience but I am now able to confidently run my machines because others shared their knowledge on this forum so the least I can do is pay that forward.
I also learned a ton from watching Youtube videos and I try to soak up every useful bit possible.
Nyccnc has great videos.
So learn what you can and share what works with others because the Each one Teach one method helps everyone.