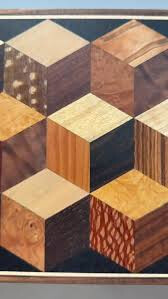
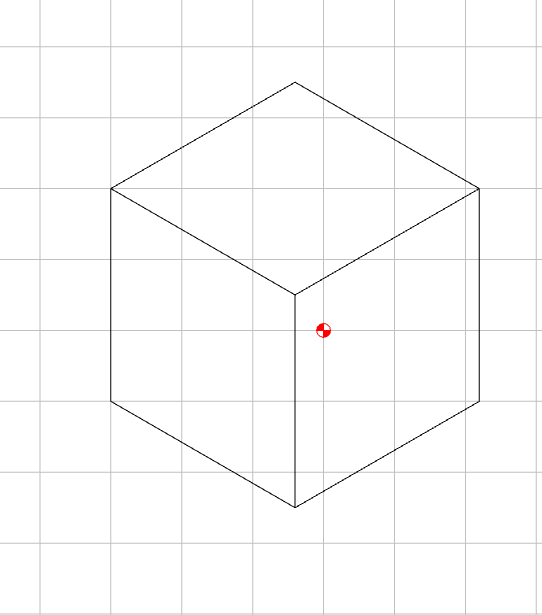
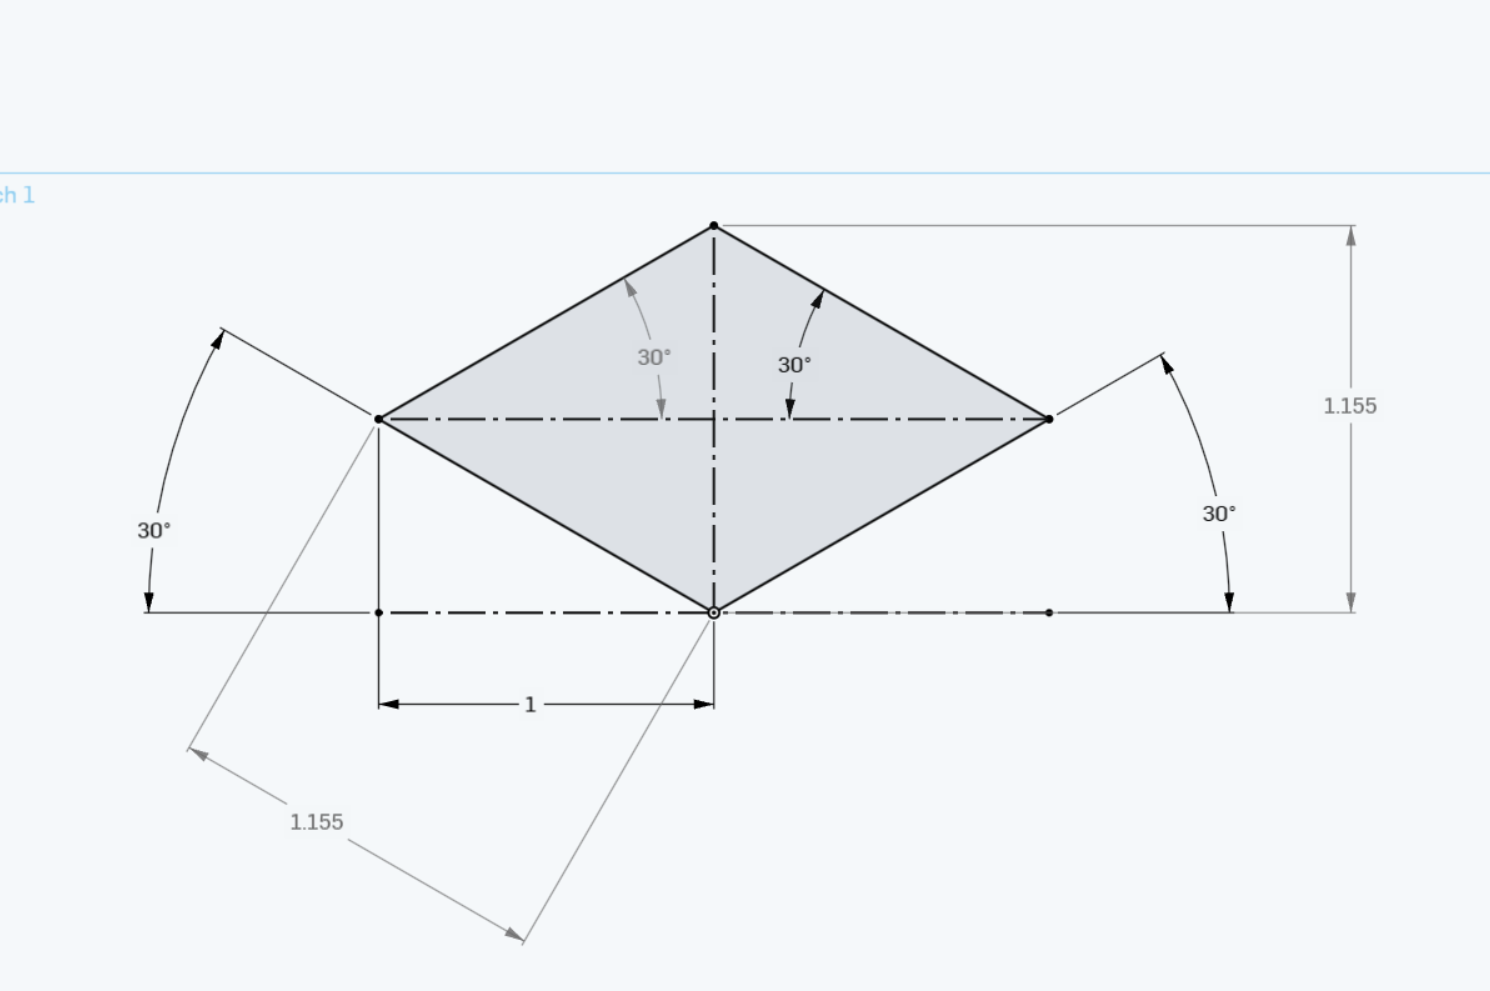
I watched a video about making a 3d illusion in wood on youtube. I used the dimensions the video showed but I just cannot wrap my head around how the dimension/proportions work.
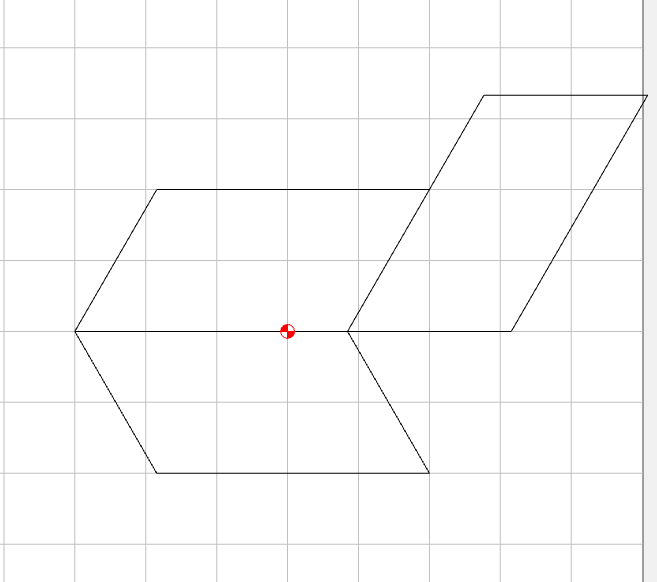
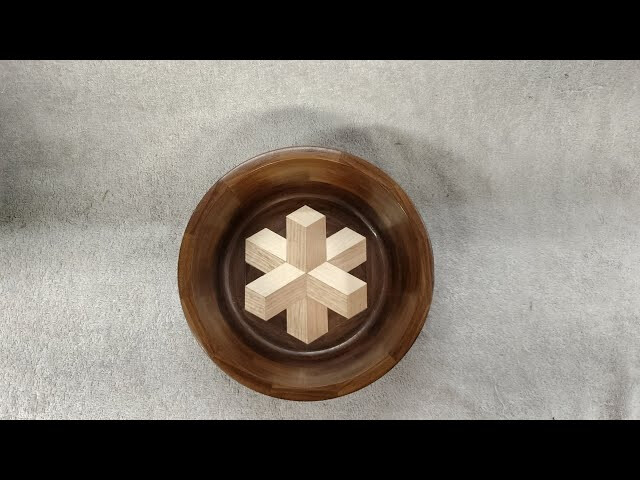
I created a rhombus at 60 degrees and then copied it for a total of three. Then rotated each of the other two at 60 degrees.
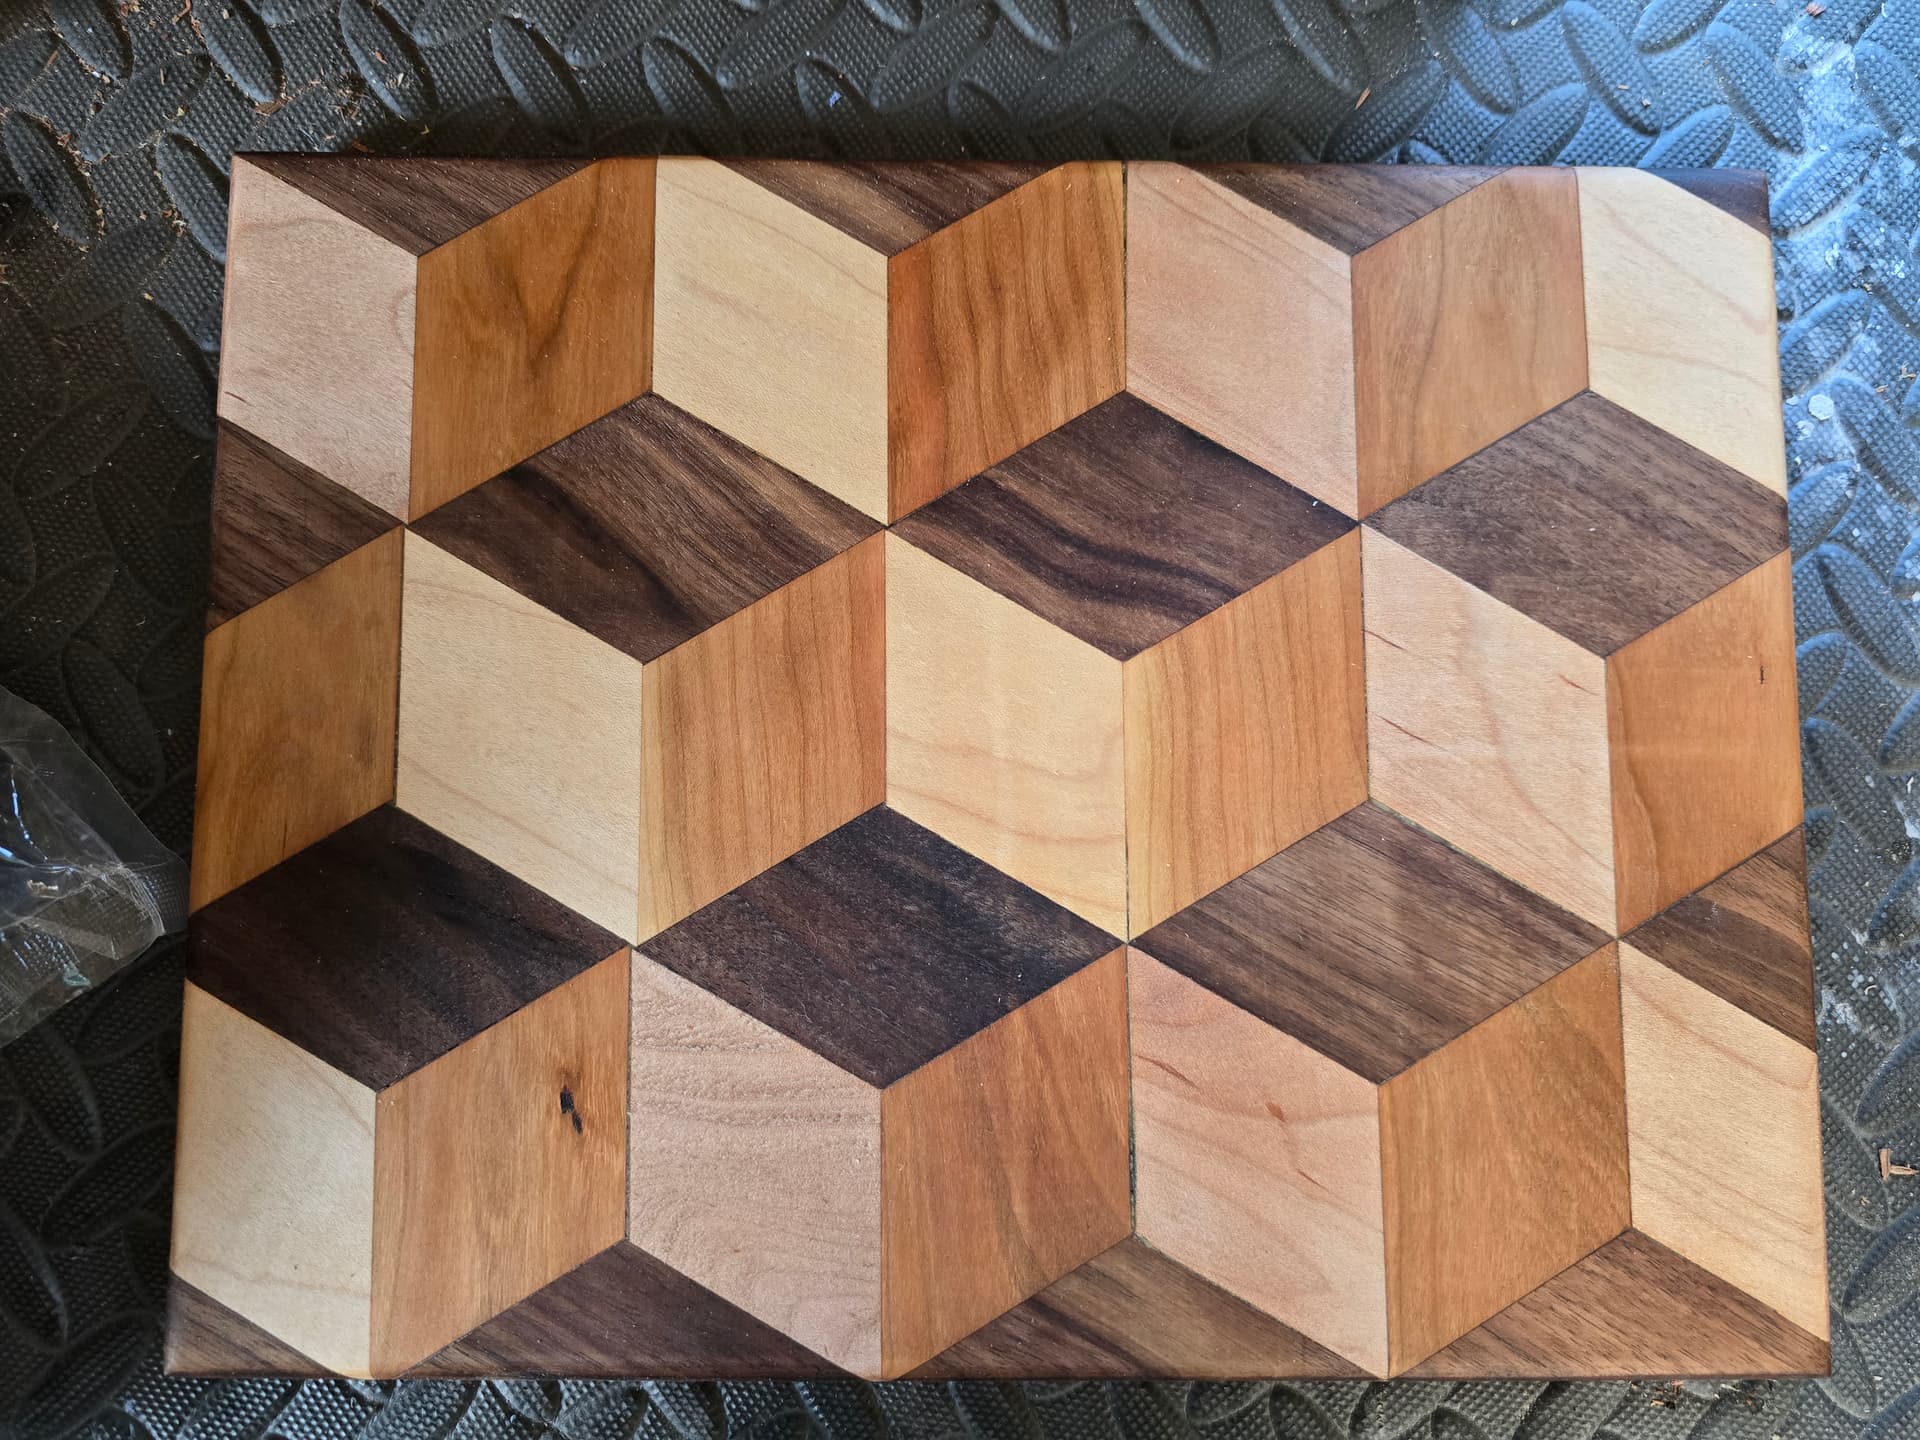
I was searching on google and AI was no real help. Then I searched images and found an example that said all 4 sides had to be equal length. The light bulb came on. This was driving me crazy trying to figure out how to make this. Now on to cutting it and making a 3d illusion with oak, cherry and walnut.
Sorry been out of the house all day but i did this one, it was easier on the miter than cnc to me though. Just pay attention to grain and that helps a lot with the 3D look
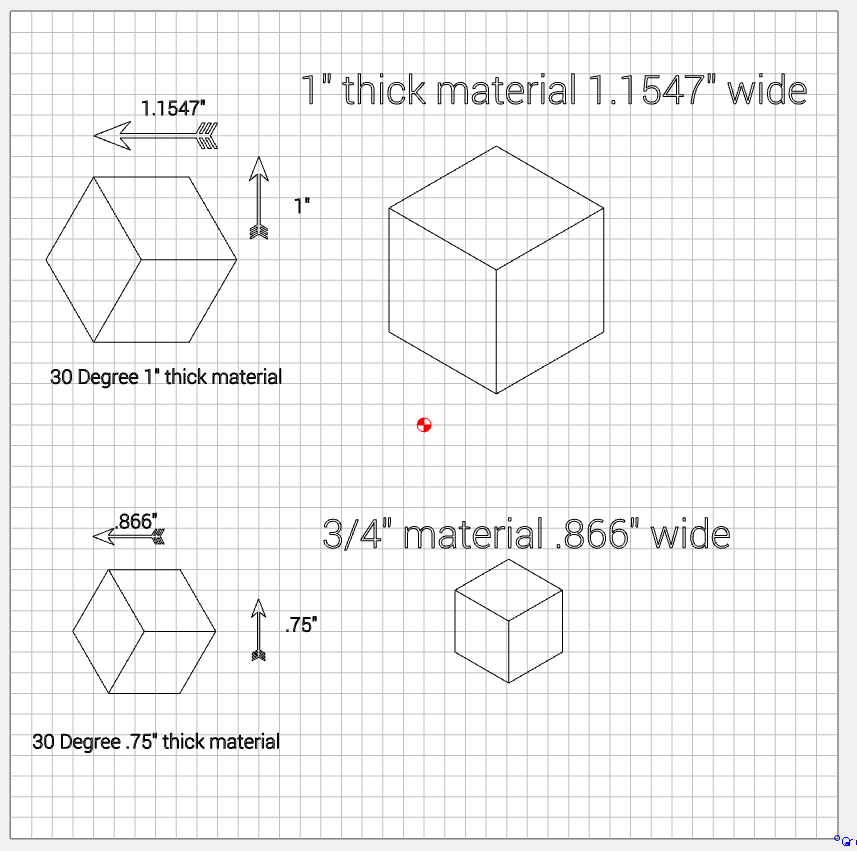
Thanks. I was likely to do this on the tablesaw. I was using CC to check the dimensions. I did find a calculator online to help but to get 60 degree angles it requires some rather precise width pieces.
I agree that trying to cut this out on a CNC would be wasteful and time consuming. My goal is making bottoms for segmented vessels on my lathe. I often use CC to draw up things.
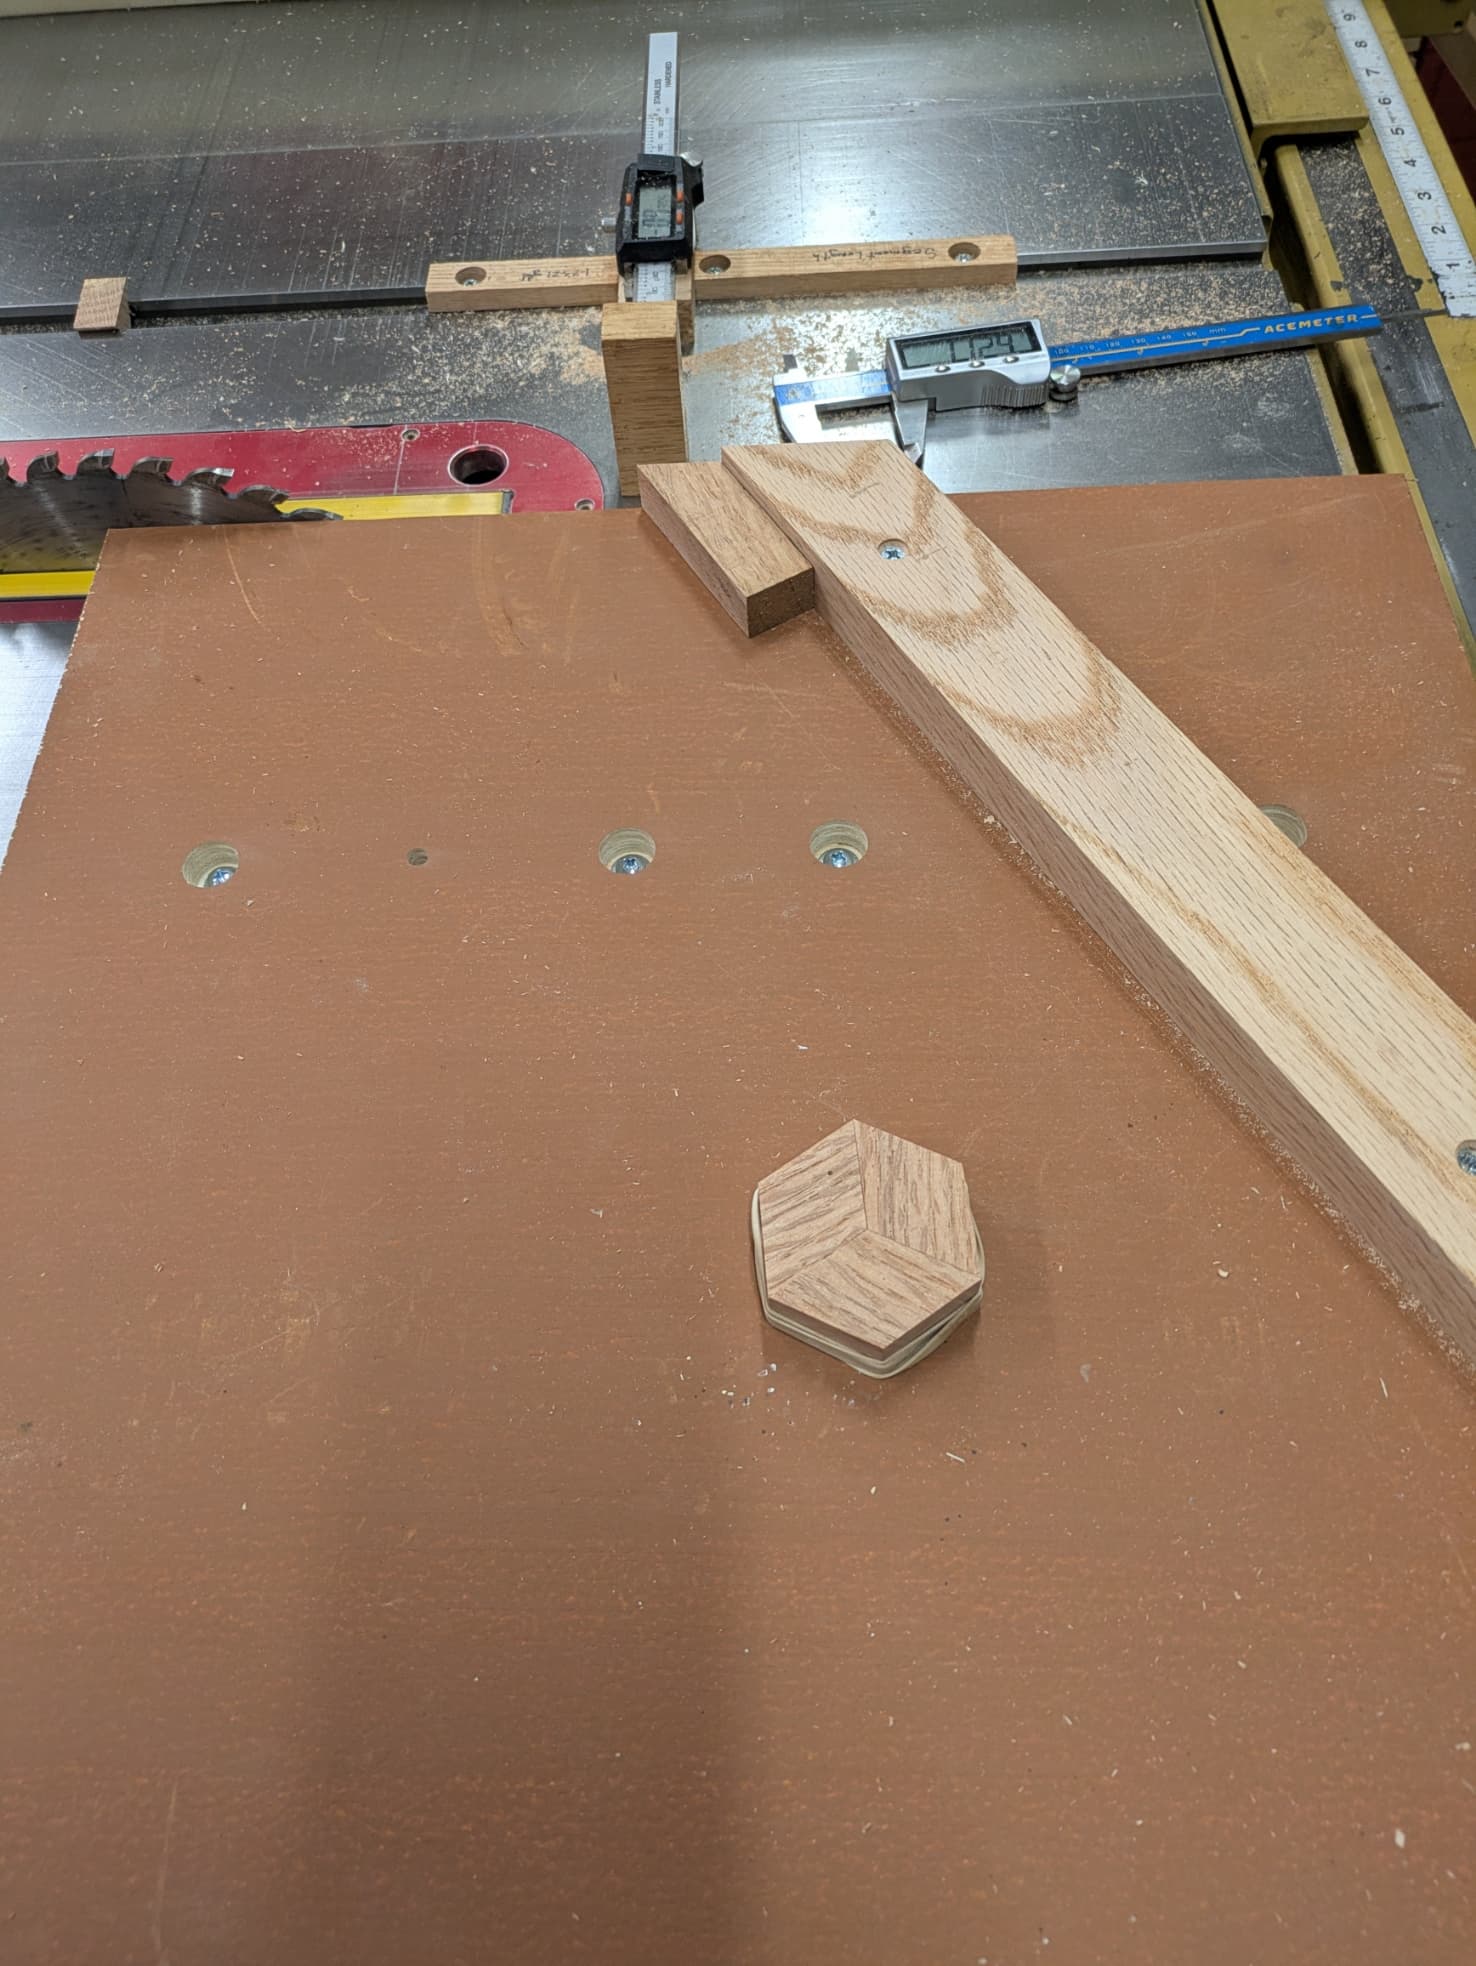
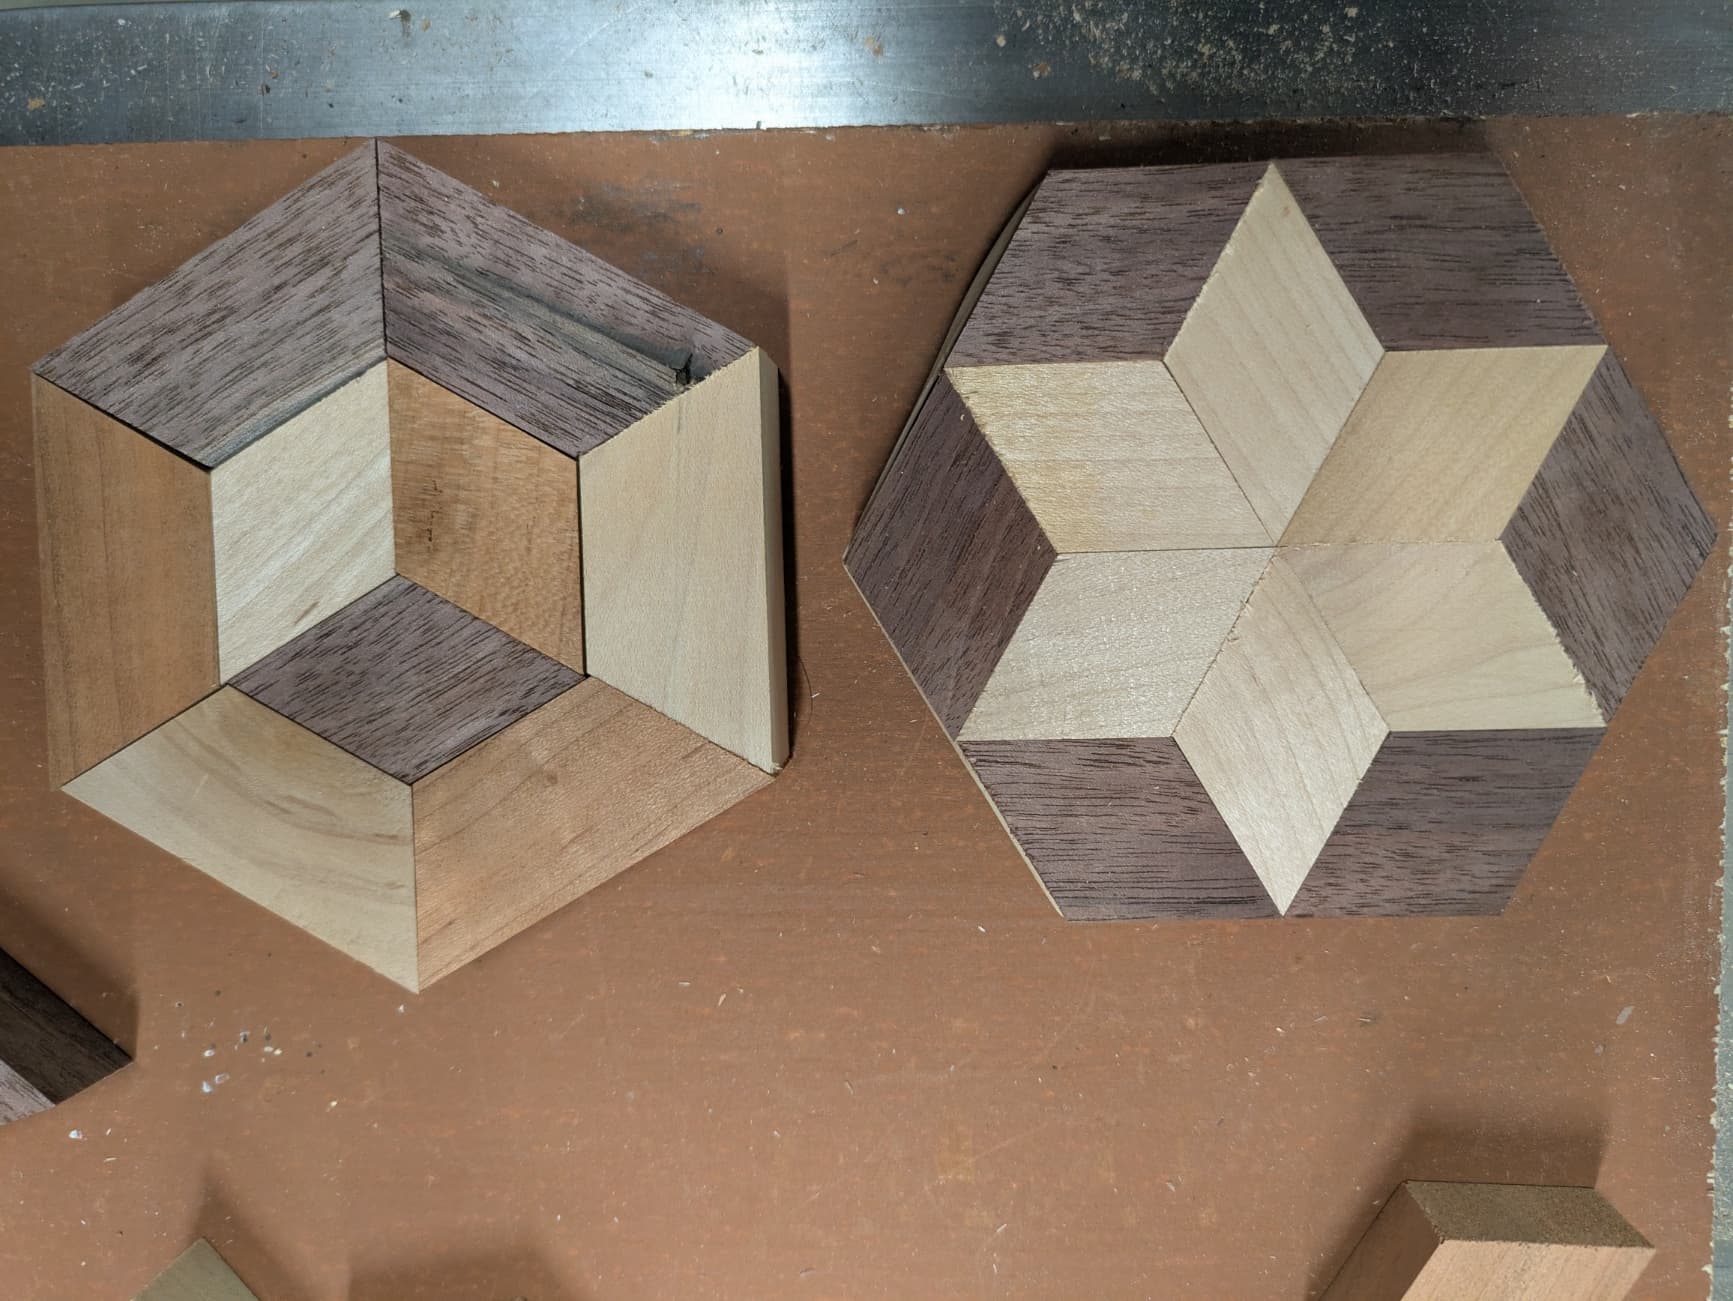
Just to follow up on this post I figured it out and of course I was over thinking it. I built a sled at 30 degrees. You pick your width of the boards and make a single cut. Measure the distance across the cut and set a stop to get that exact distance.
Here is the test cut held together with a rubber band. The final will be maple, cherry and walnut. After getting this together I will use my Shapeoko to make several things.
The width of all the different species need to be the exact same width and the same thickness. Gluing the pieces together is the next challenge. A youtube channel called Papa1947 has done several of these type of 3d illusions.
With the same sled I can make trapezoid and parallelograms and combine the three shapes to make some interesting 3d illusions.
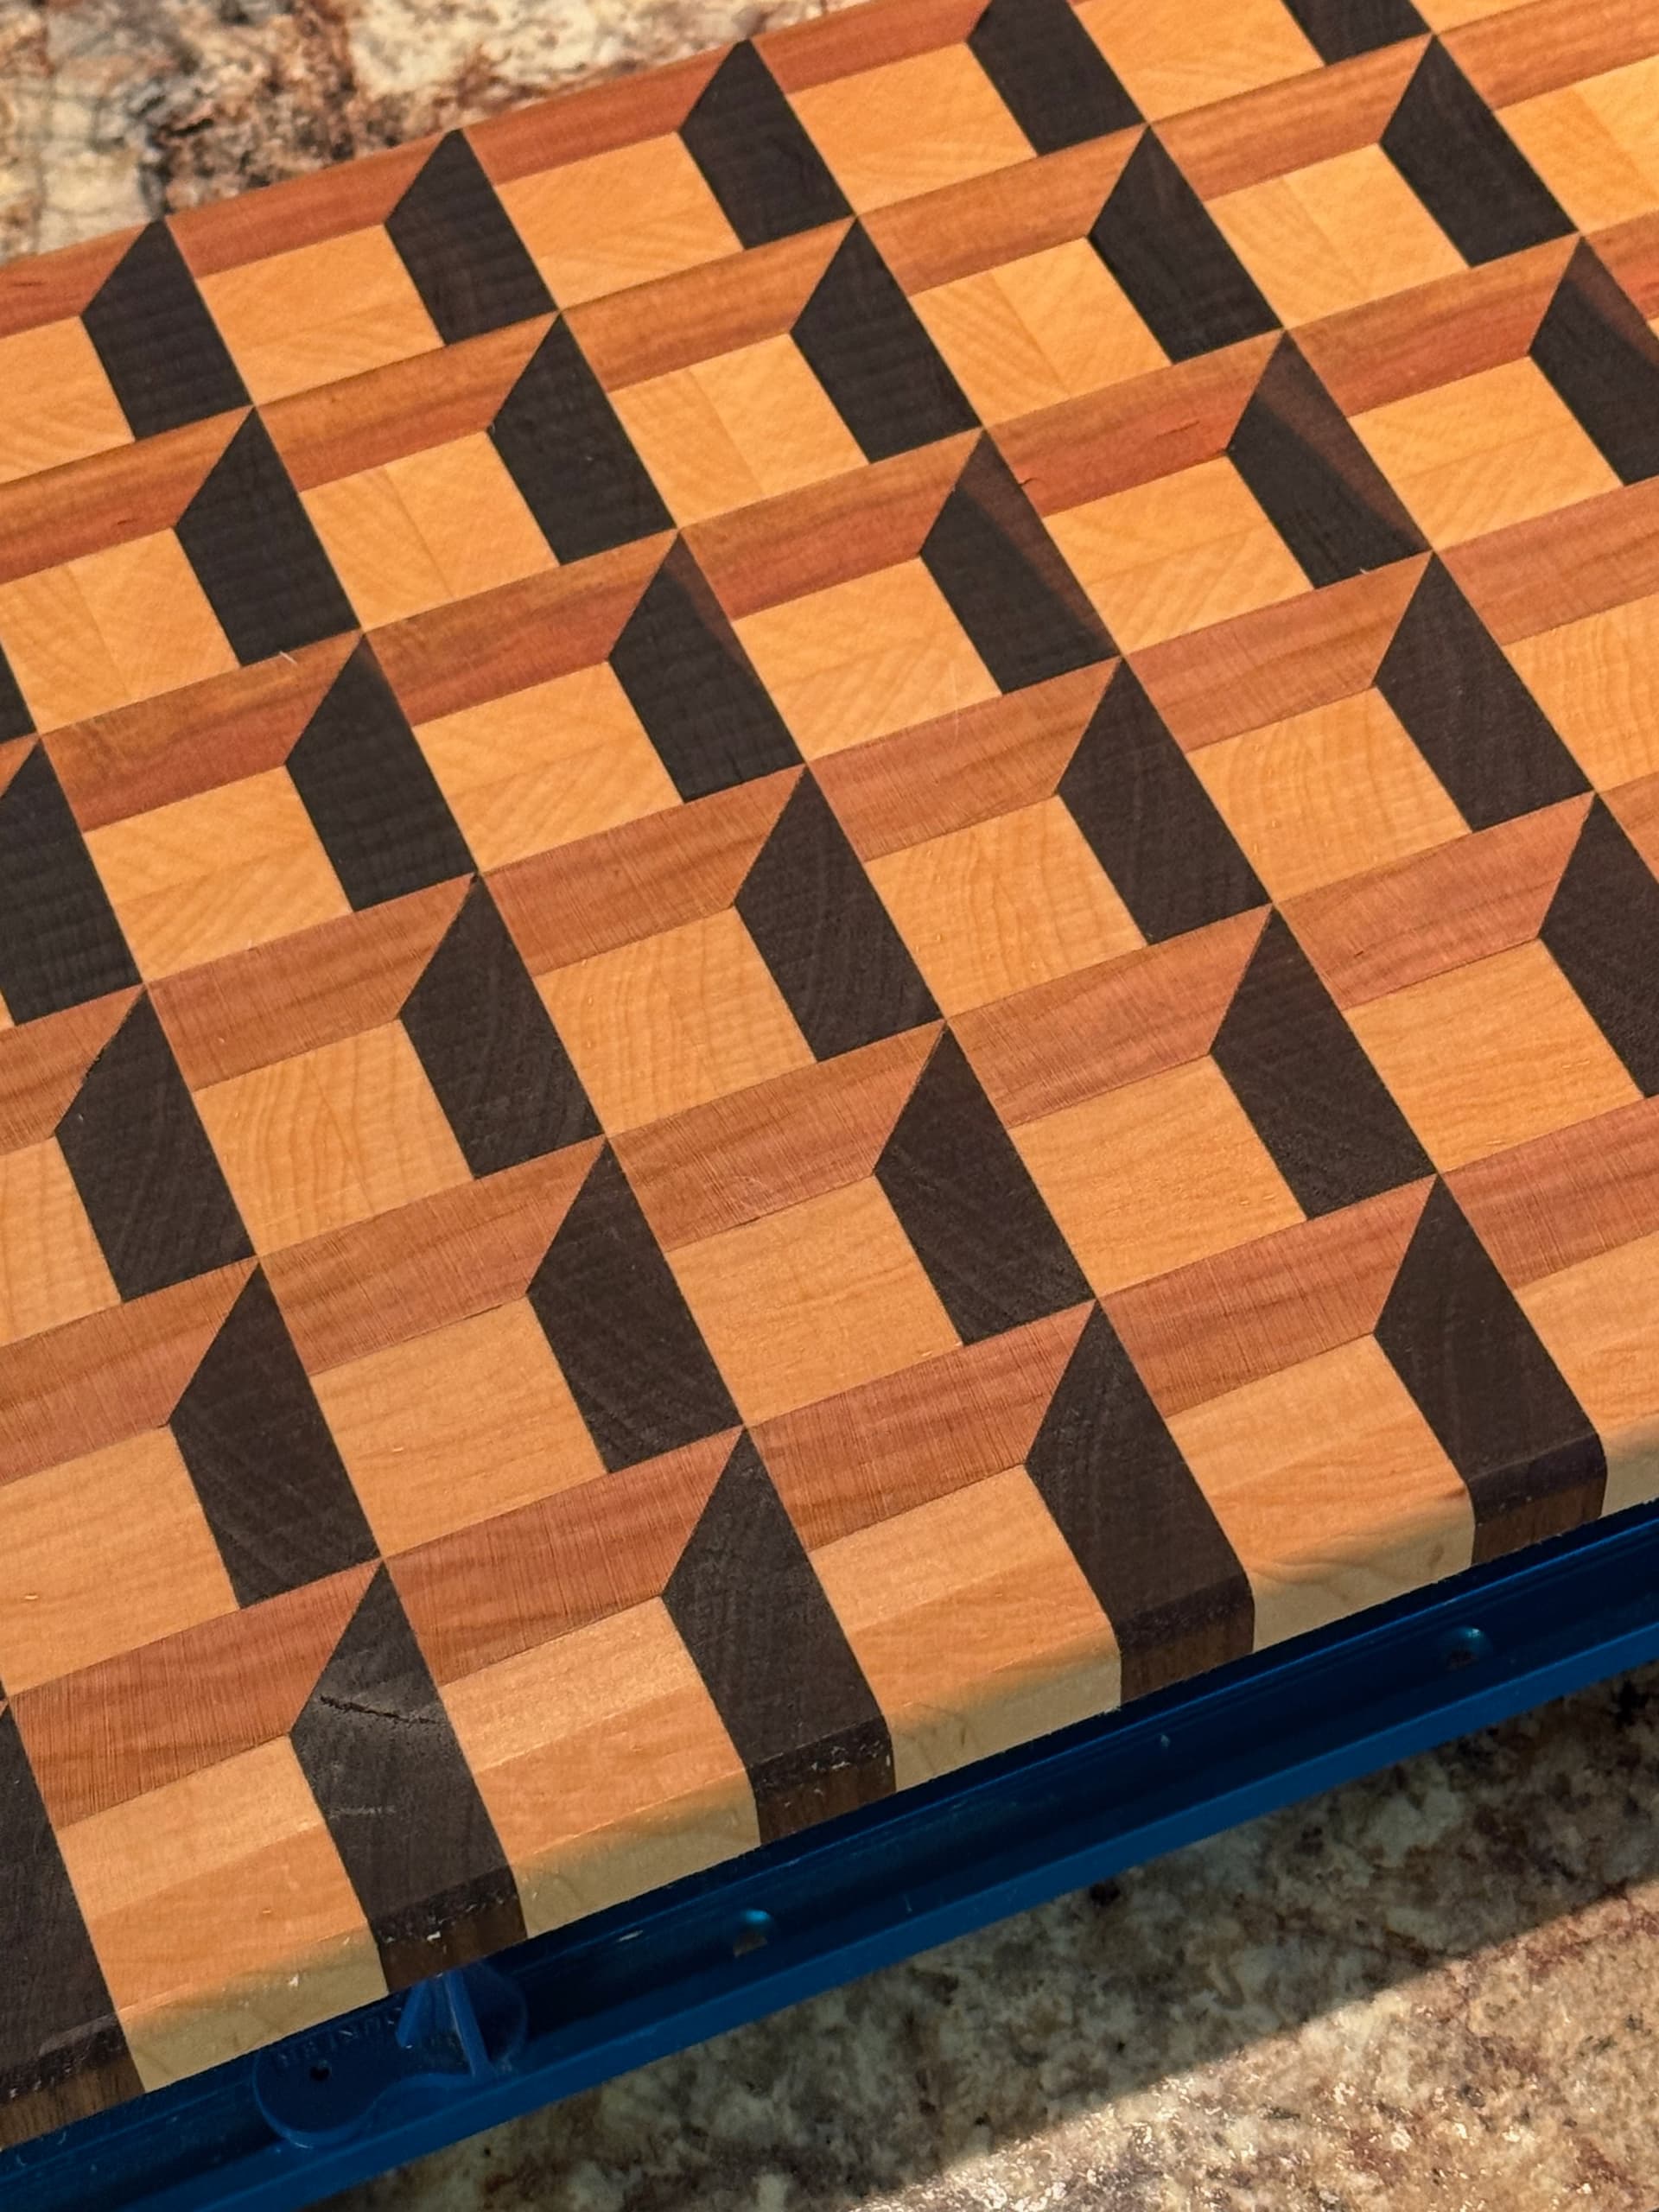
Nice. I have been working on 3d elements and am just fascinated by the optical illusion. How did you glue it up? Did you do sections or just glue up the whole thing at once?
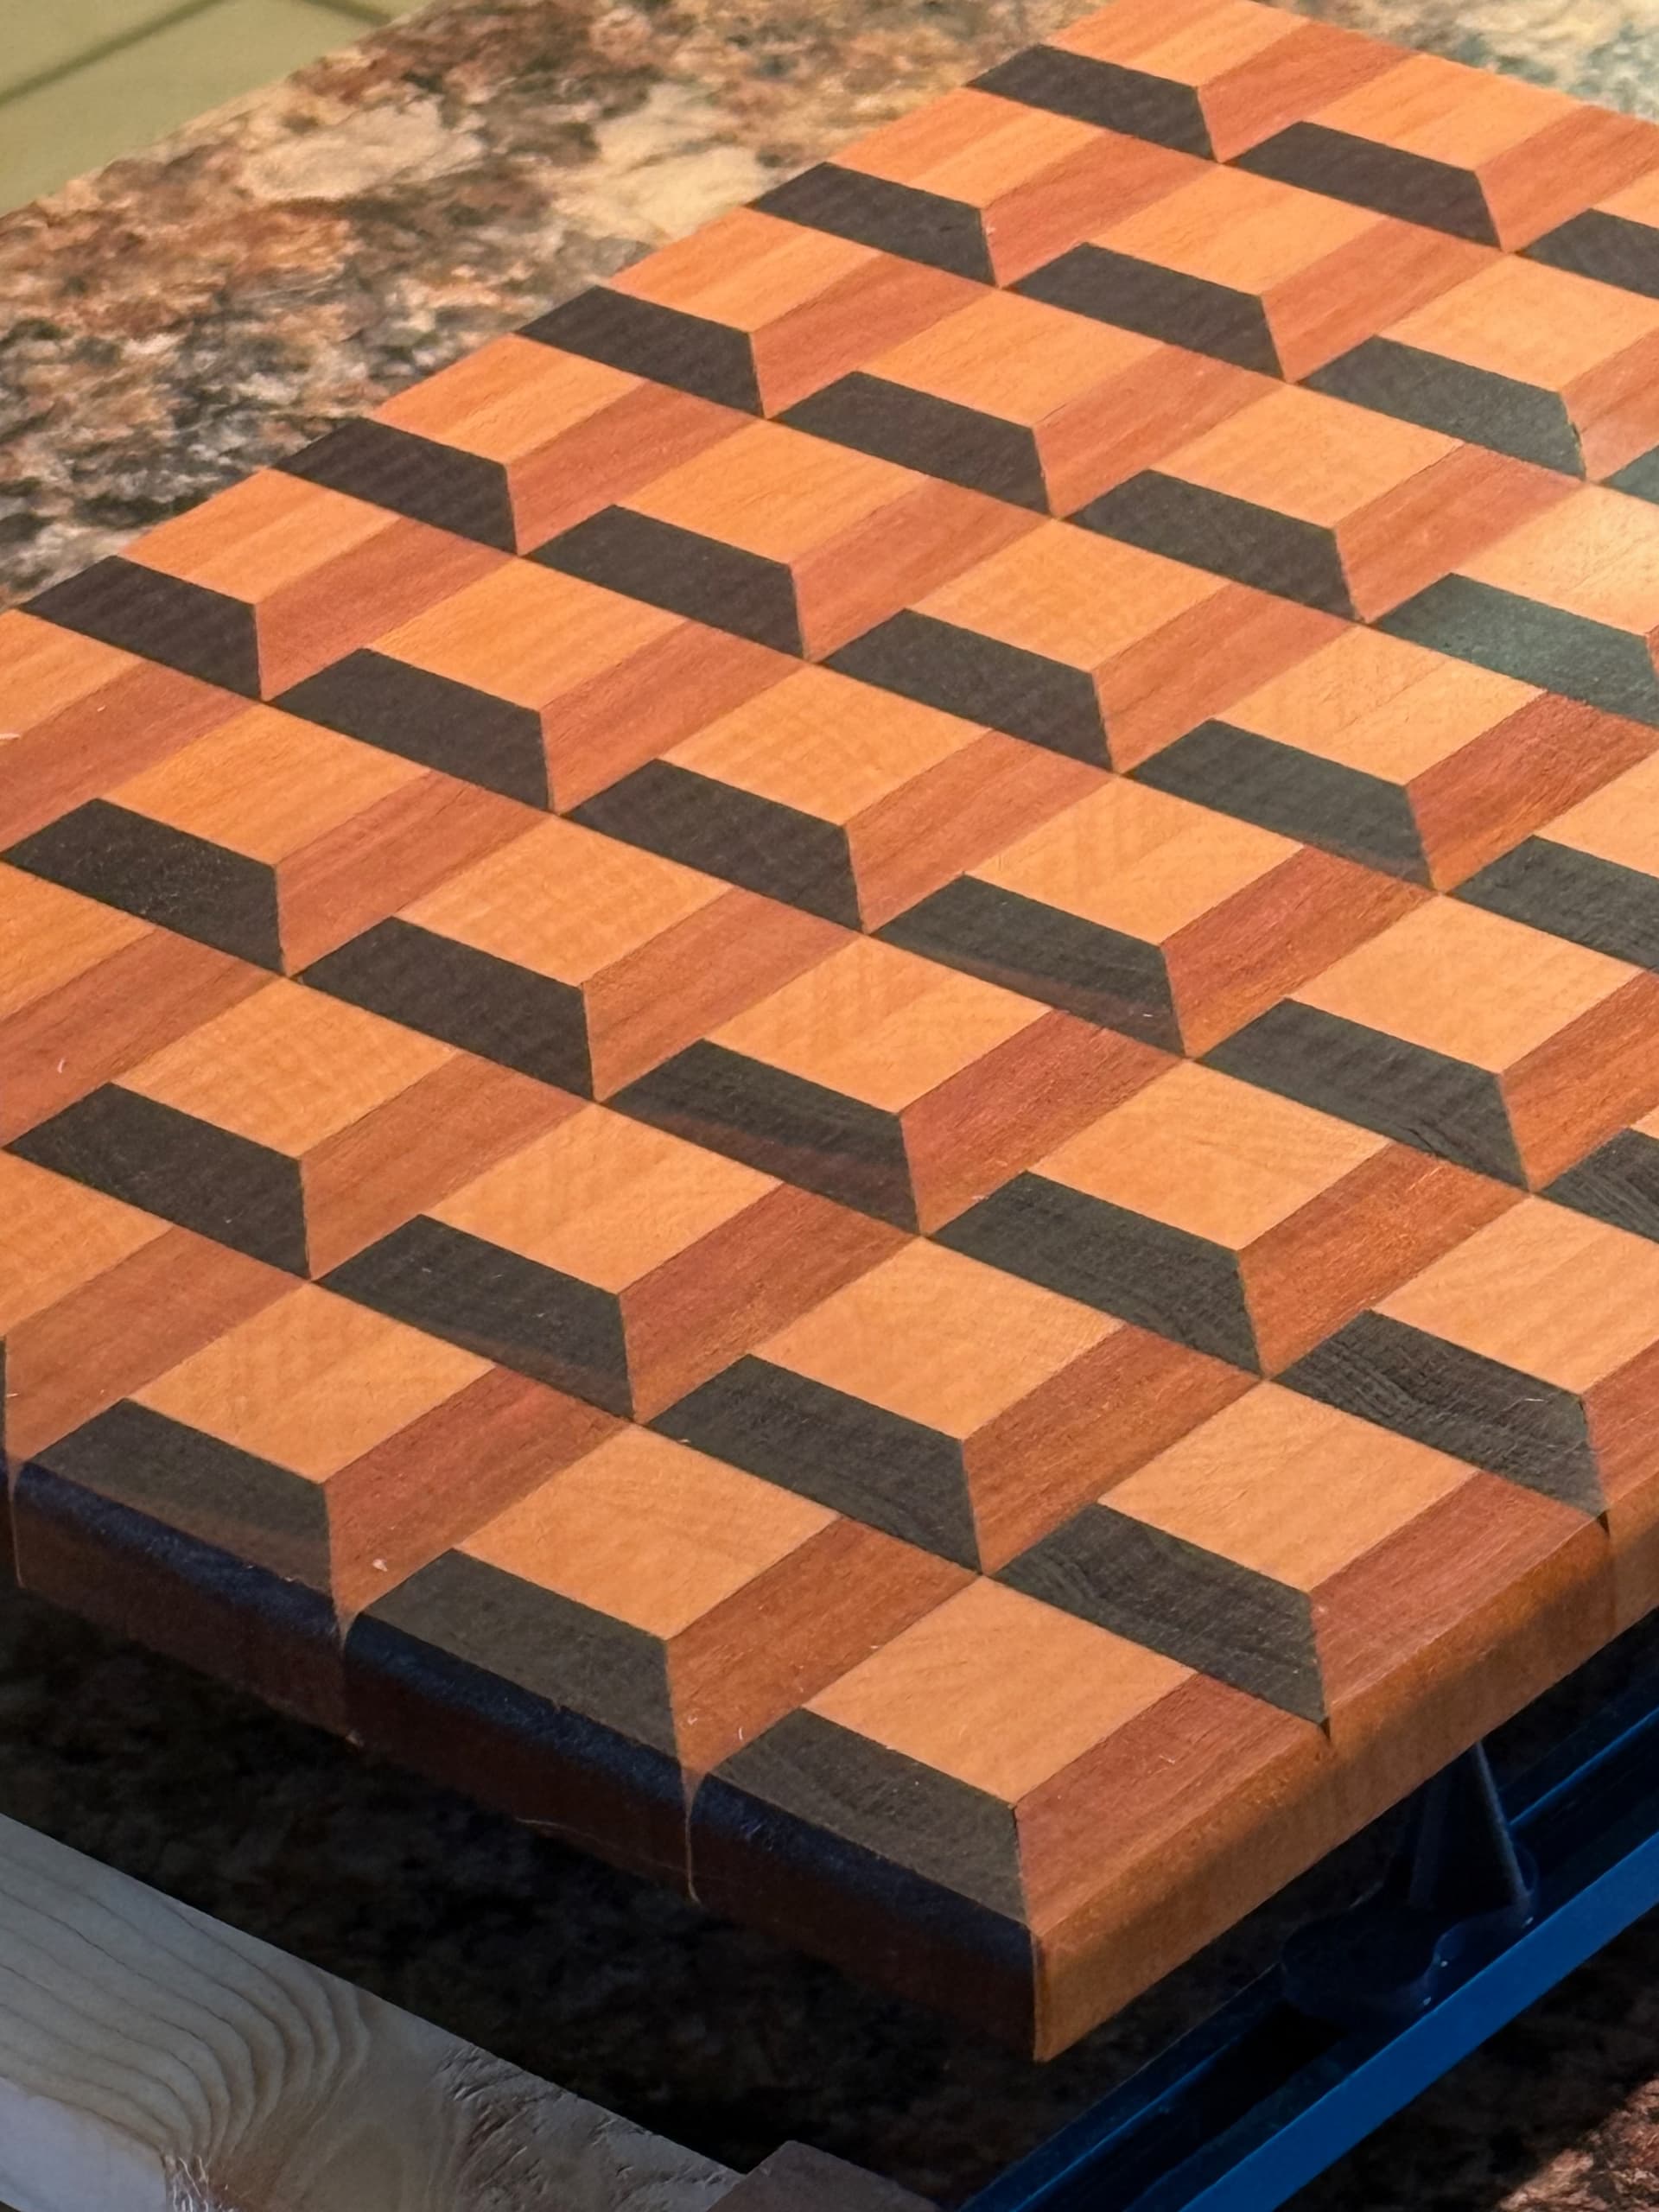
Each square is made up of 4 boards glued together to make a total of 8 boards. Those boards were glued to each other then cut and flipped for a final glue up. Tons of room for error on this one.